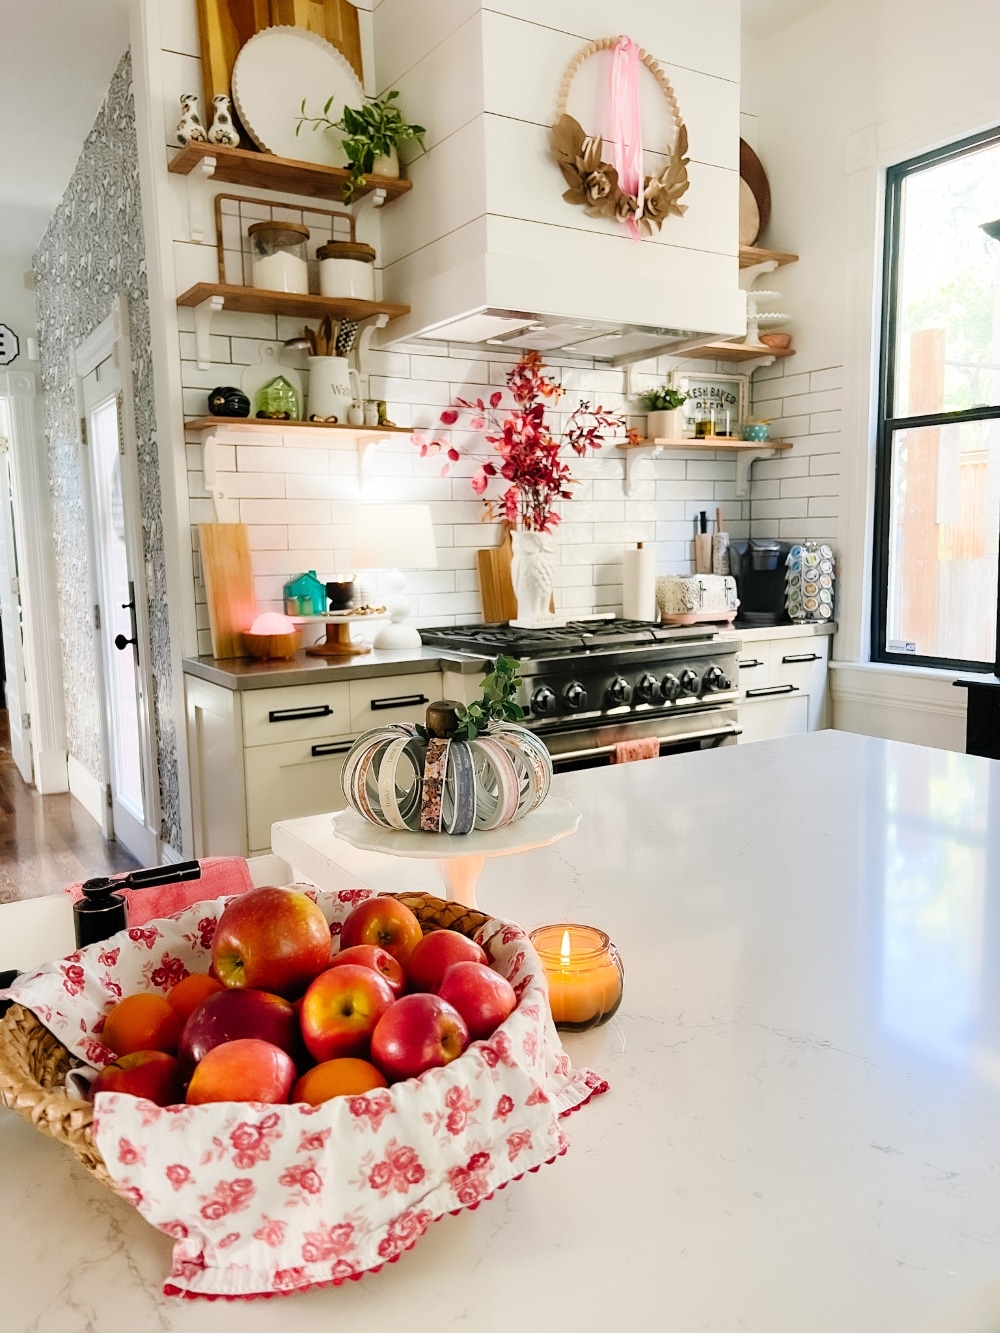
Washi Tape Mason Jar Lid Pumpkin. Upcycle your mason jar lids and display your favorite washi tape by making this sweet and colorful pumpkin!
Washi Tape Mason Jar Lid Pumpkin
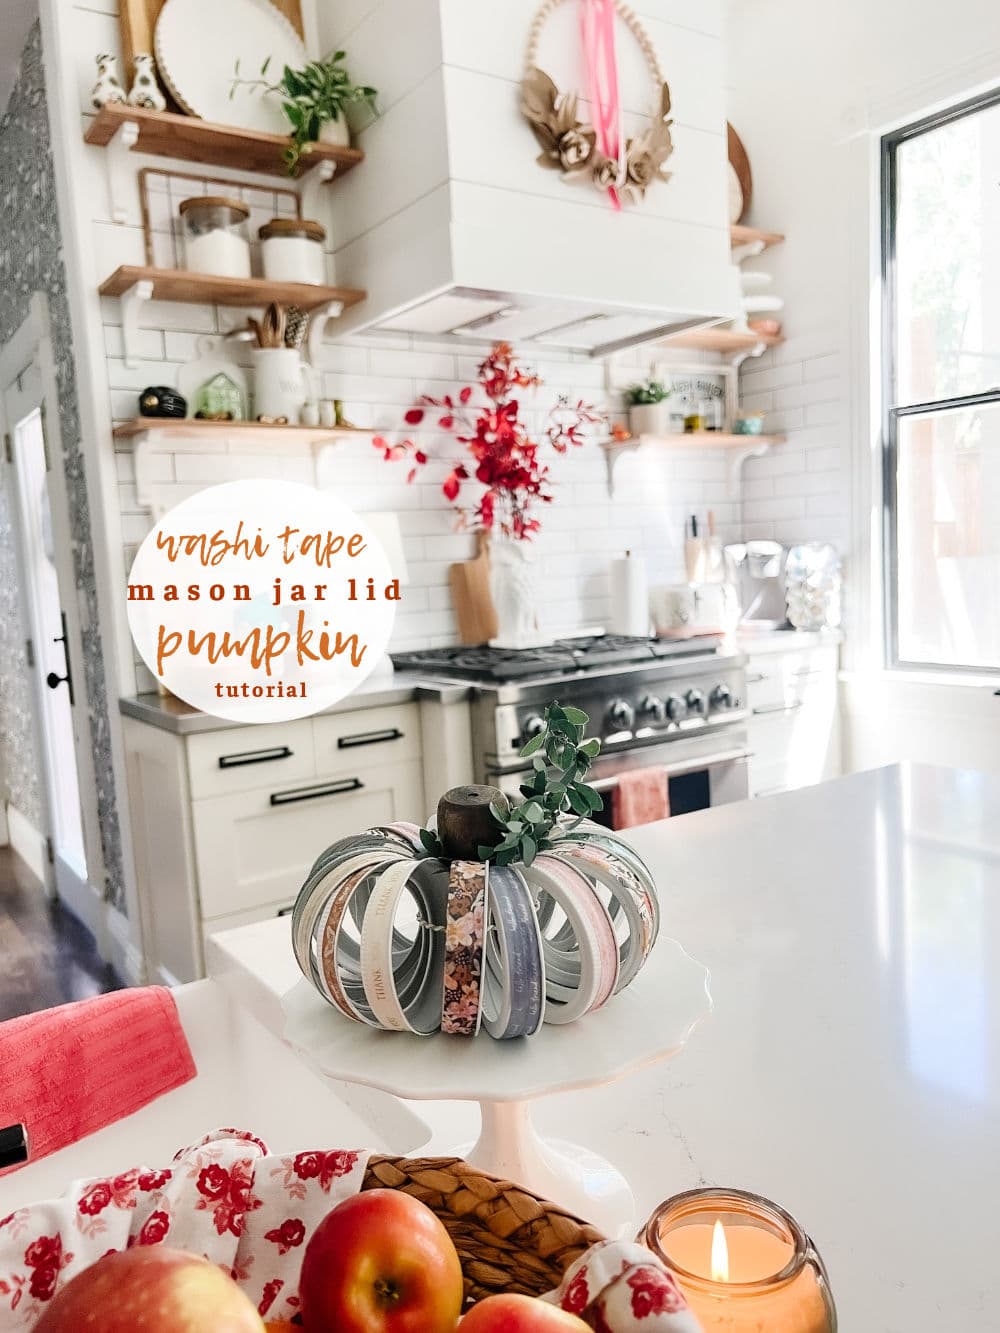
Hi, friends! I am on a roll! This is the fourth DIY Pumpkin craft idea that I’ve shared over the past week! I love making pumpkins and coming up with new pumpkin tutorials. This one is so fun to make and you can change up the color by picking whatever washi tape you want!
Mason Jar Pumpkin is a Fun Kids Craft
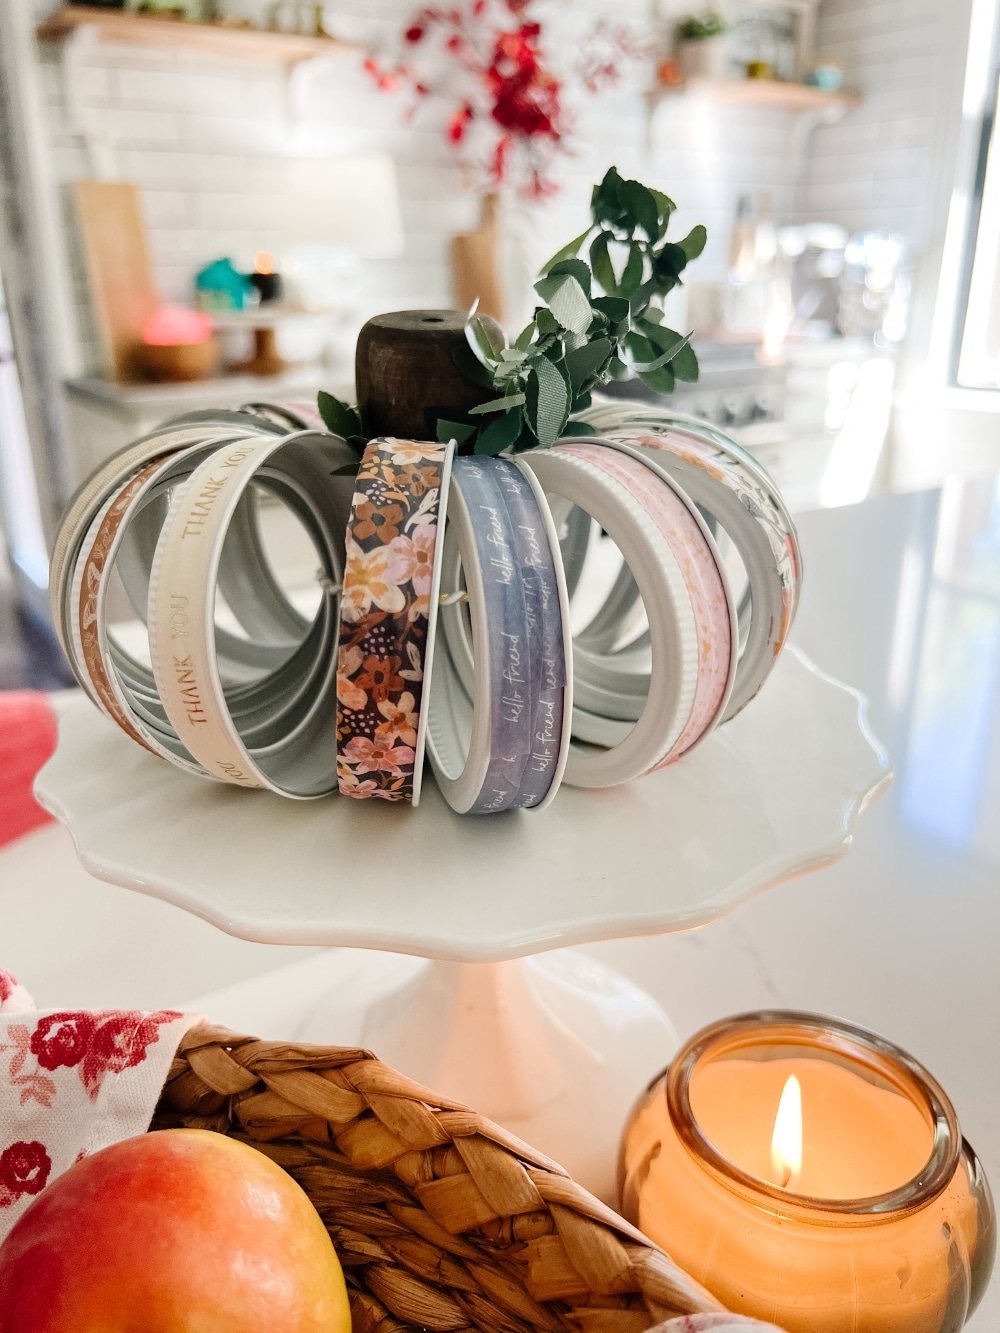
This is also a fun kids craft to make with your kiddos! There is no hot glue or dangerous parts in making this craft. And they will love picking out their favorite washi tape colors and patterns for their pumpkin!
Display Your Favorite Washi Tape
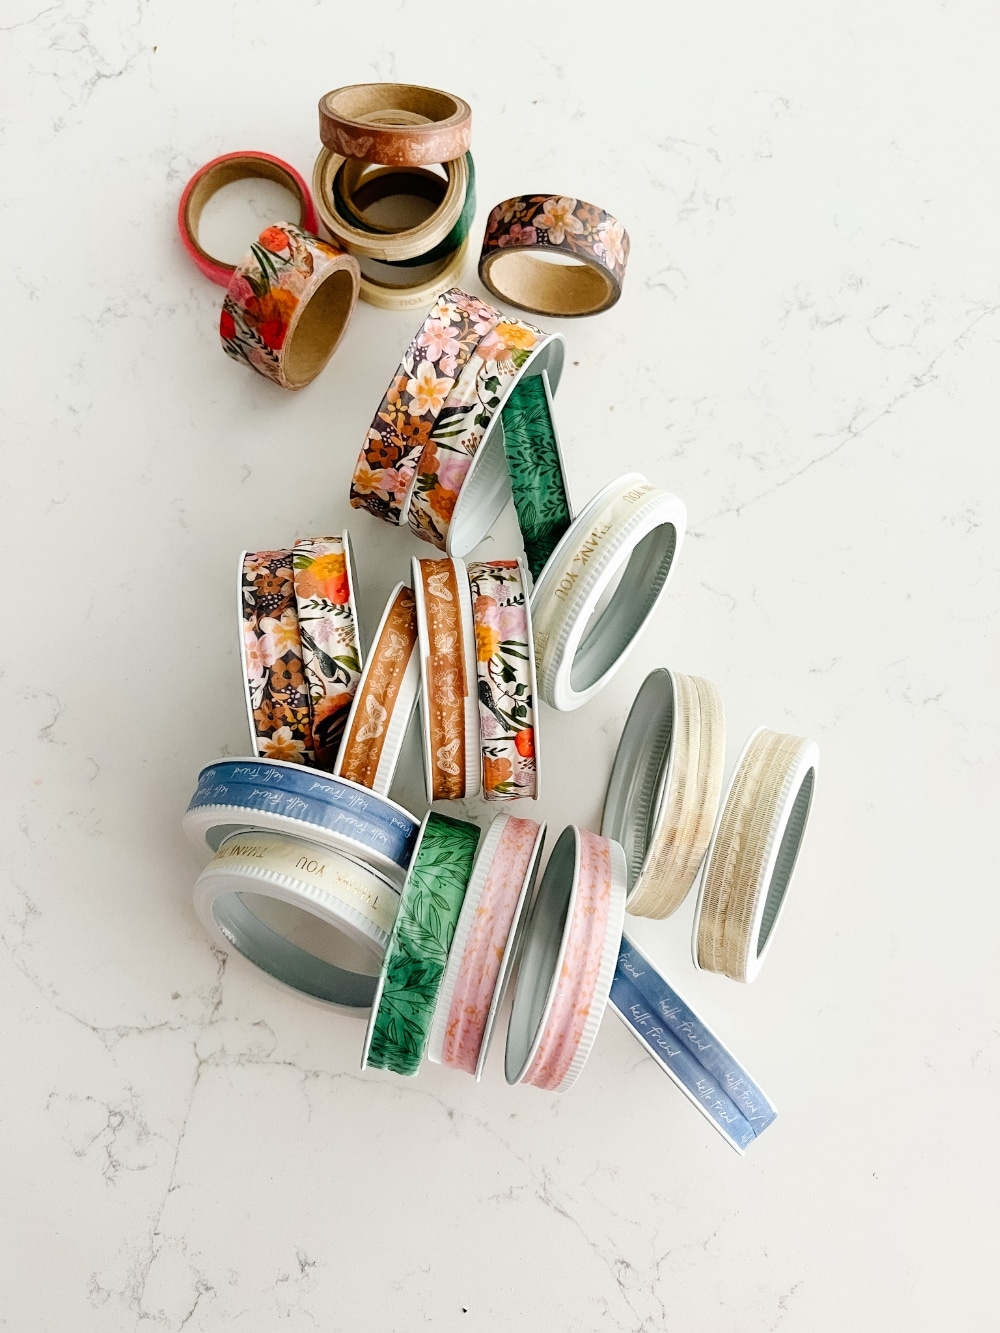
I have quite a collection of washi tape – so many different patterns and colors. I used the washi tape in my American Craft’s Live and Let Grow collection! You can buy it at your favorite scrapbook store, online aat Scrapbook.com or at JoAnn Stores! I love the brown washi with butterflies for fall and the flower washi designs!
Washi Tape Mason Jar Lid Pumpkin Supplies
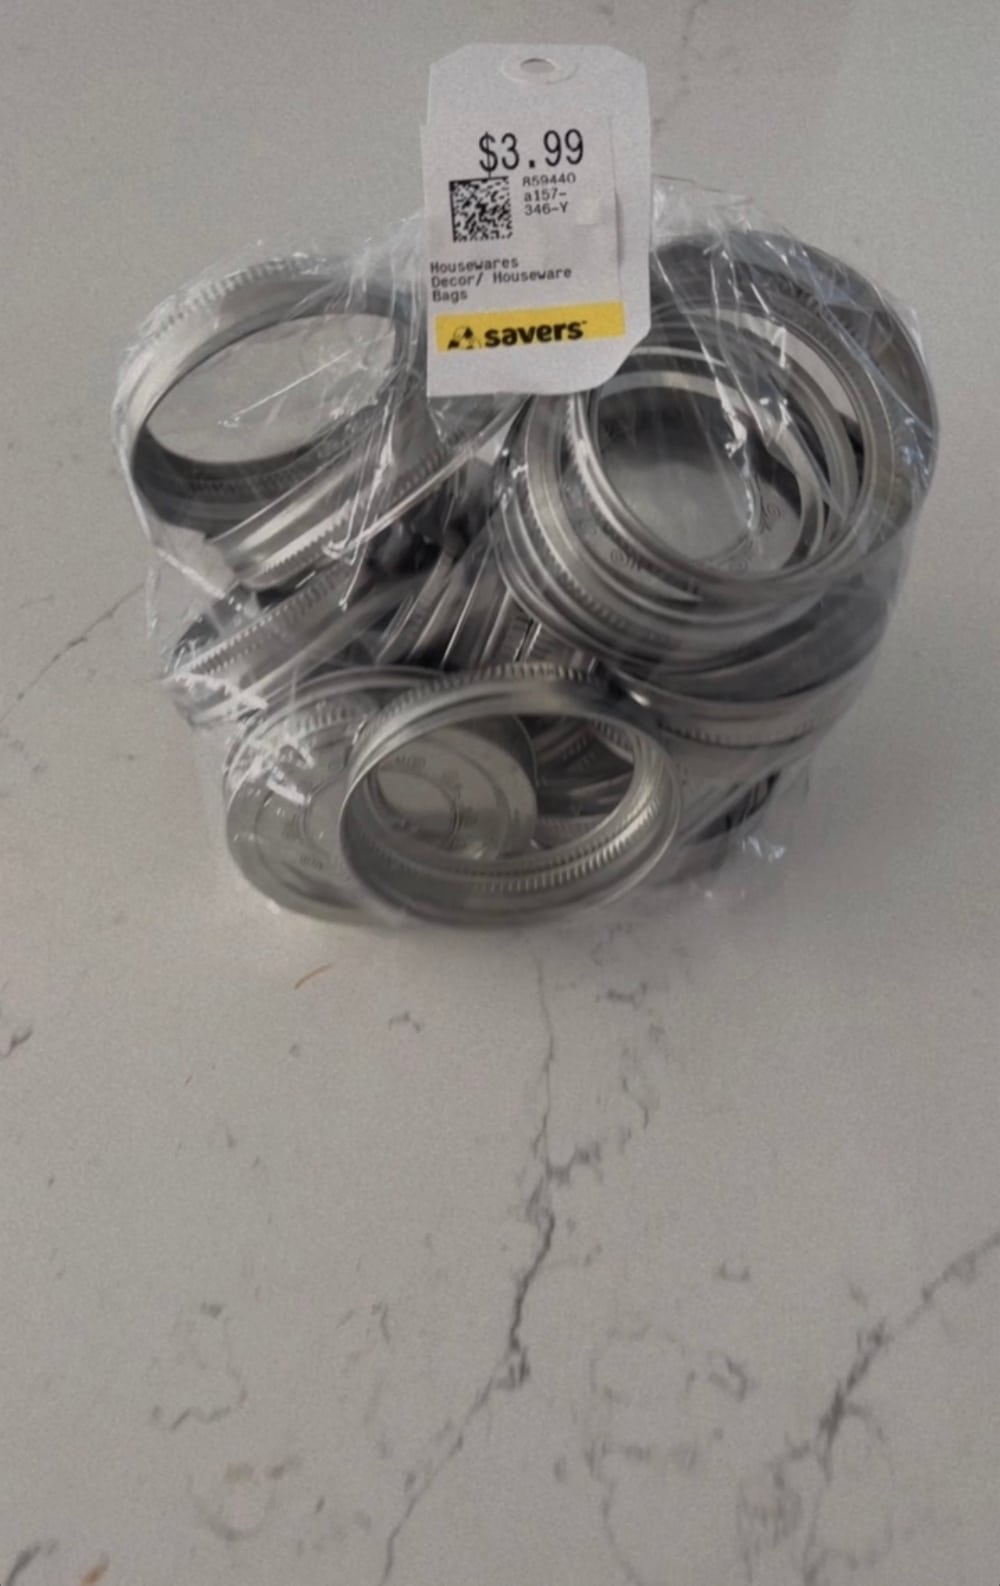
Here are the supplies need to make this easy DIY pumpkin!
- Mason Jar Lids – upcycle some or I found mine at the thrift store!
- Spray Paint (optional) – I used Krylon’s white chalk spray paint for a matte finish.
- String or wire
- Washi Tape – Live and Let Grow Washi Tape
- Wooden Cup or a branch from your yard
- Leaf ribbon (optional) – This is the one I used
How to Make a Washi Tape Mason Jar Lid Pumpkin
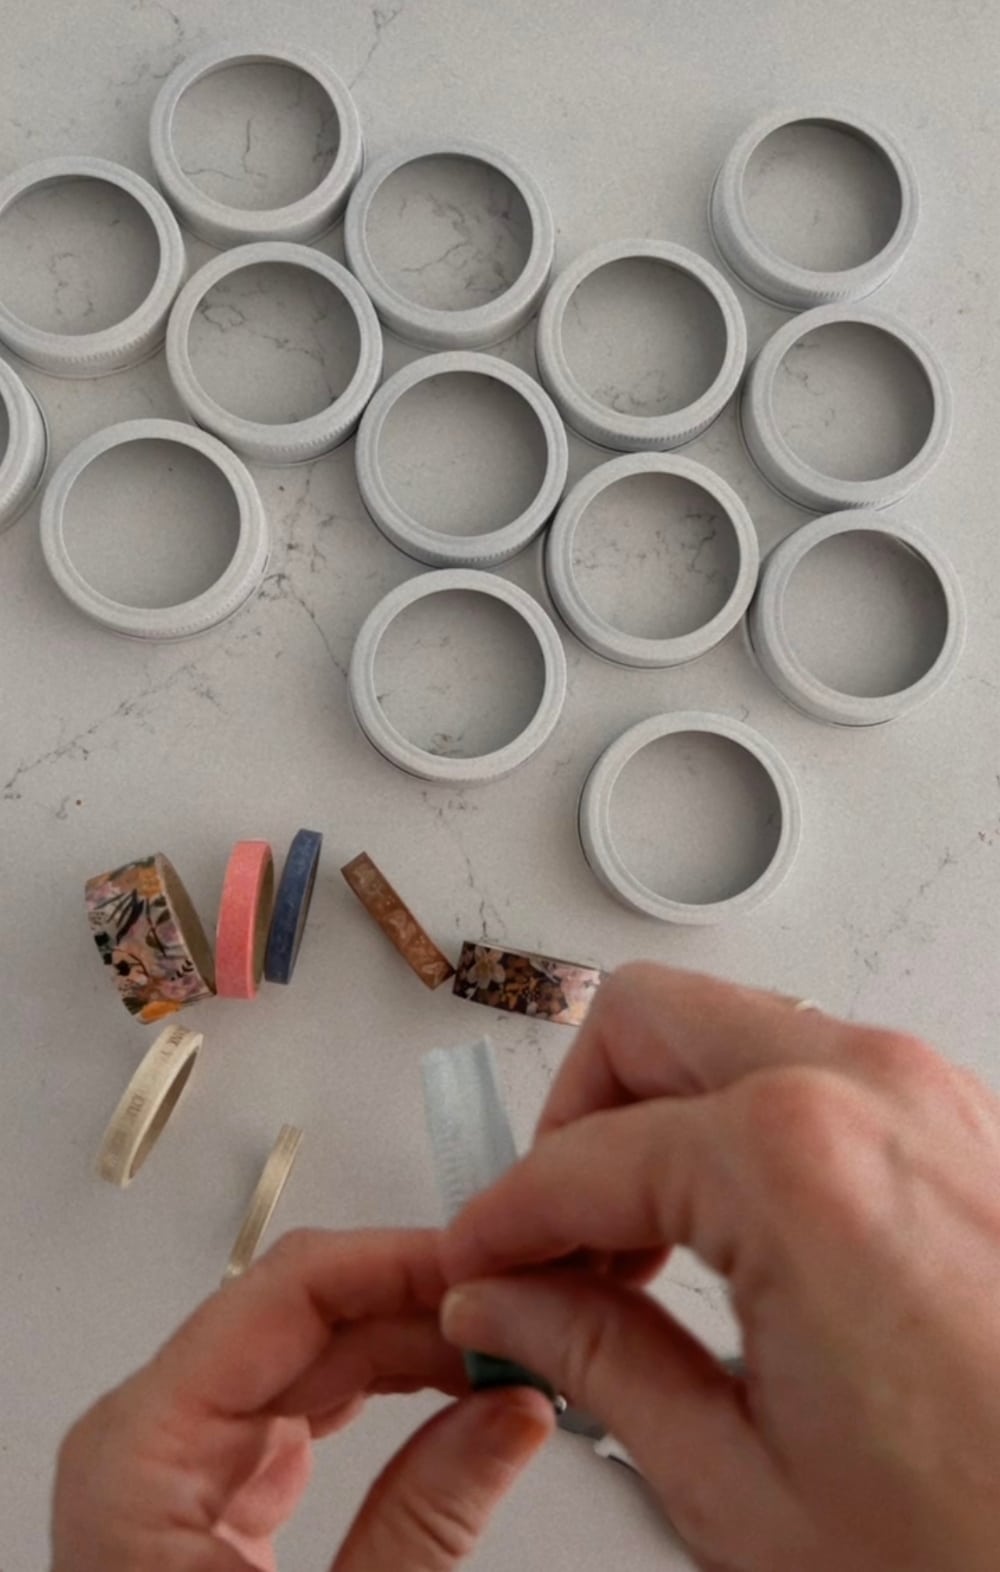
- Spray paint mason jar lids
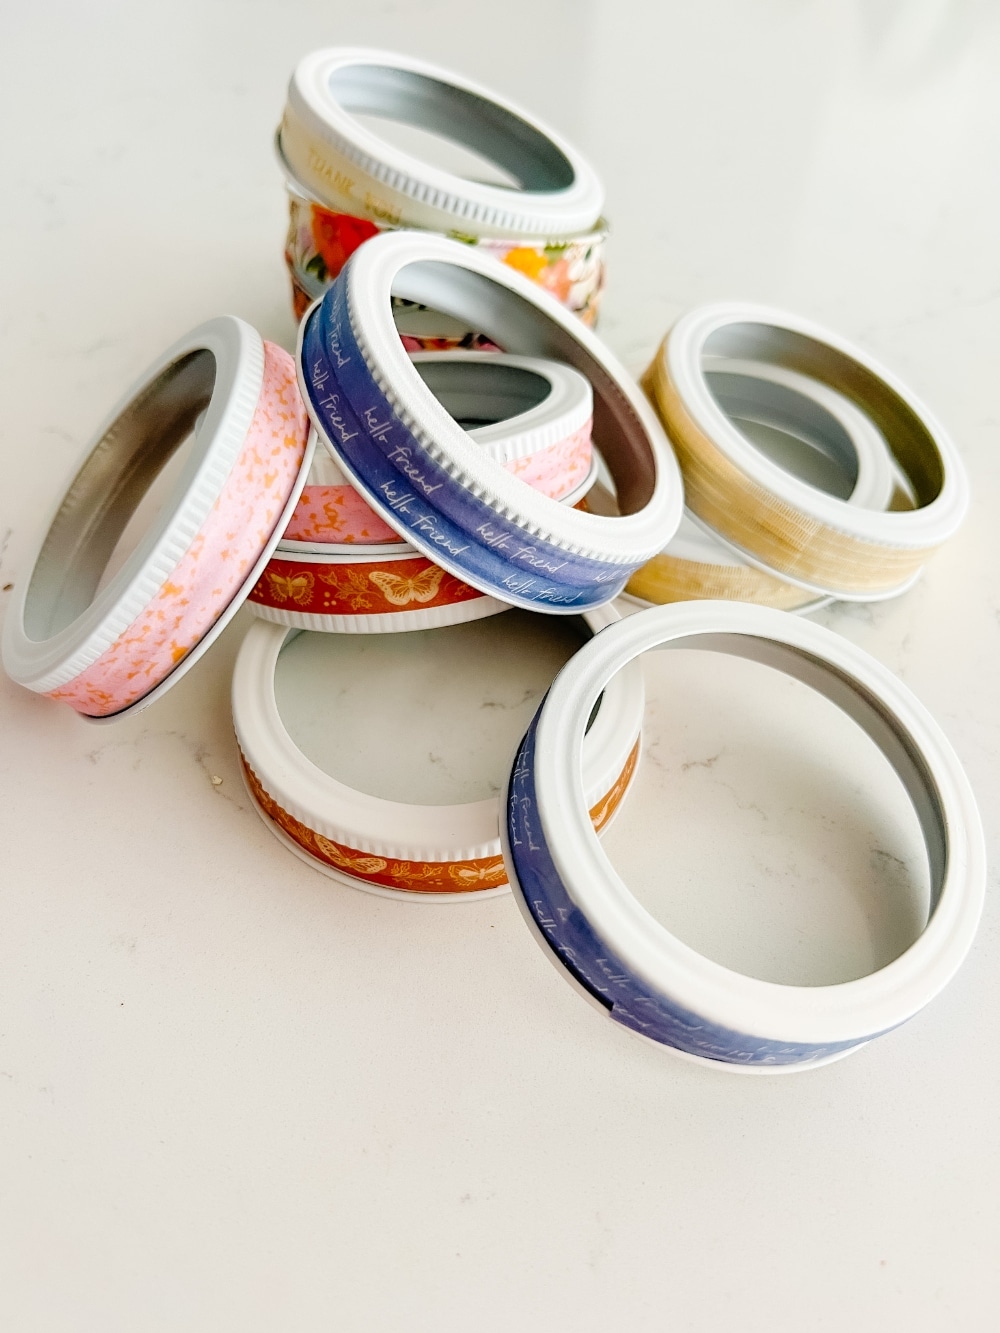
- Add washi Tape. Tip – to adhere best, hold one end of washi tape against the mason jar lid, pull it taught with your other hand and apply it to the mason jar lid. The pressure helps the washi tape stretch against the lid and when it contracts it grips better.
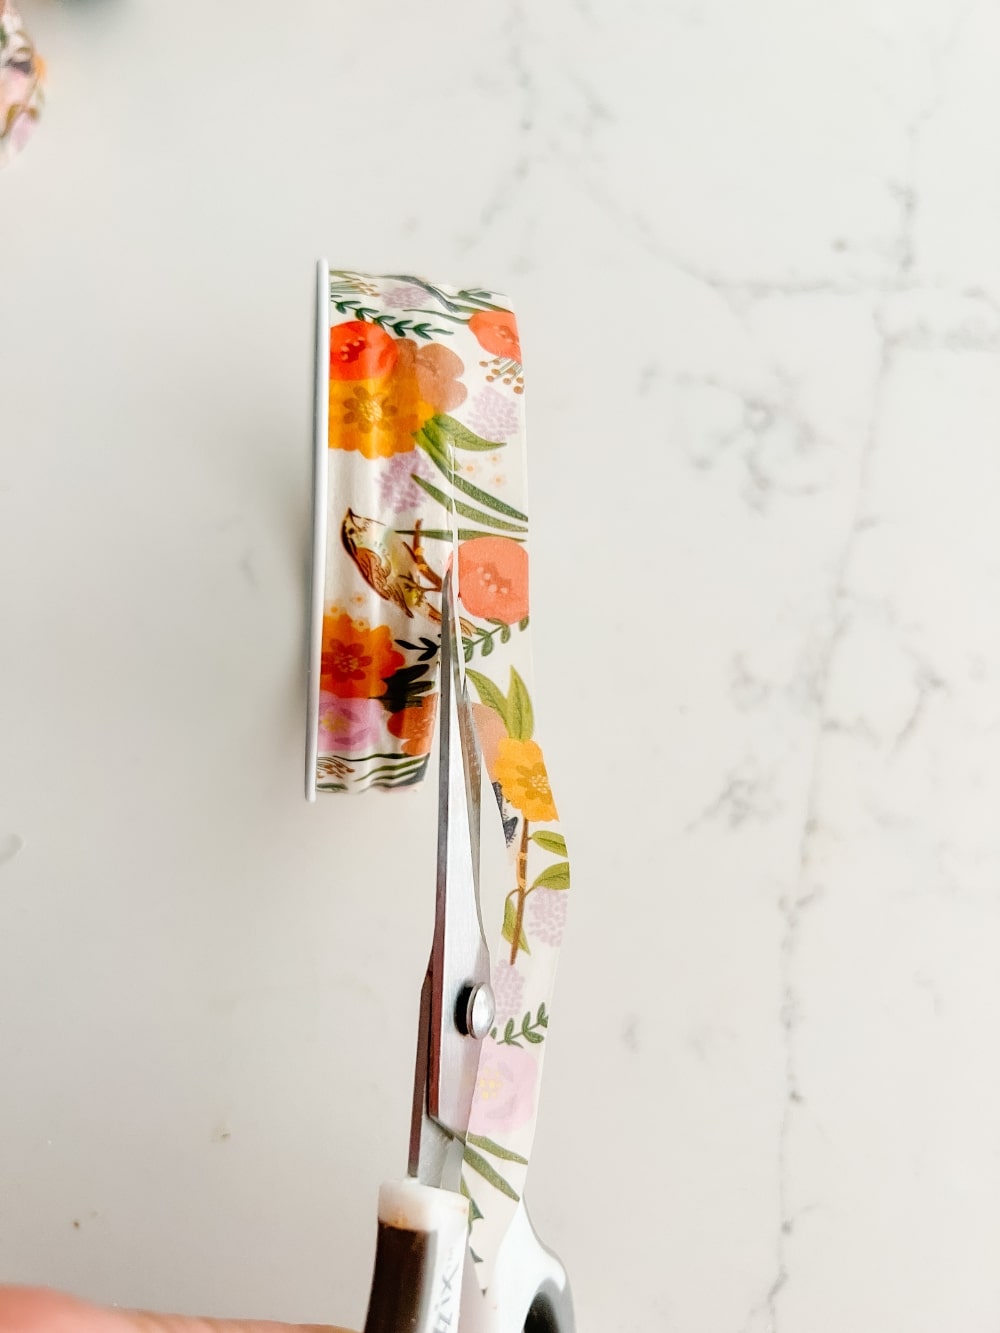
- If you have washi tape that is too wide, simply make a cut down to the edge of the mason jar lid, then turn your scissors and run them across the edge of the lid, cutting the washi tape as you go.
- Once all washi tape has been applied to the lids, line the mason jar lids up and repeat the pattern. I used 8 washi tapes and 16 washi tape lids so each pattern was used twice.
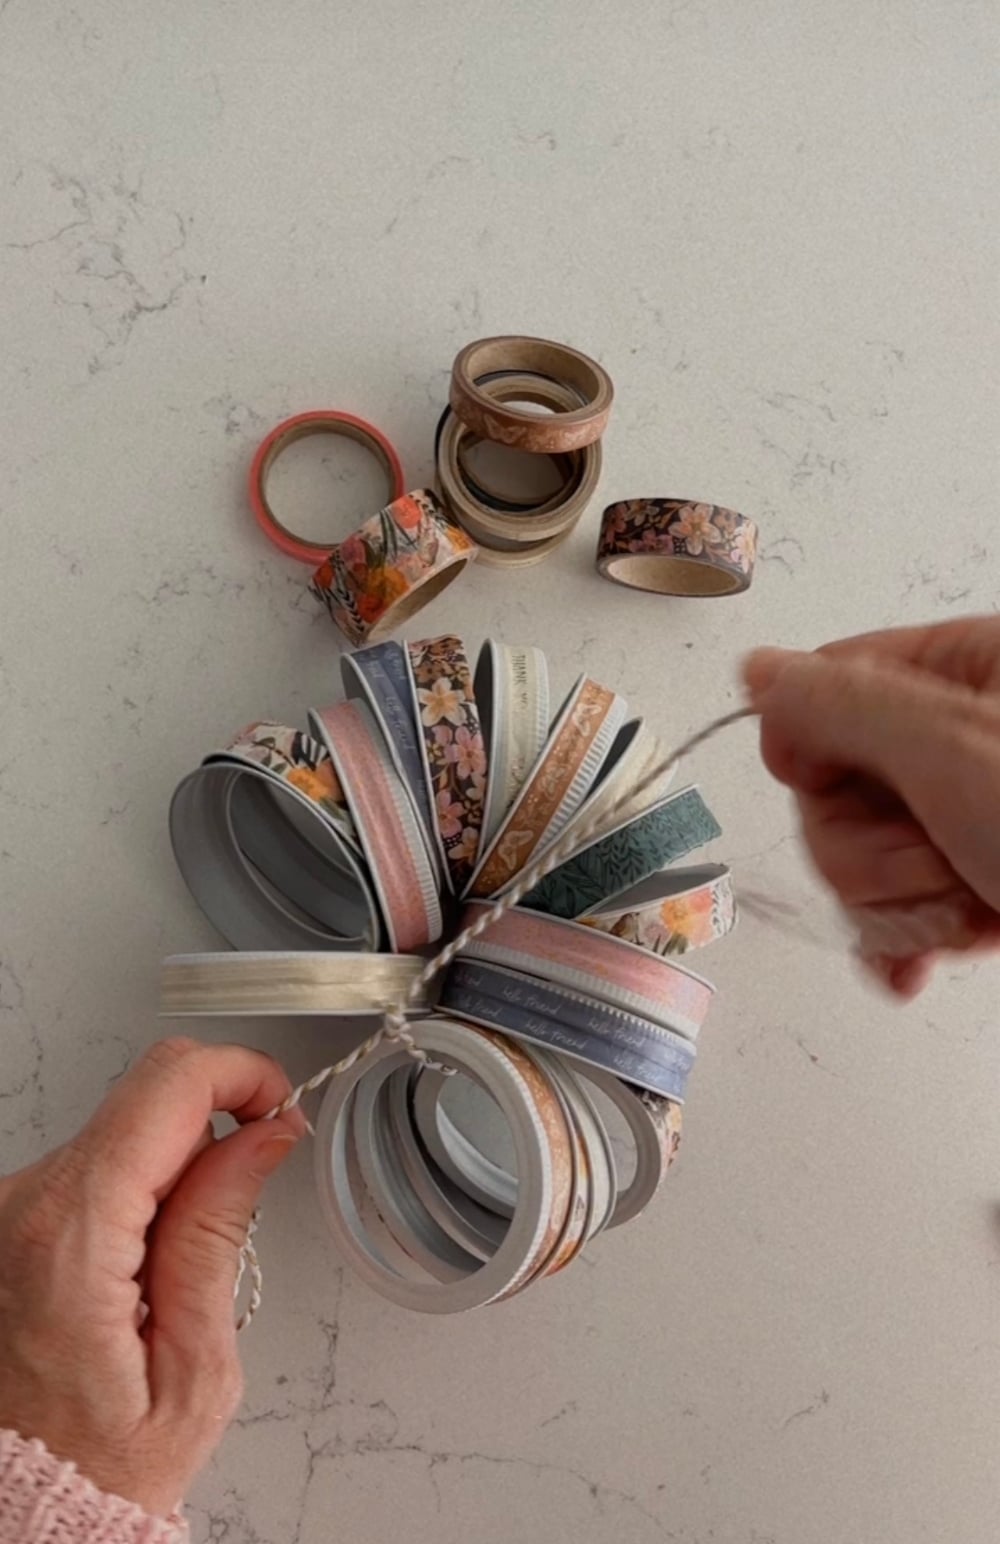
- Run your twine or wire through the openings in the mason jar lids and pull the lids into a circle shape.
- Make a tight knot with your twine or pull wire tight and twist it. I knotted my twine three times and cut the ends very close to the knot.
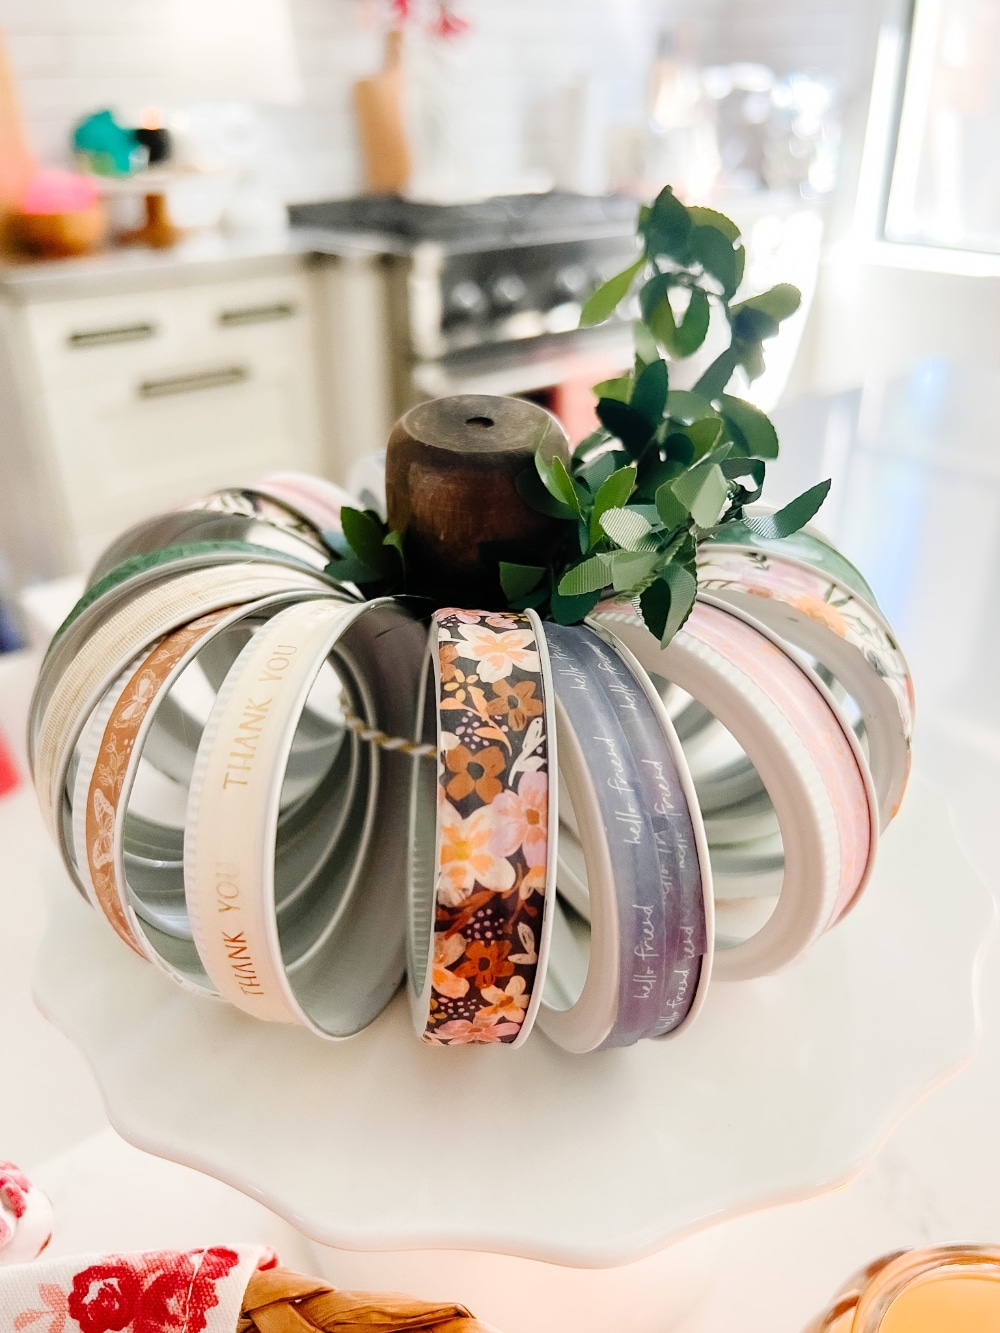
- Arrange the lids so they are evenly spaced and add hot glue to the bottom of the wooden cup or branch. Place the wooden cup or branch in the center of the mason jar lids. Let cool.
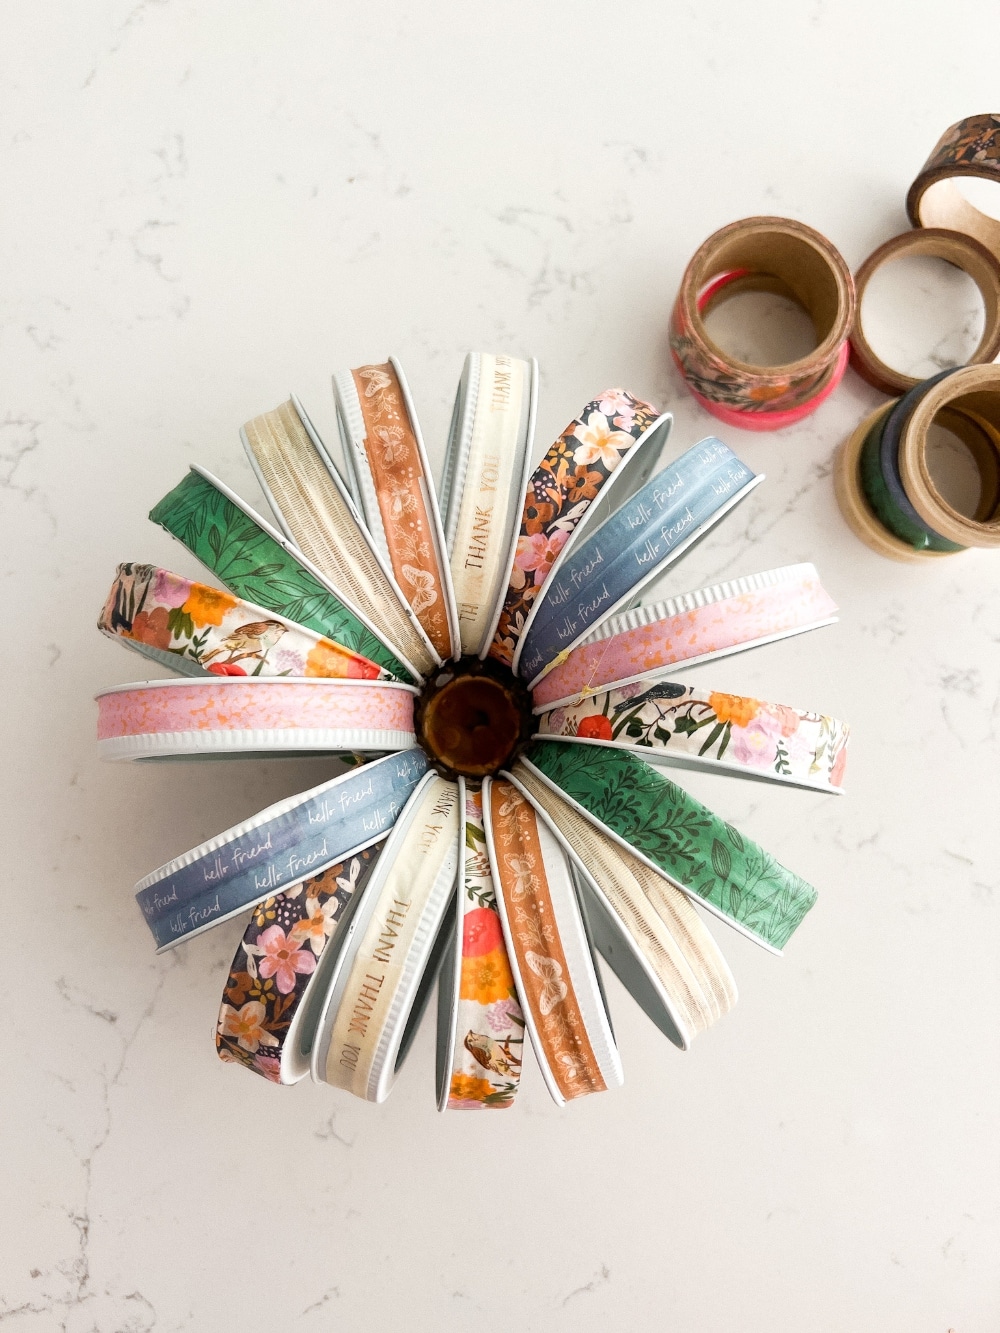
- Flip the pumpkin over and add hot gue to the bottom to set the mason jar lids in place.
- Add ribbon if you want.
- Enjoy your new pumpkin!
What Size Mason Jar Lids Do You Use to Make a Mason Jar Lid Pumpkin?
I used the standard size mason jar lids but mason jars come in all sorts of sizes. I think making a pumpkin out of smaller lids would be super cute. As would a mason jar lid pumpkin using very large lids! Get creative.
Share Your Mason Jar Lid Pumpkin!
Tag me on Instagram at @tatertotsandjello and show me YOUR mason jar lid pumpkins. I would LOVE to share yours! Let’s connect on Instagram! I love sharing behind-the-scenes ideas in real time there!
More DIY Pumpkin Ideas!
So many cute pumpkins to make!
- DIY Yarn Pumpkin Garland
- Colorful Pumpkin Wreath and Garland
- Houndstooth Pumpkin Wreath
- Gold Geometric Pumpkins
- Embroidery Hoop Paper Pumpkins
- Gilded Leaf Pumpkins
- 3-D Pumpkin Wall Art
- Stacked Pumpkin Topiary
- Polka Dot Fabric Pumpkin Tutorial
- Pottery Barn-Inspired Gold Glitter and Grout Pumpkins
- Plaid Pumpkin and Ruffle Wreath
- Ruffled Fabric Pumpkins
- Dollar Store Crackle Pumpkins
- Fresh Sweater Pumpkins
- Painted Autumn Pumpkin Mantel
- Elevated Toilet Paper Pumpkins
- Glittered Dollar Store Pumpkins
Have a Creative Day!
xoxo



I love this idea! Pinned!
Thanks Cindy!
oxox