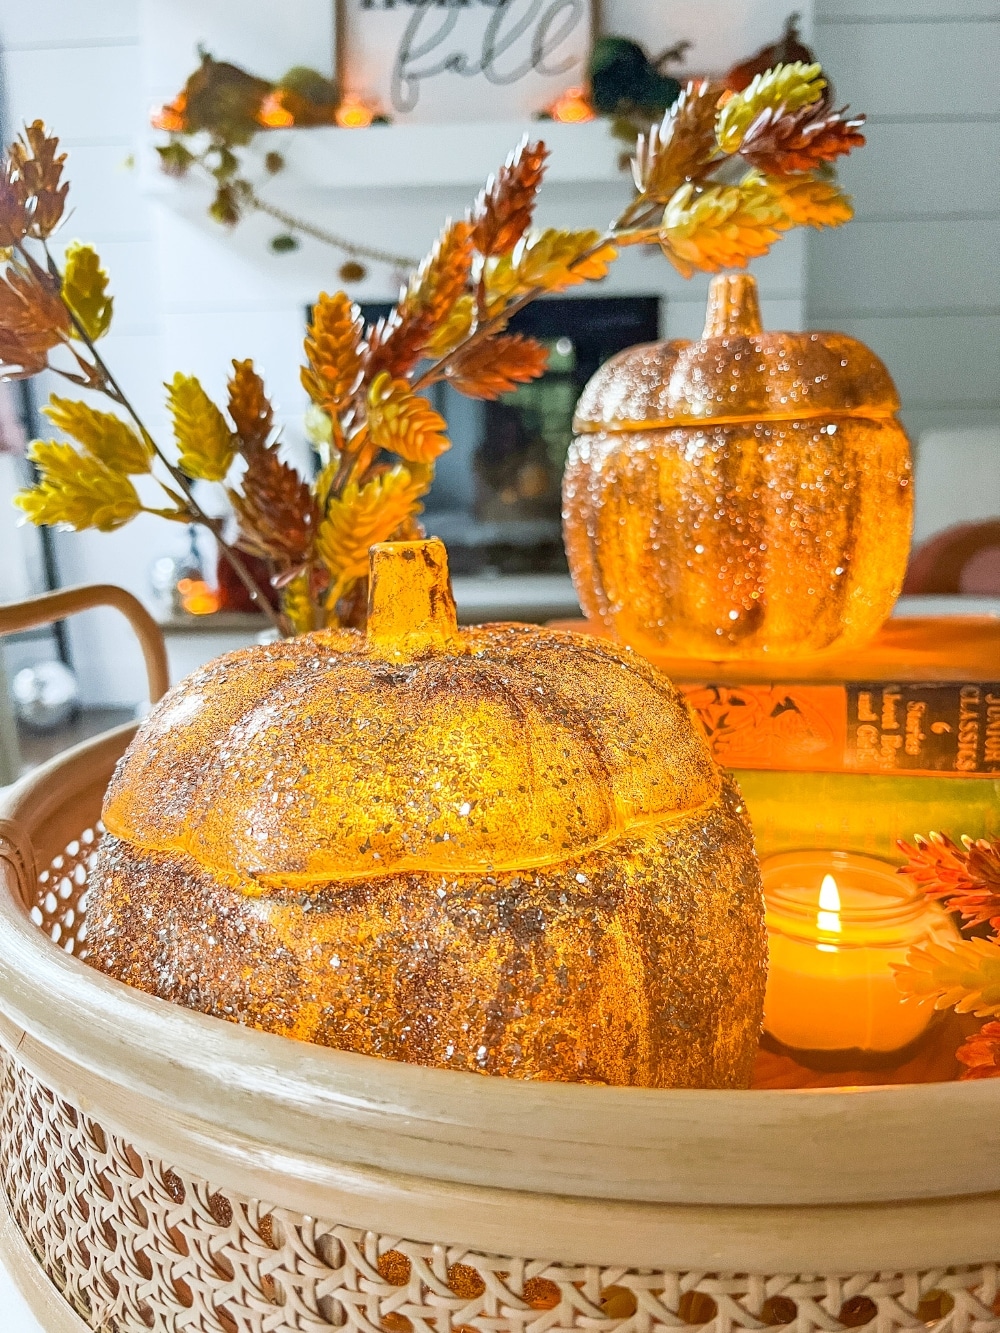
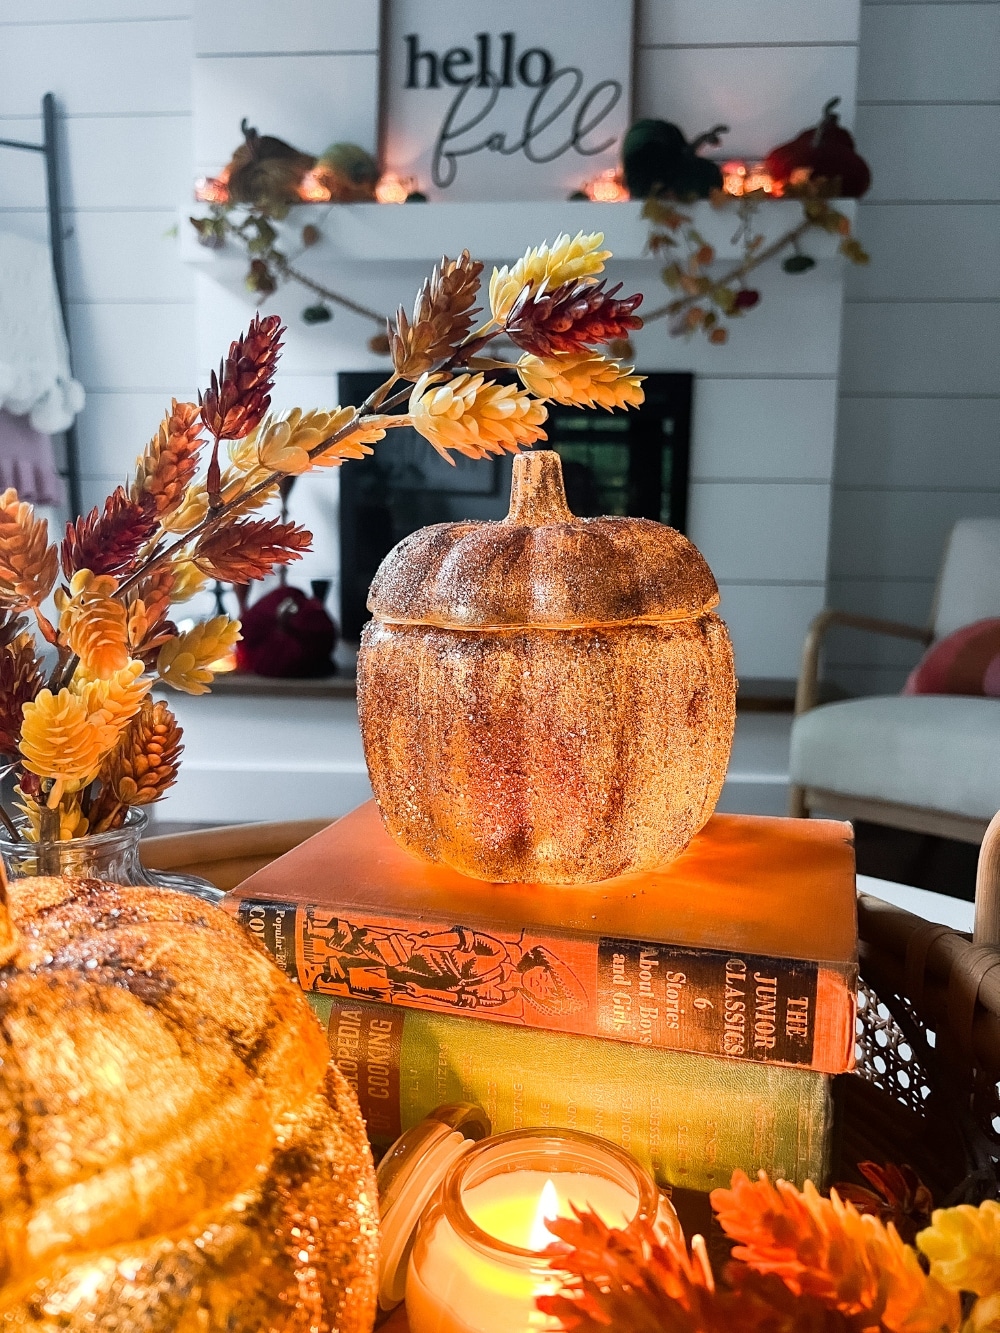
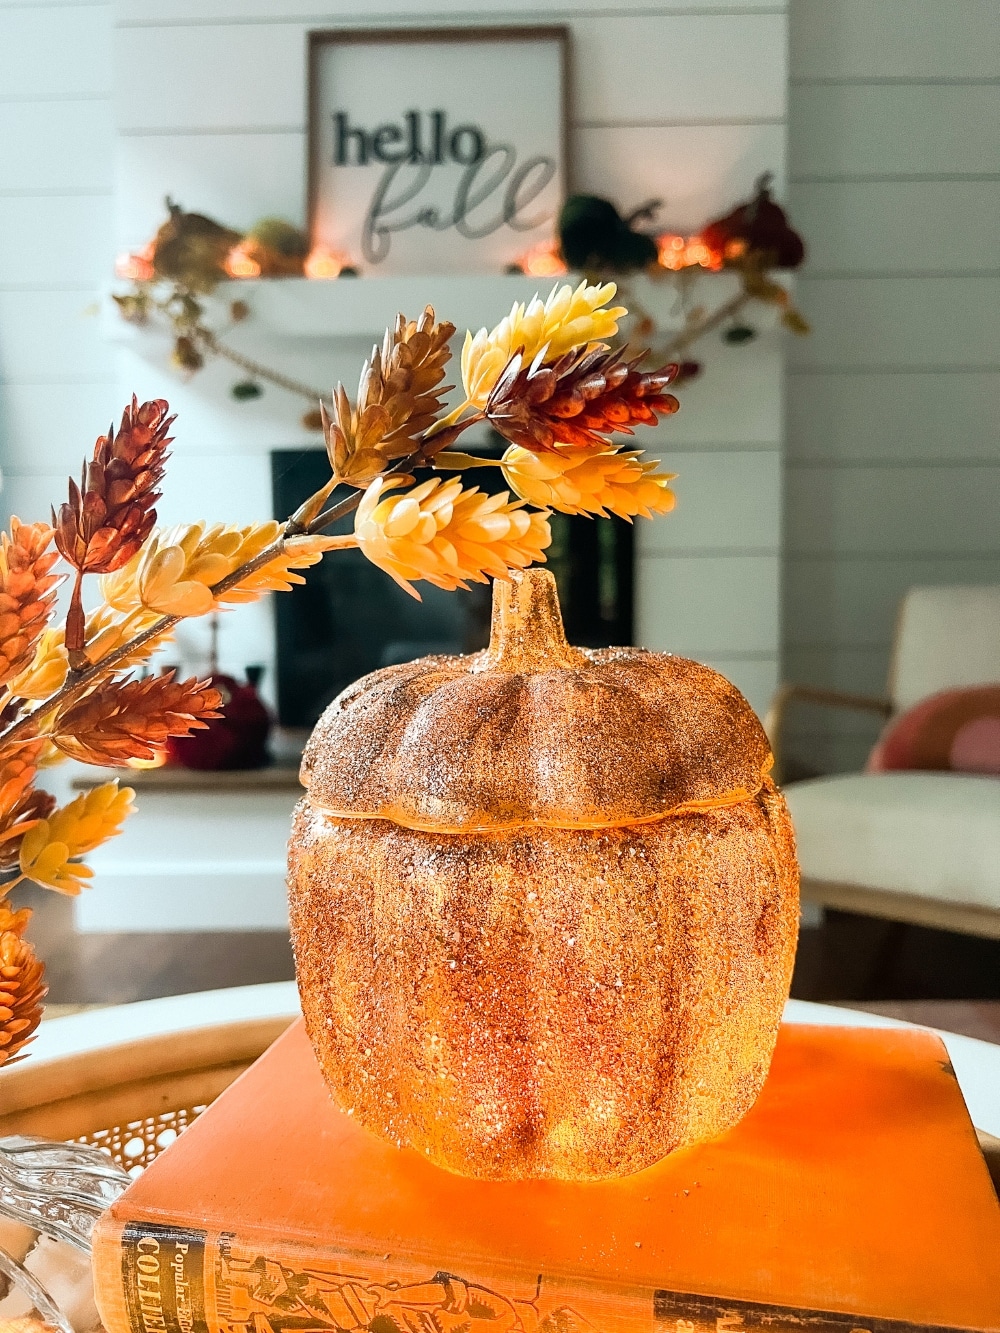
Pottery Barn Inspired Amber Pumpkin Cloches. Turn inexpensive glass pumpkin containers into high end looking cloches by painting and adding glitter!
Pottery Barn Inspired Amber Pumpkin Cloches
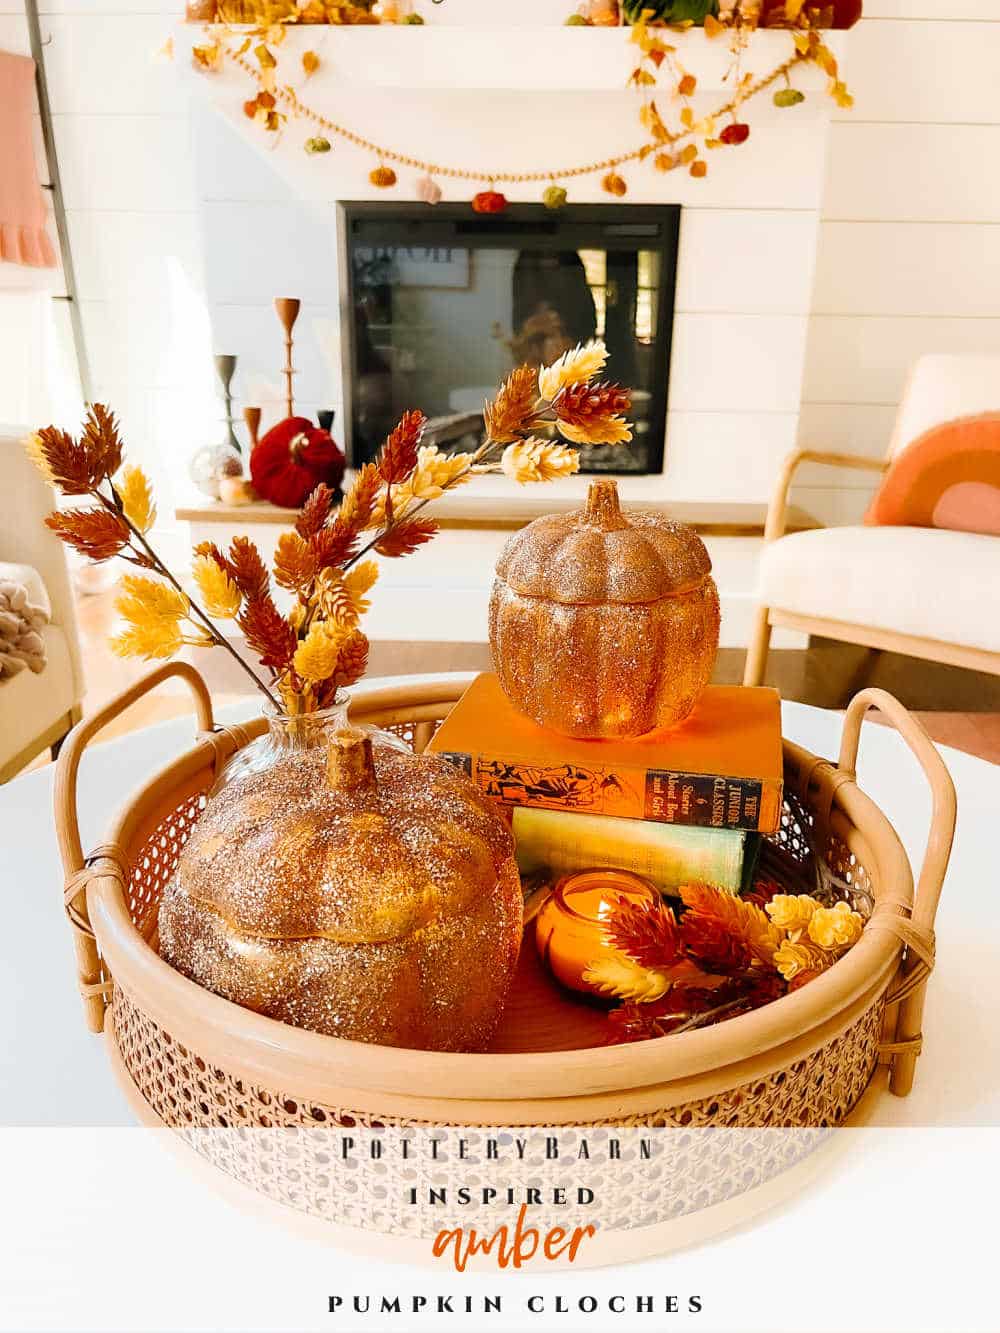
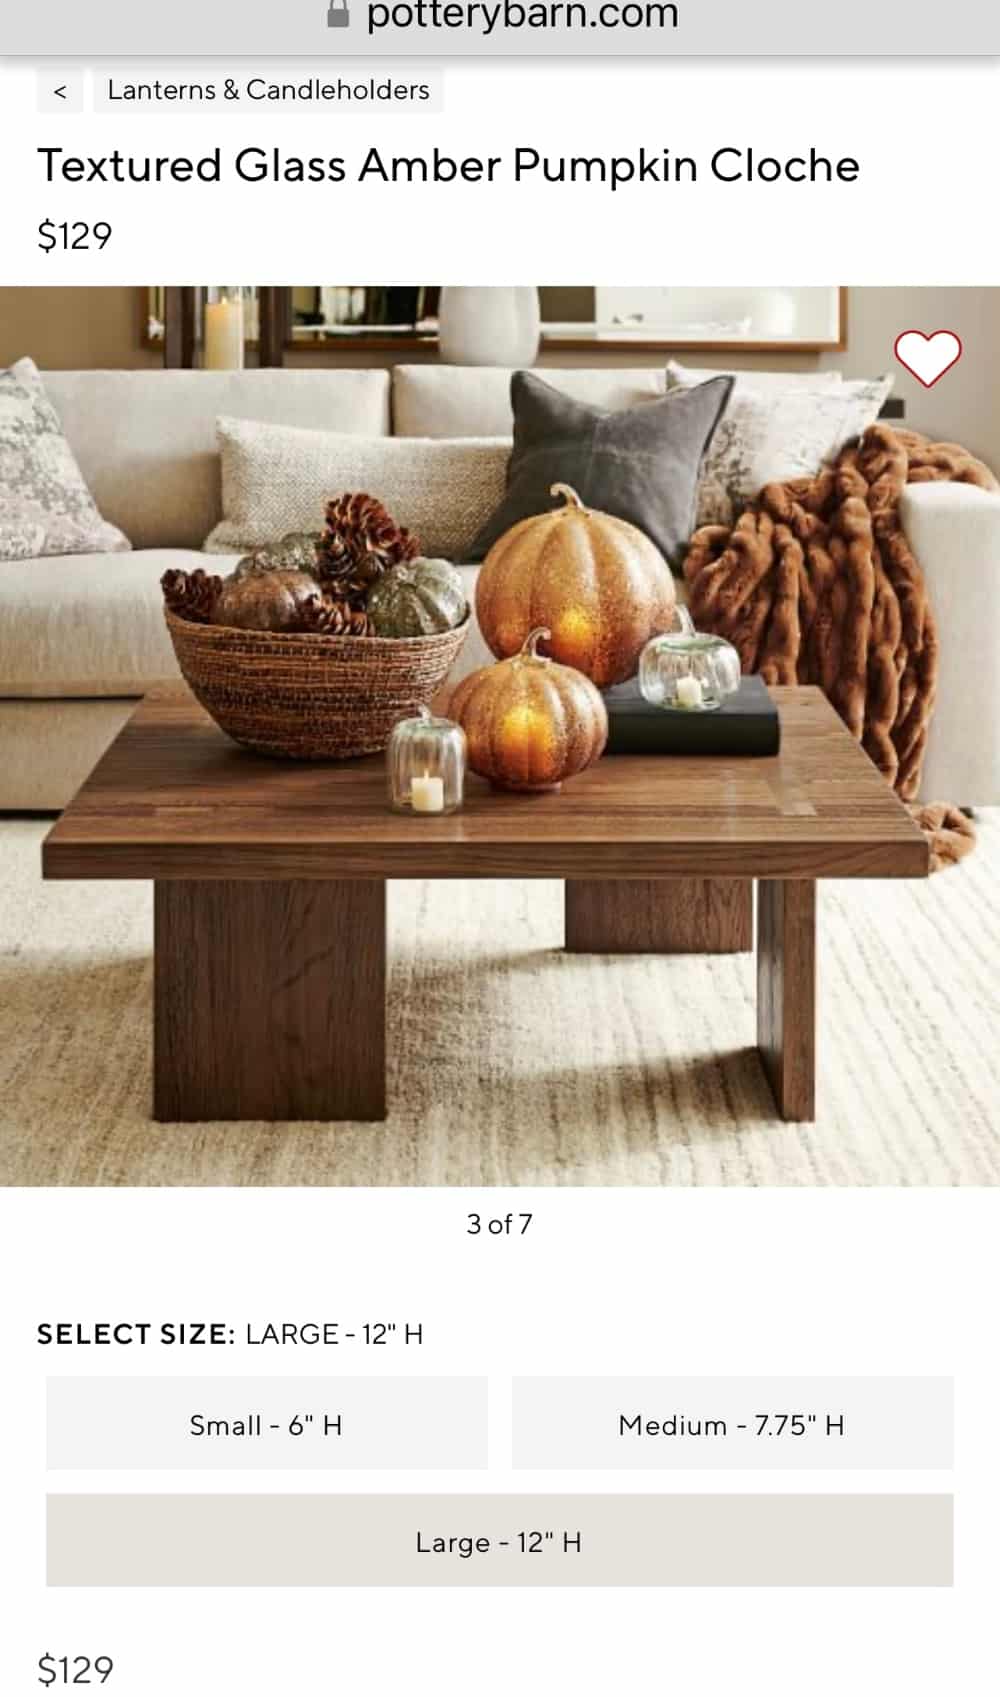
Hi friends! It’s my favorite time of the year – FALL!! And now that it’s September, I feel like I can officially start sharing some pumpkin projects! One of my favorite home decor stores is Pottery Barn, unfortunately it is often out of my budget. So over the years I’ve shared a few different PB inspired projects for fall and the holidays to get the look for less! One of my favorite Pottery Barn items this year are the beautiful Amber Pumpkin Cloches.
DIY Fall Pumpkin Projects
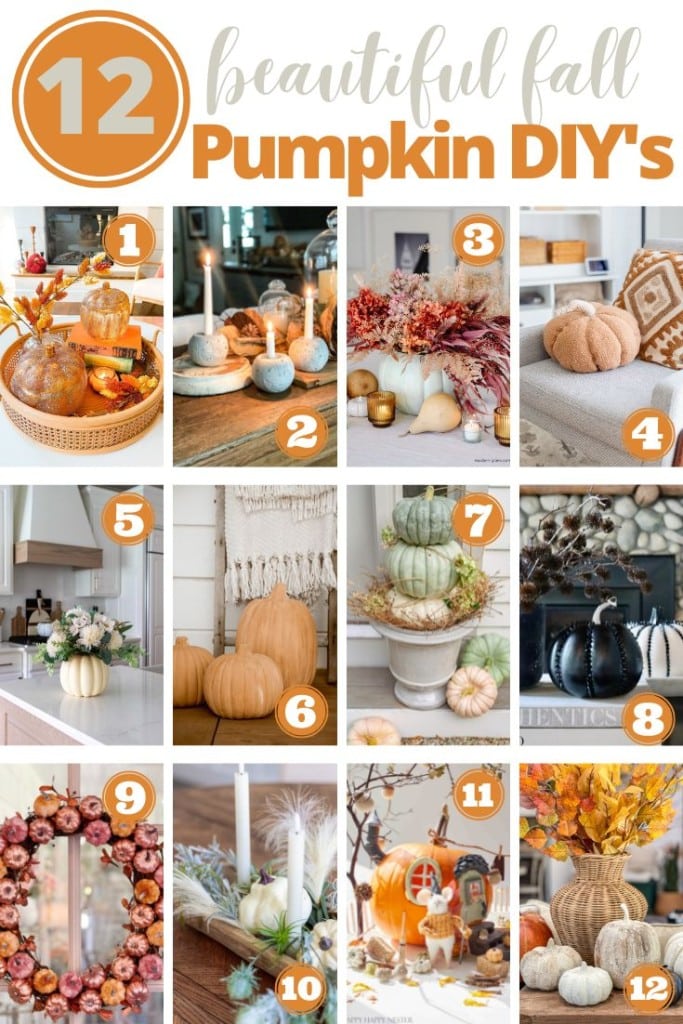
Today I am joining some talented friends who are also sharing DIY pumpkin ideas! Be sure to scroll down to see the ideas and pop over to grab the easy tutorials!
Amber Pumpkin Cloches for 95% less
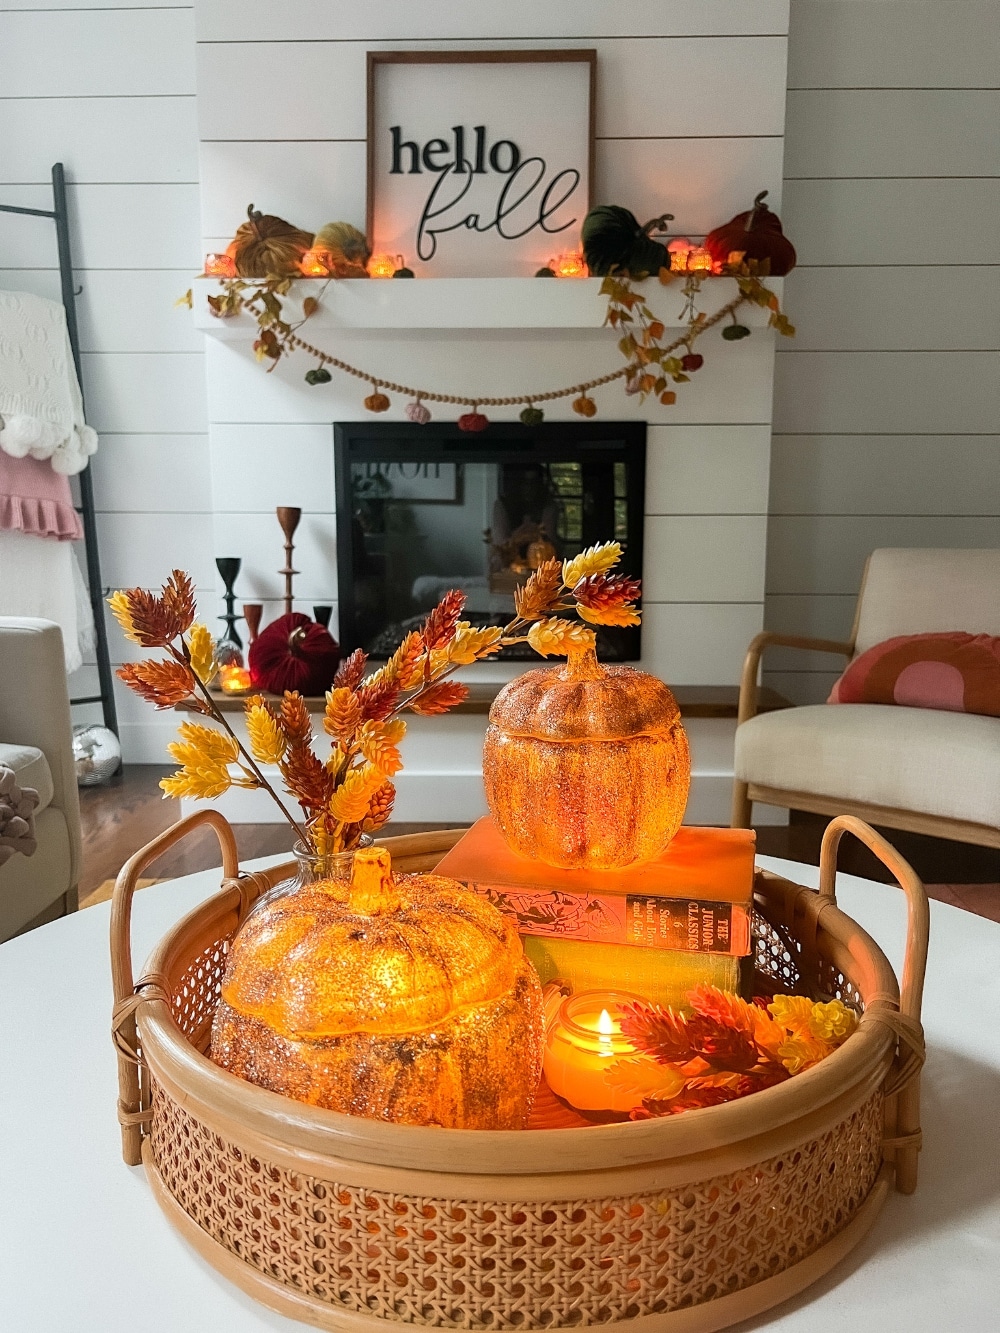
I created this dupe that takes grocery store glass pumpkins and creates the same warm feeling pumpkin cloches for $10 instead of $195!
Only a Few Supplies to Create Amber Pumpkin Cloches
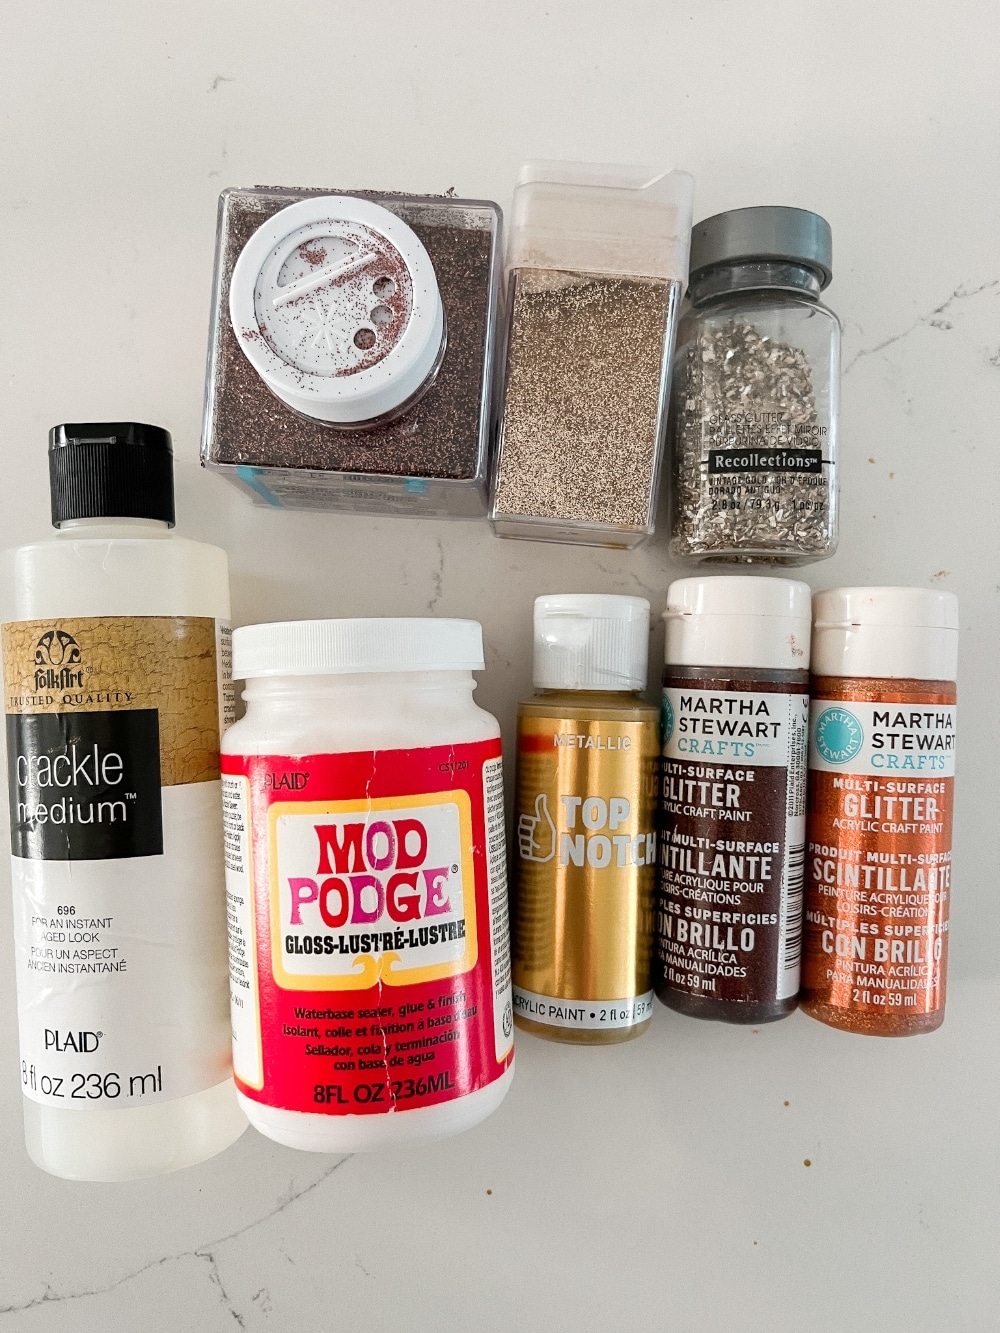
You only need a few supplies to create this PB fall dupe! I used a lot of my supplies from my craft stache. Here’s what I used!
Pottery Barn Inspired Amber Pumpkin Cloche Supplies
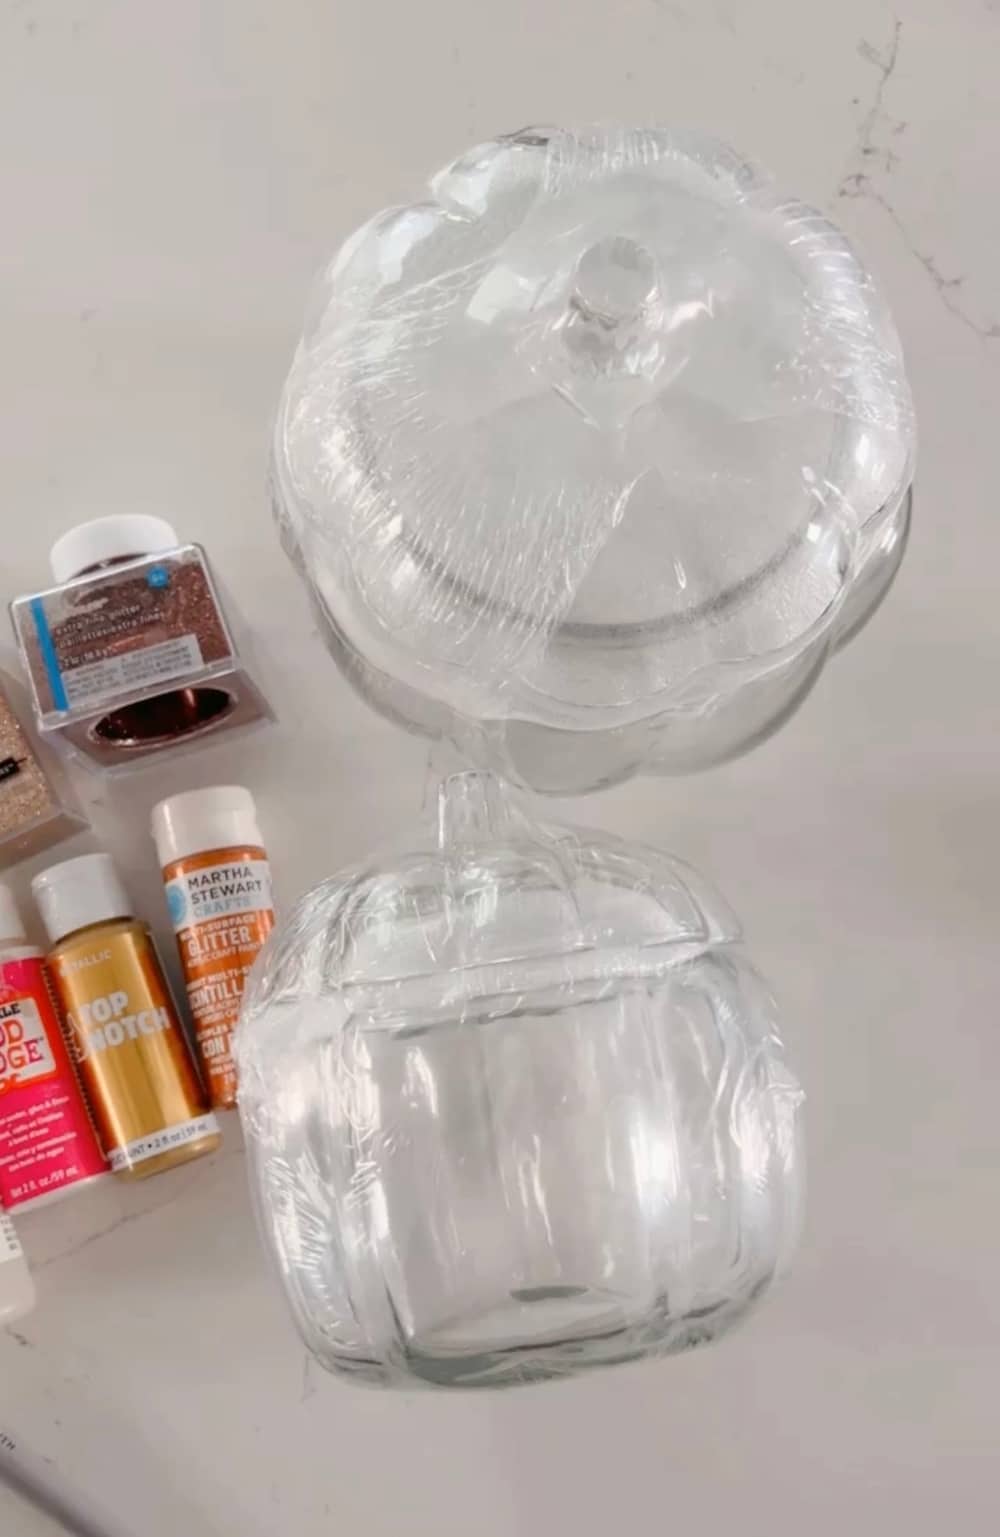
- Glass Pumpkins – I used to different sizes. One larger which I found at my Kroger grocery aisle for $5 and a medium sized glass pumpkin I found in Target’s dollar spot for $5.
- Gold paint – Here is the one I used.
- Crackle Medium – honestly the crackle medium didn’t work that well on the glass and it gets covered up by the glitter so I would skip this step.
- Three different glitters – I used a chunky glitter to look like crackled glass and two fine glitters, a gold one and a copper one.
- Mod Podge – use this to apply the glitter.
- Battery Operated Candles – don’t use real candles. When you put the lid on the pumpkins the lack of oxygen will make the real candles extinguish.
How to Make Pottery Barn Inspired Amber Pumpkin Cloches
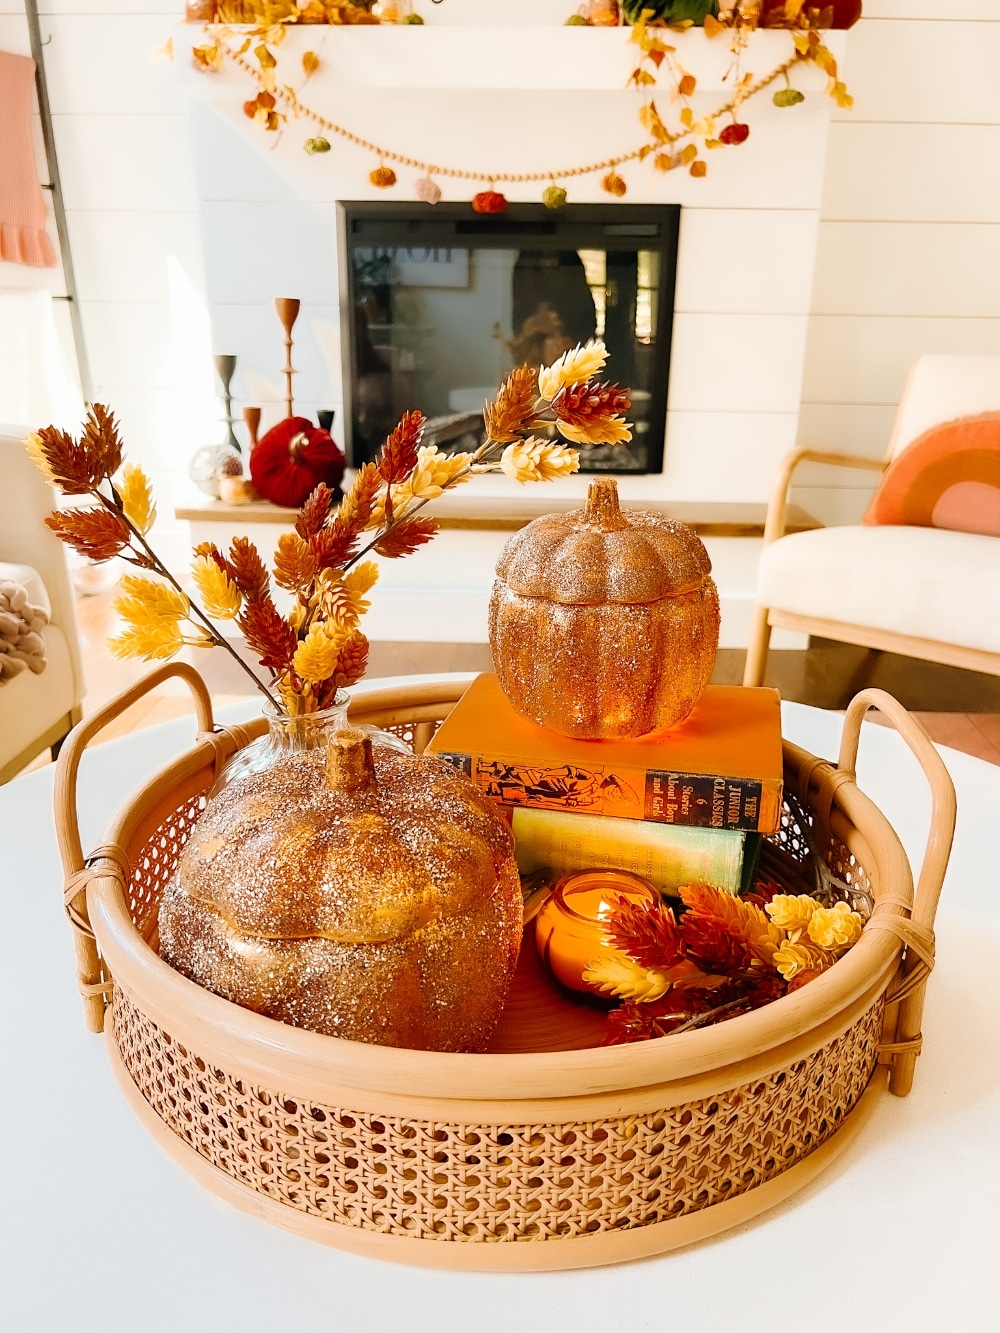
That’s it! You only need 5 supplies to create these PB pumpkin dupes. And they look so pretty glowing in the fall nighttime light! Here are the steps to creating these pumpkins. You can also check out my Instagram Reel where I have a video showing the steps to make these!
Paint Your Pumpkins
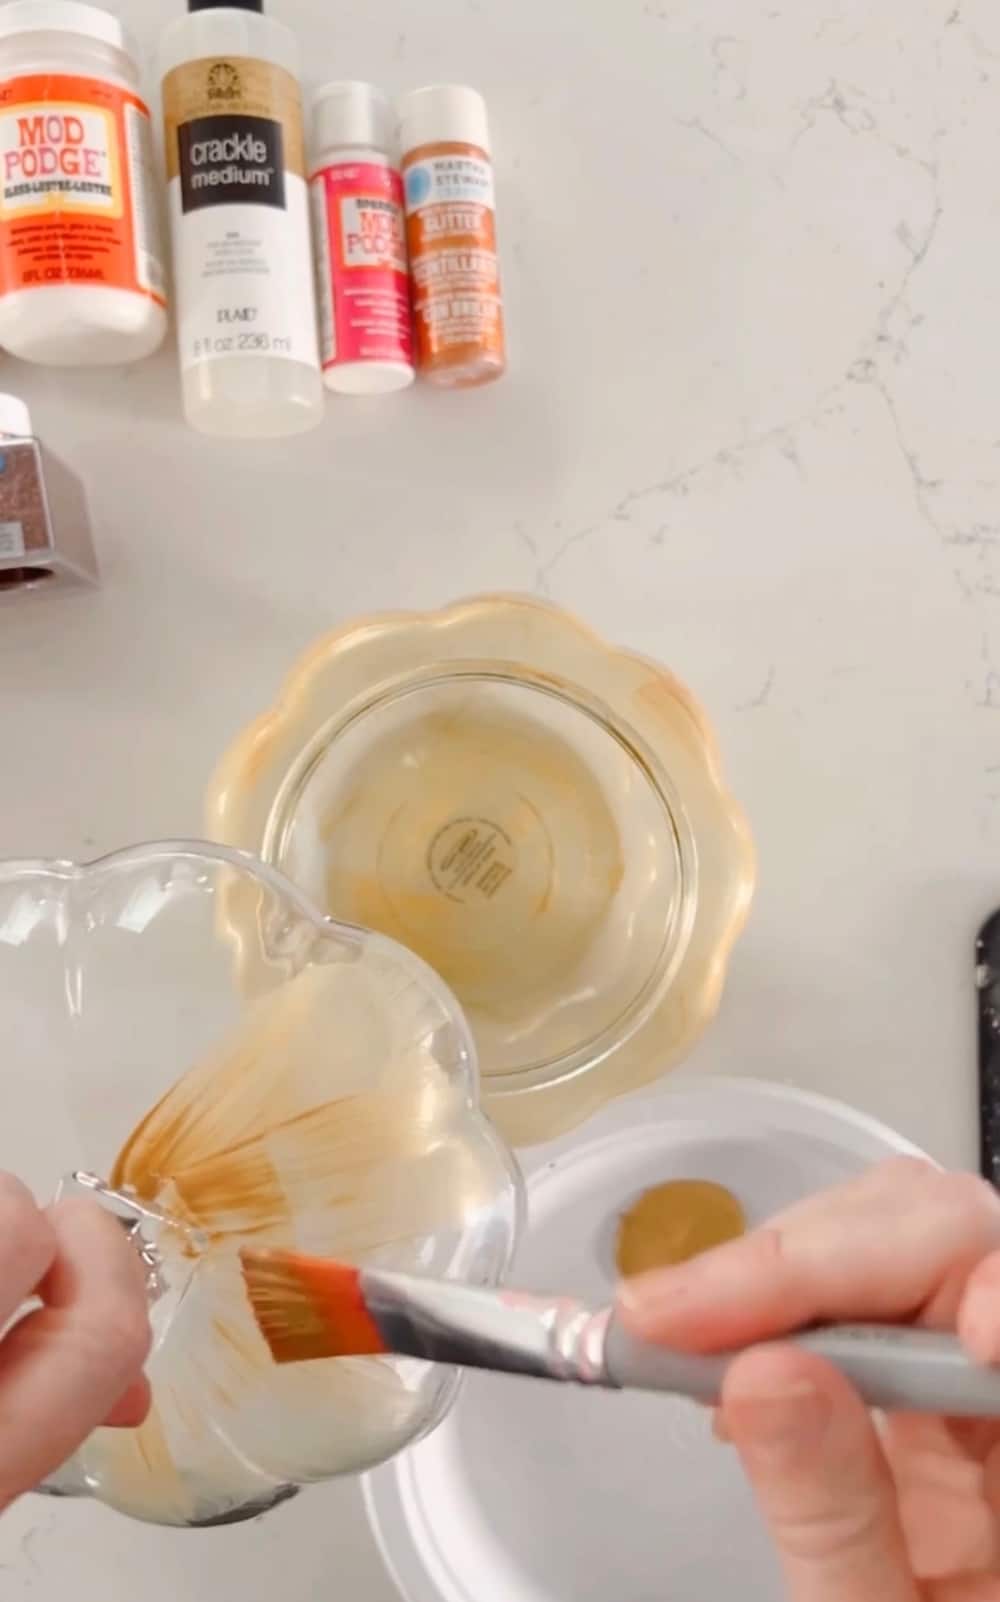
Use a craft brush or flat paint brush to apply a light coat of gold paint to the bottom of each pumpkin and the lid. Let dry at least 1 hour.
Add a Second Coat of Paint
Once the first coat of paint is dry, add a second coat. Let it dry completely, at least an hour.
Add a Layer of Mod Podge
Now you will add a coat of mod podge to the pumpkins. Do this in sections so the mod podge doesn’t dry.
Sprinkle Glitter on the Pumpkins
While the mod podge is still wet, add your glitter. I added the chunky glitter first and then filled in the rest with the finer glitter. It took some practice but I found that adding the chunky glitter evenly looked best. You can kind of see on the bigger pumpkin how it looks a little patchy compared to the smaller one. The smaller pumpkin has glitter that is more evenly distributed. Learn by my mistakes!
Glitter Tips
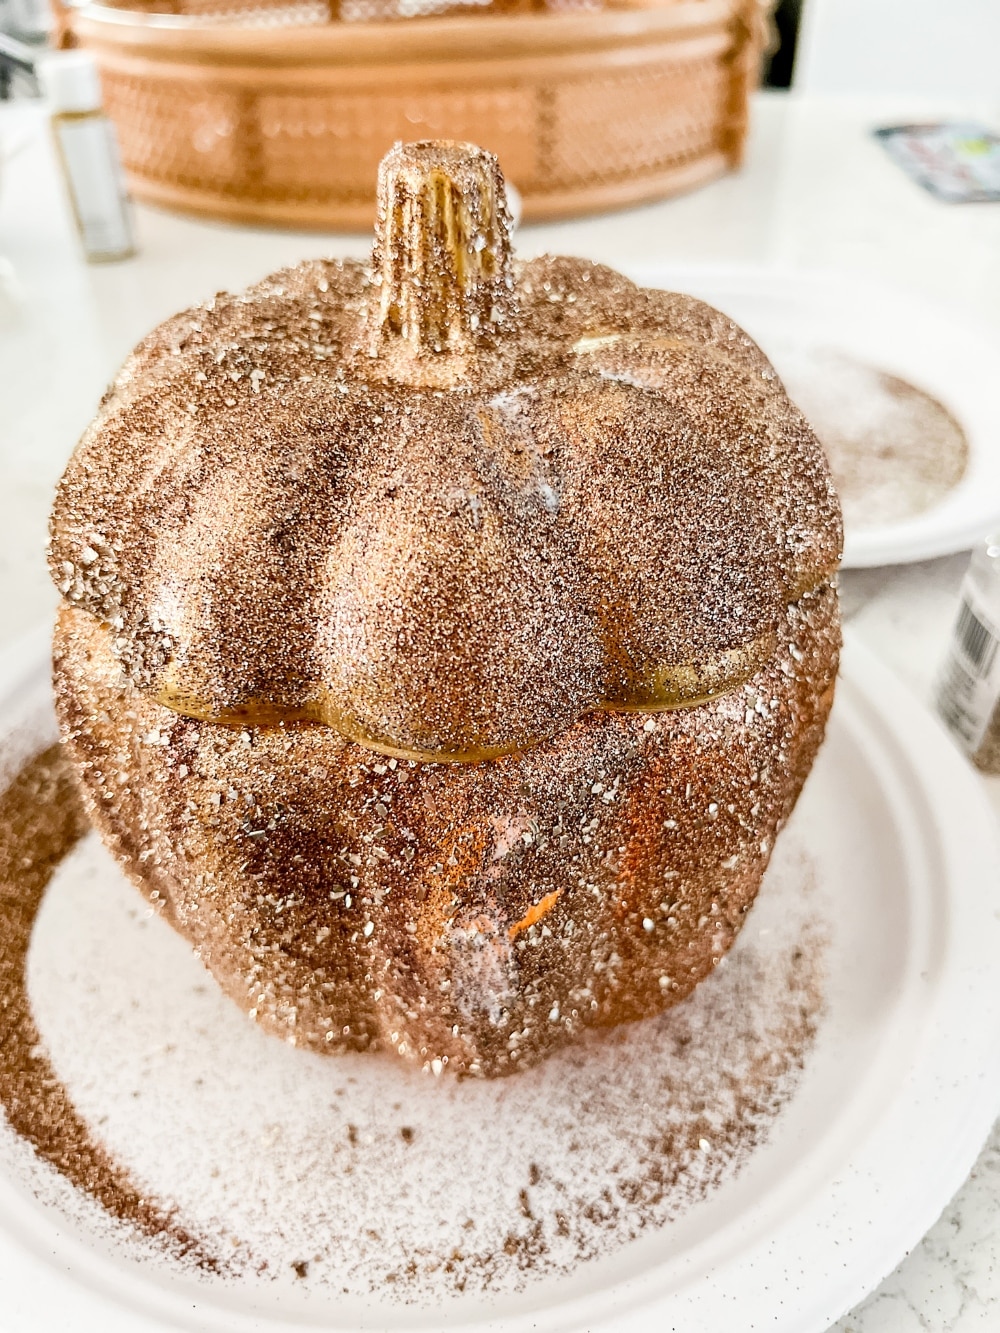
Put a large paper plate under each pumpkin as you are adding glitter. This corrales the glitter to the plate and makes clean up much easier. You can use the excess glitter on the second pumpkin you create. When You’ve finished the first pumpkin, put it on another paper plate and take the plate with the excess glitter and pour it over the next pumpkin. This creates much less waste.
Brush Off Excess Glitter
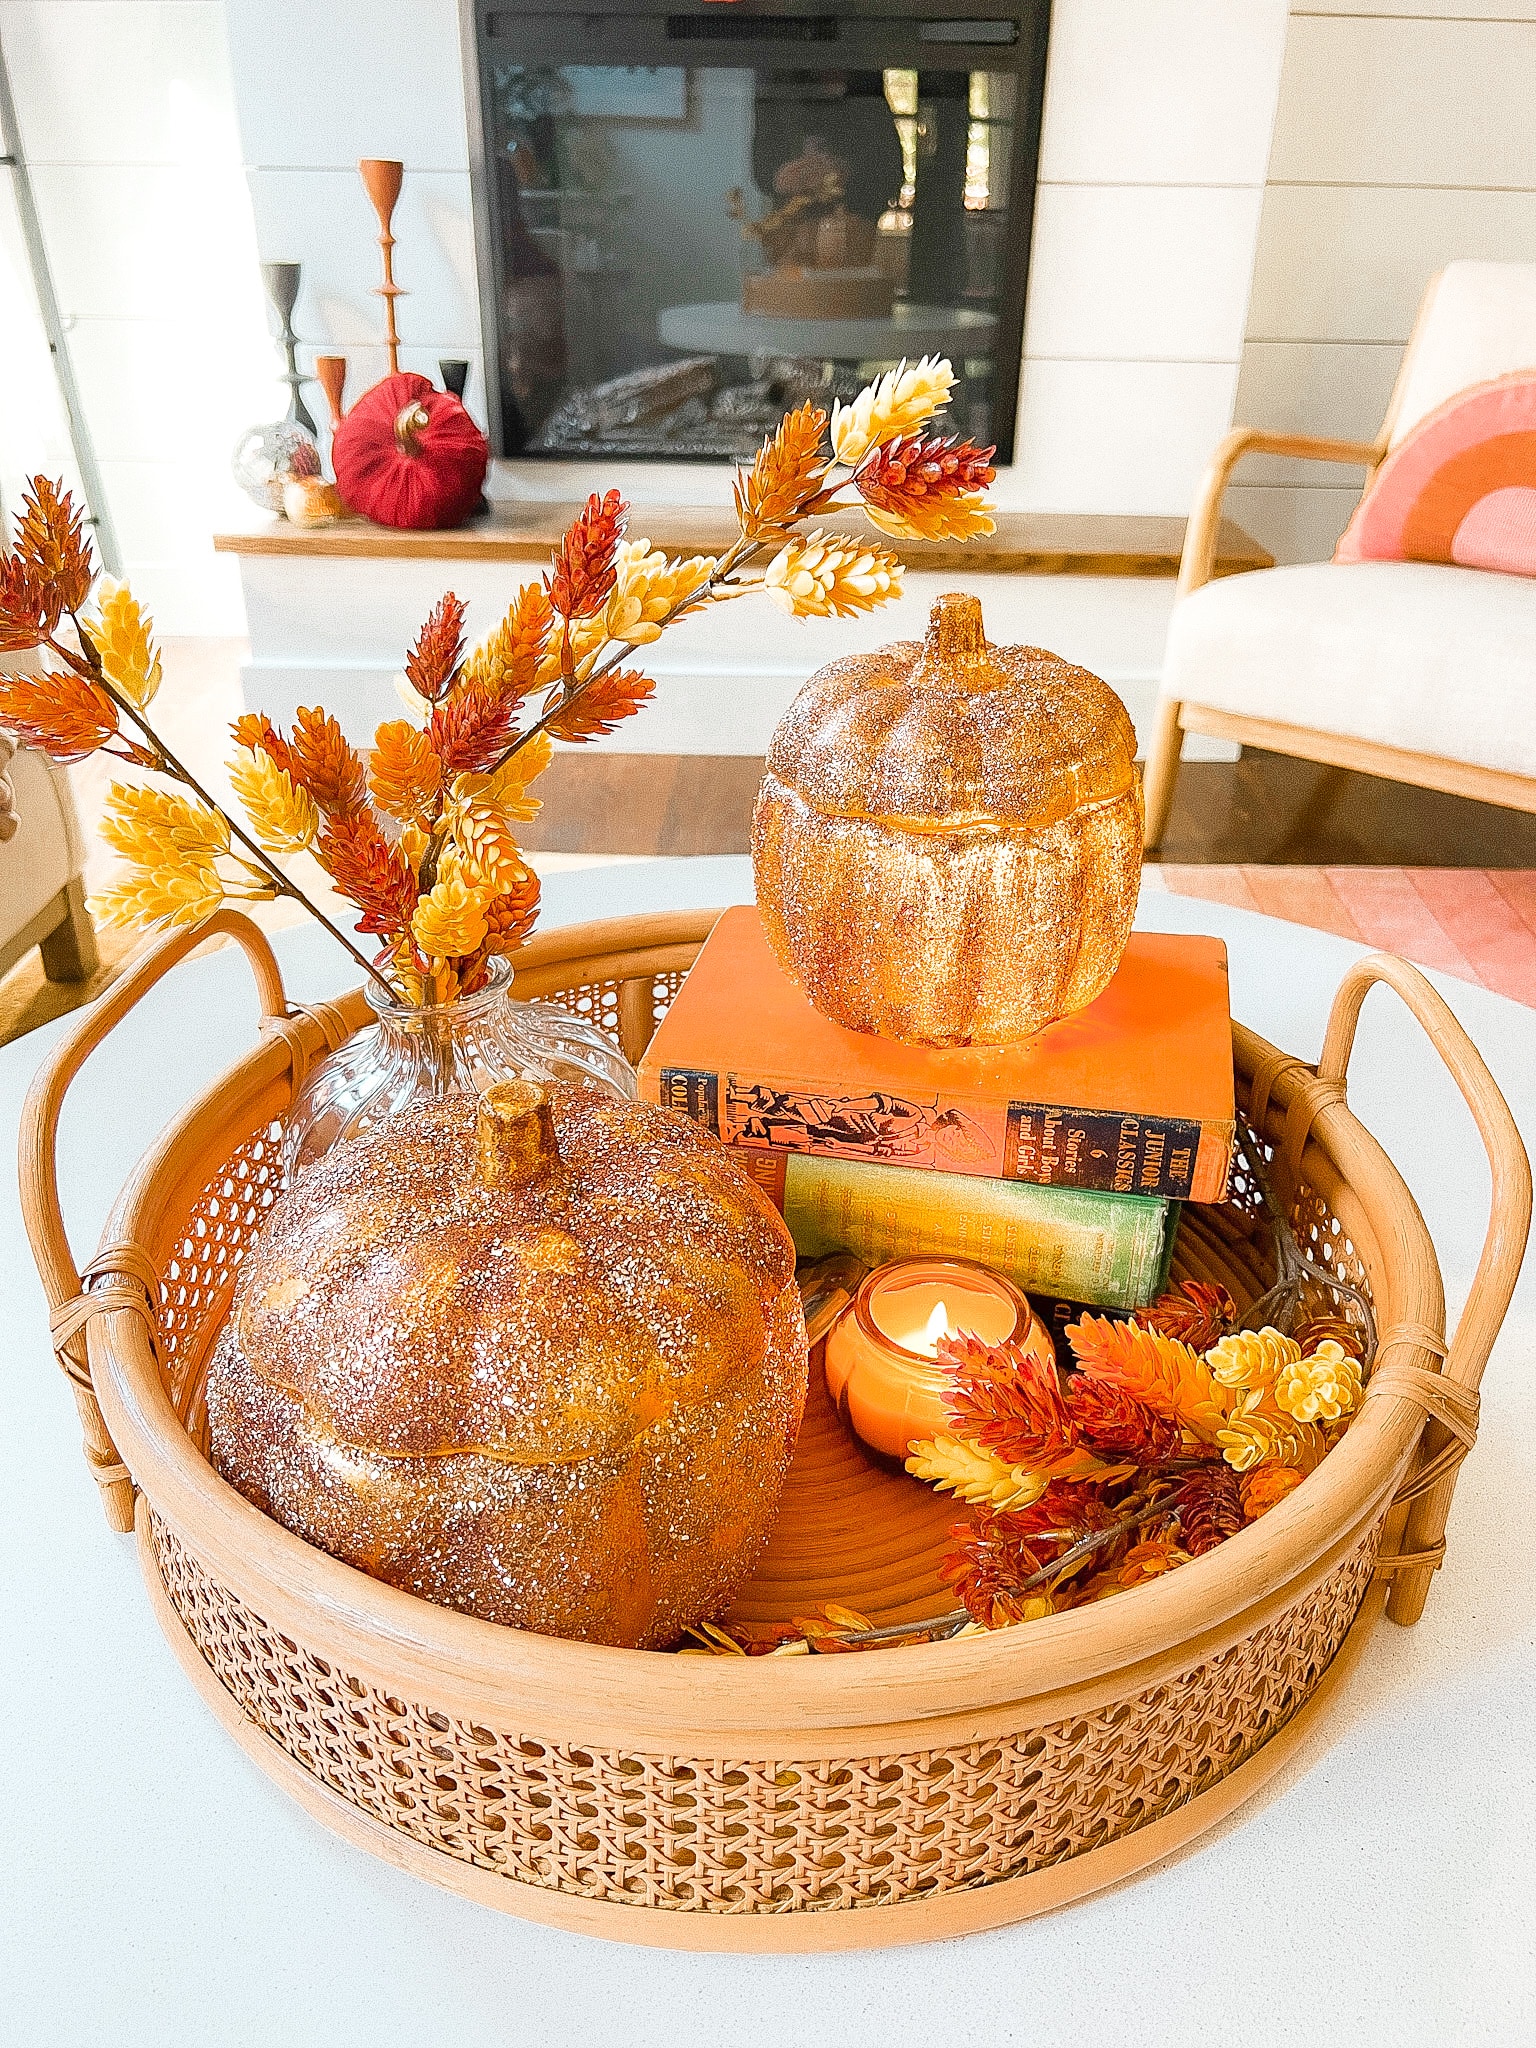
Once both pumpkins are done, use your hands to brush excess glitter off the pumpkins and onto the paper plates. That way you don’t have glitter flying off everywhere when you place them to display. If you are worried about glitter getting all over, you can also spray a layer of clear polyurethane spray paint over the whole pumpkin. I found that after I brushed the pumpkins off, there was very little glitter on my surfaces. You can also take your pumpkins outside and brush them off.
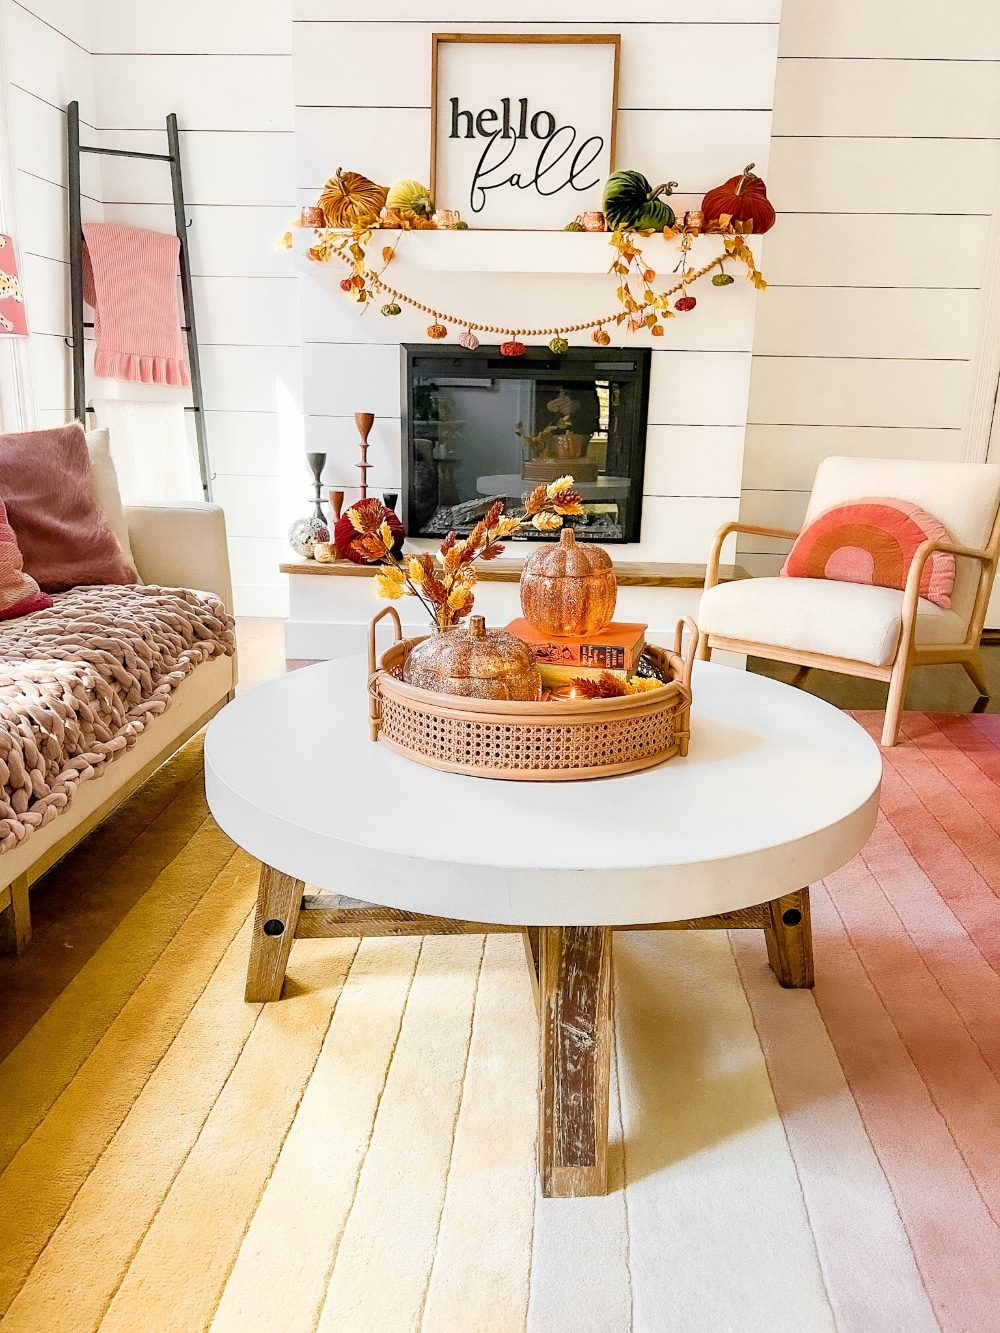
Blogger’s Best Series – Fall Pumpkin DIYs
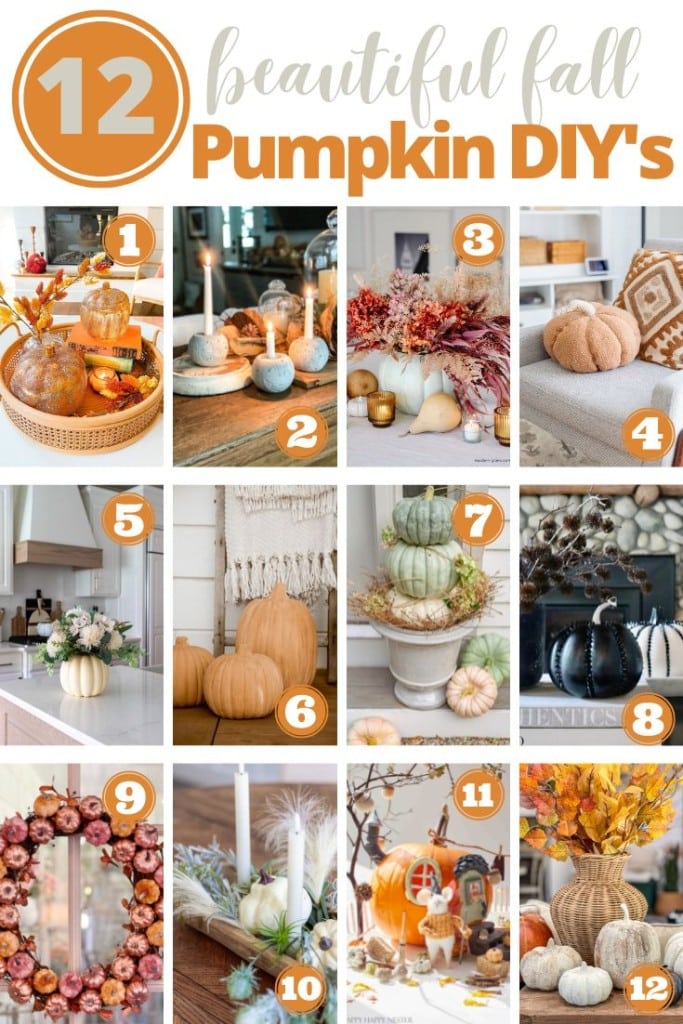
- Pottery Barn Inspired Amber Pumpkin Cloches by Tatertots and Jello
- How to Make Concrete Pumpkin Candle Holders by Robyn’s French Nest
- Dried Floral Pumpkin Centerpiece by Modern Glam
- Sherpa Pumpkin Pillow PB Knockoff by Craftberry Bush
- DIY Fall Decor Ideas by Jennifer Maune
- DIY Faux Terra Cotta Pumpkins by Twelve on Main
- Pumpkin Planters by Finding Lovely
- Luxe Studded Pumpkins by My Sweet Savannah
- The Best Pumpkin Wreath DIY by My 100 Year Old Home
- Easy Pumpkin and Candle Decoration by Zevy Joy
- Pumpkin Fairy House by Happy Happy Nester
- Fall Pumpkins: How to Easily Make Costly Pottery Barn Look for Less by The Design Twins
More DIY Pumpkin Tutorials
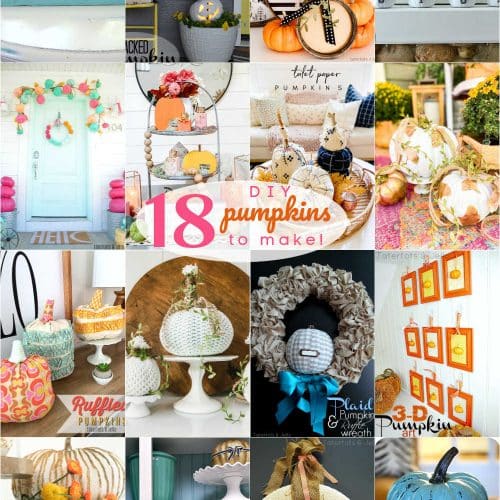
Here are a few other pumpkin tutorials I’ve made over the years!
- DIY Yarn Pumpkin Garland
- Colorful Pumpkin Wreath and Garland
- Houndstooth Pumpkin Wreath
- Gold Geometric Pumpkins
- Embroidery Hoop Paper Pumpkins
- Gilded Leaf Pumpkins
- 3-D Pumpkin Wall Art
- Stacked Pumpkin Topiary
- Polka Dot Fabric Pumpkin Tutorial
- Pottery Barn-Inspired Gold Glitter and Grout Pumpkins
- Plaid Pumpkin and Ruffle Wreath
- Ruffled Fabric Pumpkins
- Dollar Store Crackle Pumpkins
- Fresh Sweater Pumpkins
- Painted Autumn Pumpkin Mantel
- Elevated Toilet Paper Pumpkins
- Glittered Dollar Store Pumpkins
Which Pumpkin Project do YOU want to make first?
Let us know in the comments!
xoxo



This pottery barn inspired pumpkin cloche is beautiful and perfect for your next fall party! It is made of durable Clay, and features a cute pumpkin design on top.
Spine Doctor Adelaide
This is seriously inspiring. And I love how you’re going for a unique look. I want to try this next. Thanks so much for sharing all the details. XO ~ Julie & Jodie
I love how these turned out, Jen. Even cuter than the original. What a great dupe!
Thanks Jen! I love how they light up at night 🙂
xoxo
I love this very cool pumpkin project!
Thanks Janine! I love your mouse pumpkin house!
xoox
I always loved these glass pumpkins, and now I love your cool project even more!
Love these!
Thanks Sara!
xoxo
I saw you on Google for these and had to come check them out!! They are so cute Jen!! Really smart idea.
You’re so sweet Jennifer!! Thank you!
xoxo
What a great dupe Jen! It looks beautiful in your fall room!
Thanks Jackie! I love seeing them glow at night 🙂
xoxo
These turned out so good! I’ve been looking for those pumpkin jars but so far no luck! pinned!
I found the large one at the grocery store! So random LOL!
xoxo
Oh my goodness, this is adorable. What a great idea!
Thanks Robyn! It’s so fun seeing them glow at night!
xoxo
What a great idea, these turned out so well!
Thanks Melaine!! I love seeing them light up at night!
xoxo