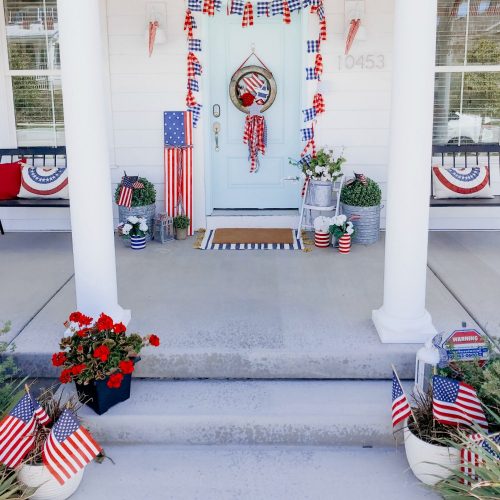
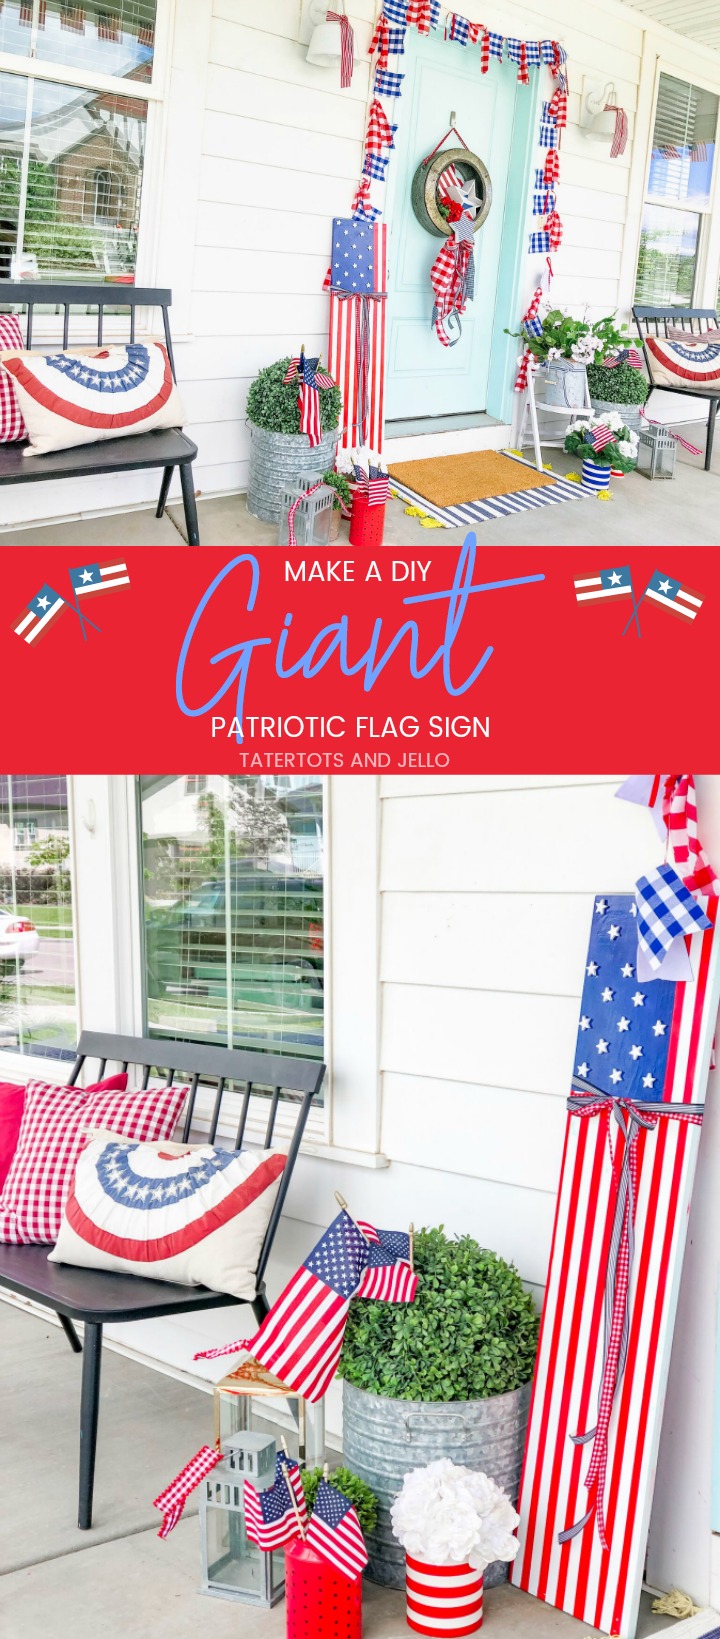
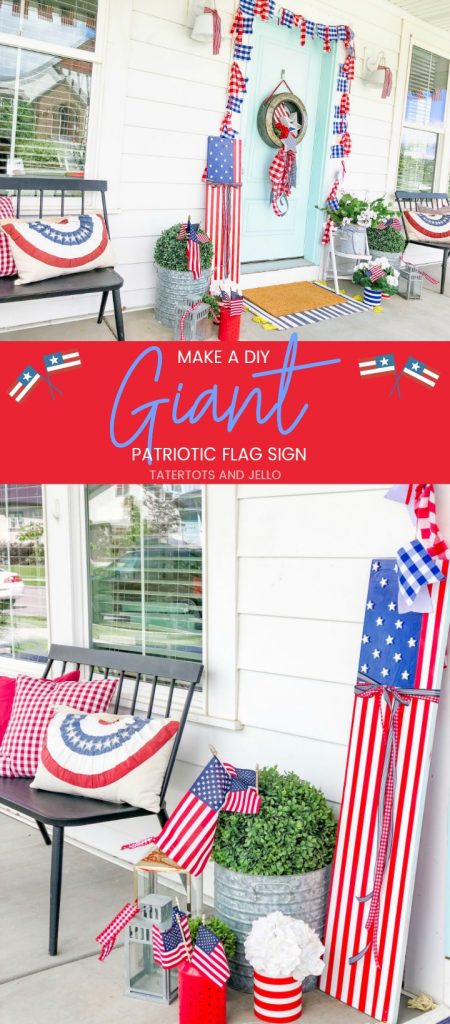
Make a GIANT Patriotic Flag Sign. Perfect for Memorial Day, Fourth of July or anytime, this easy sign will make a statement on your porch or inside your home!
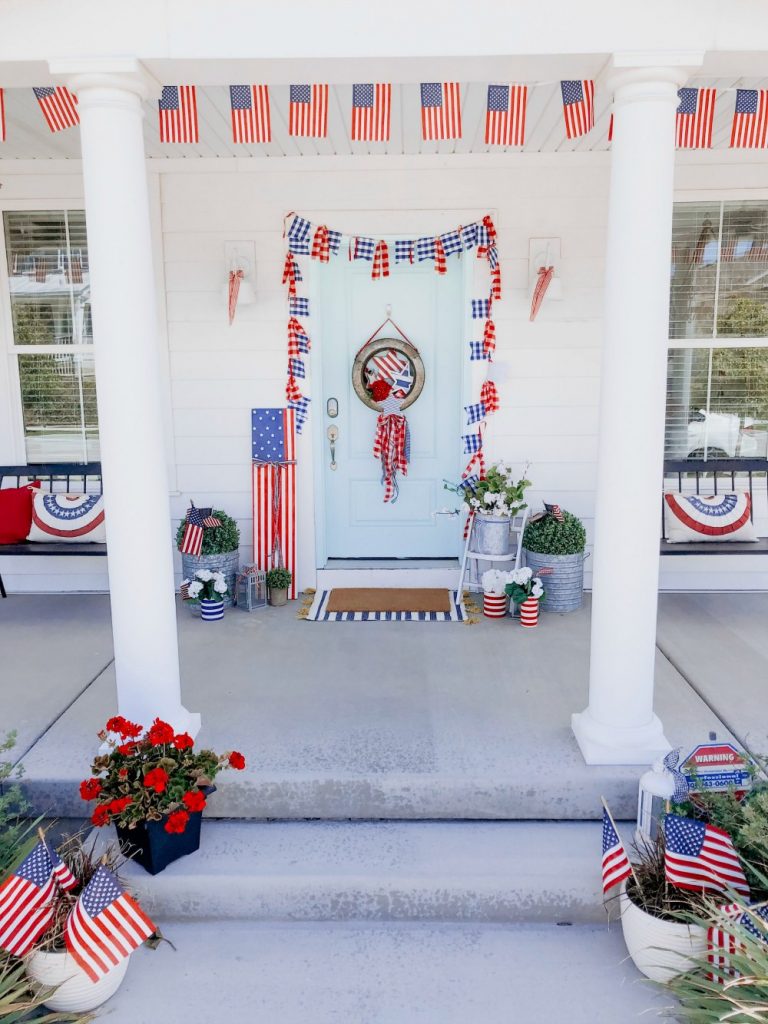
Make a GIANT Patriotic Flag Sign for Your Porch
If you’ve followed tatertots and jello over the years, you may have noticed that I love making GIANT signs. They are so easy and inexpensive to create a big visual element for seasonal and holiday decorating!
What Materials Do You Use to Make a Giant Patriotic Flag Sign?
I use inexpensive pine shelves to create the signs. You can get an 6-8 foot unfinished pine shelf at the hardware store for under $10. And most hardware stores will cut the shelf to whatever size you want for FREE!
Make 2 GIANT Signs out of 1 Piece of Board
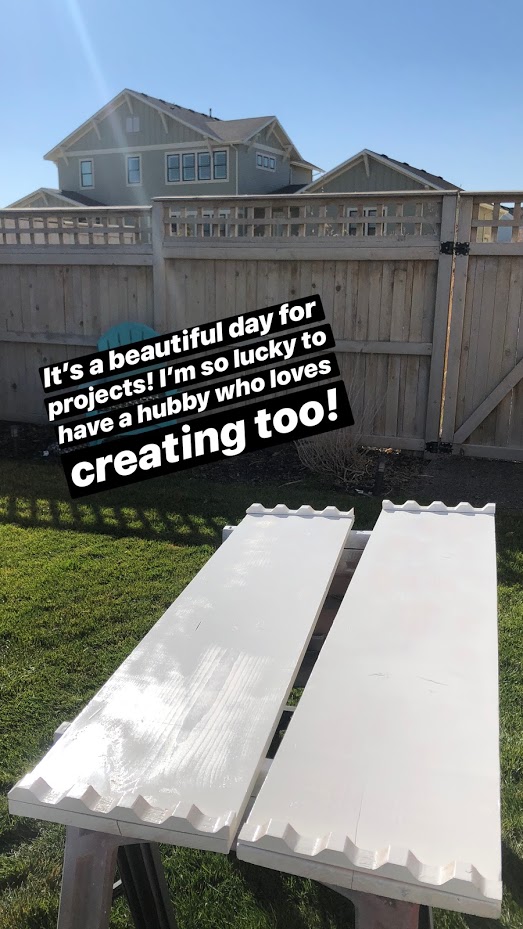
You can buy a longer length of board and create TWO signs. Just have the hardware store cut the board into two lengths. I did this when I created 2 JOY to the World giant signs over the holidays.
How Do You Create a Giant Sign?
There are many different ways that I have created giant signs over the years. When I was in my subway sign phase I used vinyl to create words on giant signs. I’ve also used vinyl to use as a stencil and painted the words on the board that way. I have also bought MDF, Papier-mâché, iron and wood letters and attached them to the boards. I have a complete list of the different giant signs I’ve created at the bottom of this post!
How Do I Make a GIANT Patriotic Flag Sign
In this post I will show you how I made a giant patriotic flag sign! I didn’t even use a craft cutting machine, so this is a project that is SO easy and fast!
What Supplies Do I Need to Create a GIANT Patriotic Flag Sign?
These are the supplies you will need to create this GIANT Patriotic Flag Sign:
- One Pine Board (mine is 5 feet tall)
- Three spray paints — red, white and blue.
- Painter’s Tape
- Wood Stars (I bought mine in two packs of 8 each)
- Ribbon (optional)
Steps to Make a GIANT Patriotic Flag Sign
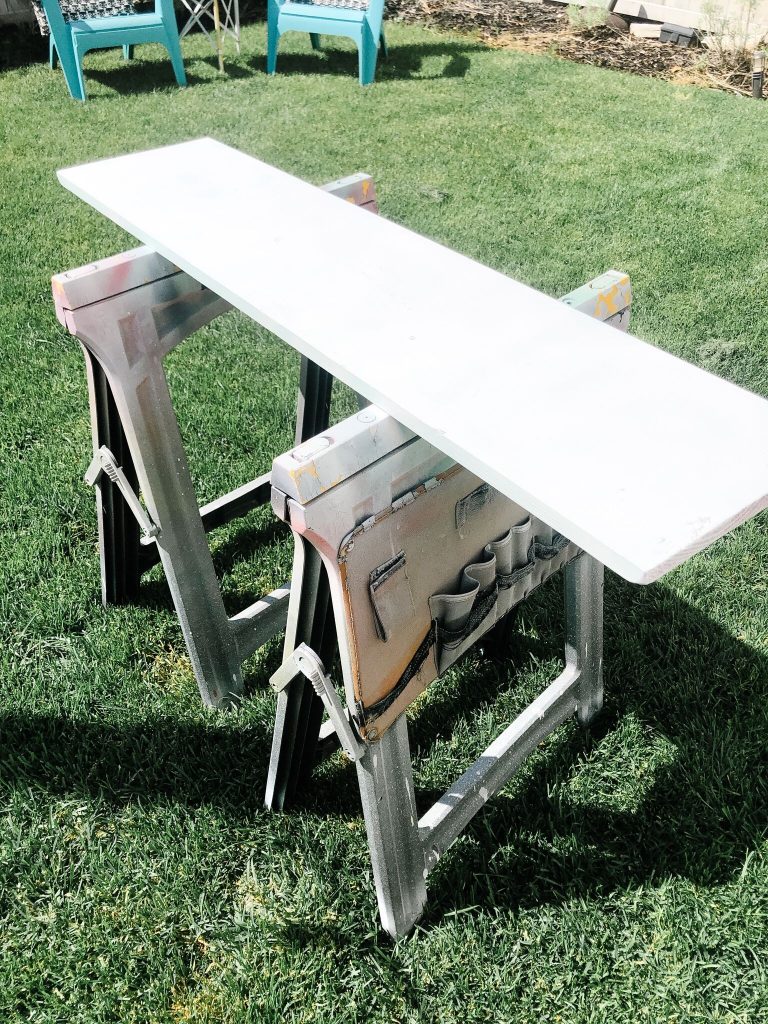
Spray Paint the GIANT Patriotic Sign White
Tape off the Rectangle for the Blue and White Stars
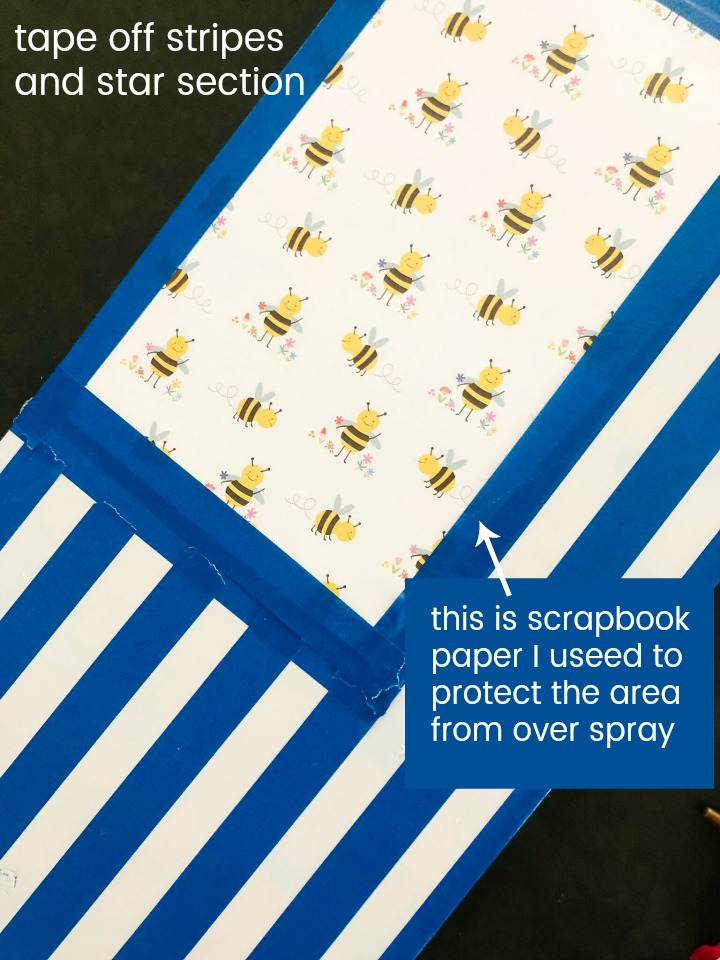
The blue space with the stars is at the top right-hand corner of the sign. I took a piece of scrapbook paper and cut it the size, then taped the edges of the paper to the sign. Make sure you get the tape sealed so no paint will get under the tape.
Tape off the Stripes
You can use a measuring tape to determine how wide to make your stripes. I used the width of my painter’s tape which was 1 inch wide and then I spaced the tape so that every other inch was an open space to paint red and the other was covered by the tape so the lines would be equal.
Spray Paint the Board Red
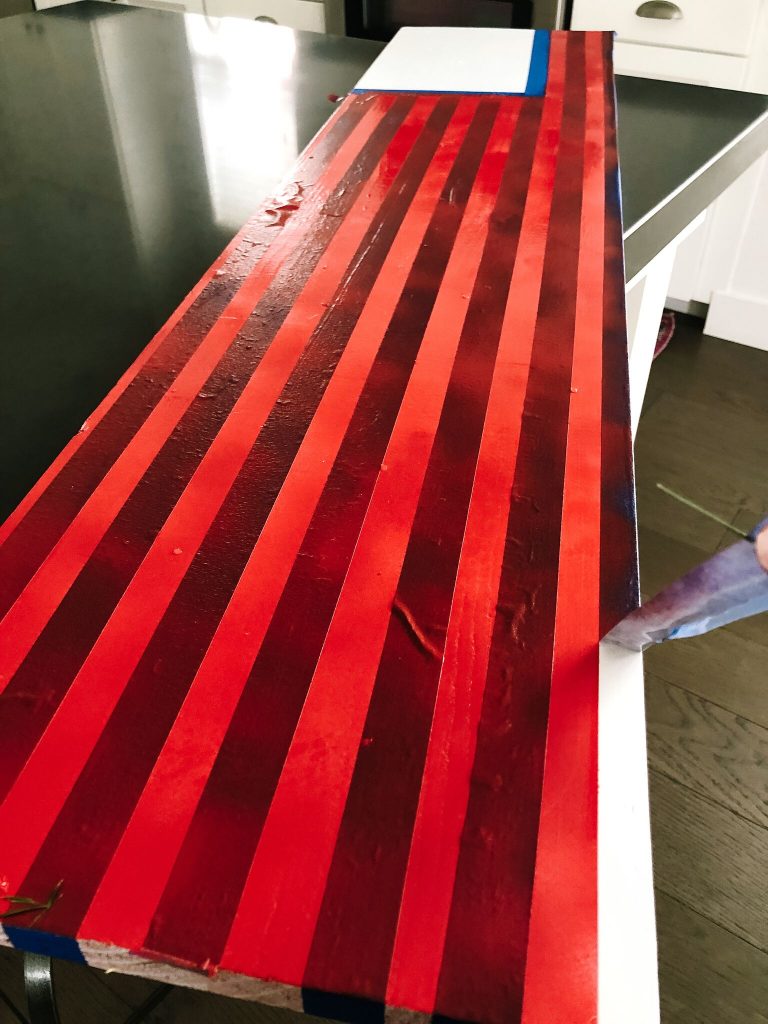
Use a credit card or spatula and go over all of the tape lines to make sure there are no gaps. You don’t want any overspray from the spray paint to get under the tape and mess up your straight lines.
Peel the Painter’s Tape Off
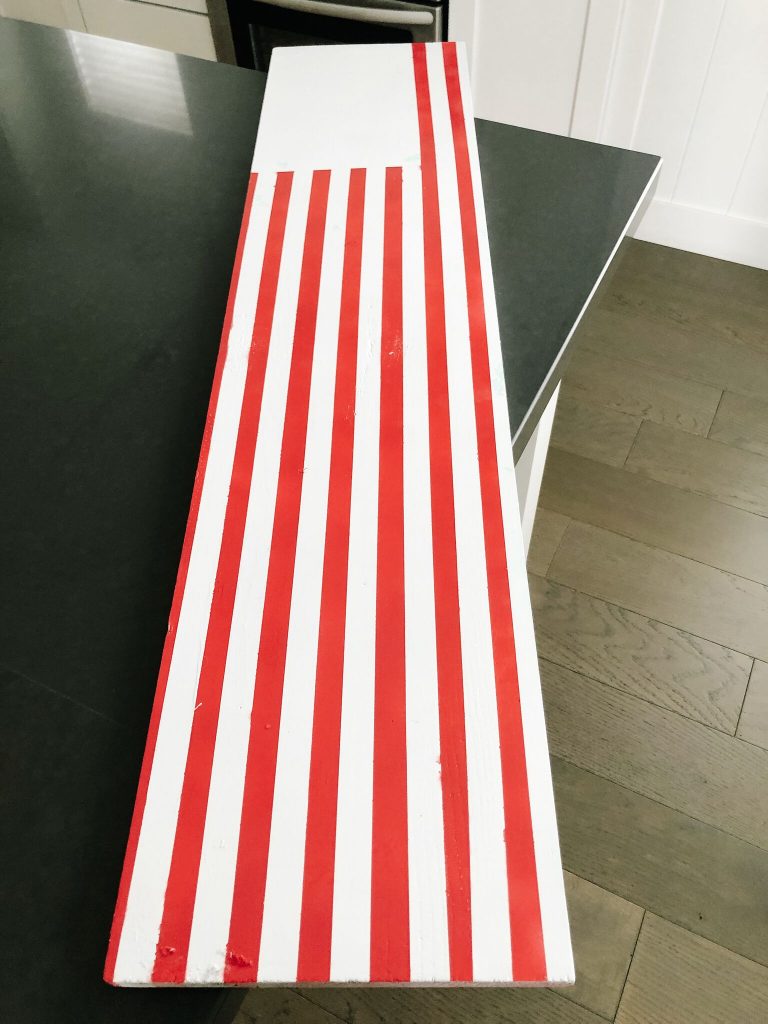
Peel the painter’s tape up, revealing the stripes. Then peel the tape and paper over the rectangular space at the top of the board.
What Happens if Overspray Gets Under the Tape?
If some overspray has gotten under your tape, you can fix that. All you need to do is get a sharp knife and gently scrape the red off the white, in line with the stripes. If you do this gently you can scrape the red off and the white will still be underneath.
Get the Blue and White Star Area Ready for Paint
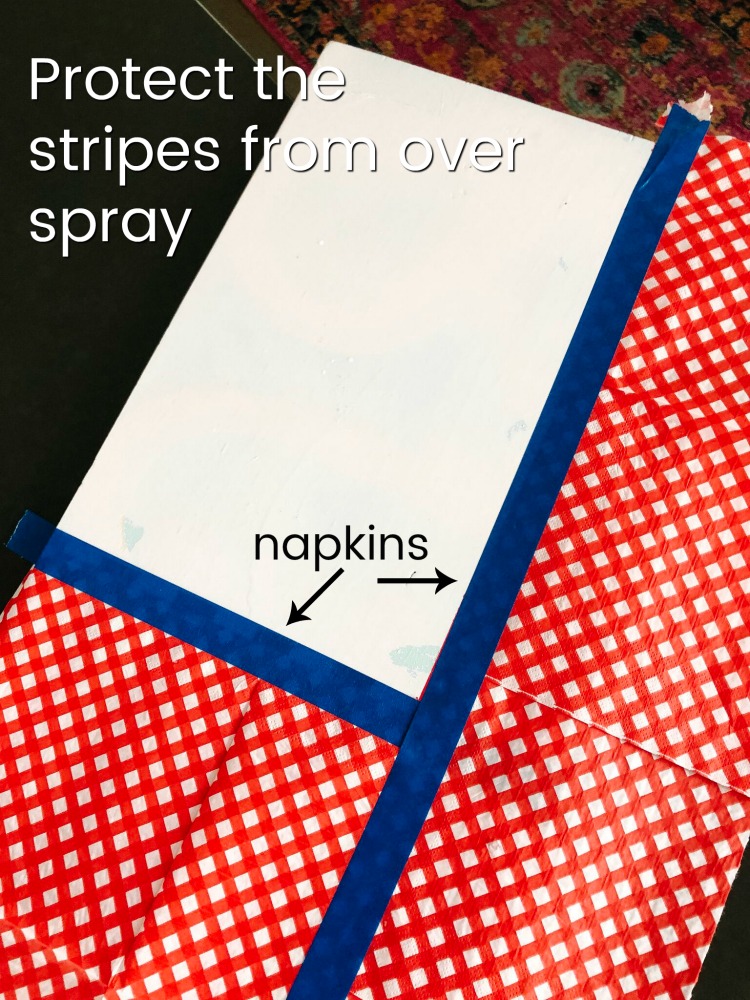
Now you are going to retape your board so that the area you want to be blue with white stars gets painted. You want to protect the red and white stripes by covering that. I used napkins and laid them over the red and white section of the sign. Then I taped the napkins together and wrapped it around the back of the board. Then I raped off the area that I wanted to be blue. I made sure all of the edges of my painter’s tape were securely taped off
Paint the Blue Area of the Sign
Once you spray paint the blue section of the board and it’s dry, peel the tape and uncover the whole board.

Add Wooden Stars
I spray painted my stars white. Then I laid them in a pattern similar to a flag and hot glued them onto the board.
Wrap the Sign With Ribbon
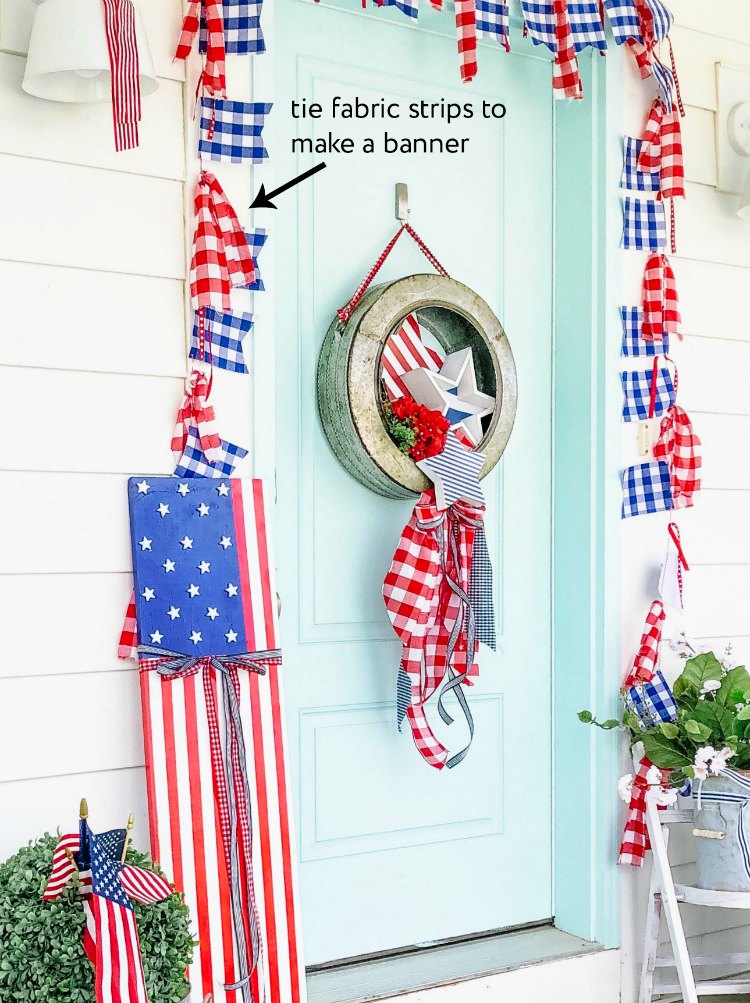
I added a couple different ribbon to the board and tied them into a bow right under the blue and white star area of the board.
Where Would I Display a Giant Sign in My Home?
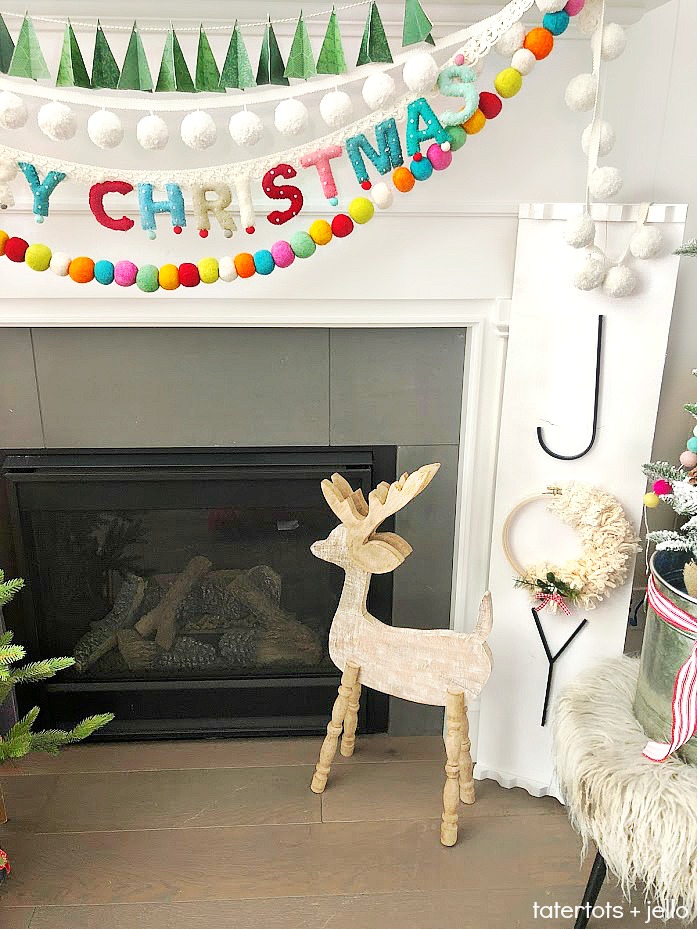
There are so many ways to display giant signs. I usually make one for my porch for different seasons and holidays. But I have also made them to stand upright on the side of my fireplace. I also have hung them vertically over the fireplace and on shelves.
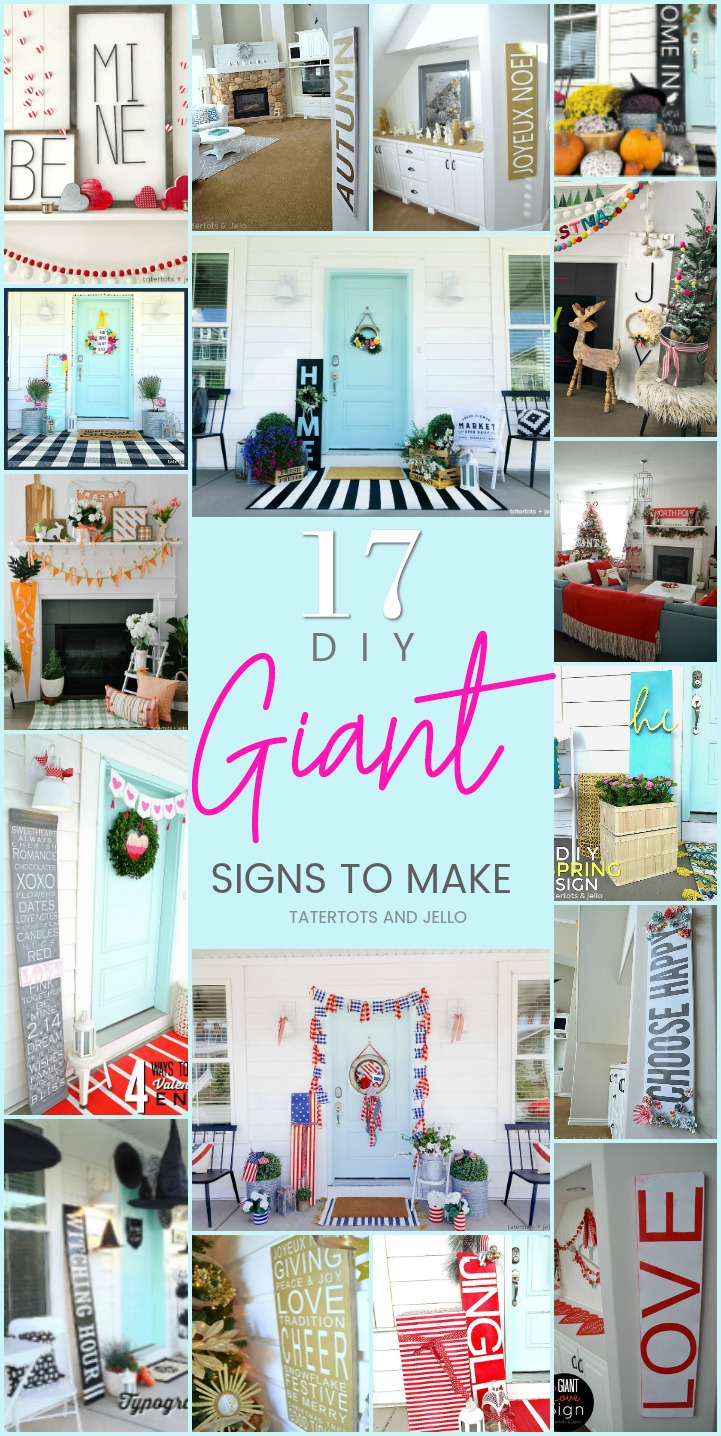
What Holidays Would I Make a GIANT Sign for?
Here are some ideas that I have made giant signs for over the years! I think I’ve made over a dozen over the years!
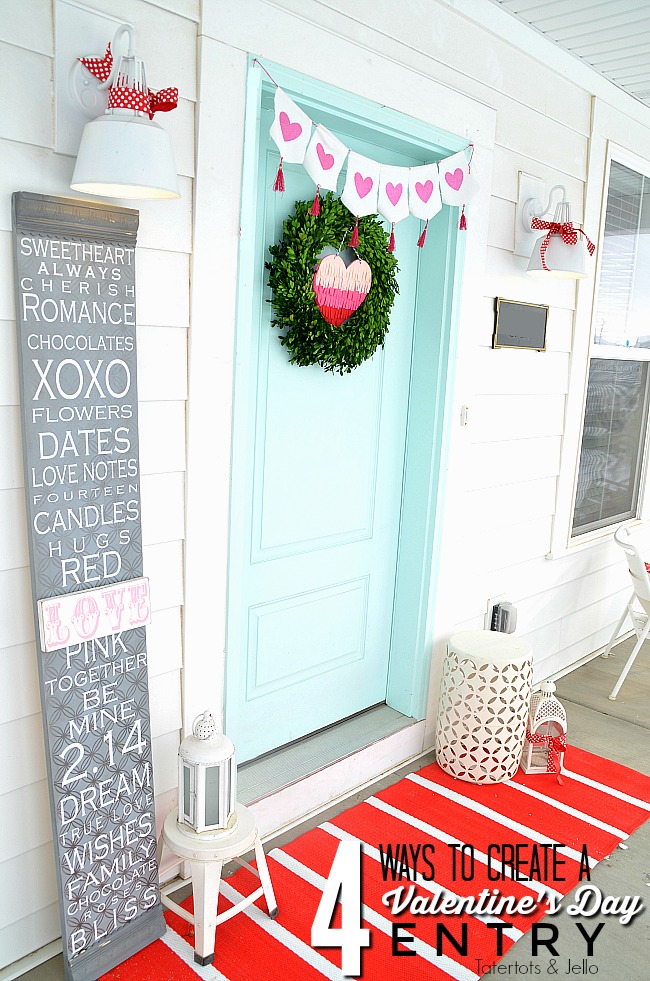
Giant Valentine’s Day Subway Art Sign
This was my first Giant Sign. It was when I was crazy about subway art. I made it for Valentine’s Day and I still use it each year. It’s also one of the tallest signs at over 6 feet tall. I love the trim pieces at the top and bottom and the board in the middle that says LOVE.
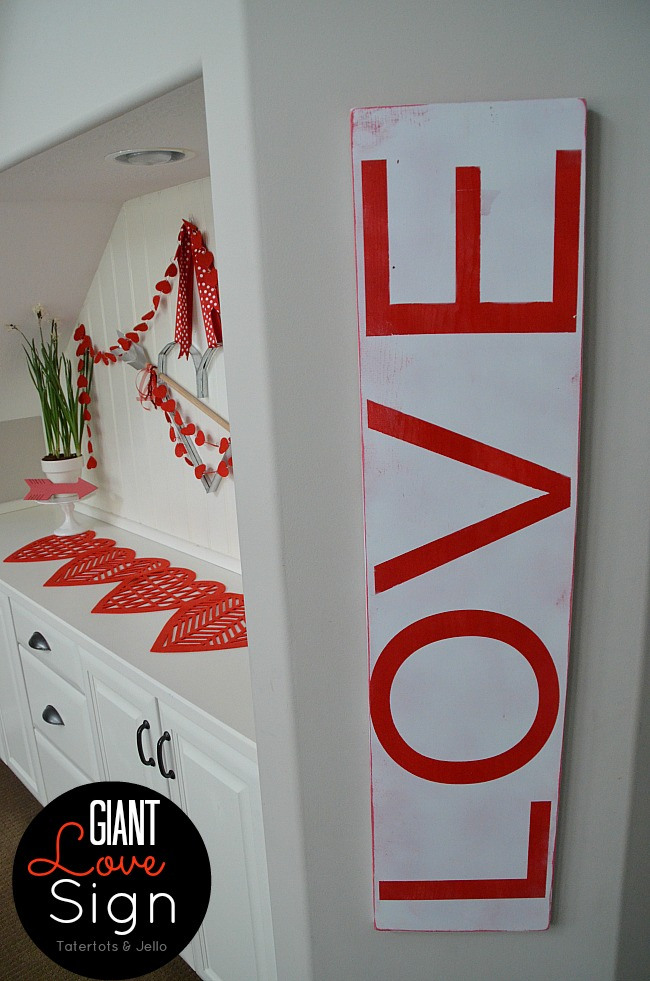
Giant LOVE Sign
This was one of my first GIANT signs. Red and white LOVE sign, therefore, I still use it each year.
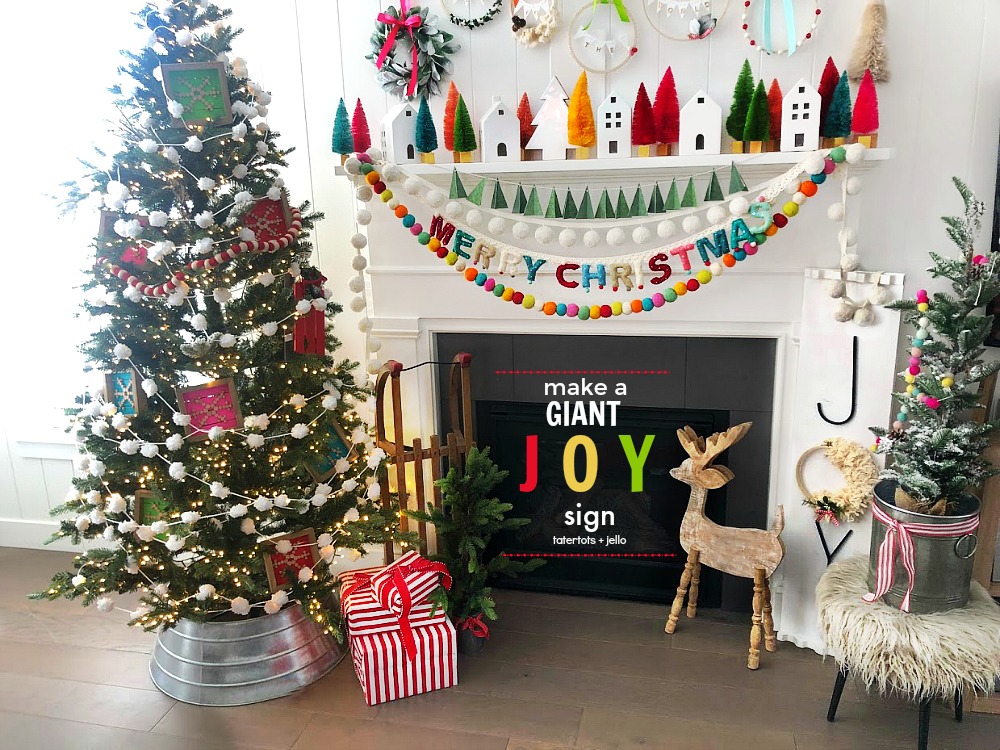
JOY to the World Holiday Sign
This is my JOY t o the World Sign. I used metal letters and an embroidery hoop that was decorated in the center for the O letter. I also added trim to the top and bottom of the board.
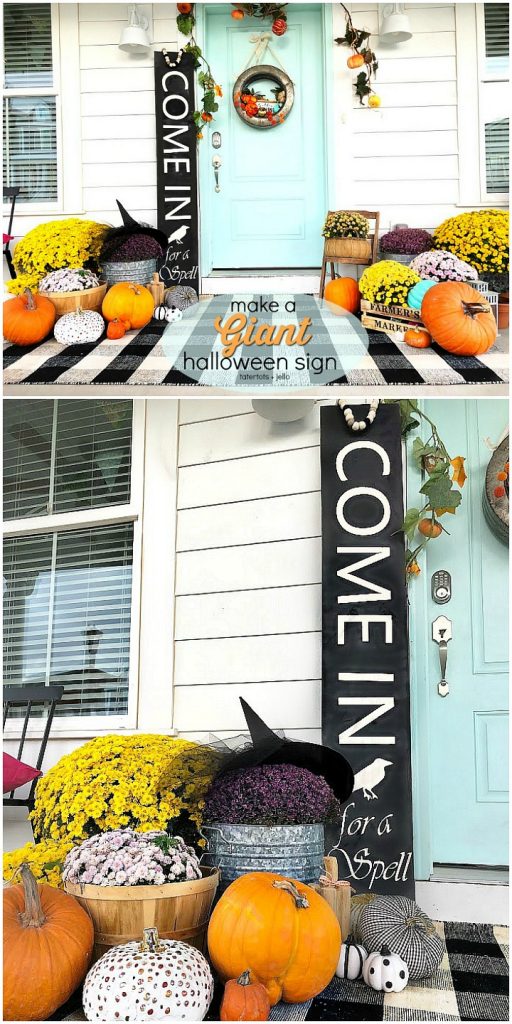
Come In for a Spell Giant Halloween Sign
I made this sign last Halloween. It’s also very tall. I added a raven and some cursive lettering at the bottom for fun. Those are reasons it is different from some of the other GIANT signs.
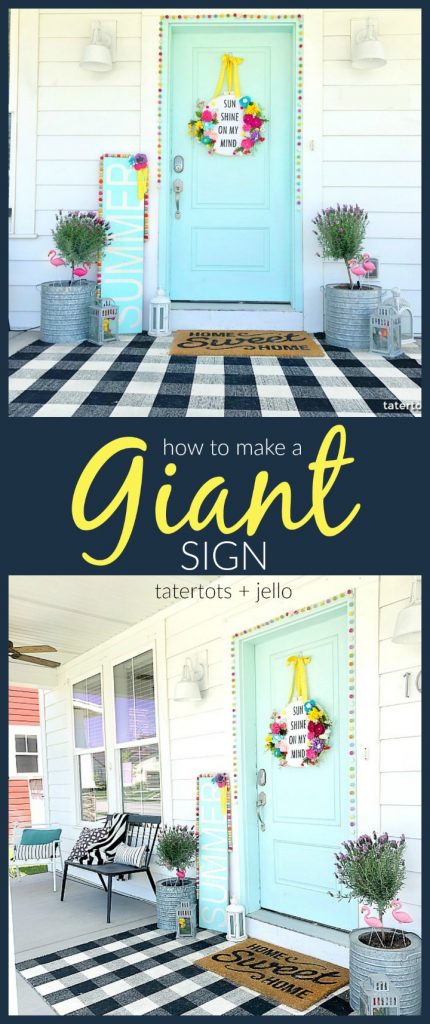
SUMMER Giant Sign
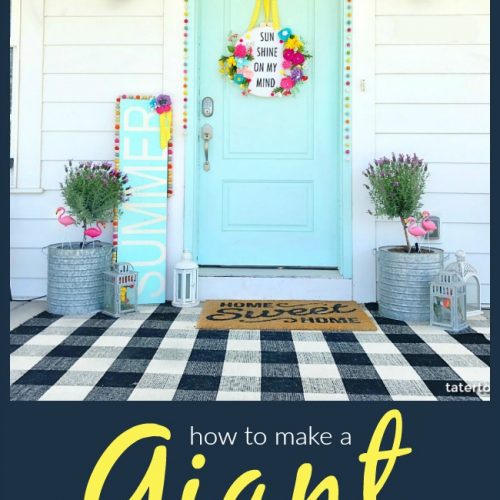
I painted this SUMMER giant sign the same color as my front door and added some colorful felt garlands.
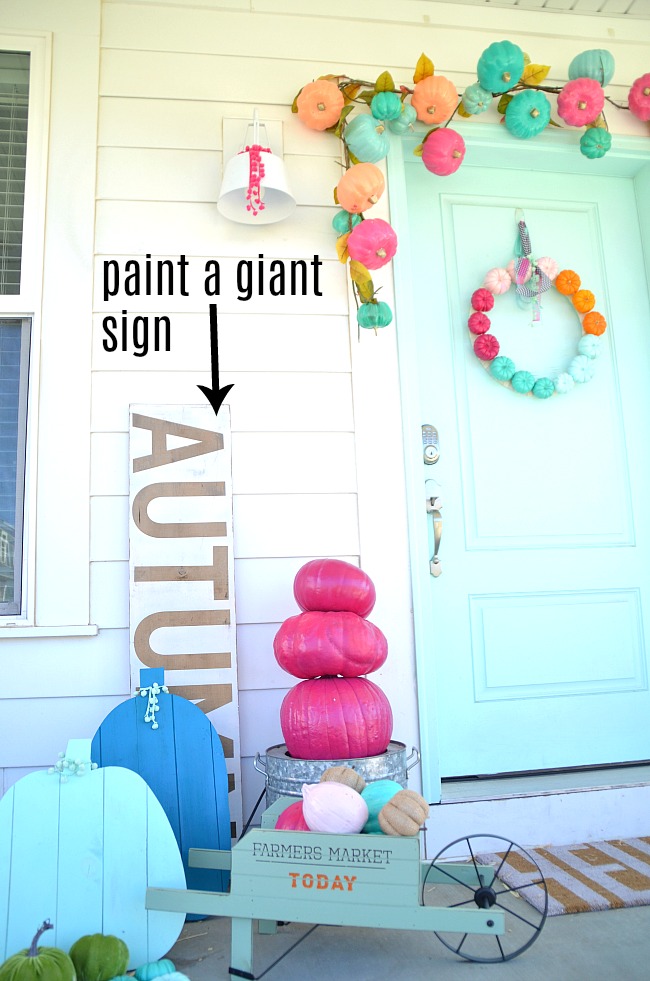
AUTUMN Giant Typographical Sign
This is also one of my first giant signs. It’s still one of my favorites and I still use it every year. I used some dark gold spray paint for the letters and I love the way the slight shine looks – especially at Autumn!
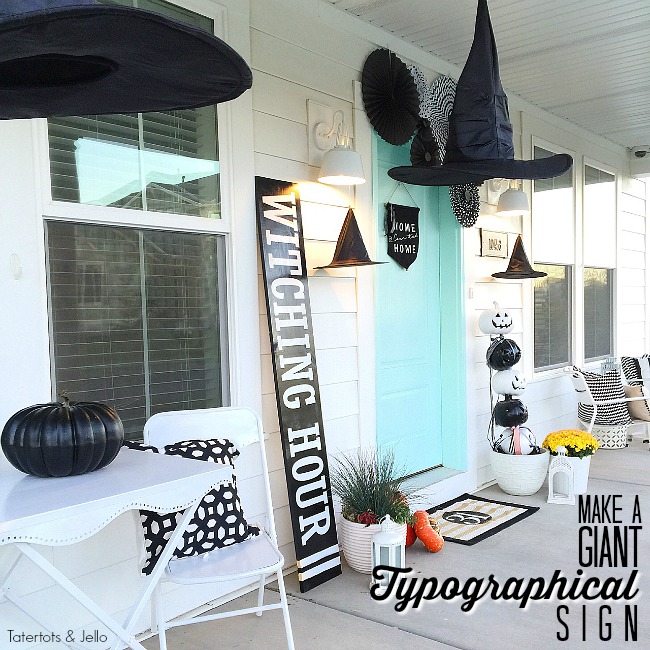
Witching Hour Halloween Giant Sign
This is one of the tallest signs. I didn’t have the sign cut at all and I think it’s 8 feet tall. I made this sign to go along with my Witching Hour Halloween porch and therefore, it is still one of my favorite Halloween porches that I’ve created!
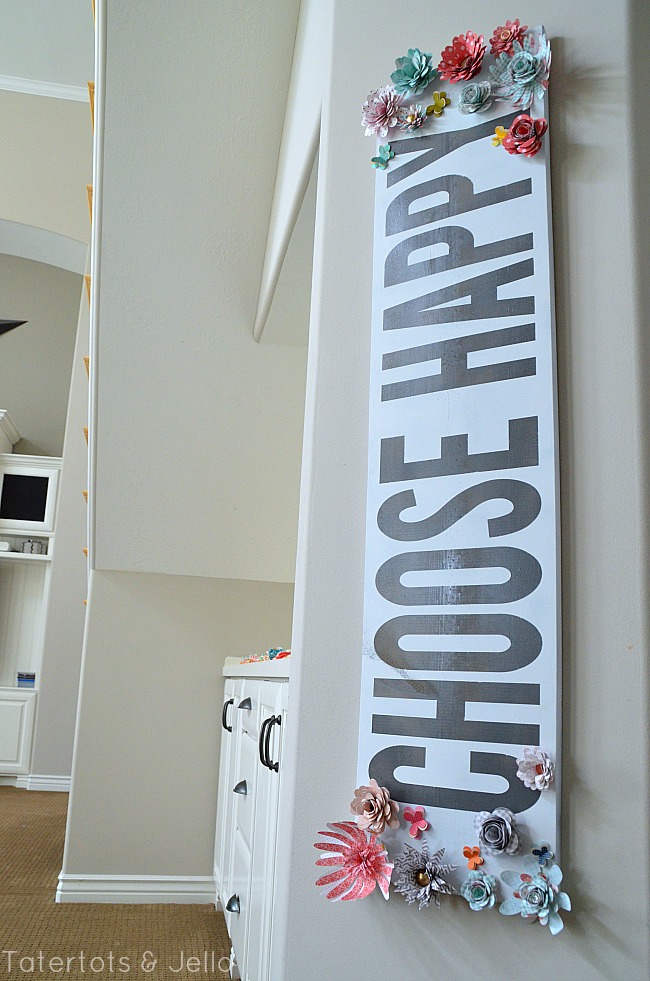
Choose Happy Giant Sign with Paper Flowers
This is the first giant sign that I created with paper flowers. I used my Silhouette cutting machine to cut out the paper flowers and I hot glued them onto the sign.
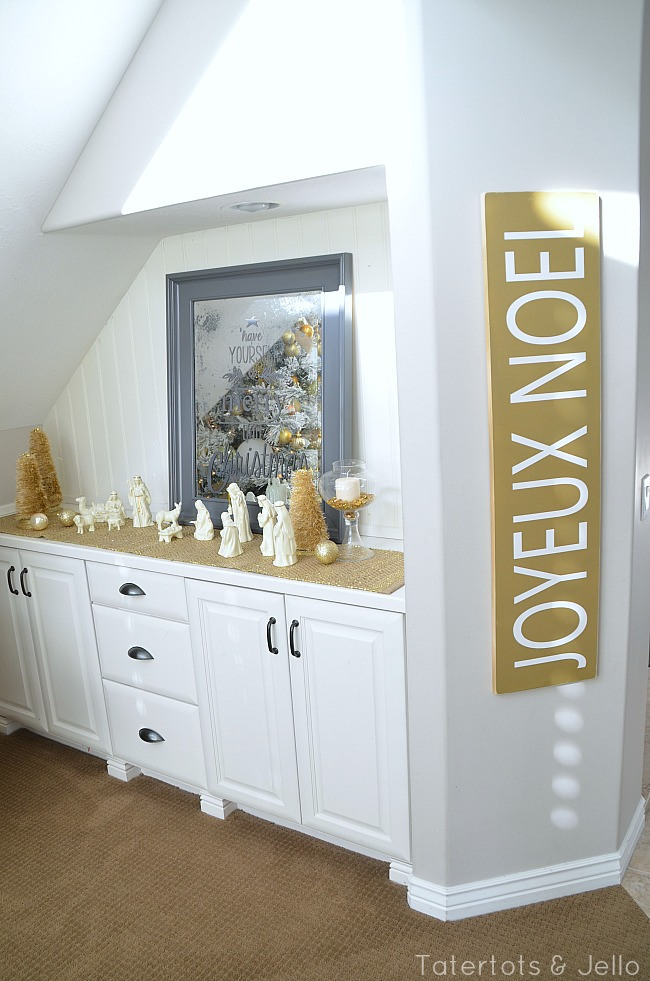
Joyeaux Noel Giant Holiday Sign
This is one of the smaller giant signs that I created. I wanted to be able to hang it up. I made it to go along with my flocked white holiday tree with gold ornaments.
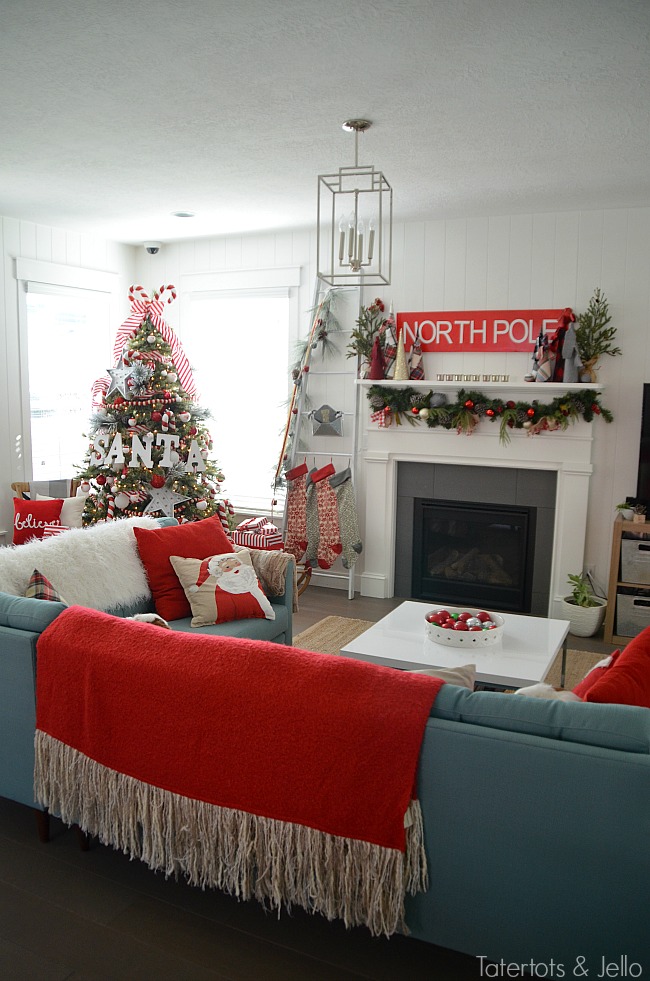
North Pole Giant Holiday Sign
I’ve used this North Pole giant sign a few years in different ways. This year I hung it vertically over my fireplace but I have also stood it upright on my porch an by the side of the fireplace.
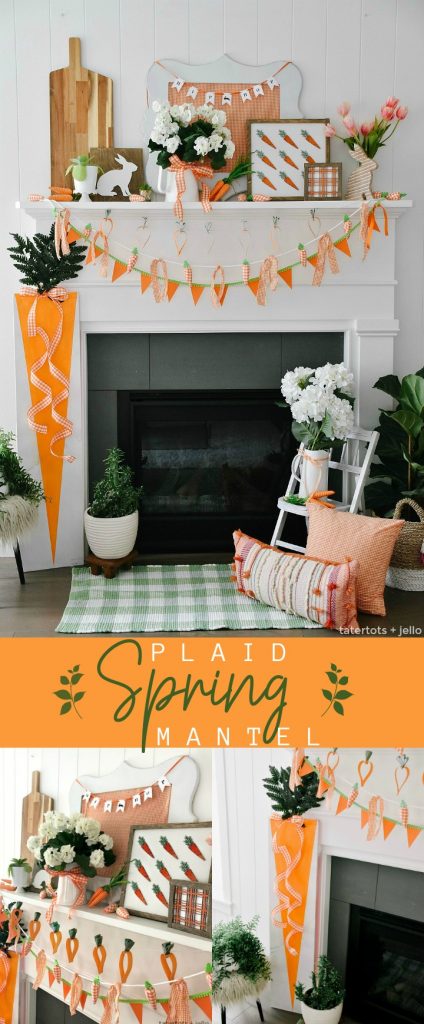
Spring Carrot Giant Sign
This is a sign I made for Spring this year. This sign also doesn’t need a craft cutting machine which makes it so easy to create. To make this sign I spray painted the sign white and then taped off the carrot triangle with painters tape and painted the carrot in. Then I just hot glued faux leaves to the top and tied it with ribbon. Similarly this sign is fast and easy to make!!
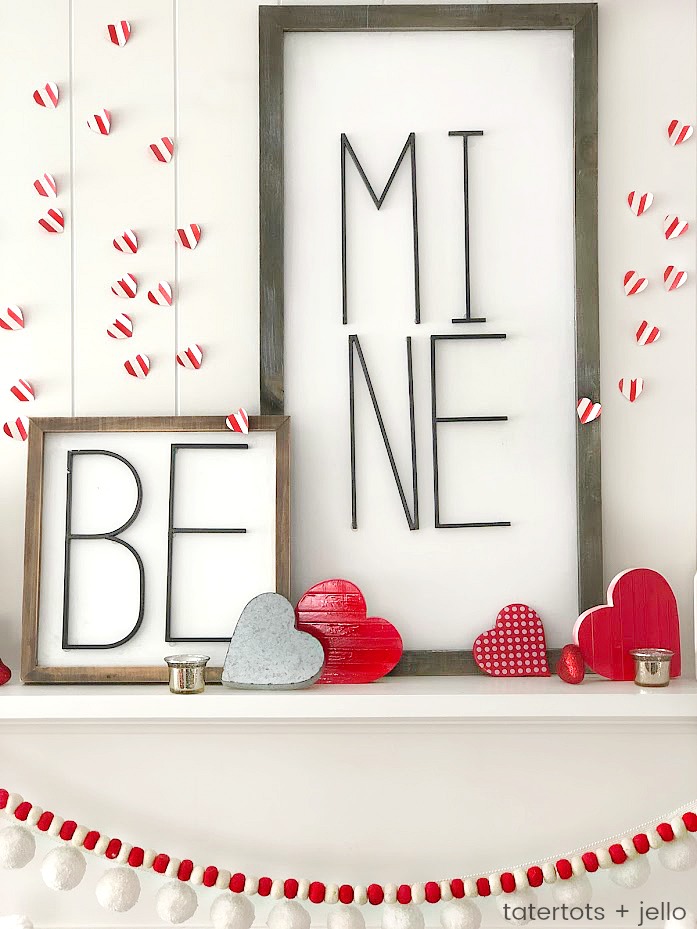
Be Mine – Two Giant Valentine’s Day Signs
This is our Be Mine mantel from Valentine’s Day this year. I wanted to layer a couple of big signs. You can have the hardware store cut your shelf down into two different sizes. I then added trim, stained it and I hot glued metal letters onto the signs.
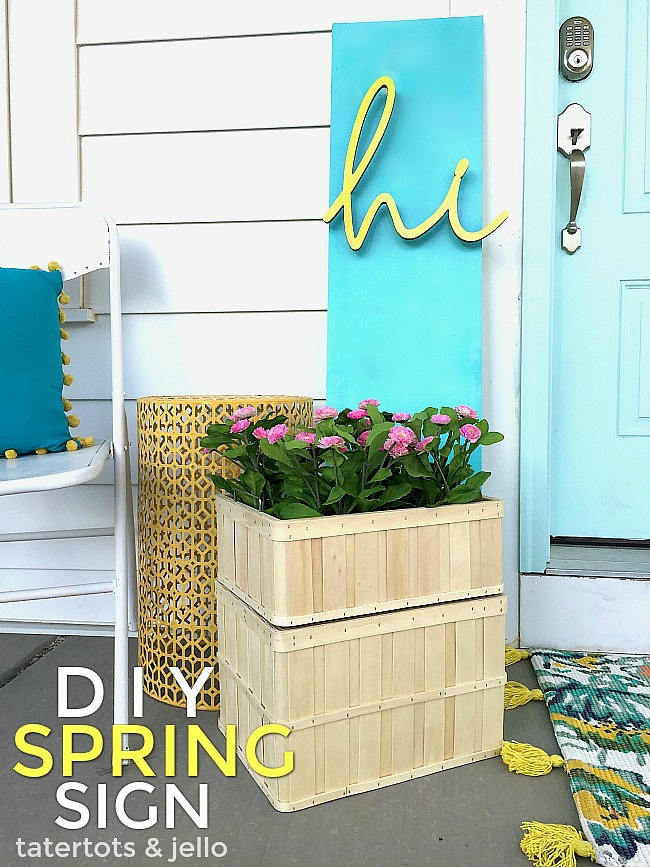
Hi Spring Giant Sign
I found the wood HI at the craft store. First I spray painted the shelf a turquoise color. Next I added plastic beads to the back of the HI sign so it seems to float. I spray painted the HI yellow and I love the way the turquoise and yellow look together! I love this sign because of the colors and the simplicity of the sign!
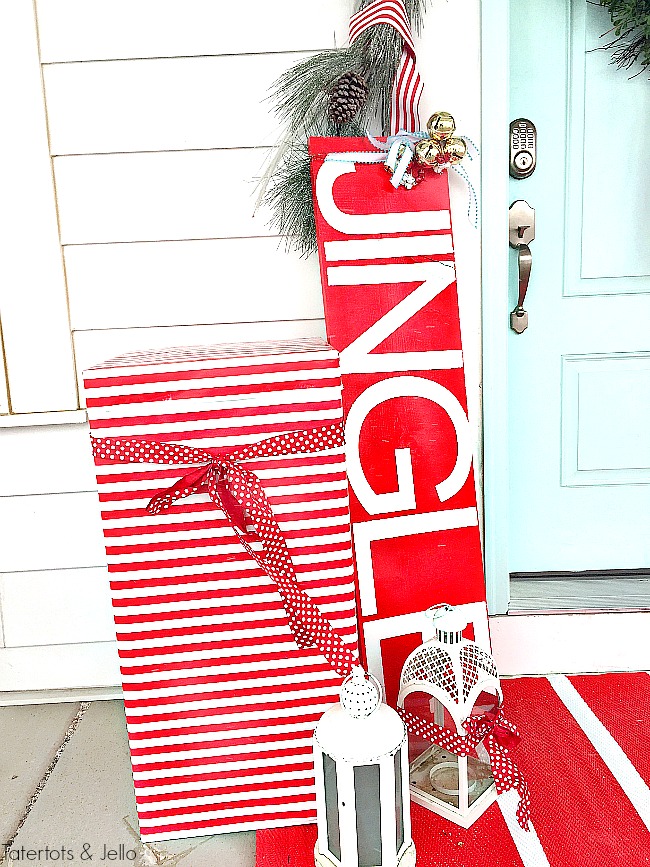
JINGLE Giant Holiday Sign
This was a simple sign that I used vinyl for to create a stencil. The at the top I added jingle bells.
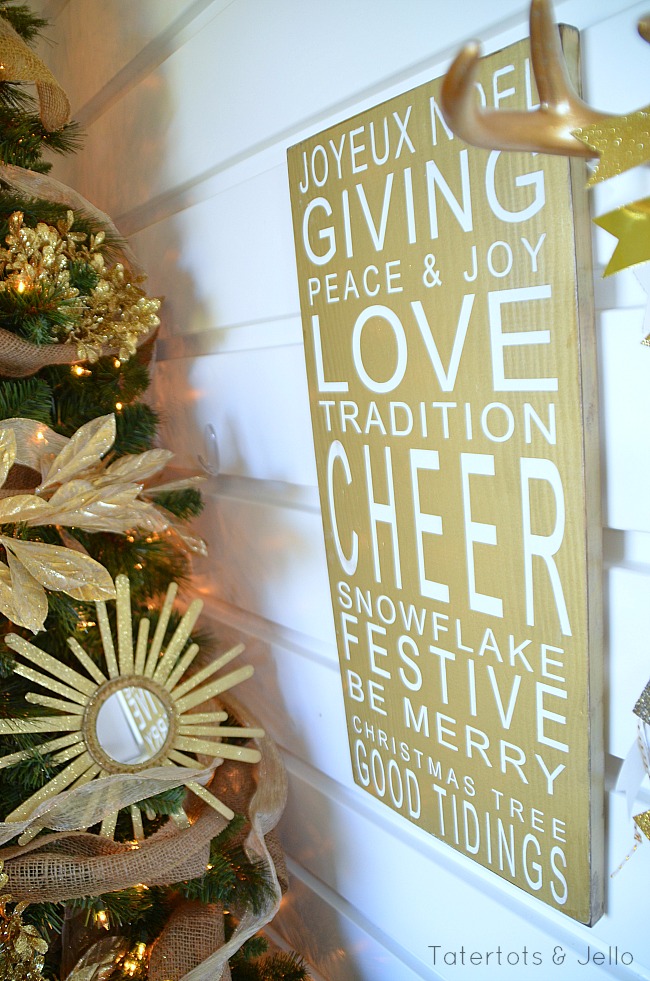
Joyeux Subway Giant Sign
I created the Joyeux the same year I made the larger one. That year I had two gold Christmas trees and wanted to create two different signs that had the same theme. This one went with my Starburst Mirror Christmas tree!
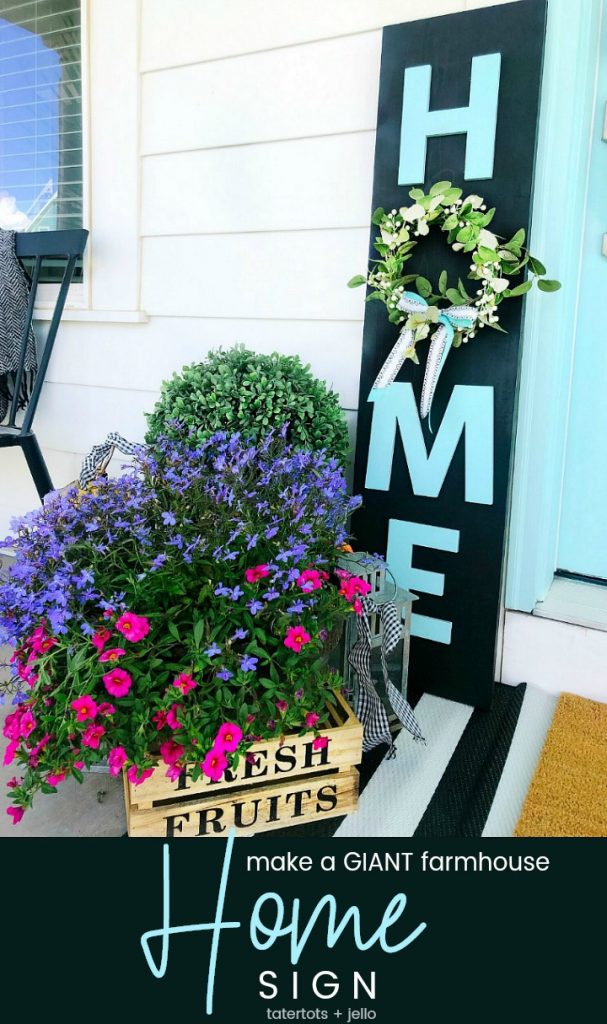
Giant HOME Sign
This is a sign I made this Spring! I used mdf letters that I spray painted to go with our front door. For the O I used a wreath. I love this sign because it was so easy to make!
I hope this has inspired YOU to create a DIY GIANT sign! If you do — be sure to tag me on Instagram @tatertotsandjello. I would love to see what YOU make!
Have a CREATIVE day!
xoxo

