Rainbow Easter Mantel. Celebrate color this Easter by making a rainbow egg wreath and paper butterfly banner!
Rainbow Easter Mantel
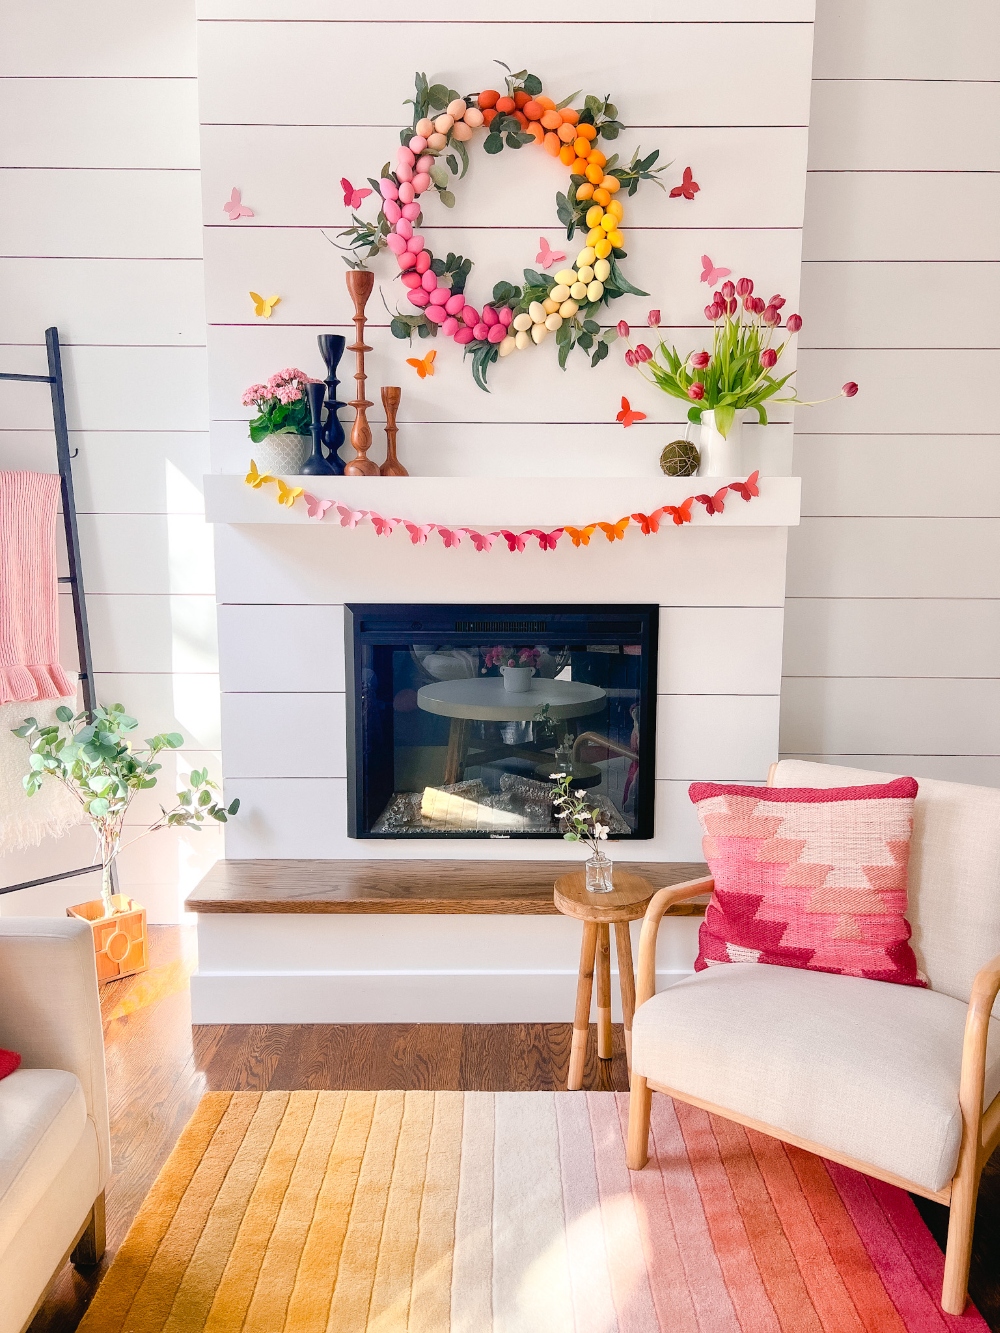
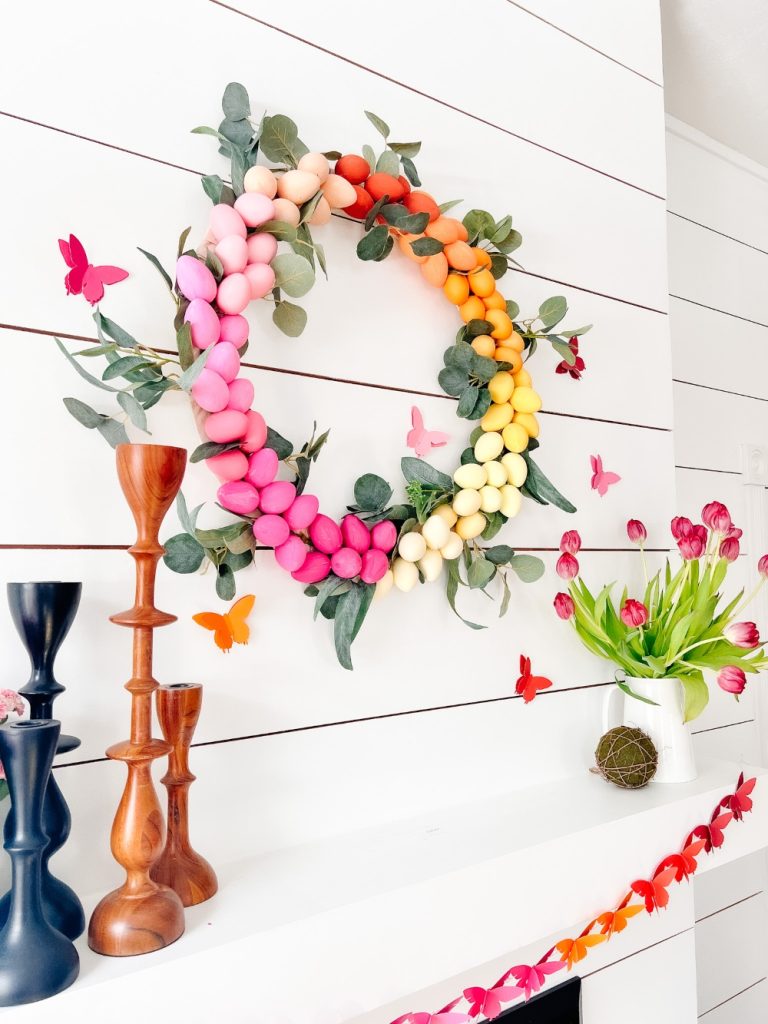
Are you getting excited for Spring? I don’t usually decorate for Easter as much as Spring, but this year I embraced bright colors that match my rainbow rug. I love the pinks, yellows and oranges! It’s kind of fun to put a modern spin on the traditional pastels for Easter!
Beautiful Easter Mantel Ideas

I am thrilled to be joining some of my favorite friends who are also sharing their Easter mantels! Scroll down to the end of the post to see all of their amazing ideas!
Ombre Rainbow Easter Egg Wreath

My Ombre Easter Egg Wreath is the focal point of this mantel. I used the colors in my rainbow rug and painted 100 eggs 10 different colors! The best part of this DIY is that you can use ANY color you want! I have the full tutorial on the size of wreath form and links to the paints I used on this post — Ombre Easter Egg Wreath.
Rainbow Butterfly Paper Banner
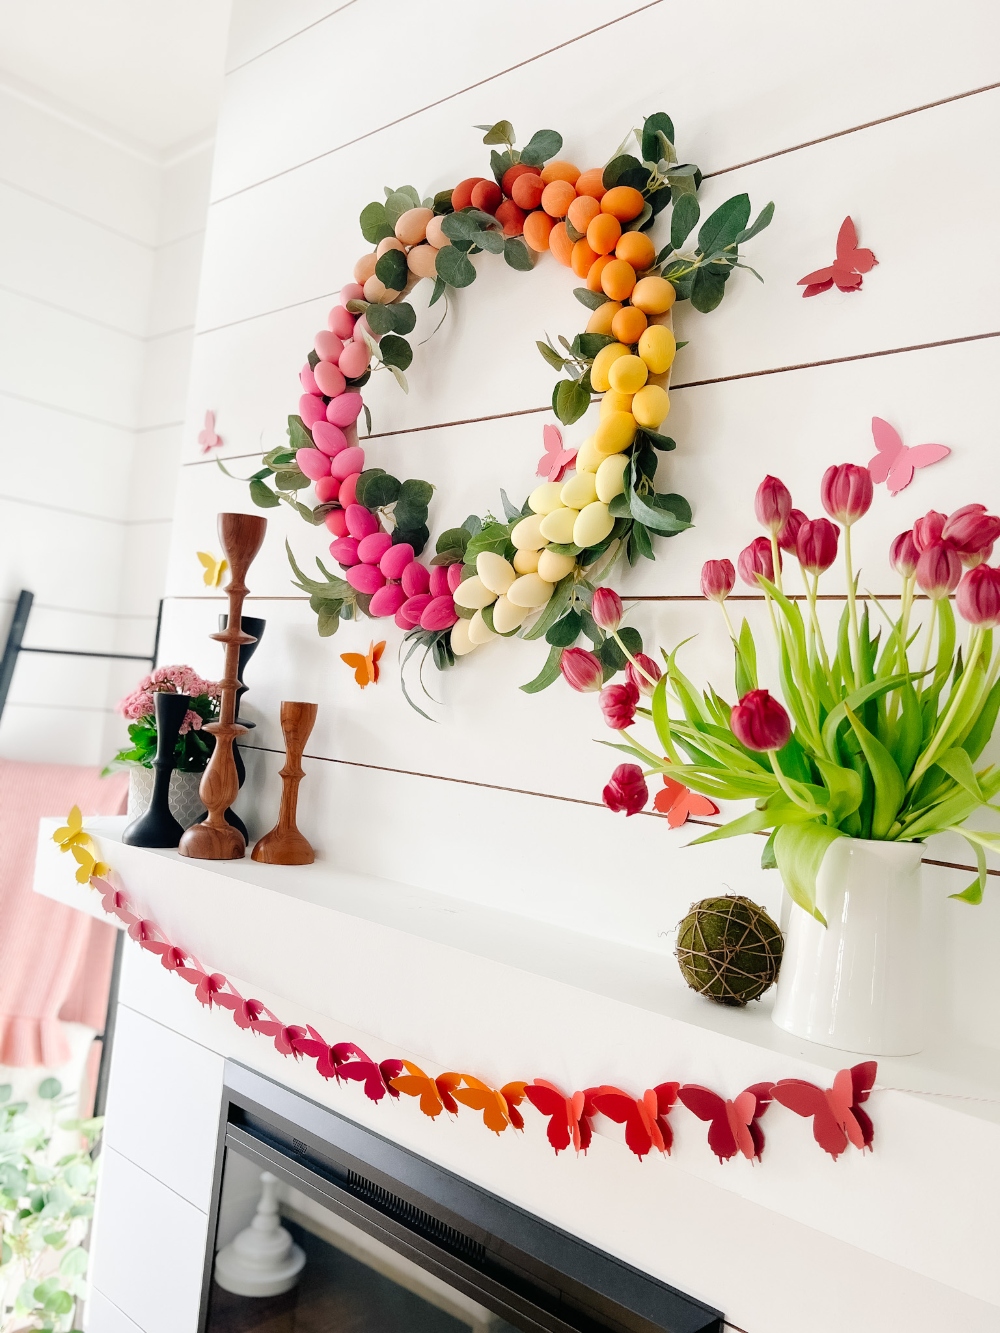
The other project that I used to tie the mantel together was a simple three-dimensional paper butterfly banner! Here’s how to make one!
Rainbow Paper Banner Supplies
How to Make a Rainbow Butterfly Banner
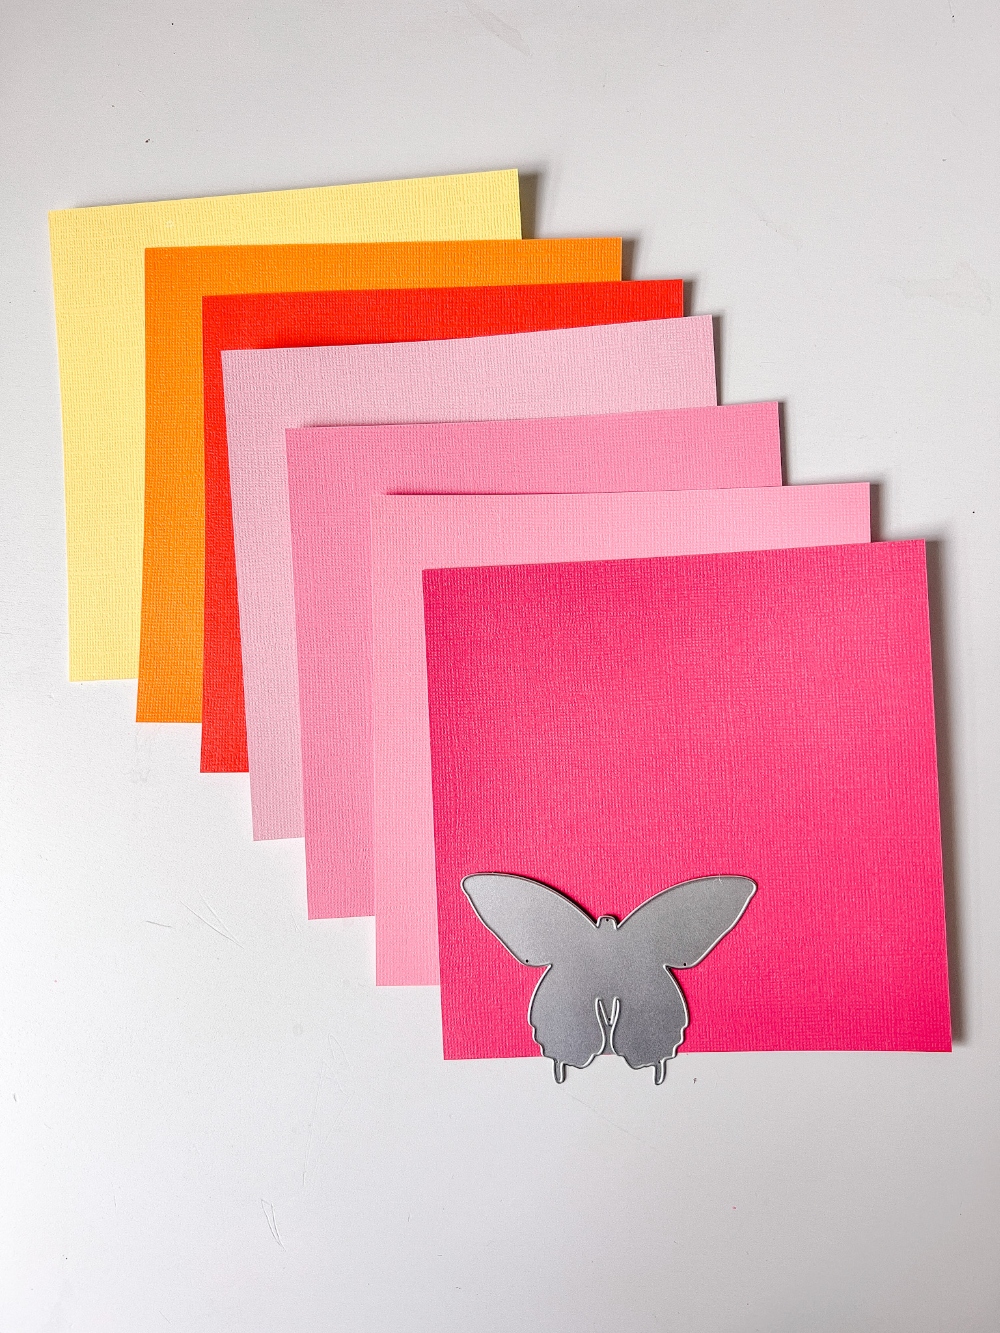
This rainbow butterfly banner is really easy to make. I used my Sizzix Machine and Sizzix Butterfly Die Cuts. But you can also cut out butterflies with a craft cutting machine OR a butterfly Punch. Here’s a link to a Butterfly Punch that you can use!
Rainbow Mantel: Cut Out Butterflies

I cut out three sets of butterflies in all SEVEN colors. And since my butterflies are 3-dimensional that means that I cut out SIX butterflies in all seven colors.
Rainbow Mantel: Assemble Butterflies

Once all butterflies are cut out, take two of the butterlflies in the same color, put a glue dot on the middle of one butterfly. Fold the edges of the butterfly wings on the other butterfly and lay it on top of the butterfly with the glue dot.
Rainbow Mantel: Punch Holes in the Butterflies
Once all the butterflies are assembled, pinch a hole on each side of the bottom butterfly at the height of the middle head. This is the middle point of the butterfly and punching holes at this height will let your butterflies hang straight when hung up.
Rainbow Mantel: String Butterflies on Twine
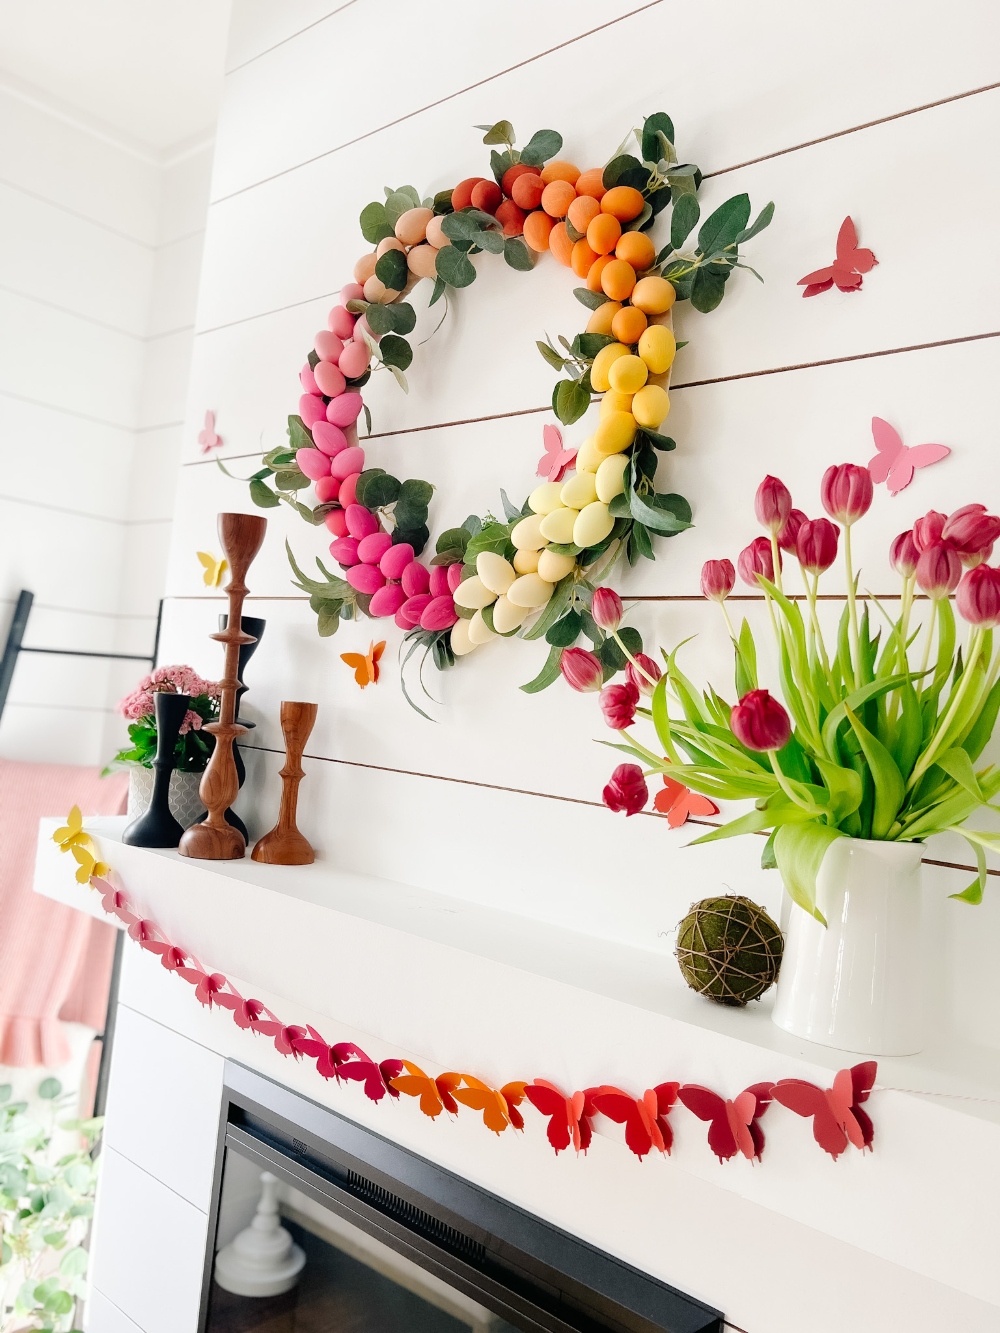
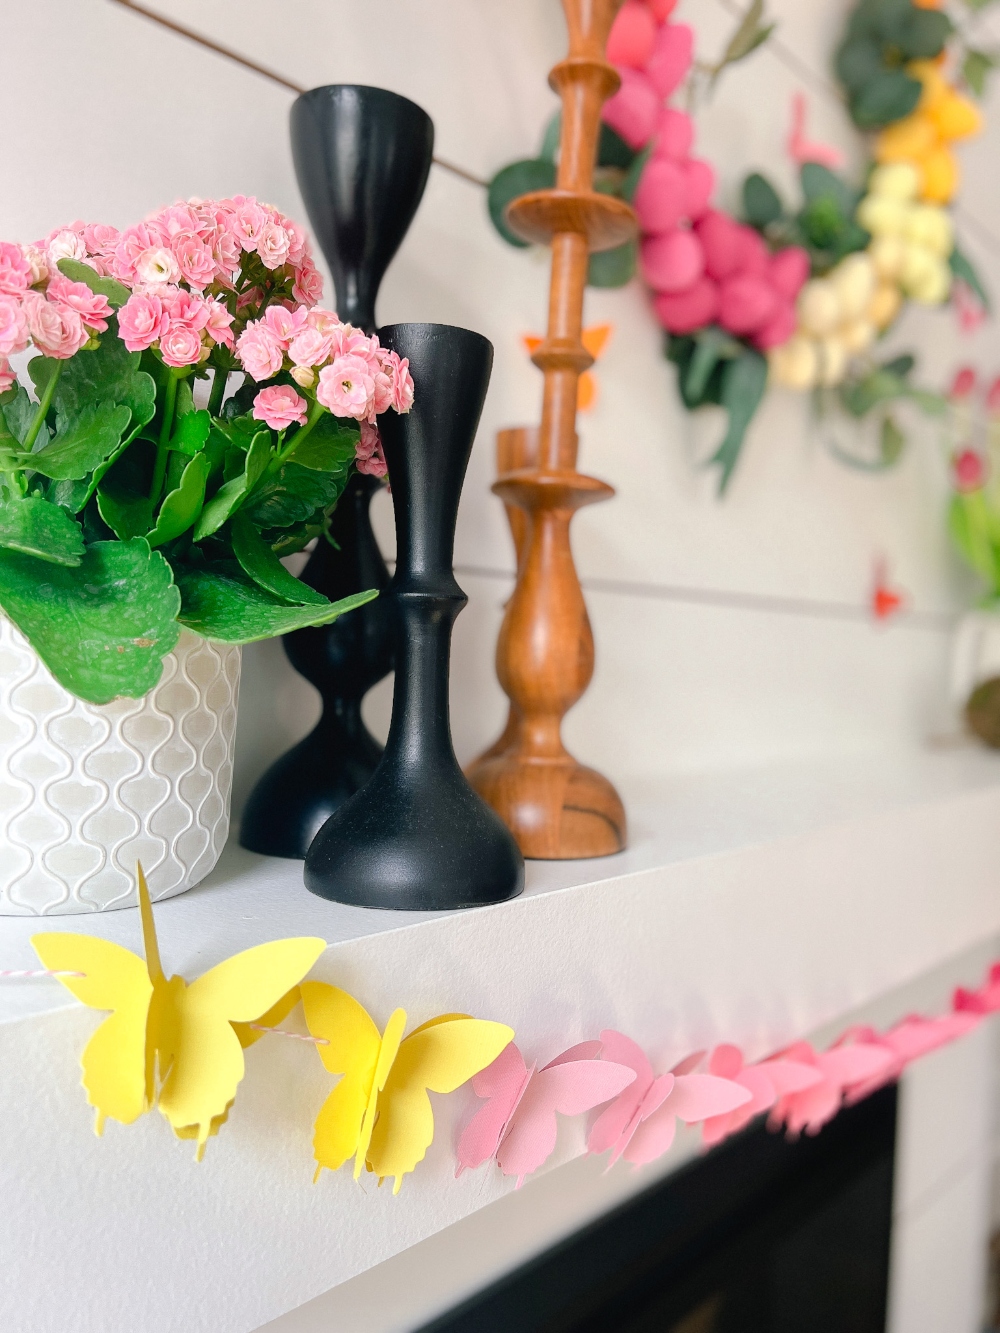
Now you will string the butterflies on your twine. Make sure to keep the butterflies that are the same color together. My mantel only needed two of each butterfly. Since I cut out enough butterflies to make THREE per color, I took the extra butterflies and attached them to the wall.
Rainbow Mantel: Hang Up Your Butterfly Banner
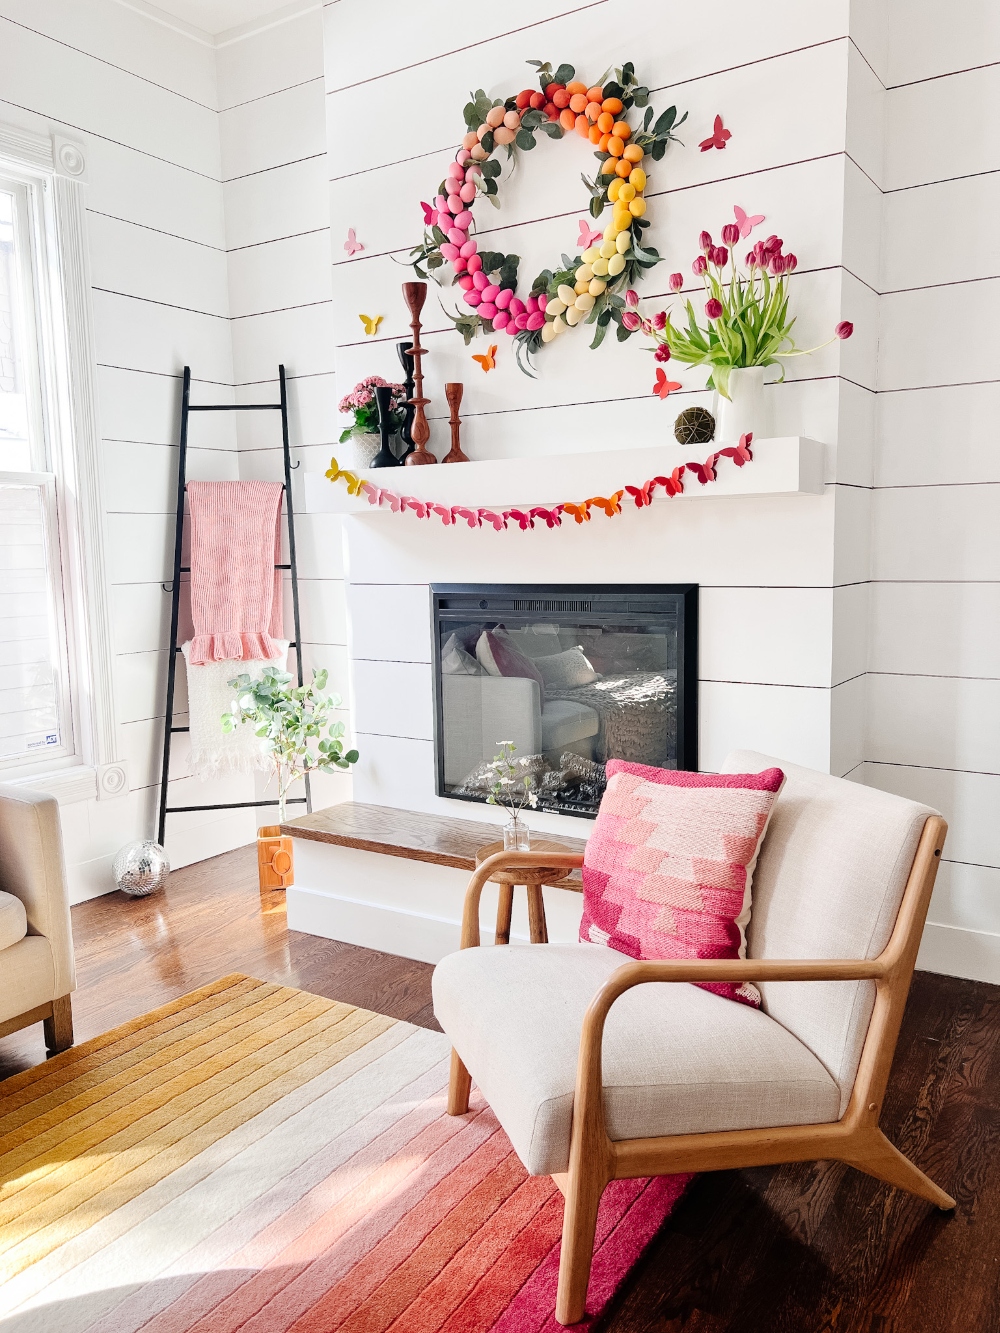
Hang up the butterfly banner. Once you attach each end to your mantel, you can adjust the butterflies so they are spaced out evenly and taking up the whole mantel space.
Rainbow Mantel: Attach Extra Butterflies to Wall
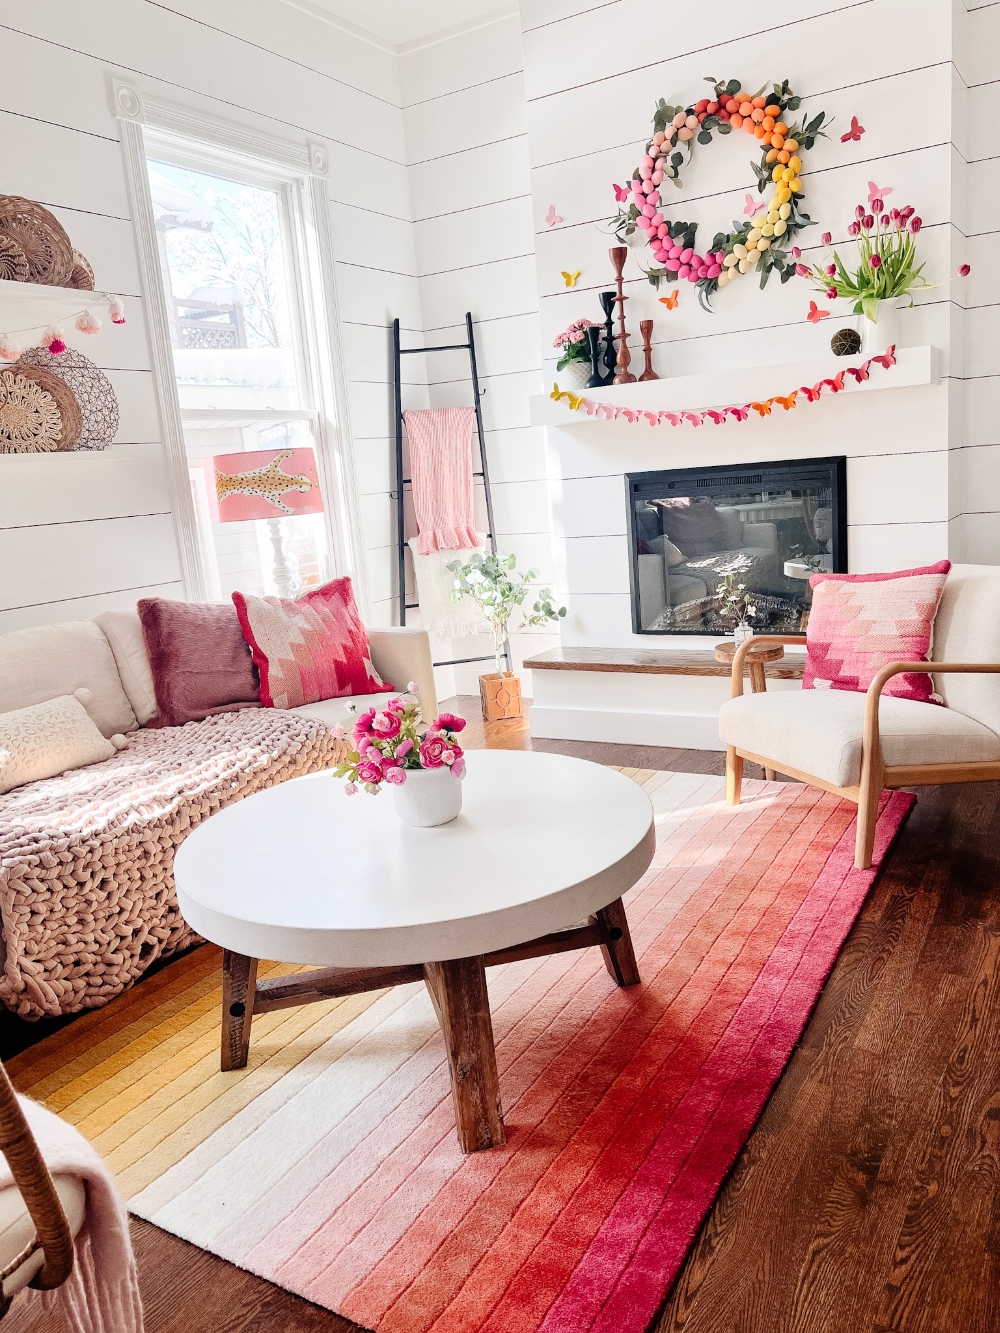
I ended up only using two out of the three butterflies on my mantel. Put glue dots on the bottom of the extra butterflies and put them on the wall of the mantel. I love the way they look as if they are flying!!
Add Some Flowers
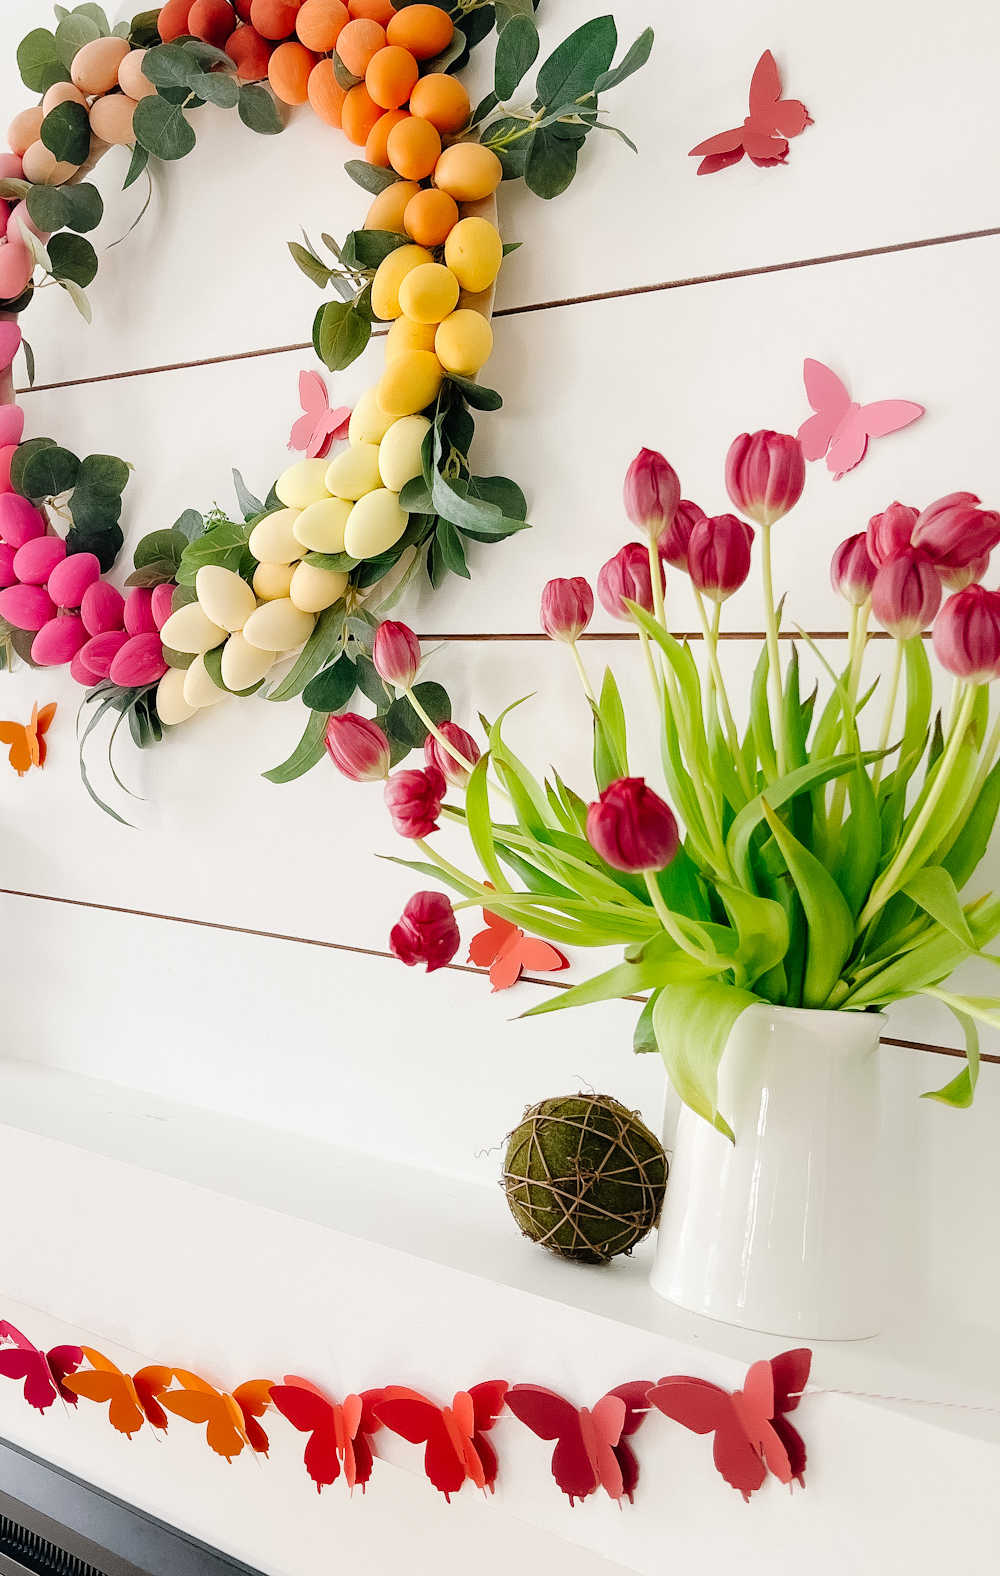
I added more color with a vase of tulips and a pink potted plant on the other side. I love how simple and bright the mantel looks!!
12 Inspiring Easter Mantels

Today some of my friends are sharing their Spring and Easter mantel decor ideas too! Be sure to visit their posts by using the links below the images.

The Happy Housie // The Tattered Pew // Grace in My Space
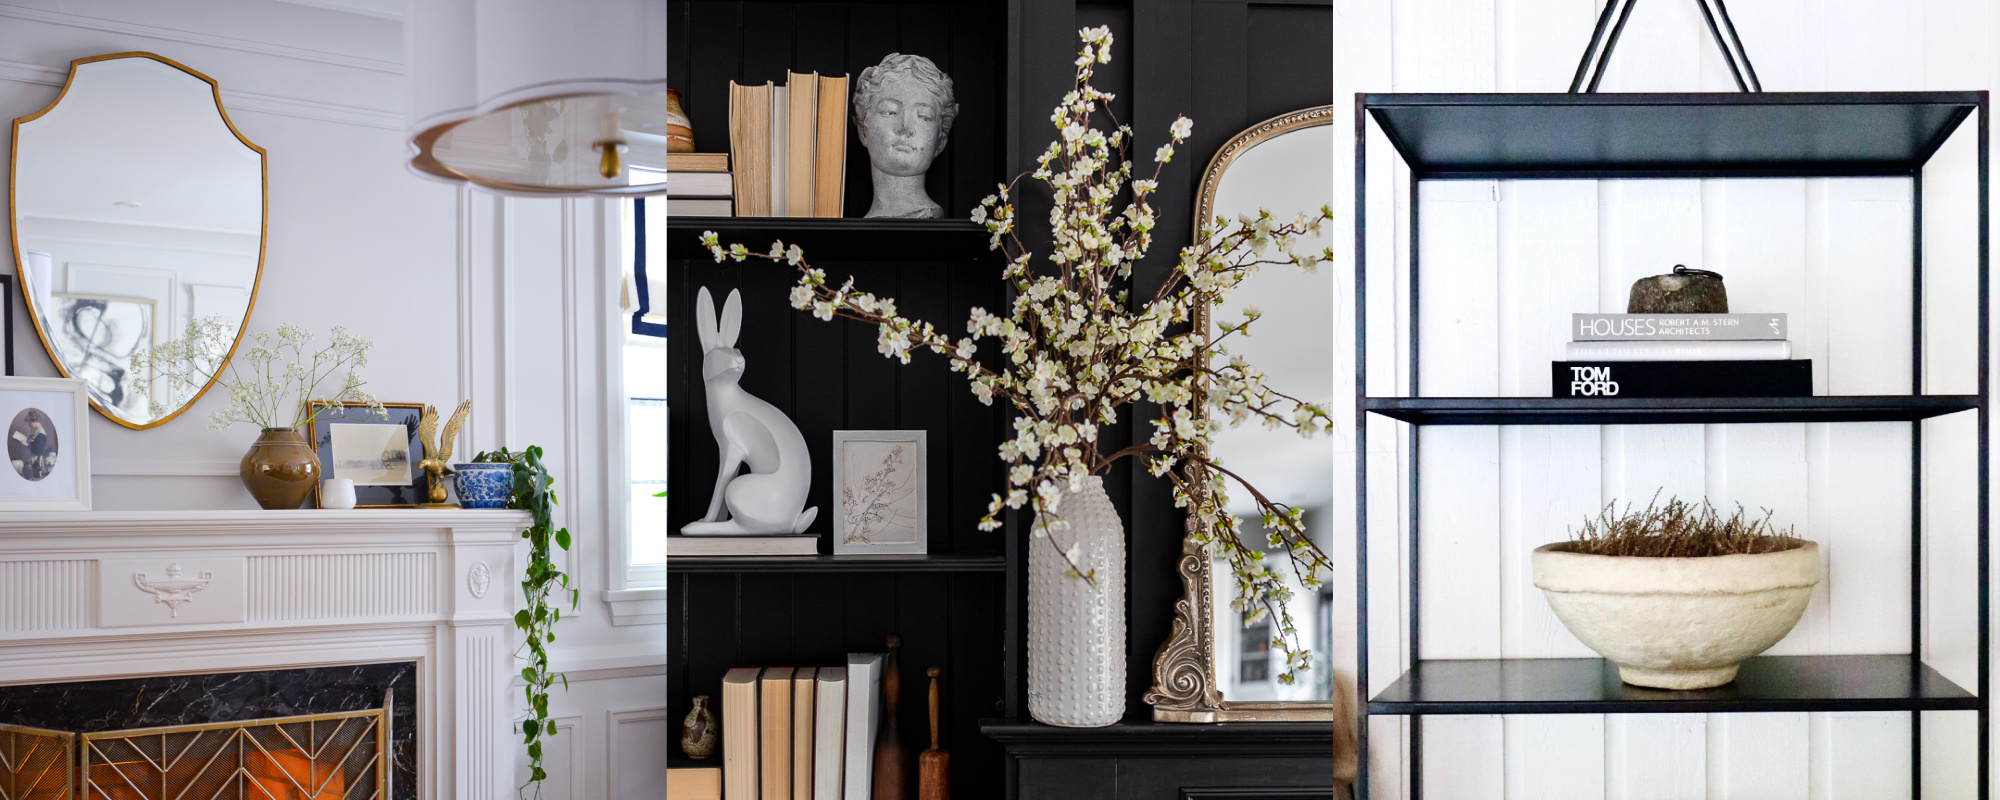
Rambling Renovators // Craftberry Bush // My Sweet Savannah

Deeply Southern Home // Happy Happy Nester // She Gave it a Go
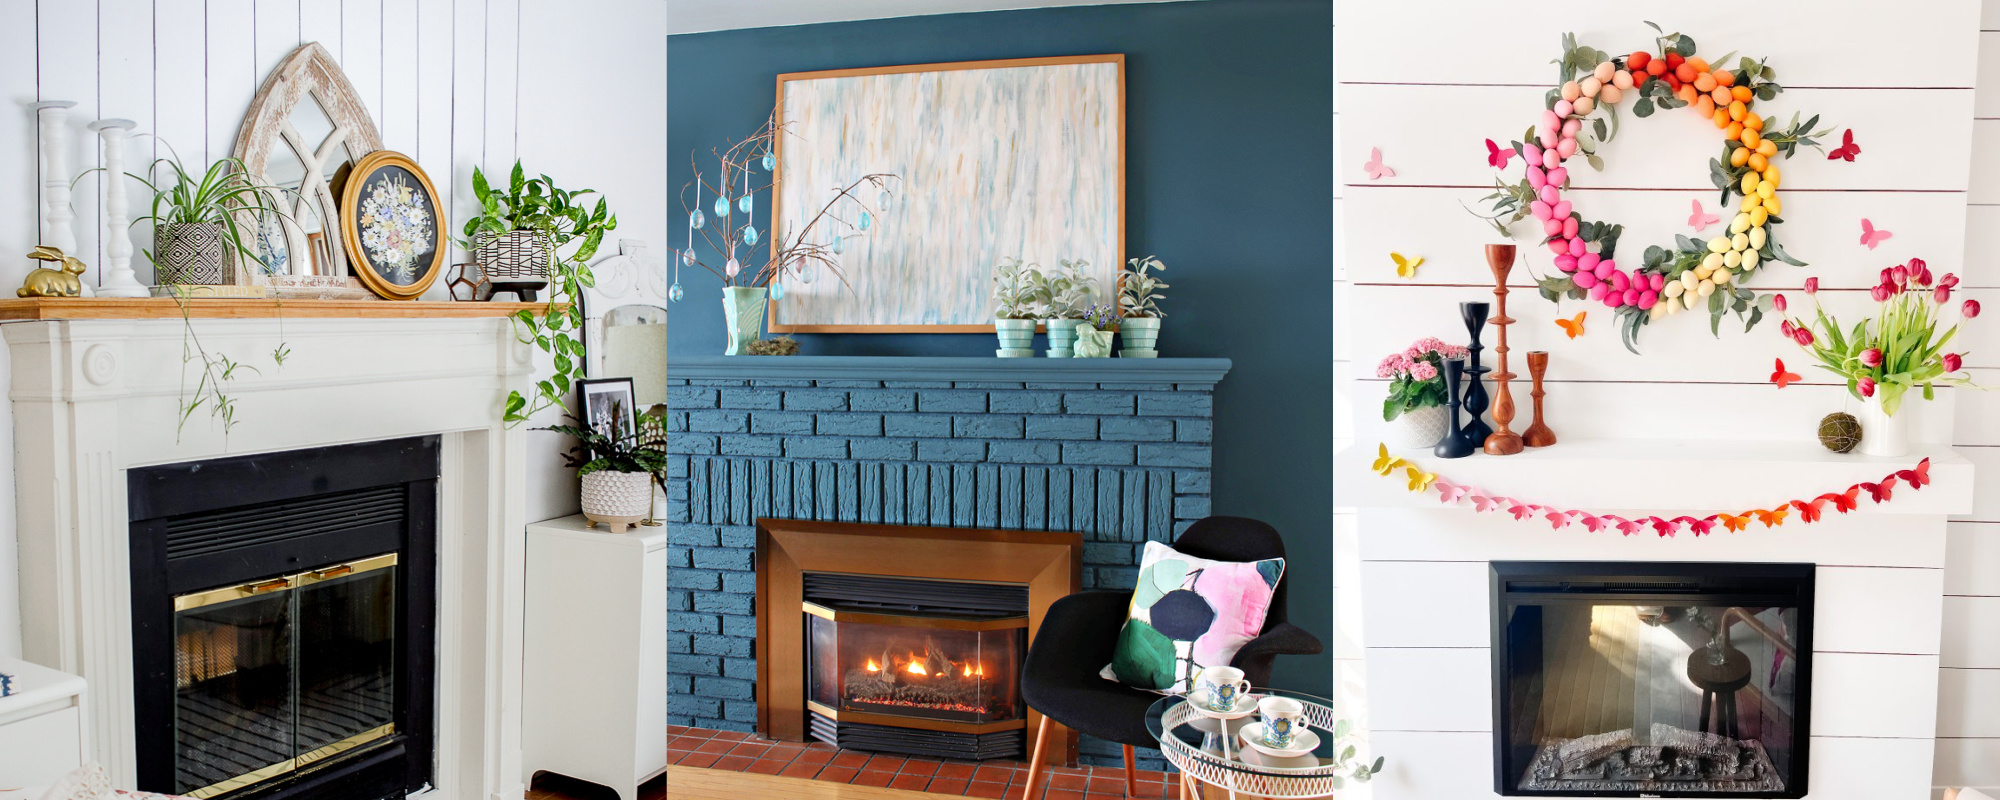
Joanna Anastasia // Dans le Lakehouse // Tatertots and Jello
More Easter Mantel Ideas
Here are a few other Easer Mantels I have created over the years! Let me know which one is your favorite!
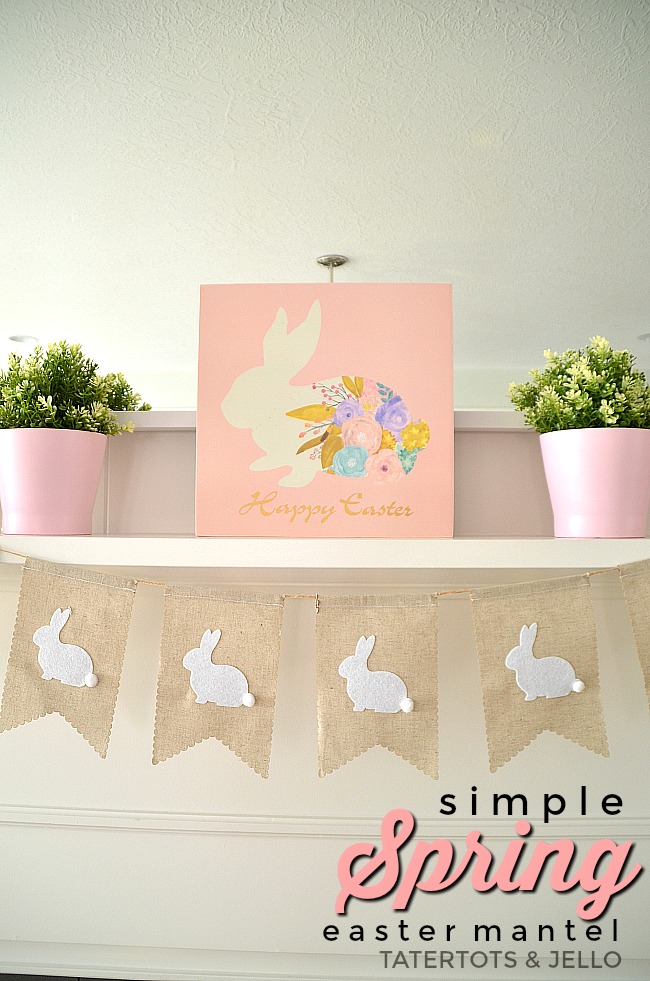
Simple Easter Mantel
This one was so easy and I loved how simple it was. I put faux plants in pink pots, added a burlap banner with little bunnies and a pink bunny print!
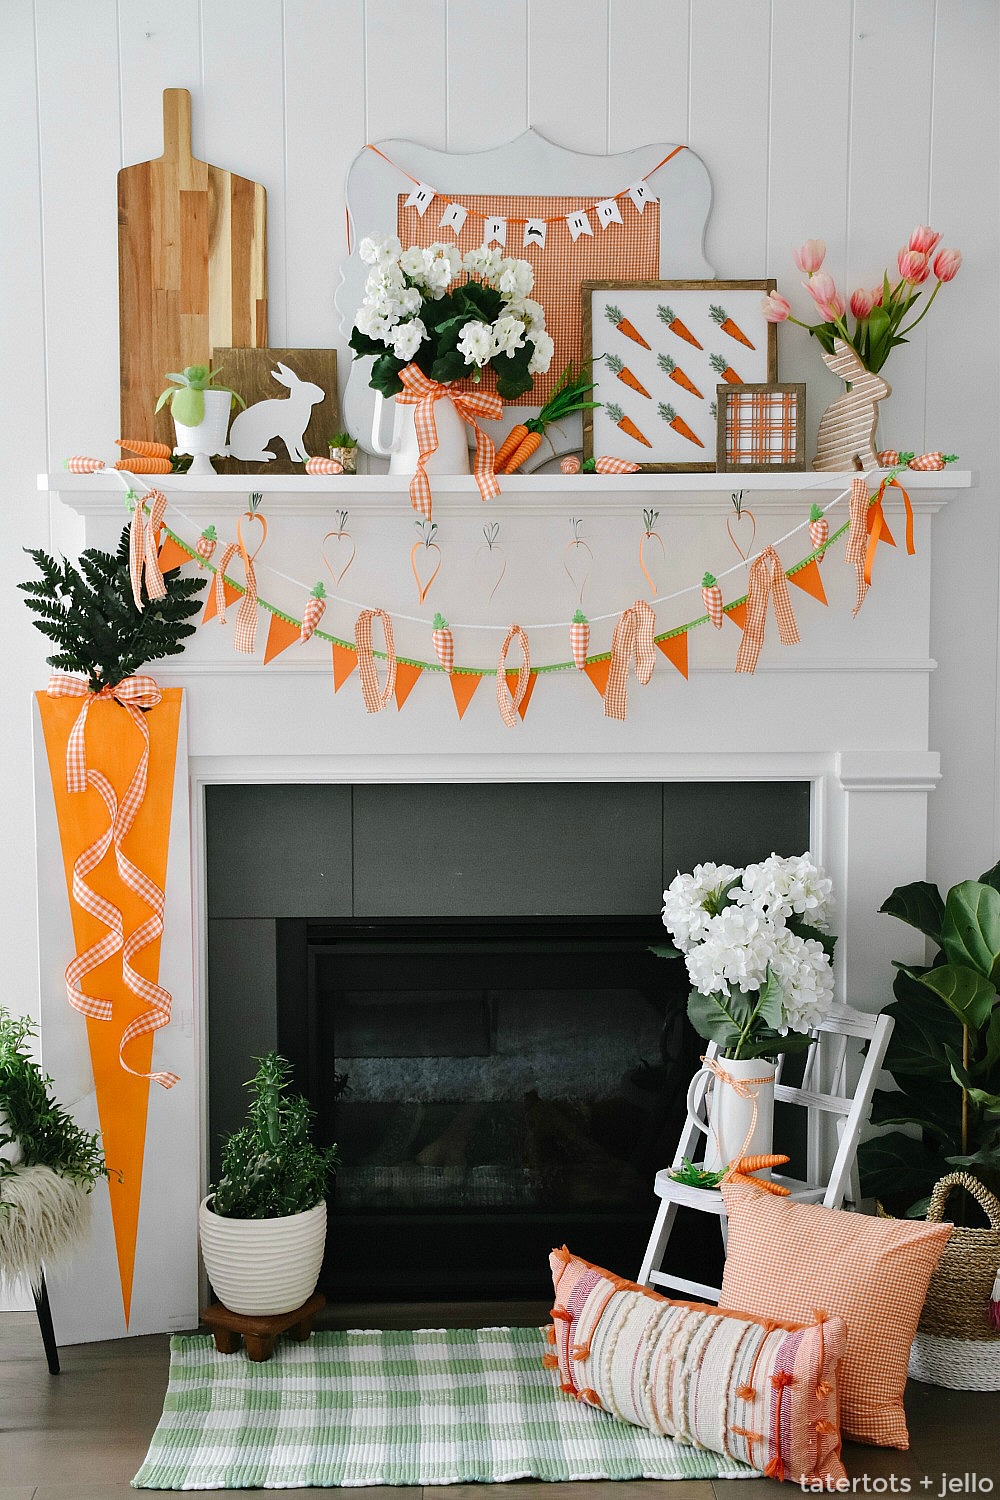
Carrot Mantel
This was one of my favorites. I love a good theme. Layered carrot and bunny signs, made a carrot banner our f fabric and one out of paper and then made a giant carrot sign to go on the side!
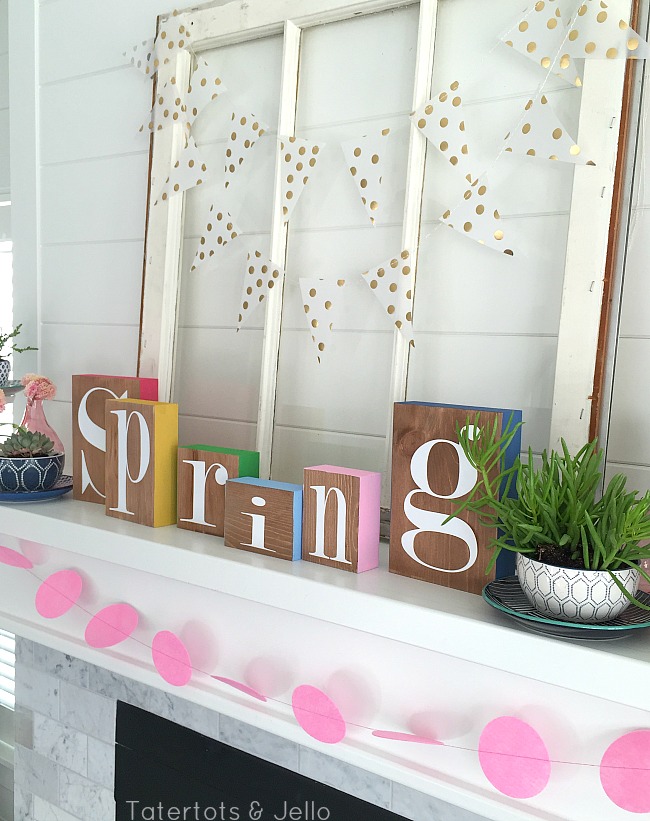
Spring Colorful Blocks Mantel
This was spring at my 1905 cottage. I loved that fireplace!! This is such an easy idea. Cut wood blocks, stain the front and paint the sides different colors. Then add vinyl letters to spell “SPRING”.
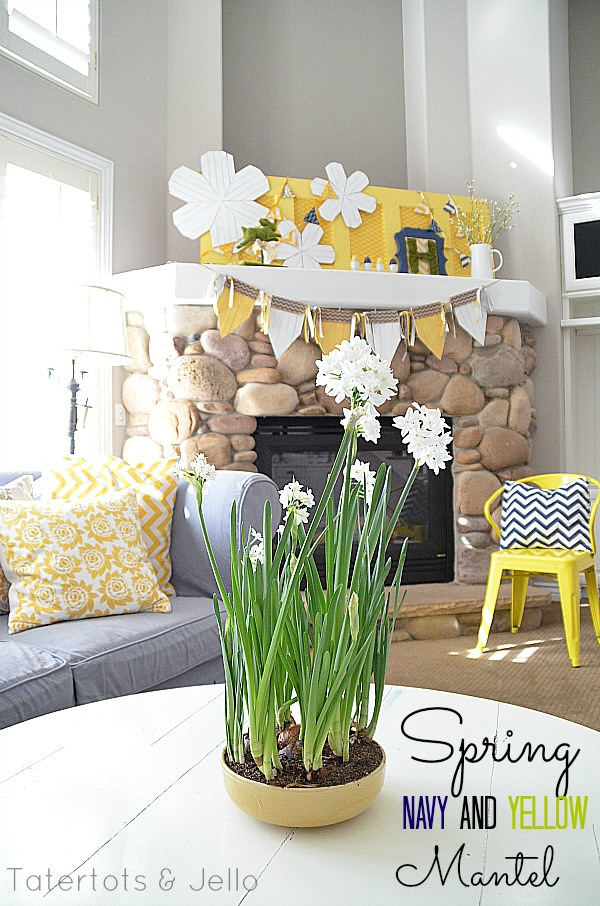
Spring Navy and Yellow Mantel
This was a fun mantel to create. The flowers are made from wood shims! Cut the shims into petals and attach them together to create the cutest flowers!
What projects are you working on this spring?
Let us know in the comments!
xoxo



VERY fun! Love the happy colorful vibe.
Thanks Pamela!
The colors are making me happy!
xoxo
Jen I am in love with your colorful mantel! You win SPRING with this one because it makes me smile every time I see it! Thank you for sharing your joy with us all. Pinned!
You’re the sweetest!! Thanks Kelly! That means so much to me!
xoxo
Your home is the essence of happy decor! It all feels so cheerful, instantly lifting my mood! Love it!
You’re the sweetest! Thanks my friend!
xoxo
This is the happiest mantel, Jen- pinned!
Thank you for always sharing such lovely ideas.
xoxo,
Brendt
Thanks Brendt!
Your farmhouse mantel is so pretty! I love the wood accents!
Have a great day, my friend!
xoxo