How to make a Welcome My Pretties Painted Halloween Rug. Take a welcome rug and add custom words to create a special rug for a holiday or season!
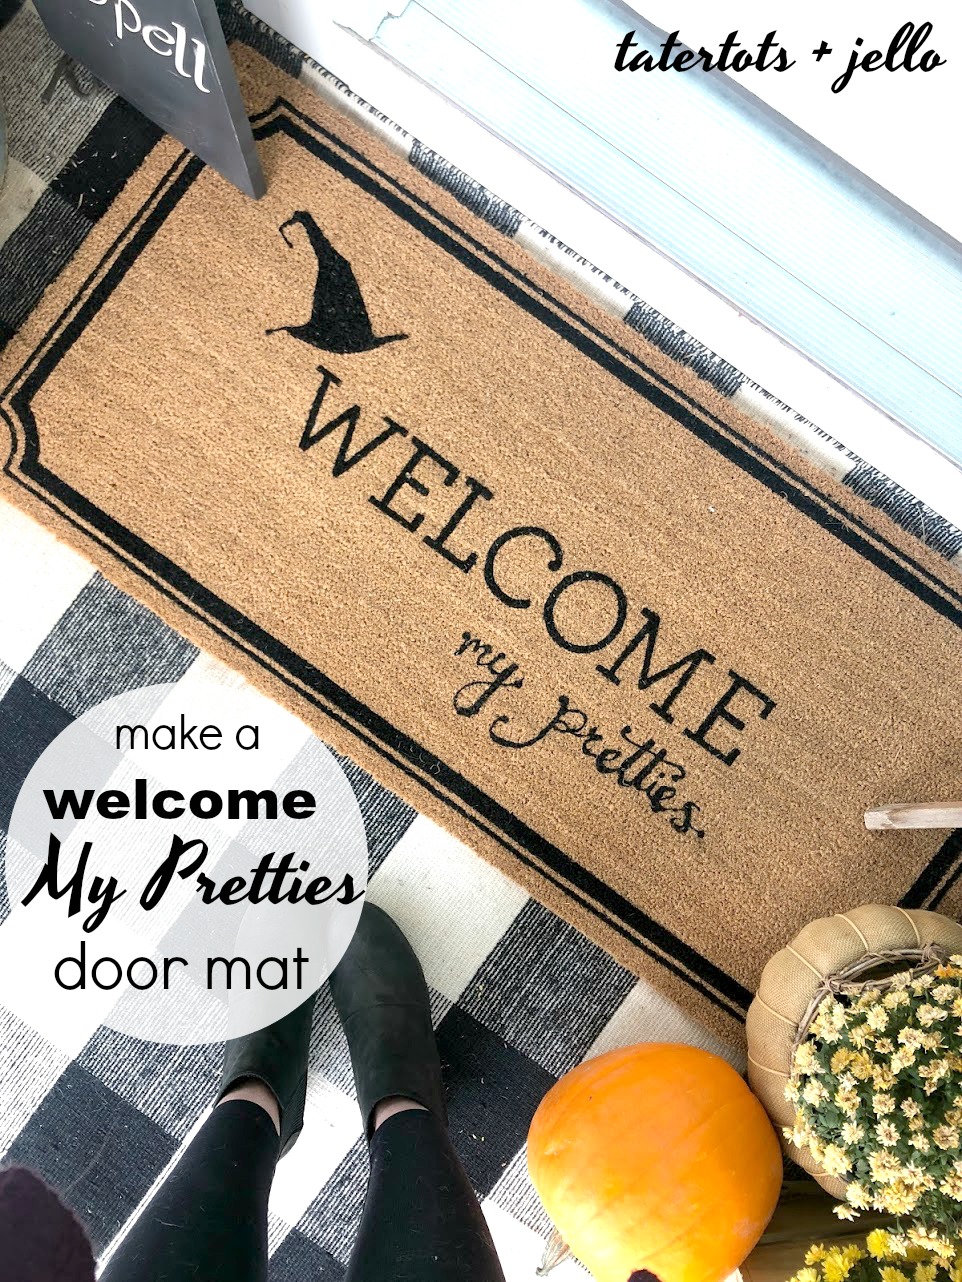
Make a stenciled rug
I go through creative phases. One of my phases was painting and stenciling rugs. I made so many! And I learned a lot of what to do and what NOT to do when painting and stenciling rugs. One of the reasons I started doing it was because I had such a hard time finding what I wanted. For a long time I just wanted a grey and white striped plain rug. And for some reason no one was making grey rugs. Fast forward 8 years or so and there are so many rugs to choose from. Find a grey striped plain rug is so easy now. So I haven’t painted rugs in three years or so.
Stenciling on different materials
The last rug I stenciled for Halloween was about three years ago. The 31 Halloween rug. That was a fun one.
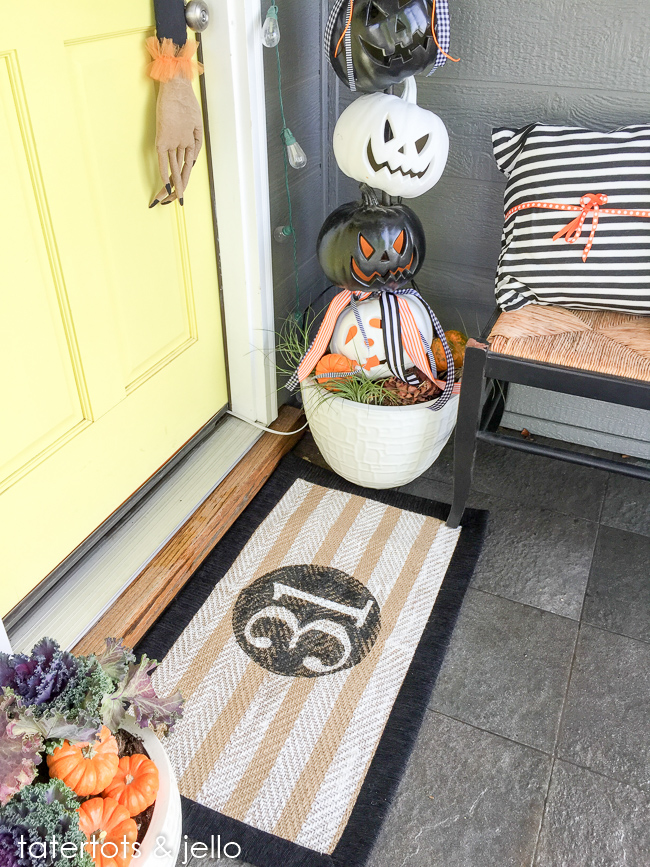
How easy or difficult really depends on what type of material your rug is. That 31 Halloween rug was pretty flat so it was relatively easy to stencil. A traditional welcome mat is much more difficult since it’s made out of coir – which is super rough and not flat. The problem with spray painting a stencil on coir is that to get a really good line you need your tape to adhere really well to whatever surface you are trying to stencil. Your tape will not stick to coir. Of course it can be done but your line is going to be blurry with spray paint.
How to paint on coir rugs
I have found the best results on coir rugs is hand painting the words on your rug. You can print off a stencil or buy a plastic stencil, then use a wide bristle short, round brush and dab the paint directly onto the coir rug.
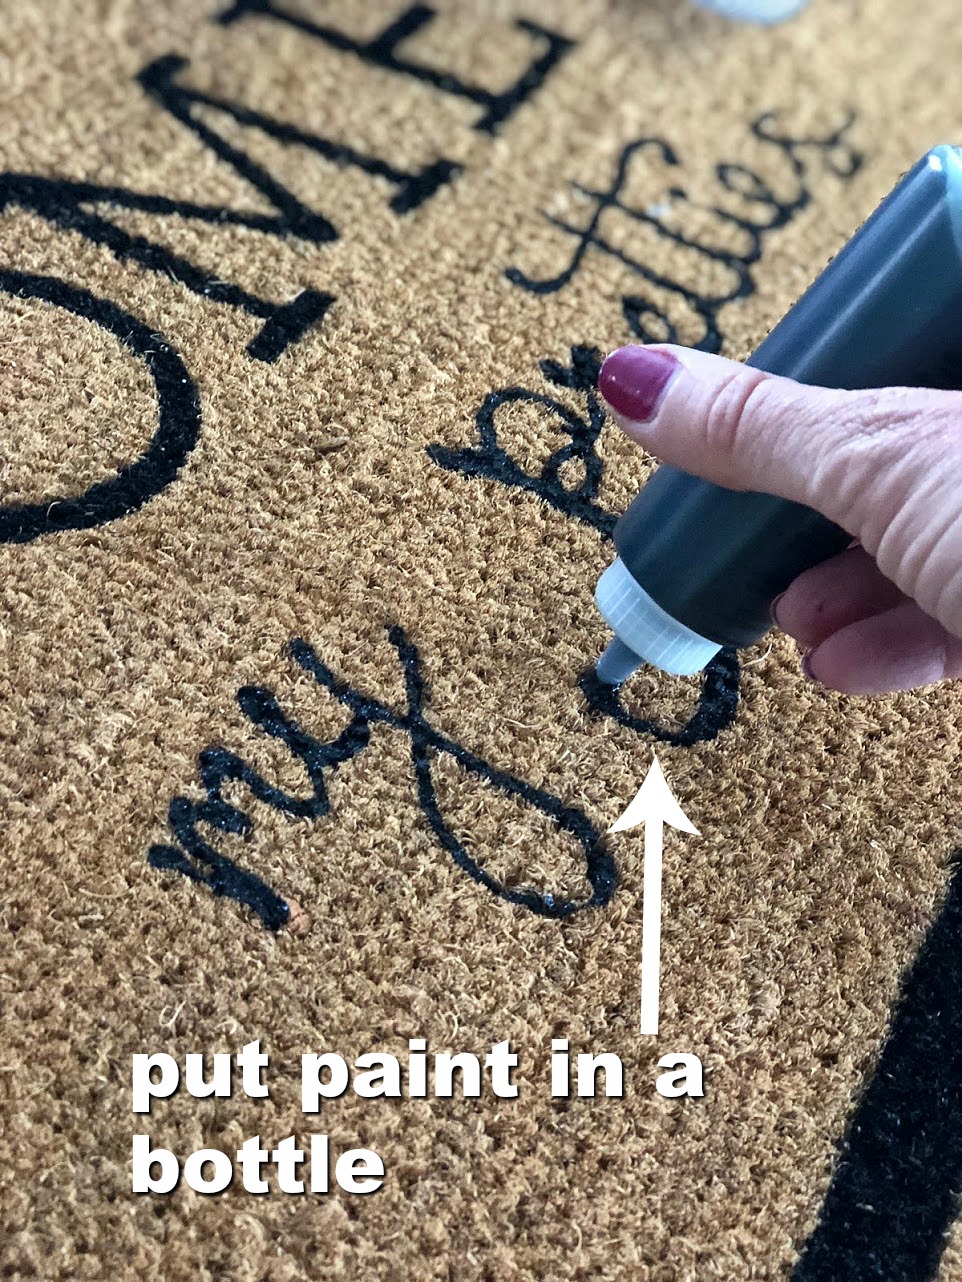
Hand paint your words using a small bottle of paint with an opening
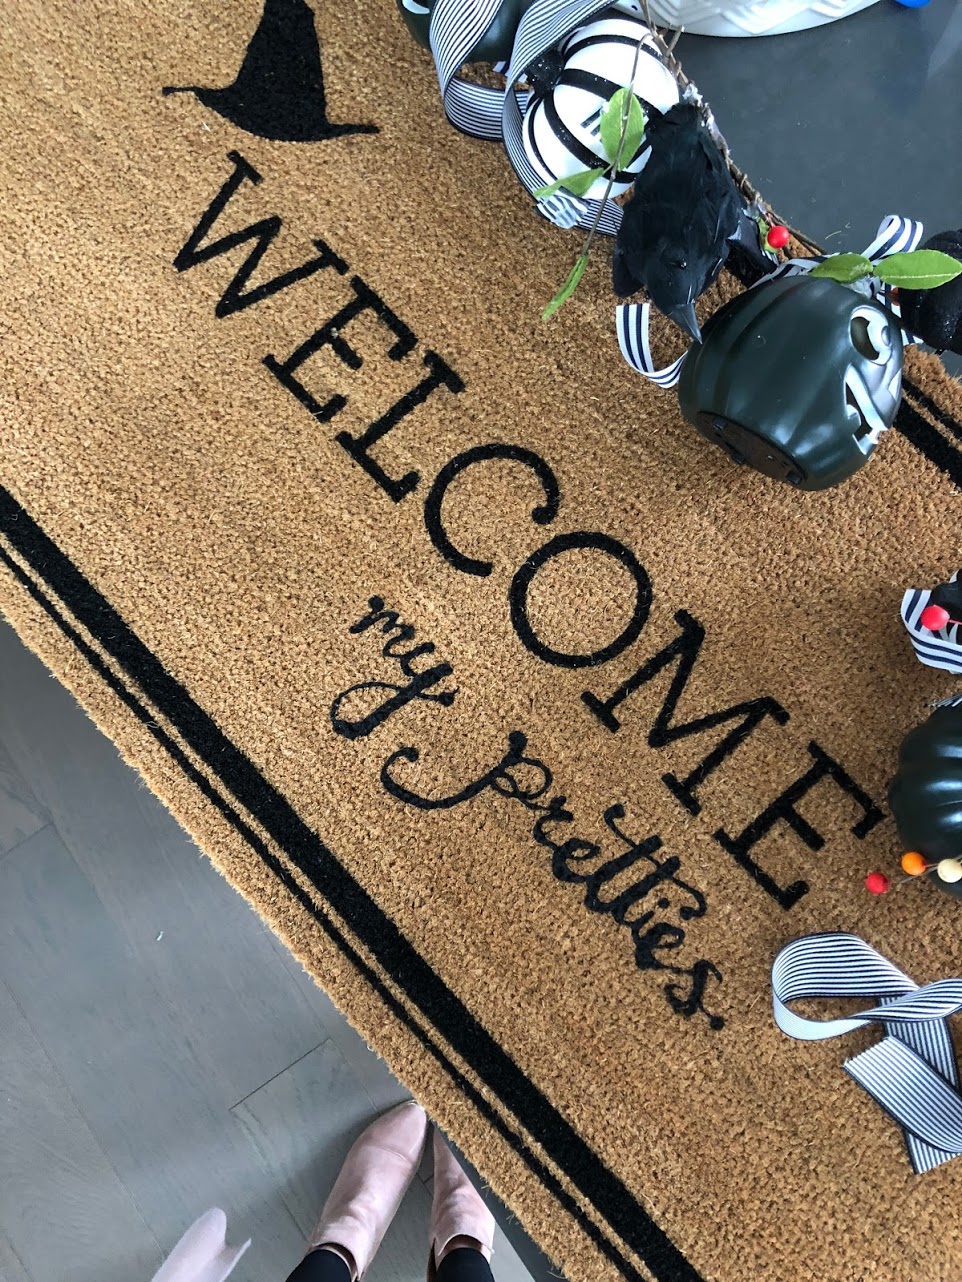
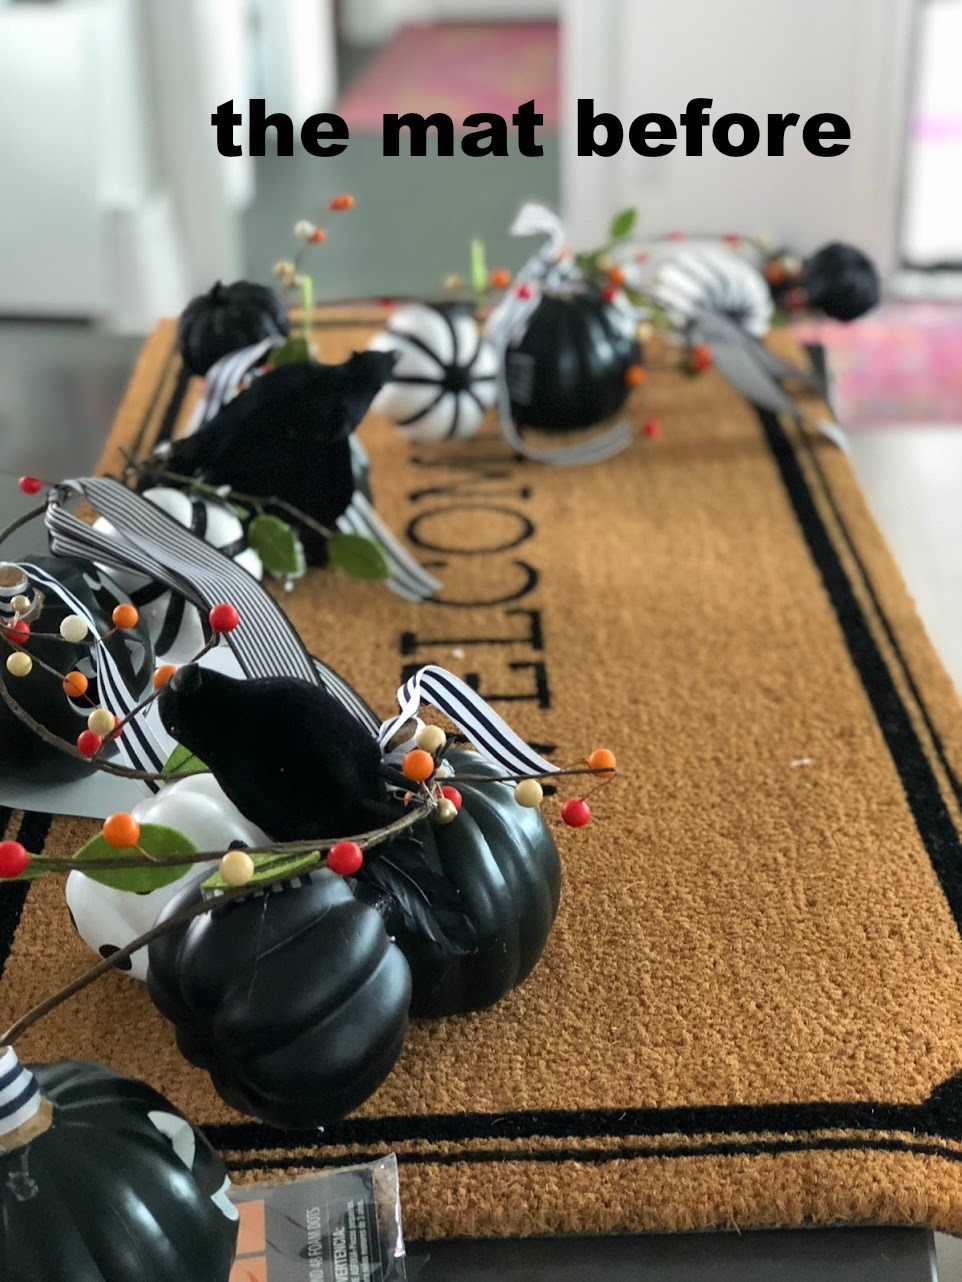
For this rug I tried something different. First of all I bought a pre-done welcome rug which made things super easy. Then I decided to free-hand my word on the rug. To begin with I wrote the word out on a piece of paper, the size that I wanted the word to be. Then instead of using a paint brush on coir, which doesn’t go on evenly. I poured paint into a little bottle and I wrote the word out with paint coming out of the little opening in the bottle. It worked great! I used quite a bit more paint than you would think because the paint runs down in between the coir bristles.
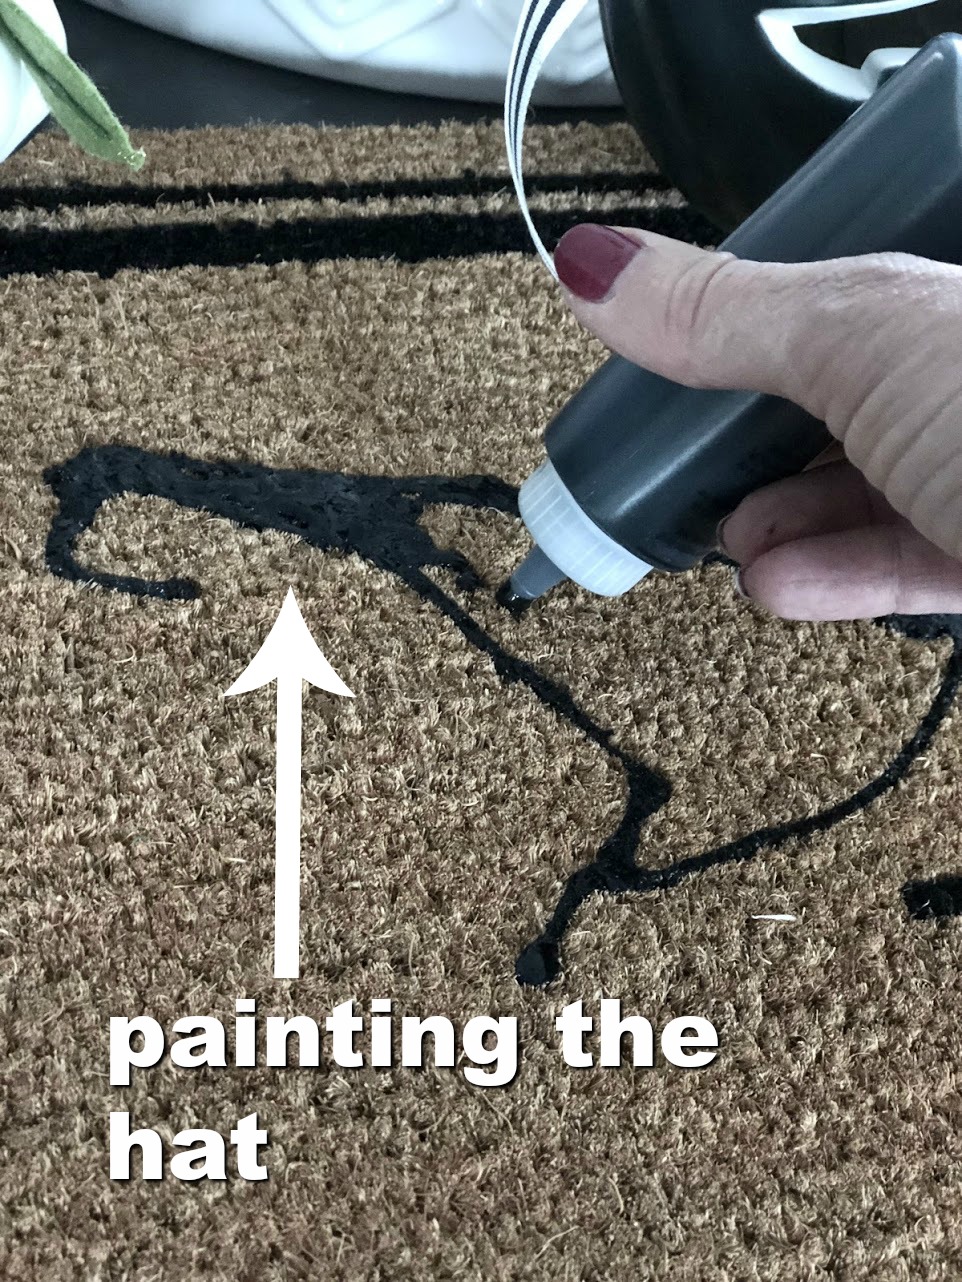
Go back over the lettering to add width
I painted the word with one line and then I went back over it in different areas to make the words look a little bit more like a font.
Let it dry and it’s ready to use
The paint dried quickly and I’ve had it out of my porch and it’s worked worn very well. It still looks the same – even after having kids going in and out of the house for over a week.
Creating this rug from scratch
If you want to get the look of this rug from a plain coir rug this is how to do it.
- Tape off the edges and hand-paint the lines around the edge.
- Then get a WELCOME stencil or make one and cut it out of heavy plastic.
- Tape the stencil onto your rug and hand-paint the stencil.
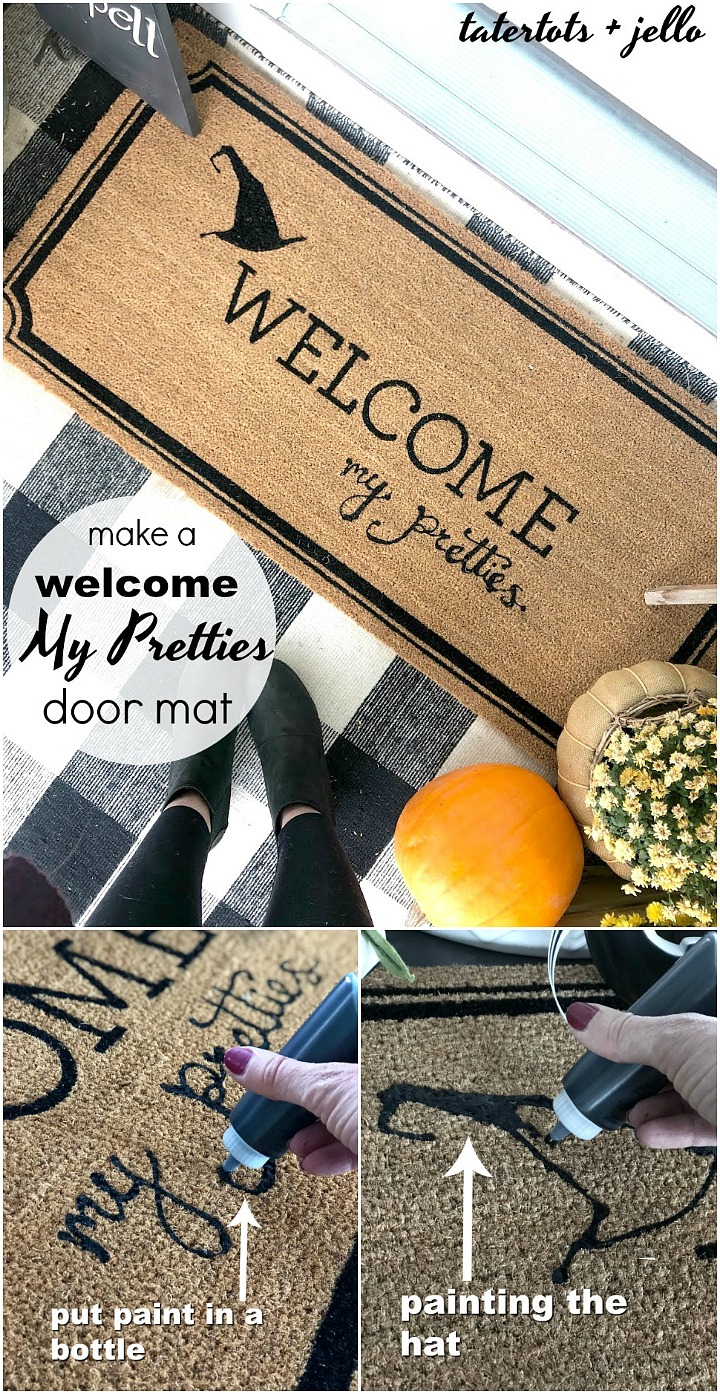
Or – you can pick up a pre-made WELCOME rug and then add some words to it like I did. SO easy!
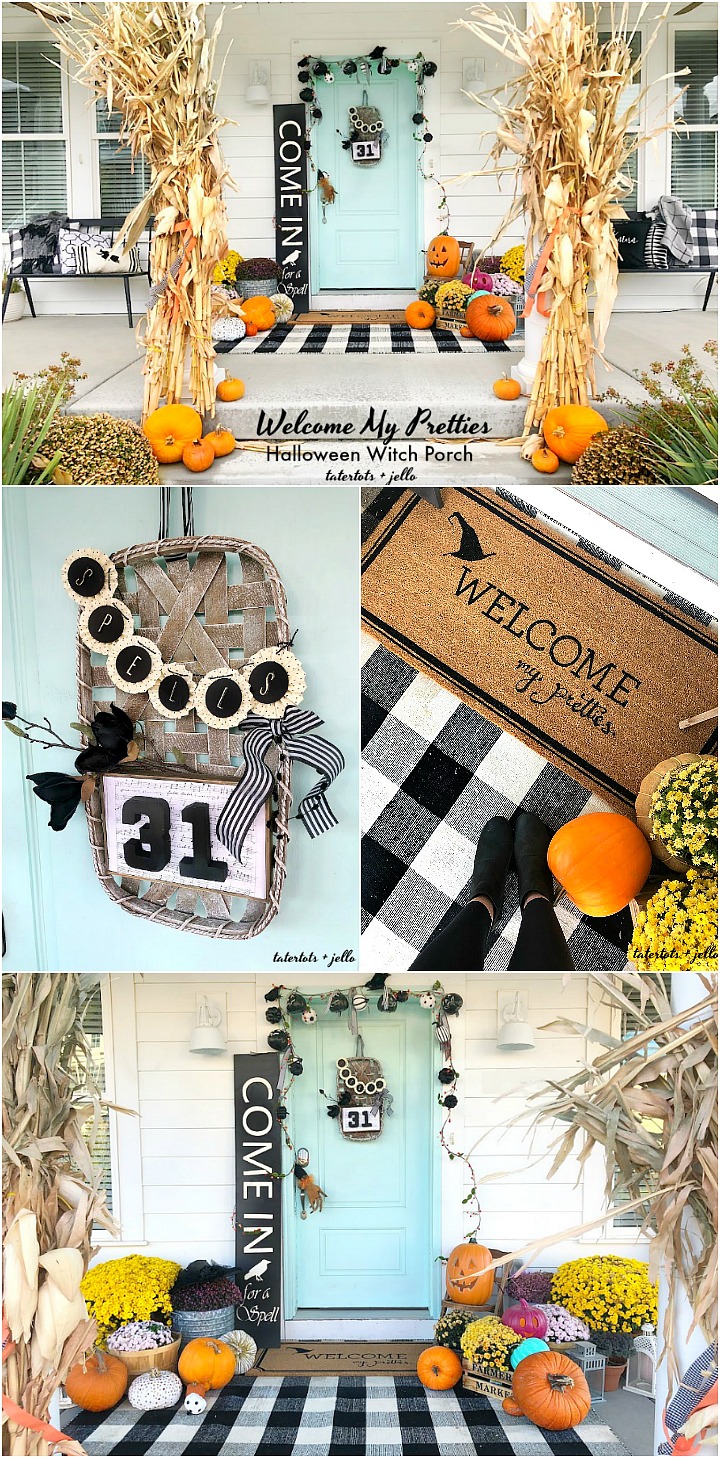
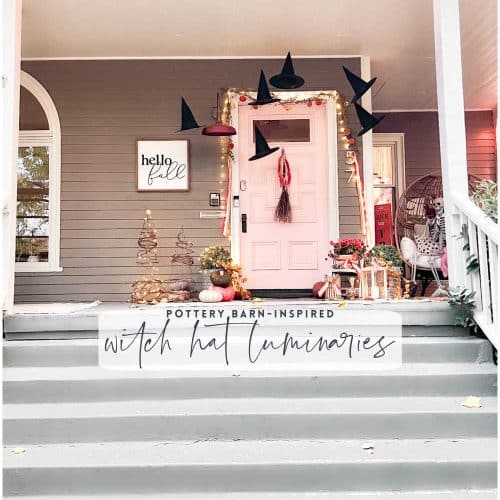
I love the way my custom rug looks with my Witch Porch this year!
Have a SPOOKY day!
xoxo





What is the black and white rug underneath your mat? Could you share a resource?
Hi Karen —
That rug was from rugusa.com. They have great prices 🙂
xoxo
Acrylic craft paint? Wow! I was thinking it would have to be something like exterior paint for durability. Have you always used acrylic? I’m wanting to do a coir mat with our initial and it would be out there longer than a holiday. Do you suggest a different paint for that type project? Thx! Your rugs are awesome!!
Hi! I have had great luck with acrylic craft paint and also spray paint for painting rugs. But now there are also a lot of outside paints which would probably hold up longer than normal craft paint.
xoox
Is the black paint just acrylic? So cute!
Hi! Yes it’s just regular acrylic craft paint 🙂
xoxo