DIY Spooky Upscale Cloche Centerpiece: A Terrifyingly Elegant Halloween Project. Create an enchanting DIY centerpiece into a hauntingly elegant cloche for your Halloween celebrations.
DIY Spooky Upscale Cloche Centerpiece: A Terrifyingly Elegant Halloween Project
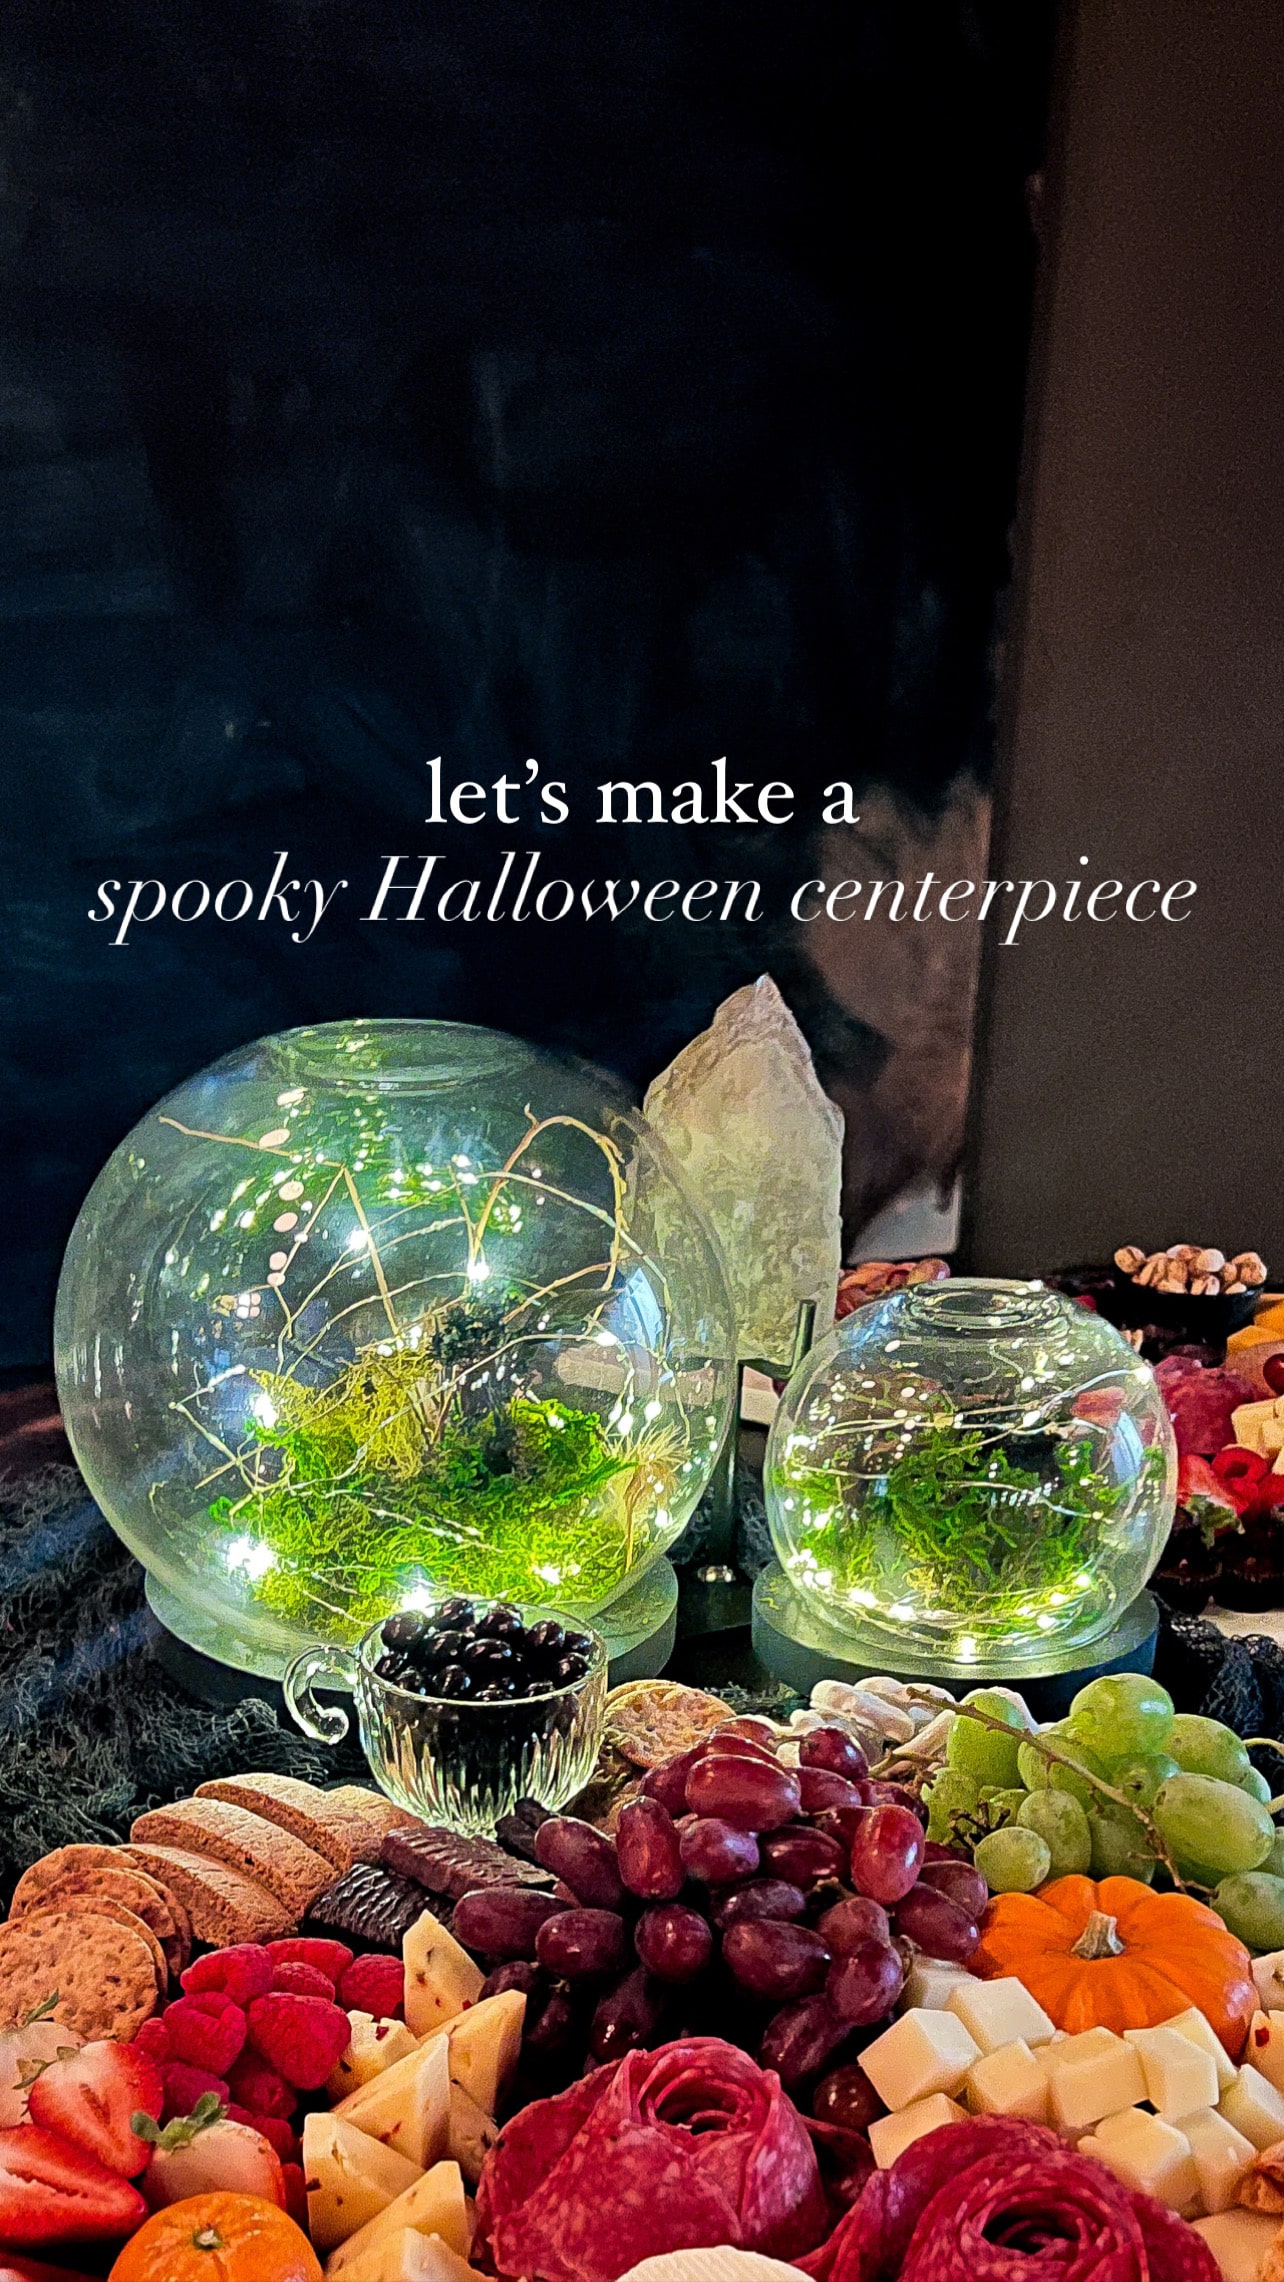
Halloween is just around the corner, and this year, I wanted to elevate my spooky decor game without breaking the bank. Inspired by the upscale and eerie cloches from the Terrain’s Halloween section. Their Glowing Halloween Cloches were $88 each which was out of my budget, so I decided to make my own for under $20! Not only did I manage to recreate the spooky ambiance, but I did it on a budget with a touch of personal flair. Join me as I share the step-by-step tutorial for creating your own eerie masterpiece.
DIY Spooky Upscale Cloche Centerpiece: A Terrifyingly Elegant Halloween Project
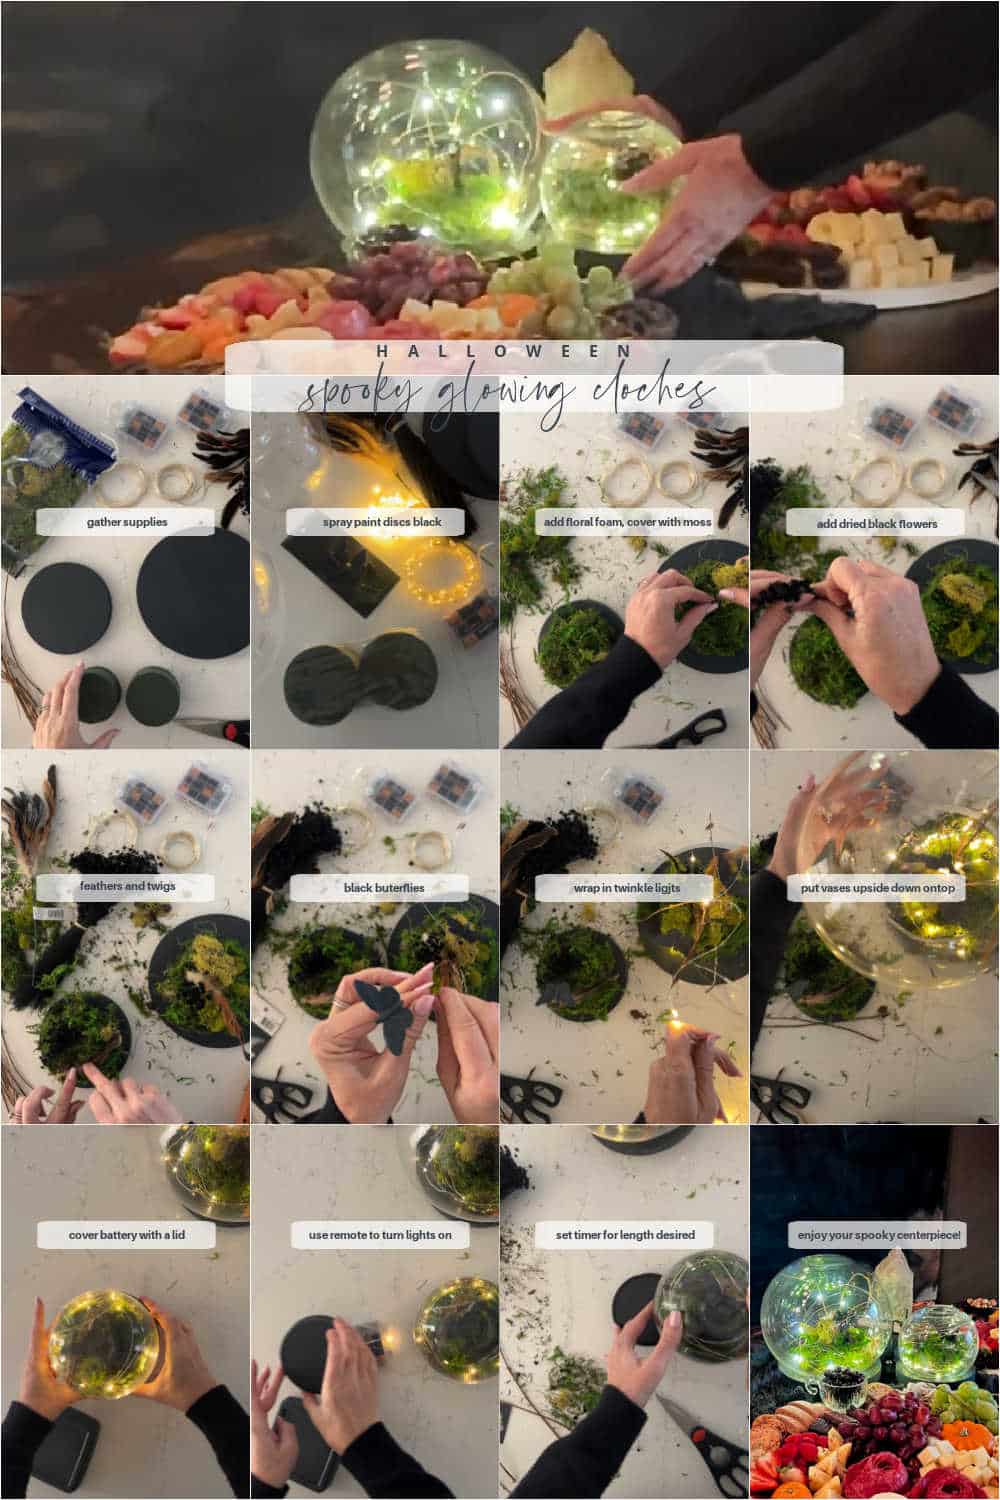
Supplies:
- Two round globe vases of different sizes with the same shape
- Two round wooden discs (a few inches larger than vase openings)
- Black spray paint
- Hot glue gun
- Two floral foam pieces
- Moss
- Twigs from the yard
- Faux butterflies
- Black dried flowers
- Feathers
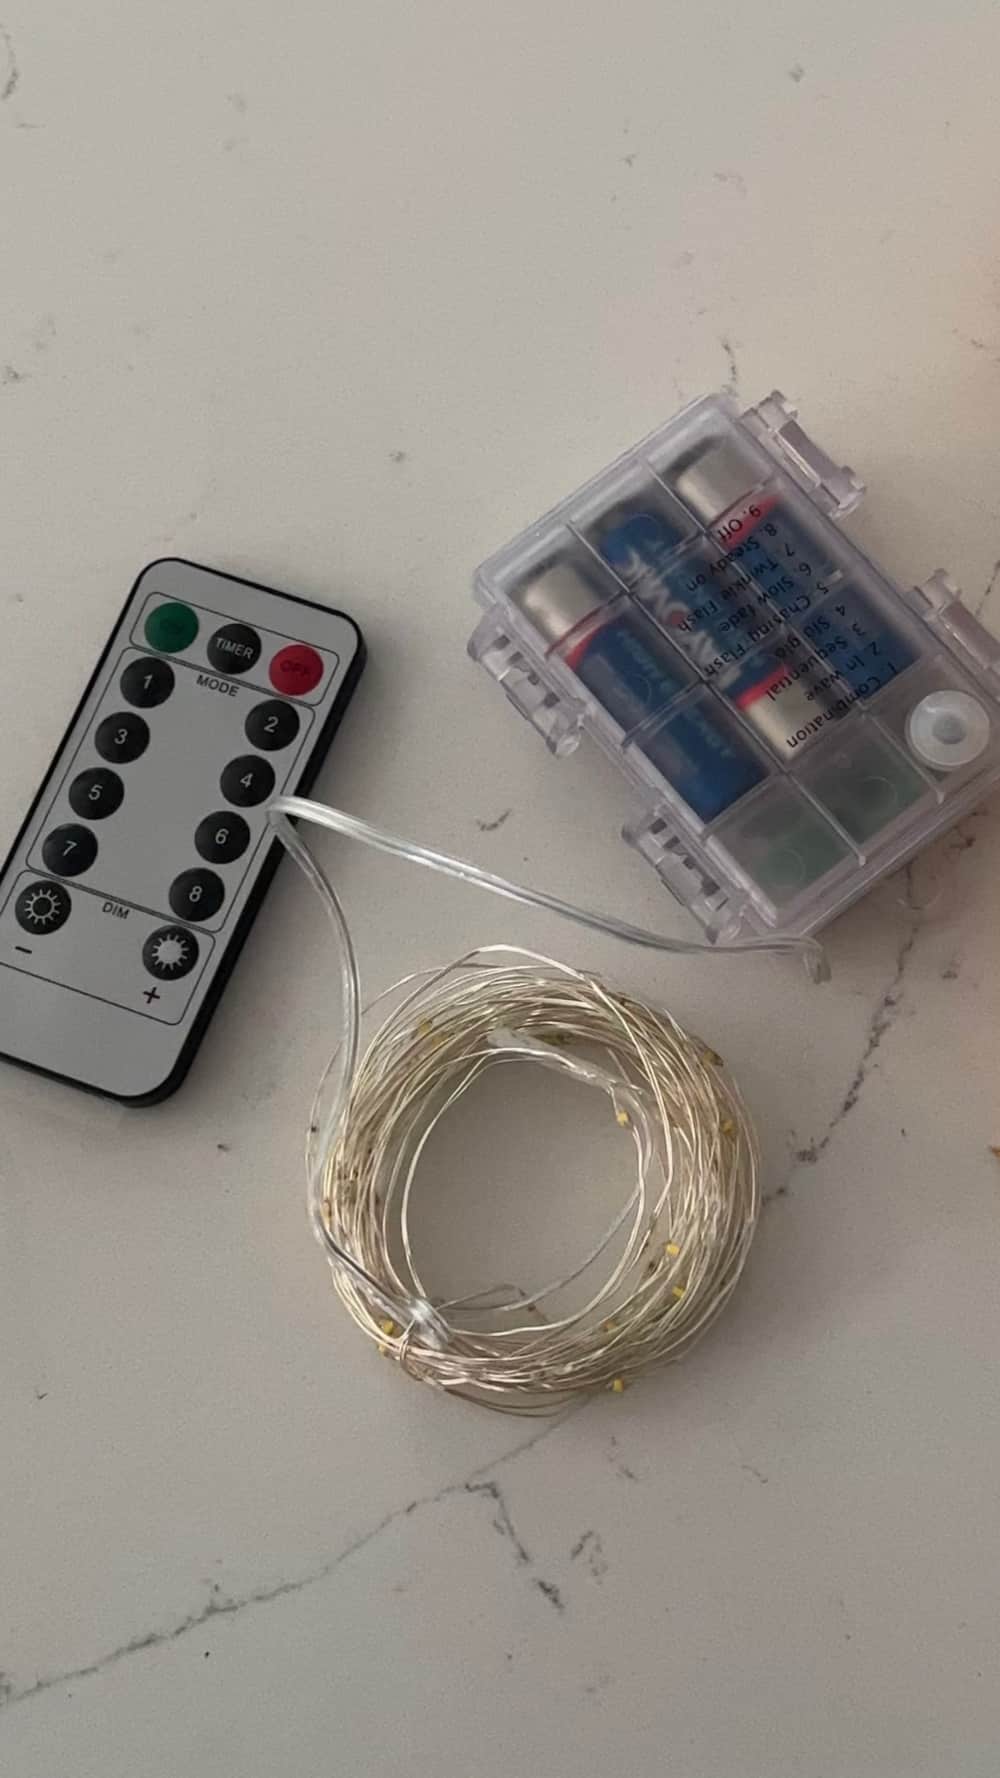
- Twinkle lights with remotes
- Lids to cover twinkle light batteries
Directions:
- Prepare the Bases:
- Spray paint the wooden bases and lids black. This sets the eerie backdrop for your centerpiece.
- Create a Stable Foundation:
- Use a hot glue gun to attach floral foam to the center of each wooden disc. This will provide a stable base for your arrangement.
- Add Moss and Texture:
- Attach moss to each floral foam piece using hot glue. This creates a realistic, earthy texture.
- Build the Spooky Atmosphere:
- Insert dried black flowers into the foam and use hot glue to attach feathers. Add twigs to create height, ensuring they match the expected height of the vase when placed on the disc.
- Incorporate Ethereal Elements:
- Integrate faux butterflies within the arrangement. Their delicate presence adds an otherworldly touch.
- Illuminate the Spookiness:
- Wrap the twinkle lights around the arrangement, allowing them to hover above the twigs. The twigs act as natural supports, making the lights appear as if they’re floating within the arrangement.
- Assemble the Cloche:
- Once satisfied with the arrangement, place the vase on top of the wooden disc. Ensure that all elements are tucked neatly inside.
- Conceal the Battery:
- Cover the twinkle light battery with the lid, making sure it’s completely concealed. Gently place the wooden disc on top of the lid, creating an elevated effect for the entire arrangement.
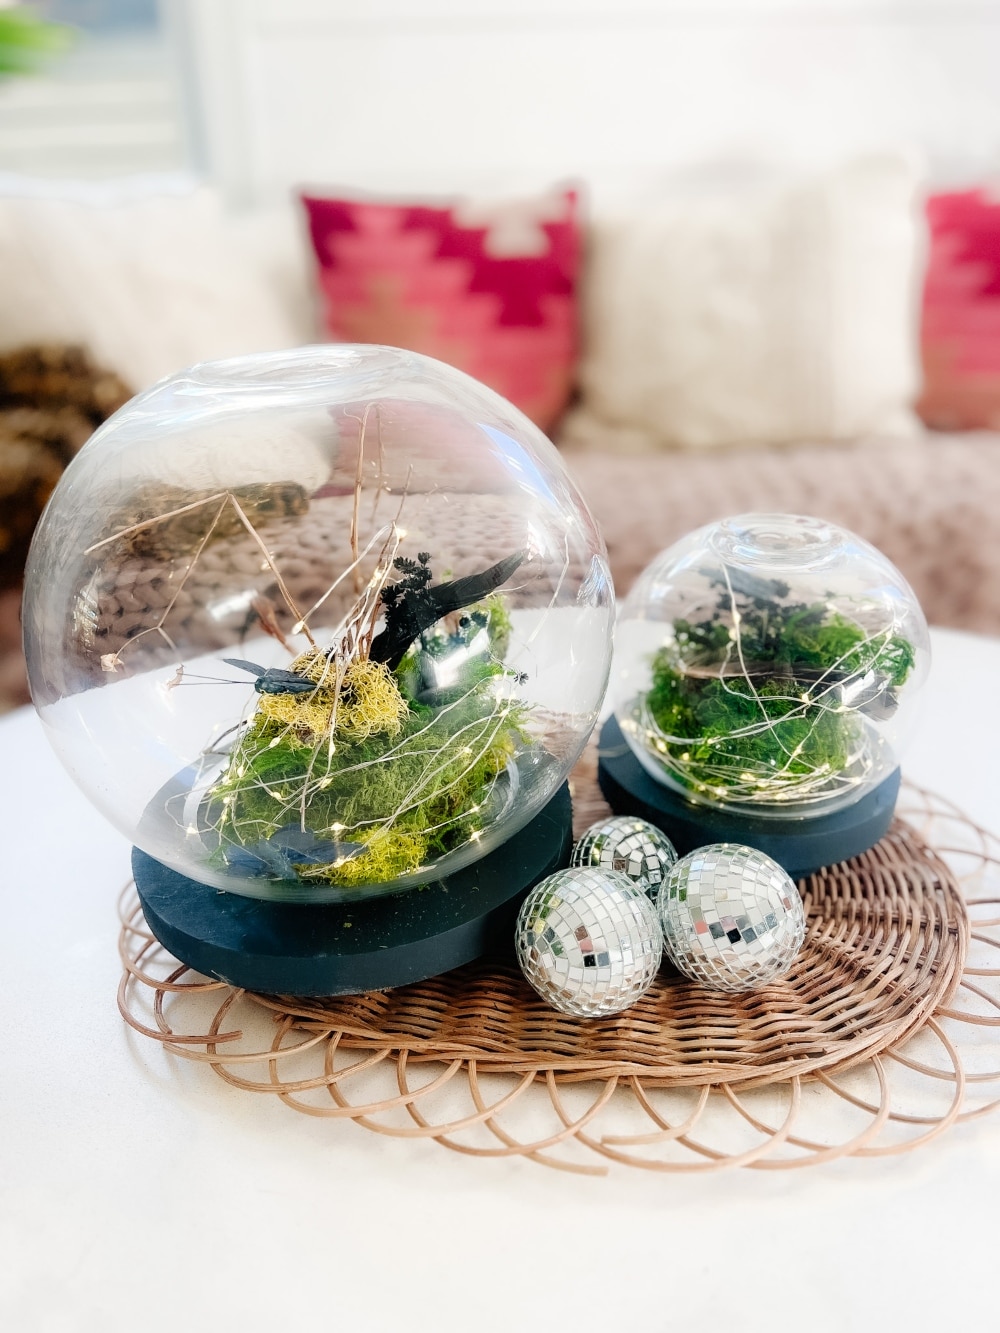
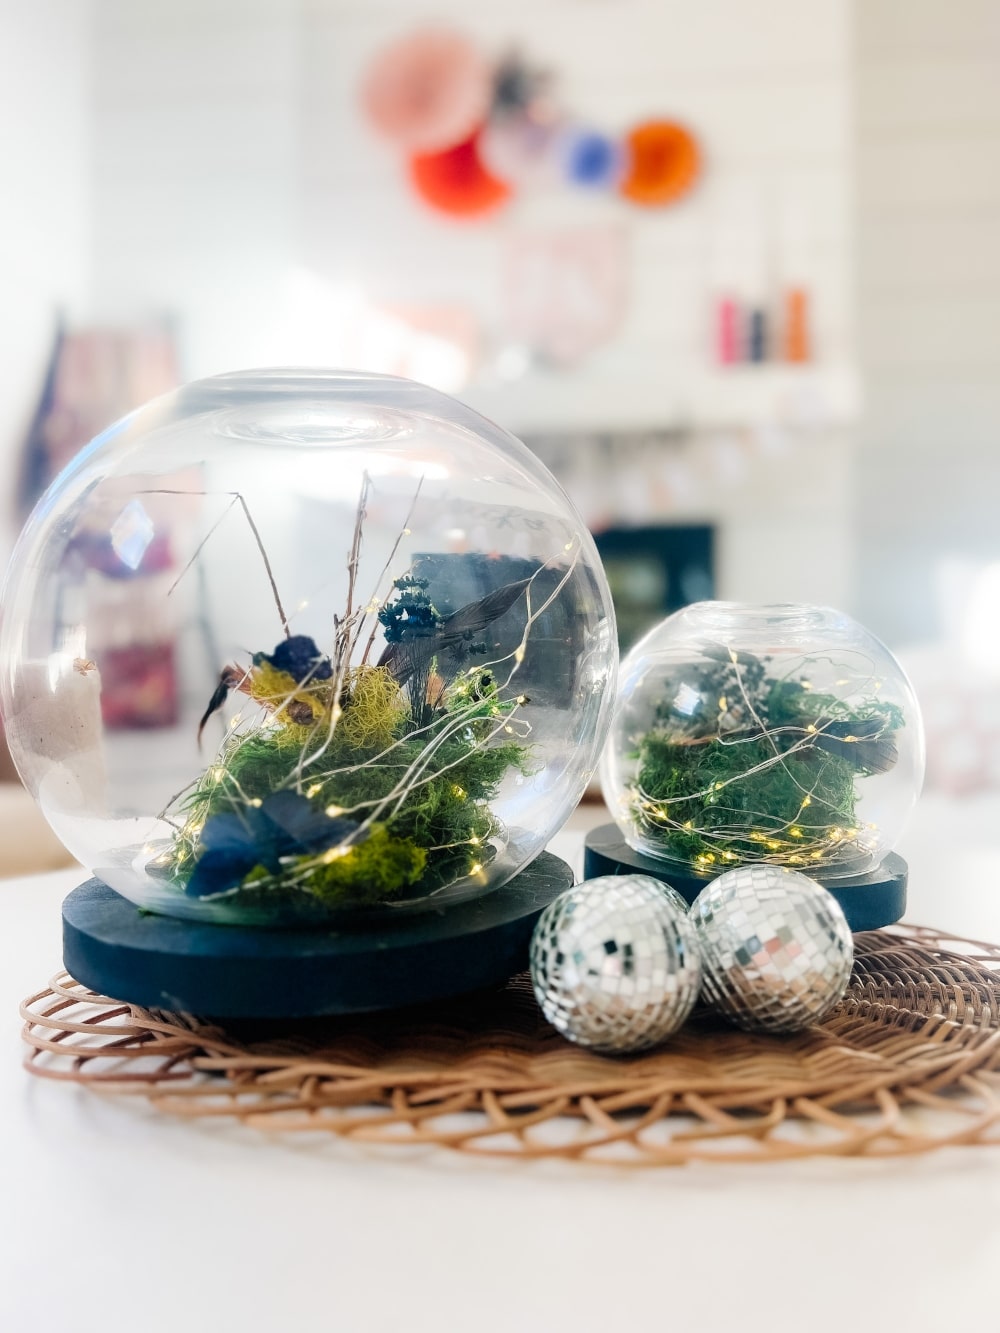
Spooky Centerpiece
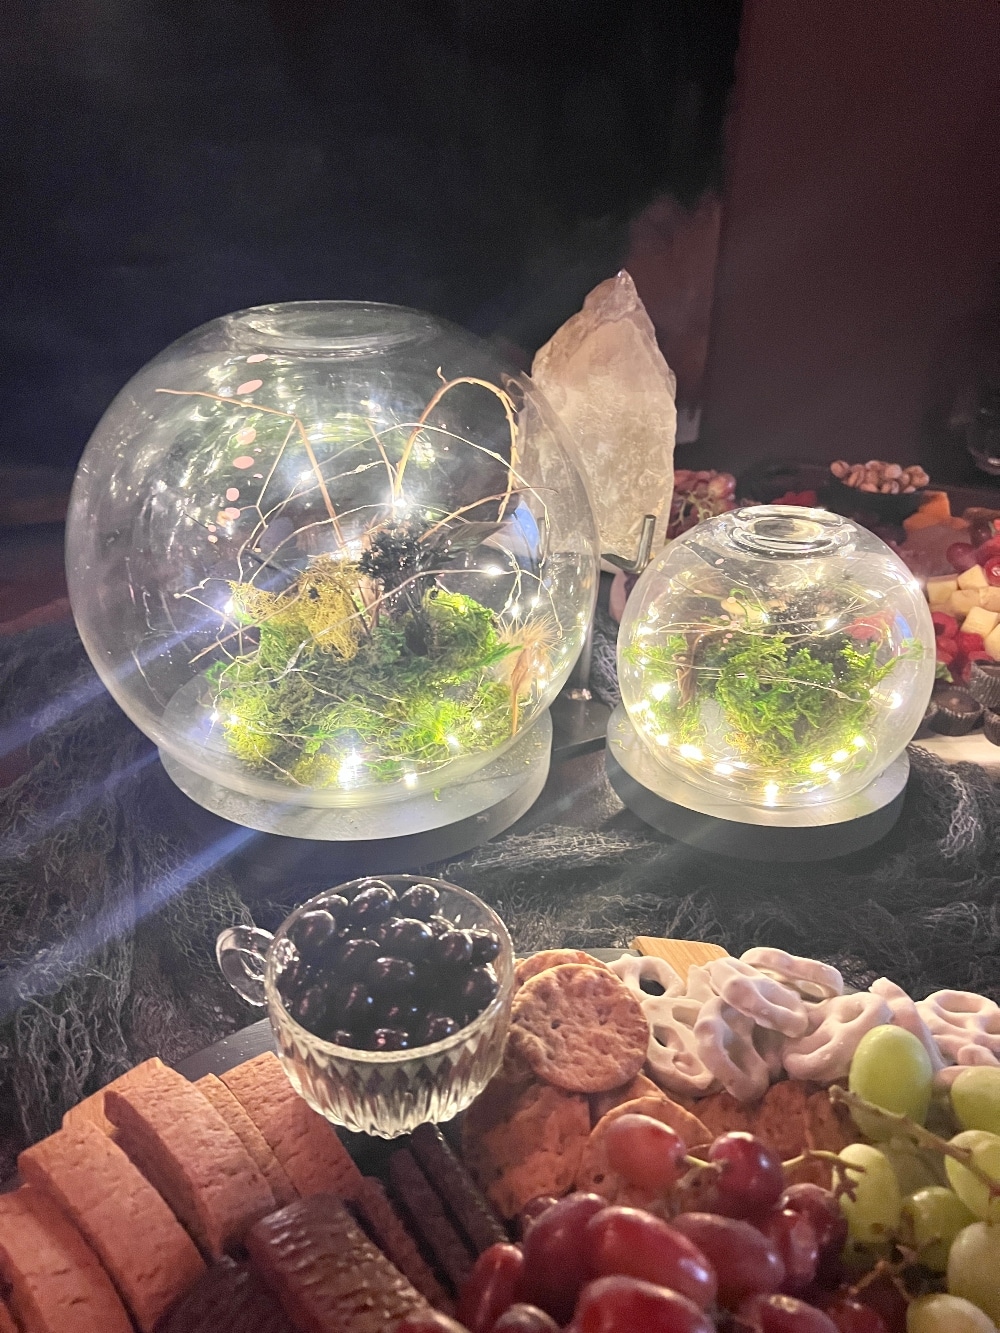
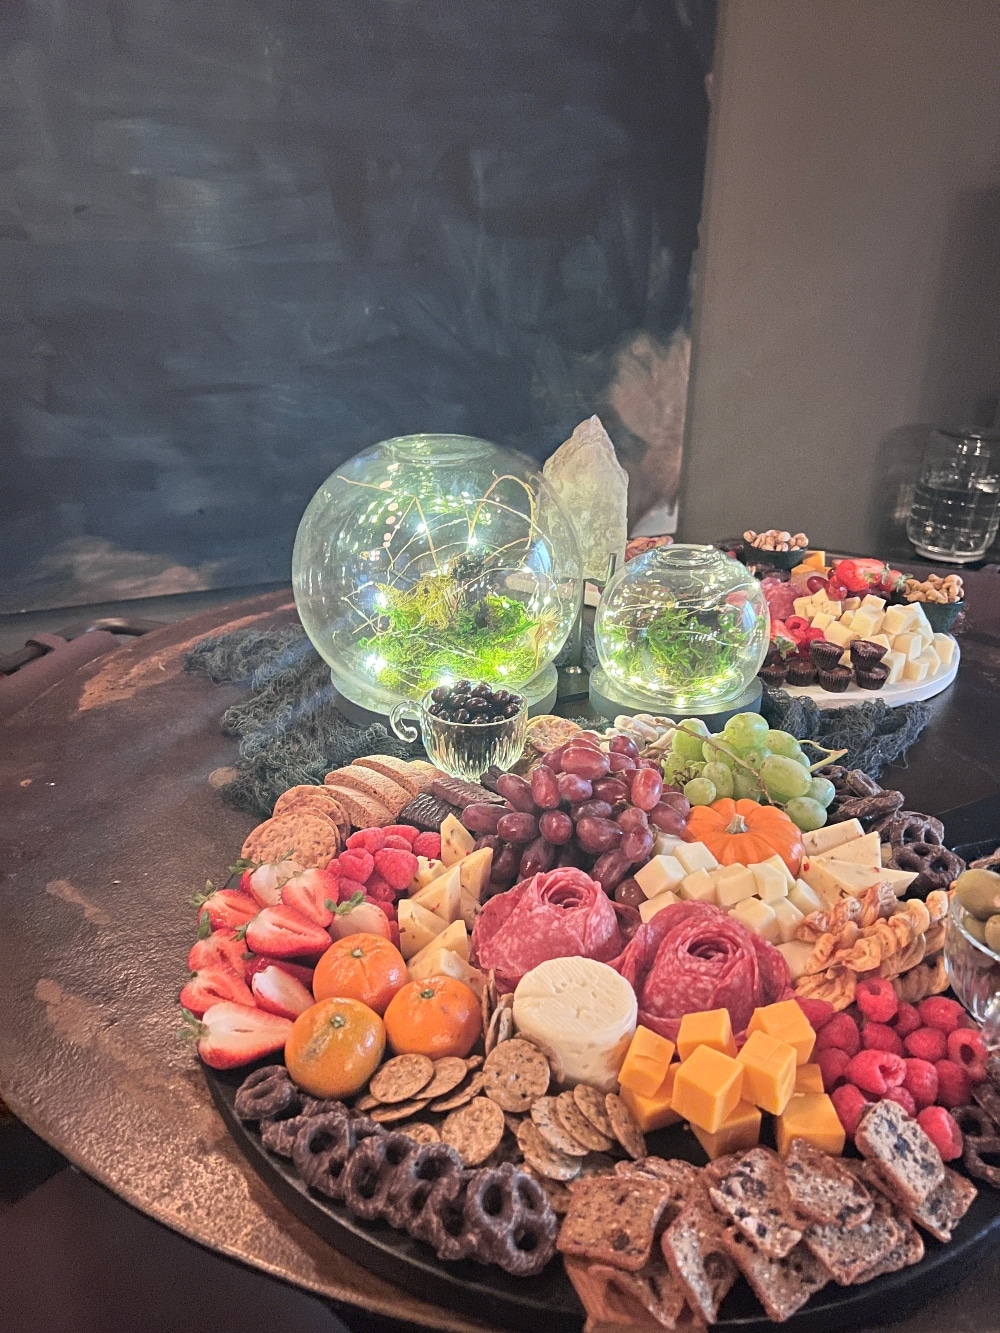
The end result is a stunning centerpiece that perfectly blends spooky and elegant elements. I used this masterpiece as the focal point for our Halloween party, gracing the center of our charcuterie table.
Pro Tips:
- Lighting Control:
- Take advantage of the twinkle lights’ remote control and timer function to customize the ambiance. Set the timer for the desired duration, and let the lights work their magic without worrying about draining the battery.
- Personalize Your Cloche:
- Feel free to add your own creative touches. Whether it’s specific colors, additional embellishments, or unique textures, let your personality shine through in your spooky masterpiece.
Make a Spooky Cloche Centerpiece
Creating an upscale, spooky cloche doesn’t have to come with a hefty price tag. By embracing a bit of DIY spirit and utilizing affordable materials, you can craft a centerpiece that will be the talk of the Halloween party. Don’t forget to share your creations on Instagram—tag me at @tatertotsandjello. I can’t wait to see your spooky cloches and share the Halloween joy!
As Halloween approaches, unleash your creativity and transform your space with a touch of spooky elegance. This DIY project is not only budget-friendly but also allows you to infuse your personal style into the Halloween festivities. Happy crafting, and may your Halloween be hauntingly beautiful!
xoxo






Liked it? Leave a comment! Thanks! xoxo