Butterfly Paper Specimen Art and Mantel. Use scrapbook paper and a butterfly die cut to create a three-dimensional, whimsical specimen art for a summer mantel!
Butterfly Paper Specimen Art and Mantel
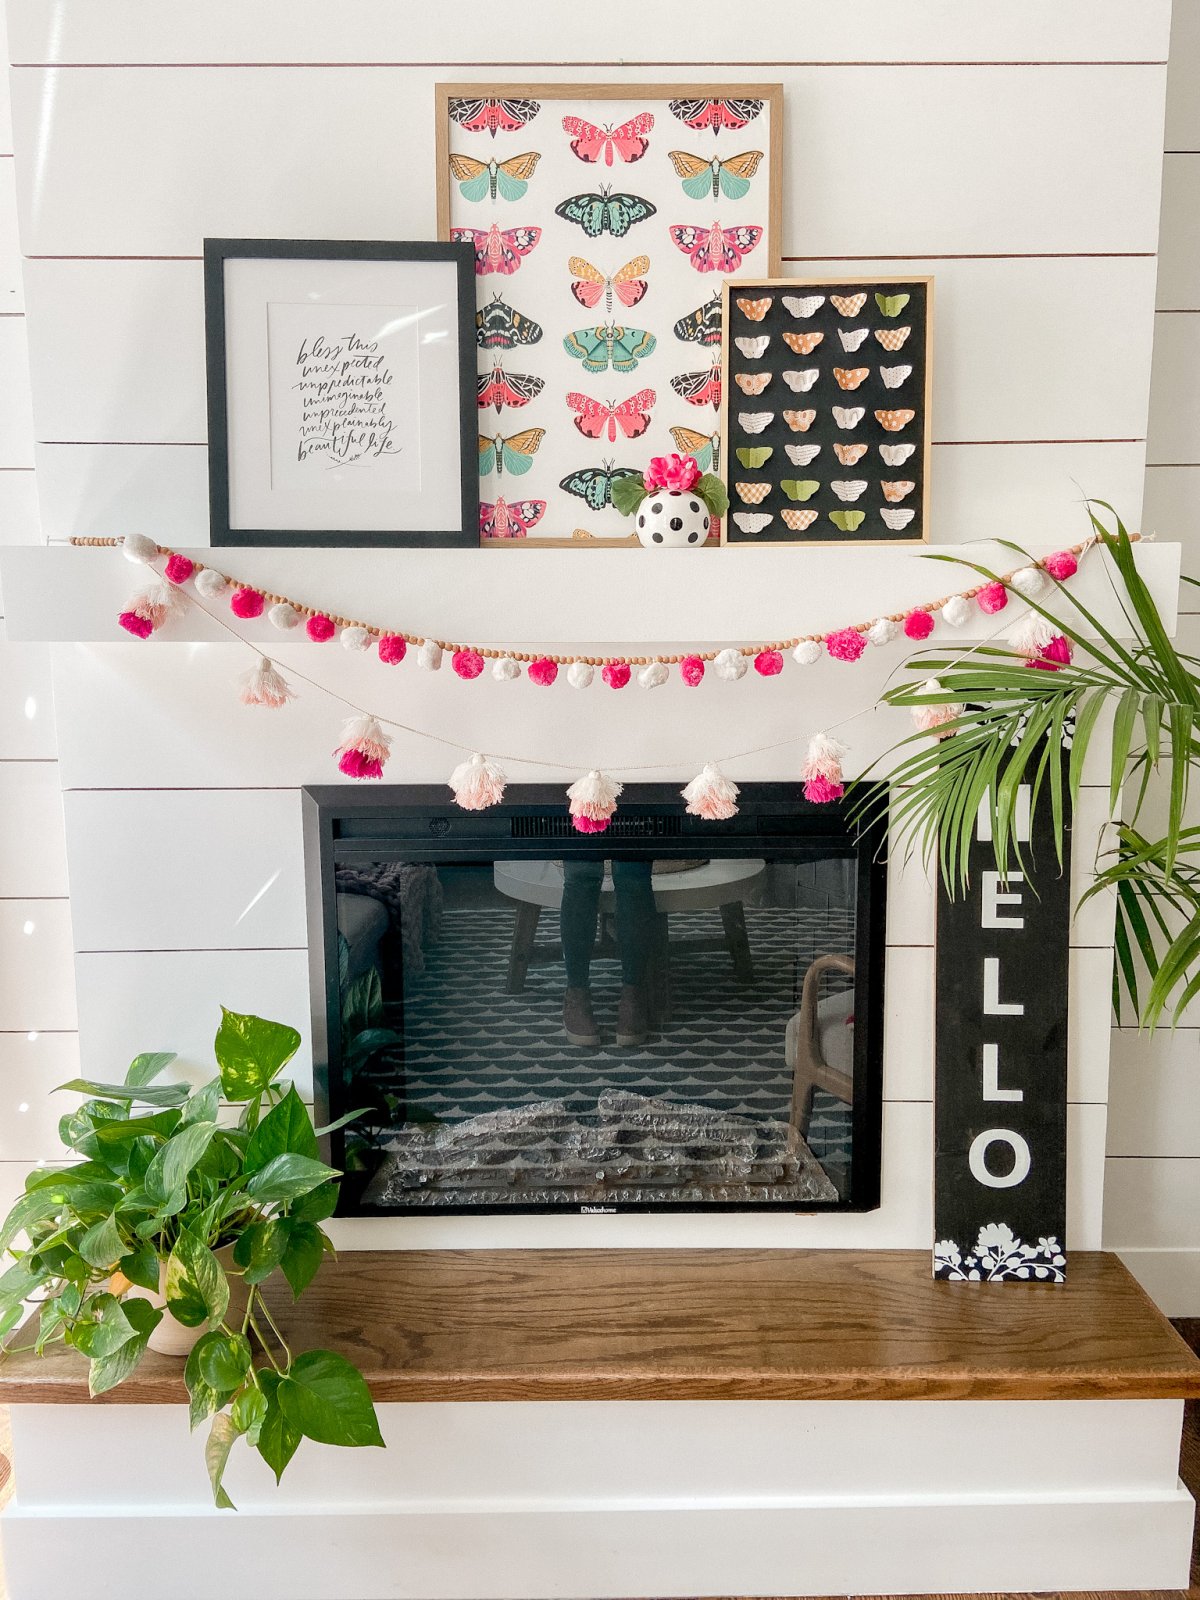
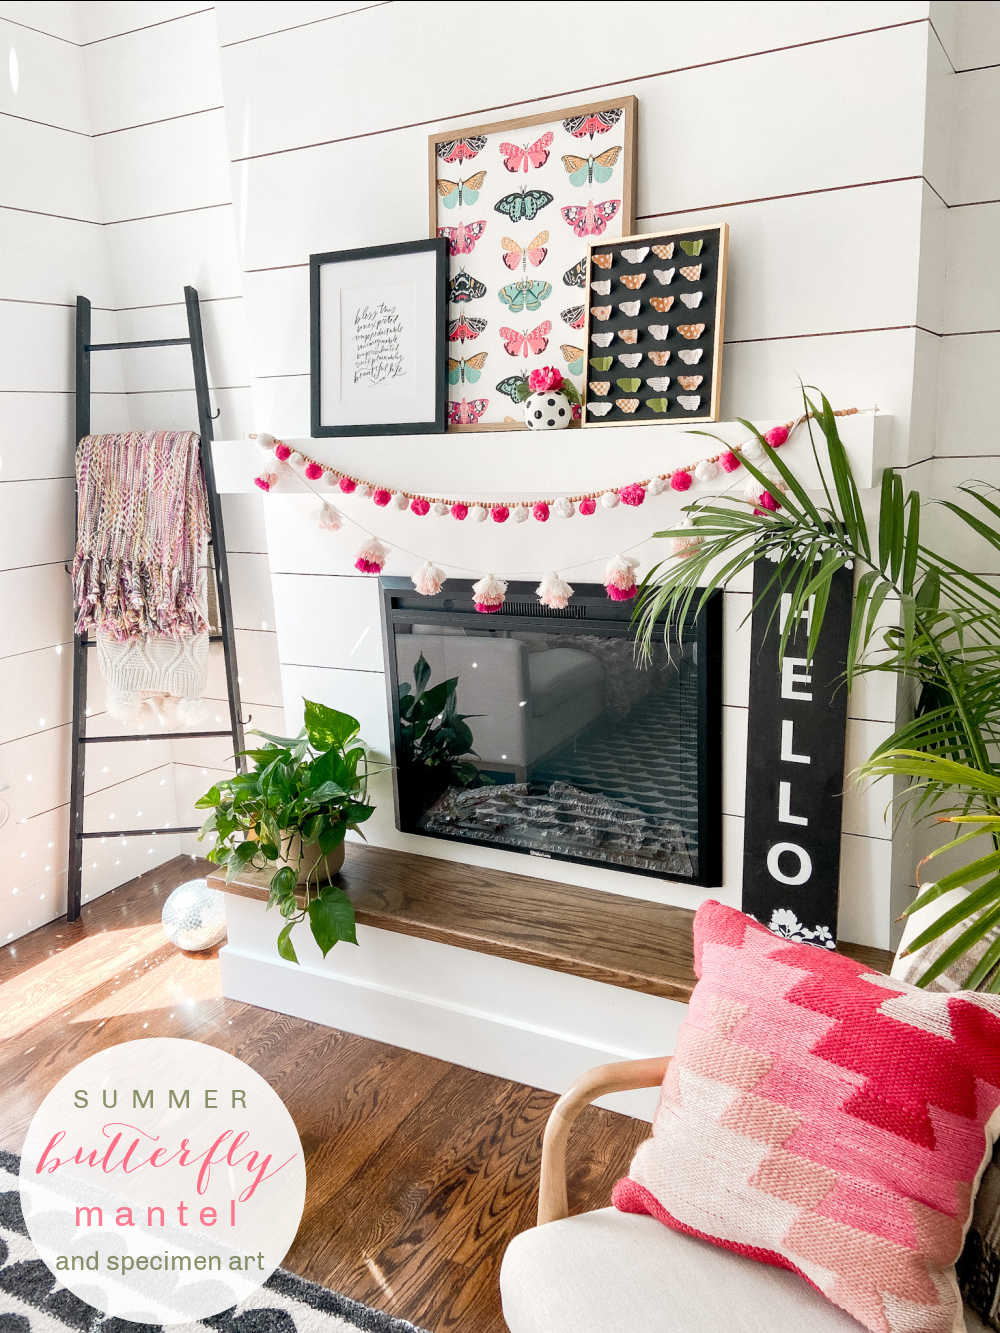
I am LOVING butterflies and moths this year for summer! There’s something so magical about the colors and the idea of flying in the summer skies. I decided to create a summer Butterfly-theme mantel for our family room!
Butterfly Summer Mantel
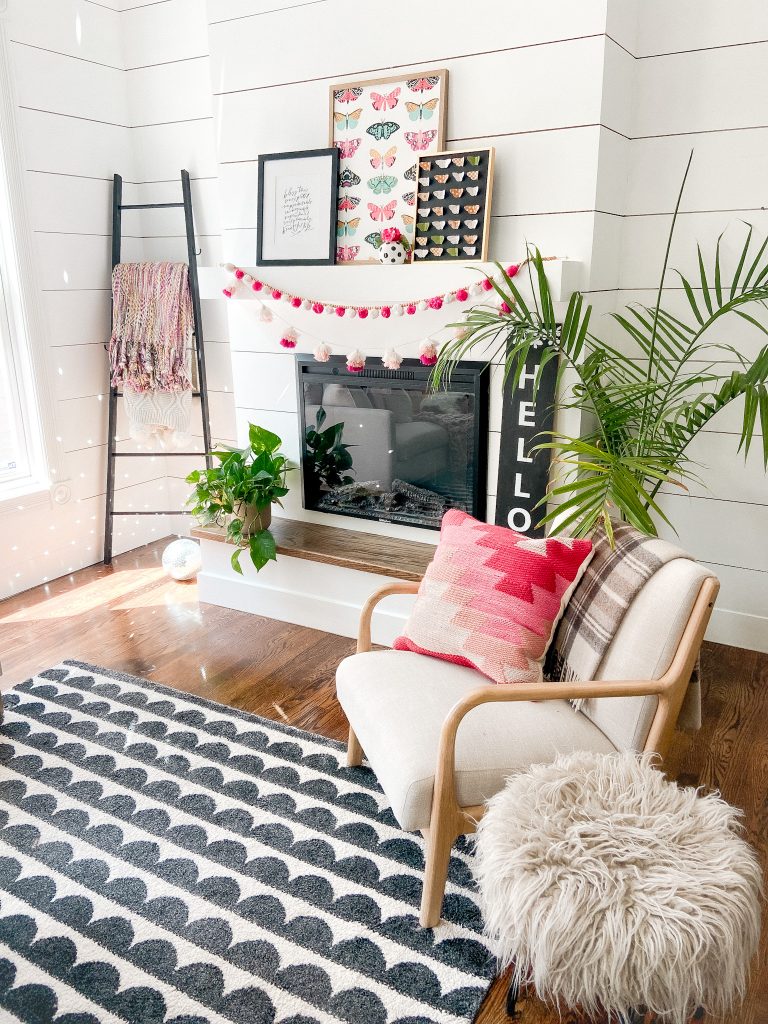
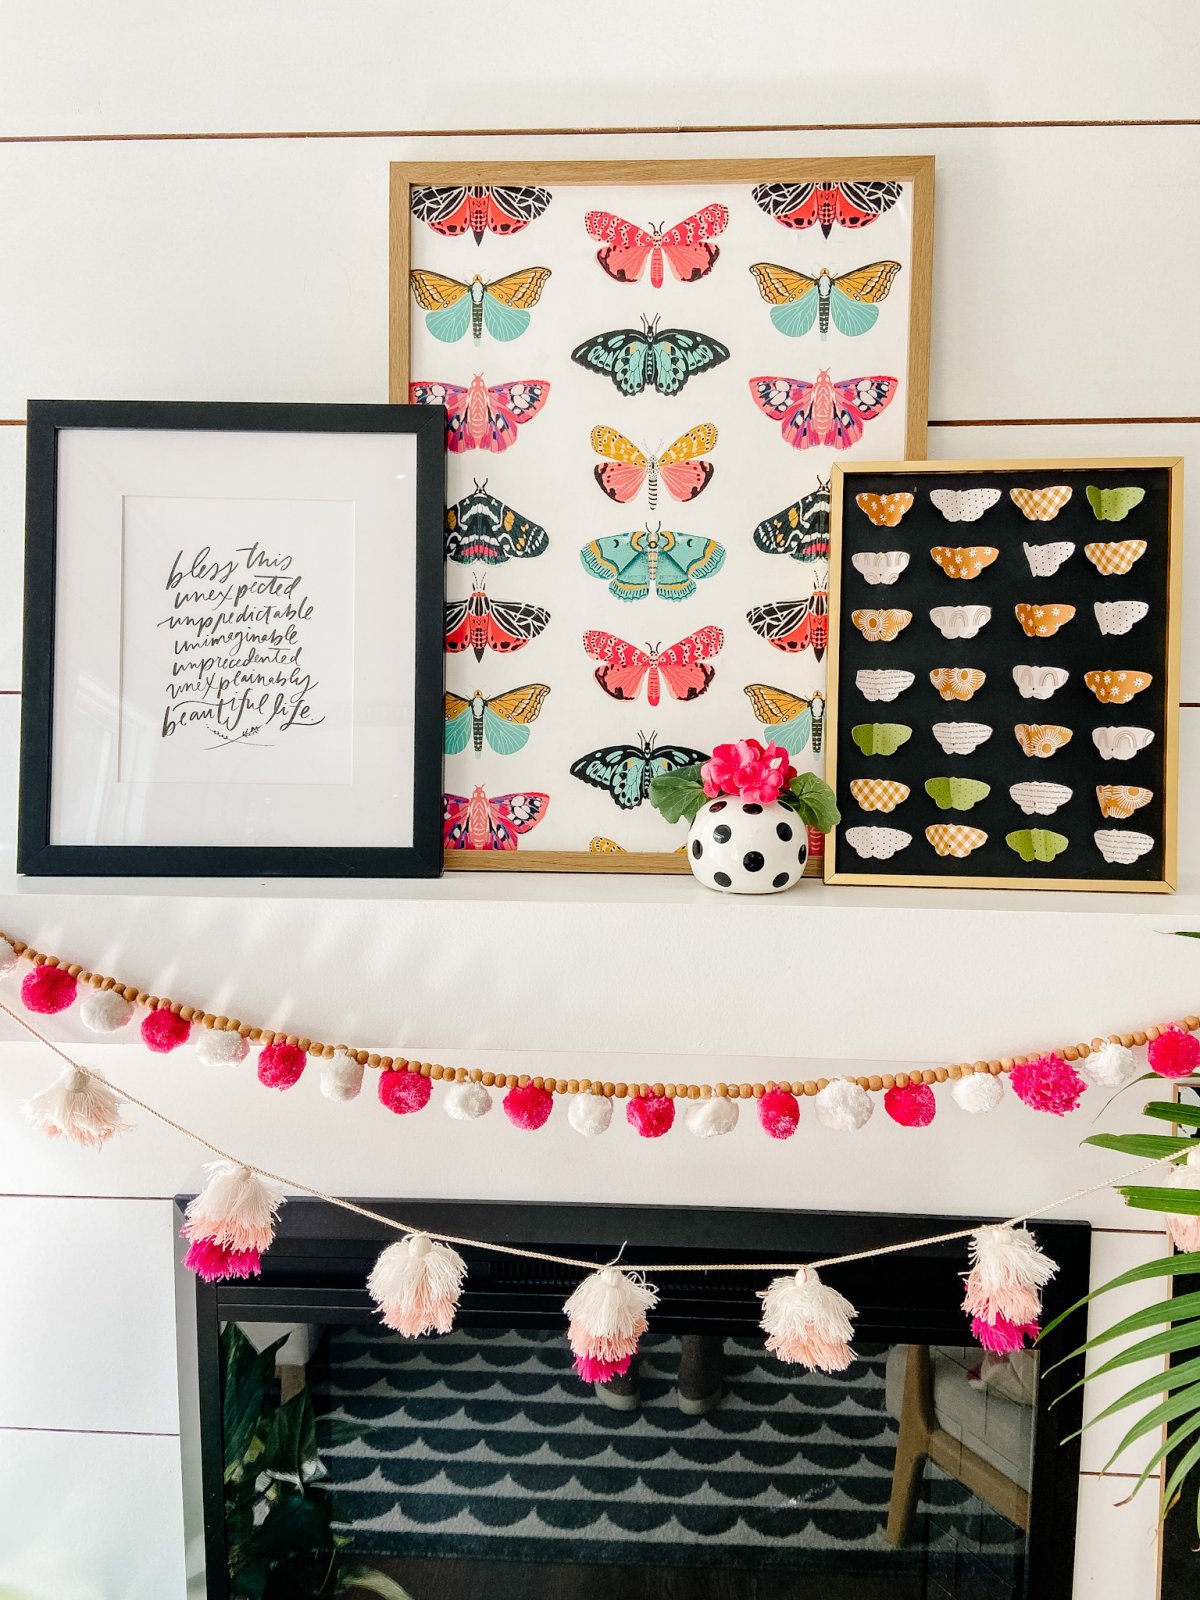
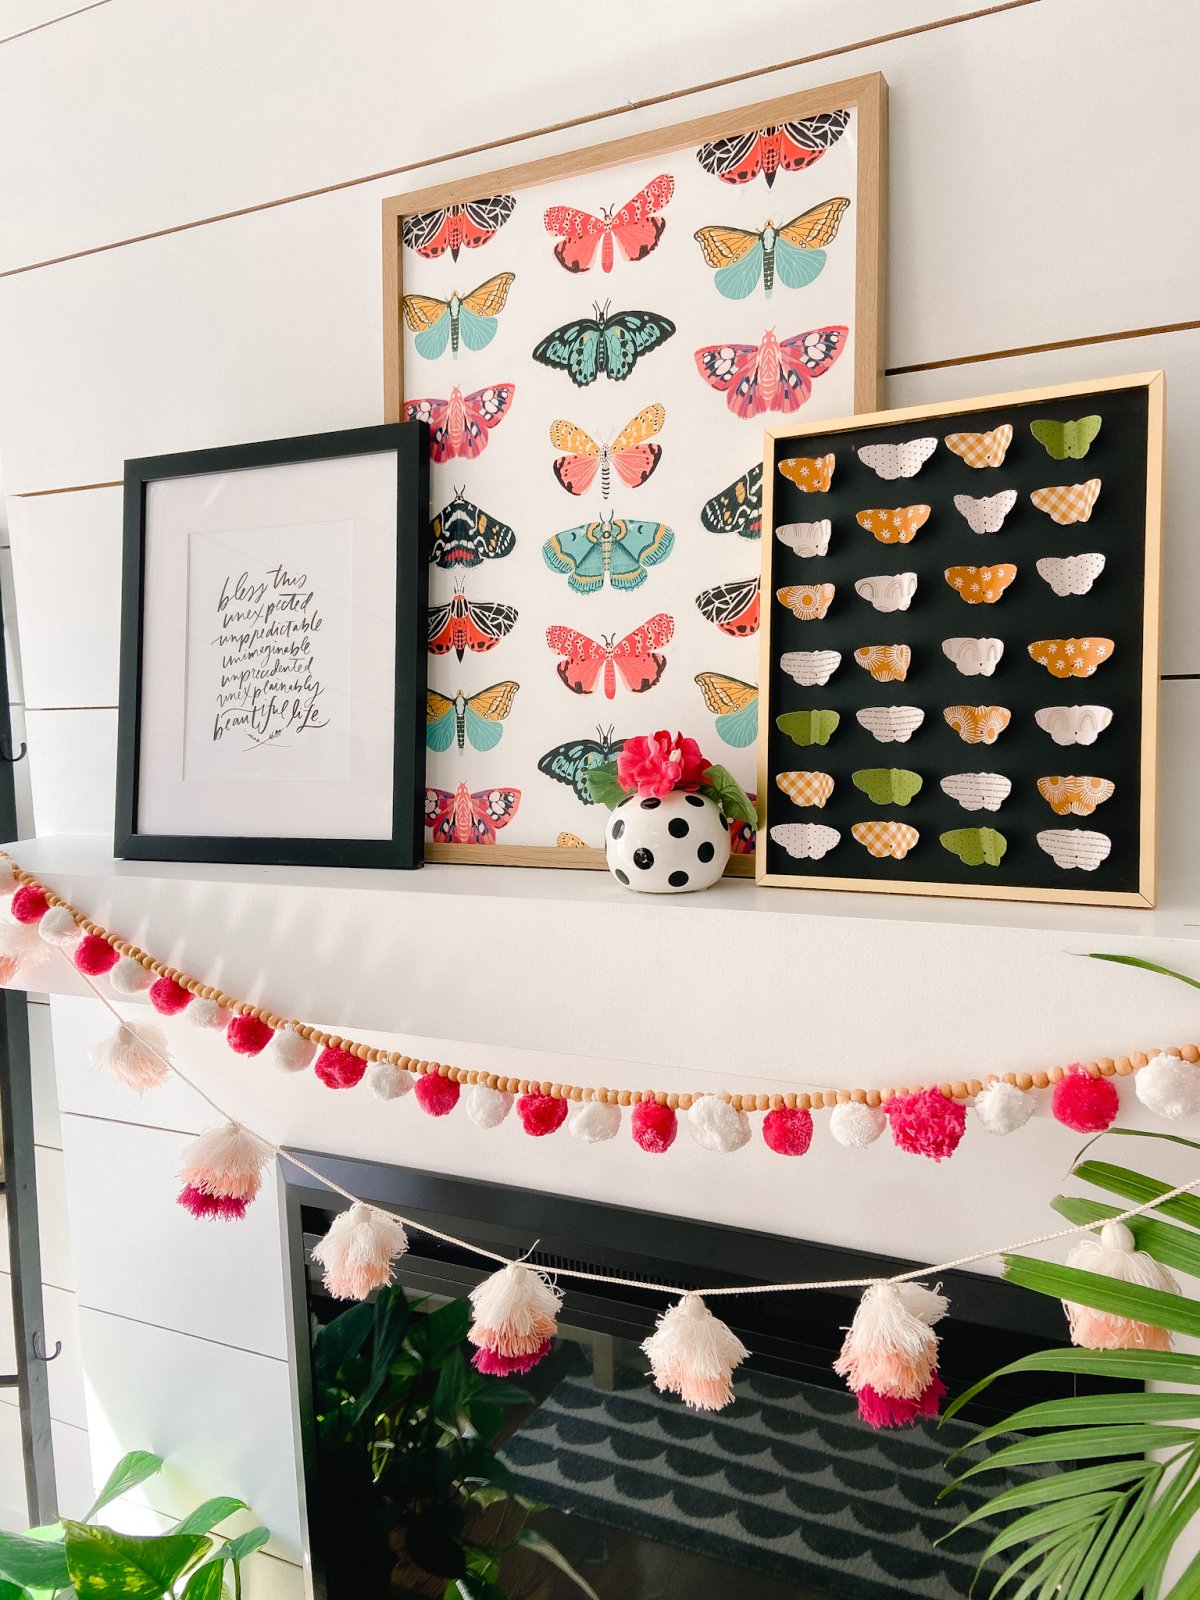
I think butterflies and moths are the perfect theme for a summer mantel. I kept it pretty simple by adding three main elements on the mantel and then a sign and fresh plants on the hearth, plus a couple colorful boho garlands!
Make Butterfly Paper Specimen Art
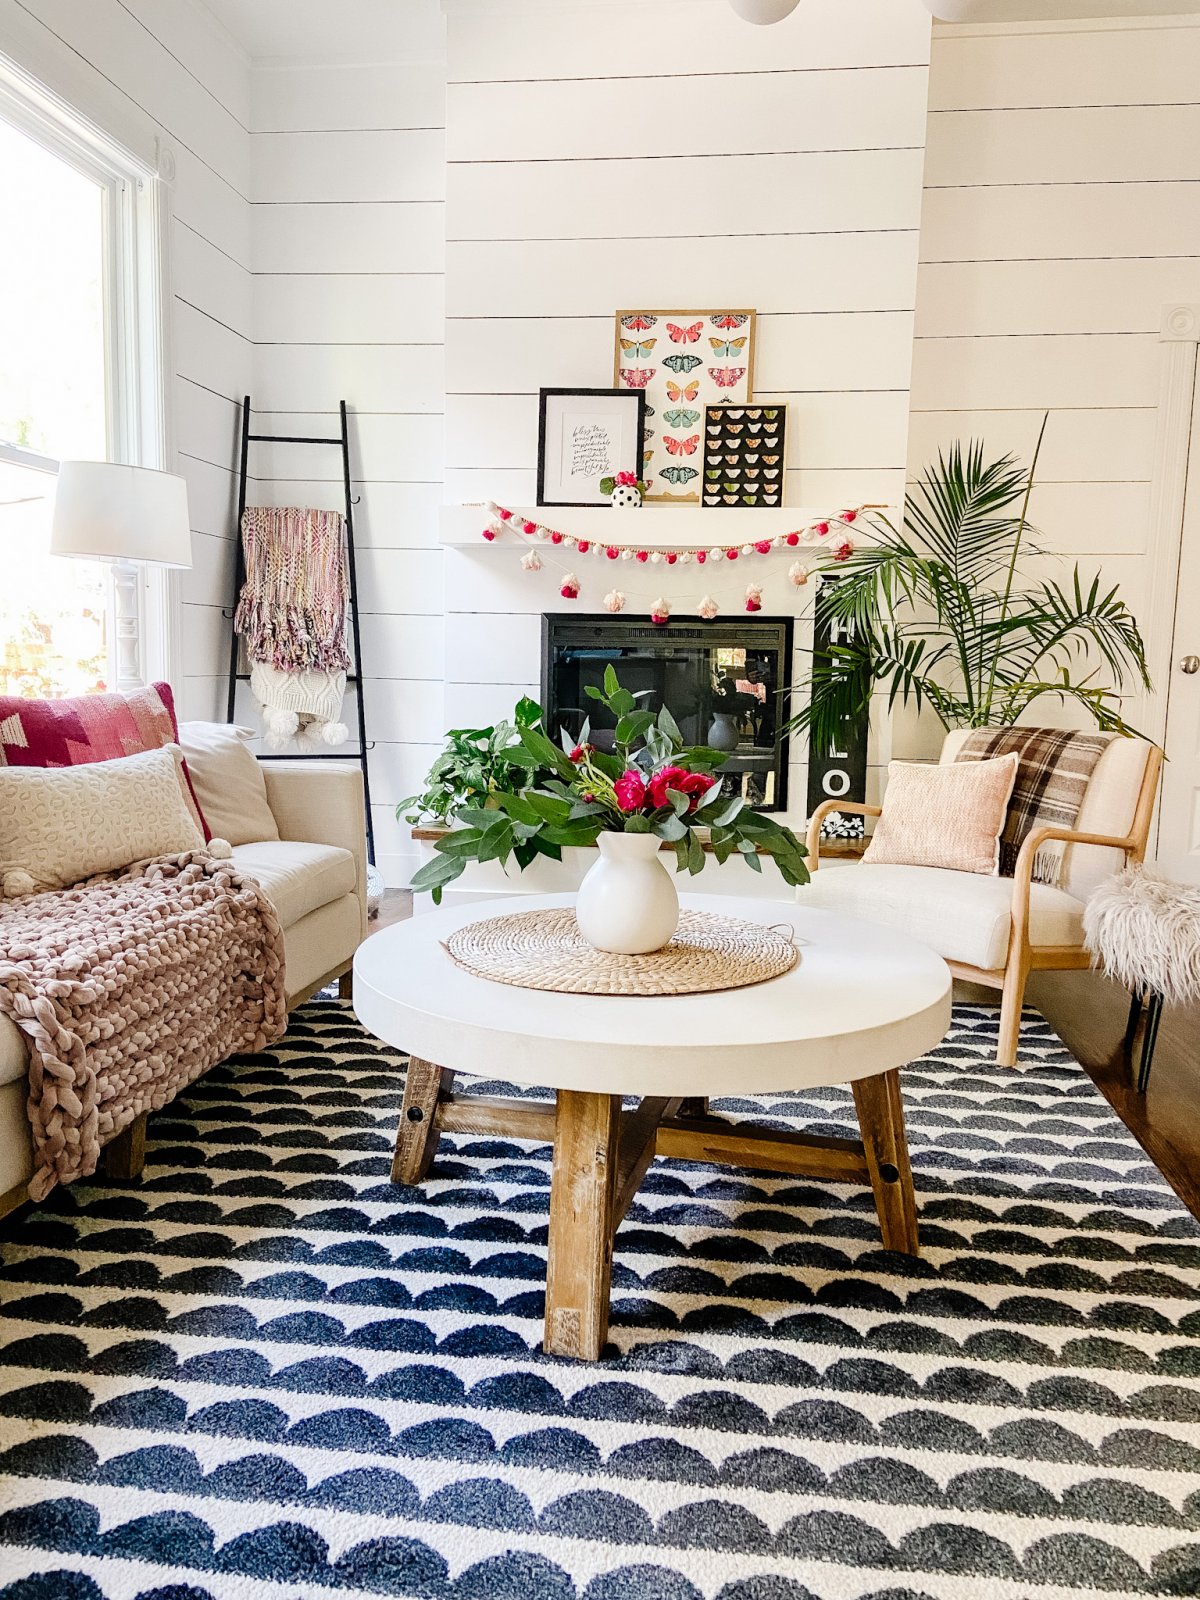
I’ve been creating specimen art for over 10 years. I had my bat specimen art featured in Better Homes and Gardens back in the day, which was fun! I haven’t created specimen art for awhile and I decided that it was time it made a comeback!
Choose Colorful Paper
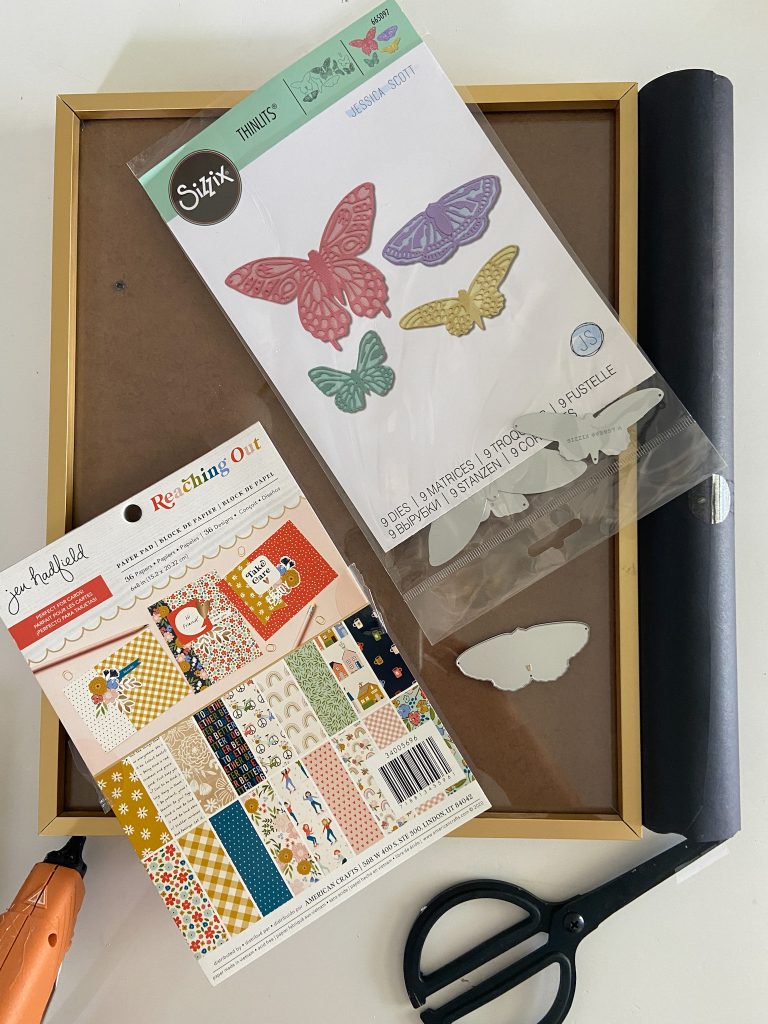
I used my new Pebbles Reaching Out papers to create this specimen art! I am SUPER excited that the line is being sold online and in person at JoAnn Stores! This line is SO usable and fun. It’s full of bright colors, pretty icons and the sweetest embellishments. For this project I picked seven papers from my smaller paper pad.
Use a Die Cut to Create Paper Butterflies
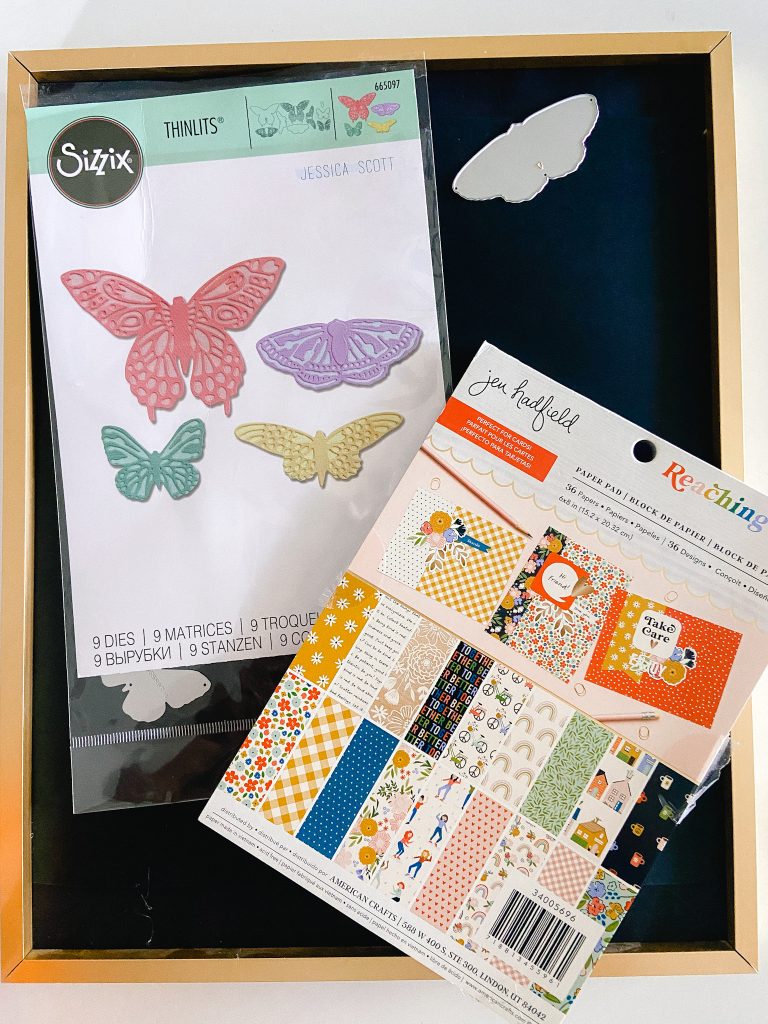
I love using die cuts. It’s an easy way to cut out small things without having to hook up to a computer and makes crafting on the go easy! Sizzix’s Vagabond machine. Cut each sheet into four pieces, laid the smaller moth shape on top of the paper with the ridges down and then ran it through the machine. I had all four pieces done in one swipe! I used Sizzix’s Butterfly Dies.
Line a Frame with Paper
I decided to use black cardstock to make my butterflies/moths really POP! I cut out paper in the shape of the frame insert and then put the paper inside of the frame (without the glass). My frame was longer in length than my 12×12 paper so I had to piece a little at the top and bottom but once you get the butterflies on you can’t see the seams.
Measure Where to Place the Butterflies
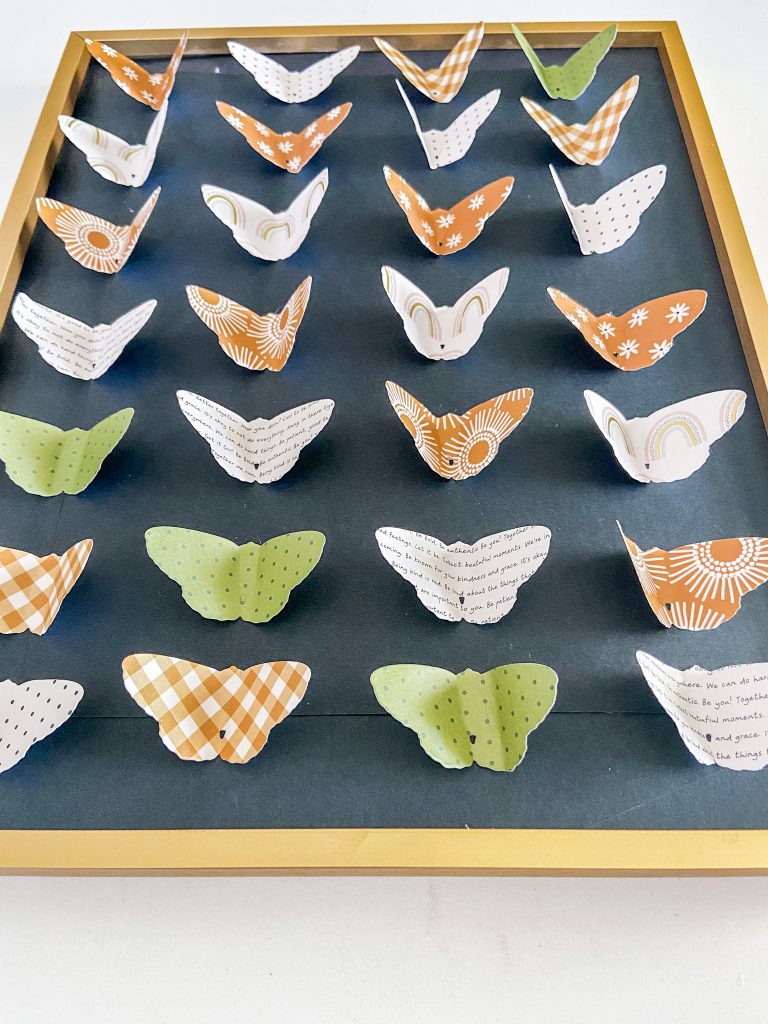
The measurements on this will depend on the size frame you use. You want to make the center of each butterfly. I put 1 inch around the sides of the butterflies for open space. Then I marked 2.5 inches between each butterfly. This leaves about .5 inch of open space between the butterflies because the die cut butterflies are 1.5 inches in width and I fold the wings up as well. You can also eyeball it too.
Fold the Butterfly Wings Up
I folded the wings up on the butterflies to make it seem like they are flying. You can either fold them in half, or I used a straight edge to fold one side and then left the middle flat, folding the other side up. This looks more realistic.
Glue Each Butterfly on The Grid
Once you have marked the grid, glue each butterfly onto the paper. I used a pattern by laying each pattern butterfly in a row lengthwise and then repeated the pattern as I filled in the grid.
Display Your Butterfly Specimen Art
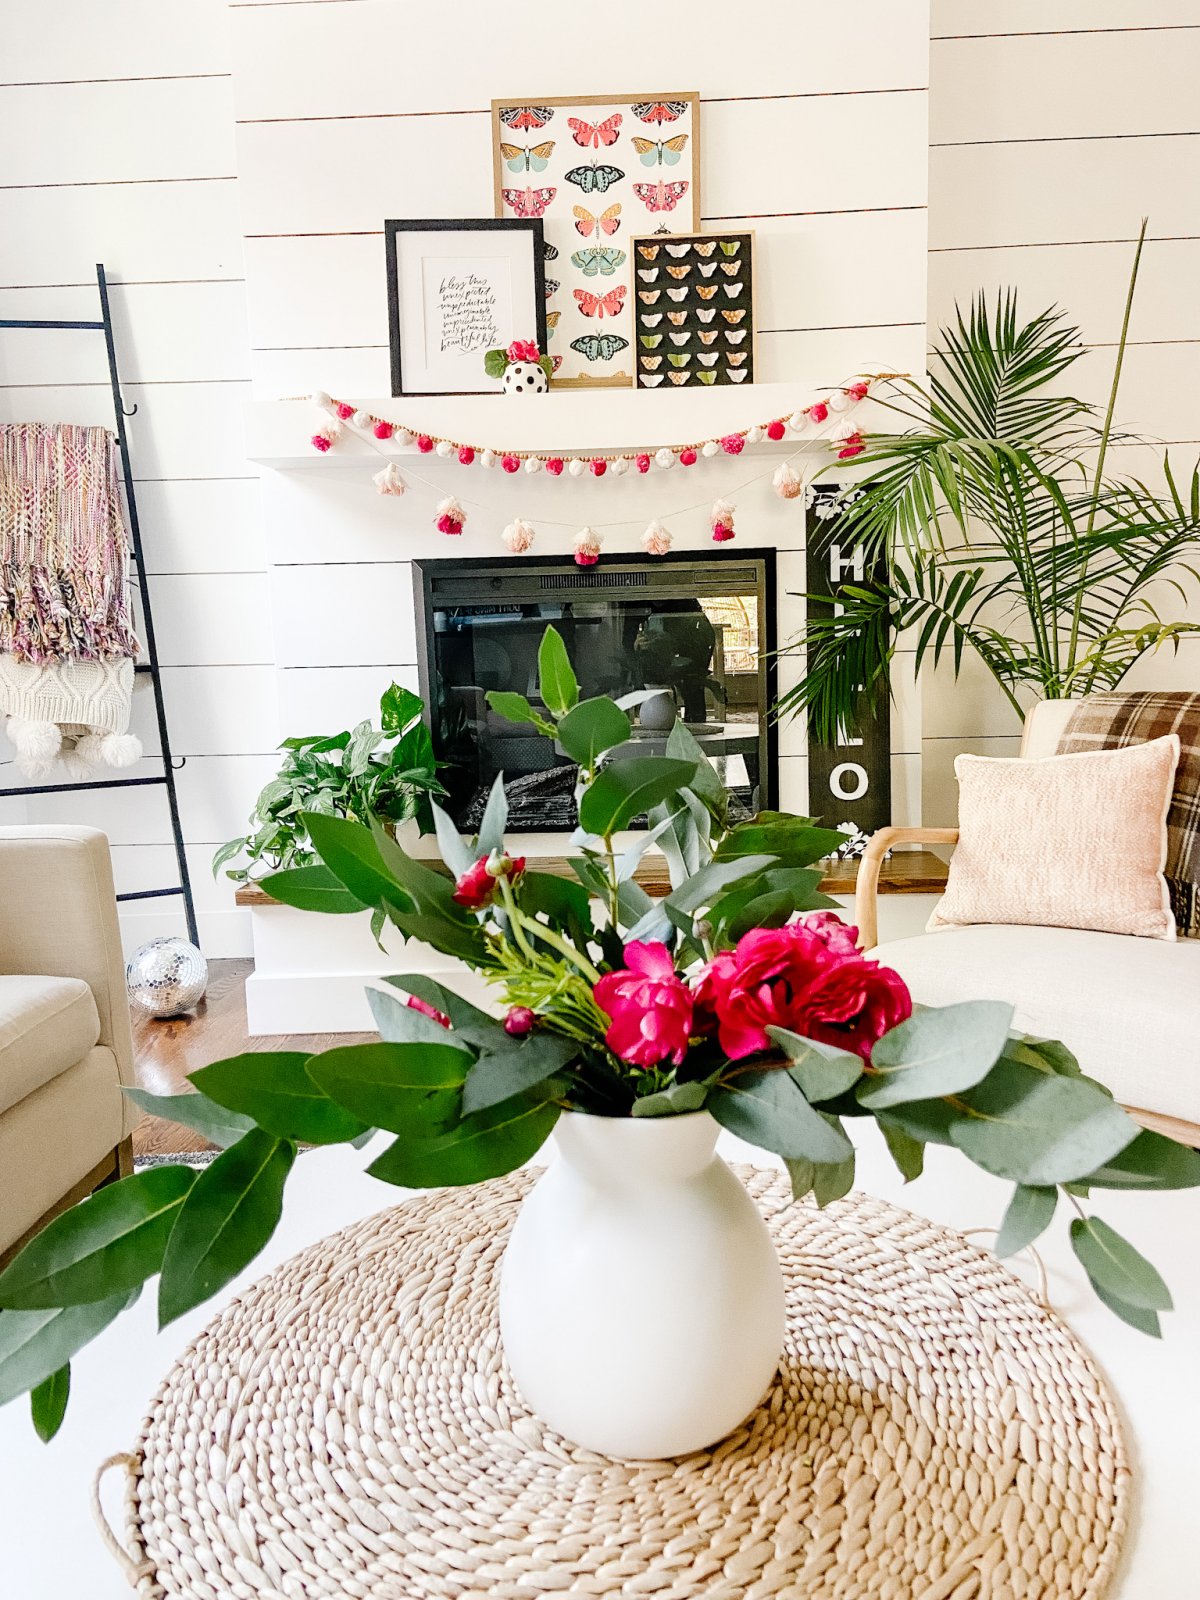
I laid my specimen art on my mantel along with my other items but you can also hang it on a wall or display it on a shelf!
Frame Butterfly Wallpaper
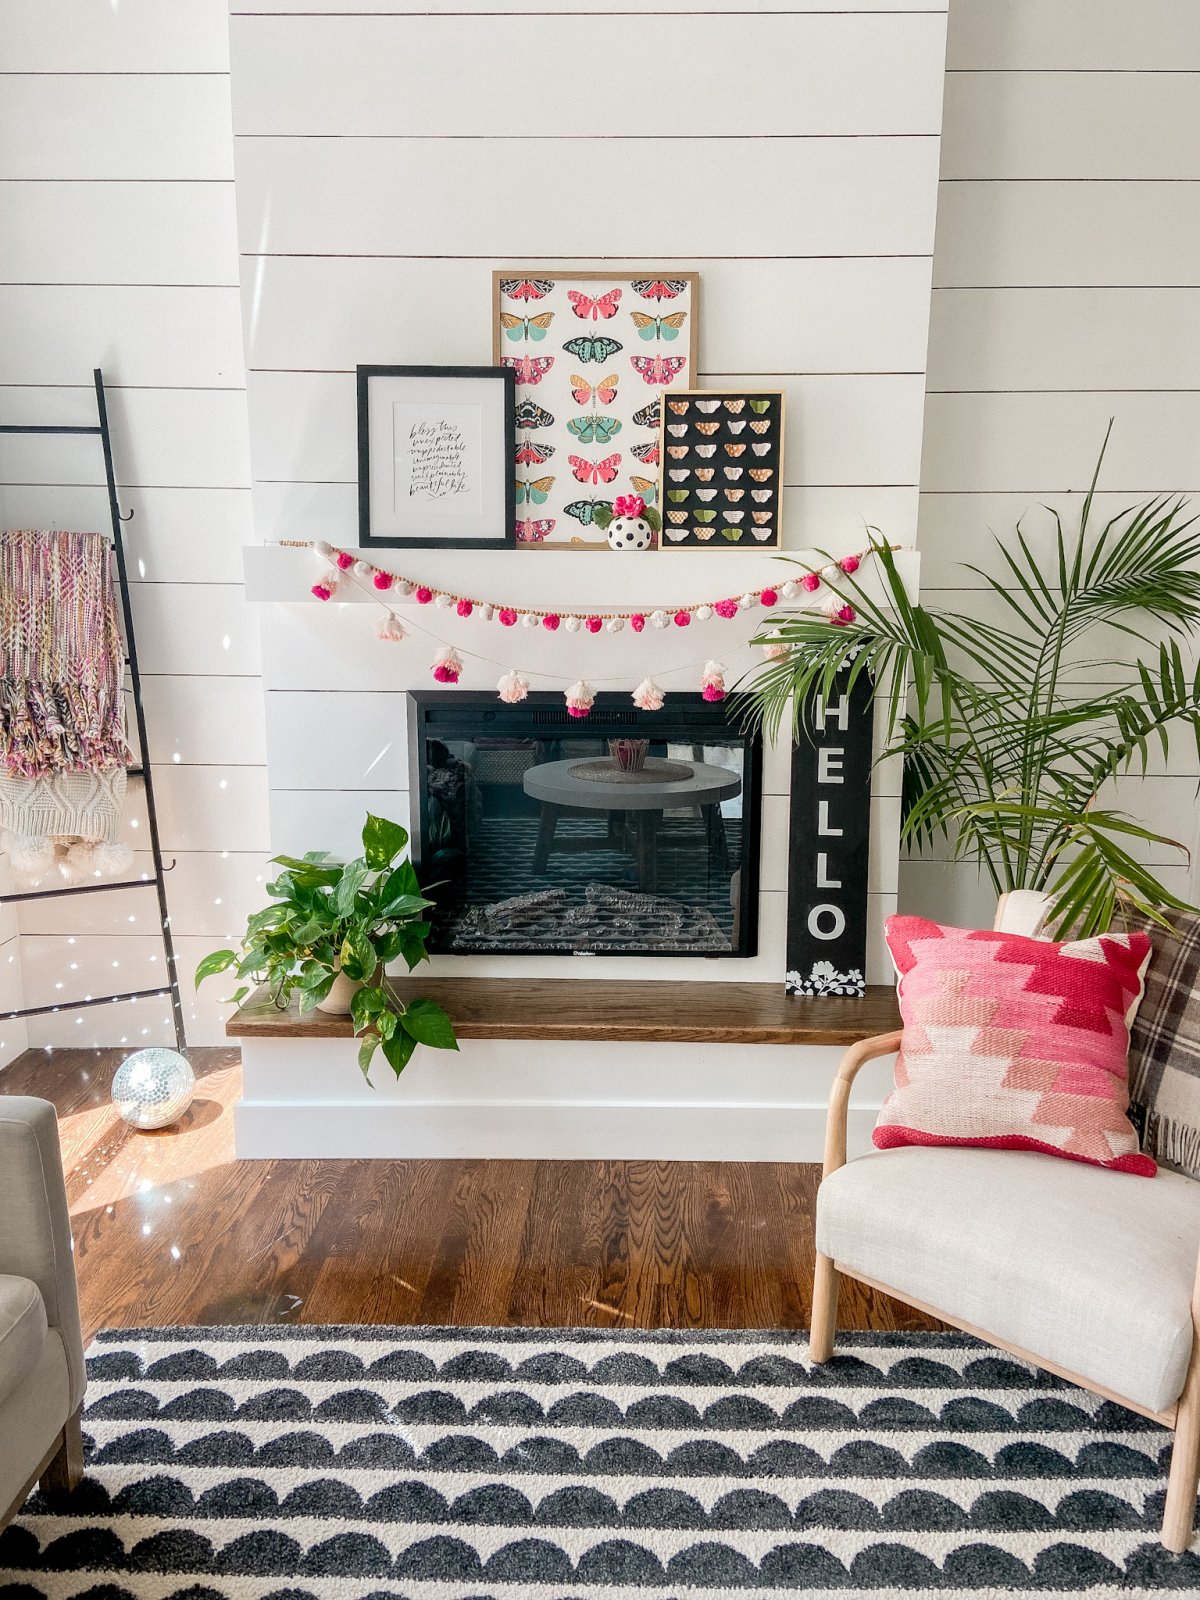
Take a poster-sized frame that I had on hand and framed a section of wallpaper that I had leftover from my new bathroom I just wallpapered. The butterfly wallpaper is from Spoonflower and I absolutely love it! I love seeing it on my mantel along with my butterfly specimen art and a beautiful Lindsay Letters frame my sister Wendy Vonsosen Photography gave me for Christmas last year!
Summer Paper Ideas
Thistlewood Farms
9 Creative Ideas to Decorate Your Home with Paper
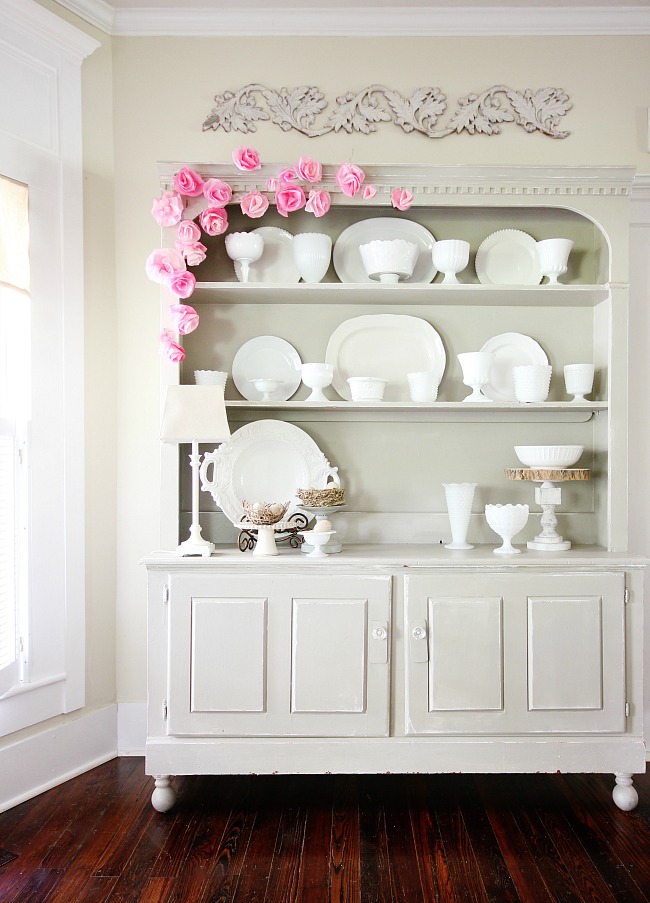
Here are 9 simple, creative ideas to transform your home with paper. How to make a paper bowl, paper flowers, even a paper wreath and so much more.
The DIY Mommy
How to Make Stickers with Cricut (or without!) + Free Encouragement Stickers to Print
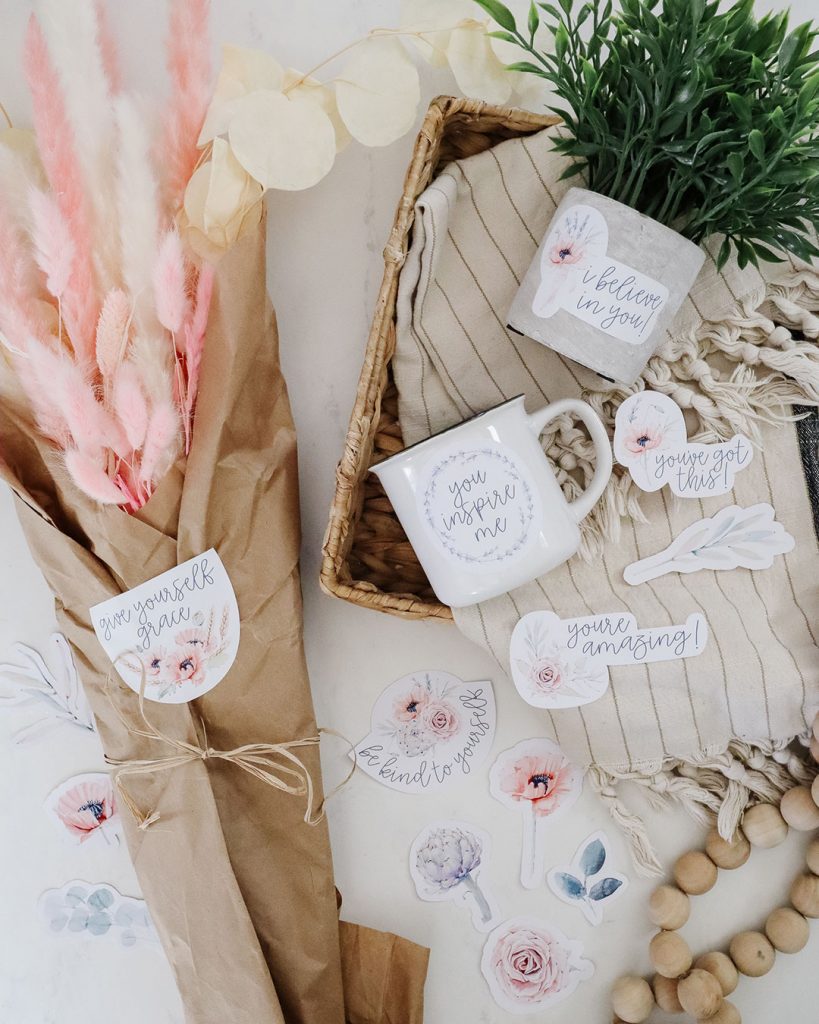
Let me show you how to make stickers with Cricut (or without!) and give you some pretty floral encouragement stickers as a free file you can print at home. These are simple to make, and they’re a great addition to a gift for a loved one this season.
Happy Happy Nester
How to Decorate a Paper Lantern DIY
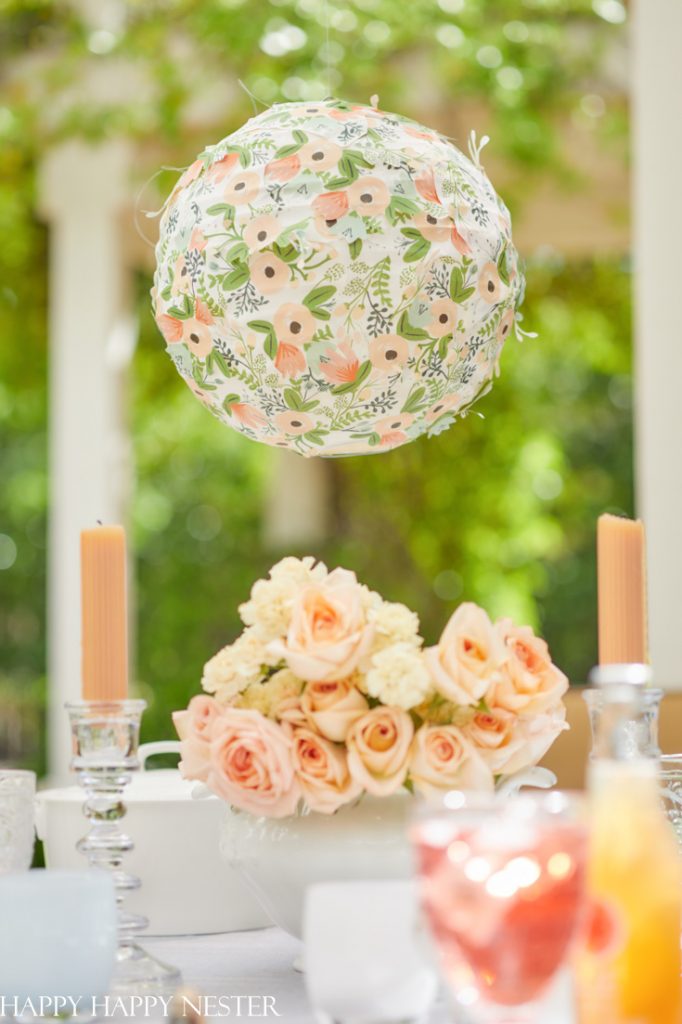
Learn how to decorate a paper lantern in this DIY post. Brighten up your outdoor dining table with this cute summer accessory.
My 100 Year Old Home
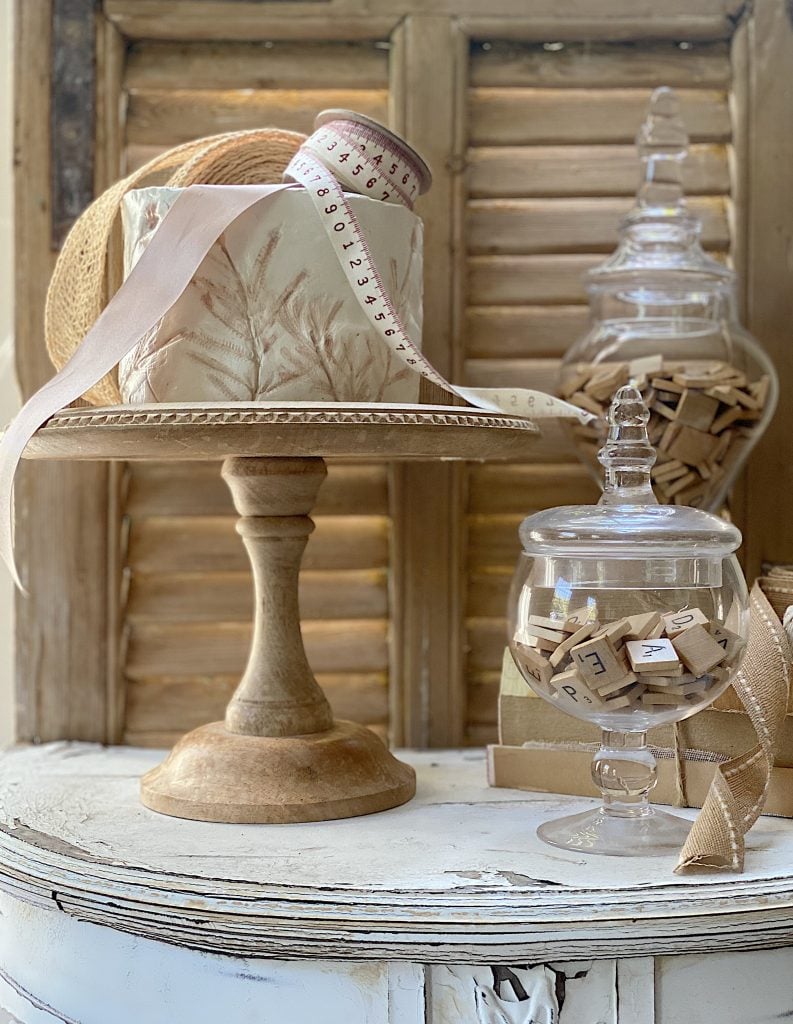
Learn how to use Paper Clay to make an adorable lavender inspired clay pot! This is a perfect craft for all ages.
More Summer Decorating Ideas
Here are a few other ways I love bringing the happiness of summer to our home!
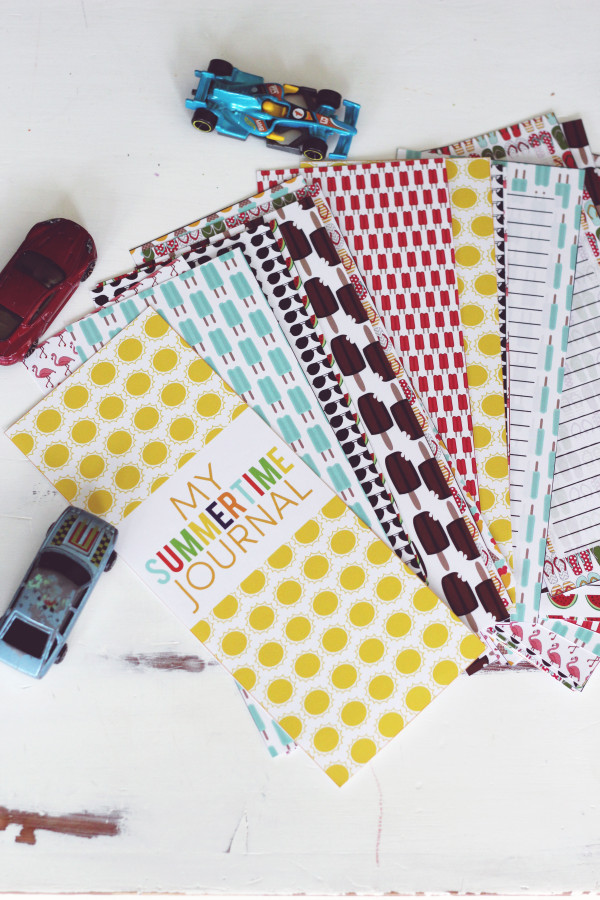
Free Summertime Journal Printable Pages
Have your kids write down their memories this summer. Download the printable pages and make summertime journals. They will love looking back at all of the fun memories they will make!
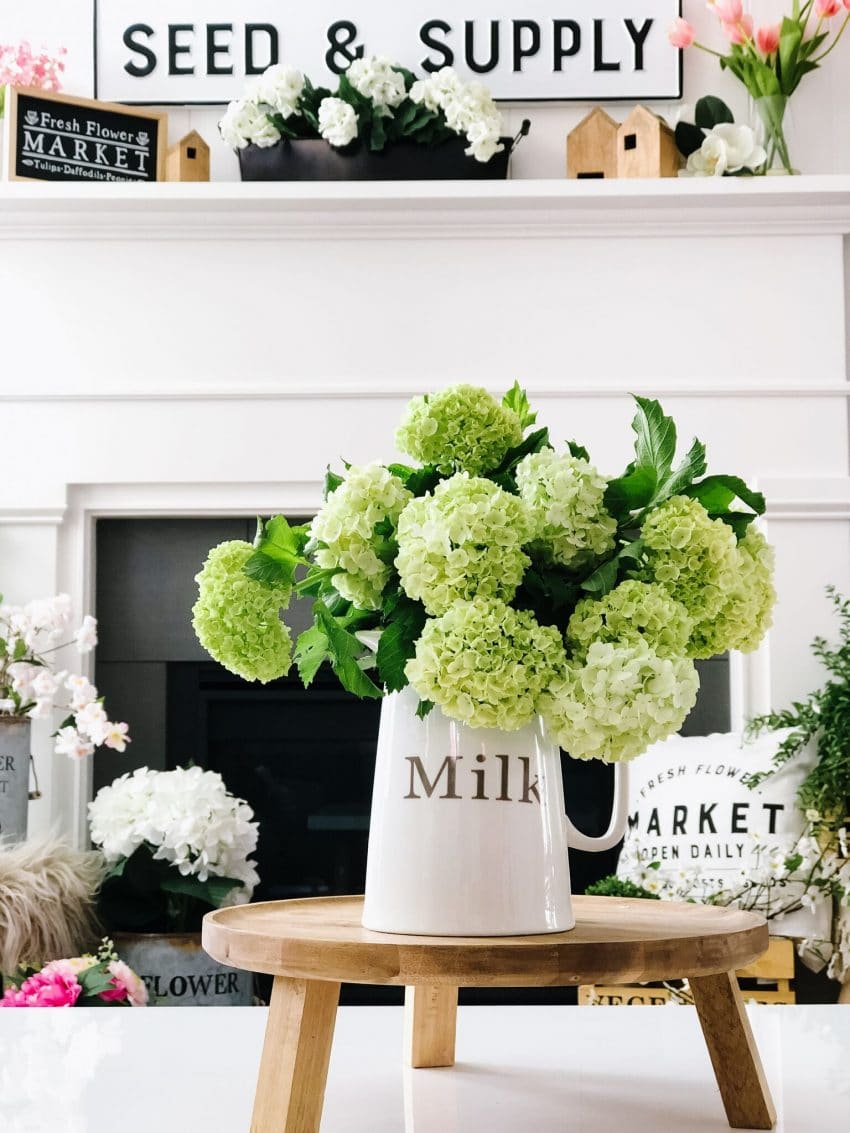
Summer Market Mantel Ideas
This was one of my favorite mantels! I love that sign. I have it hanging up in our outdoor patio right now!
What are YOU working on for Summer?
xoxo

