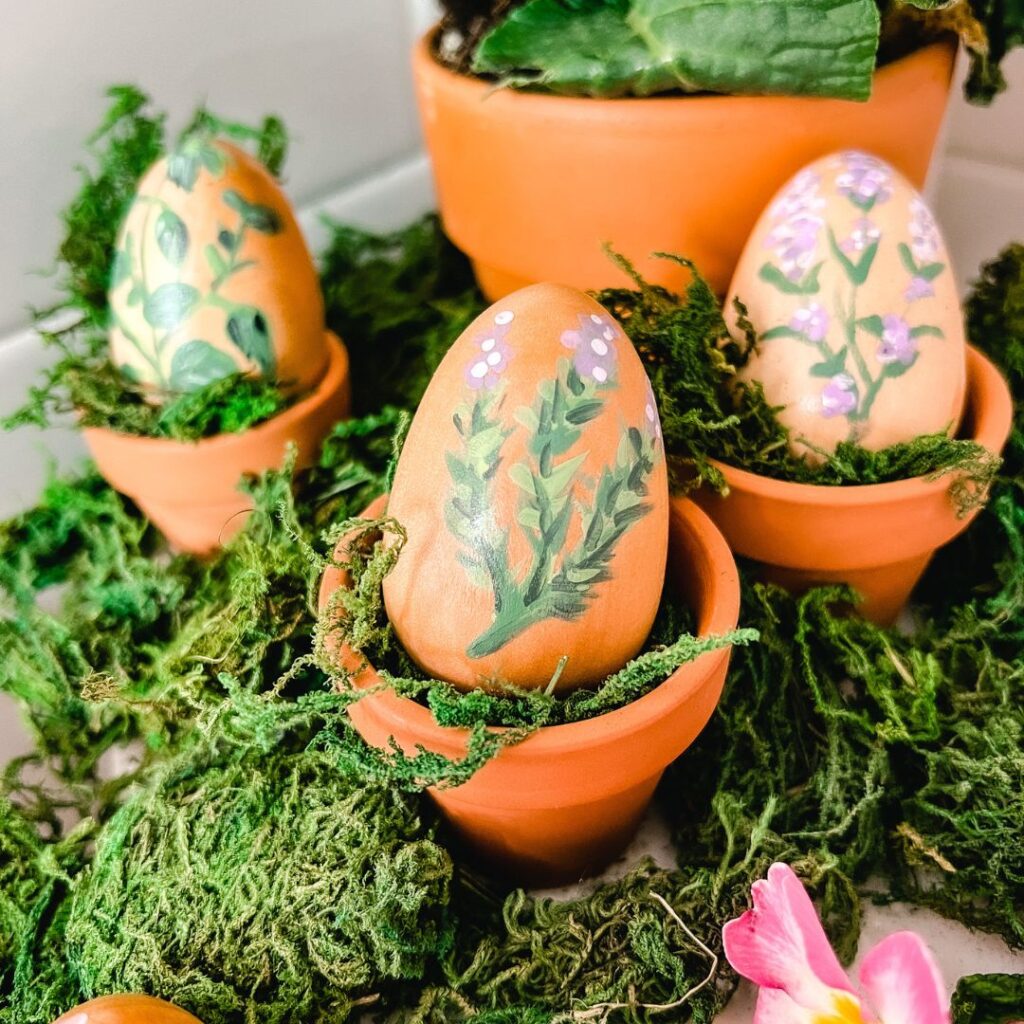
Hand Painted Herb Eggs Centerpiece. Create a sweet herb centerpiece by painting wooden eggs with different herbs and displaying it in your kitchen or dining room!
Hand Painted Herb Eggs Centerpiece
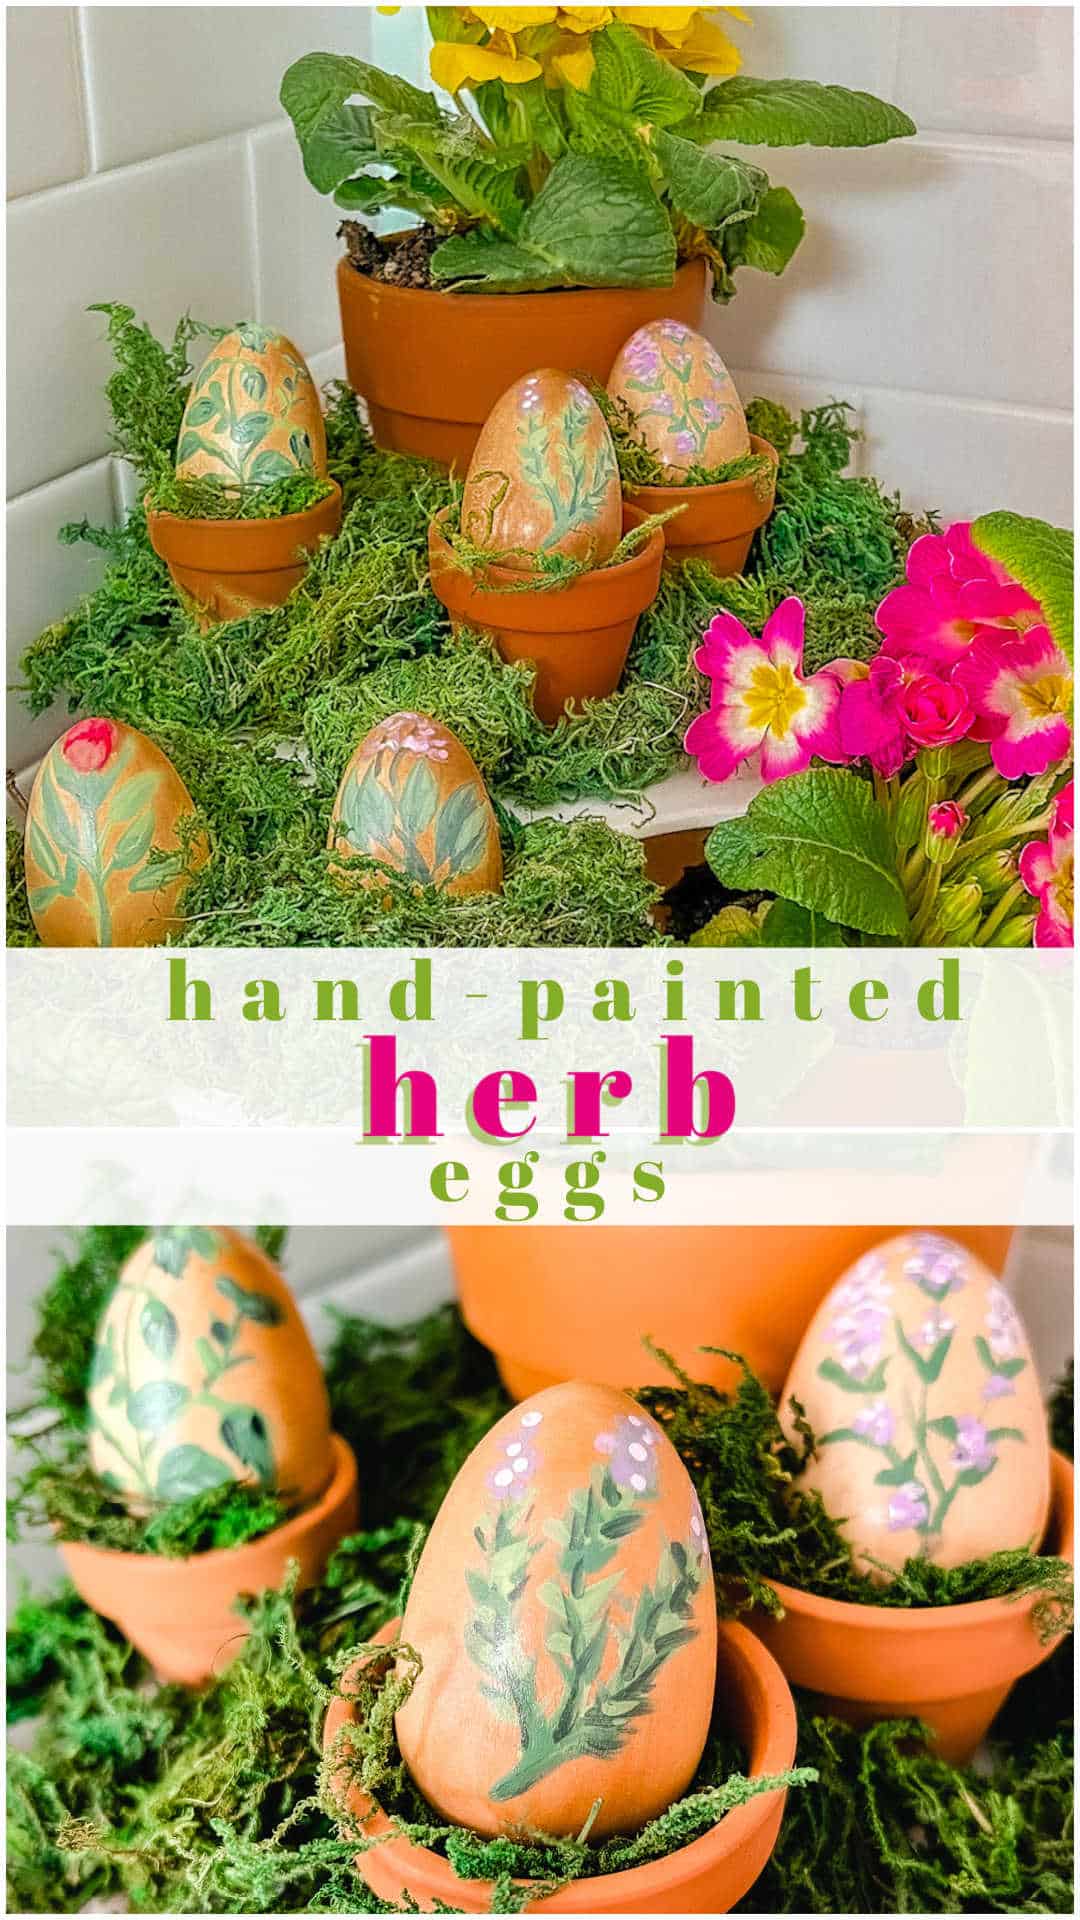
Hi friends! Does it feel like Spring at your house? It’s been snowing non-stop in Utah but I am feeling blessed to be posting this project from Hawaii. The sun feels so nice! Here’s a little idea that is so fun to create! I am sharing how to make hand-painted herb eggs which are beautiful to display in your home!
Eight Handcrafted Egg Projects

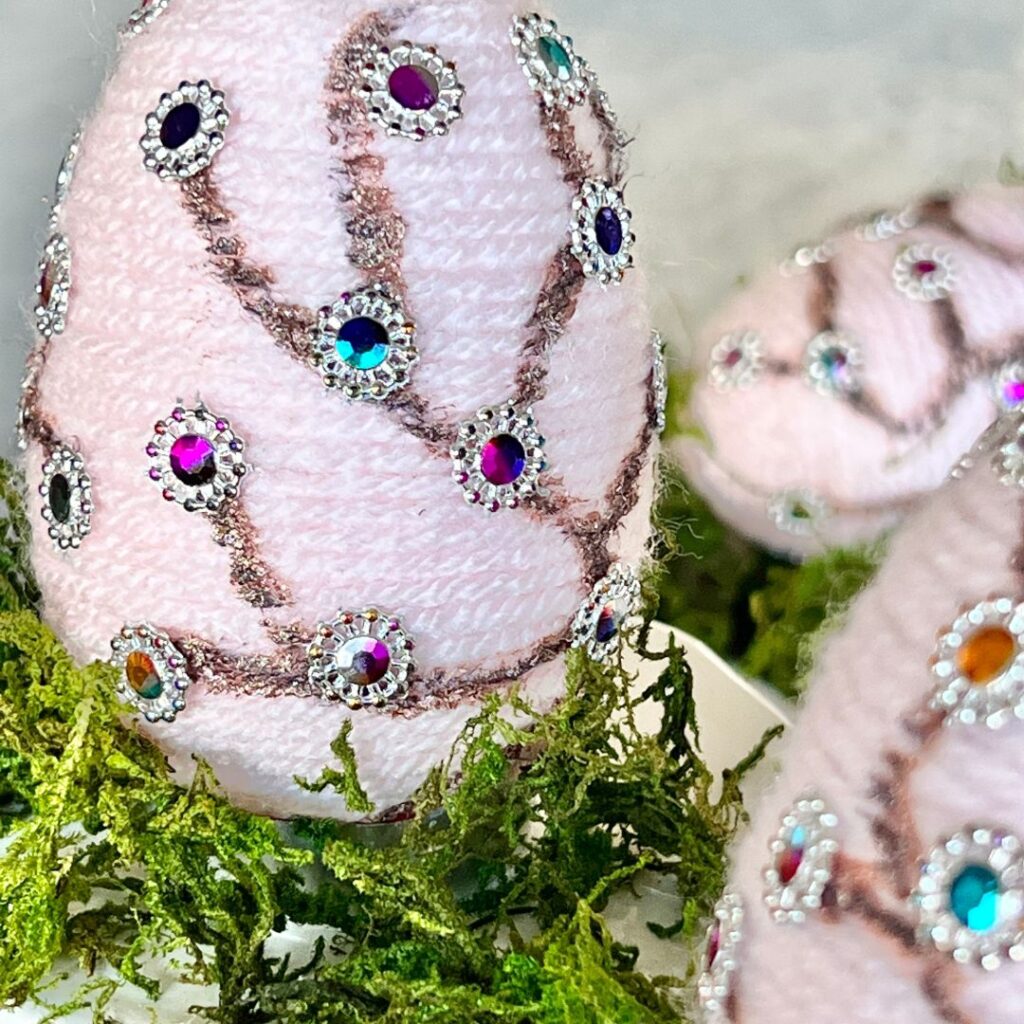
I am thrilled to be joining my Handmade Society friends and we are ALL sharing DIY egg projects in different colors! If you are here from Sonata Home Design, welcome! Aren’t Missy’s eggs so beautiful. I love the bling!!
Hand Painted Herb Eggs
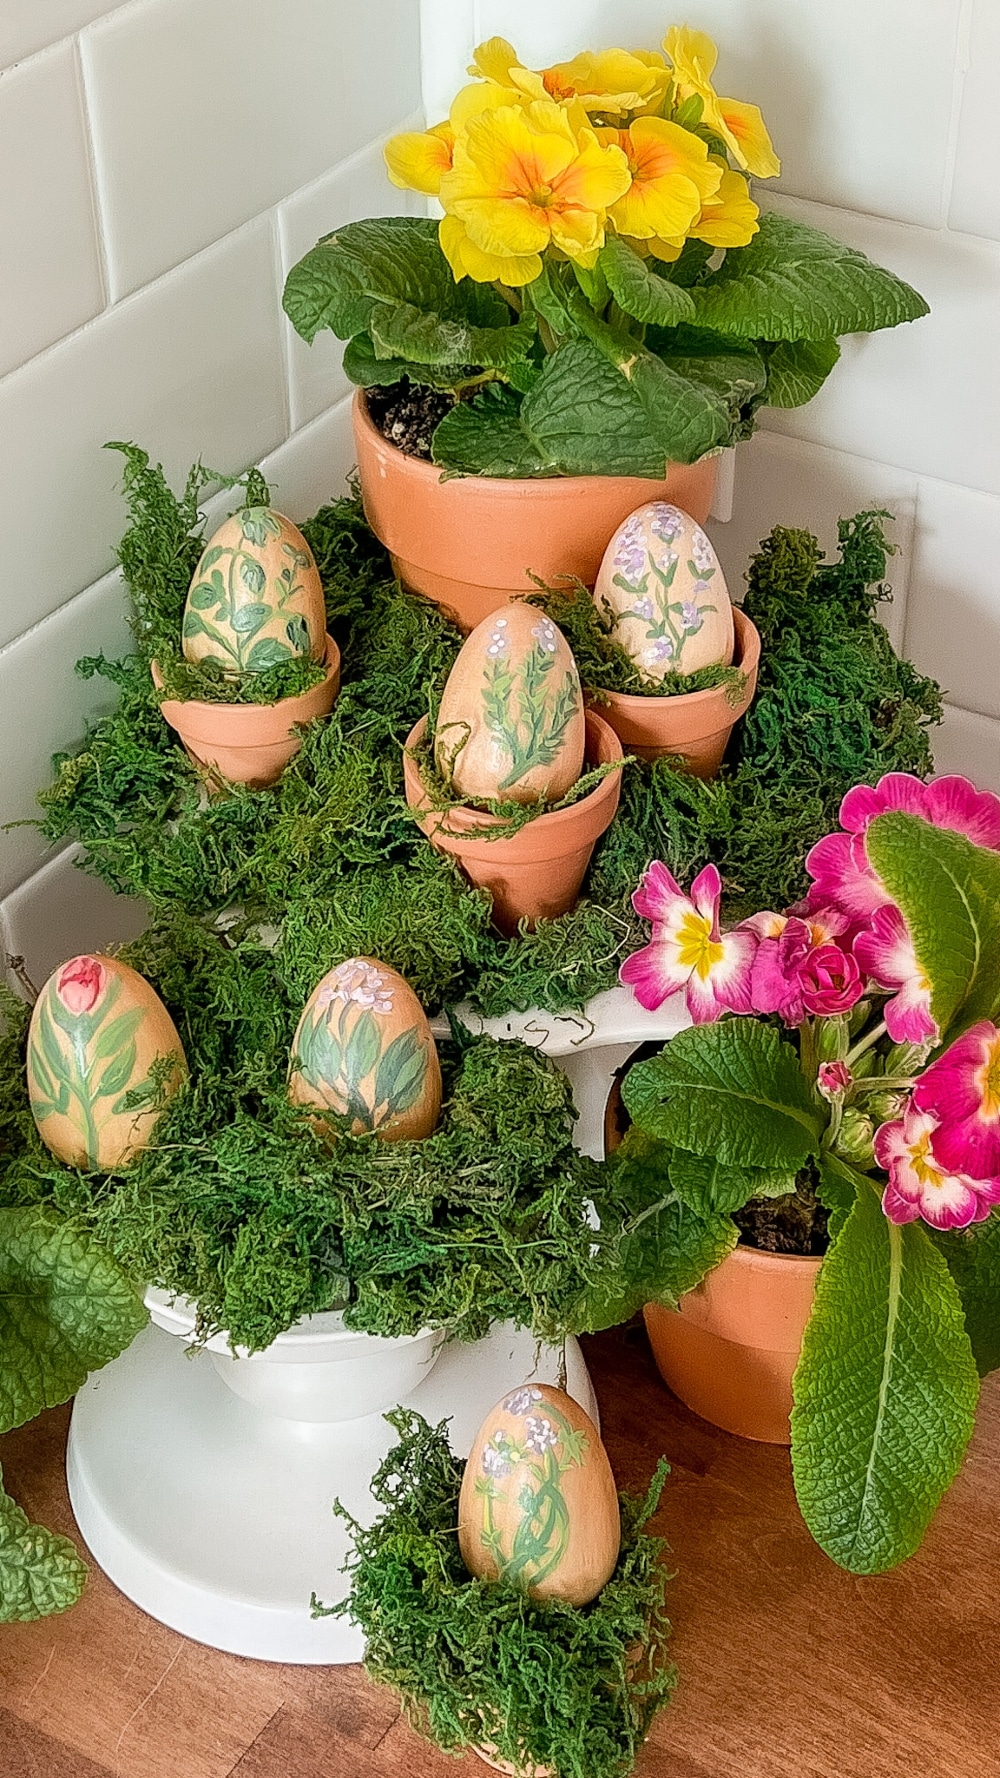
Have you ever painted eggs? You don’t have to be an artist to create pretty painted eggs! I found some vintage herb botanicals online. Then I printed them off and used them as I painted the eggs.
Supplies to Create Hand Painted Herb Eggs
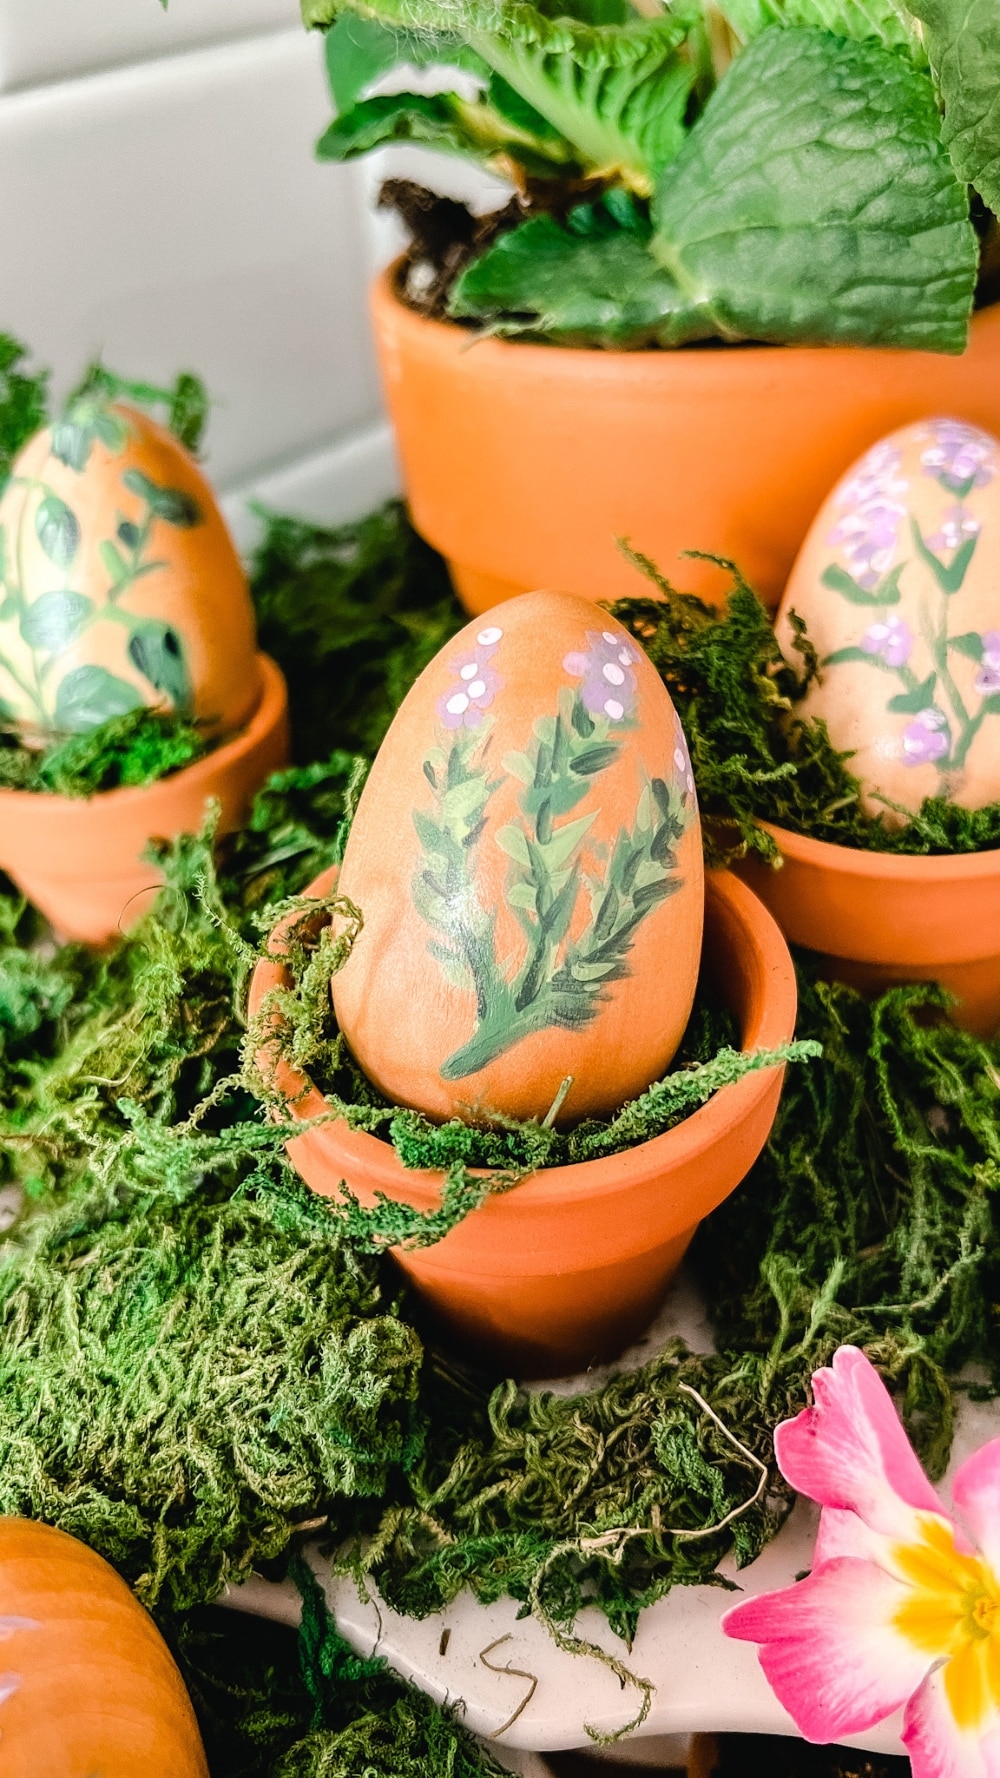
- Herb botanical prints (optional – you can use real herbs if you have them too and paint those)
- Paints. I used craft paint that I already have on hand. Here is a set of paints you can order and use for all kinds of craft projects).
- Paint brushes. You really only need one paint brush for this project. The trick is to find a VERY fine paint brush. Here are some fine detail brushes that would work well.
- Wooden Eggs. You can paint on any type of egg but I love painting on wood eggs because the natural look and color os wood eggs is so beautiful.. Here are some wood eggs you can order.
- Polyurethane paint. I used spray on polyurethane paint. The polyurethane brings out the colors of the paints and wood plus it protects the paint so it doesn’t get scratched off over time. This is the polyurethane paint I prefer.
- paper towel, disposable water cup and paint palette. I prefer a disposable palette.
Creating Hand Painted Eggs
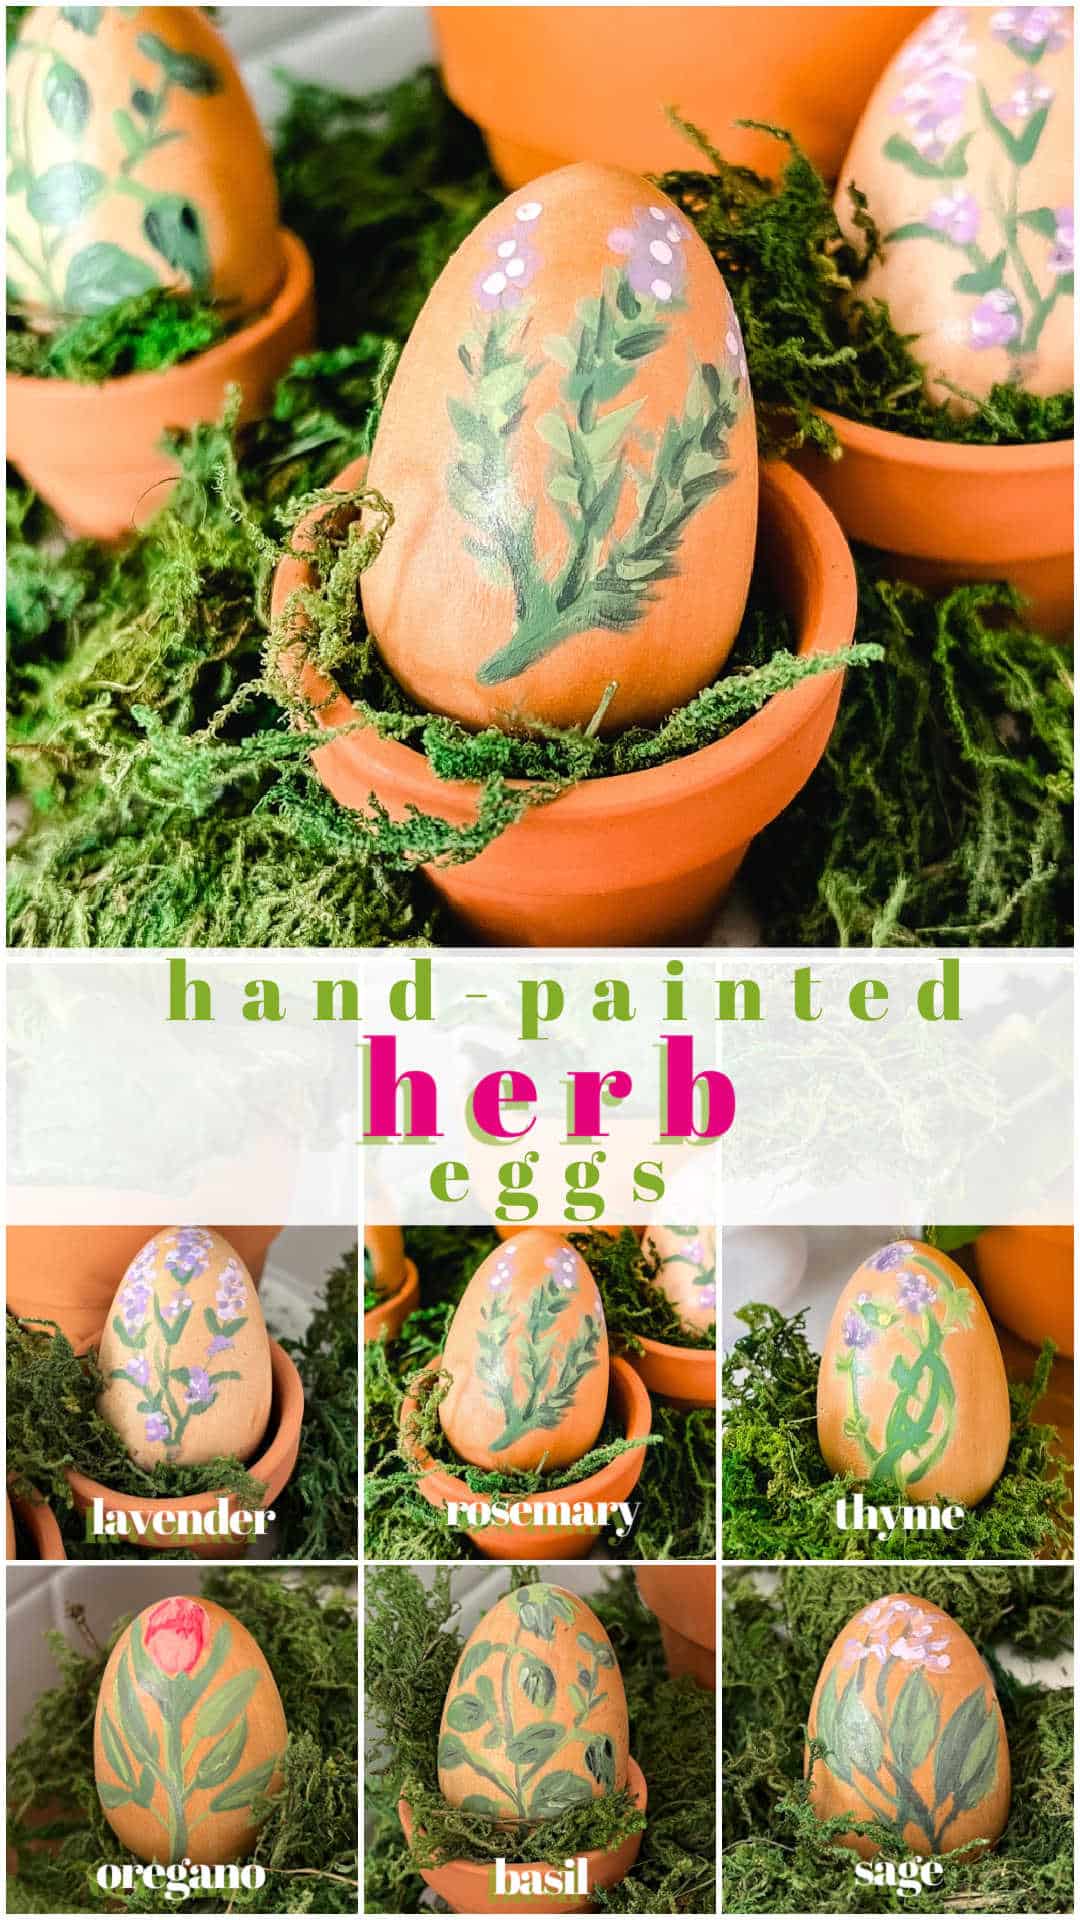
- Hold the egg from the base with one hand.
- Dip your brush in water so it is slightly damp, then dip it in the paint and tap a little paint off on a paper towel. You don’t want to have too much paint on the tip of the brush or your line will be too thick.
- Decide the longest line you want to paint and start with that line. For these herbs, I started with the tallest leaf and then worked my way from one side to the other, painting the long vertical lines.
- Next paint the leaves.
- Then fill in with color if you are painting flowers.
- Use 2-3 different shades of each color to create depth.
- I put the 2-3 colors on my palette first. Then I also add a white and a black. That way you can quickly add in a little white or black to add a little more depth where you need it like for the highlights or shadows.
- I usually will mix the colors on the top of the palette. That way I have access to the main colors and alll of the different variations and can quickly add those to my brush.
- like working with craft paint more than watercolors because they are thicker and don’t blend together. Watercolors are beautiful but hard to do unless you have taken classes. Craft paint is thicker and you can go over the lines multiple times which makes it more forgiving for beginners.
- Once you have your eggs painted, let the paint completely dry and then spray them with the polyurethane. You will need to spray them a few times at different angles to completely cover the eggs. Spray the eggs about 8 inches away from the egg with a light coat. Don’t spray too close or too thick or the polyurethane paint will drip.
Hand Painted Herb Eggs Centerpiece
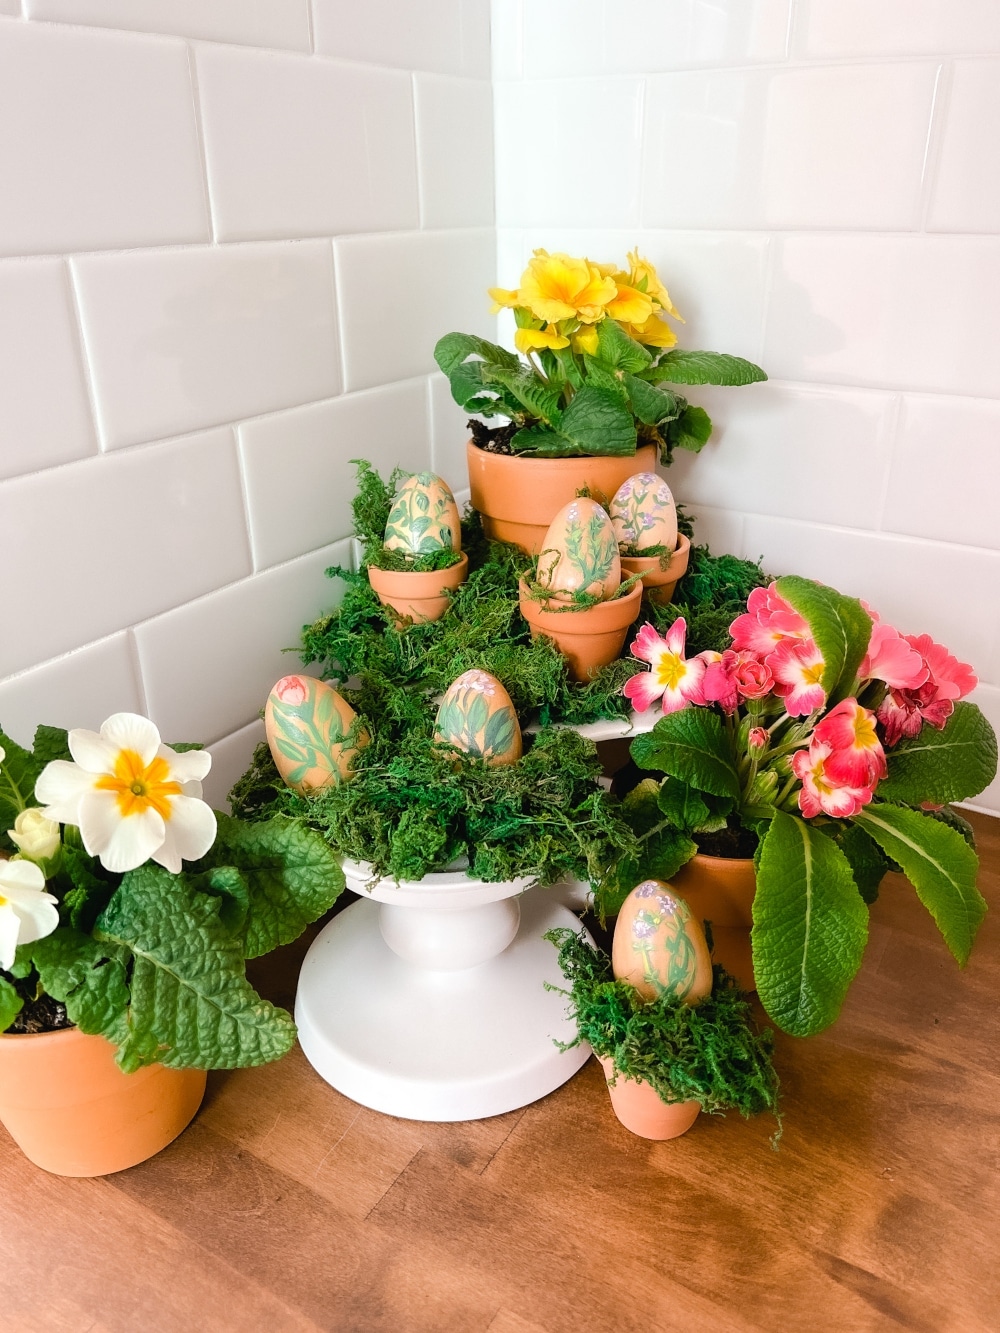
There are a few different ways to display these hand painted eggs! I created a tiered kitchen centerpiece. I took dried moss and covered two cake plates. Then I took very small clay pots and used them as egg display cups. Moss inside the cups and placed the eggs on top of the moss. I planted some flowers in larger matching pots and displayed the eggs and flowers together. I think it looks so fresh and pretty. You can also plant herbs in the larger pots and those would be so adorable alongside the herb painted eggs. You can make this into a centerpiece on a kitchen island or a dining room table for a fresh and useful living spring centerpiece!!
Handmade Society Egg Ideas
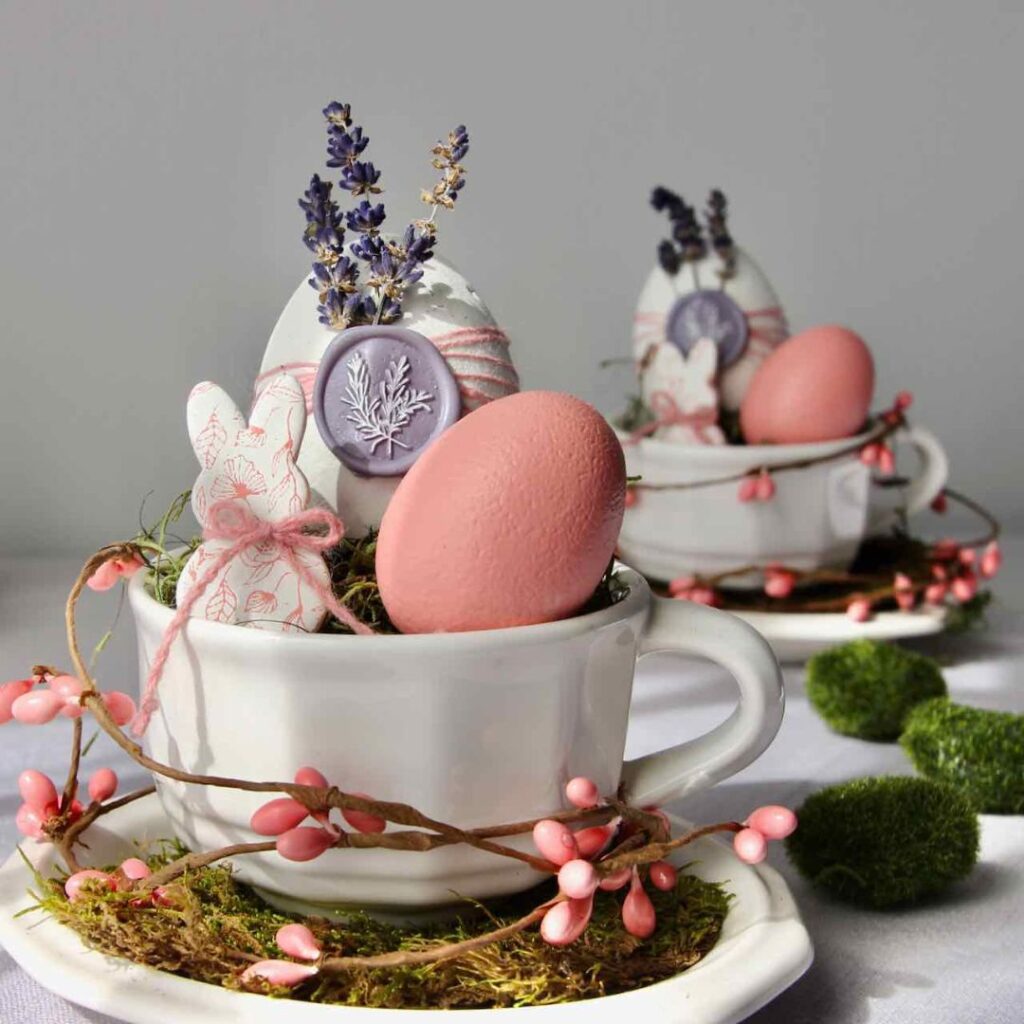
Next up on the March DIY egg tour is wax seal and lavender eggs from Diane at South House Designs! Be sure to see ALL of the beautiful egg decorating ideas today and pin them to make later!!
More Easter DIYs!
Here are a few Easter ideas for inspiration!
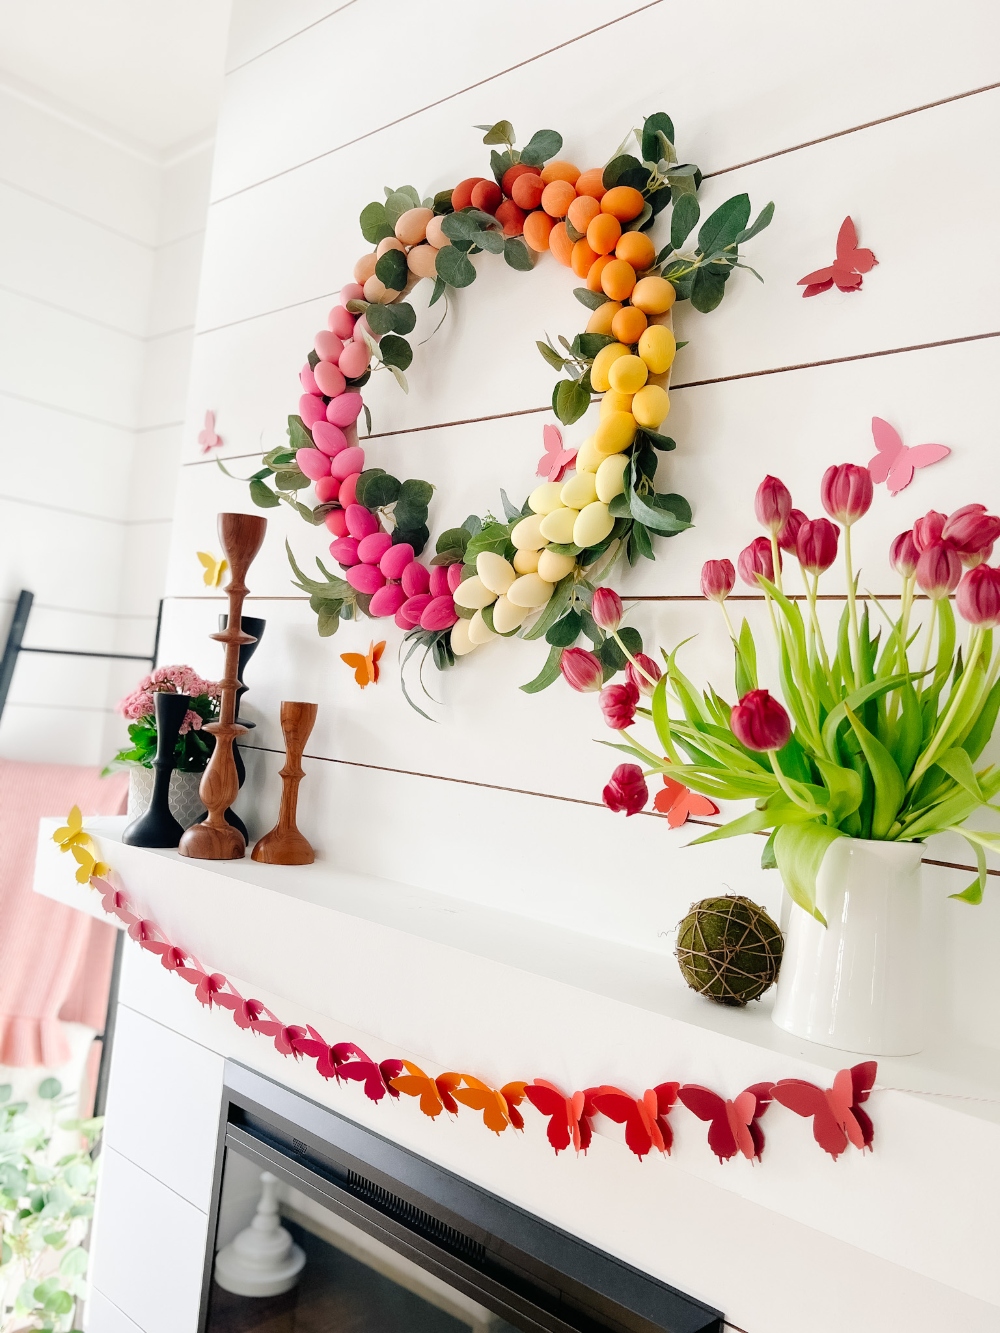
Rainbow Easter Egg Wreath
Rainbow Easter Mantel. Celebrate color this Easter by making a rainbow egg wreath and paper butterfly banner!

Easter Washi Tape Wreath
Take inexpensive easter eggs, add colorful washi tape and create a colorful easter wreath!
What Easter Egg project do you want to make first?
xoxo





You never disappoint, Jen!! Another adorable project. You are super talented!!
You are so nice! Thank you Jennifer!
xoxo
So cute Jen! i love your hand painting!
It was great hopping with you!
Thanks!! It was fun hopping with you too!
xoxo
Such cute eggs Jen, love the hand painting.
Thanks Wendy! This was such a fun challenge 🙂
xoxo
Jen, I’m so impressed with your painted herb eggs! They look so cute in your spring kitchen vignette, and I love how they look in the terracotta pots! Pinning!
You are so sweet. Thanks Michelle!
xoxo
As someone who struggles with hand painting, I love your step by step instructions. These eggs are so beautiful! Thank you for a great post! Pinned!
You are so sweet Missy! Thank you!
xoxo