How to make paper medallions for parties and home decor. Paper medallions are easy to make with scrapbook paper and perfect for parties and home decorating!
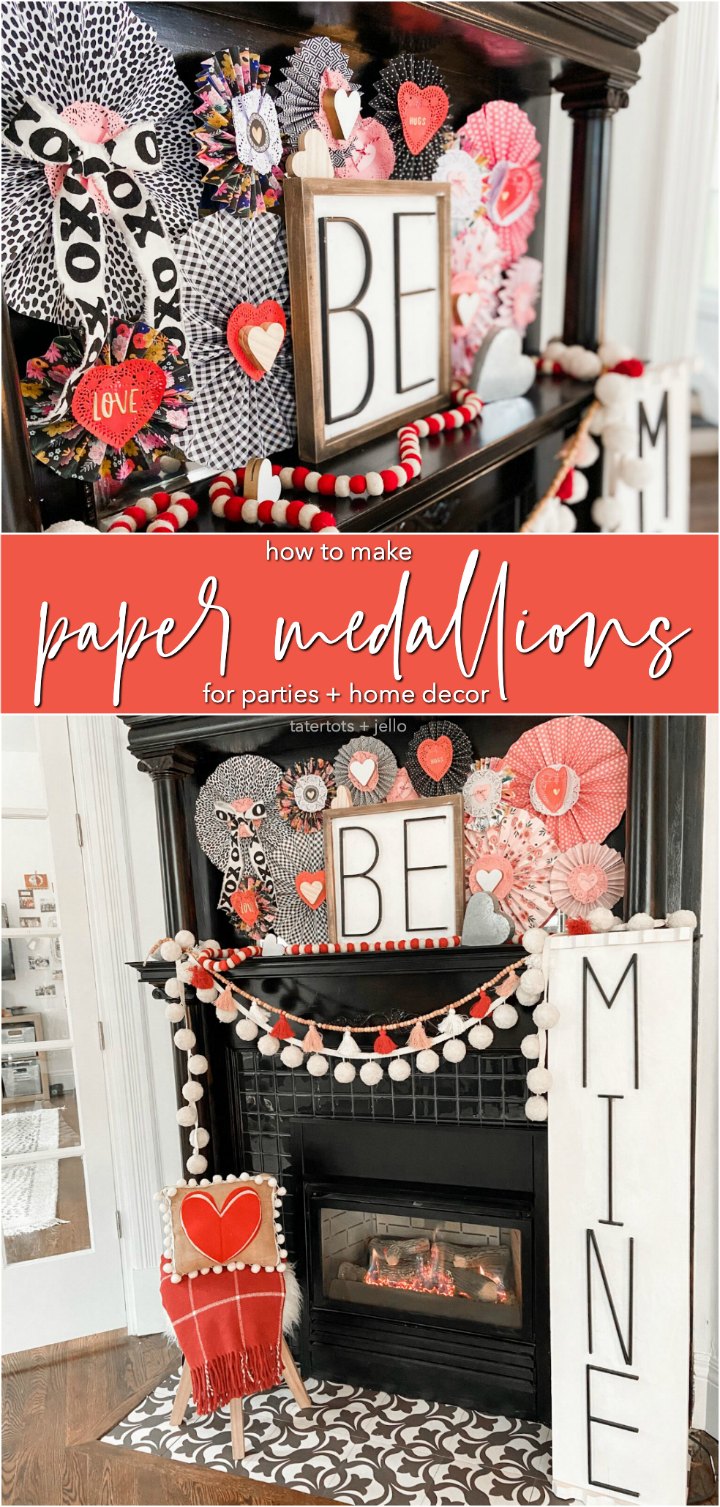
Make Paper Medallions out of Scrapbook Paper
I love decorating for holidays and parties. Have you ever seen those paper medallions that you can buy? Did you know that you can make those yourself? Yes! You can make your own medallions out of scrapbook paper. It’s so easy!
Customize Paper Medallions
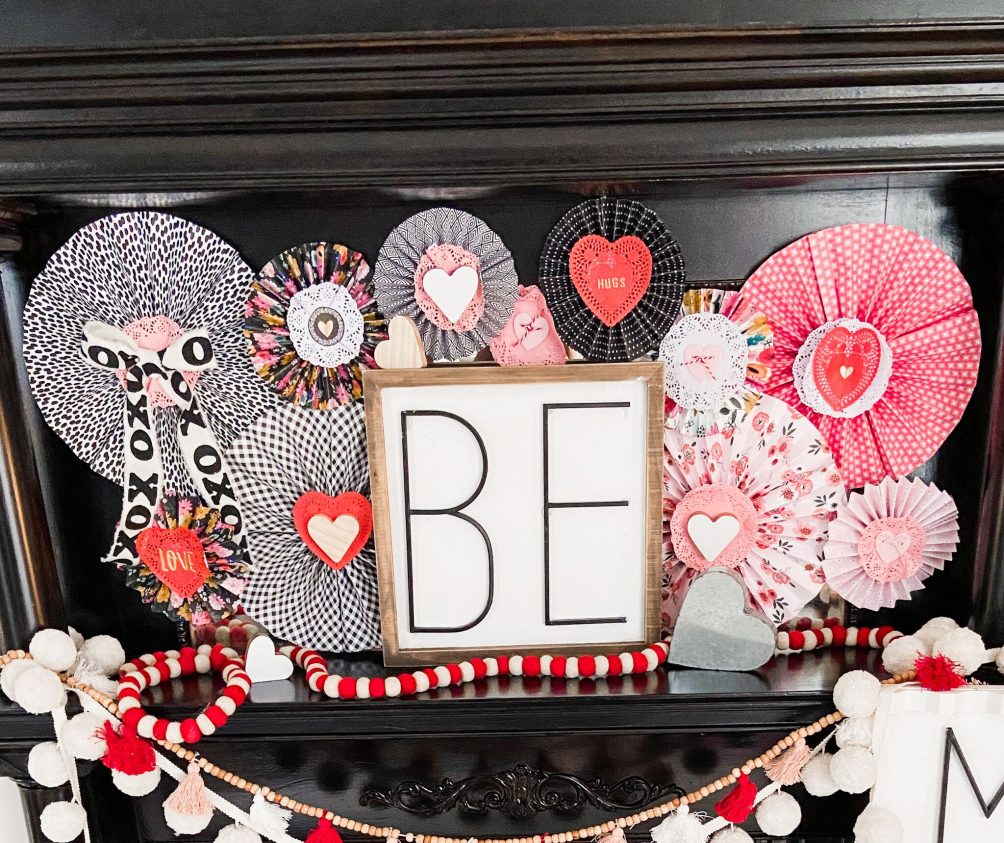
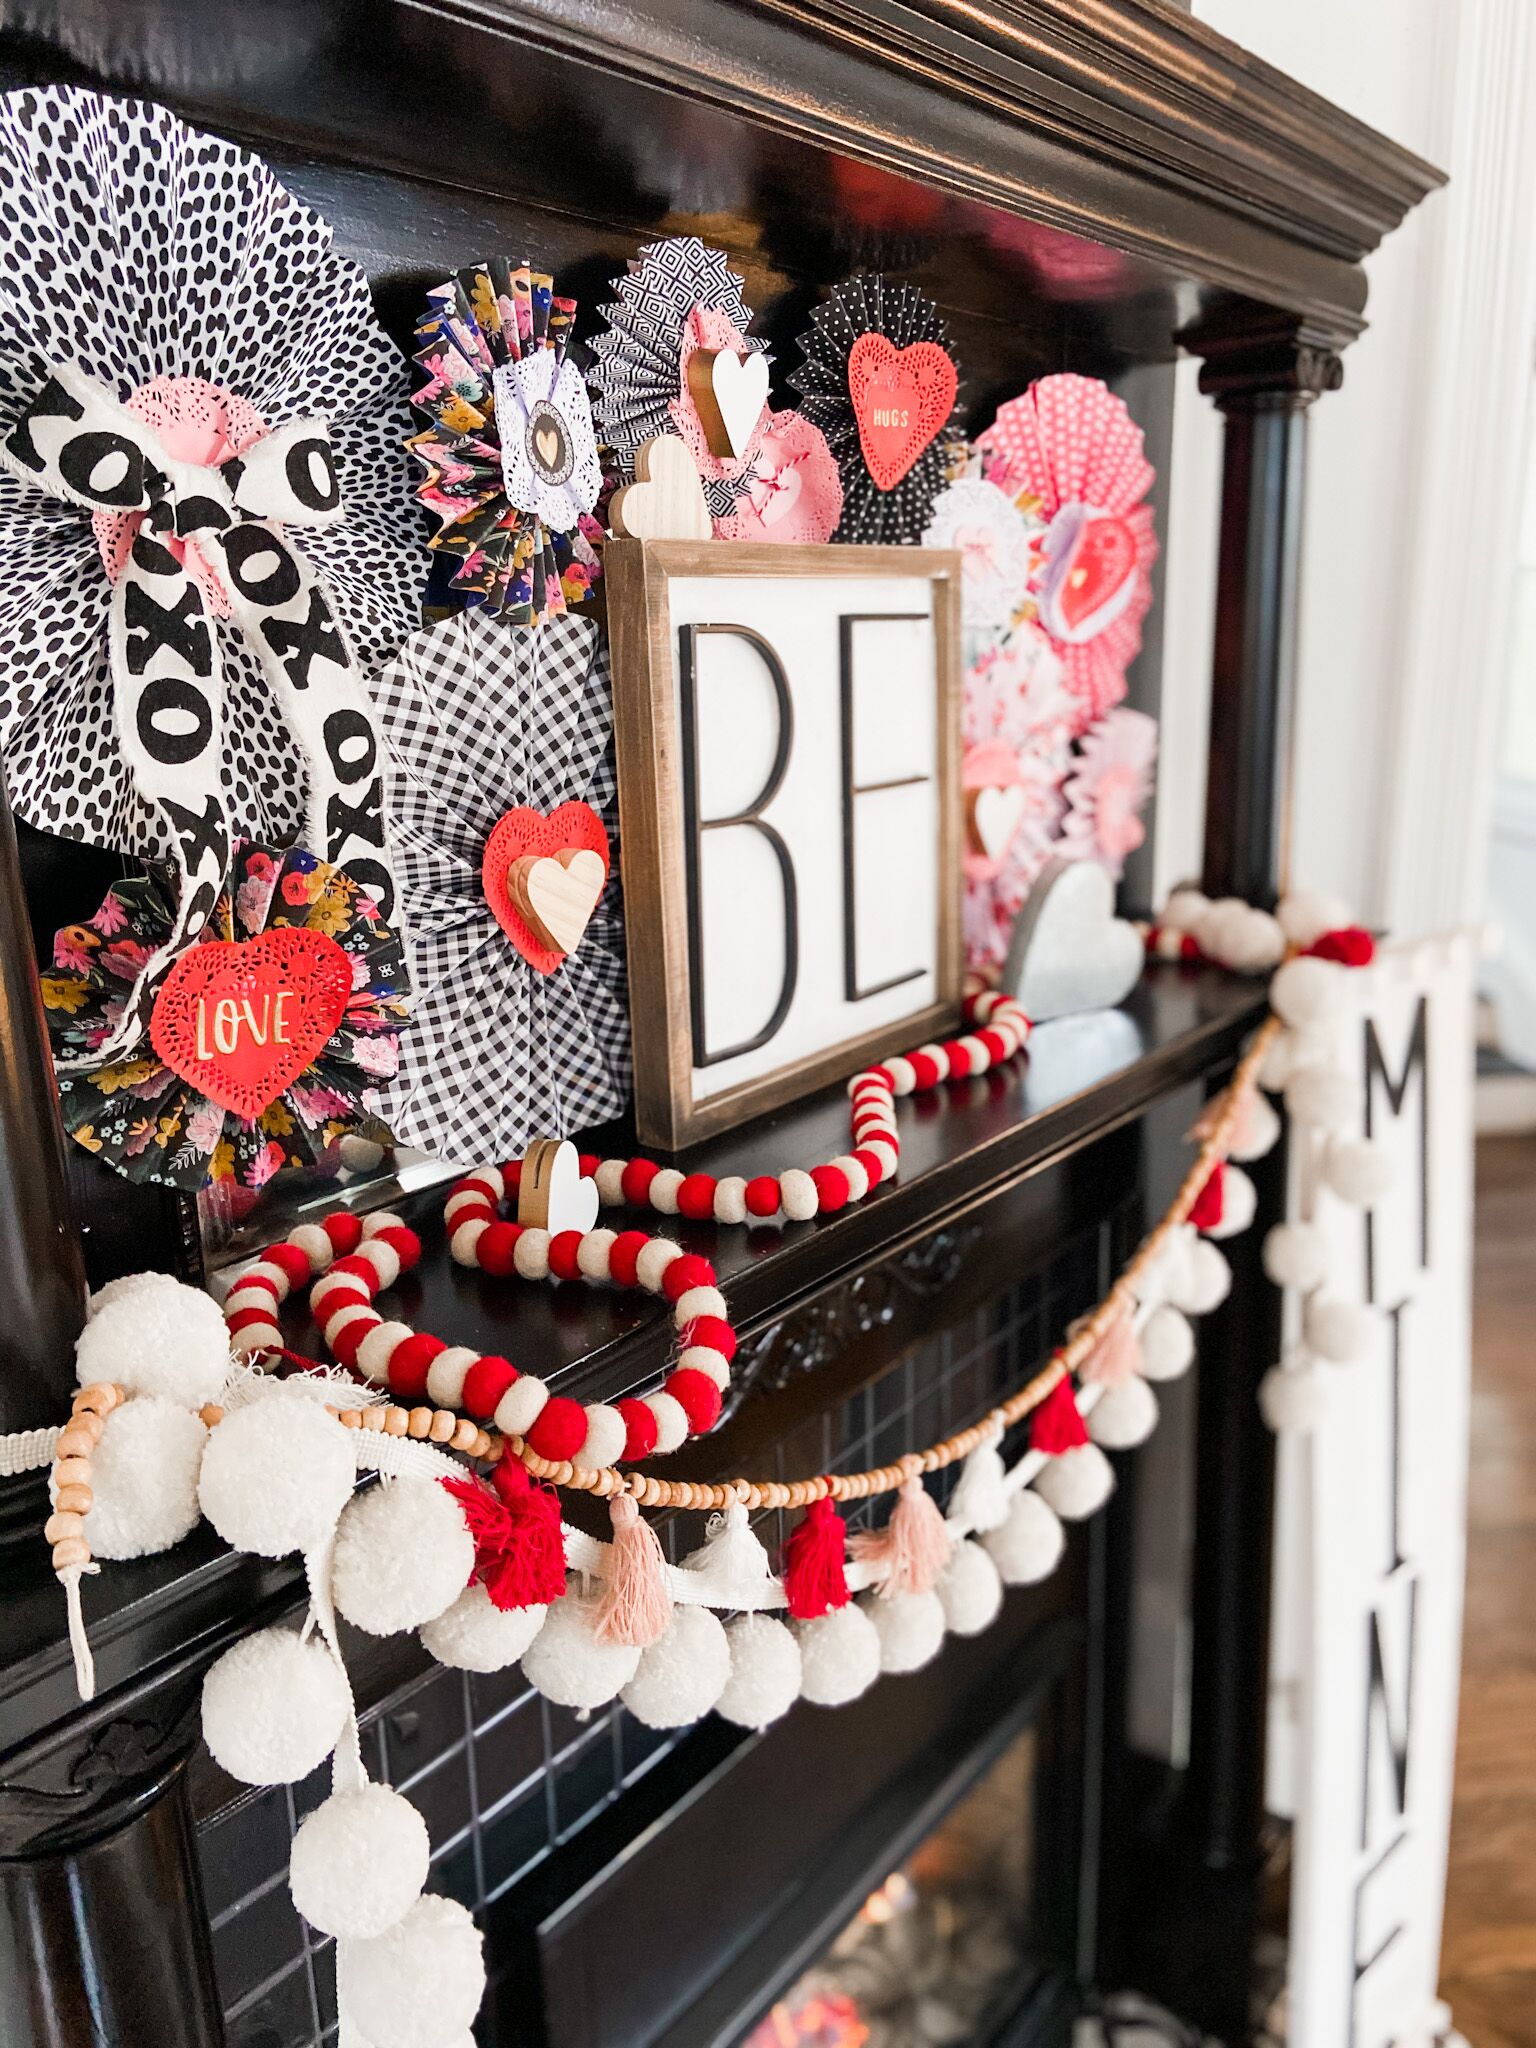
The thing I love most about making my own medallions is that I can choose the color and pattern of the papers for different holidays and parties. For example I just made some medallions for my Valentine’s Day mantel. I used paper from my new Hey? Hello! Pebbles paper line.
Create Paper Medallions for Parties
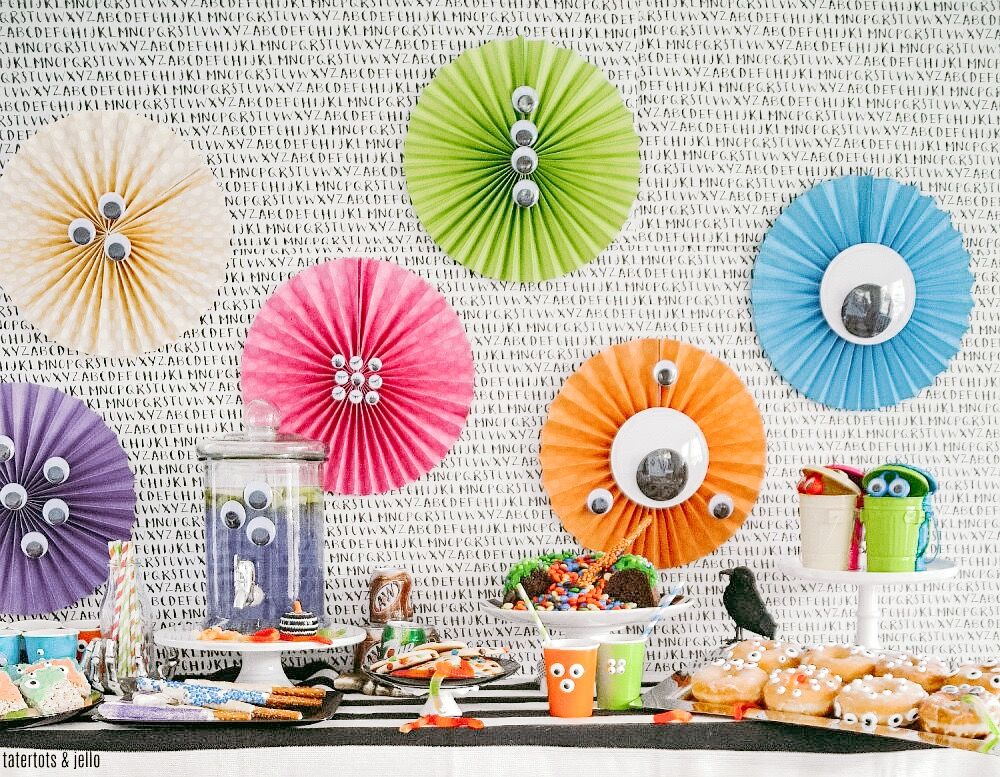
Paper medallions are perfect to make for parties! If you have a super bowl party, create paper that is the team’s color. If you have a birthday party, create medallions that go with the color scheme. This is a Monster Party I created and I used scrapbook paper to make these eyeball medallions!
DIY Paper Medallions are Inexpensive to Create
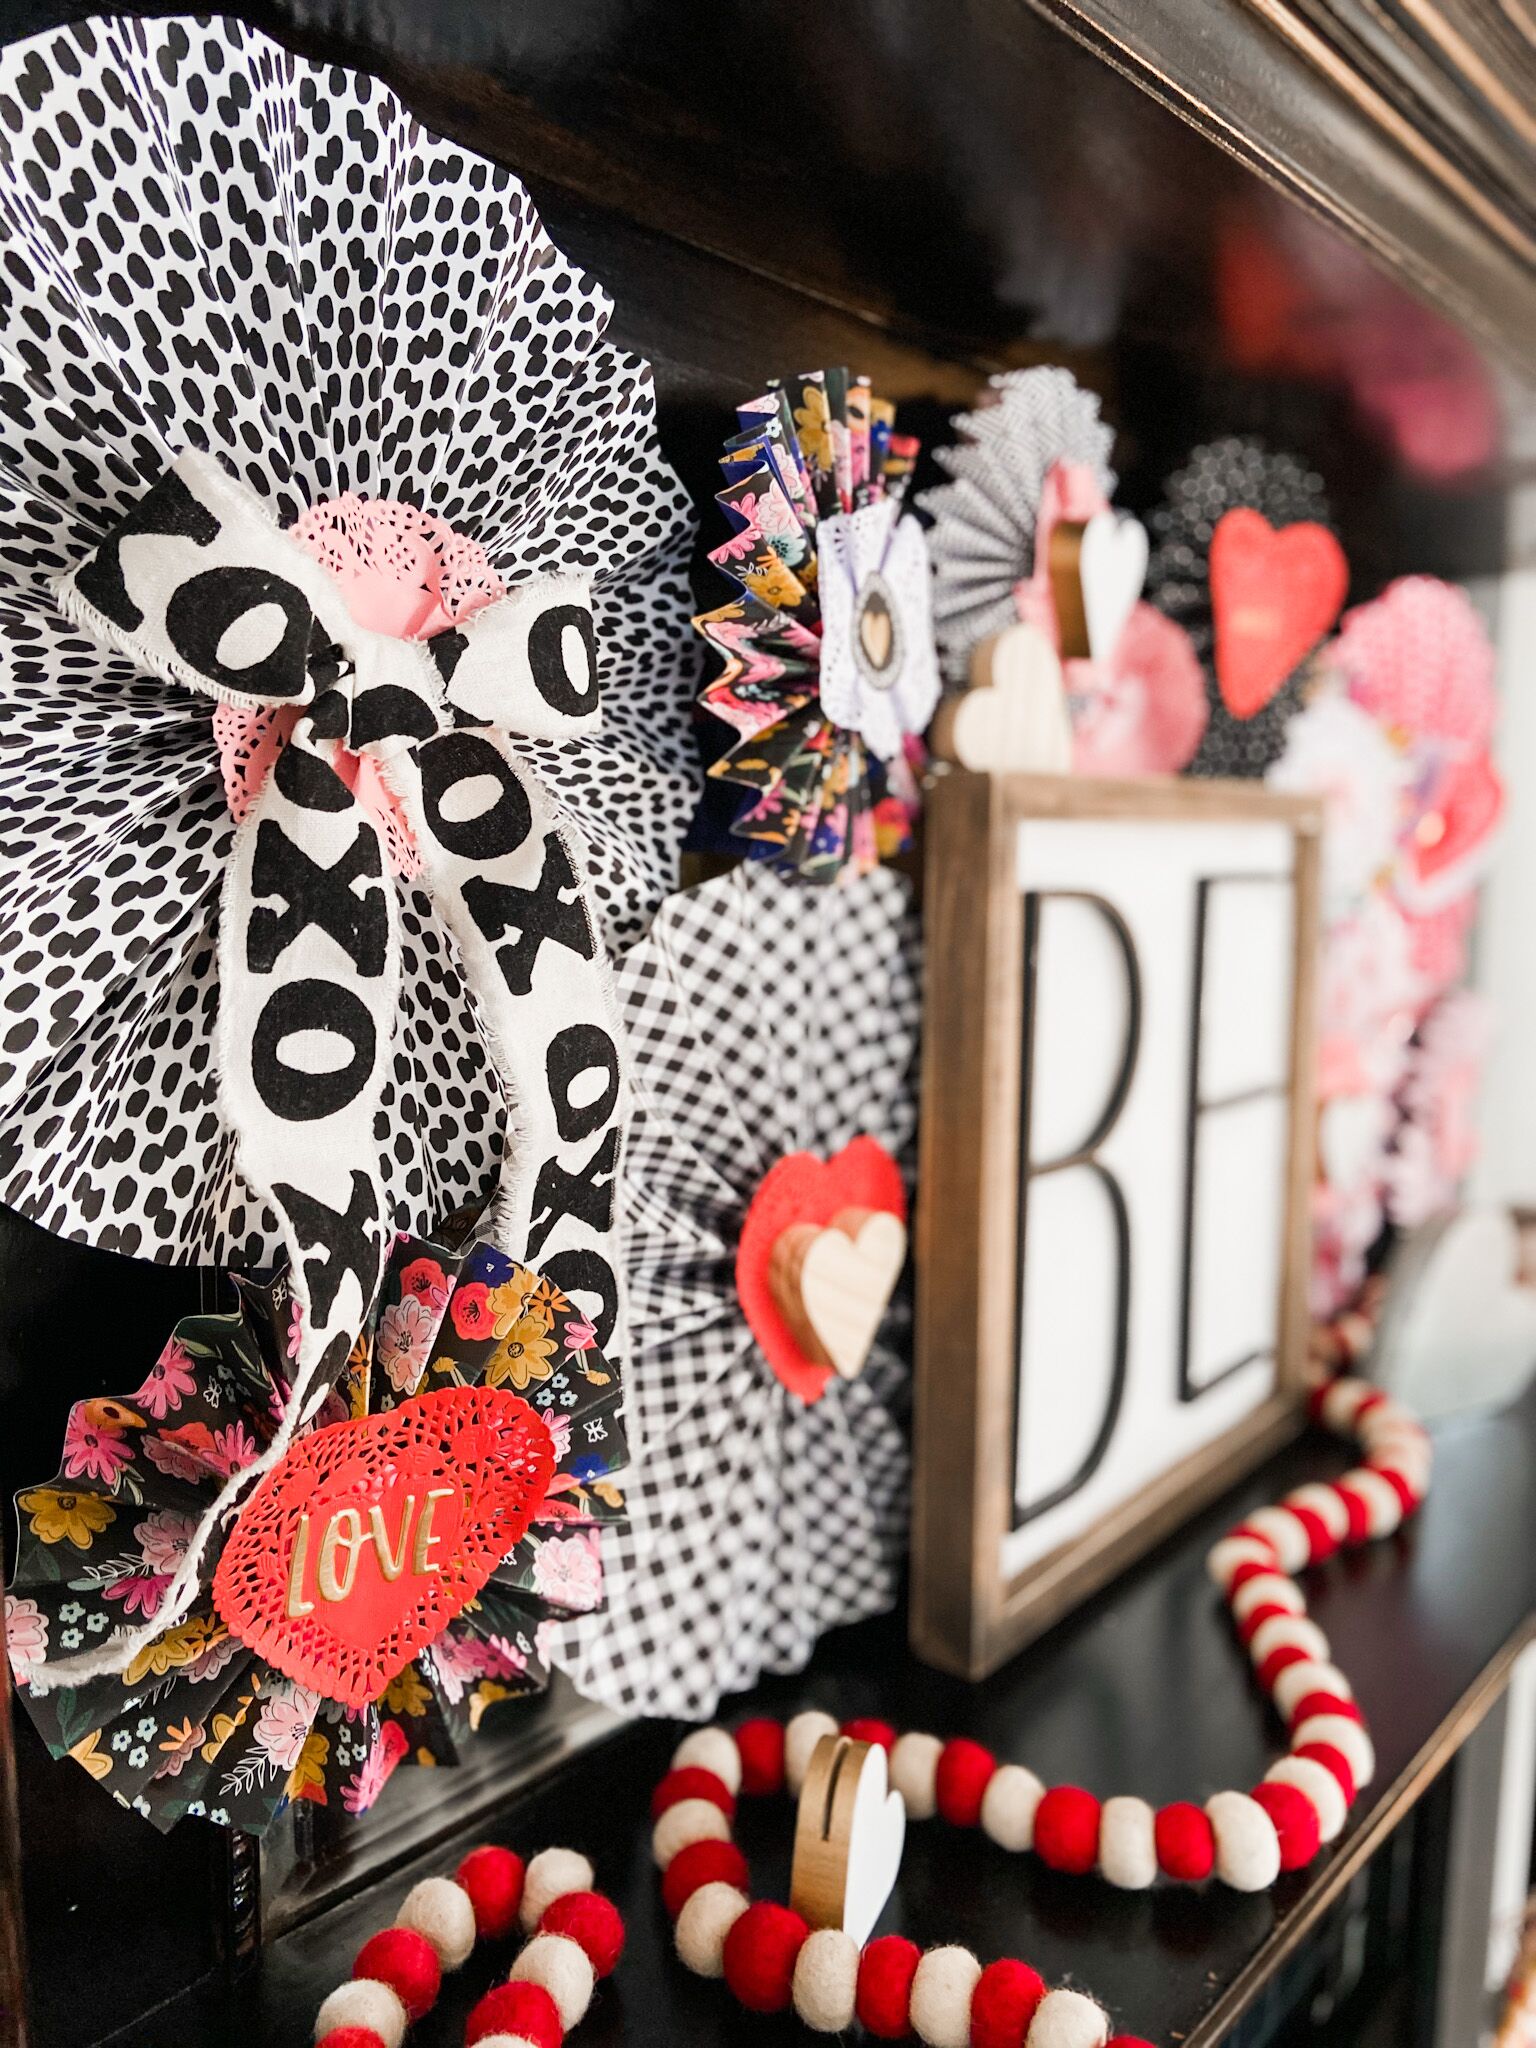
All you need to create your own paper medallions is scrapbook paper, staples, a glue gun and some embellishments.
Paper Medallions Can be Made in Different Sizes
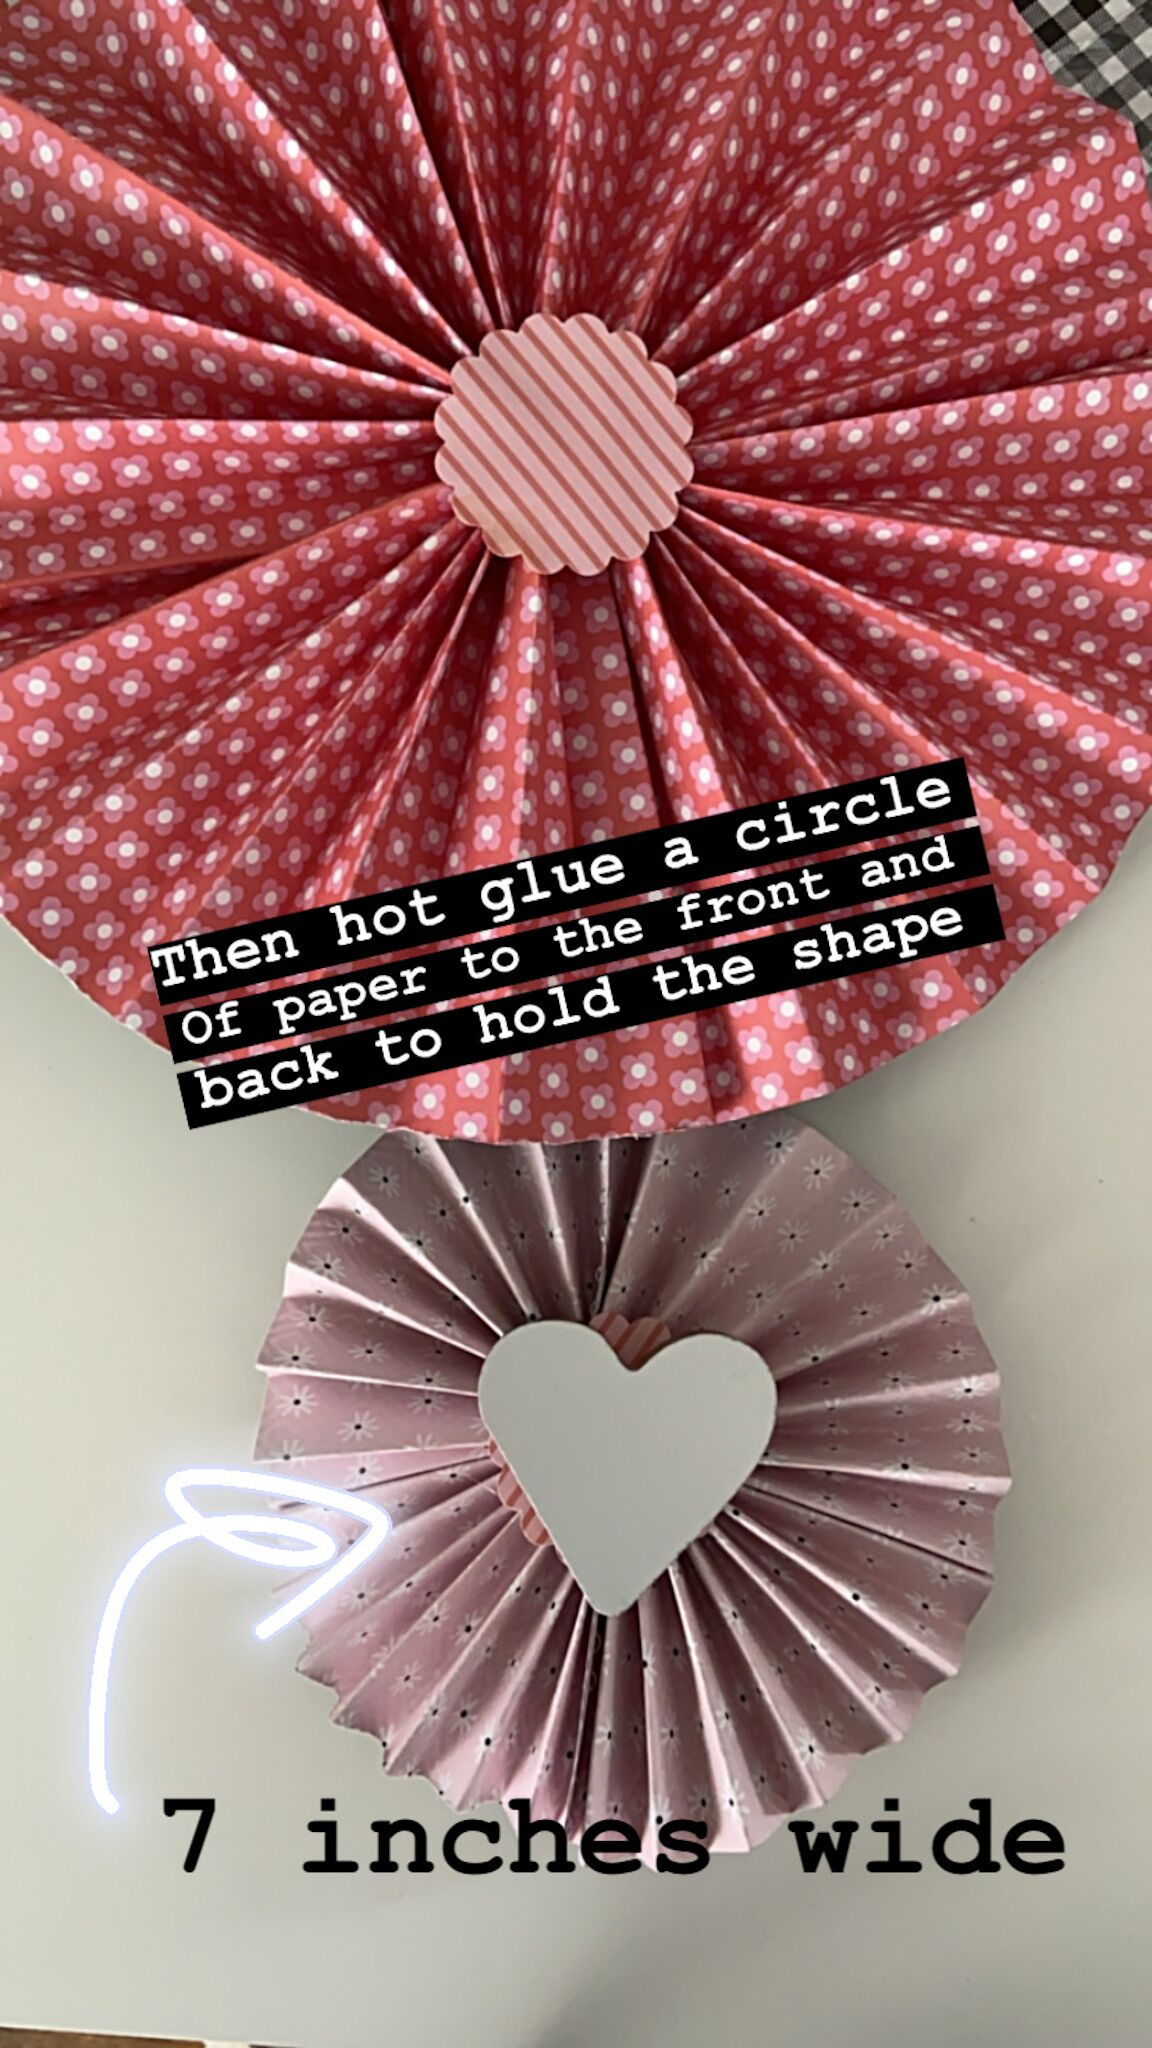
Paper medallions can be small and large sizes. I Will show you how to make medallions that are 13 inches wide and medallions that are 7 inches wide.
Supplies to Make Paper Medallions
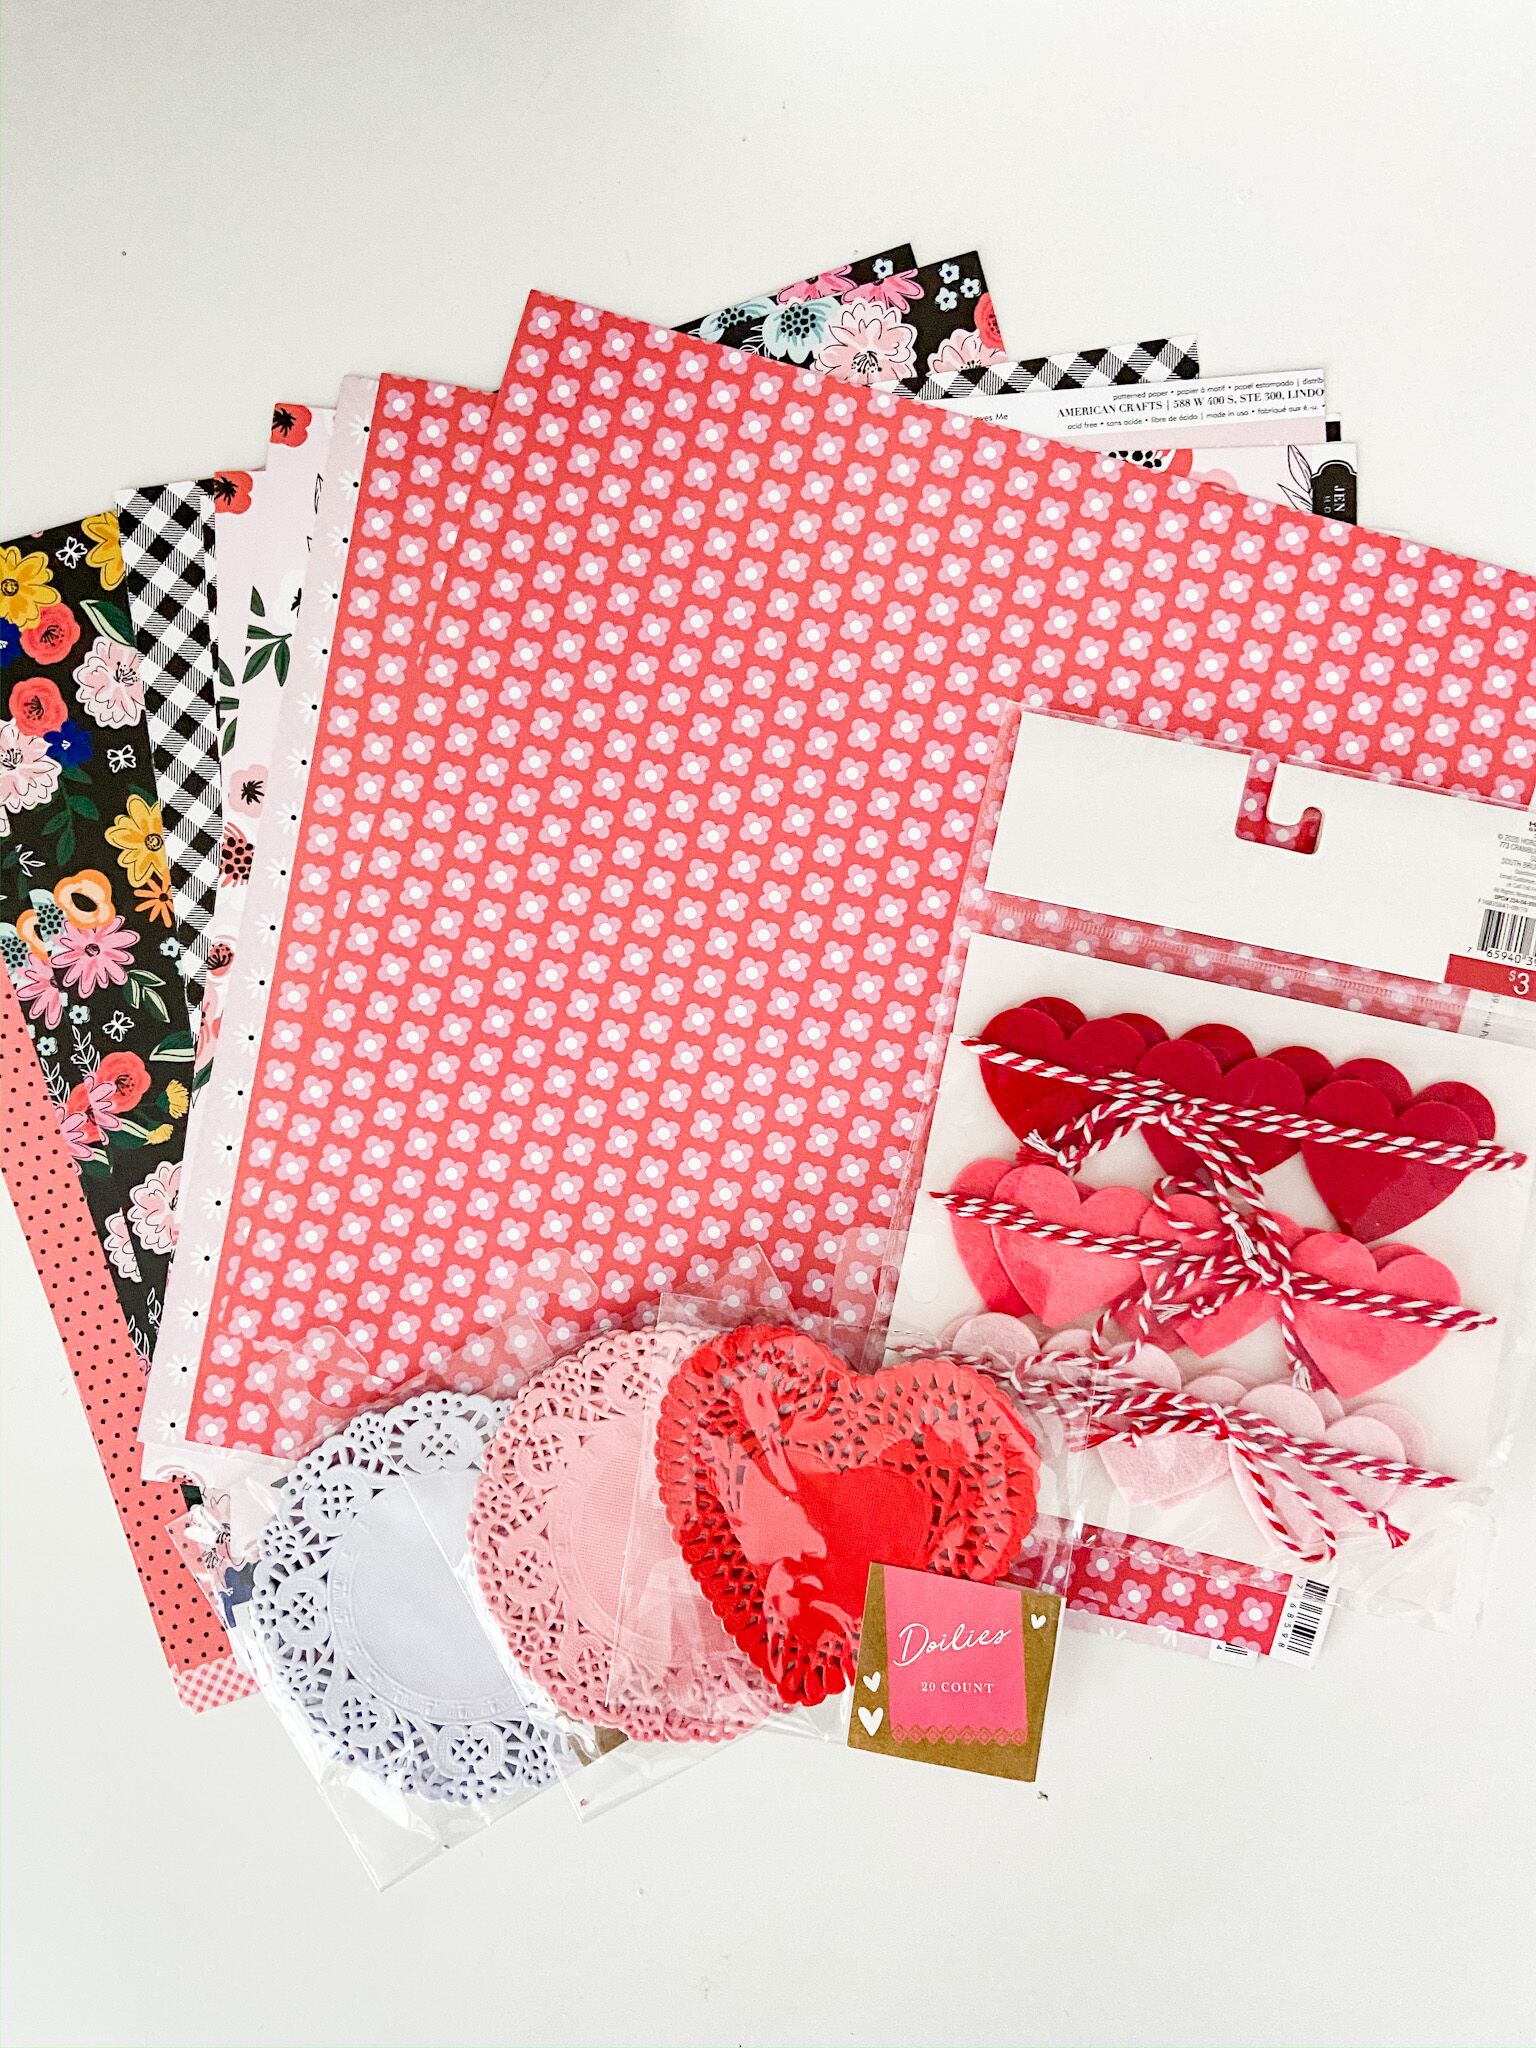
Scrapbook Paper (2 sheets for a 13′ wide medallion, 1 sheet for a 7″ wide medallion)
I used paper from my Pebbles Hey! Hello! line. You can find it on Scrapbook.com!
Stapler
Hot Glue Gun
Embellishments (and two circles of scrapbook paper)
How to Make Easy Paper Medallions
Cut Paper into Strips
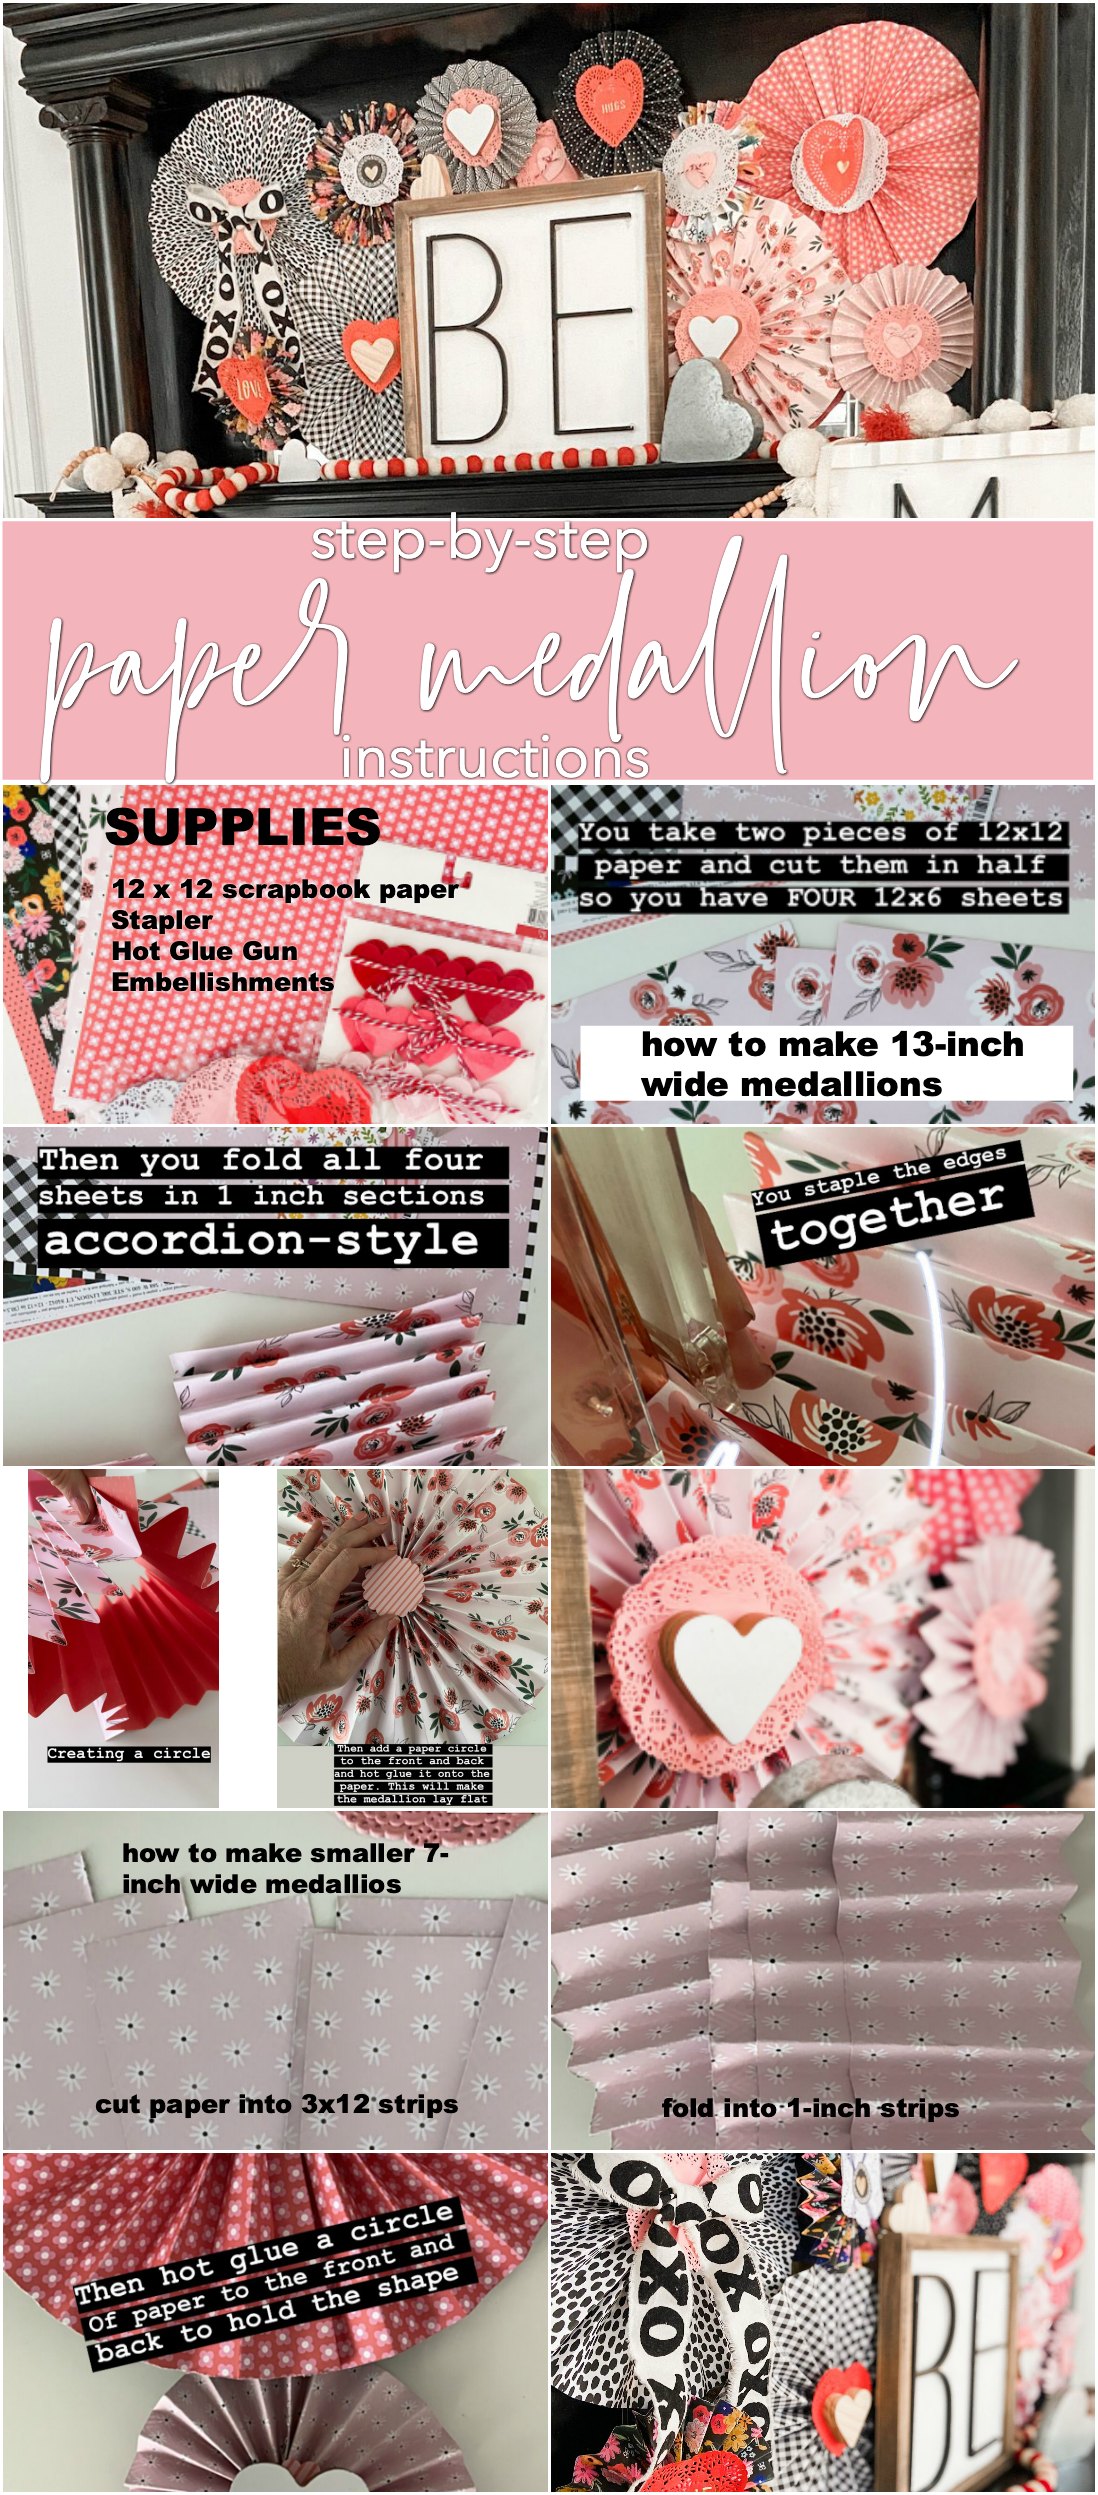
Paper Medallion Directions For 13-inch medallion — Cut paper in half, length wise — you will have TWO 12 x 6 pieces of paper. For 7-inch medallion — Cut paper in quarters so you have FOUR 3 x 12 inch pieces of paper.
Fold Paper
Fold the paper pieces into 1-inch strips, accordion-style.
Staple Paper Edges
Use a stapler to connect the edges of the strips, forming ONE long strip.
Then staple the first and end edges together, forming a circle.
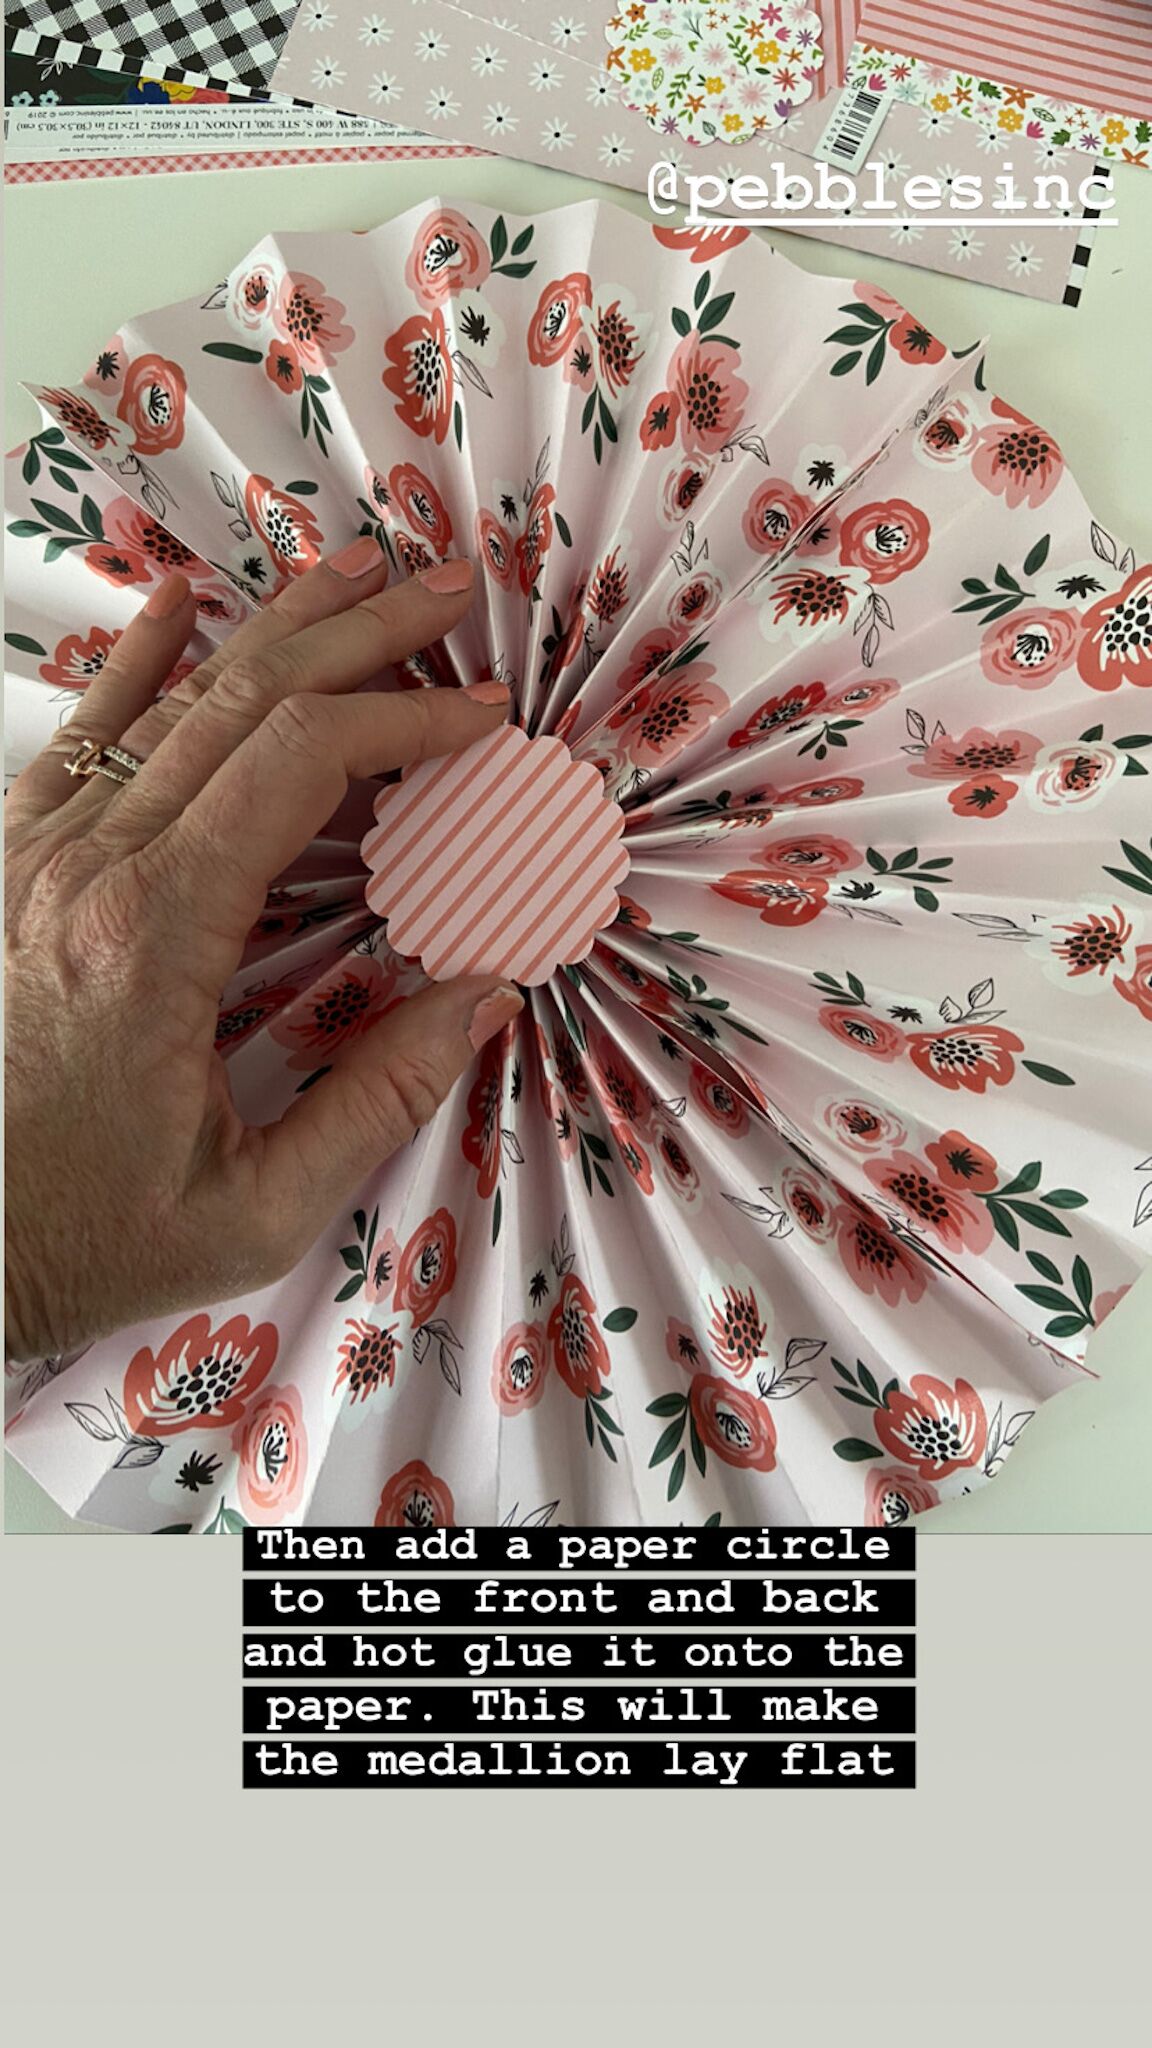
Attach Paper Circles to the Middle
Cut out two circles of scrapbook paper. I used a 2.5 inch circle punch but you can also freehand it.
Press the paper circle flat and adjust t so that there is just s small amount of open space in the center that is smaller than your paper circle.
Hot glue the edges of the paper folds together so that it retains the circle shape. Hold until cooled. .
Add hot glue to the back of the paper circle and press it on top of the paper folds you just glued. Hold until cool.
Do the same thing on the back — glueing the paper folds and then glueing the paper circle over the top.
Now the paper medallion should be stable and laying flat. If it seems unstable, add more hot glue under the paper circles until it is secure.
Add Embellishments
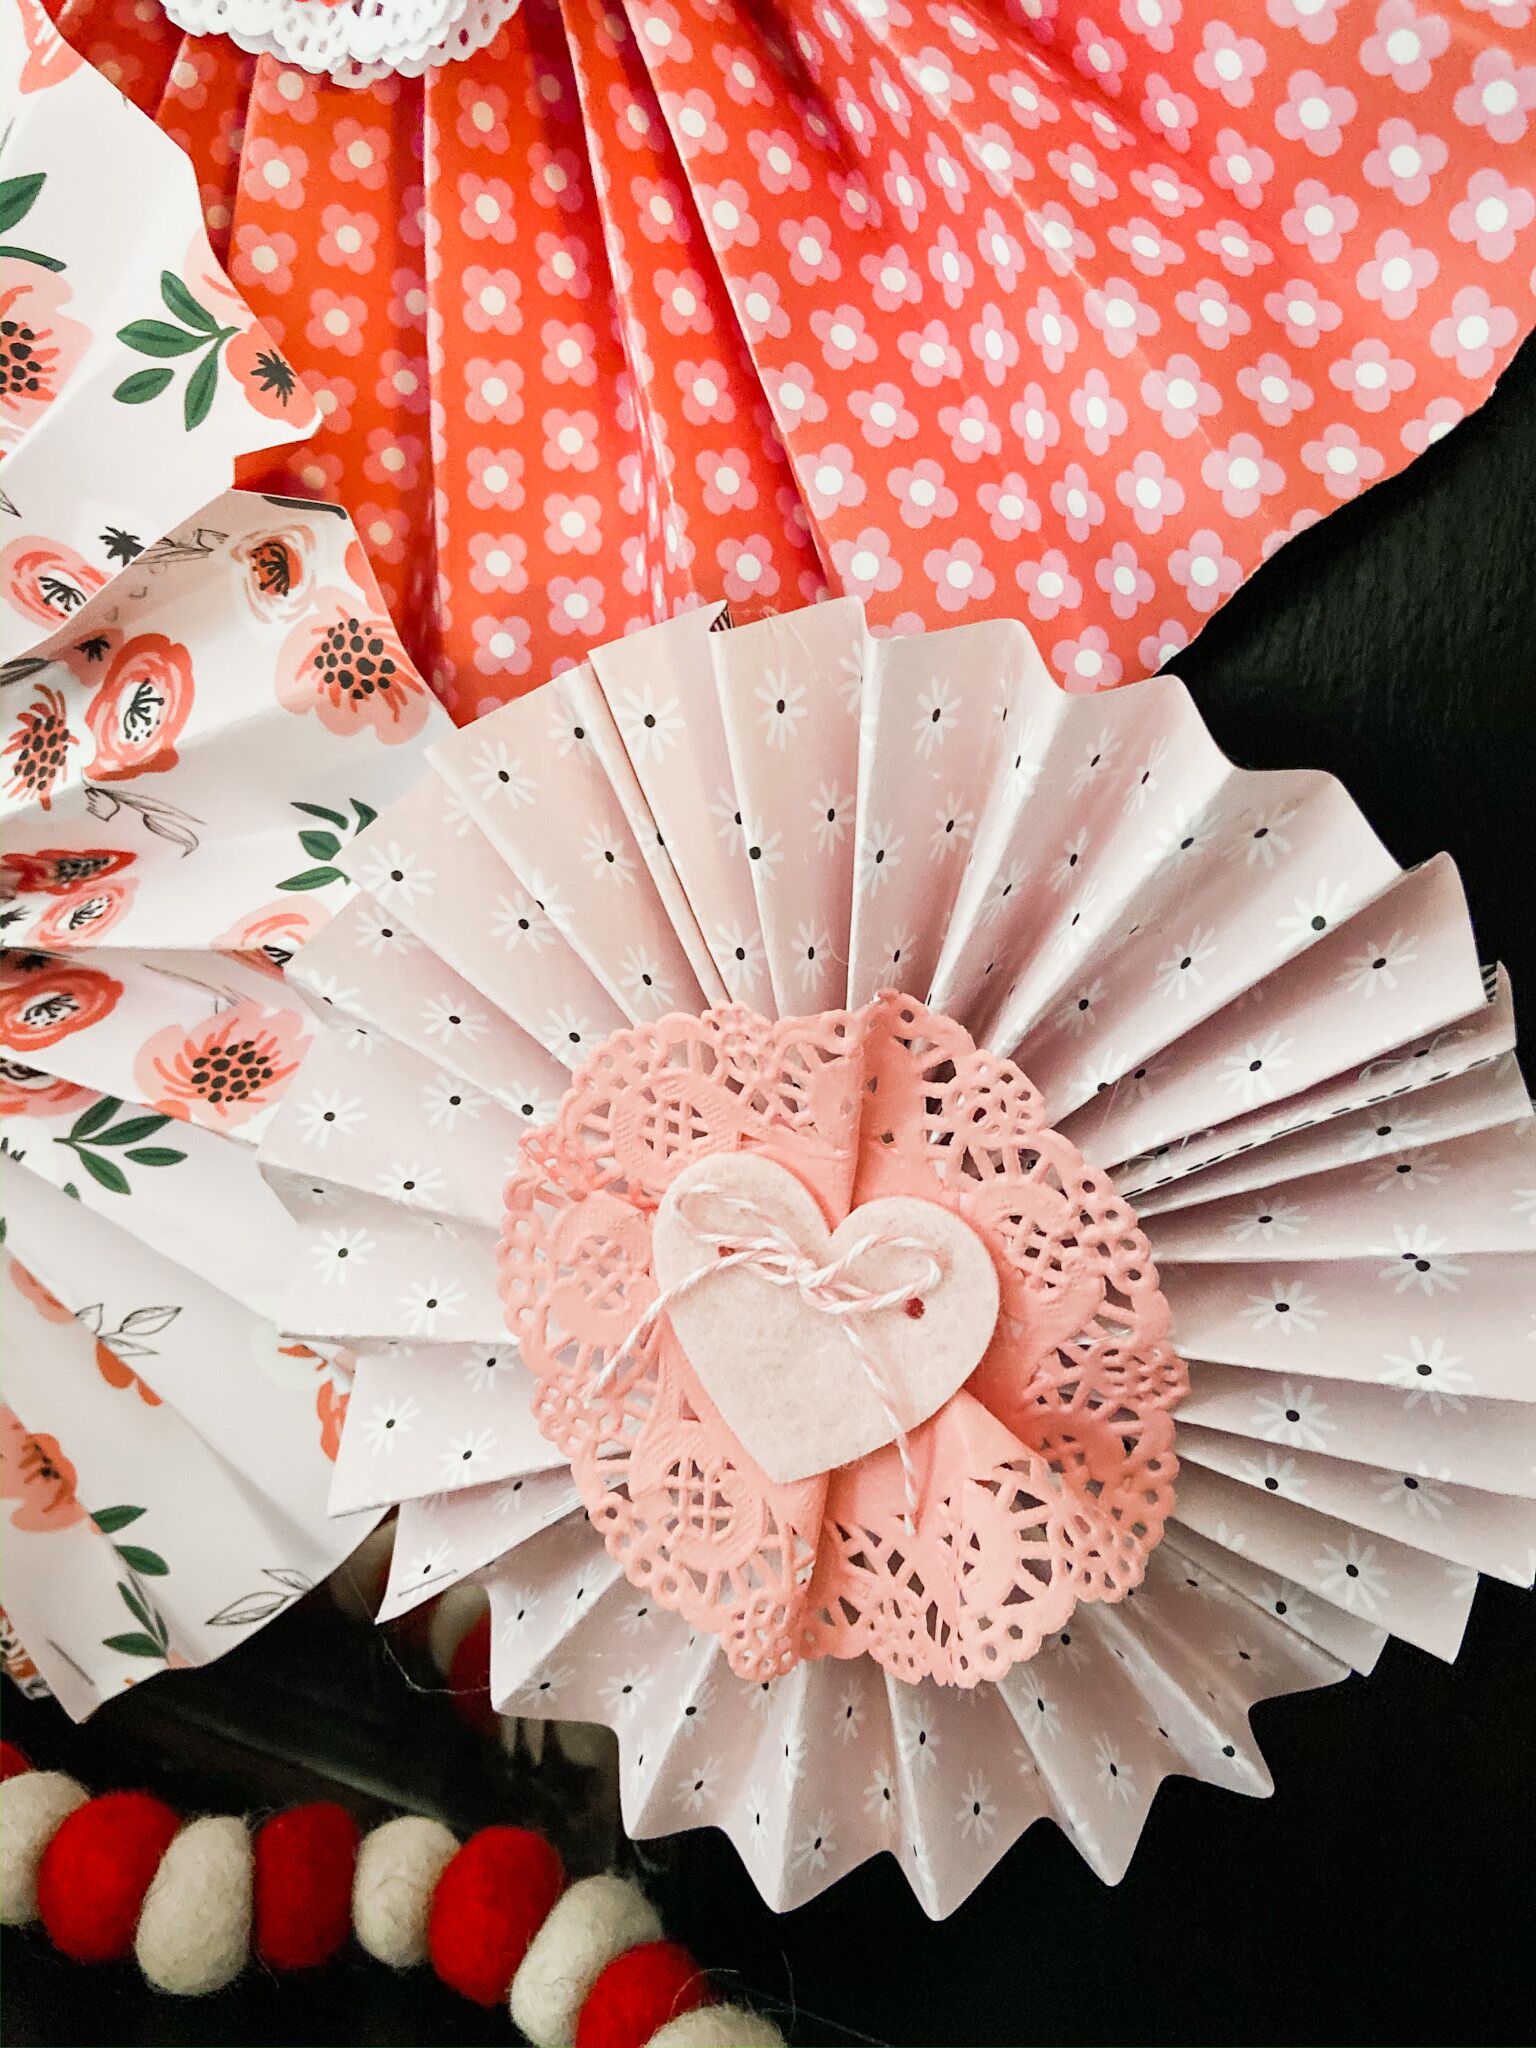
Add embellishments over the top of the paper circles (optional). I added some doilies and thicker letters and shapes to mine.
Attach Medallions to Wall
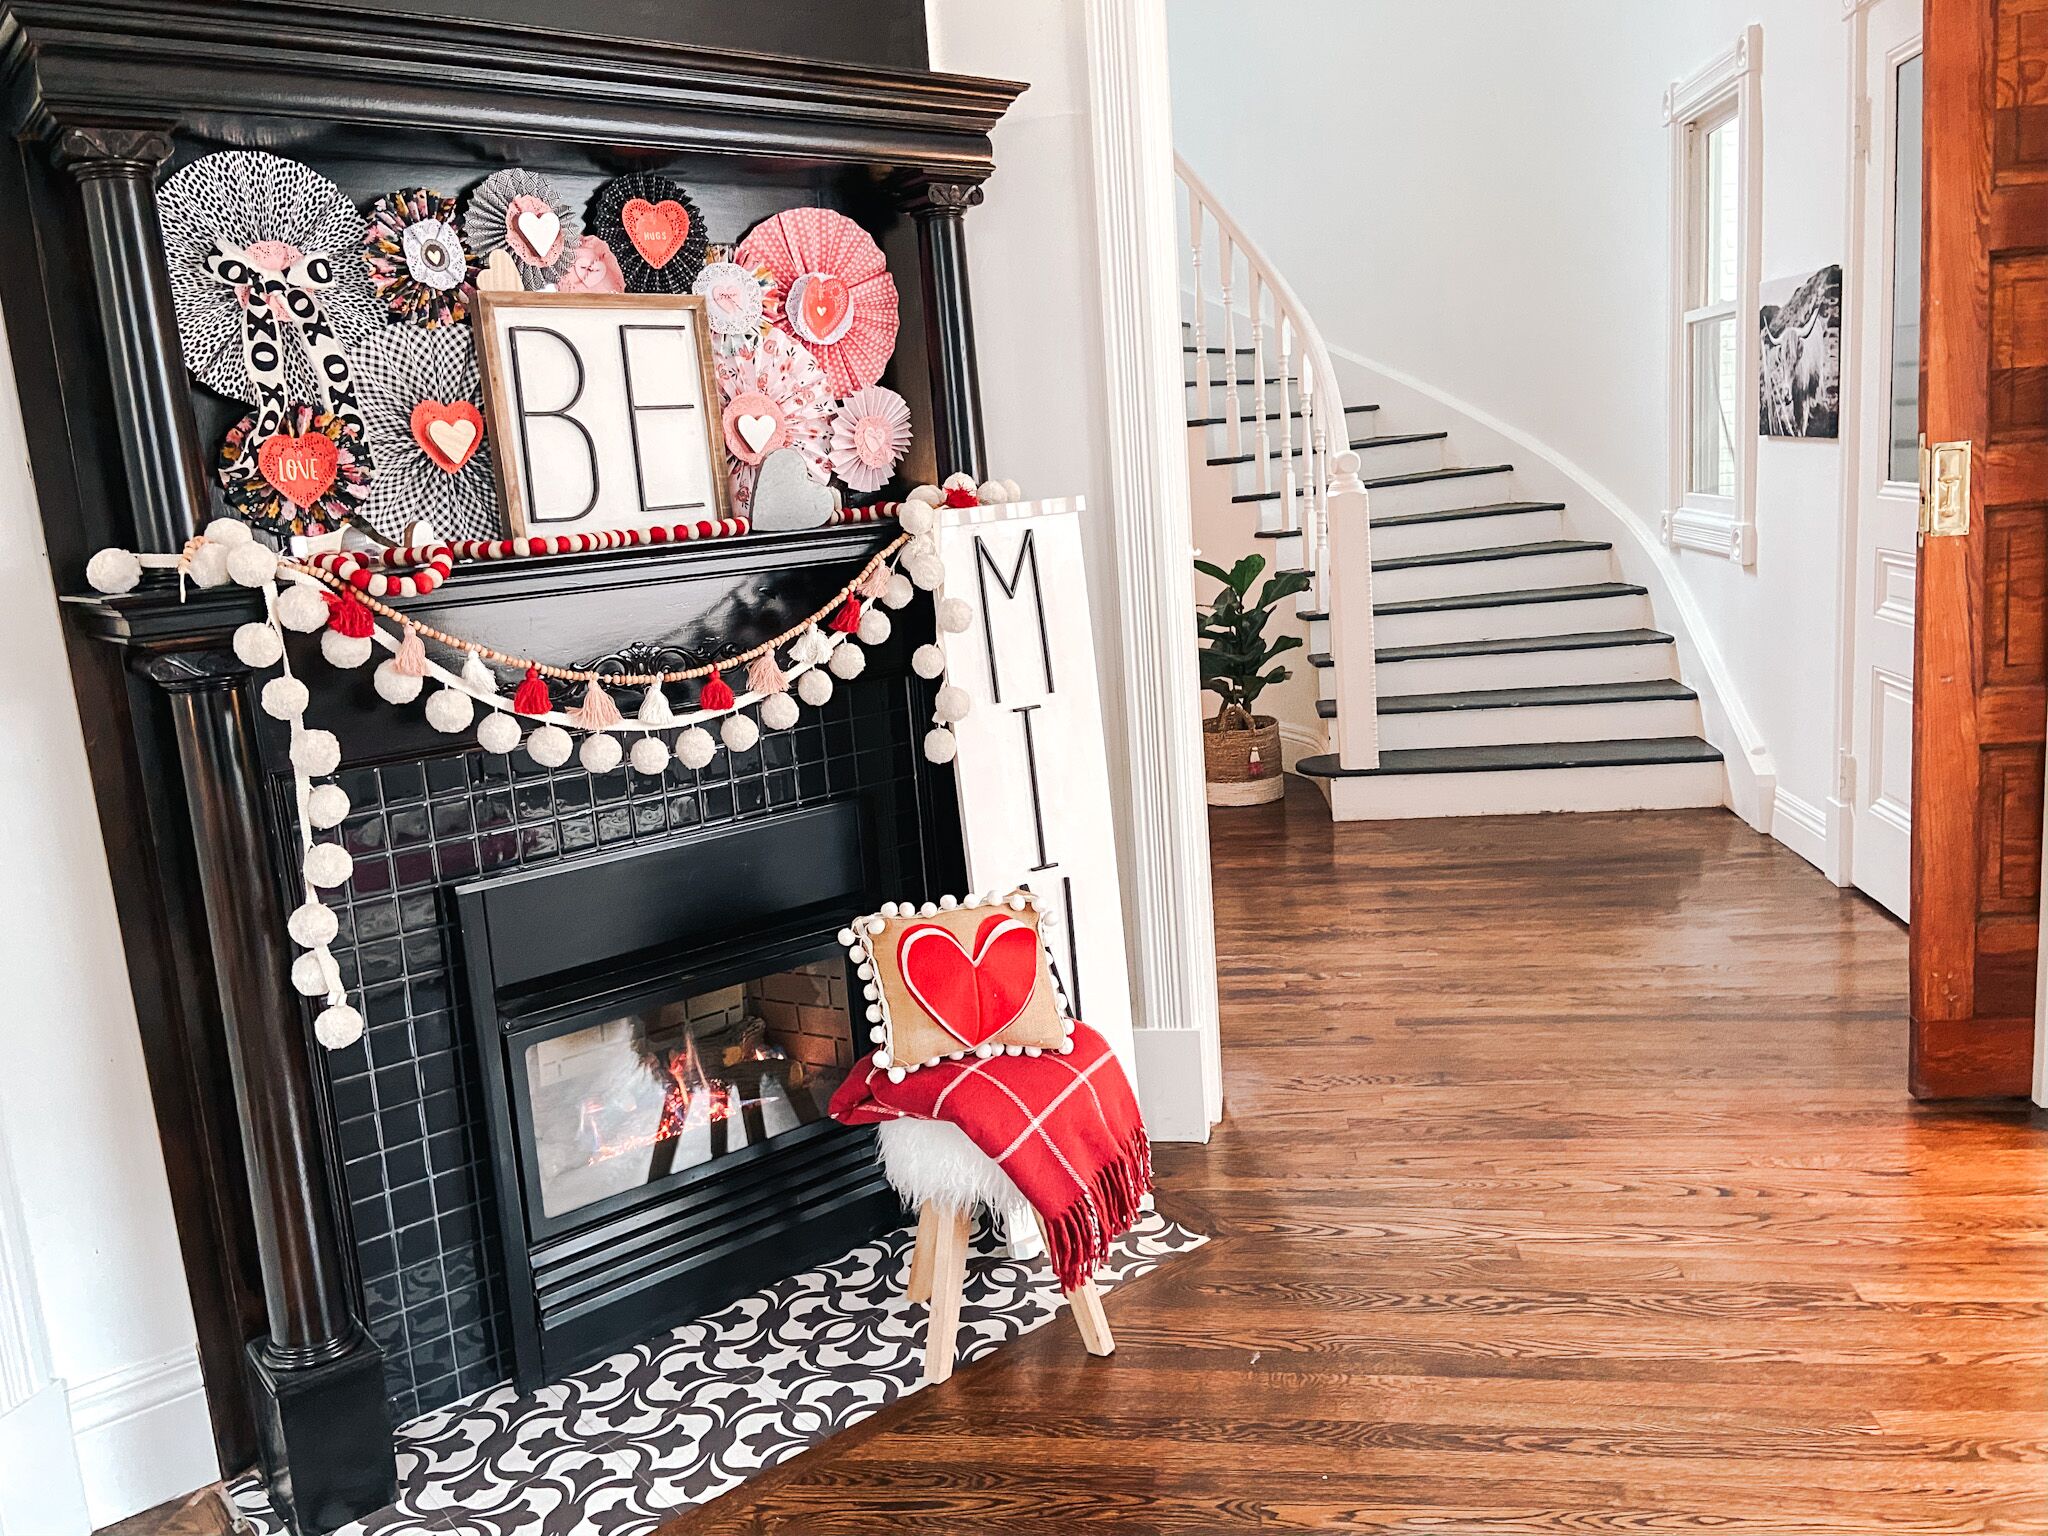
Attach the paper medallions to your wall or mantel. I used duck tape to secure mine and it holds really great to the mirror that is above our mantel. You can also use glue dots or even hot glue if you are glueing them to a paper backdrop.
Paper Medallions are Easy to Make for Home Decor
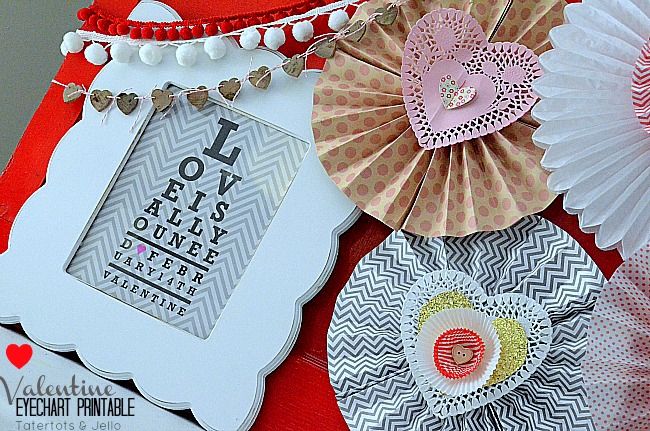
Here is another post I did about paper medallions if you want more information on how I have used paper medallions before. DIY Paper Medallion Vignette.
How do YOU decorate for Valentine’s Day?
Tag me on Instagram at @tatertotsandjello and show me what YOU are creating!!
xoxo

I’m a designer for Pebbles, Inc. I am so lucky to work with brands I love! This post may contain affiliate links.


I’m decorated for Valentine’s and have made-and making a few new things to display. But have been shopping for hearts and pink decor-and have checked out some blogs/youtube’s on crafting for Valentine ideas in preparation ofr my daughter’s bridal shower this year. You just gave me some additional ideas on a budget! Super cute–i will have to try my hand at a few of these and see how mine turn out. Thanks for sharing!!