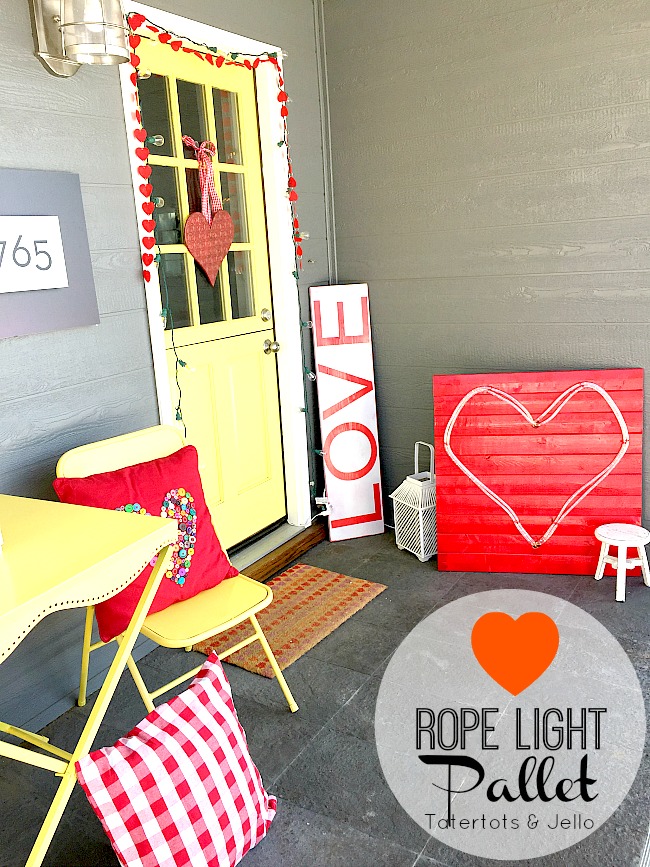
While I’m a big fan of the big projects, like a permanent, wood-backed marquee heart, I also like fairly quick and easy proejcts. This Lowe’s-sponsored #LowesCreator project goes pretty quickly and is fairly inexpensive … and it looks great on the #1905Cottage porch!
You’ll love this Easy Valentine’s Day Pallet Rope Light Heart, and you can easily customize it for your space.
It’s a straightforward project – you just need some inexpensive wood and a rope light kit from Lowe’s. I chose the 24-foot incandescent rope light, but if you can find a length on sale from Christmas or prefer the LED set, go for it! You can easily adjust the project to accommodate. The kit comes with all the cabling you’ll need, and even the brackets to attach the rope light to the board.
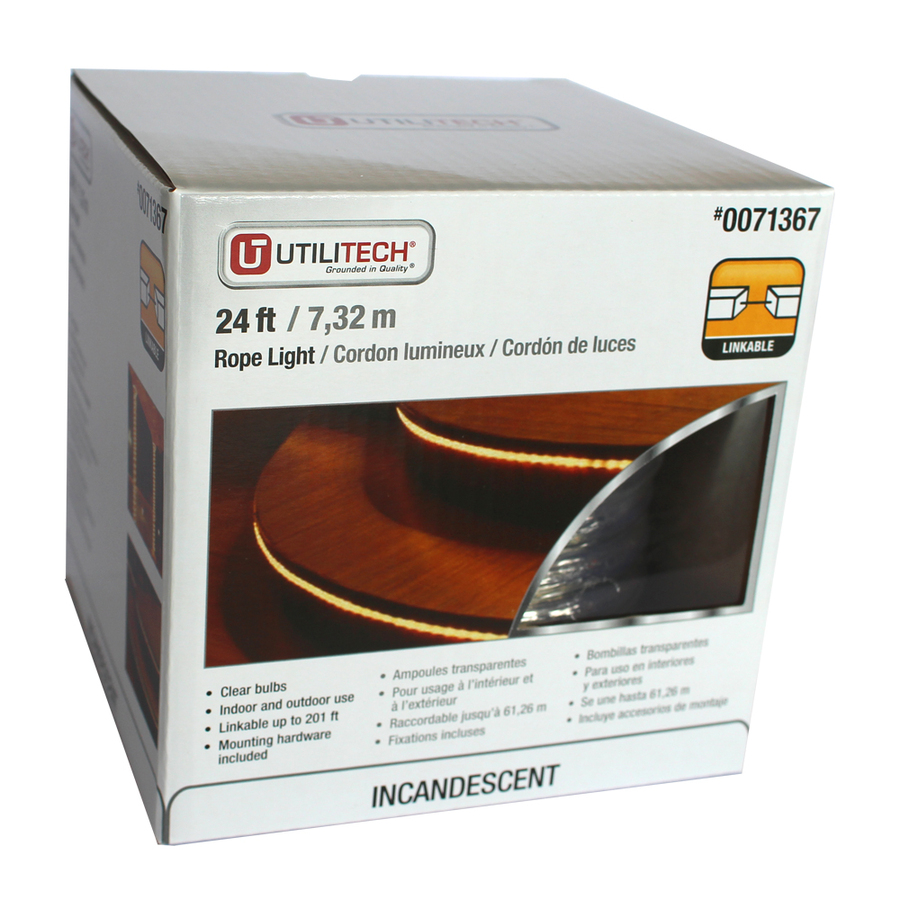
Here’s what else you’ll need, and how easy it is to make it:
Mine is about two feet square. You can adjust to fit whatever space you’re decorating — and if it’s smaller you may even want to buy the shorter lengths of rope light.
I used 1x4x8 firring strips, the inexpensive ones. The advantage is they’re about $2.50 each – the disadvantage is that you have to pick through the pile to find the ones that are the straightest (be sure to look at each board from all angles).
Here’s exactly what I did — adapt for your project size!
Materials:
- 4 1x4x8 firring strips (basically like 2x4s, but half the thickness)
- 24-foot rope light kit
- Air nailer (substitute whatever you have available, like 1″ screws or even liquid nails if you’re patient)
- Power drill and appropriate bits
- Saw (miter saw is the easiest)
- Spray paint if you want your pallet a color

How to make it:
We’ll start with building the faux pallet (properly pronounced “foe pallay.” LOL.)
Since I knew I wanted to have my pallet about 3 feet square, and that a 1×4 board is actually only about 3.5″ wide (not really 4″), I did some math and figured out that I needed to have 10 boards to come to about 3 feet – 35 inches. Knowing that 10 boards laid side by side is 35 inches, I knew I needed to cut them each to 35″ long – so I did. (If you want smaller or larger, adjust accordingly.)
First, cut the rough mill edges off of the ends of your boards. Then, cut 10 boards to 35″ long each. Save two of the “remainder” pieces from the original 8-foot lengths – we’ll use them as cross pieces behind. Rather than have to re-measure every piece, after you measure the first board you can use it to measure the second board (see the middle picture above).
Once you’re done, lay the boards face down and get them fairly square. Lay two of the “remainder pieces” behind and about 4″ in from each side – see the right picture above. (Did you notice that none of the boards are perfect? That’s because I wanted that rougher look – to resemble a pallet. If I wanted a better, smoother look, I’d have chosen a better grade of wood.)
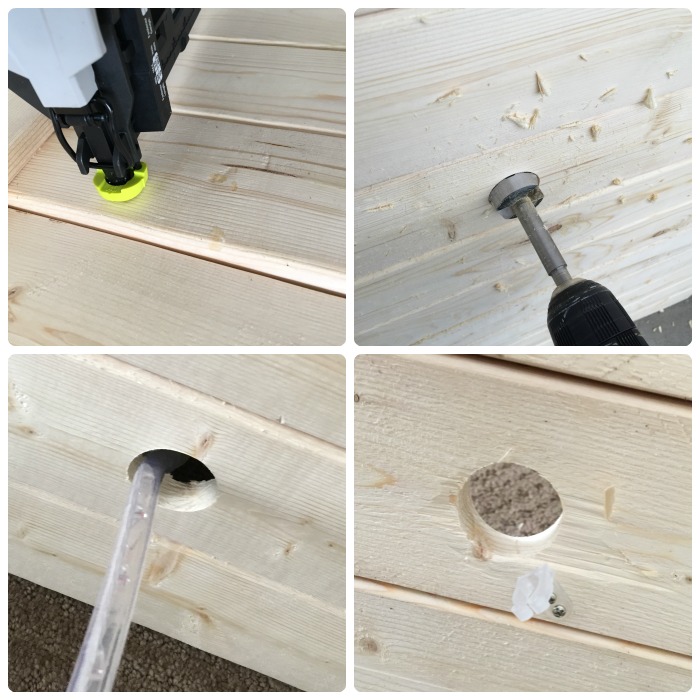
Now, flip the whole pallet over and use whatever you prefer to affix the front boards to the two backing boards. I used my cordless nail gun (top left). Make sure it’s square as you go. If you’re using screws or glue, you may prefer to leave the pallet face down as you work. I liked the rougher look of the nails in the front of the faux pallet.
Then, lay your rope light on top of the pallet and estimate where you’ll need to place the holes. For me, it looked best to drill one hole in the center of the second board from the bottom and the center of the third board from the top. I used a 1 1/4″ bit (top right) to make the holes.
Now we can feed the rope light, but it’s tricky to make sharp turns … thus the holes in the pallet!
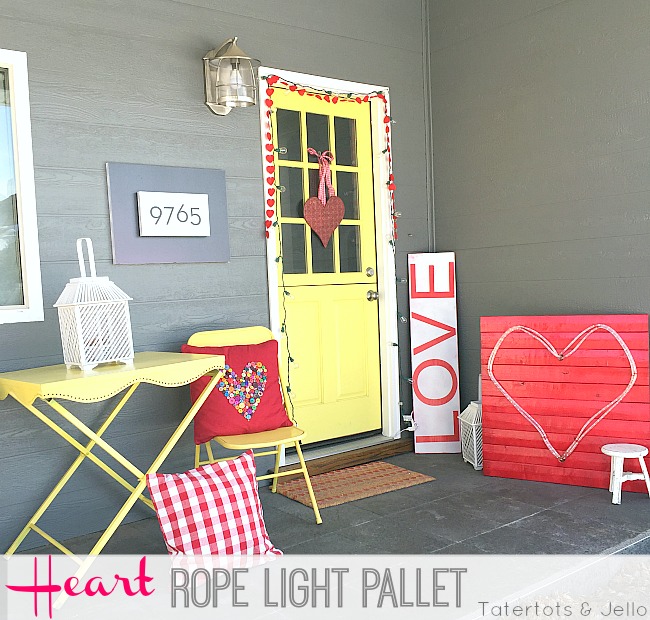
Then, as you can see in the finished result (above), I started the rope light in the bottom hole by feeding it from the back. Once I saw where looked best I attached a rope light clip right behind the hole (see pictures at the bottom). I then estimated where looked best to curve the rope in two places on the right of the pallet and added clips there (don’t forget to predrill your screw holes) and then fed the rope back behind the back. I looped it around behind the back to help the rope turn and added a clip behind to hold it in place.
Then I did the same thing on the left side of the pallet … and fed the rope light back into the bottom hole. If you’re like me and wanted a second row of lights on the heart, it’s easy: just place a second set of clips just to the inside of the previous set. Your rope light will be a tight fit in the holes but that’s better than having the holes ginormous.
Now that you’ve done all that … if you’re going to paint your pallet, remove all of the rope lights and go forth and paint. Once it’s very dry, just replace the rope lights and you’re ready to go!
(In my case, I still had about 6 feet of rope light left, so I made a square in the back with the leftover light to provide some rear illumination.) Here’s my test once it was all done to make sure it worked:
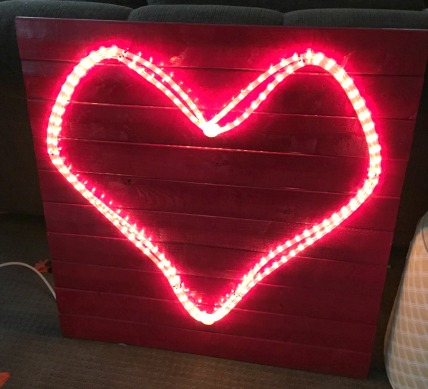
It’s difficult to see in this picture, but with the pallet painted, the rope light almost seems red!
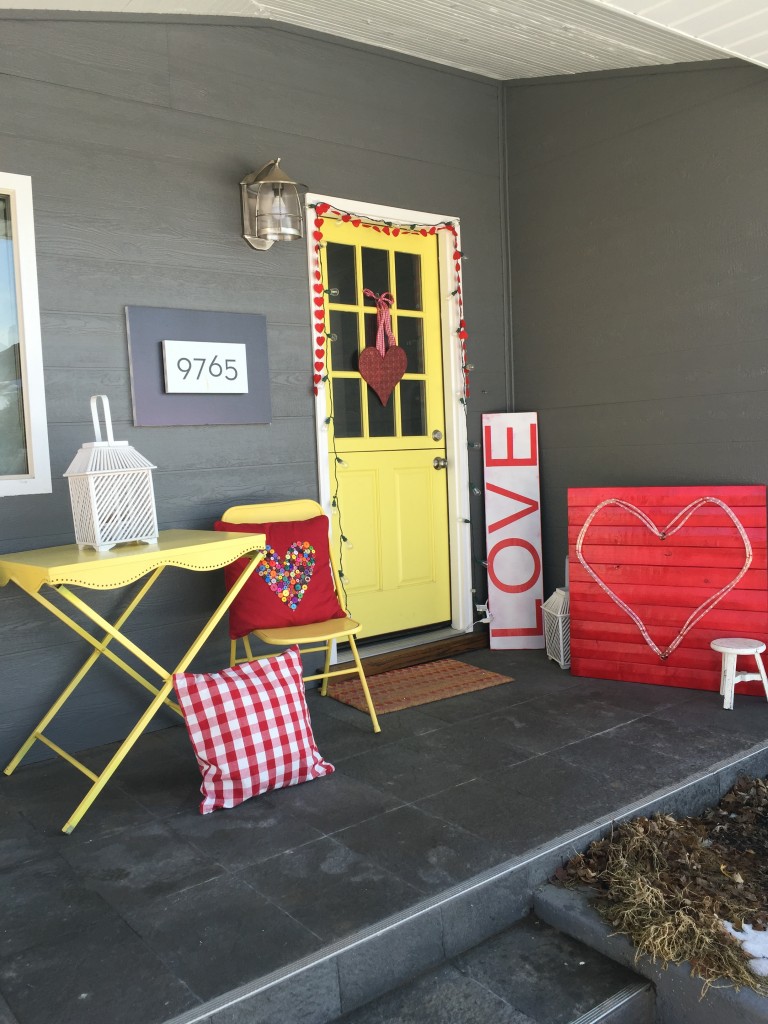
It’s a fun addition to my Valentine’s Day porch at the #1905Cottage!
* * * * *
I like this project so much I kind of want to move it inside!
Thanks to Lowe’s for the materials to make this project. You can also follow Lowe’s on Facebook for more great ideas and sign up for their FREE Creative Ideas Magazine with TONS of great DIY ideas and instructions!!
xoxo

Materials for this post were provided by Lowe’s; however, the project and content are all mine. See my disclosures.
