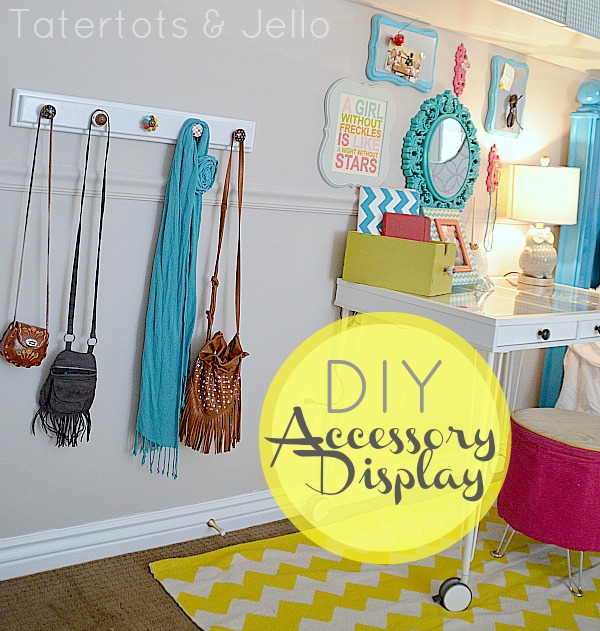
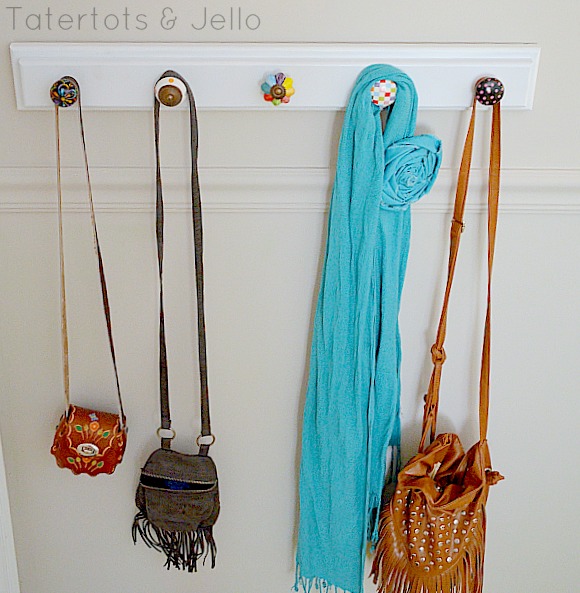
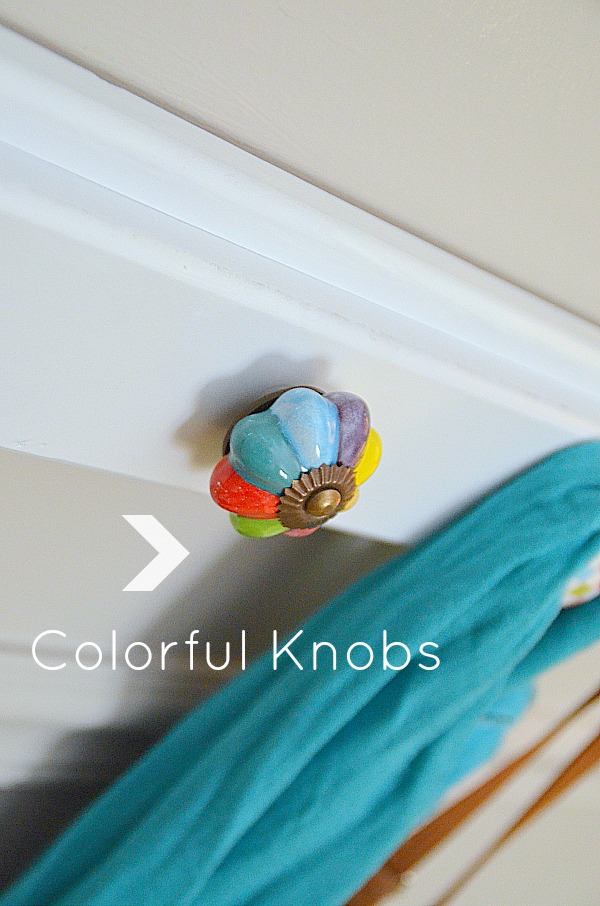
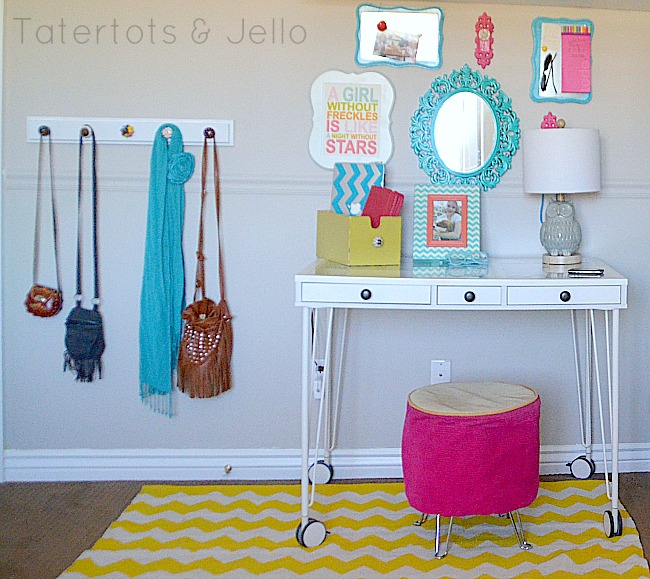
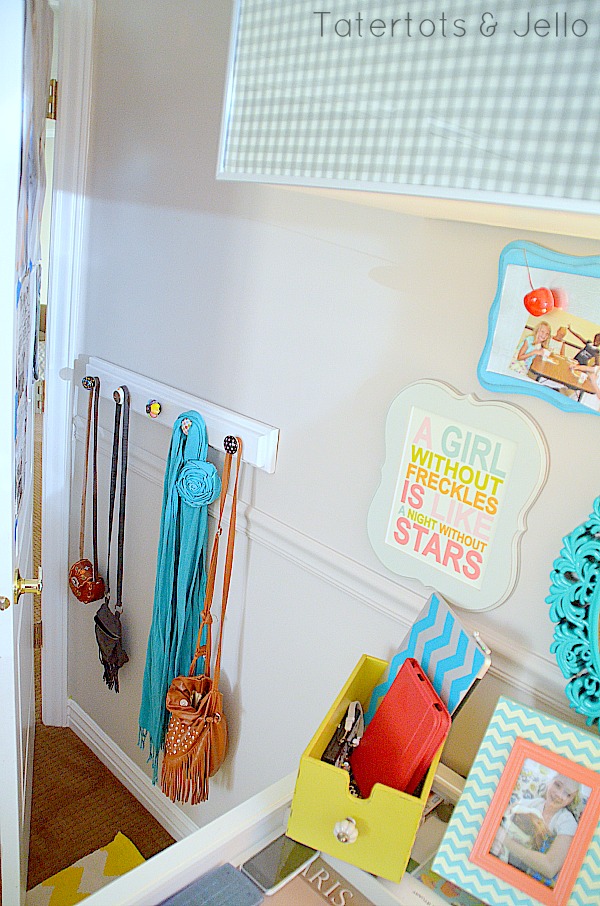
Here’s a little DIY project we made for Hannah’s room. There was a space on her wall by the little desk area we created. I thought it might be the perfect place for her to hang little purses or scarves. And we added some colorful knobs to make it pretty.
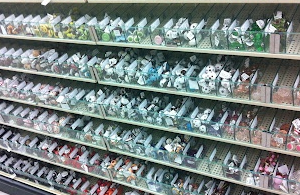
We used some left over molding from the little house I am working on, so it really only cost the price of the knobs we used. I bought the knobs from Hobby Lobby. They were 50% off too – yay.
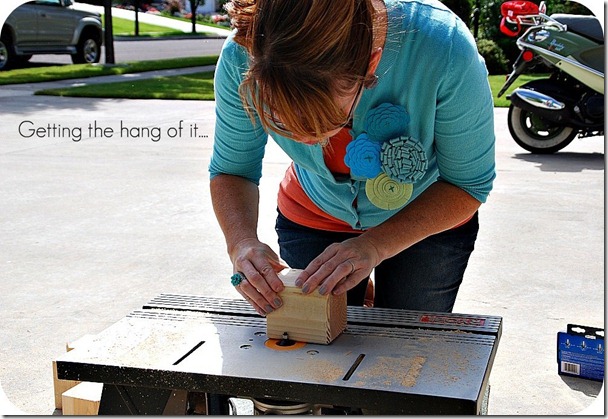
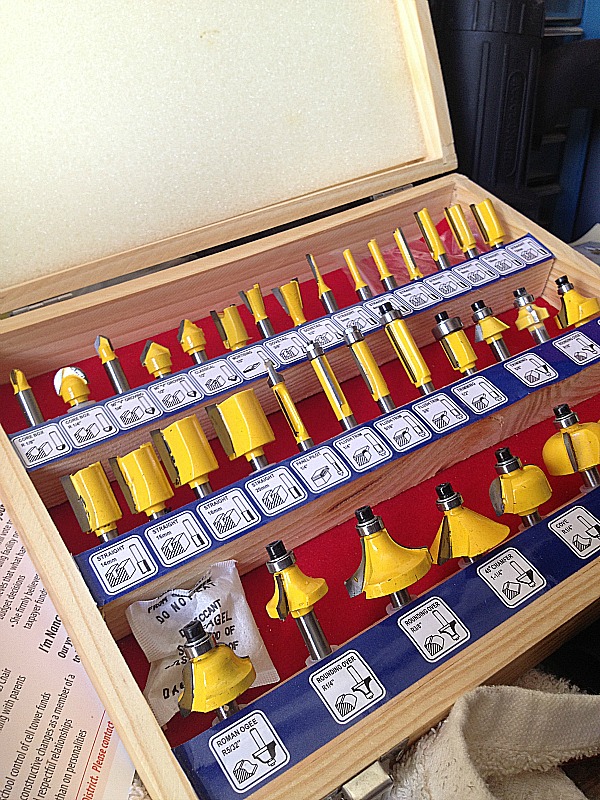
I got a router for my birthday last year, and it’s been fun figuring out how to use it. A big thank you to my father-in-law and husband for helping me figure it out and showing me all of the router bits and how to use them. For this project we used a simple rounded bit.
Here’s how we made this little project:
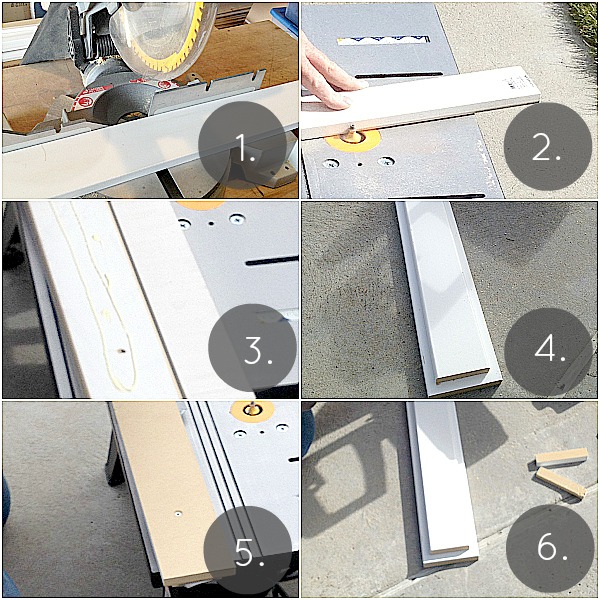
- Measure the space that you want the display to go on and cut your boards to match. I used 3.5 inch MDF and 5.5 MDF and then trimmed the smaller board 1 inch on each end to match the inch on the sides.
- Then we routed the edges of the boards all the way around, including the ends.
- To attach the boards together, we added wood glue between the boards and then flipped it over and screwed the two together from the underside.
- At this point we also drilled two spaces on the back to hang the board on the wall. Then I spray painted the board.
- After that I took the number of knobs and then measured the space on the board and then marked the board.
- Now to make the knobs stay on the board and hold things on, we had to get creative. We drilled a hole the same size as the screw in each knob where we had marked the board. Then we drilled a bigger hole in the back of the board at that same place, so the two holes met up. The hole in the back was big enough so that the nut would fit inside, but smaller than the hole in the front. That way when the knob went through the front, I could put the nut in the hole in the back and then screw the knob in and the nut tightened the knob onto the board.
Once the knobs were attached, we hung the board on the wall. And to make it even more secure, we added a few Command Strips to the back of the board.
So now Hannah has a little place to keep her purses and special accessories.
And it is all tucked behind the door and uses that empty space.
Have a Happy Day!
xoxo
PS — I have a fun project coming up tomorrow and a surprise.



Sweet and perfect for a little girl. I could use something similar in my laundry/mud room.
Diana
some knobs have such long screw and would be sticking out the back…can you cut them with some sort of blade?
Look at you getting crafty with a table saw in your cute cardi/pin. LOVE the details in this space!
Can I just say you are amazing!! Love this I think I will do it in my studio!
Cute cute cute! I’m impressed you made it!
it does look pretty! and not just for daughters!
Wow!! Look at you with your big fancy power tools! Love it! It turned out so great! You are so talented Jen!!
this is one awesome room! i love everything about it!
I need one of those for MY purses! Too cute!
Where did you find her desk? Im looking for a small one for my daughter for a vanity. Thanks!
Hi Julie!! I got her desk at The Original ScrapBox — it’s actually a desktop and I added Ikea legs. http://www.theoriginalscrapbox.com/products/scrapboxes/worktop.html
xoxo
I just love her room, Jen. 🙂 Cute accessory wall!
I love that idea! I’m going to use it for my daughters room. Great place to hang purses!
Everything looks fabulous!