Tatertots and Jello

COLORFUL HAPPY HOME -- Daily DIY, Decor, Craft and Recipe Tutorial

  • My Home
    • 1905 Cottage
    • Daybreak House
  • DIY
    • DIY Projects and Ideas
    • Organizing
    • Tutorials
    • Printables
  • Decor
    • Spring Projects
    • Summer Projects
    • Fall Projects
  • Crafts
    • Kids Crafts
    • Painting Projects
    • Paper Projects
    • Sewing
    • Wreaths
  • Holidays
    • Valentines Day
    • Easter
    • Halloween
    • Thanksgiving
    • Christmas
    • HAPPY Holidays Series!
  • Recipes

Explore

  • my home
  • diy
  • decor
  • crafts
  • holiday
  • printables
  • recipes

Connect

Home » diy » Make a DIY Accessory Display (Hannah’s Room Update)

diy, kids, my home, tutorial · October 30, 2012

Make a DIY Accessory Display (Hannah’s Room Update)

Tatertots & Jello is a participant in the Amazon Services LLC Associates Program, an affiliate advertising program designed to provide a means for sites to earn advertising fees by advertising and linking to amazon.com.

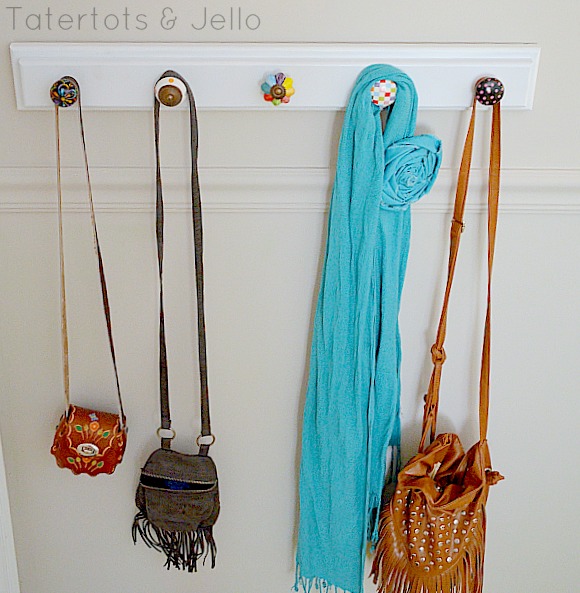
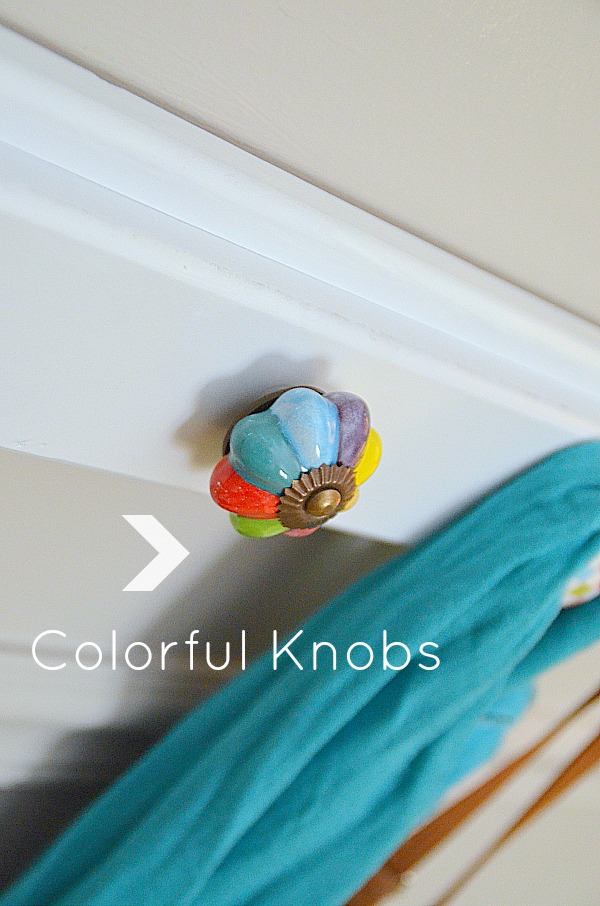
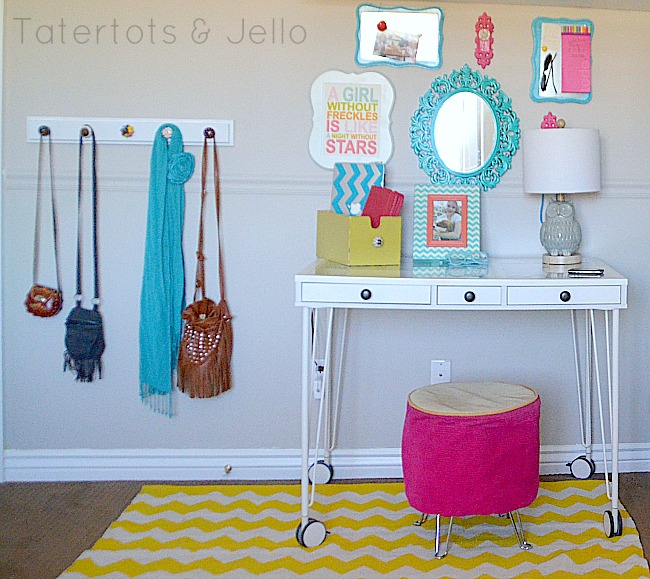
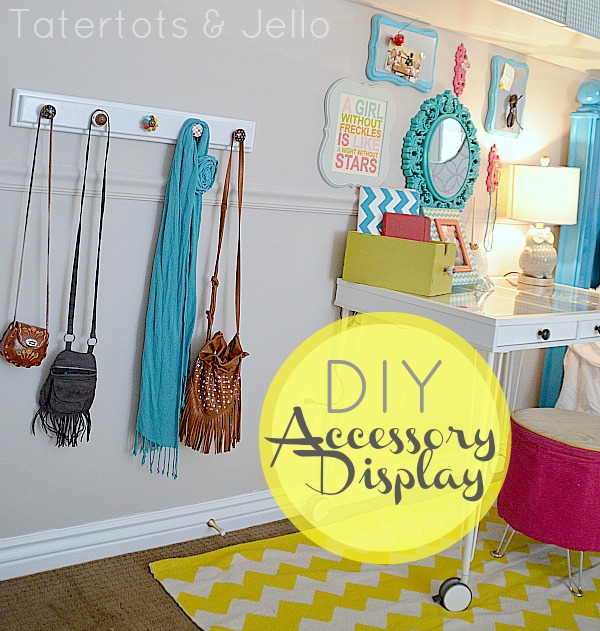
Here’s a little DIY project we made for Hannah’s room. There was a space on her wall by the little desk area we created. I thought it might be the perfect place for her to hang little purses or scarves. And we added some colorful knobs to make it pretty.

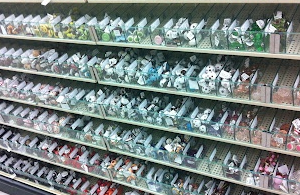
We used some left over molding from the little house I am working on, so it really only cost the price of the knobs we used. I bought the knobs from Hobby Lobby. They were 50% off too – yay.

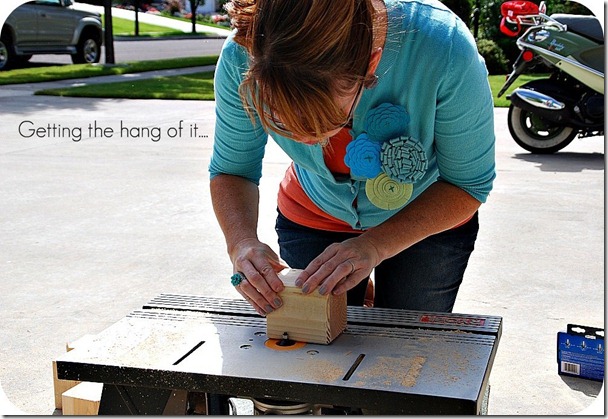
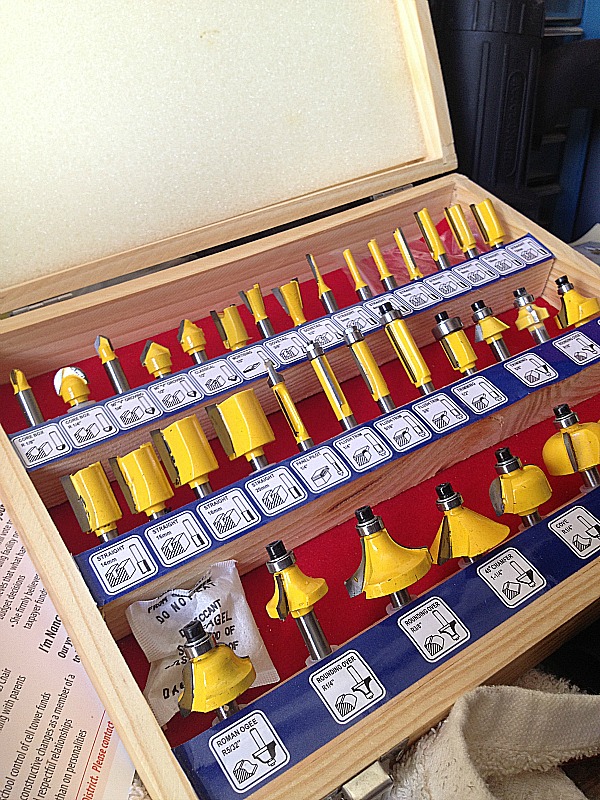
I got a router for my birthday last year, and it’s been fun figuring out how to use it. A big thank you to my father-in-law and husband  for helping me figure it out and showing me all of the router bits and how to use them.  For this project we used a simple rounded bit.

Here’s how we made this little project:

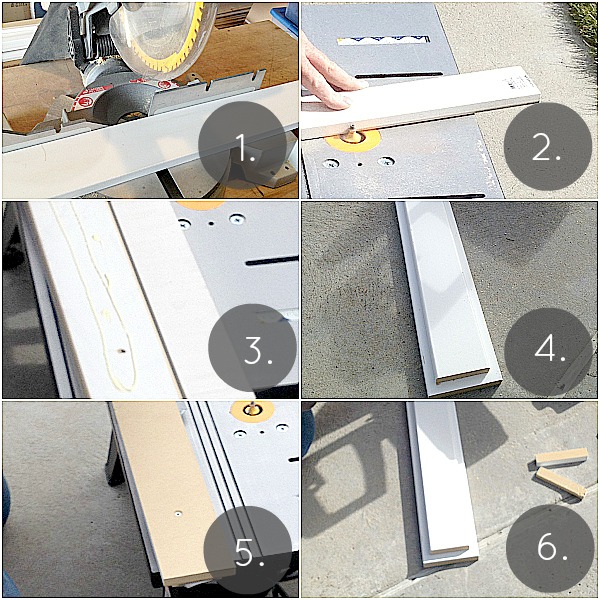
  1. Measure the space that you want the display to go on and cut your boards to match. I used 3.5 inch MDF and 5.5 MDF and then trimmed the smaller board 1 inch on each end to match the inch on the sides.
  2. Then we routed the edges of the boards all the way around, including the ends.
  3. To attach the boards together, we added wood glue between the boards and then flipped it over and screwed the two together from the underside.
  4. At this point we also drilled two spaces on the back to hang the board on the wall. Then I spray painted the board.
  5. After that I took the number of knobs and then measured the space on the board and then marked the board.
  6. Now to make the knobs stay on the board and hold things on, we had to get creative. We drilled a hole the same size as the screw in each knob where we had marked the board. Then we drilled a bigger hole in the back of the board at that same place, so the two holes met up. The hole in the back was big enough so that the nut would fit inside, but smaller than the hole in the front. That way when the knob went through the front, I could put the nut in the hole in the back and then screw the knob in and the nut tightened the knob onto the board.


Once the knobs were attached, we hung the board on the wall. And to make it even more secure, we added a few Command Strips to the back of the board.

So now Hannah has a little place to keep her purses and special accessories.

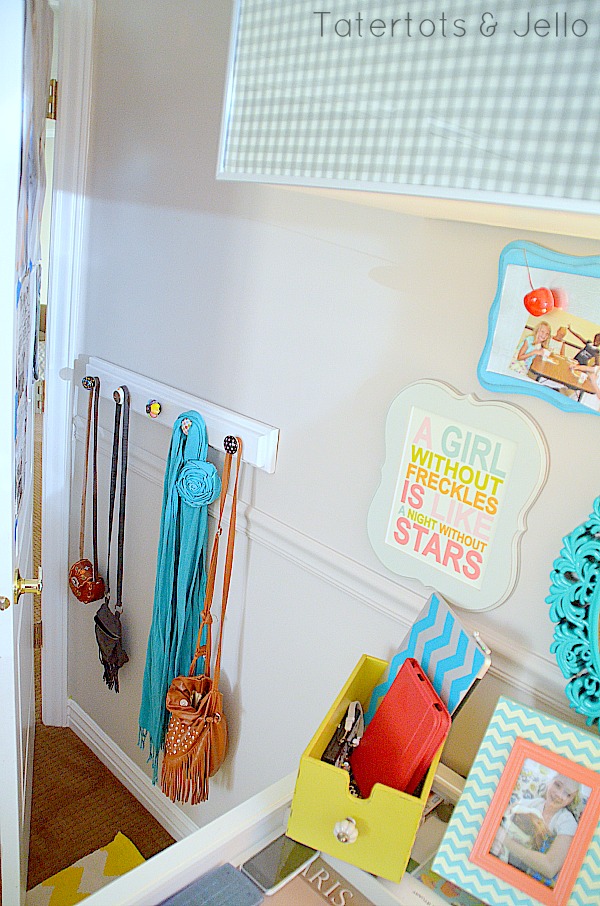
And it is all tucked behind the door and uses that empty space.

Have a Happy Day!

xoxo

PS — I have a fun project coming up tomorrow and a surprise.
Posted By: Jen · In: diy, kids, my home, tutorial

$8 Chandelier Redo (Hannah’s Room Update)
6 Tips to make a DIY Cottage Fireplace and $ 100 Lowes Gift Card Giveaway

You’ll Also Love

Things I Love This Week
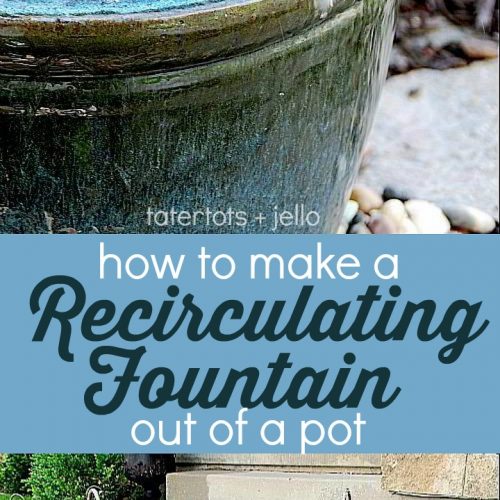
Create a soothing fountain for your yard with just a few simple items from the hardware store. Make a soothing recirculating fountain for your home this summer!  Spruce up Your Outdoor Space with a DIY Recirculating Fountain! (tutorial)
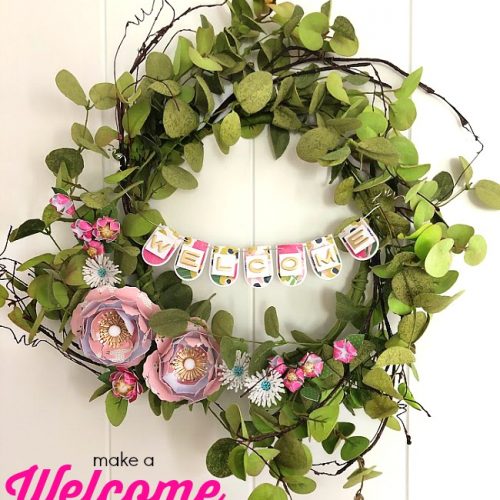
Make a WELCOME Banner Wreath. Combine the beautiful elements of greenery with paper flowers and a paper banner for a wreath that welcomes everyone! Make a WELCOME Banner Wreath with paper elements!

Comments

  1. Diana - Traditional Urbanite says

    December 28, 2012 at 8:57 AM

    Sweet and perfect for a little girl. I could use something similar in my laundry/mud room.

    Diana

  2. Kimmylouwho says

    December 6, 2012 at 10:13 PM

    some knobs have such long screw and would be sticking out the back…can you cut them with some sort of blade?

  3. Capturing Joy with Kristen Duke Photography says

    November 2, 2012 at 10:34 PM

    Look at you getting crafty with a table saw in your cute cardi/pin. LOVE the details in this space!

  4. Jessie Barone says

    November 2, 2012 at 6:19 AM

    Can I just say you are amazing!! Love this I think I will do it in my studio!

  5. Jessica says

    November 1, 2012 at 7:03 PM

    Cute cute cute! I’m impressed you made it!

  6. [email protected] Happened says

    November 1, 2012 at 8:11 AM

    it does look pretty! and not just for daughters!

  7. theidearoom says

    October 31, 2012 at 8:14 AM

    Wow!! Look at you with your big fancy power tools! Love it! It turned out so great! You are so talented Jen!!

  8. nest of posies says

    October 30, 2012 at 7:22 PM

    this is one awesome room! i love everything about it!

  9. Kassi @ Truly Lovely says

    October 30, 2012 at 1:26 PM

    I need one of those for MY purses! Too cute!

  10. Julie Winz says

    October 30, 2012 at 12:20 PM

    Where did you find her desk? Im looking for a small one for my daughter for a vanity. Thanks!

    • Jen says

      October 30, 2012 at 10:35 PM

      Hi Julie!! I got her desk at The Original ScrapBox — it’s actually a desktop and I added Ikea legs. http://www.theoriginalscrapbox.com/products/scrapboxes/worktop.html

      xoxo

  11. Amanda @ Serenity Now says

    October 30, 2012 at 10:58 AM

    I just love her room, Jen. 🙂 Cute accessory wall!

  12. Lisa says

    October 30, 2012 at 10:57 AM

    I love that idea! I’m going to use it for my daughters room. Great place to hang purses!

  13. Amy says

    October 30, 2012 at 9:24 AM

    Everything looks fabulous!

Hi! I'm Jen Hadfield. I'm a mom of 5 restoring an 1891 home in the heart of Salt Lake City. I love being creative and sharing simple ideas to make your life easier and more beautiful!

Receive the Latest Crafts, DIY, Recipes and More in your INBOX!

Follow us on Pinterest! It's awesome!

Top Posts & Pages

Copycat Panera Spinach and Artichoke Egg Soufflés - SO good!
DIY Secret: How to Print on Post-It Notes (and Free Printable Template)
DIY Black Painted Window Frames
How to Change a Recessed Can Light into a Pendant Light with No Remodeling!
Spring Mushroom and Moss Wreath
Spruce up Your Outdoor Space with a DIY Recirculating Fountain! (tutorial)


Popular Posts

  • Copycat Panera Spinach and Artichoke Egg Soufflés - SO good!
    Copycat Panera Spinach and Artichoke Egg Soufflés - SO good!
  • DIY Secret: How to Print on Post-It Notes (and Free Printable Template)
    DIY Secret: How to Print on Post-It Notes (and Free Printable Template)
  • DIY Black Painted Window Frames
    DIY Black Painted Window Frames
  • How to Change a Recessed Can Light into a Pendant Light with No Remodeling!
    How to Change a Recessed Can Light into a Pendant Light with No Remodeling!
  • Spring Mushroom and Moss Wreath
    Spring Mushroom and Moss Wreath
  • Spruce up Your Outdoor Space with a DIY Recirculating Fountain! (tutorial)
    Spruce up Your Outdoor Space with a DIY Recirculating Fountain! (tutorial)
  • How to Make a Simple Garden Planter Box
    How to Make a Simple Garden Planter Box

As seen in


Amazon Affiliate

Tatertots & Jello is a participant in the Amazon Services LLC Associates Program, an affiliate advertising program designed to provide a means for sites to earn advertising fees by advertising and linking to amazon.com.
  • About Me
  • Advertising
  • Get Featured

Copyright © 2023 Tatertots and Jello · Privacy
This site is a place for positive discussion and ideas. Negative talk, comments that disparage others, and similar are not welcome and may be removed.