It’s Pumpkin Week — Make DIY Distressed Subway Art Pumpkins!!
Hi Tatertots and Jello Readers! I’m Alexa of The Swell Life and FontCrafts.
Every year around August through October is when I’m most excited about crafting, because I absolutely love Halloween!
My mind is always swirling with new ideas…too bad I don’t have enough time to execute them all! My favorite thing to create during the Halloween season is a good ol’ fashioned pumpkin decorating project! I’ve never really enjoyed carving pumpkins and I like to give them new twists with paint, glitter and glue each year. I see a pumpkin just like you would see a plain wall canvas – the opportunities are limitless. I love to drip, spray paint, puffy paint, fabric wrap, and collage the pumpkin to look like a mini piece of art. So that’s exactly what I’m going to do today on Jen’s blog – bring you a pumpkin in the style of subway art! I hope you enjoy this project as much as I enjoyed creating it! Let’s get started!
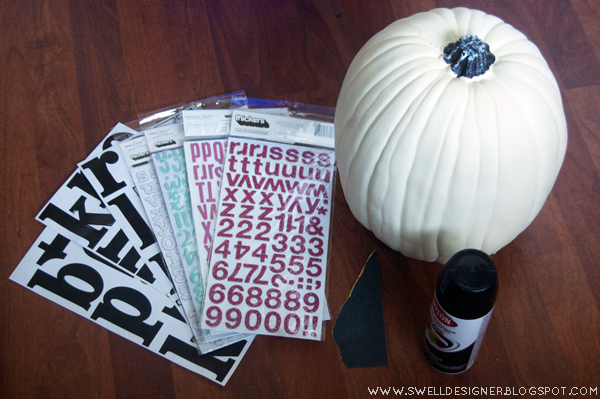
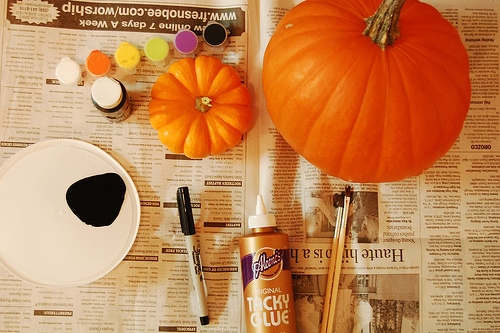
For this project you’ll need:
– 1 large pumpkin (I picked my faux one up at Michaels)
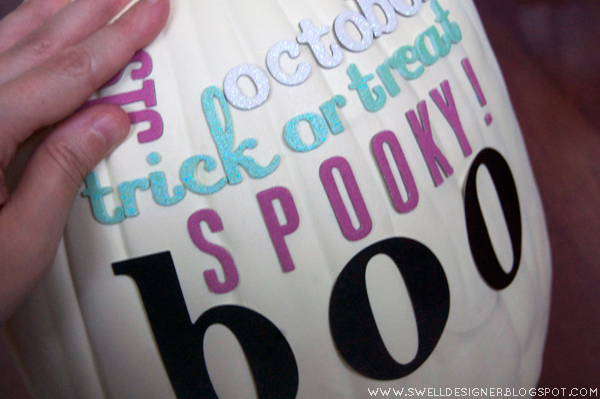
- You’ll want to start off by peeling off your stickers and attaching them to your pumpkin in the subway art fashion, spacing the words a similar width across. It doesn’t matter the color of these stickers as you will be spray painting over top of them. I actually found that several of them lost some of their stick, so I ran it through a Xyron sticker machine to make them sticker. Also, if you have an electronic sticker die-cutting machine and want to give it a go, you can; however, I don’t know if the results will be the same.
- Your letters should look something like this before you begin to spray paint. Make sure to firmly press them in place before spray painting.
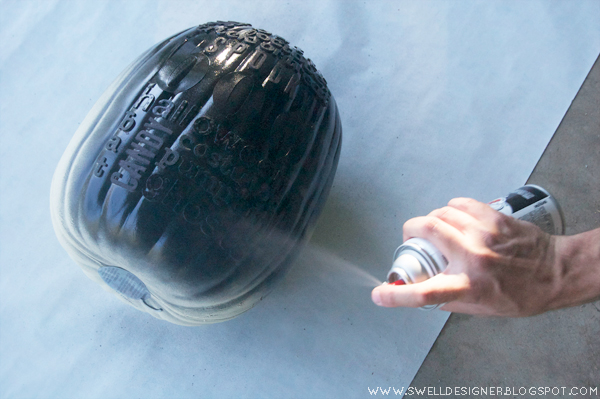
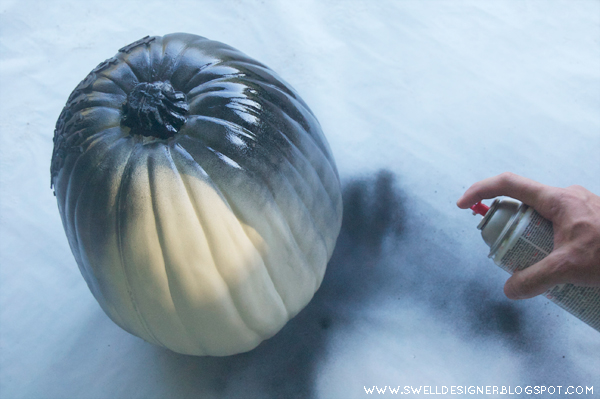
- Lay your pumpkin with the words face up and lightly mist the spray paint on top giving good, even coverage. This will help keep the spray paint from seeping under any of the stickers. Let dry a few minutes. Go back and give it a second coat if needed.
- Now lay the pumpkin on it’s base and spray paint the back and sides thoroughly.
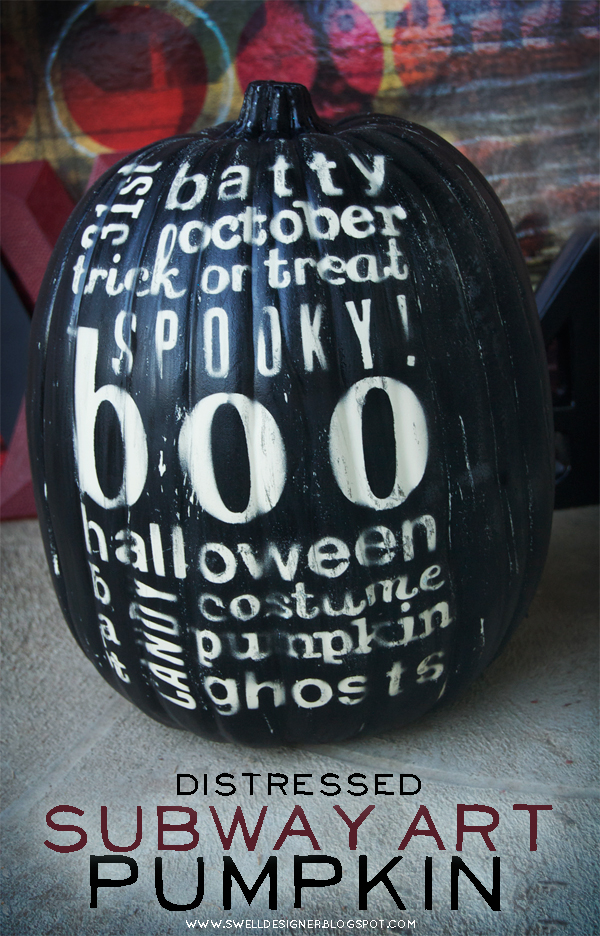
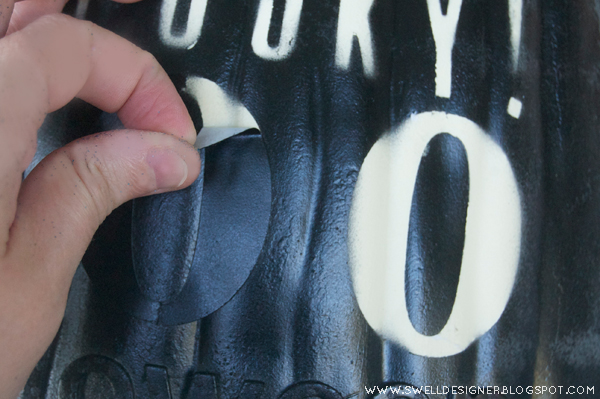
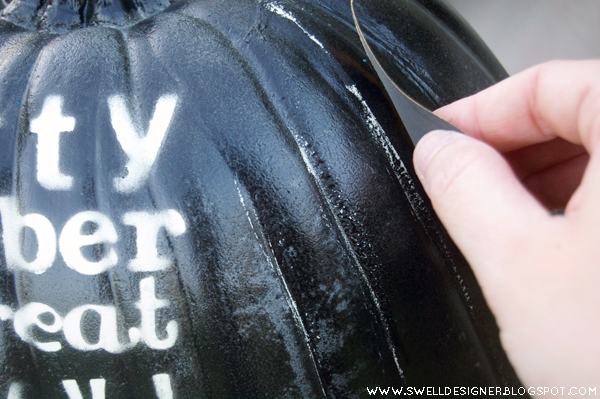
- When the pumpkin is dry, carefully remove the letters. I noticed that a few of my letters did get a little paint shadowing, but in the spirit of it looking distressed, it just added to the feel!
- Now take a fine grit sandpaper and lightly rub around pumpkin. This will give it a battered/worn look. I even did it over the letters for an added aged look.
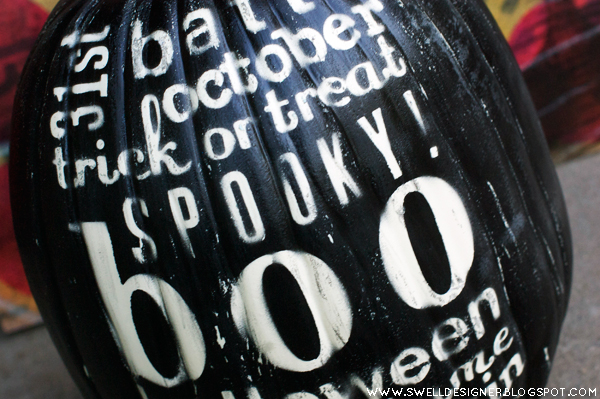
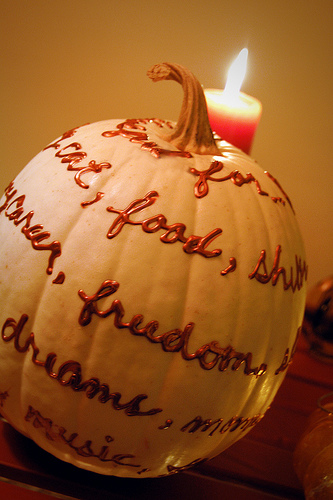
- And here’s a detail of the words up close. I think it turned out really cool!
I’d like to thank Jen for giving me the opportunity to post on her blog today! Head on over to my Swell Life blog for more pumpkin projects and Halloween fun. I’m now at 65+ Halloween projects and inspirations! I’ll be at it until the end of October!
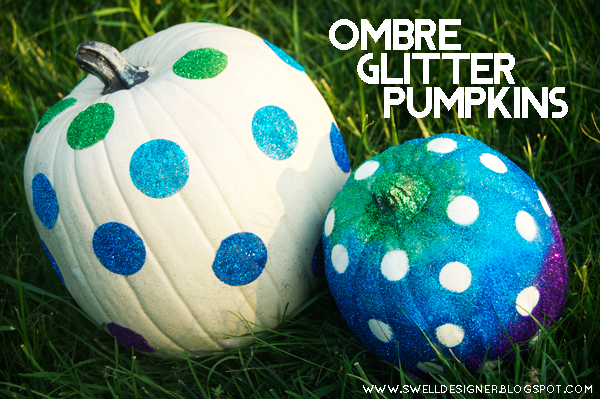
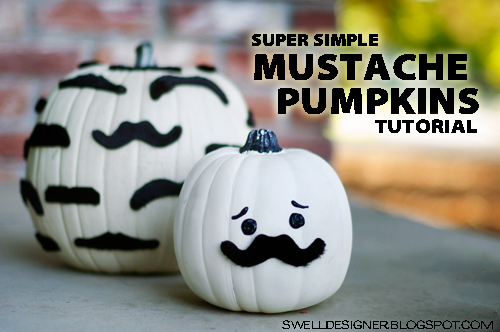
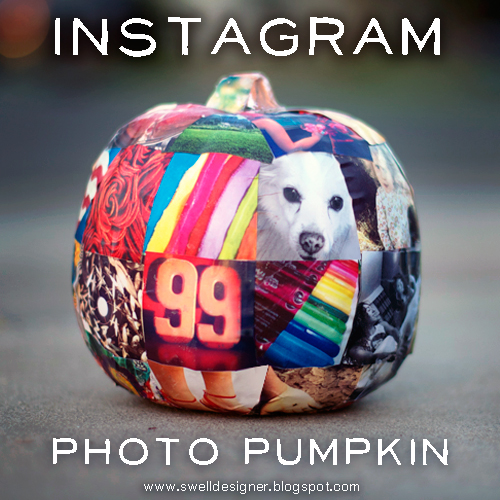
Here’s a look at my latest fun pumpkin project that you might like to check out —
Have you seen Alexa’s blog — The Swell Life??
xoxo
PS — Happy Friday!!
It’s my favorite day of the week!!
Why?? It’s time to feature YOU!
Come over and link up YOUR great ideas.
The Weekend Wrap Up Party starts TONIGHT at 6 pm MST.






Just wanted to let you know this project will be highlighted on the atplayonline.com blog tomorrow.
Thanks
Megan
I love the subway art pumpkin. What a cute idea.
Thanks so much for all of the amazing pumpkin ideas this week Jen!
What a fun idea- can’t wait to see all the Pumpkin Idea pour in! Thank you so much for hosting!!
Love the subway art pumpkin! I’ll have to come back to see all the projects linked up so I have some ideas when I finally get around to it!
Great & easy DIY ideas…Thx!
Such great ideas!