Hi Tatertots and Jello!
I am Lindsay,
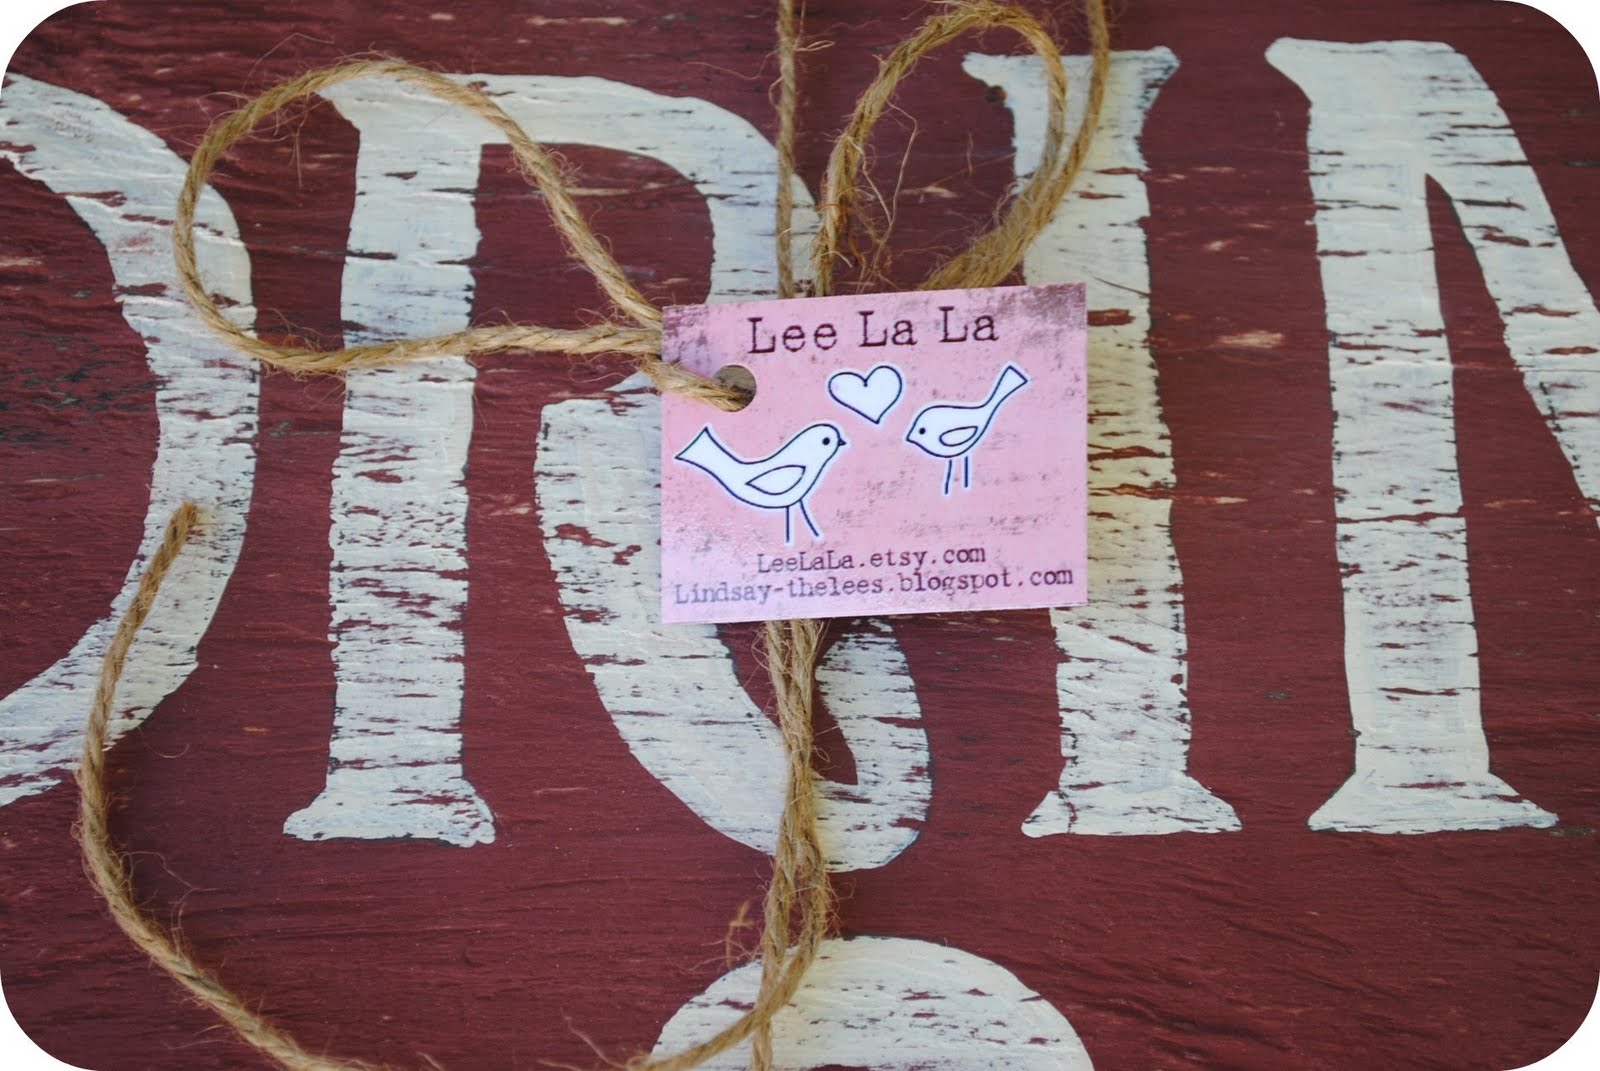
editor of the blog, Lee La La.
I am delighted to be here with you all today!
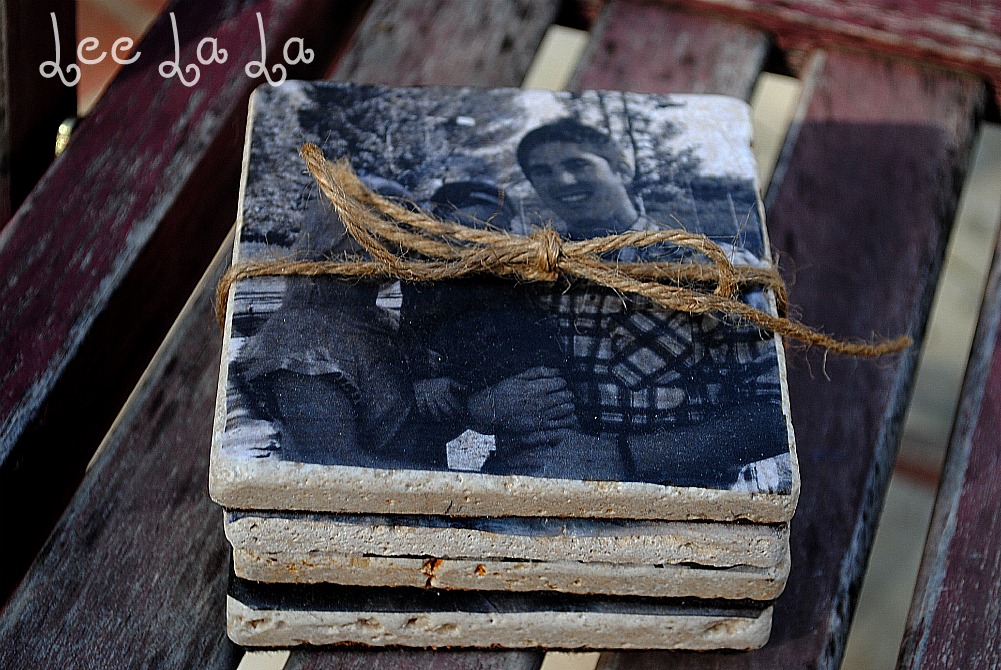
This is me:

If you stop by my blog,
I am sure to be talking about being the momma to this little girl,

The wife to this handsome,

or all things in between.
I am a domestic work in progress, learning the ropes of Mommy hood one day at a time.
Today is a big day for me as I get the HONOR of guest posting at Jen’s blog.
Jen is celebrity status for me….
So, THANK YOU for having me!
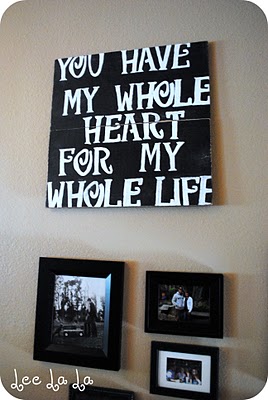
Because I have a CRUSH on home decor,
today I am going to share with you a DIY typography project that I recently made for my home.
{PSST, it’s SUPER easy}
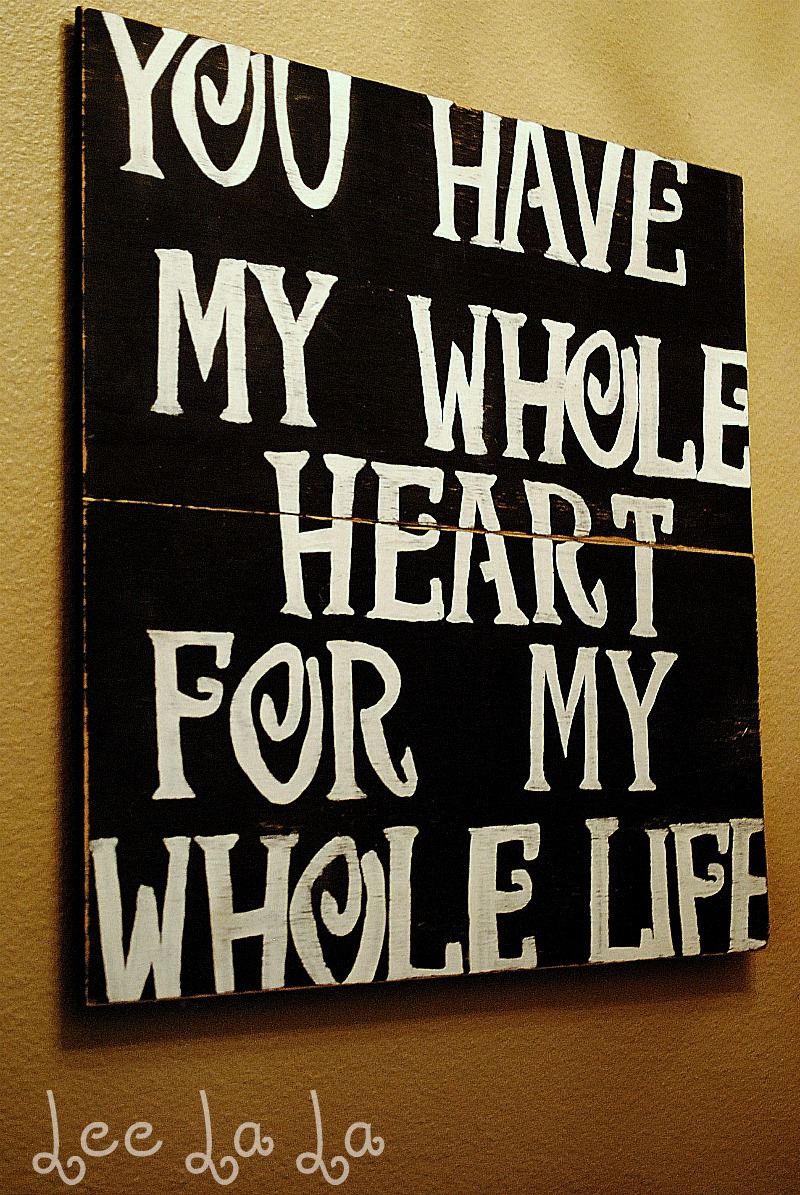
Let’s begin, shall we?
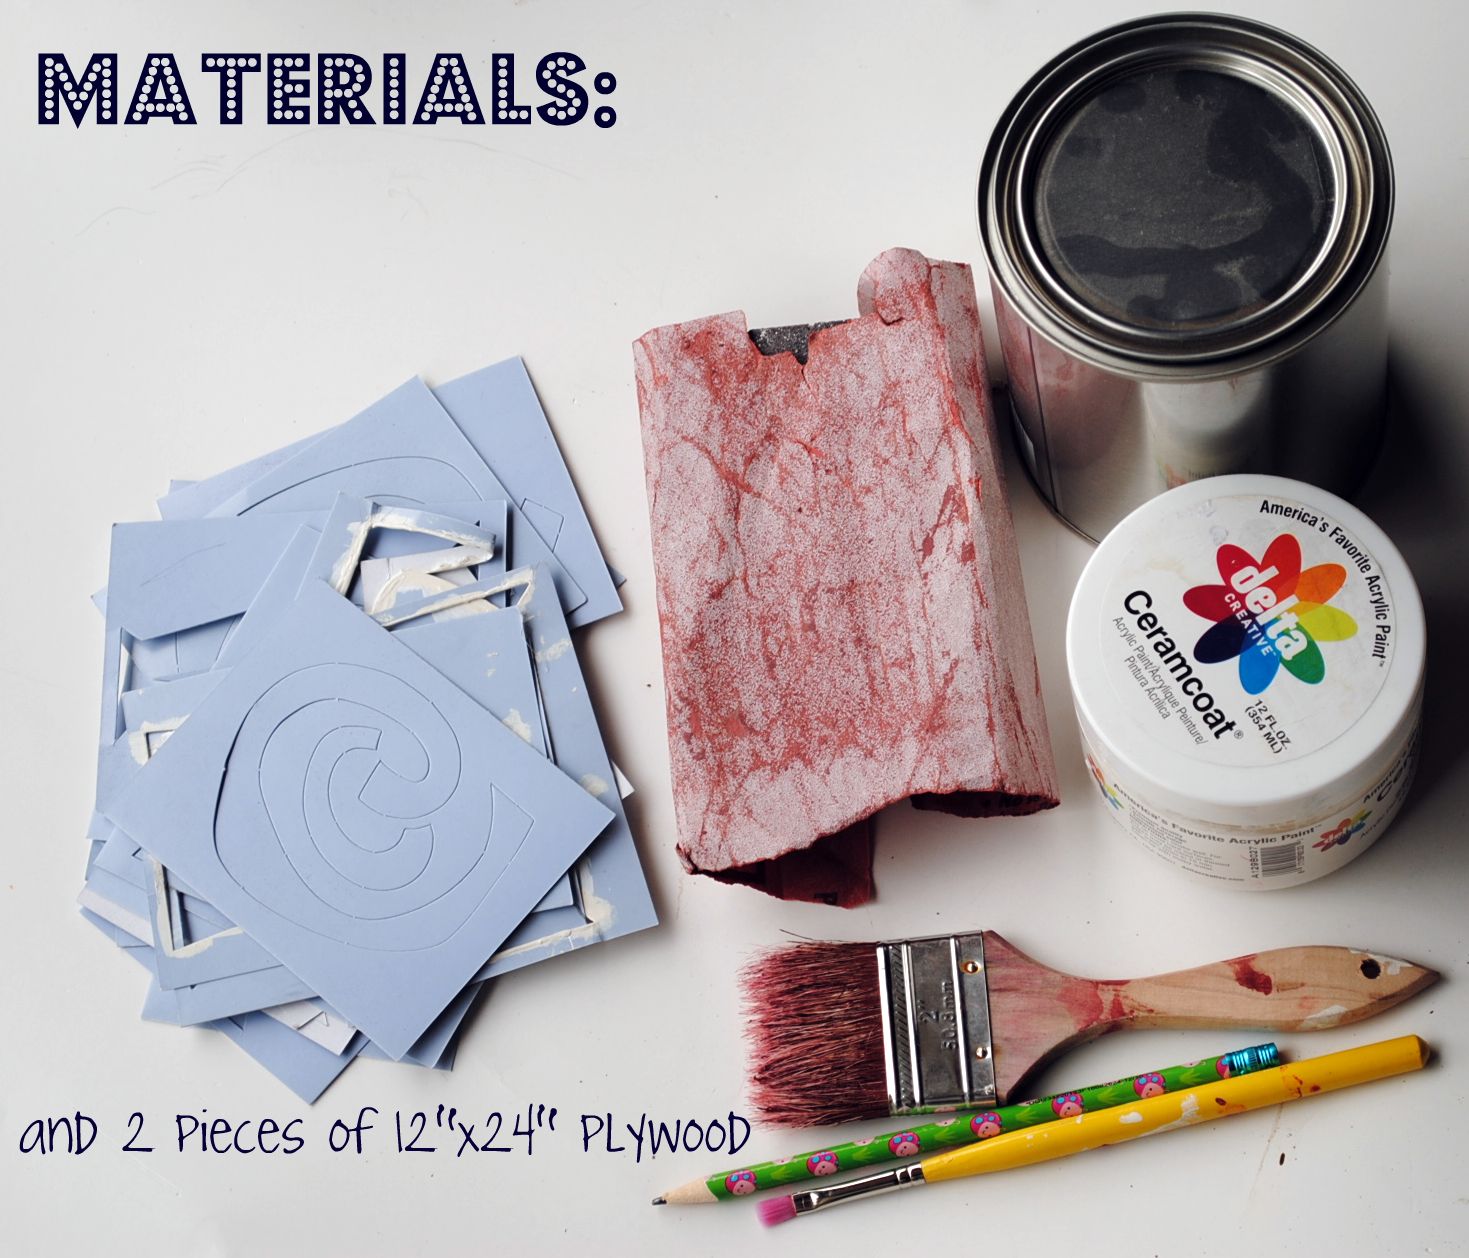
2 pieces of 12″x24″ ply wood
black paint
white paint
large paint brush for the black paint
small brush for the letters
120 grit sand paper
stencils
pencil
saw tooth hooks
1. First, you are going to paint 2 coats of black paint onto both pieces of ply wood. I painted the sides as well at this point. Let dry completely.
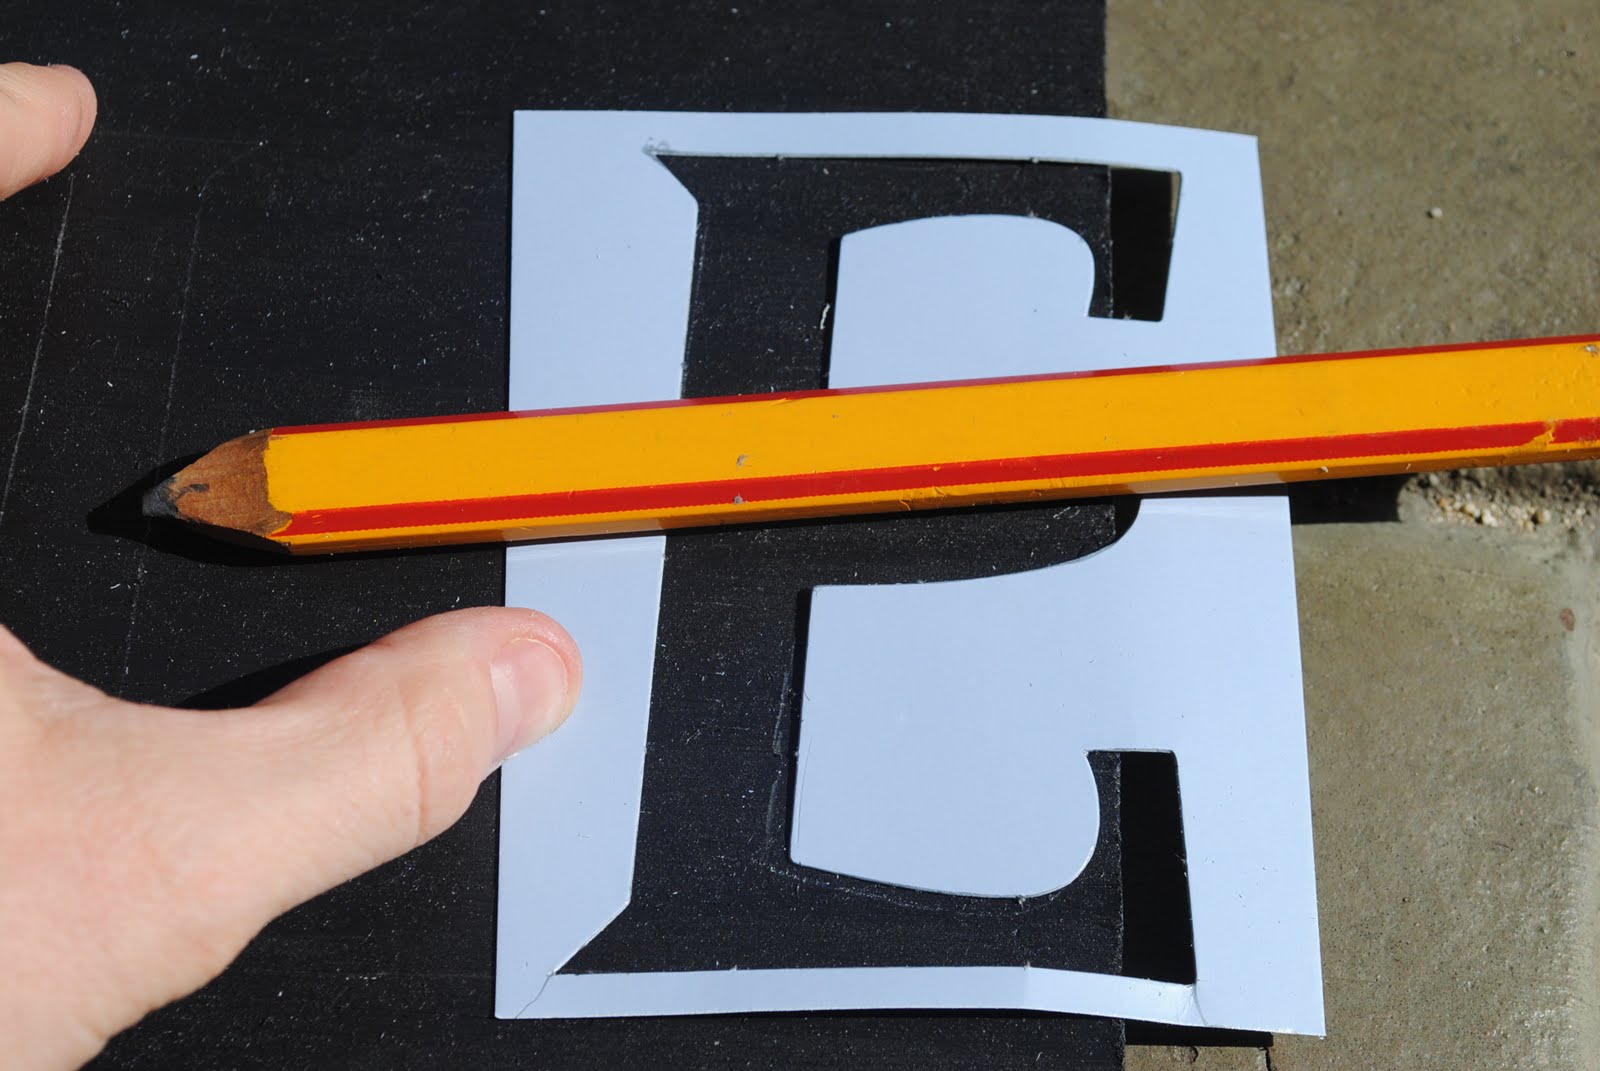
2. Next, you will lay out your stencils how you want them to read on your print.
Begin tracing with your pencil.
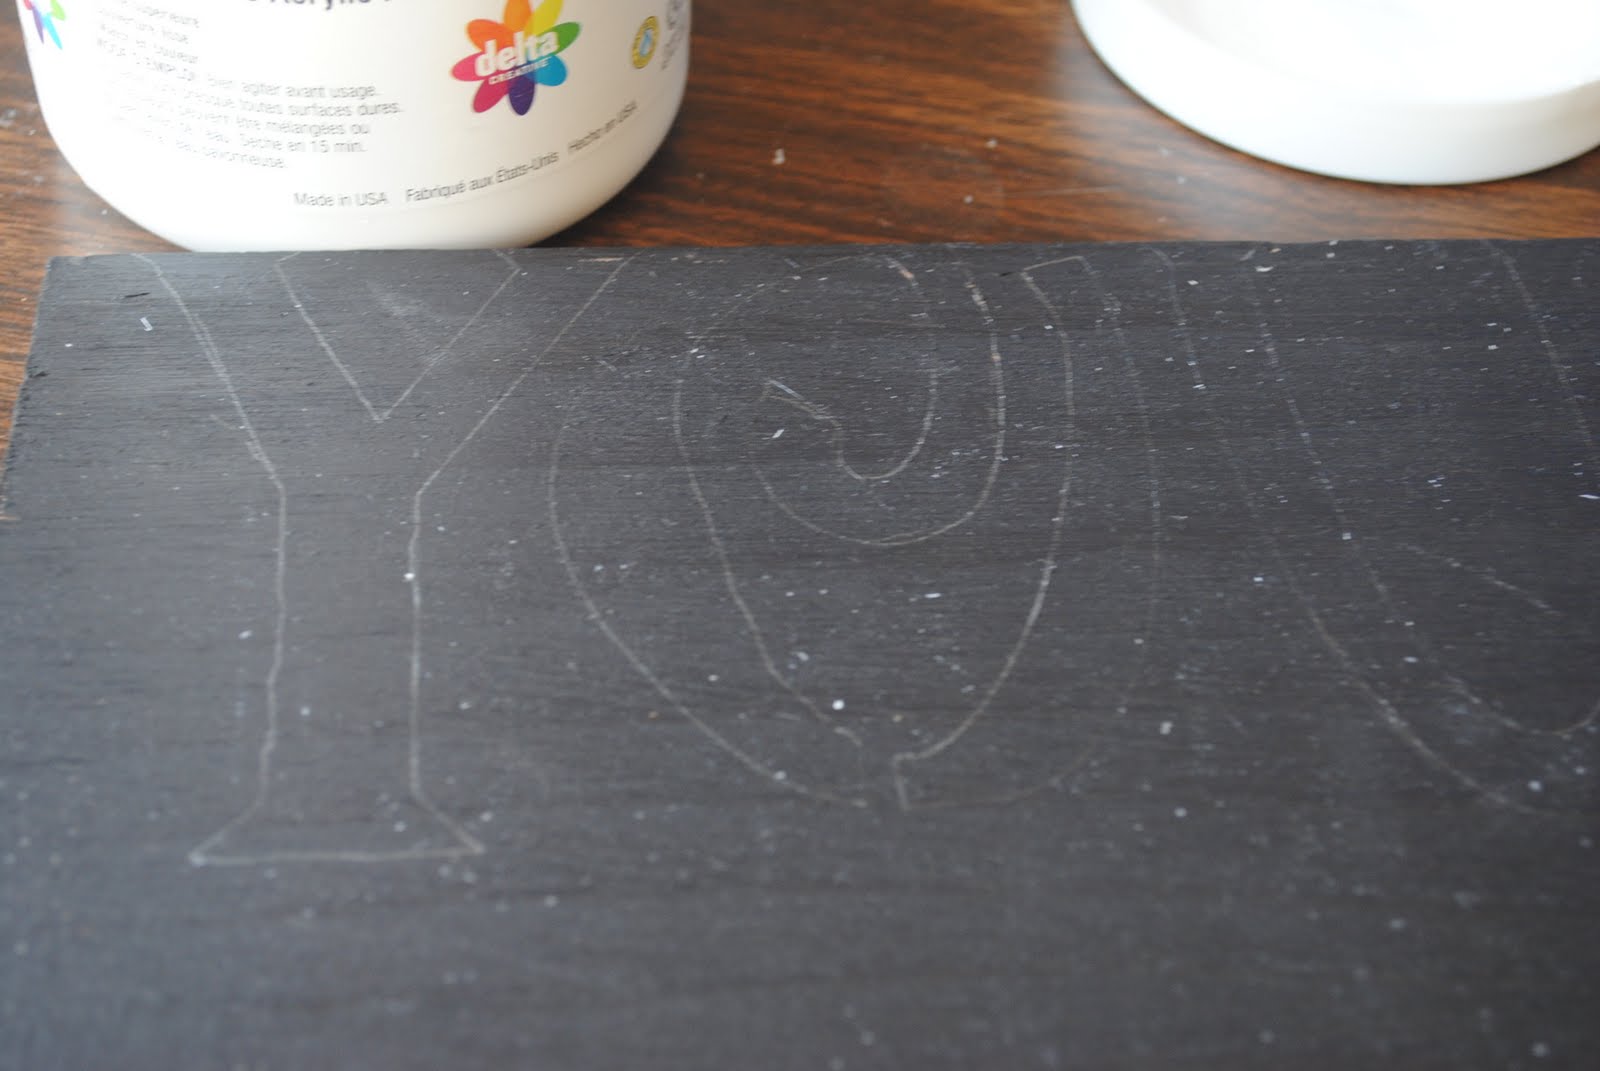
I let the letters over lap and run off the edges for a more vintage feel.
3.Once your wording is laid out properly, you will begin painting.
I freehanded my letters, but you could also skip the pencil step and paint directly from the stencil. I’ve done both, and I found free handing turns out cleaner.
Note: Your painting does not have to be perfect because the sanding step will hide all imperfections.

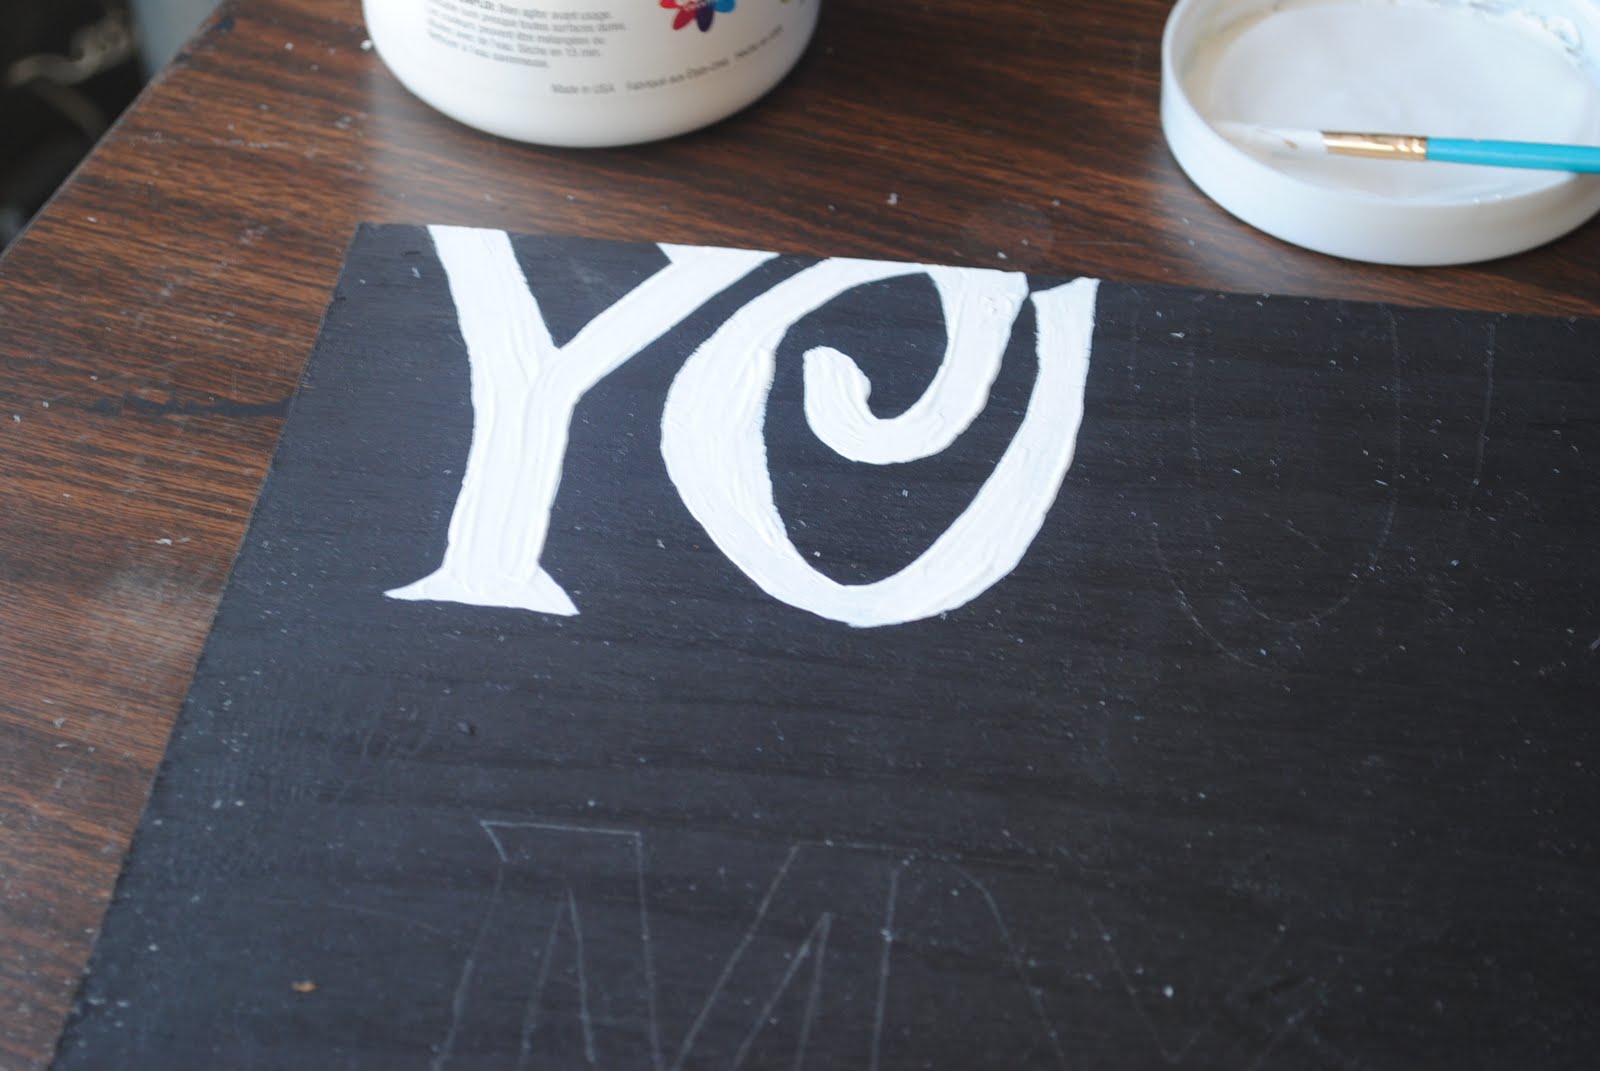
Once your letters are painted, let dry completely.
4. Using your sandpaper, you will now sand over your entire print. I sanded all corners and edges, as well as accented certain areas until the original wood color or the paint color underneath shows thru. This gives your print a rugged aged touch.
5. I added saw tooth hangers on the back of each piece and hung one beneath the other.
There you have it!

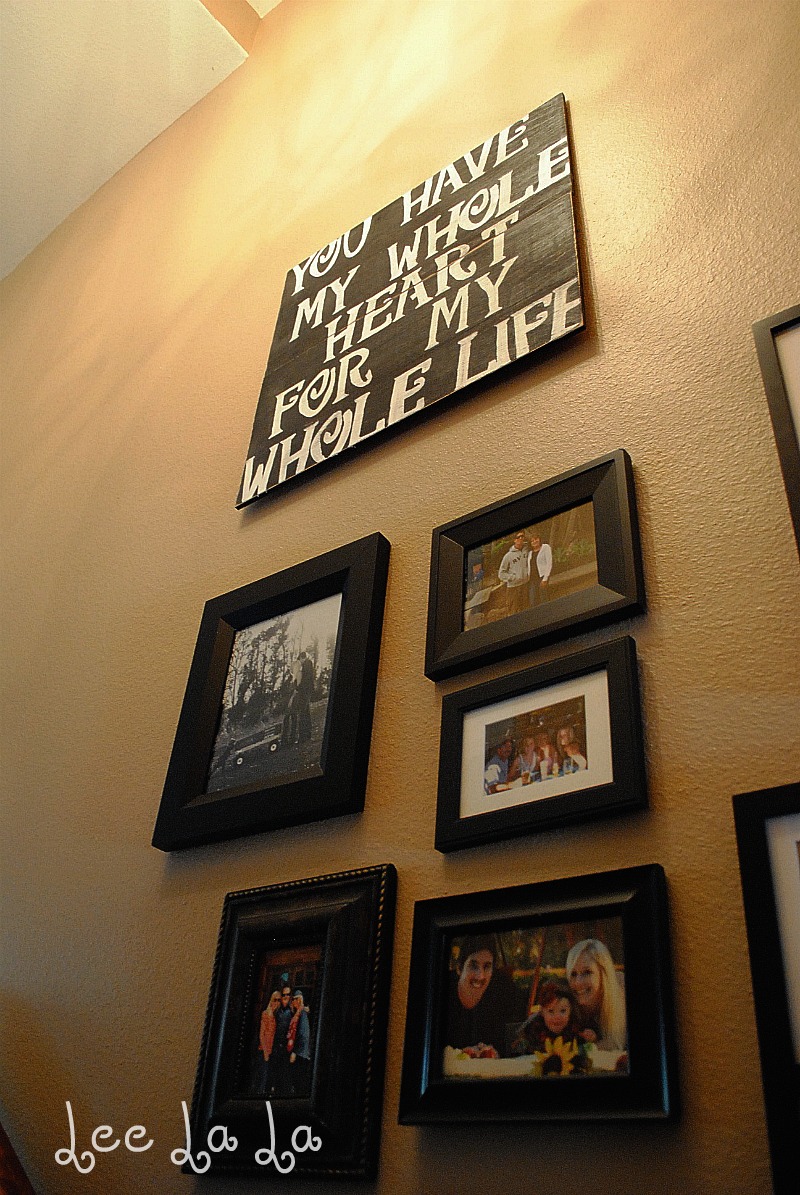
I love the way it looks with my photo gallery.
I’ve made this print in various colors as well as different sayings.
How cute is this one I made for a bride-to-be friend of mine?


Thank you SO much for hanging with me today.
I’d be so excited if you stopped by my blog and said hello.
Meeting new friends makes me happy!

Lindsay – what a great idea!!
Head over to Lindsay’s blog for more awesome ideas like:

{I love this Anthro-inspired Headband}
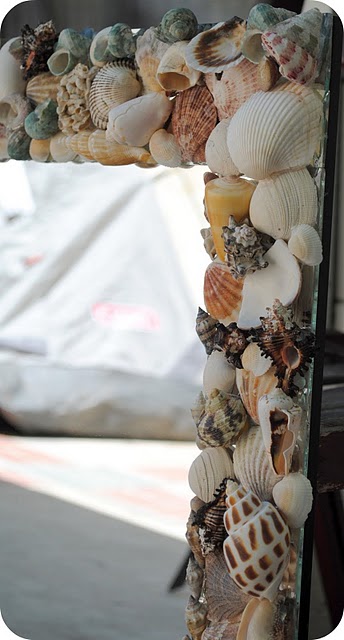
{Great idea – make a mirror out of vacation shells}
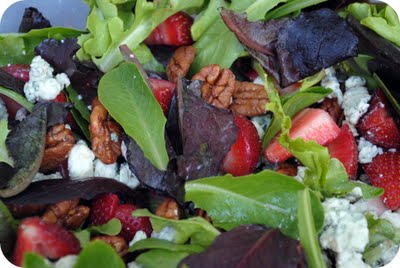
{And glimpses of everyday life, fashion posts and recipes like this Perfect Green Salad}
Be sure to head over to Lee La La and give Lindsay a big TT&J hello!
xoxox
PS —

Have you entered to win a pass to the SNAP Conference? It’s going to be so fun! Check out the deets here 🙂
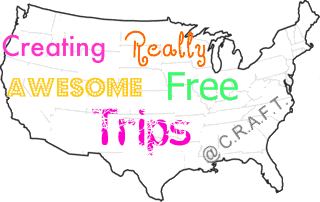
PSS — Have you checked out the C.R.A.F.T.– Creating Awesome Free Trips series? So fun! Today I am sharing my 10 favorite things to do in Salt Lake City! Find out free or really cheap things to do throughout the country!!


I love it!
What stencil letter size did you use it?
Thank you
Roberta
Comments are closed for the Airstream post, so I'm commenting here:
Maybe your husband will come around. Mine did. We're finally working on my (now our) dream trailer.
http://www.someday1959.blogspot.com