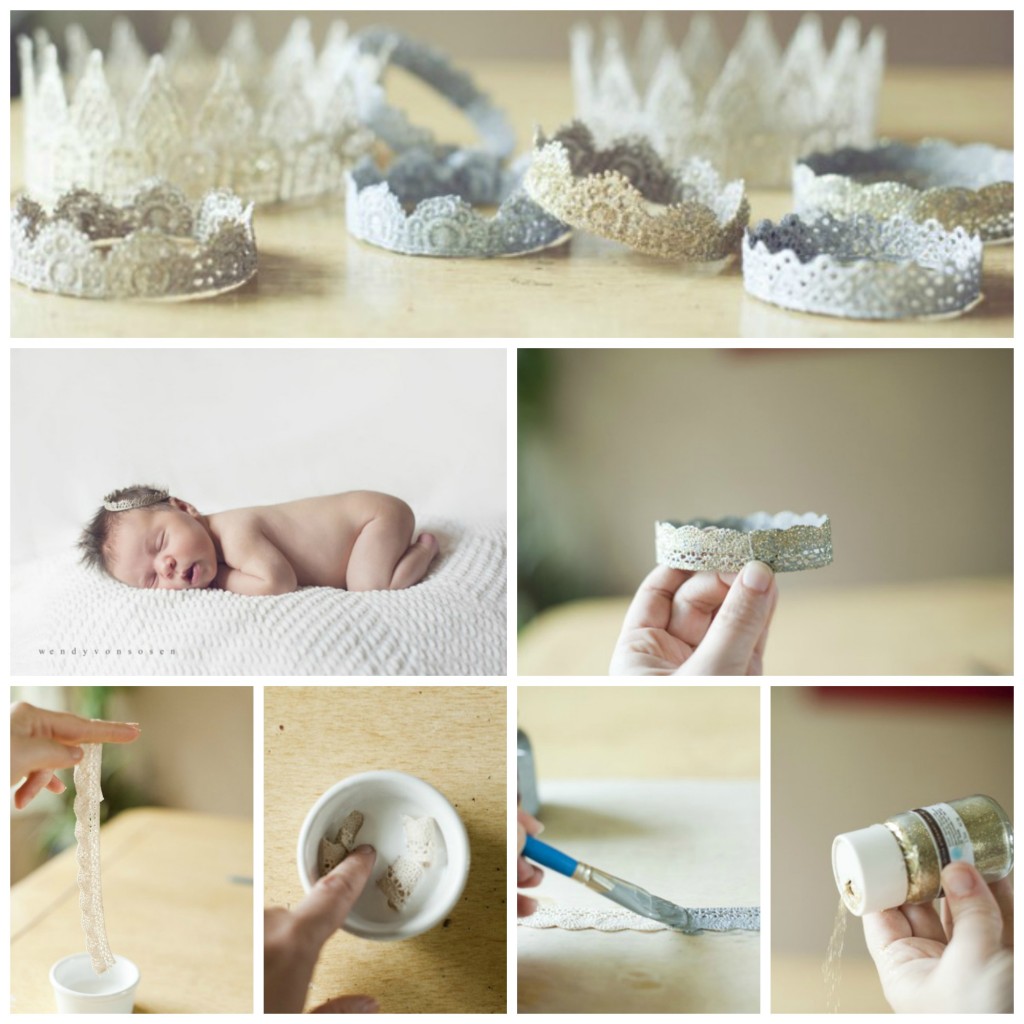
Make Lace Glitter Crowns! These sweet lace crowns are perfect for photo props or birthday parties.
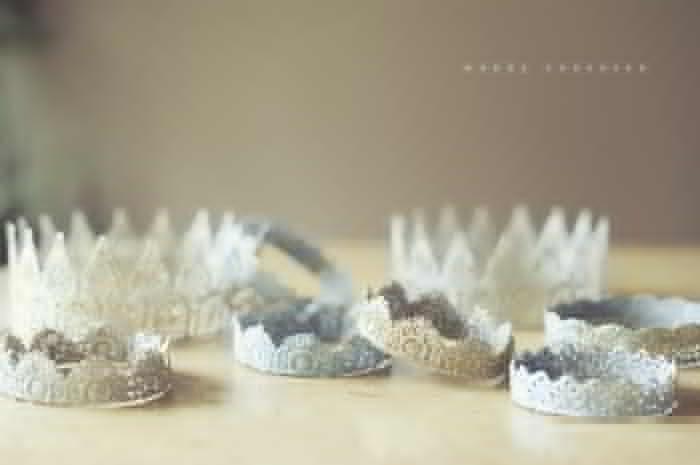
Lace Glitter Crowns
I’m not usually excited about trends when it comes to photography. I’d rather the focus be on the people in the photo rather than what they’re wearing or what kind of crazy editing has been done. But when I first saw these delicate crowns on a newborn baby, I knew they would fit right in to my style. Check out these lace crowns.
I knew I could buy them through several Etsy vendors but I wanted a whole slew of different sizes and styles so I decided to tackle this craft project myself. (Jen is rolling her eyes right now because she knows how un-crafty I am). There are several tutorials online that I used as a basis for this project but I’ve tweaked a few things that worked for me and will share my process with you here.

Lace Glitter Crown Supplies:

A variety of different lace (Mine were purchased at Jo-Anns. The crocheted soaks up the stiffener easier than the nylon-ish kind. Lace is sold both by-the-yard and by the spool. Check both sources.)
scissors
hot glue gun
craft paints in a variety of metallics
fabric stiffener
paint brush
wax paper
fine glitter (I love Martha Stewart’s the best. I don’t like the cheap kind because they tend to reflect an ugly green or purple cast)
small bowl
Lace Glitter Crown Directions:
1) Cut your lace to the appropriate size. For newborns I use 13″-15″. I made some larger ones for older girls and cut those to 20″-22″.
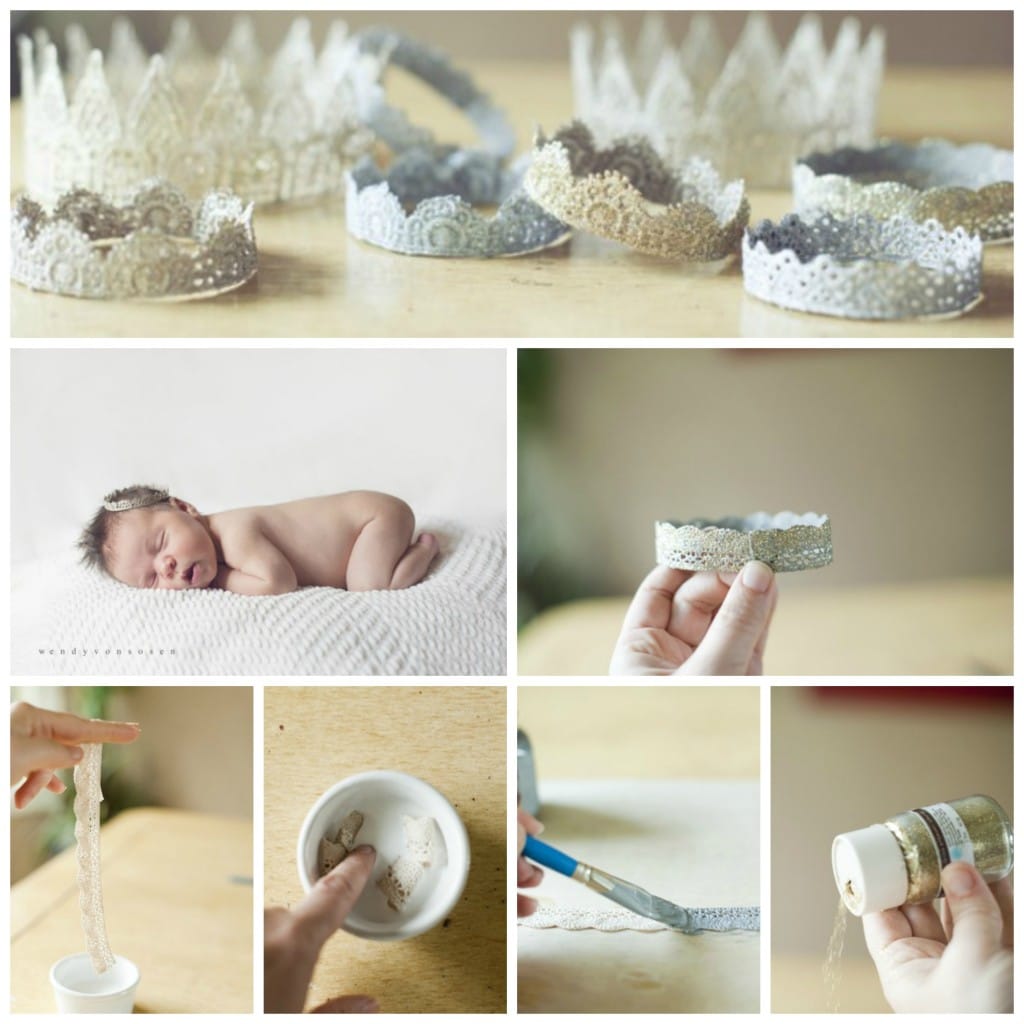
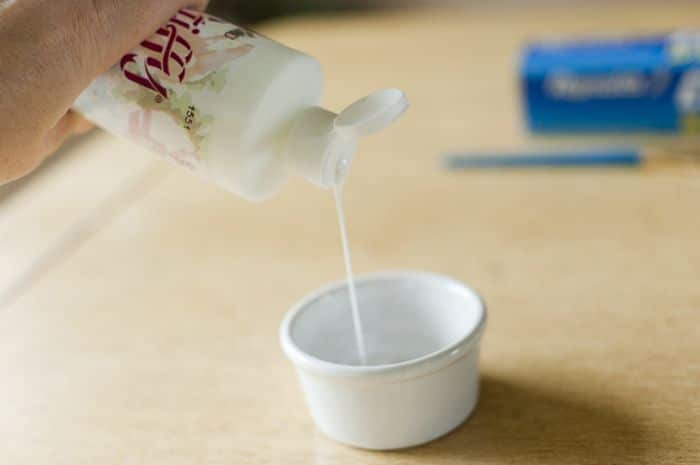
2) Pour your fabric stiffener into a small bowl.
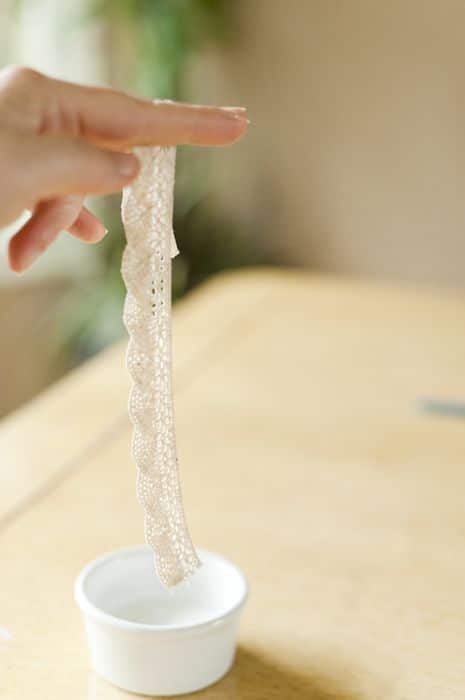
3) Immerse your lace completely into the bowl soaking the entire length.
4) Wring out the lace by pulling it through your pointer and middle finger letting the excess stiffener run back into the bowl.
5) Lay the lace onto a piece of wax paper and dab the length with paper towel, removing the excess stiffener so that it isn’t clogging the holes in the lace.
6) At this point you can either let it air dry for about an hour, OR, if you’re impatient like I am, you can cheat a little bit. I turned my oven to the lowest temperature it would go (175), and when it reached that temperature, I turned the oven off. I put the wax paper onto a cooling rack and placed it into the oven and shut the door. In about 20 minutes it was dry.
7) Repeat steps 3-6 three or four times until your lace is stiff enough to stand on its side and sturdy enough to hold its shape.
8) Then peel it off of the wax paper and place it on a new piece of wax paper. You’re ready to paint! Choose your color and, using a paint brush, paint the backside first and then flip it over and paint the front.
9) Optional: I love anything with glitter and wanted my crowns to have some sparkle so, while the paint was wet, I sprinkled the lace with fine glitter on the front side only.
10) You’ll need to let the crown either air-dry or oven dry completely.
11) Once dry, the ends tend to be frayed and sharp with all of the stiffener on them so I like to trim them so they have a nice smooth edge.
12) Then take your glue gun and add a dab of glue to one end and attach it to the other end. Try your best to match and overlap the pattern so the connection isn’t obvious.
13) Almost done! Once the ends are attached, take a cup that has a graduated shape (the top is wider than the bottom) and place the crown snugly onto it so that it forms the correct crown shape (tops is a little wider than the bottom). I leave my crowns like that for a day or so because they will continue to stiffen as they “cure”.
And Viola! You’re done!

And if you’re anything like me, you’ll get a little addicted and want to find all kinds of shapes and sizes of lace to make into crowns.

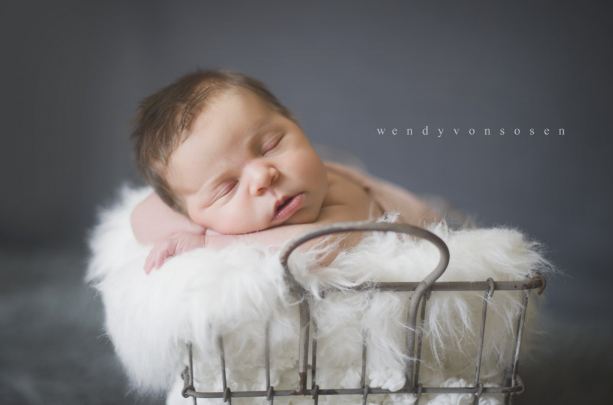
They are just the perfect delicate detail to add to sweet, tiny newborns portraits!
Good luck! And let me know if you have any questions!
Happy Weekending!
Wendy
Aren’t those just the cutest??
My mom made some in a bigger size for a women’s group. I think you could make them for anyone!!
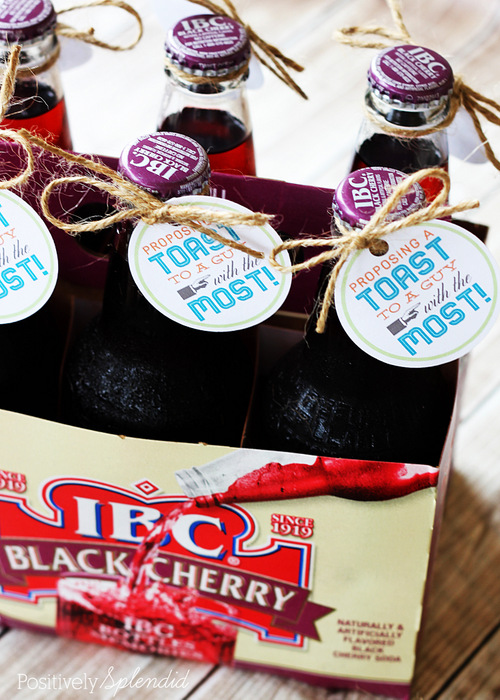
And, they would make a beautiful Baby Shower Gift!!
Wendy has been busy this month with senior pictures:


And here’s one of the Senior Pictures Wendy took of my son:

Be sure and check out Wendy and her amazing talent and ideas!!

And if you are in the Bay Area, get on Wendy’s calendar for lifestyle photos for YOUR family. It’s an investment that you will treasure always.
xox


I am genuinely pleased to glance at this website posts
which carries tons of useful data, thanks for providing these kinds of statistics.
These are so adorable!
I’ve included them in my round up of crafts fit for a prince (inspired by the new 3rd in line to the throne, baby George): http://hodgepodgecraft.com/2013/07/10-make-and-craft-ideas-a-baby-shower-fit-for-a-prince-or-princess/
Thanks for the fantastic tutorial!
I accidentally painted the crown before adding it to the fabric stiffener. Is it too late to add it??
Thanks for the instructions! It’s so pretty!!!
ragsandrichesblog.com
Easy to follow tutorial! Thank you.
Oh ya…LOVE the cup! Have the same one Go Giants!!
I tried these and found that once I painted them, they weren’t stiff anymore. Do they require a special paint?
I tried making these today (to use for Mother’s Day tomorrow) and it was an epic fail. The fabric stiffner bonded to the wax paper when it dried. It was in an oven that had been heated to 150 and then turned off. The wax paper was stuck and absolutely impossible to remove from the lace. I spent about 20 minutes removing it from 6″ of the lace and then gave up. Is there something else that would work better than wax paper? I love these–but they didn’t work at all for me.
a new fan…love the crowns and the pics seal the deal…how cute….the photo’s great talent
I love your description. I’ve done basically the same but like the idea of the graduated cup for sizing. Thanks so much. Nancy
This is an exact replica of a tutorial posted on Joyfolie… Here is the link…
http://www.joyfolieblog.com/2011/09/diy-wednesday-lace-crowns.html
Hi Shannon Staker,
That is certainly one of the tutorials I found when I researched how to make these. But as I worked my way through the steps, I changed some things that seemed to work better for me. My tutorial includes those changes as well as a few other tips I found elsewhere. I hope you can use a few of these tutorials to try this craft yourself.
This is such a sweet idea! I love it, thanks for sharing:) I wonder if you could also make them by cutting the edges off paper doilies.
Alyssa, I’m sure that if you’re only using them as photo props, using paper doilies could work. But if you want them to last longer, you may want to try something sturdier. If you try the paper ones, let us know how it works!
This is such a fantastic idea! These would make adorable gifts for my two niece’s. I’m sure they would love new additions to their dress up box. Thanks for the quick and easy to follow tutorial.
Great tutorial, I never thought about using lace. They are so adorable for newborn photos. I make similar crochet crowns, you can see them here: https://crochetbyallie.com/products/c_7/
Allie, your crowns are adorable! I wish I knew how to crochet!
Here is the link sorry I forgot to include that
http://tyandwhitneyulrich.blogspot.com/2012/04/im-back-this-weeks-pinterest-loves-19.html
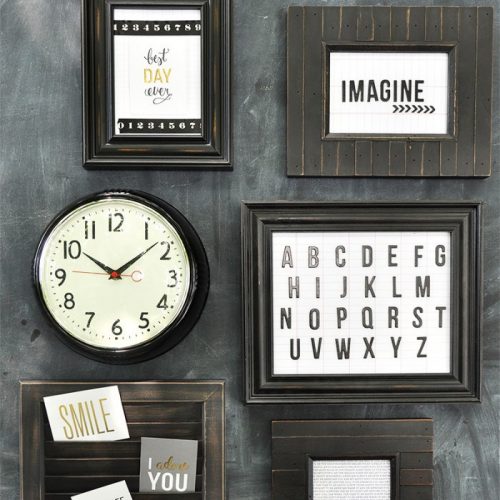
This is an adorable idea. Hey I just wanted to let you know I featured your amazing Family Gallery wall on my “This Weeks Pinterest Loves” post today. I would love for you to come check it out and grab a featured button. Have a good weekend!
Whitney Ulrich
A mommy’s life…with a touch of YELLOW
tyandwhitneyulrich.blogspot.com
I love this idea. I am due in September and if its a girl I am so doing one of these. I have to say though I am not such a fain of painting it. is that necessary or just suggested for colour? I like the idea of natural lace with a bit of glitter added.
Gosh I hope its a girl now!
Erin, you definitely don’t have to paint these. In fact you can find lace in different hues and colors that would work great without paint. The fabric stiffener dries fairly clear so that shouldn’t be a problem. Good luck with your sweet new one. 🙂
GREAT pictures!! I love the one of your son!! And the the glitter crowns are adorable…thanks so much for sharing!!
Absolutely beautiful! This is such a great idea. I have a niece that is due the beginning of June, so I’ll definitely need to give this a try! Thanks so much for sharing.