Easy Paper Pumpkin-Shaped Garland. Turn a couple of sheets of scrapbook paper and some wood beads into a gorgeous 3-D Pumpkin-shaped garland for Fall!
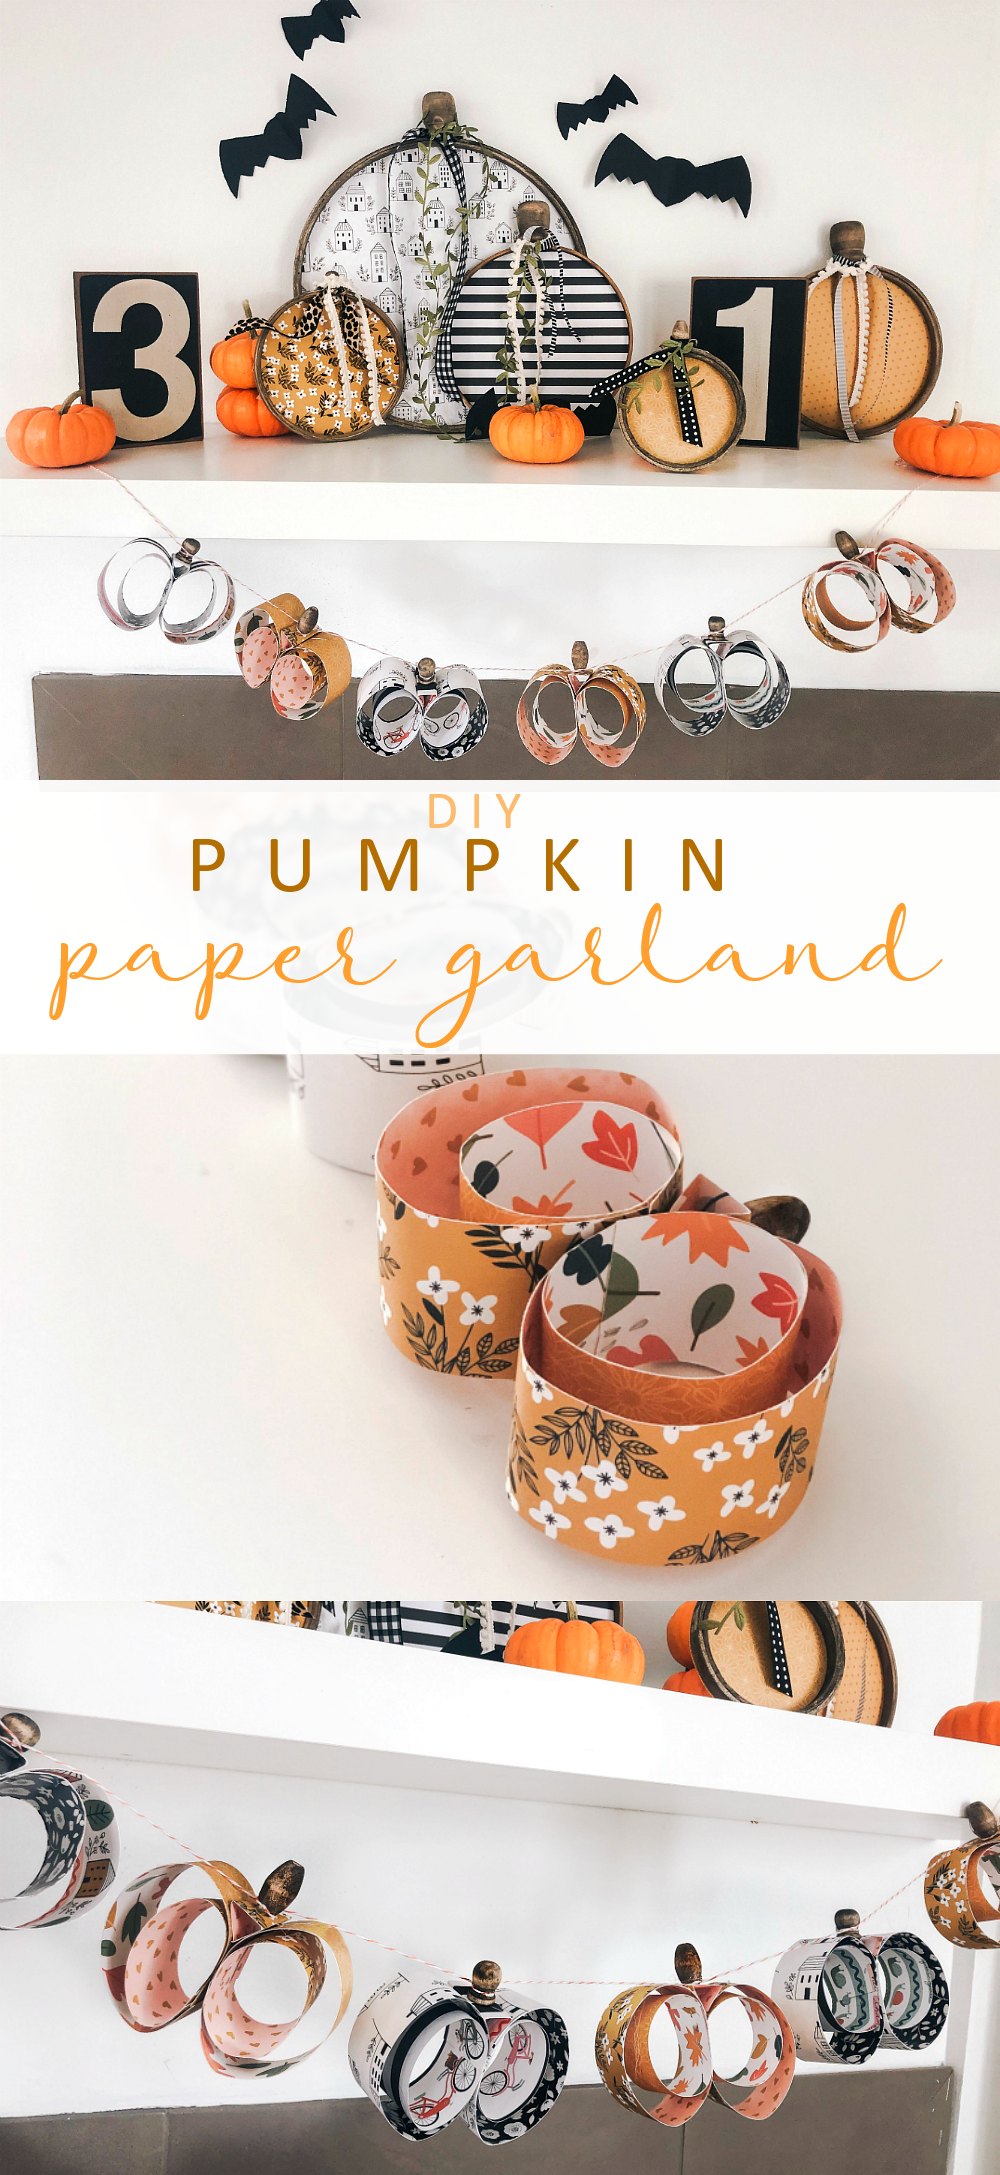
Easy Pumpkin-Shaped Paper Garland
I have a slight obsession with pretty paper! My newest collection with Pebbles, Inc. — This Is Family — just landed at JoAnn Stores and I love the papers in this collection!
This Is Family Paper
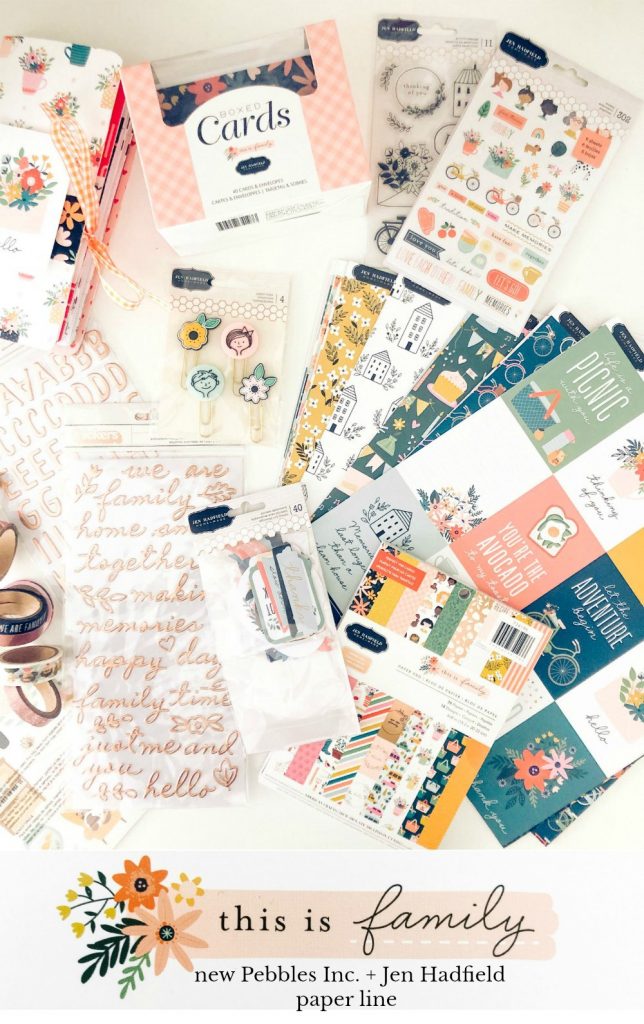
This Is Family is all about family traditions and the papers in the line have so many pretty patterns. I took four different papers that coordinate together and cut strips to make into this easy pumpkin garland. It only takes a few minutes to make!
Hang this Pumpkin-Shaped Garland on a Shelf or Mantel for Fall
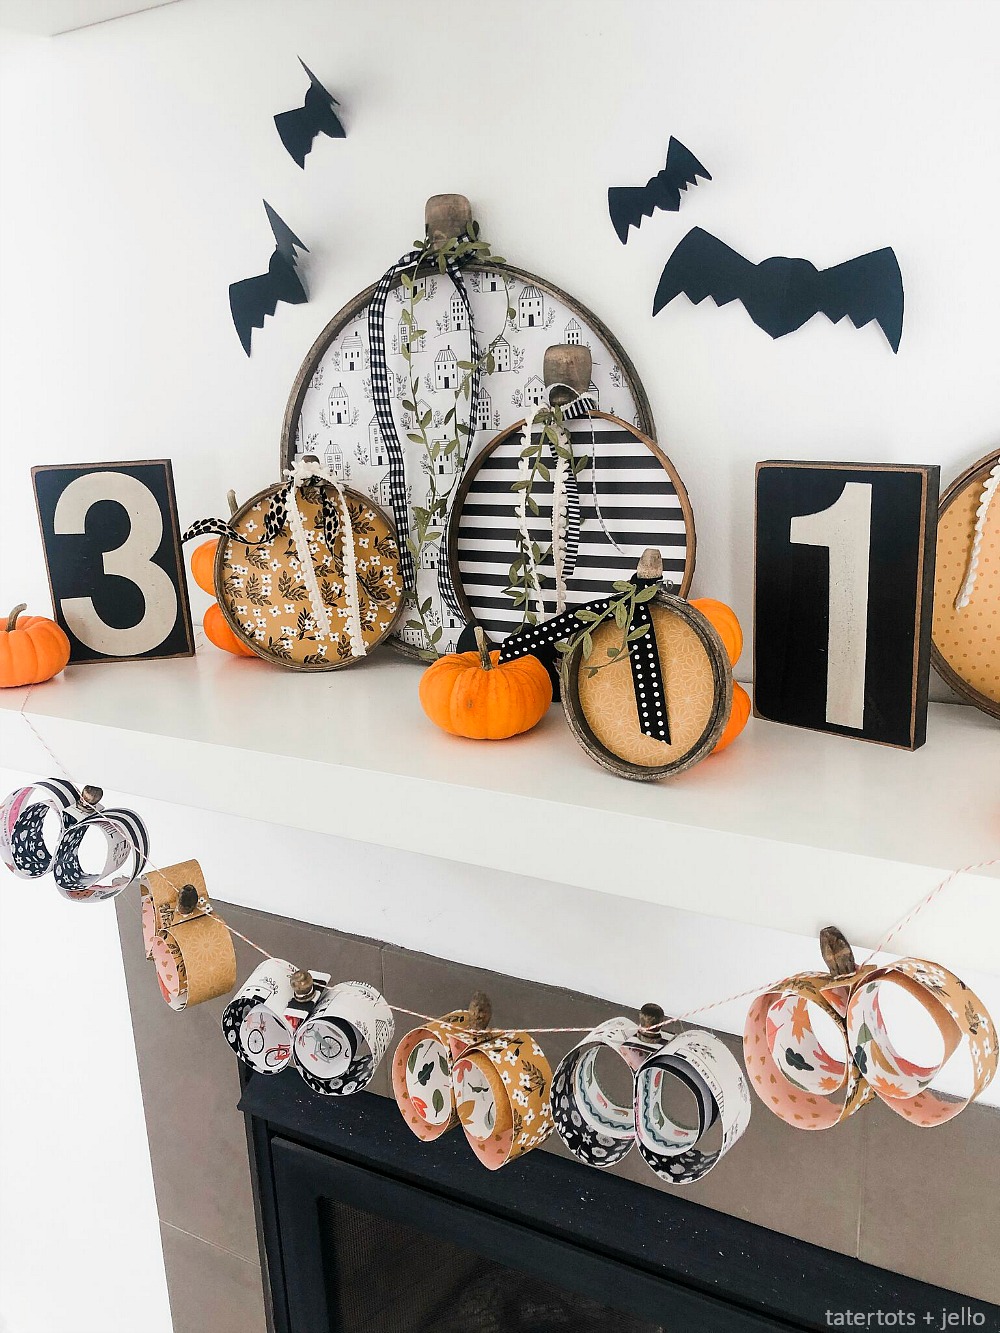
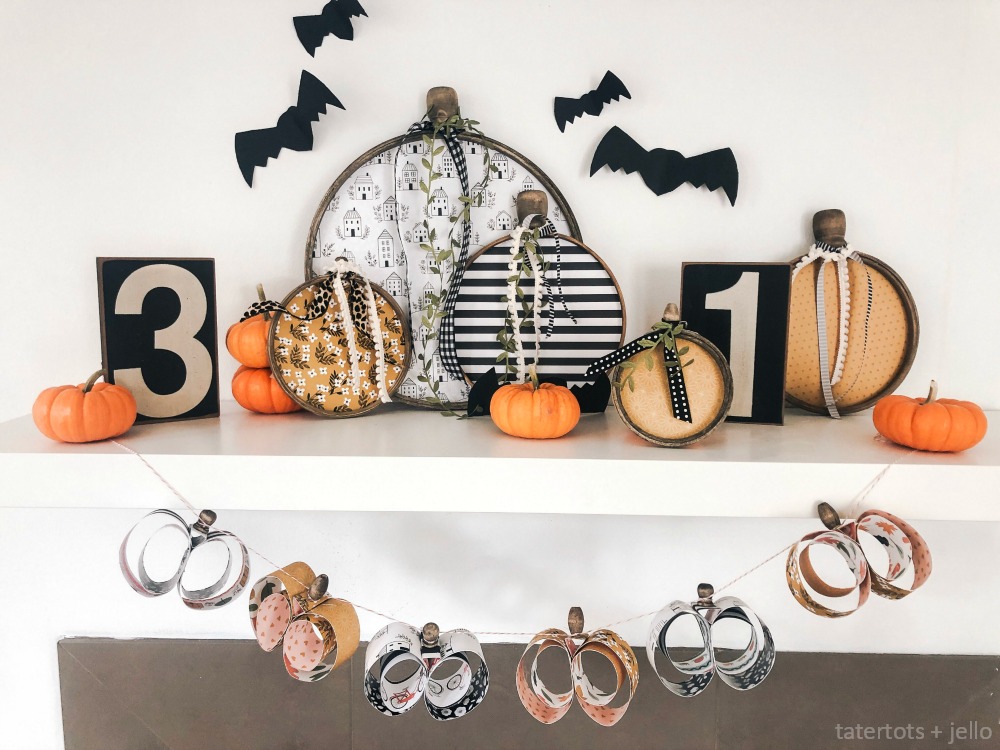
This garland is perfect to hang on a shelf or across your mantel for fall! I used twine to attach the pumpkins together and hung them on our fireplace.
Coordinating Garland to Embroidery Hoop Pumpkins
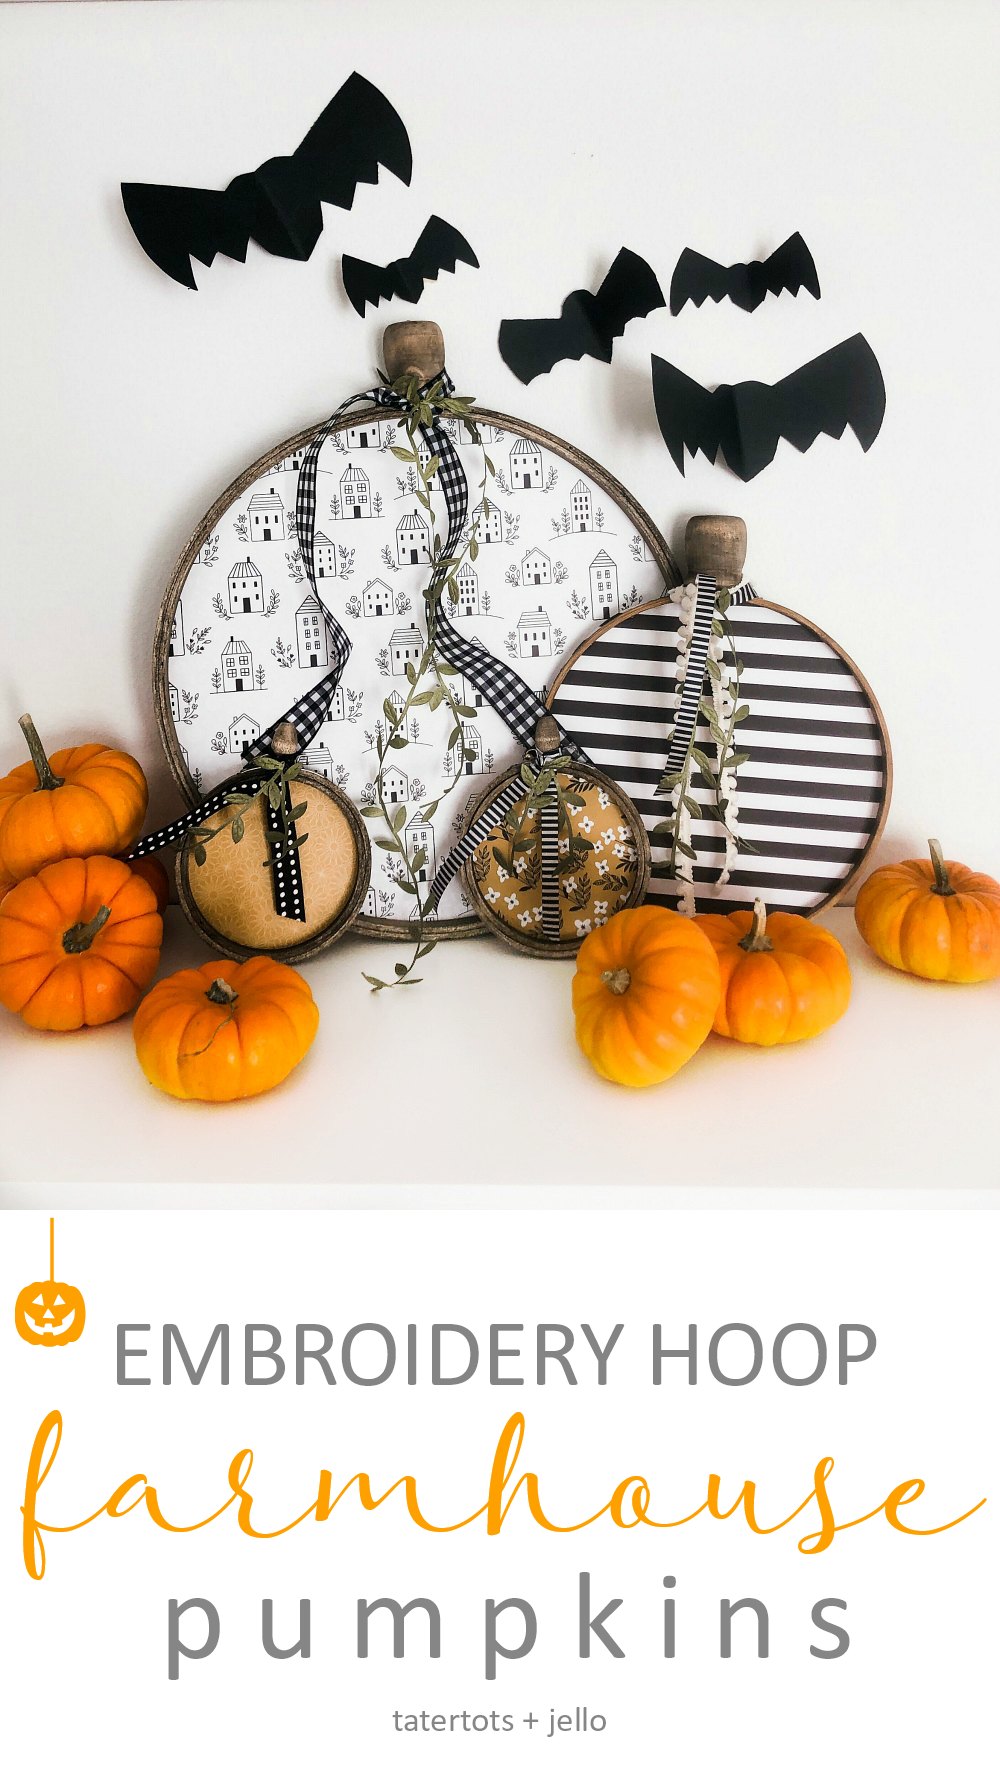
I shared the easy Embroidery Hoop Pumpkin tutorial last week. Click over to see the full tutorial. I also filmed the steps and I have them saved on my Instagram page @tatertotsandjello at the bottom of my profile under my “highlights”.
Supplies to Make a Pumpkin-Shaped Paper Garland
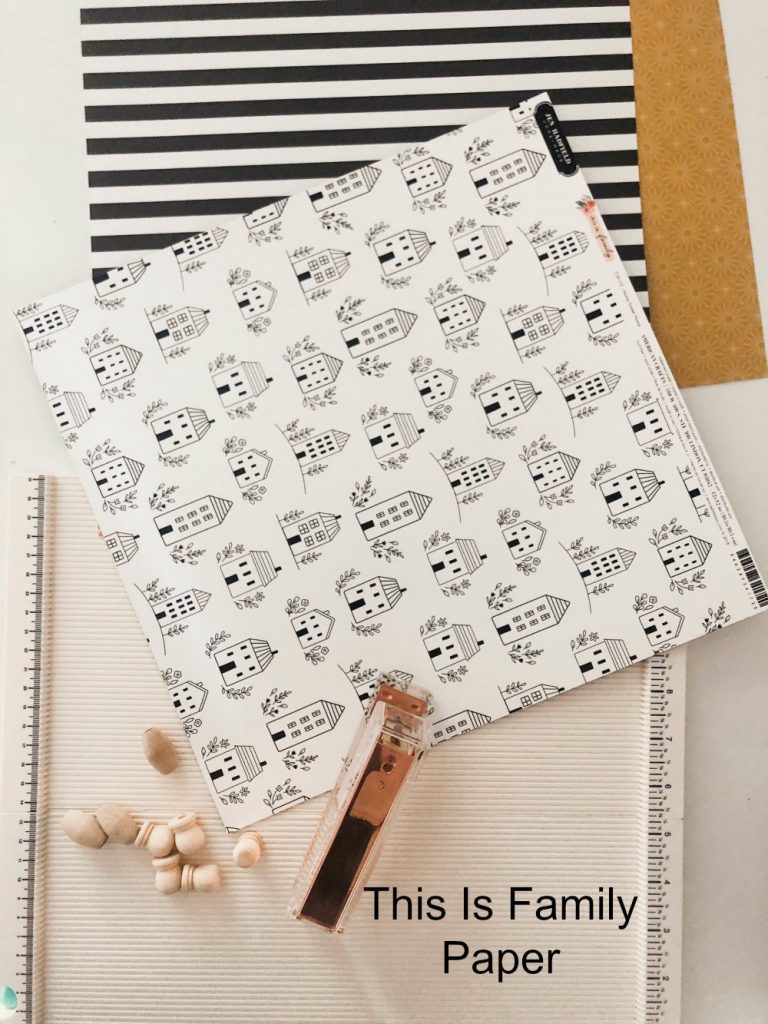
2-4 pieces of pretty scrapbook paper (I used my This Is Family line — you can get it right now at JoAnn Stores locally and online)
Wood Beads (I used wood beads and wood finials that I also bought at JoAnn Stores)
Twine
Walnut Stain (this is optional)
Hot Glue Gun
Stapler
How to Make an Easy Pumpkin-Shaped Paper Garland
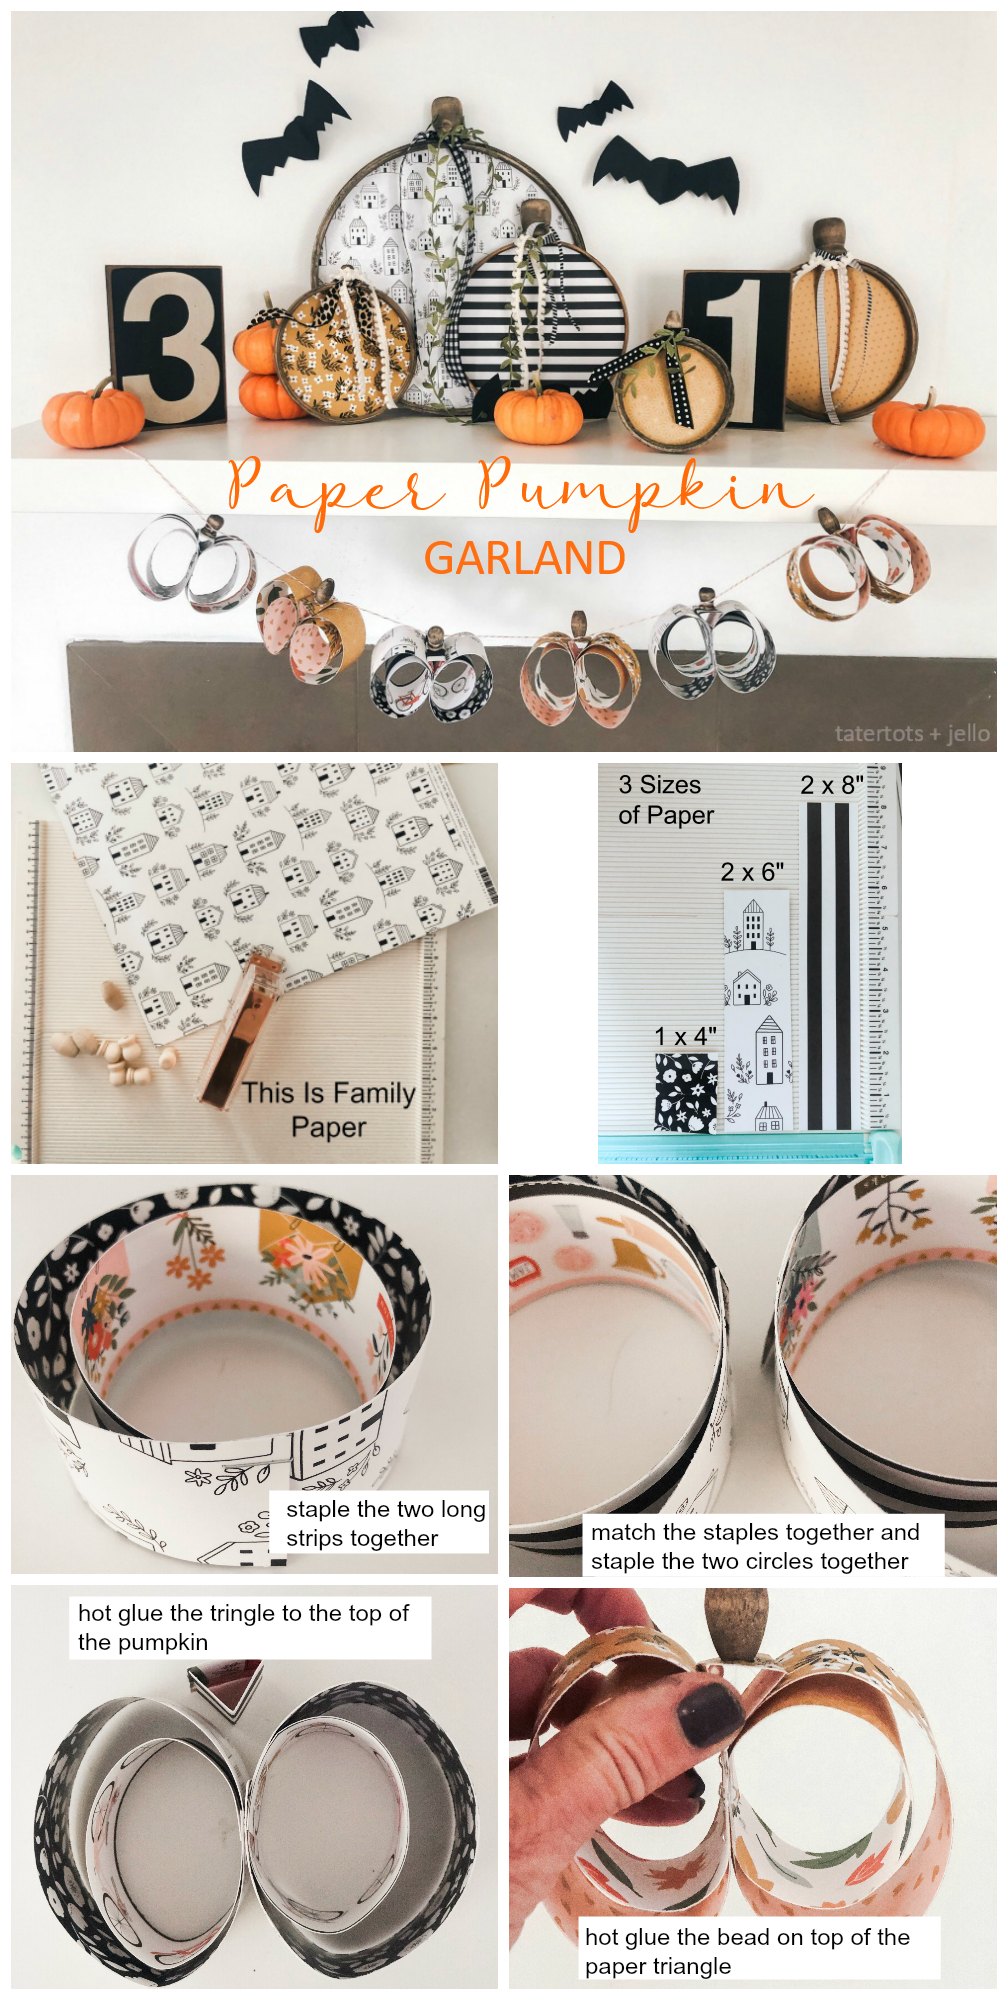
Cut Paper Strips
You can make your pumpkins whatever size you want. Mine are made up of two different paper strips — 8-inches and 6-inches. Then I also made triangles out of a 4-inch piece of paper to fit at the top of the pumpkin
Cut Paper for All Pumpkins
Determine how many pumpkins you want on your garland. My shelf was not very wide so I cut paper for 6 pumpkins — 3 out of each set of paper. Each pumpkin has two sides. Each side has one longer strip and one shorter strip. So to make 1 pumpkin you need two long paper strips and two shorter paper strips, plus the 4-inch paper that you fold into a triangle for the top.
Make Paper Circles
Take the smaller width paper and make a circle, overlapping the edges by 1/2 inch.
Take the larger paper strip and lay it over the smaller one, creating a larger circle.
Staple the Circles Together
Staple both paper strips together. Set aside and do the other side of the pumpkin, so you have two paper circles with two circles in each side.
Staple the Two Circles Together
Line up the staples on each paper circle so they are side by side and staple the two circles together, creating the pumpkin shape.
Fold the Paper Triangle
Take the 4-inch paper strip and fold it into thirds so it makes a triangle shape.
Hot Glue the Triangle to the Top of the Pumpkin
Add a dab of glue at the top of the pumpkin and attach the triangle.
Add Wood Bead on Top of the Triangle Paper
Attach the wood bead to the top of the paper triangle. If you want to stain your wood bead or finial, do that before this step.
Attach Pumpkins to Twine
Wrap a piece of baker’s twine around each bead and wood finial and then did the same thing to all of the pumpkins.
Secure Pumpkins to Twine with Hot Glue
Add a dab of glue to the front and back sides of the twine, attaching the twine to the wood beads.
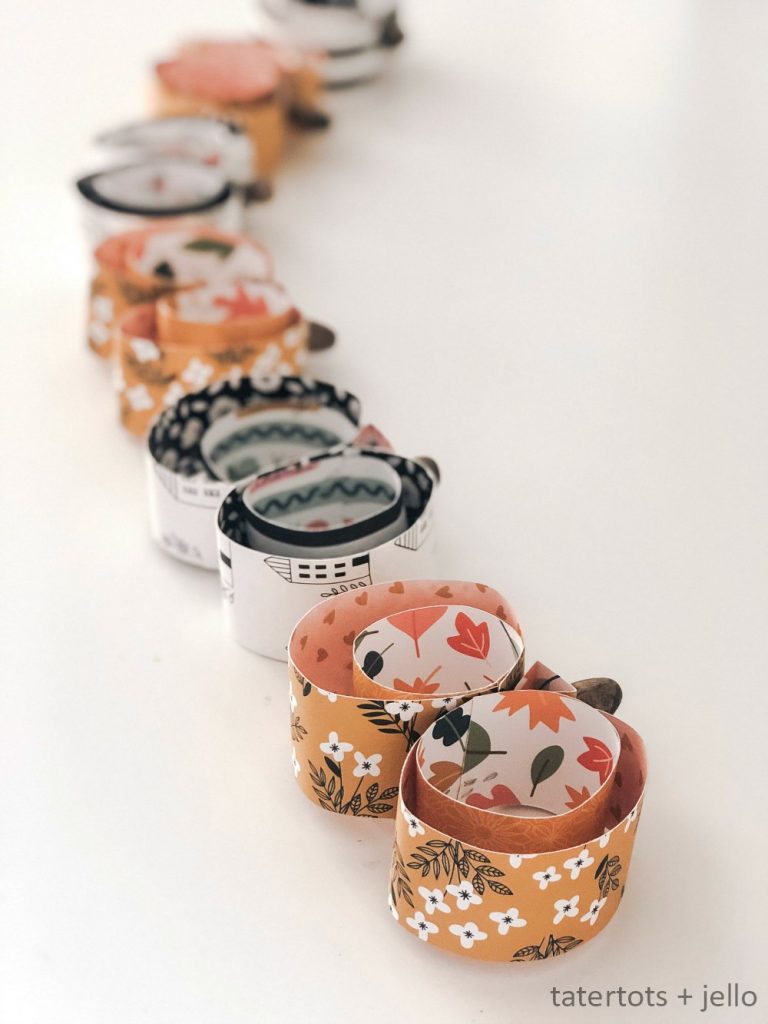
Hang Up Your New Pumpkin Garland
Now you have a festive and inexpensive pumpkin garland to decorate with!
More Fall Craft Ideas
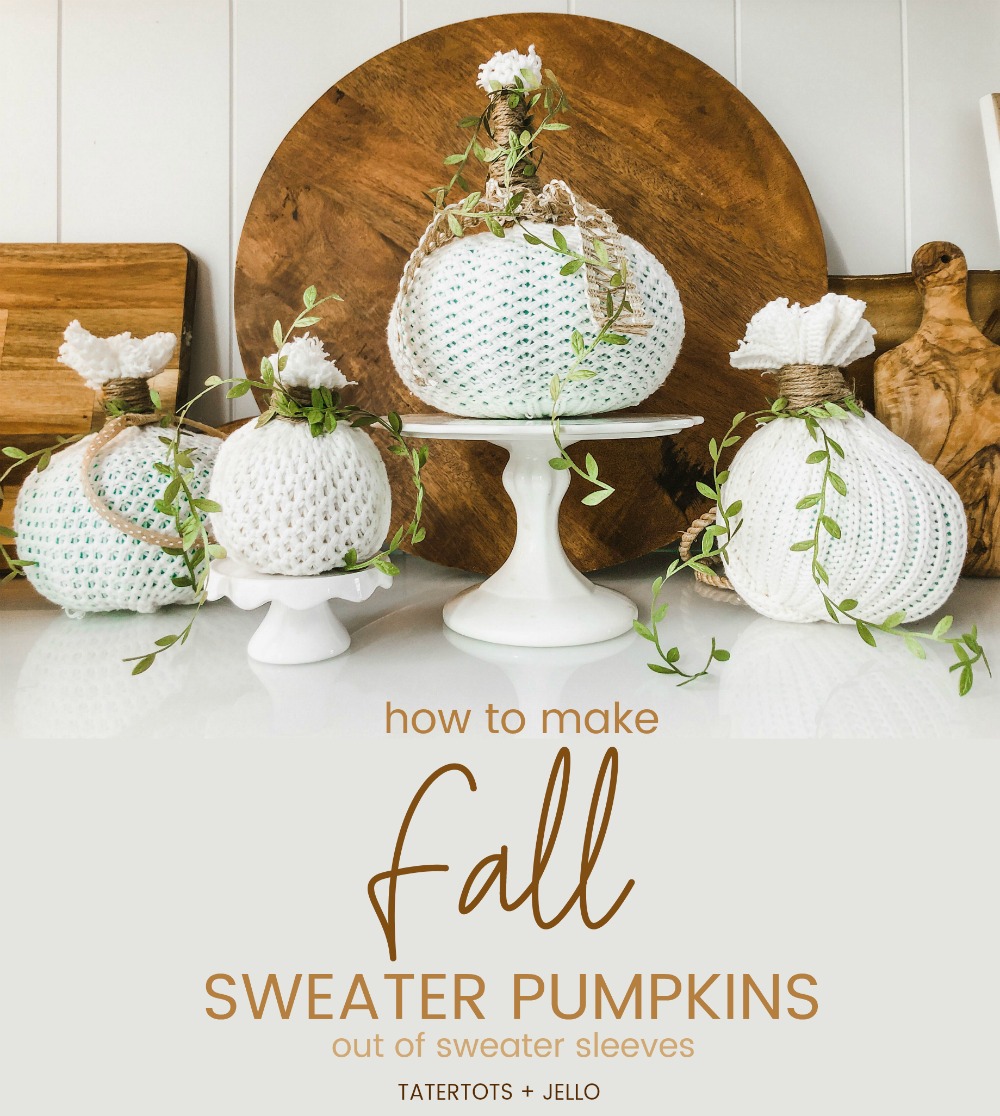
Fall Sweater Pumpkins
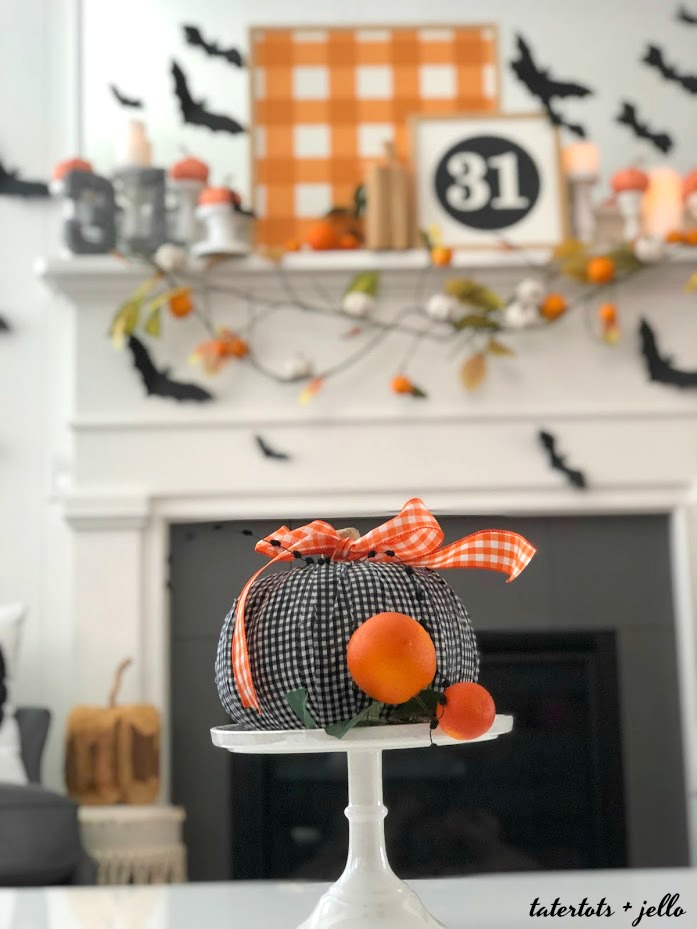
Decoupaged Pumpkins and Bat Mantel
You can find my new Pebbles Inc. This Is Family paper line at JoAnn Craft Stores!
Have a Creative Day!
xoxo



Your work is so full of useful information.