DIY Boho Wood Lanterns. Turn basic wood items and twine into beautiful boho lanterns to light up your yard and home this summer!
I’ve partnered with Hobby Lobby to share this easy DIY lantern tutorial. All opinions are 100% mine.
DIY Boho Wood Lanterns
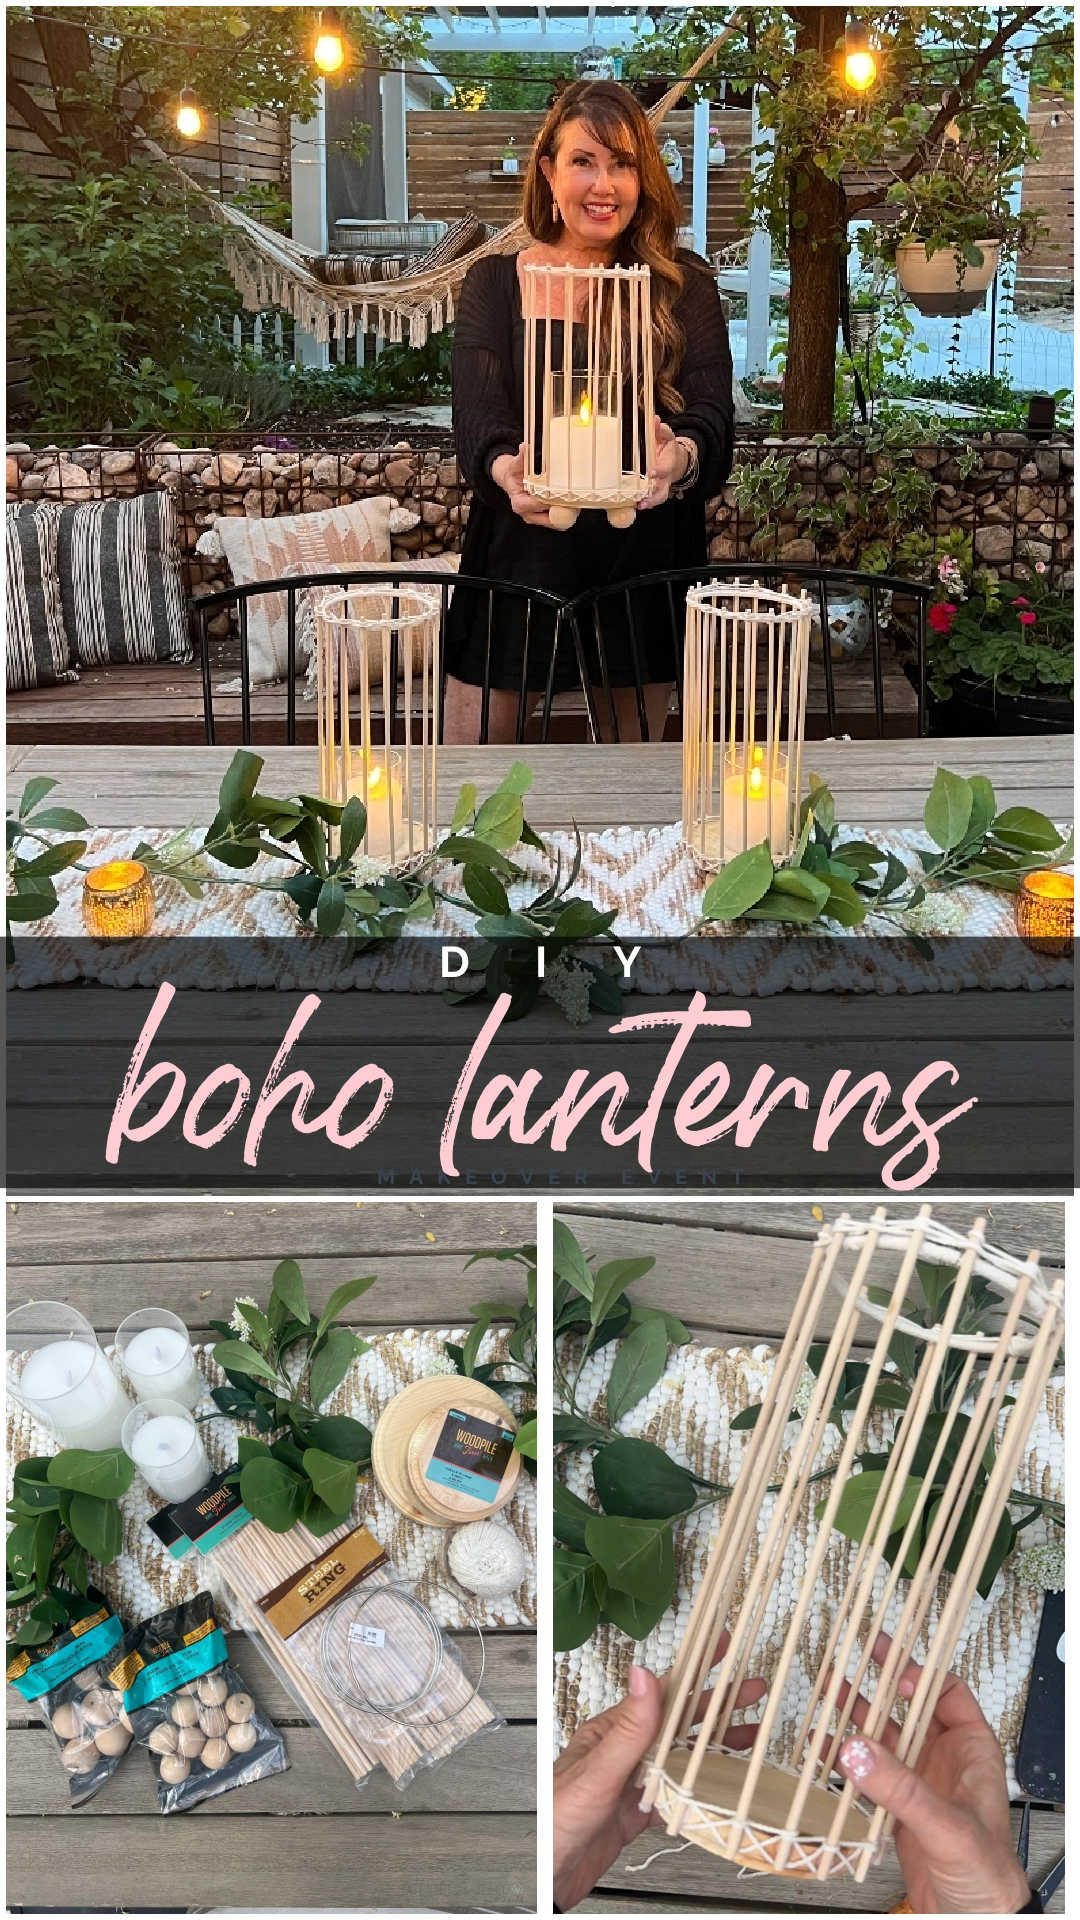
Raise your hand if you’re happy it’s summer! My daughter just graduated from high school and we are so excited to spend time outside enjoying our patio! I love candlelight and I thought it would be so fun to create some pretty DIY lanterns for our outdoor table, with a bohemian twist!
Turn Wood Items into Pretty Lanterns
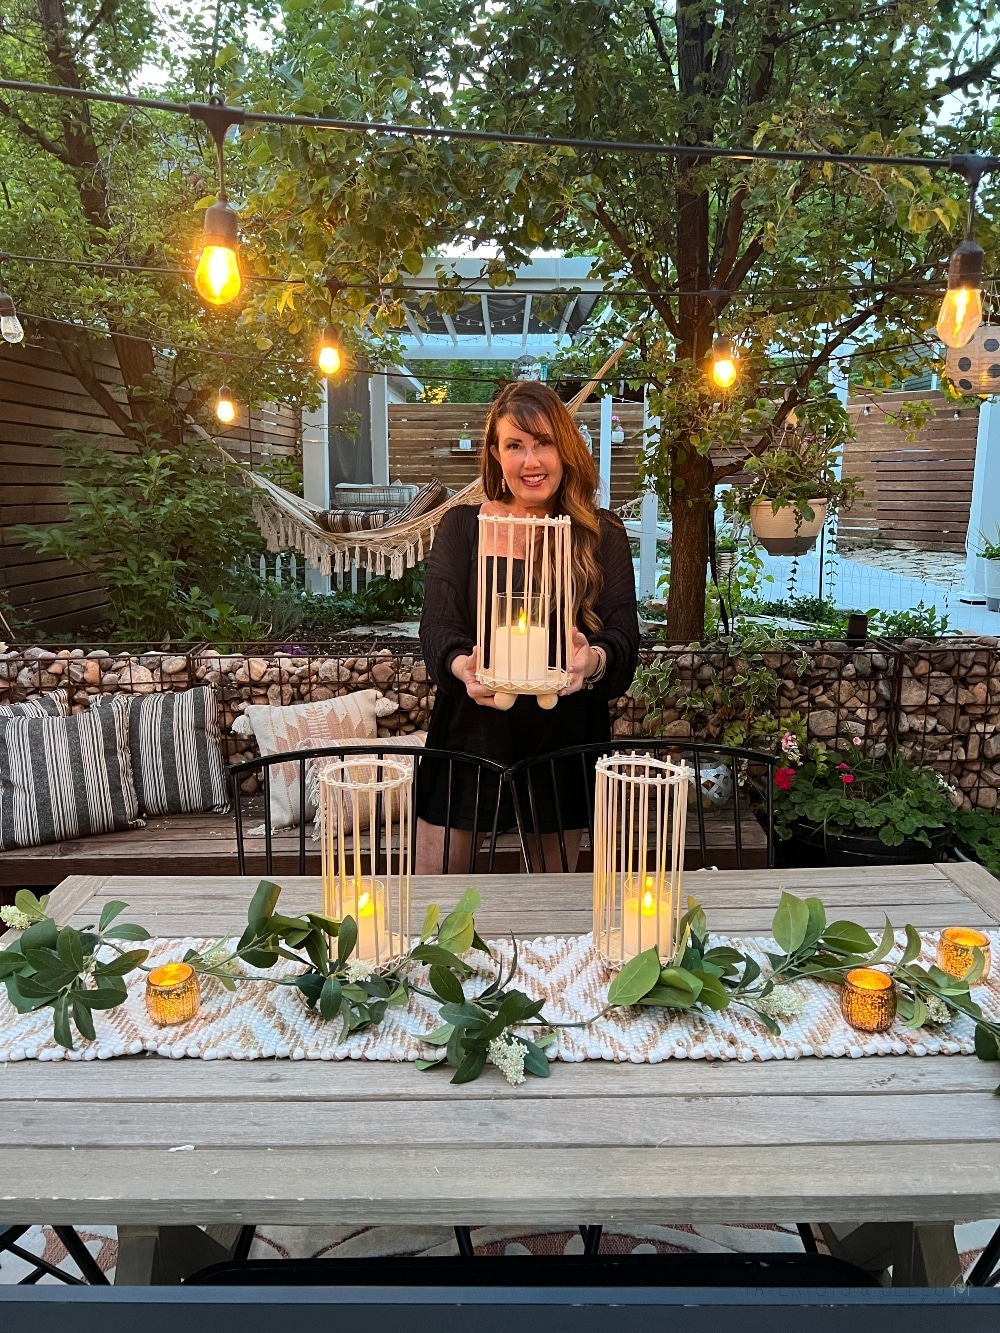
I headed over to Hobby Lobby to create these lanterns. Have you ever seen Hobby Lobby’s Wood Pile section? It’s one of my favorite and perfect for creating DIY projects. There are different sized unfinished wood frames, signs, shaped wood and more! I found some dowels, round wood feet and the bottom base for the lanterns in this section. I also found the coordinating metal rings and the macrame twine here as well.
DIY Boho Wood Lantern Supplies
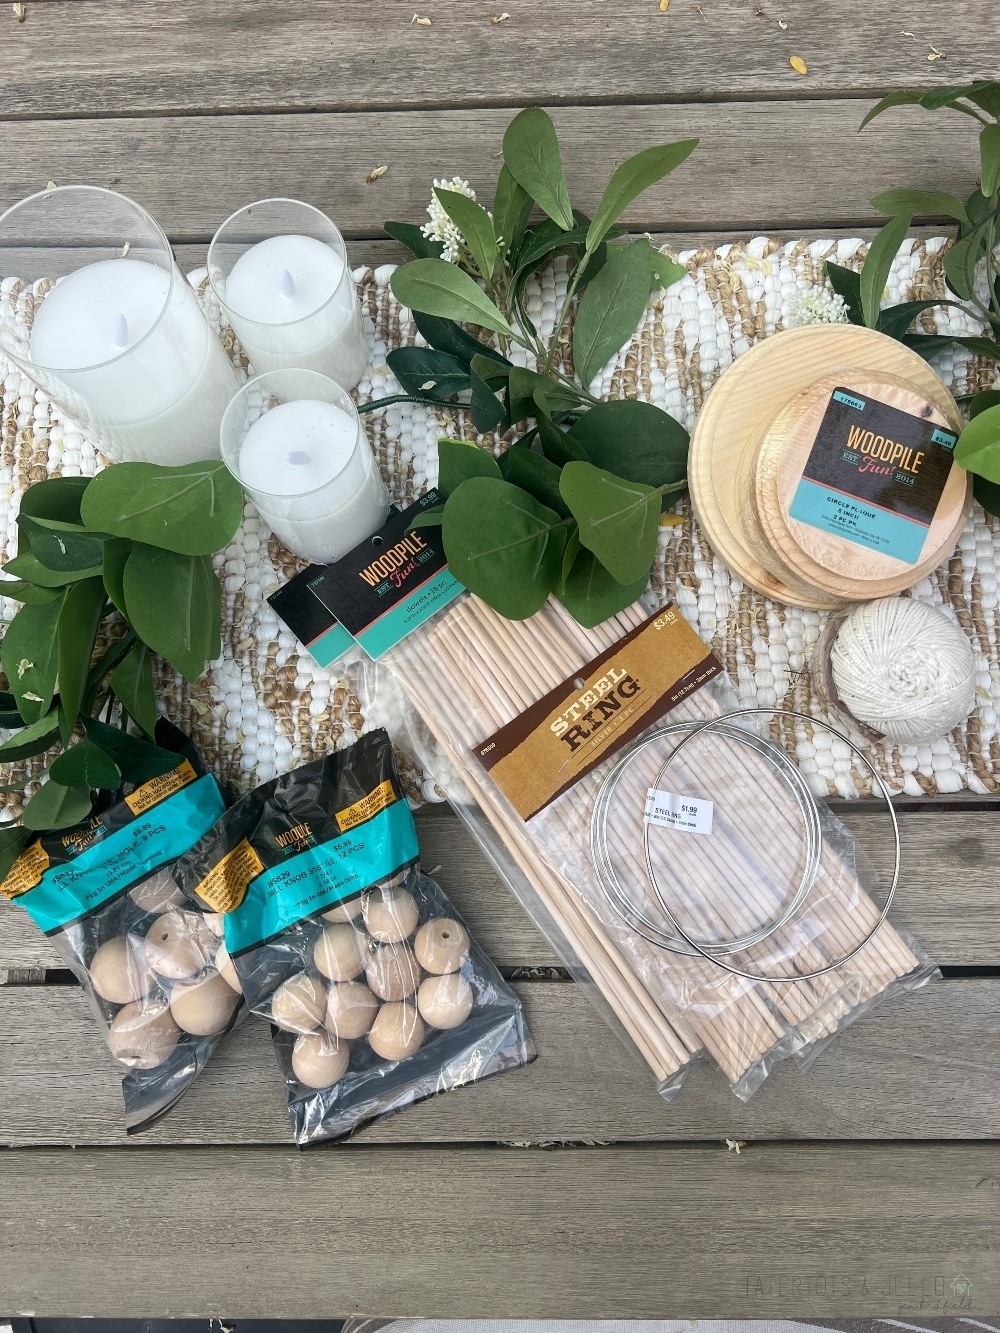
- Wood Base – I used one 6″ and two 5″
- Metal or Wood Ring
- Wood Dowels (come in a package of 18)
- Natural cord
- Round wood feet (4 per lantern)
- Glass-enclosed batter-operated candle
- Hot glue and glue gun
- e6000 (optional but needed if lanterns will be used outside)
Realistic Battery-Operated Candles
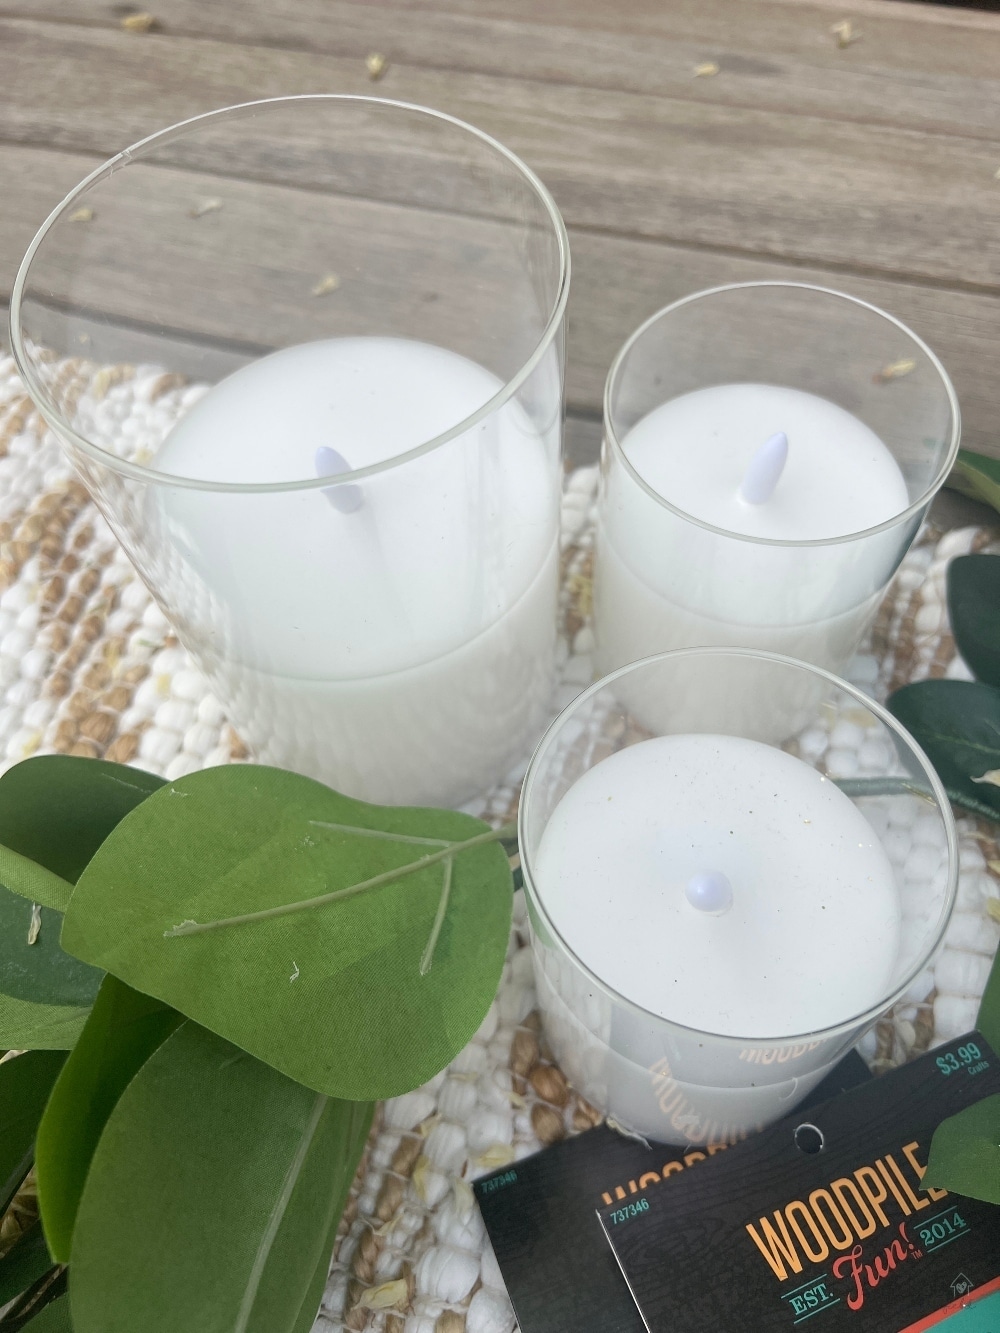
Then I headed over to Hobby Lobby’s candle section. There is a great assortment in real and battery-operated candles. To create lanterns I wanted a glass enclosure to protect the candles. I was thrilled to find these beautiful candles that are already in a glass enclosure. They also have a flickering flame that is very realistic and gorgeous in the evenings. These candles also have a timer built in, so no worrying about forgetting to turn them off and the batteries running out!
Choose Rings and a Wood Base the Same Circumference
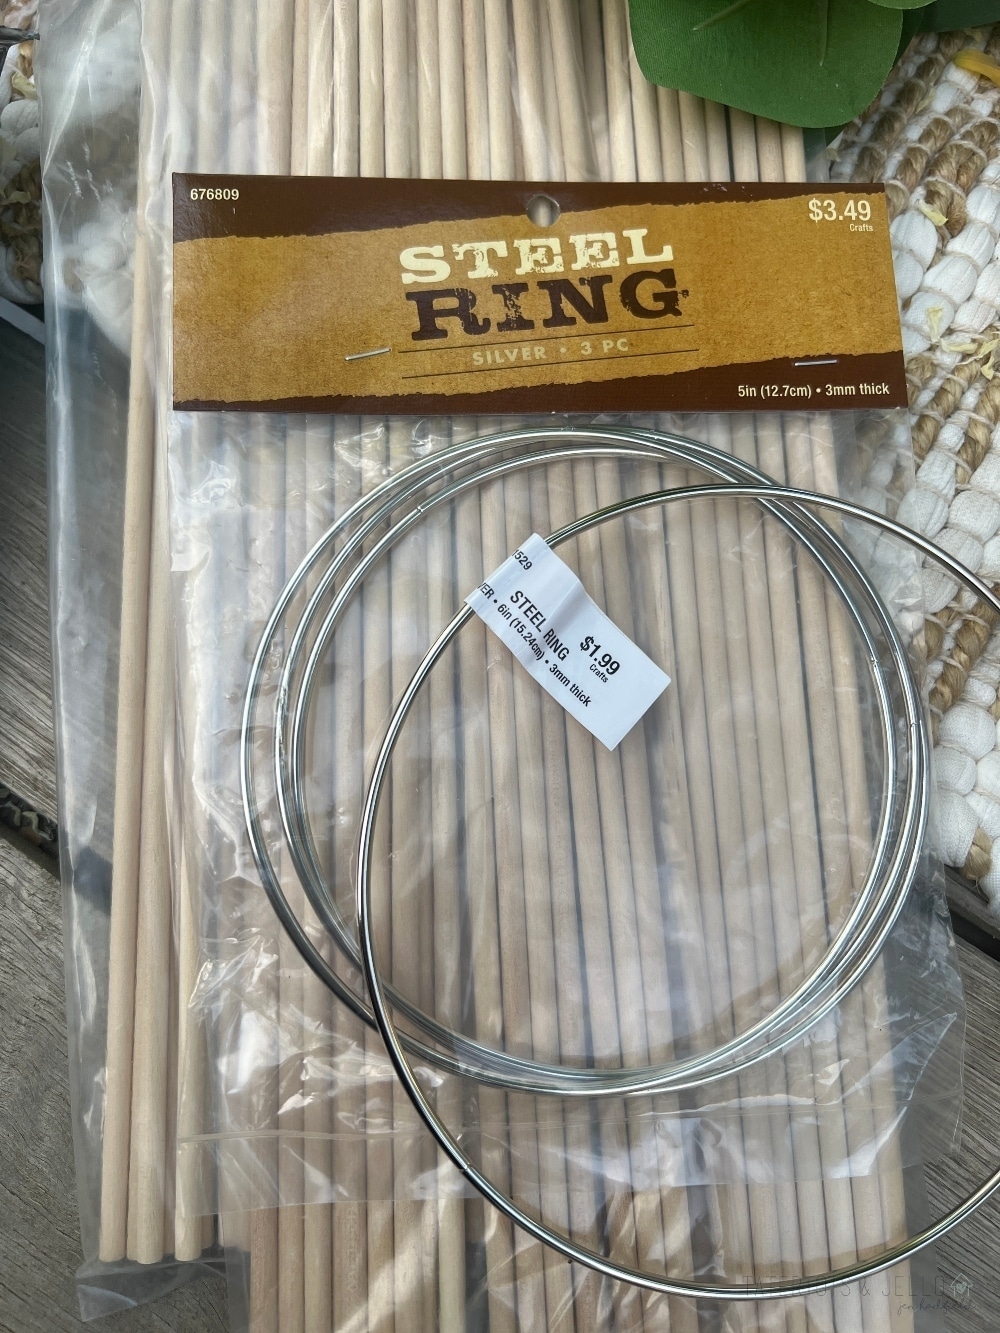
The to making these DIY Boho Lanterns is choosing a metal or wood ring that is the same circumference as the wood base. I found both rings and wood bases that are 5″ and 6″ to make two different sized lanterns. One lantern is larger using the 6″ ring and base, while the other two lanterns are a little bit smaller using the 5″ rings and wood bases. If you want to make other sized lanterns, but need rings the same size, another option would be heading over to Hobby Lobby’s sewing section and looking through the different sized embroidery hoops for the lantern tops.
Wood Bases for Boho Lanterns
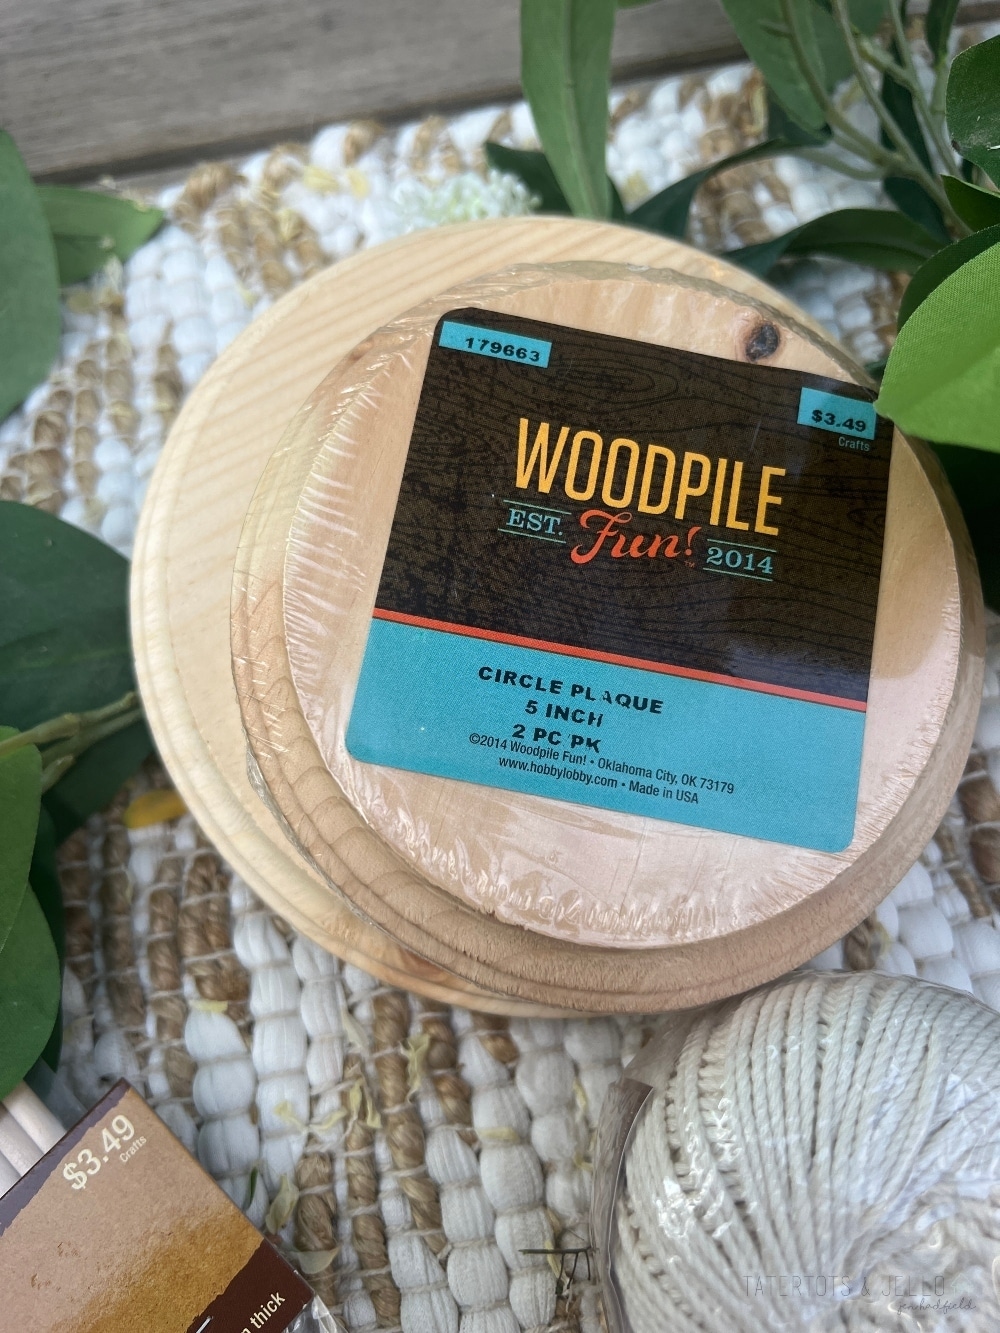
A thick wood base holds lantern together. There are a few different options for wood bases in the Wood Pile section. You can use either square or round bases. I found these round wood pieces. The larger 6″ base was sold separately and the slightly smaller 5″ bases are sold in a 2-pack.
Wood Dowels Enclose the Wood Lanterns
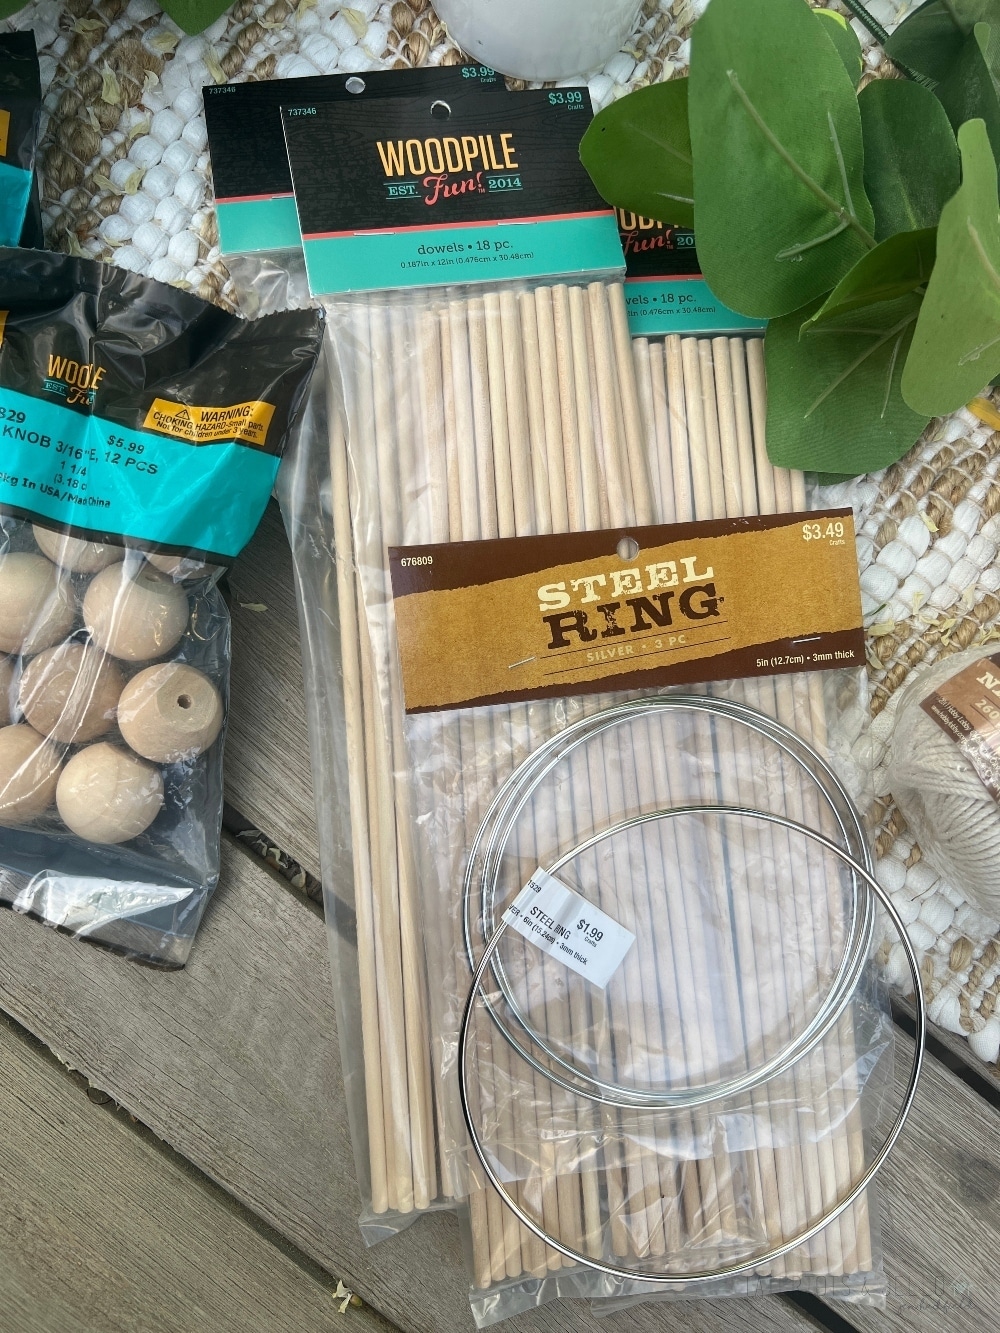
There are a few different sizes of dowels sold in the Wood Pile section. I used these 12″ long Wood Pile dowels that come in a package of 18. I used one package of dowels for each lantern. These dowels can be cut to a shorter length if you want to make a lower lantern. I used them at the 12″ height they came in to make this project as easy as possible. I used 12 dowels for the smaller lanterns and all 18 dowels for the larger 6″ wide lantern.
Macrame Twine Ties the Lanterns Together
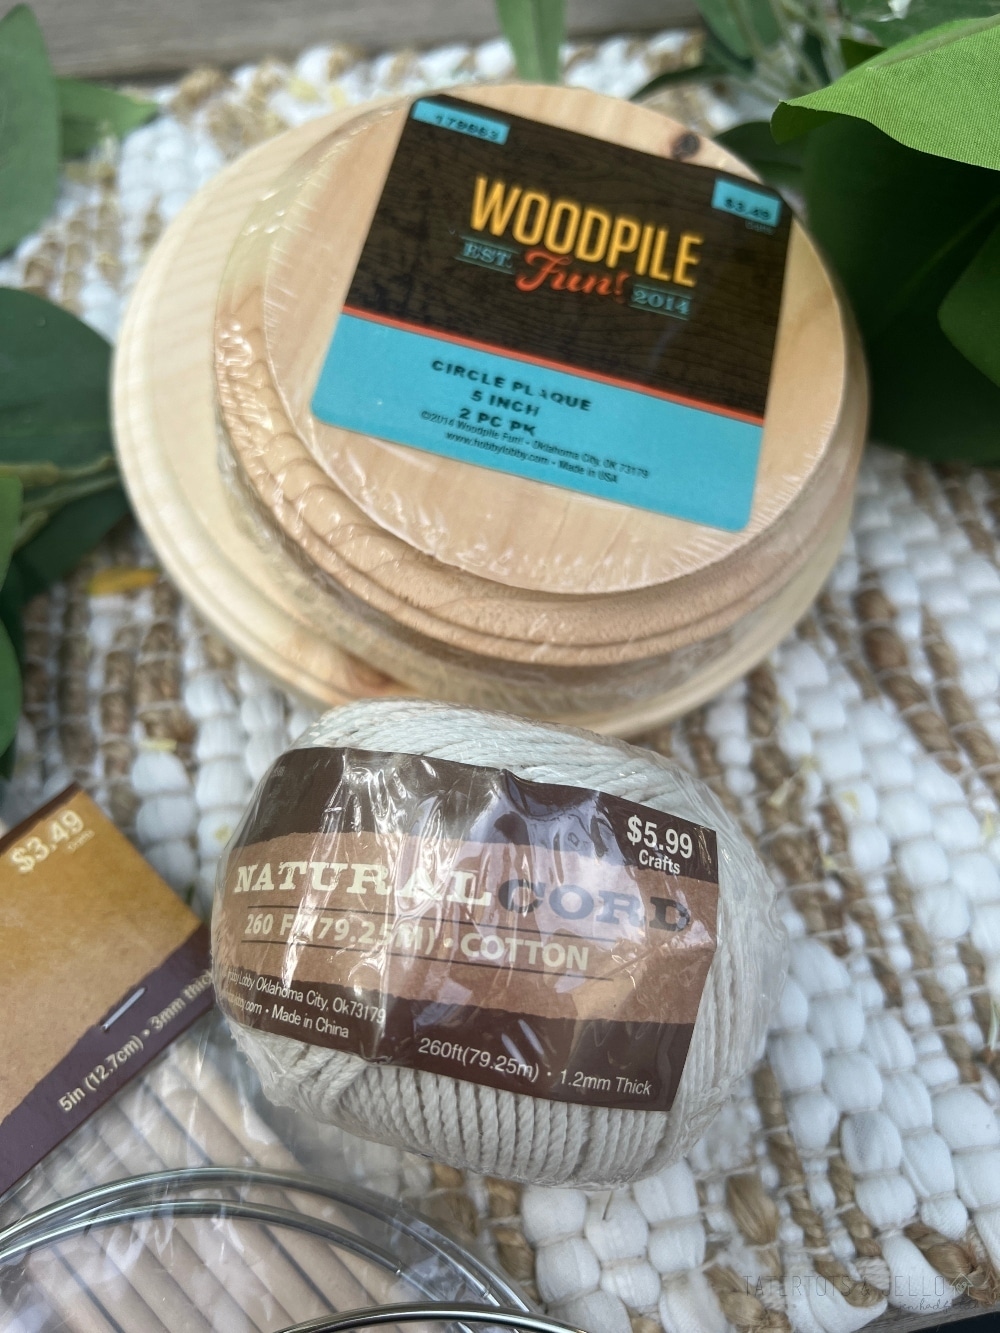
There are many different twines to choose from. I chose the XX macrame twine which is thin but constructed with tied fibers that make the twine very strong.
How to Make DIY Boho Lanterns
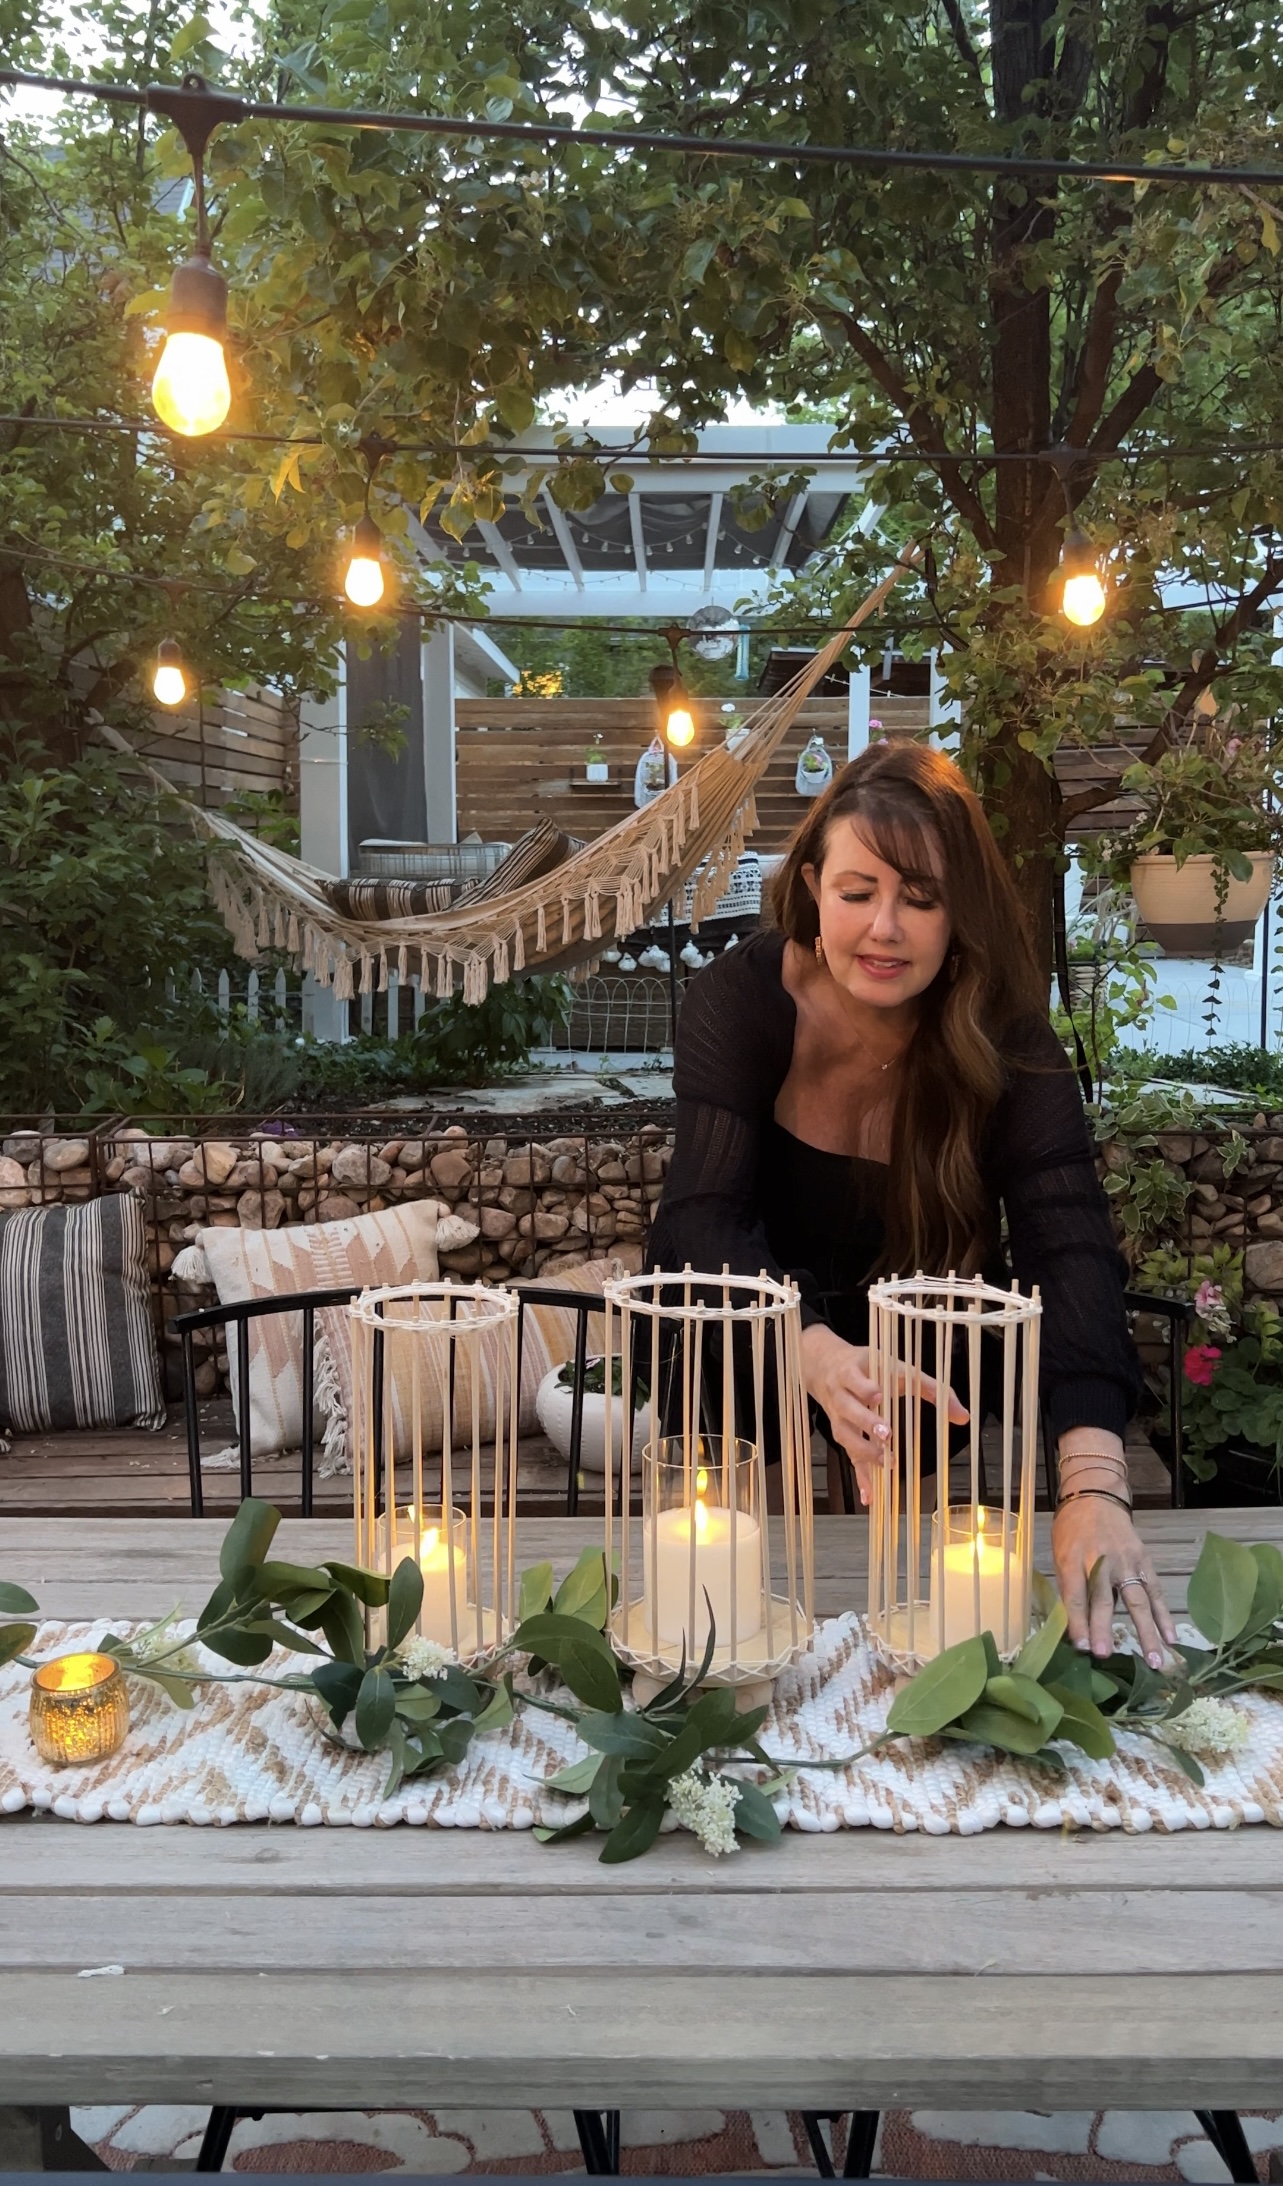
Here are the easy steps to make these pretty DIY Boho Lanterns. In minutes you can create lanterns for home.
Attach Dowels to Wood Base
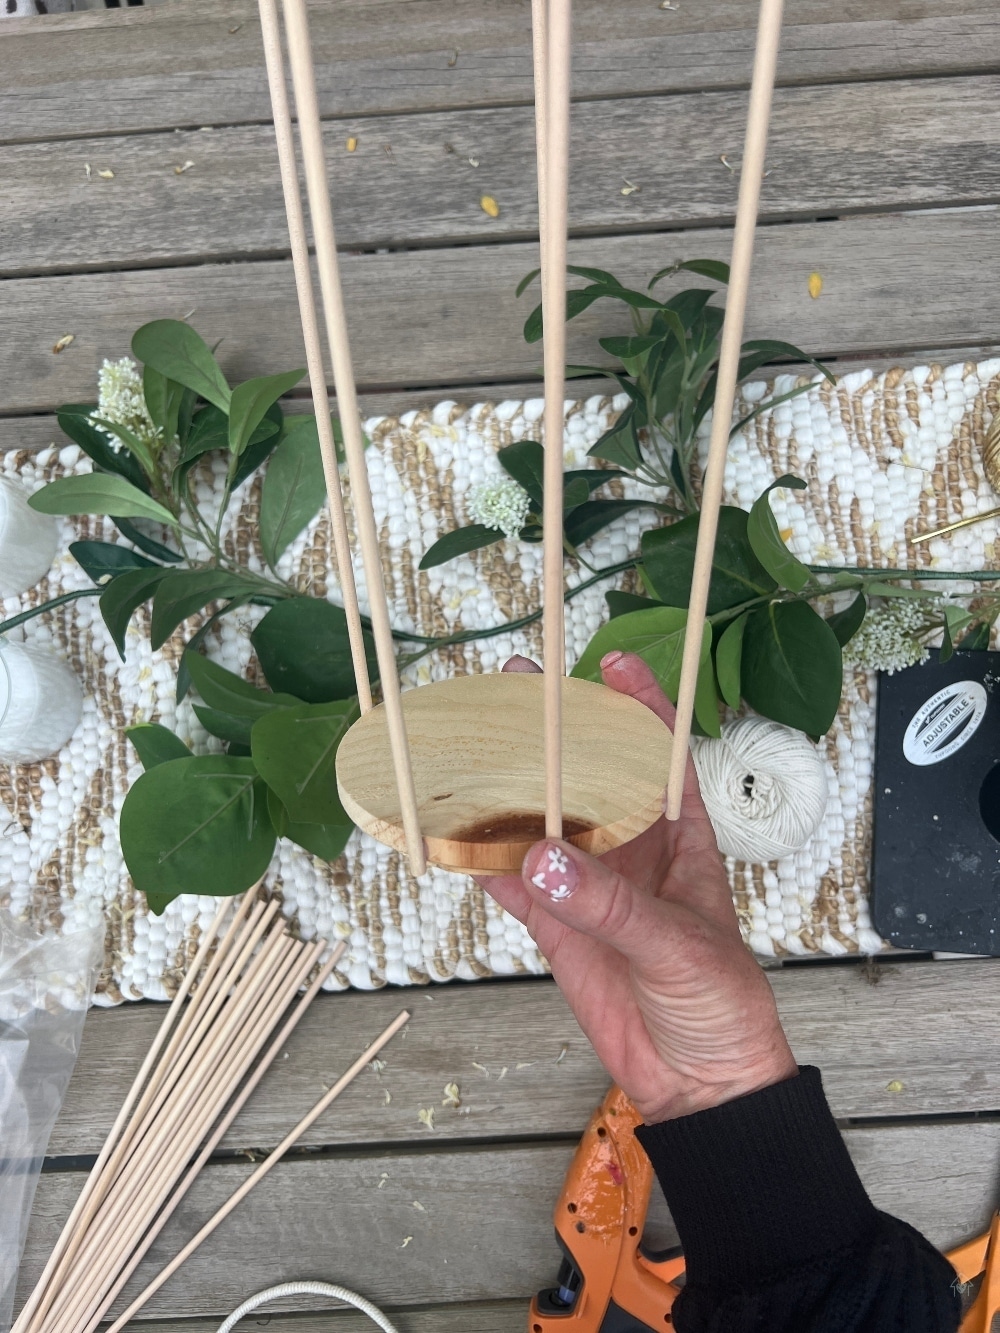
Flip the wood base so the biggest side is up. Then attach the wood dowels using hot glue. Start in the center of the base. Rotate the base 180-degrees, glue the next dowel to the opposite side. Then rotate the base 45-degrees and add another dowel to that side. Next, rotate the base 180-degrees and add a fourth dowel. Now you should have 4 dowels attached at all four points on the base. Continue adding dowels, filling in the spaces until you have used 16 dowels. If you are going to use the lantern outside, add some e6000 to the dowels as well as hot glue so the e6000 can hold the dowels more permanently for outside use. Place the base with dowels aside for a moment.
Wrap the Ring with Macrame Twine
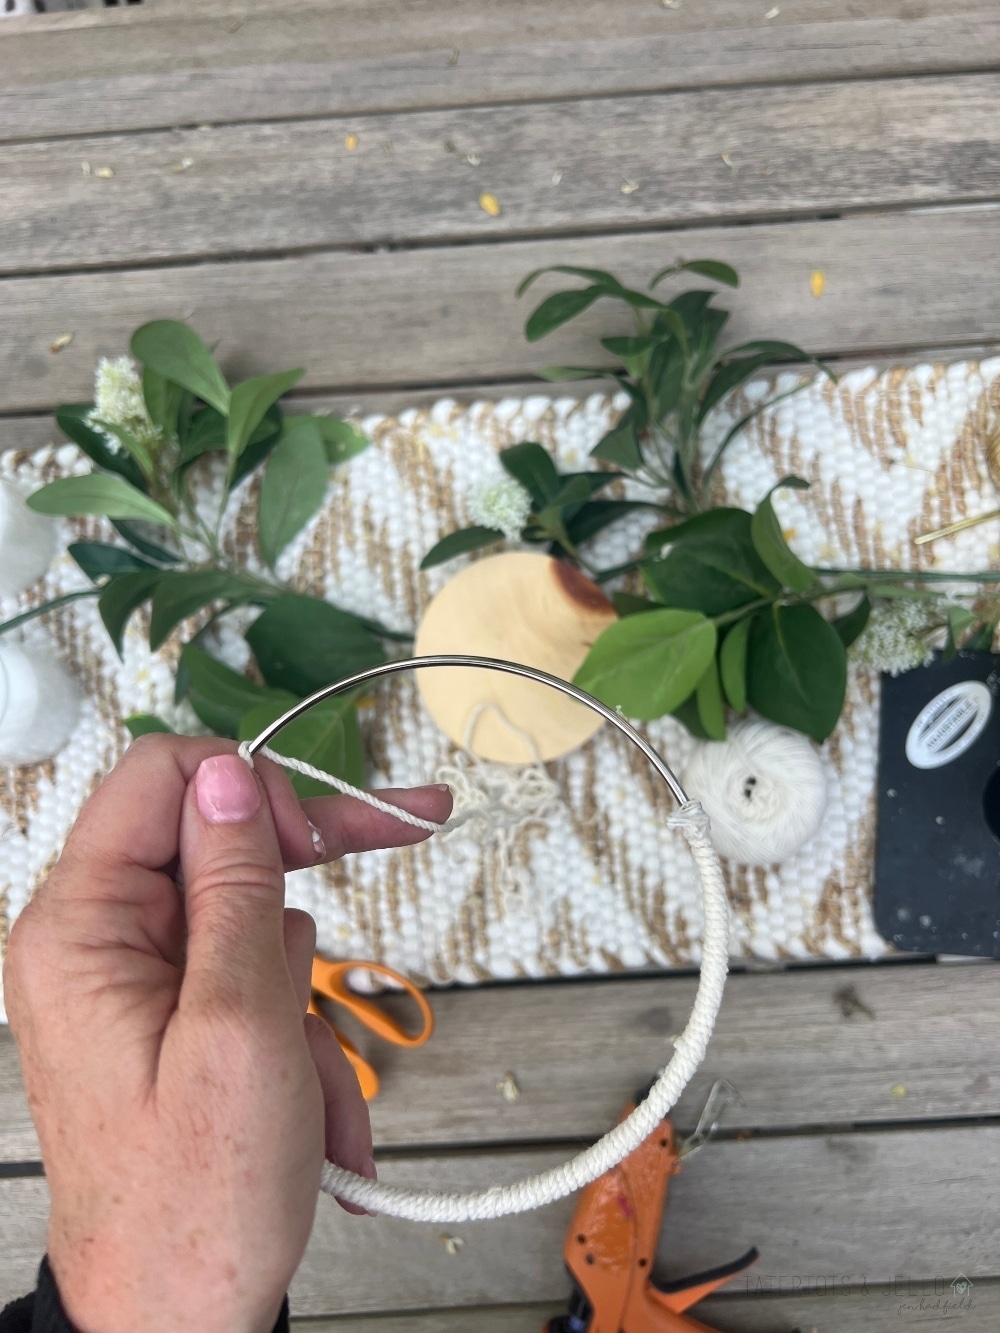
Wrap the macrame twine around the ring until it is completely covered. Use a dab of hot glue to attach the first part of the string. The rest tightly and when covered add another dab of hot glue to the end and cut the string.
Attach the Ring to the Lantern Top
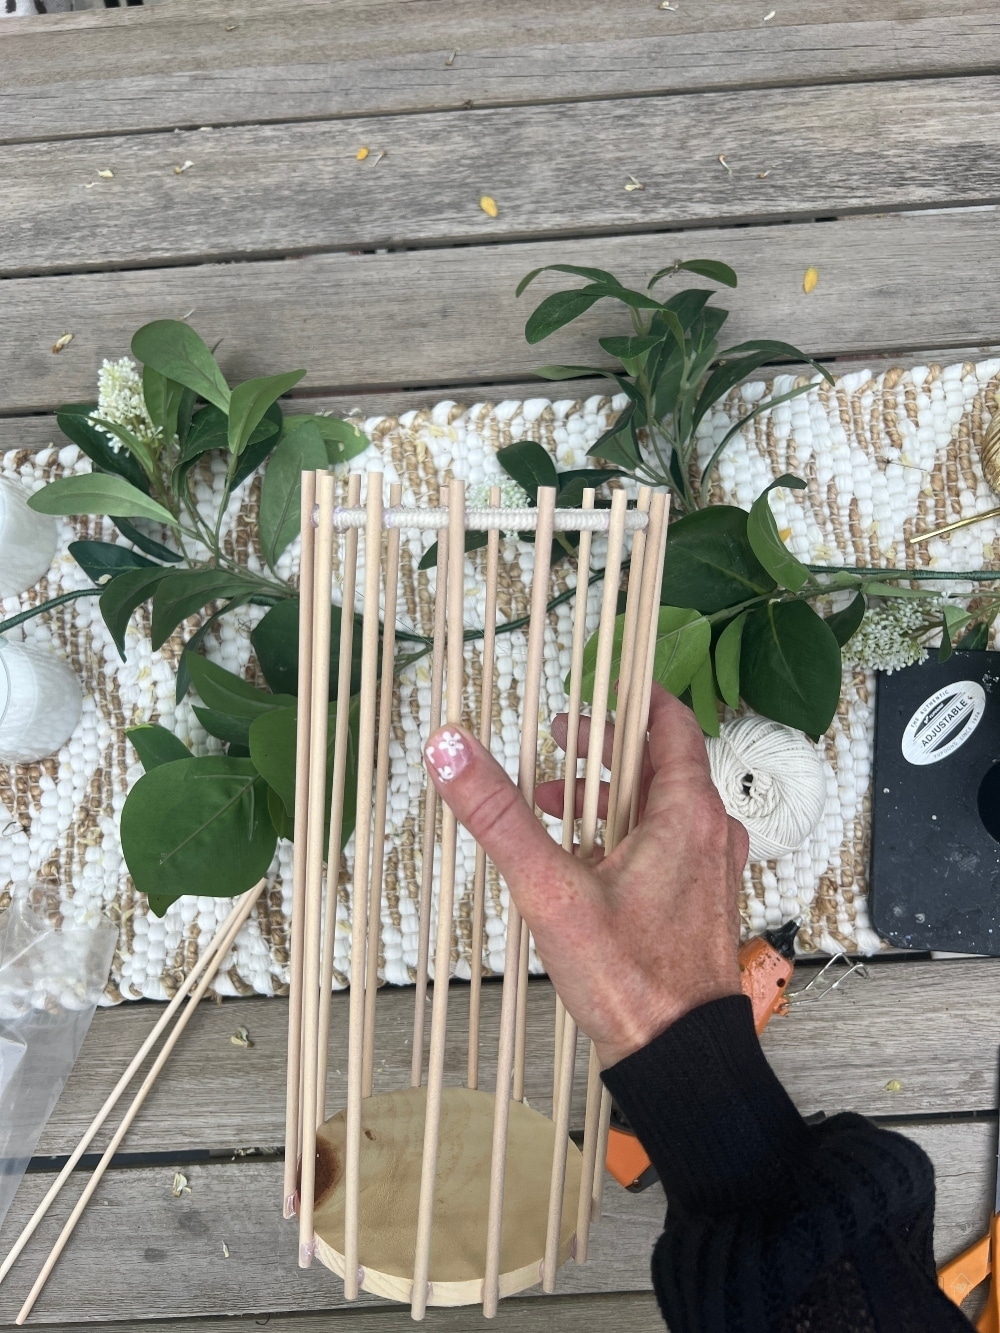
Lay the wood base with the dowels on it’s side. Lay the ring at the top of the dowels, leaving about 1 inch of dowel exposed above the ring. Use hot glue to attach two opposite dowels to the ring. This makes the lantern secure enough to stand upright. Once upright, continue attaching the dowels to the ring, making sure the dowels are straight and spaced out evenly. Use additional e6000 to also attach the dowels to the rings if you are using the lanterns outside in heat. Continue attaching the dowels until they are all attached.
Add Macrame String to the Base

Take the macrame string, tie a loop at the wood base around one dowel. Thread the string over and under the dowels until you reach the first dowel. Then loop the string around each of the dowels in the opposite formation so that it creates an “X” pattern as the string is looped. When you reach the first dowel and have created the “X” pattern, loop the string all the way around the dowel and continue looping the string completely around the dowels in opposite directions. One dowel you will loop to the right, the next willbe looped to the left in the same pattern. Do this twice. Then make another loop and cut the string. Add a dab of hot glue to secure the knot and tuck the end in so it is not noticeable.
Do the Same Thing at the Top
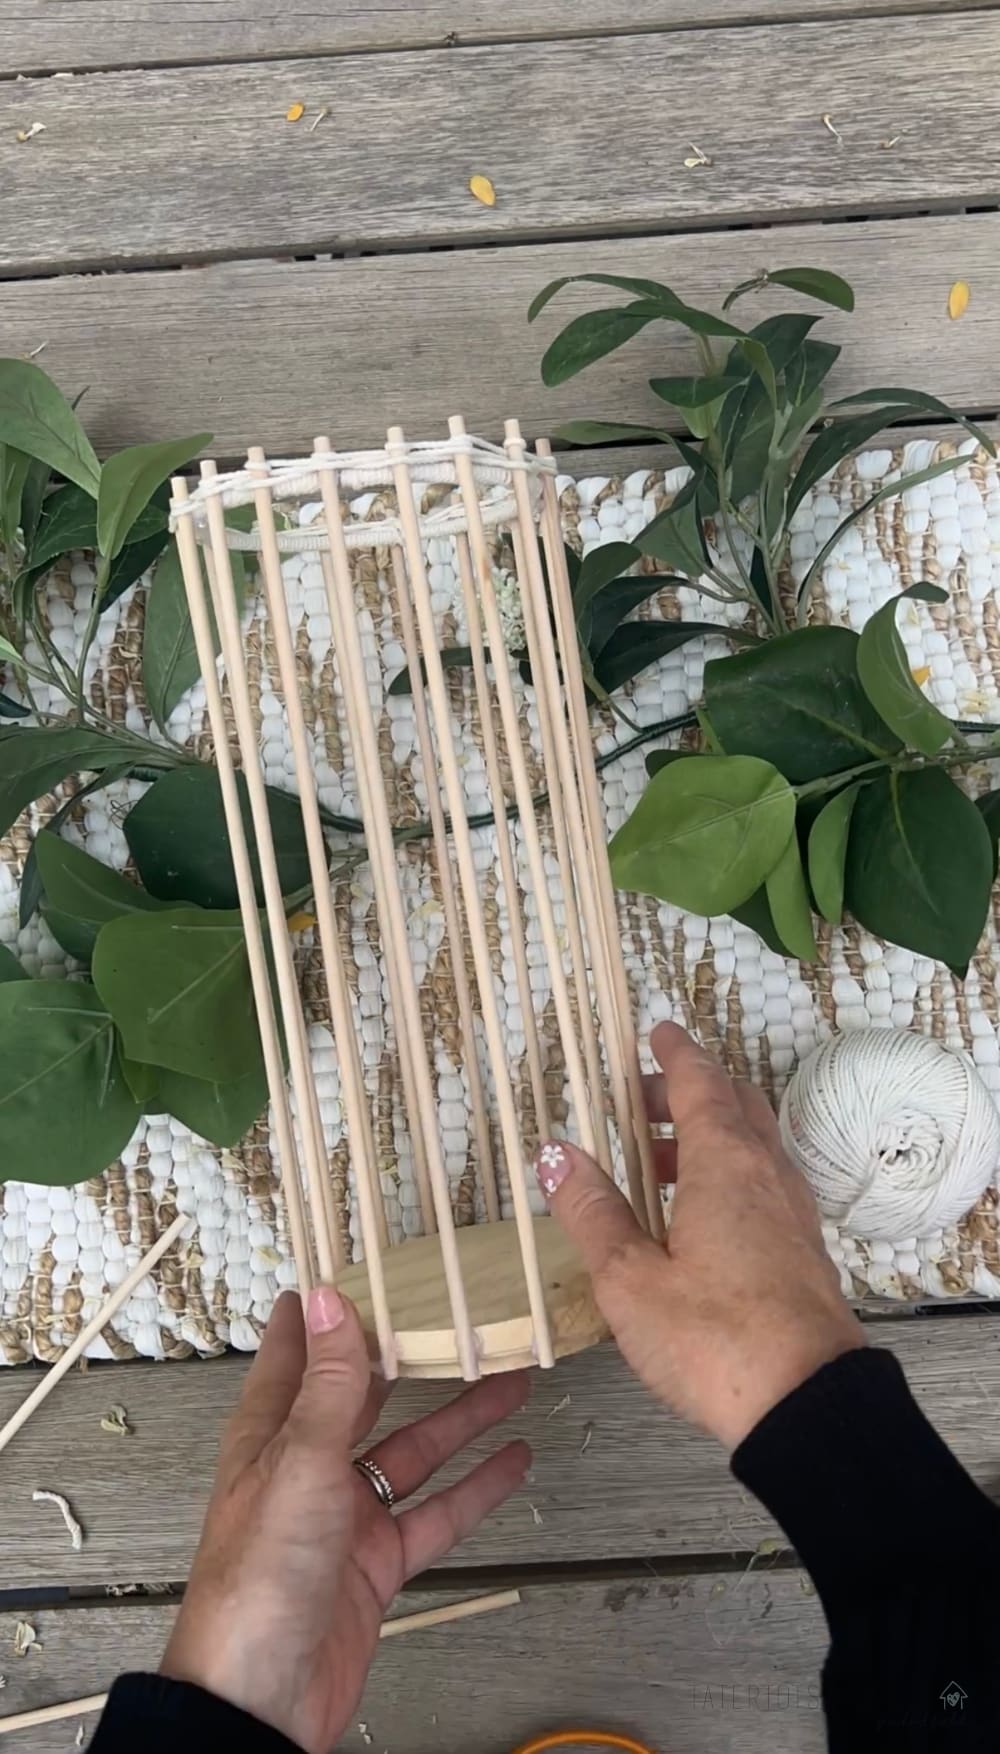
Repeat the same twine pattern at the top of the ring. Make sure to loop the string under and around the ring and in and out of the dowels. This attaches the ring securely at the top. You will see the same “X” pattern as you created at the bottom. Once the “X’ pattern is created on the top, loop the macrame string completely around each dowel as you did on the base and do this pattern twice as well. Secure the knot with glue and tuck the cut end under the knot to hide the knot as you did at the base.
Attach Feet to the Bottom of the Lantern Base
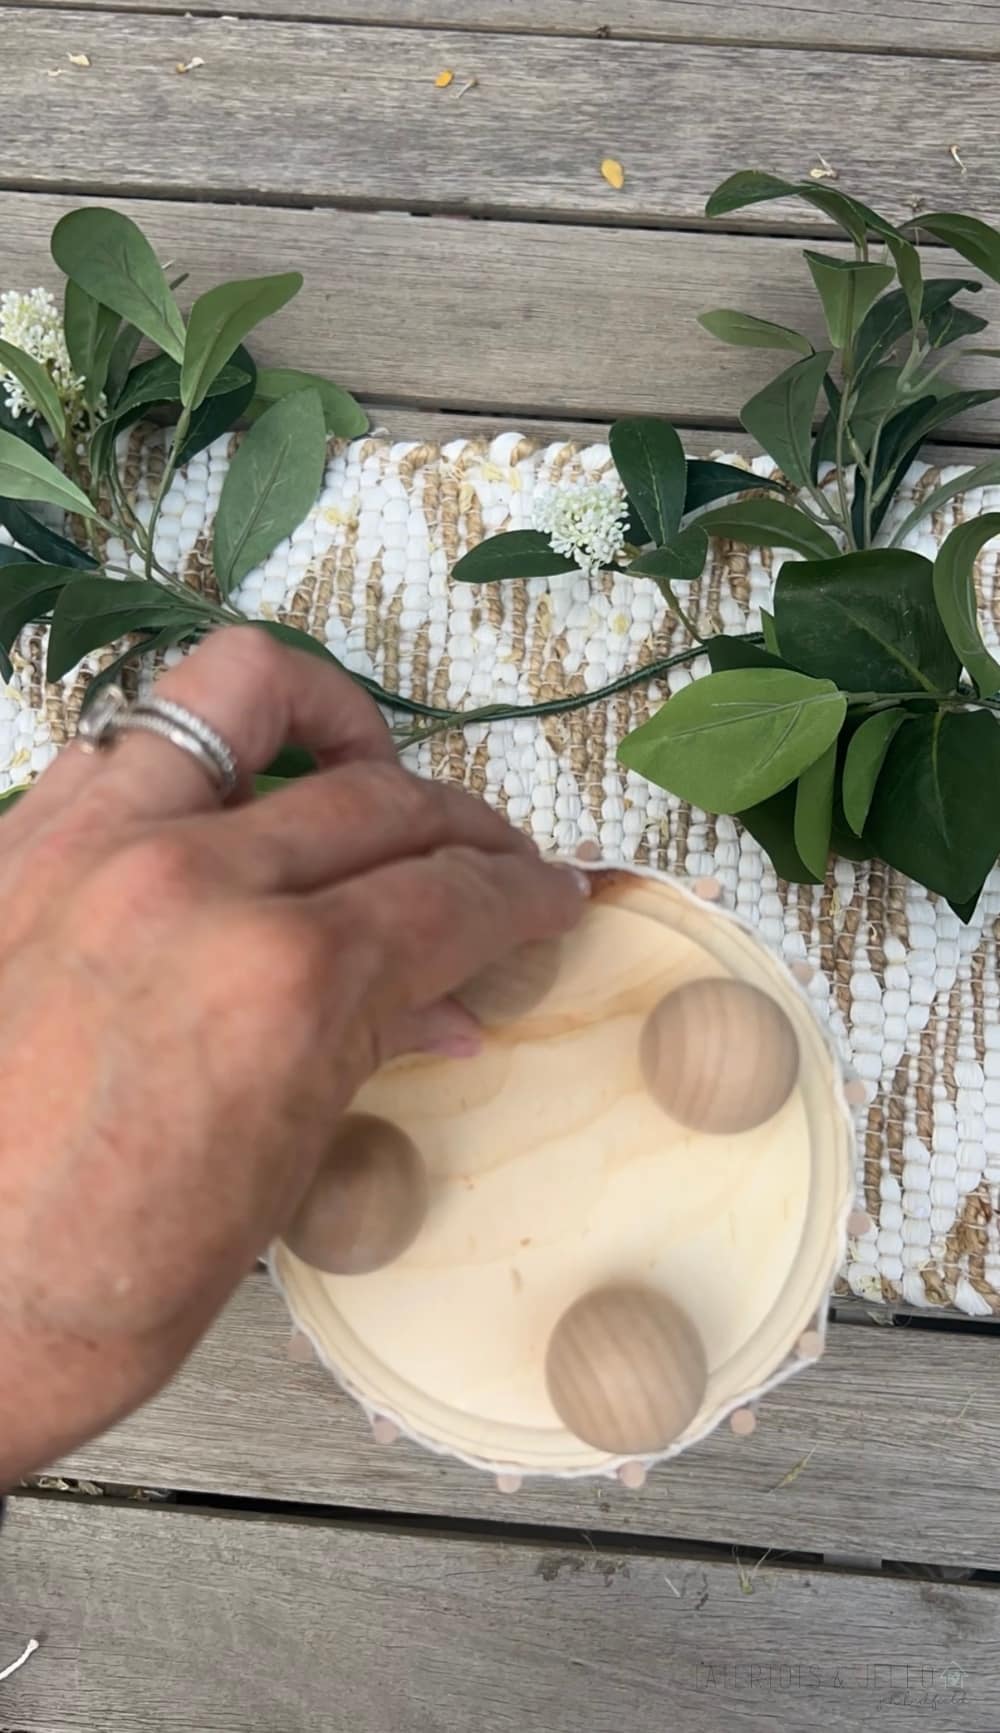
Now add 4 feet to the bottom of the wood base. Use hot glue and/or e6000.
Add The Glass Enclosed Candle to the Lantern
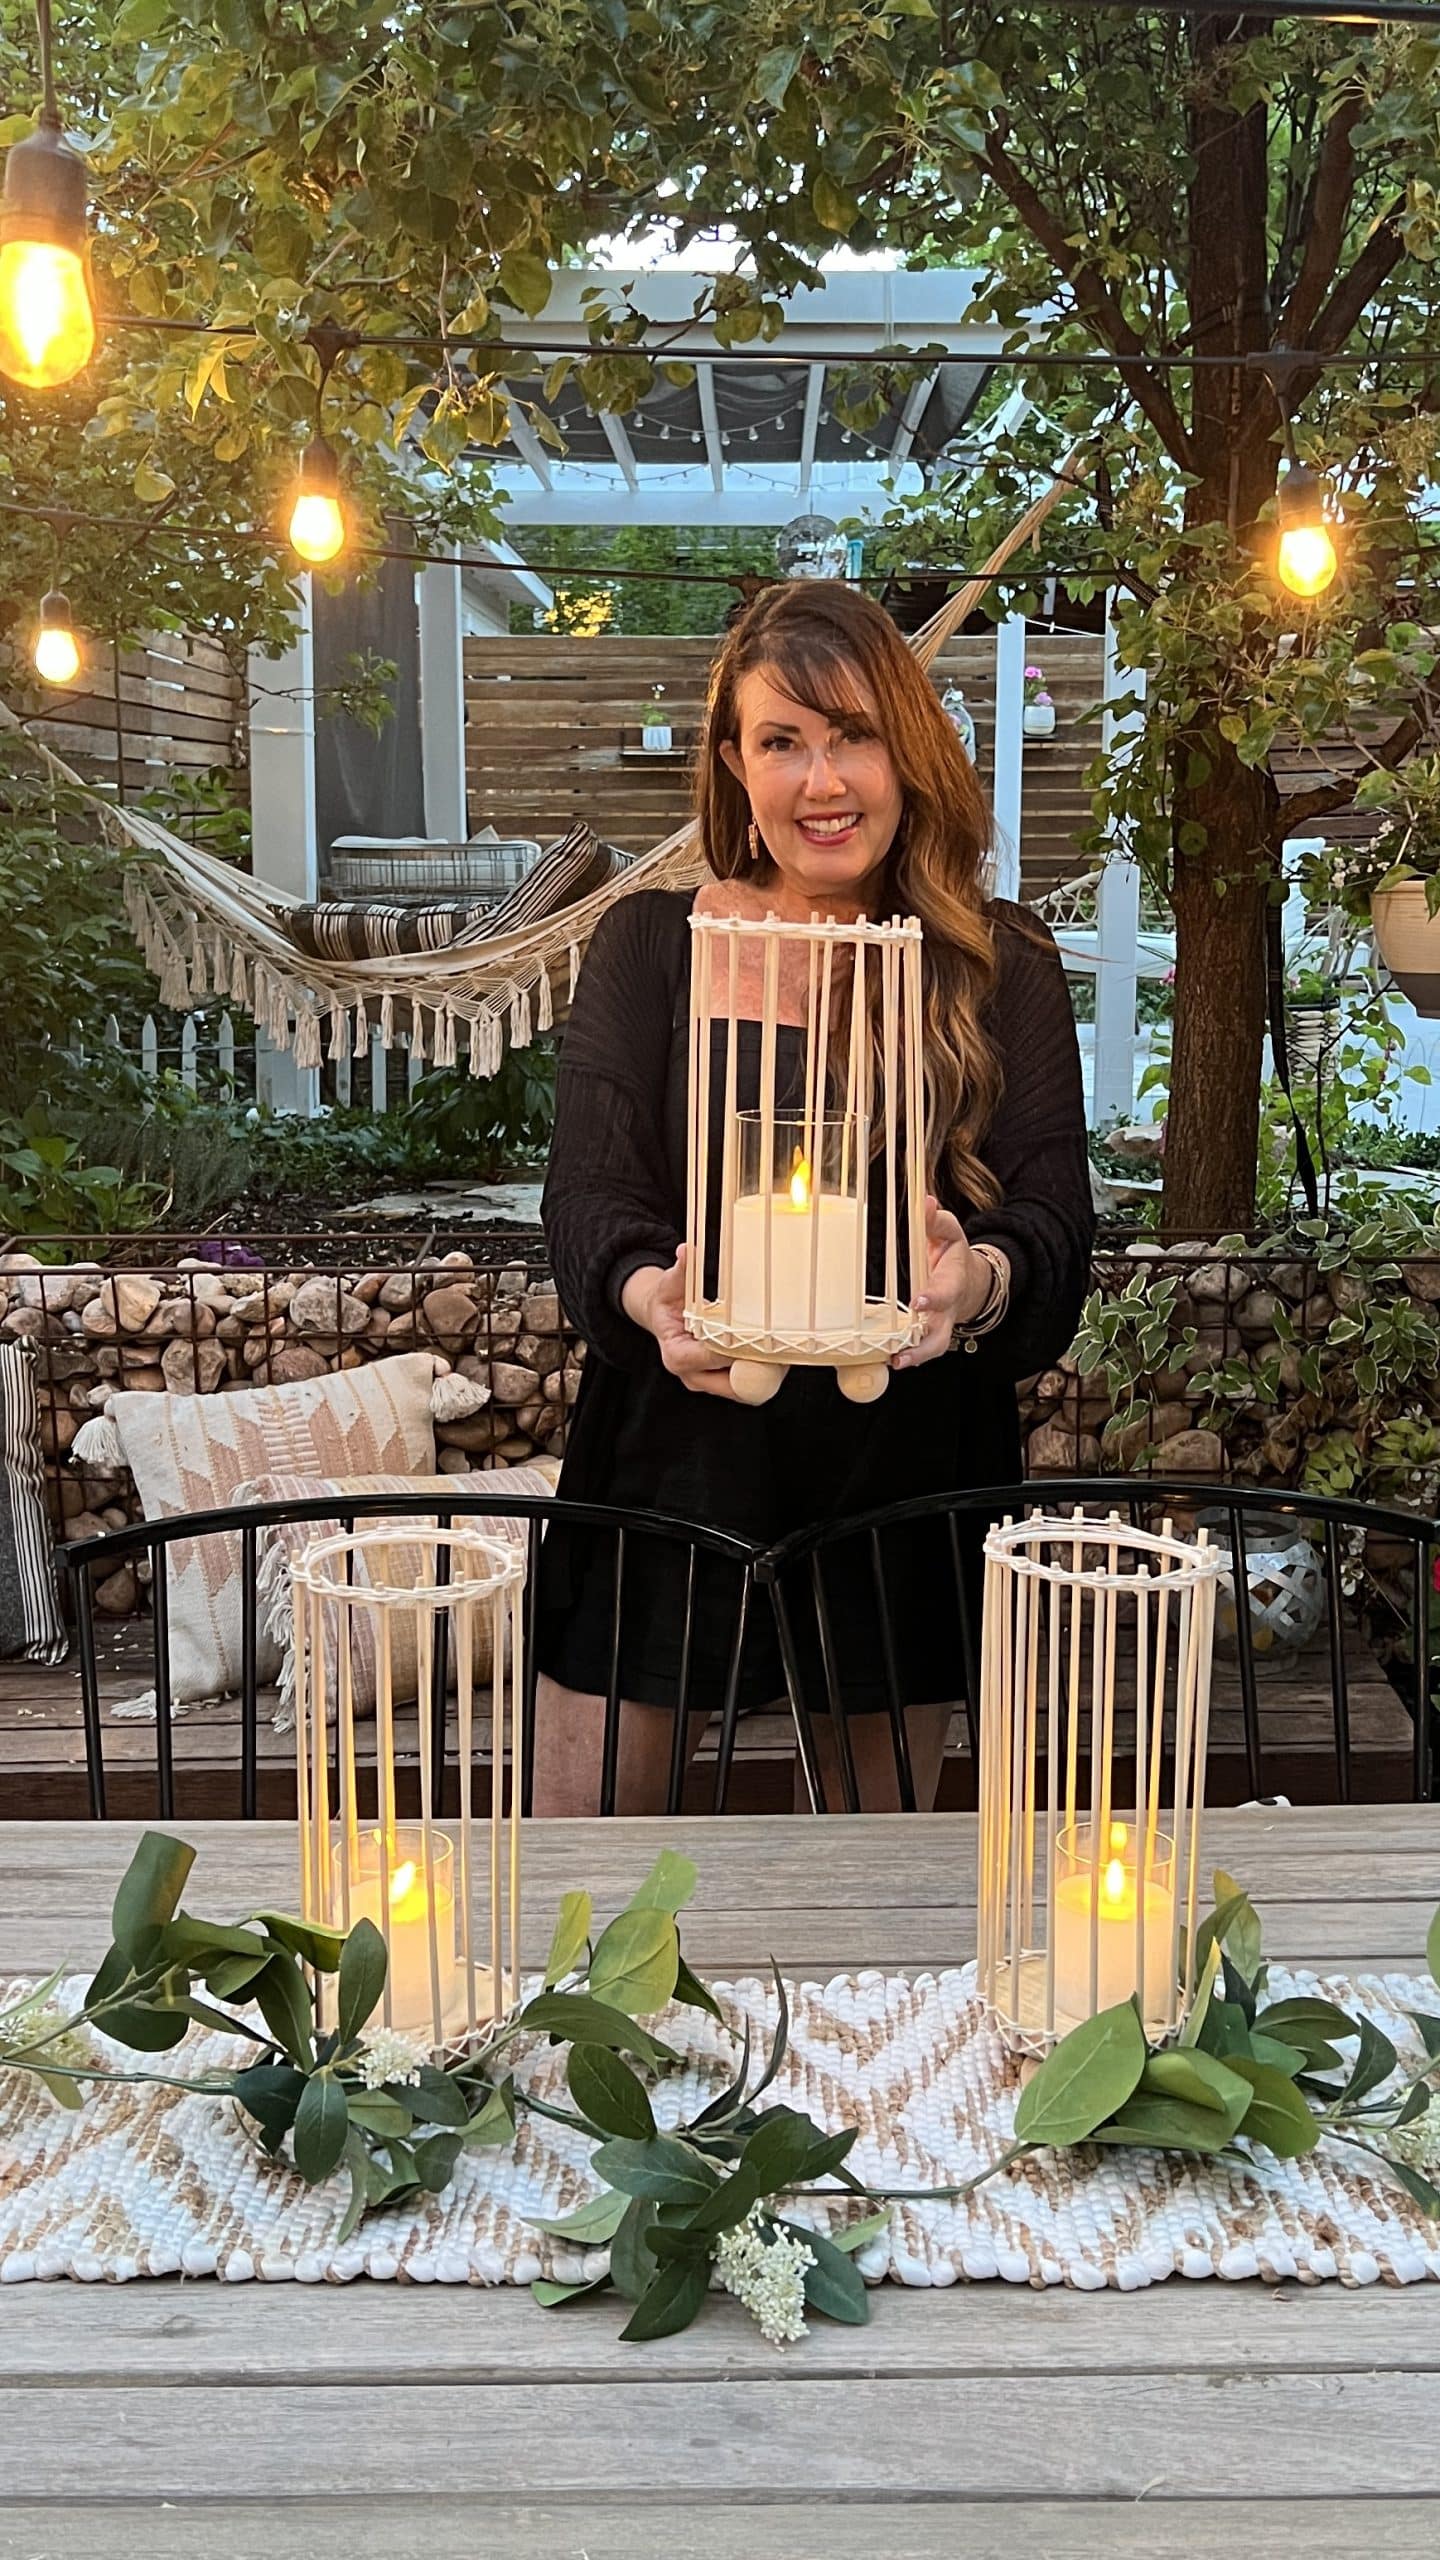
Now put the candle inside the lantern and enjoy your beautiful lantern!
Make a Summer Lantern Centerpiece
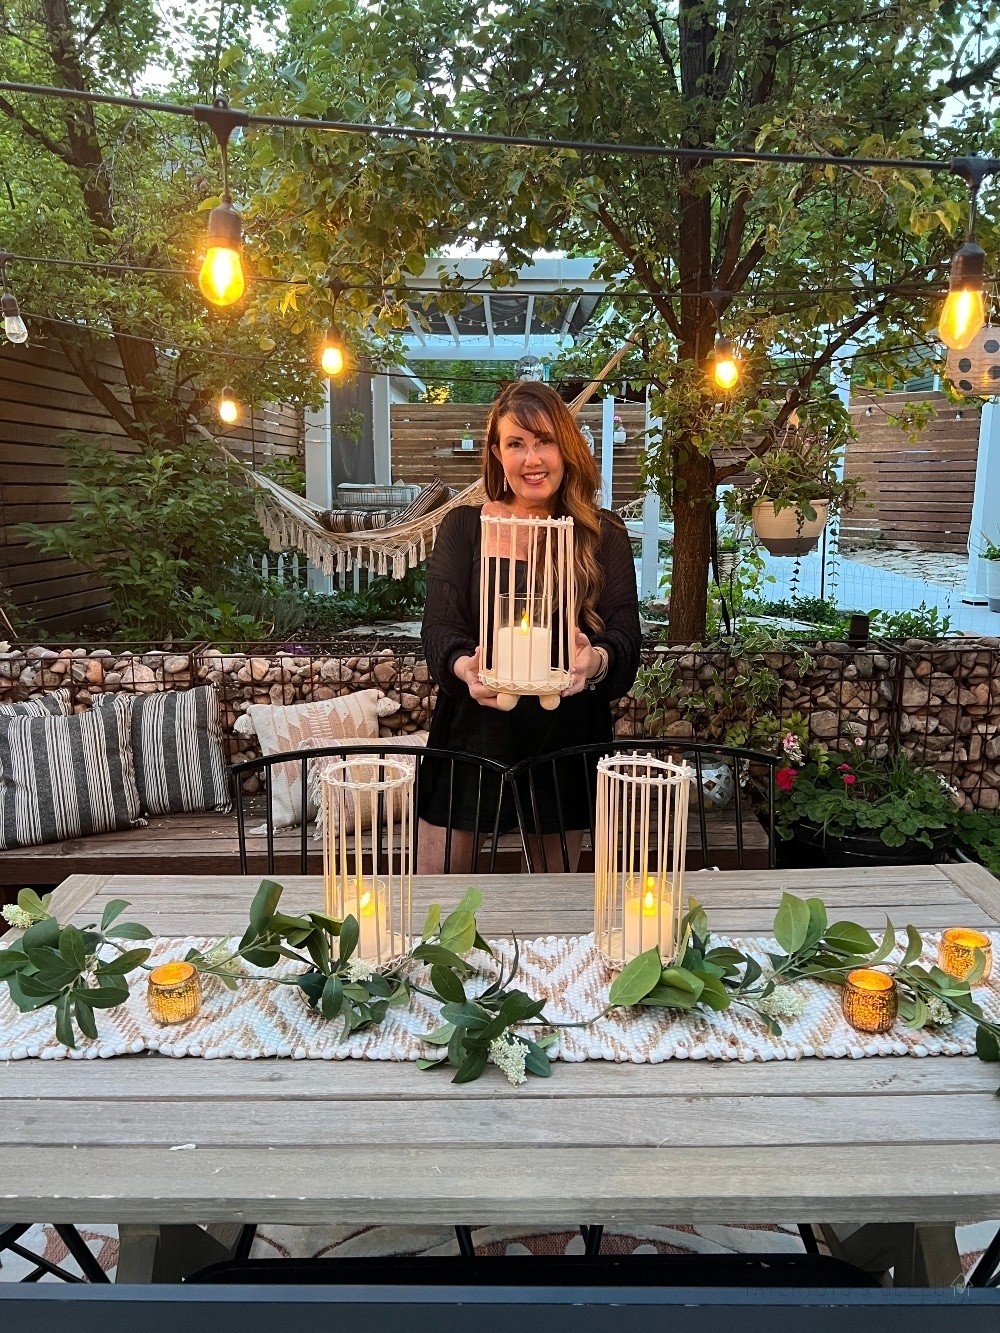
Three DIY Boho Wood Lanterns make a beautiful centerpiece for inside or outside. I put them on our patio table with a boho runner and leaf garland. They look so pretty glowing in the candlelight and make dining alfresco so beautiful! Note — I don’t leave these lanterns outside when we aren’t using them. I would recommend using them outside and bringing them in if they are exposed to extreme heat or rain. But if you have a covered porch they would be great outside. If you do plan to use them outside, be sure to reinforce the hot glue with e6000 and I would recommend covering the candles to protect them from the elements.
Follow Along on Social Media
I shared a video showing how to make these DIY Boho Wood Lanterns on my Instagram channel @tatertotsandjello if you want to see how I created them! Follow along with Hobby Lobby to be inspired on their social channels:
Have a Creative Day!
xoxo


