Burlap Valentine Heart
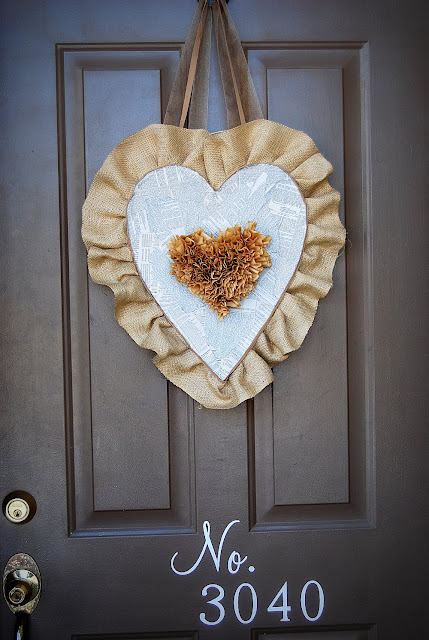
This is a really simple, inexpensive project.
Here’s what you need:
foam core board (available at craft stores)
newspaper
burlap (4 feet long– cut into 2 4-inch long sections — you will have burlap left over)
Brown coffee filters (about 15-20)
tan ribbon (60 inches)
brown organza ribbon (40 inches)
hot glue gun and glue sticks
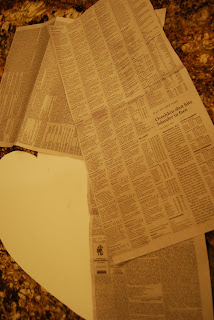
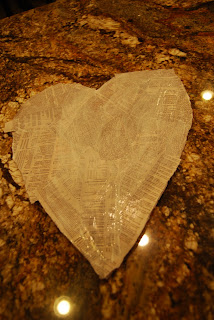
- The first thing to do is draw the heart on your foam core board. I used an old piece of foam core that I had used previously as a sign.
- Use an exacto knife to cut the heart out of the foam core. It does not need to be perfectly smooth.
- Take your newspaper and rip a couple pages into strips. I used the notice section of the newspaper that has smaller print.
- Lay the newspaper out over the heart to see where you want to place the strips.
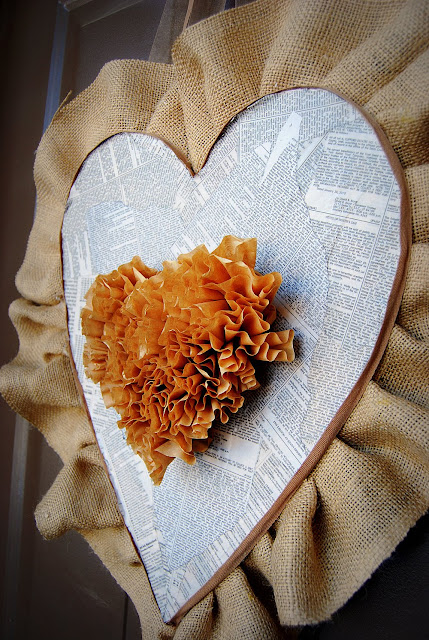
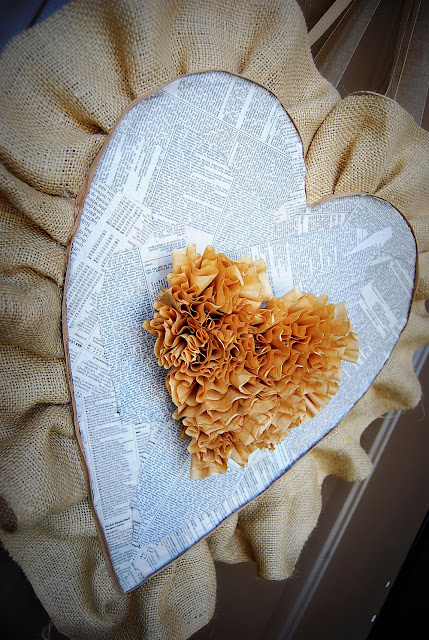
- Use Mod Podge to attach the newspaper to the foam core board. I applied a coat to the entire heart and then laid the pieces of newspaper on top of the mod podge. I did several layers for a more layered look. Don’t be afraid if the newspaper gets a little wrinkled, this adds character to the project.
- Once you have the newspaper applied to the heart, put another layer of Mod Podge over the top and let it dry.
- Then take the tan ribbon and measure around the edges of your heart. Cut the ribbon a little longer than what you think you will need. Use a hot glue gun to attach the ribbon to the edges of the foam board.
- Cut your burlap into 4 inch strips. Then attach the burlap to the back of the foam board heart. Start at the side of one of the curves of the heart. Apply a glue small strip of glue along the outside of the heart, lay the edge of the burlap on the glue and every 2 inches or so make a fold and glue it down so that the burlap border looks gathered. When you come to the end of the first piece of burlap, attach it to the second with your glue gun by making a seam, facing toward you and hide it in one of the folds.
- Turn the heart back over so the front is facing up. Take one of the brown coffee filers and scrunch it up from the middle, pulling the middle down and flattering it at the bottom so the top of the coffee filter looks like a flower. Apply the first coffee filter to the place where you want the point of your heart to be. Then apply the other coffee filter flowers to the board, placing a dot of glue on the board and pushing down on the base of the flower. Keep the coffee filters close together with no gaps. Make your heart as big as you like.
- When you are done making the coffee filter heart, apply the ribbon to the back of the foam core board.
- Place three dots of glue on each side of the top and put one edge of each of the three ribbons on the glue. The brown tan ribbon goes in the middle.
Thanks for coming by!!
XOXO







Burlap, mod podge, and coffee filters? I’m in!! Great project, Jen!
xo Heidi
Just dropping by to let you know that I linked to this post in a round up today from the Home & Garden channel at Craft Gossip. 🙂 You can see the feature here
http://homeandgarden.craftgossip.com/9-crafty-valentine-ideas/
If you would like a "featured by" button, you can grab one here!
http://homeandgarden.craftgossip.com/grab-a-craft-gossip-button/
We,in the Netherlands, donot have those round coffee filters, but i tried to make something else for Eastern.
Love,
Agnes
I loved this so much that I made two this weekend. They turned out great!! Thank you for filling the big gap that is valetines decor since the red/pink do not go with my white/tan/burlap home.
How cute is that?! Great tute, also! I have an addiction to burlap and coffee filters, so definitely want to try this! Thanks for the idea! xo
OH!! I love this! Thanks for the great tutorial too! 🙂
Jen i LOVE this!!! too cute
Thanks for linking up to my party too! I featured you in the wrap up! http://tidymom.net/2011/im-lovin-it-wra-up-1911/
Ohh! This is soooo cute!
Just wanted you to know that I made my own heart for Valentine's here:
http://planetoftheapels.blogspot.com/2010/02/happy-valentines-day.html
Then I made an Easter version with a cross here:
http://planetoftheapels.blogspot.com/2010/02/lent-and-craft.html
just lovely! Who would have thought that coffee filters could be so lovely 🙂
~ Emily N. from "too Blessed to Stress"
Oh so cute!!! Isn't it amazing what you can do with coffee filters – check out my banner from last fall – http://northerncottage.blogspot.com/2009/10/theres-nest-on-my-fireplace.html
aren't we frugal & creative!!
Oh my gosh! It's darling. We may all have to show up at your door and have a burlap intervention. Or maybe after you do a few more and inspire us a little more…
That is sooooo cute!! I may have to make one. I really love the mix of the burlap with the pages. Off to see how you made it.
Manuela
Oh my goodness! I just happened to stumble upon your blog and wow! I LOVE all your stuff. So creative and colorful and…amazing! Thanks for being so creative and sharing!
-tatiana
That is beyond fabulous. I'm burlap obsessed!
This is absolutely gorgeous! Simple and down to earth with beautiful use of texture. I just love it!
Sister – is there anything you CAN'T do? 🙂 Loved this! I might just make this this weekend!
Who knew burlap could be so cute. I think this would be darling at the newspaper office.
Have a great weekend!
OH.MY.GOODNESS! That wreath is darling! I will definitely head over today to see how you made this! 🙂 Have a beautiful Friday! 🙂
Very cute–and unique too!
Gorgeous as always! – Have an art-filled weekend.
I always wonder where you come up with such cool ideas. I'm on my way to check it out!
Sue
Very Pretty! Love seeing all the Valentine's projects!
CUTE! I wondered when you'd get the burlap goin' on your Valentine's projects.
I LOVE THIS sooo much that I might break my 'one last vday craft 2010' statement I made today lol
Jen, I absolutely LOVE this!! SO cute & so creative! You are so fabulous. ♥
OH MY! My mouth just drops when I look at your crafts! I am not a crafty girl, I feel like crafts in the past that have crossed my path are too "country" too "crafty"! WELL! That has all changed now! You have inspired me to craft it up with some modern class! LOVE it! Keep on crafting! I am actually making a burlap clipboard to hang in my daughters room! I can't wait to blog it!
Ooh so cute!
So cute!
Love it–
That is so cute–I am doing all black and white for Valentines Day
Came to get your button too.
Cheri
It's darling, Jen! I adore burlap, so this is right up my alley. Love it!
P.S. Can I e-mail you? I need some advice on how you handle companies that want to do giveaways. Thanks!
oh, I LOVE that!!! I just made burlap wreath #2…I'm wandering around the house looking for things to burlap now! hehe
That wreath is gorgeous! Love it!