You know I love a pretty wreath. But sometimes it’s fun to experiment and come up with something that you can still hang on a door or wall that’s a little different than a wreath. That’s what happened when I spied some galvanized ducting at the hardware store. I wondered if there was some way to bend it into a heart shape. I bought some and experimented with a Valentine heart!

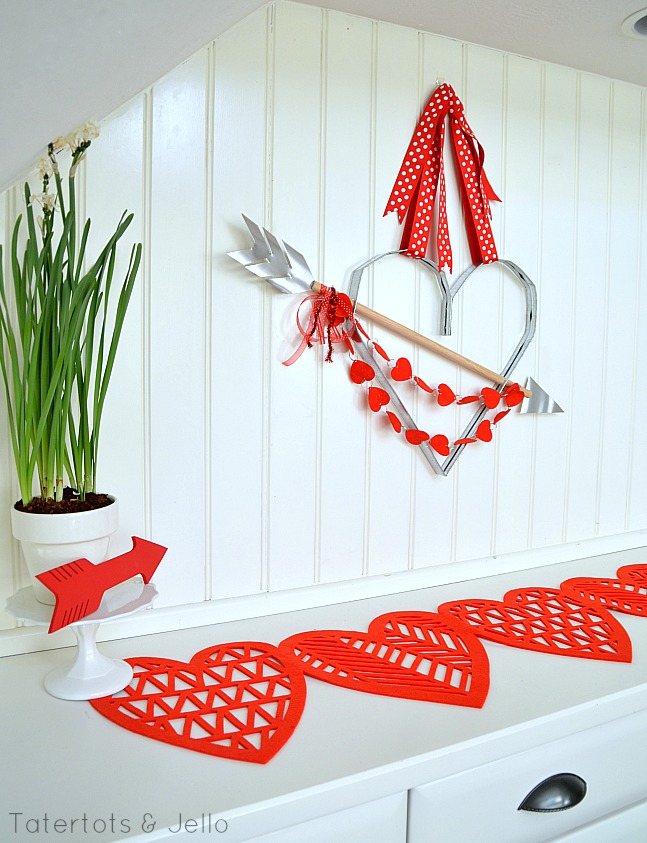
I am really happy with my kind of industrial Heart and Bow Valentine Wall Hanging. I think it’s fun and different 🙂
Here’s how to make it:
- 1 dowel rod (I suggest 1/2 inch, although you could use 5/8 or 3/4)
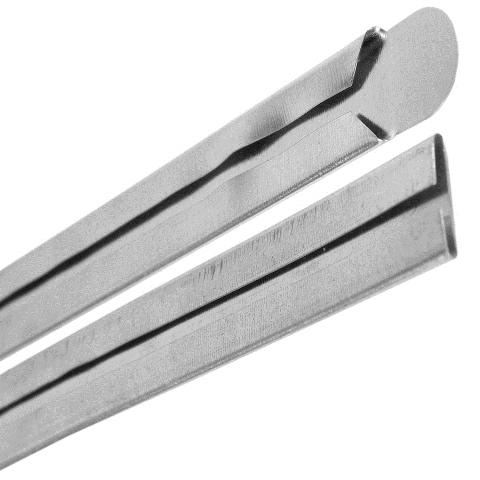
- 1 length of Galvanized ducting (it’s the flat aluminum thing with the sides folded over, like this one at Lowe’s). Mine was about 60 inches long.
- Small scrap pieces of galvanized metal (I always have some left over from past projects like the Lighted Marquee Heart – like this roll of galvanized steel flashing.)
- Festive decor items like my heart garland
- Misc. tools and supplies like glue, tin snips, gloves, hacksaw, drill, etc.
- Large round can, cookie jar, or the like
- Ribbon or other way to hang the heart
- Bonus: if you have a rivet tool, it will make one step a bit easier. You probably don’t unless you’ve had to do a lot of duct work.
Here’s what to do:
Put your gloves on. Galvanized metal can cut your hands.
Shaping the heart is the hardest part, so let’s do it first. I chose the galvanized duct join because it’s folded over on itself (like a flattened paper clip), which adds enough strength for the heart to stay in the proper shape. If we had used regular galvanized aluminum it wouldn’t have enough strength to stay in place. (I envy those with a supply of barrel straps and the equipment to shape them properly!)
First, fold the heart in half to create the 90-degree bend at the bottom of the heart. You don’t have to fold it past 90 degrees. Next, you’ll start the bend in the heart about halfway up each side – I left 14 inches of straight before I started bending the curves. And this is where it gets a bit frustrating — again, because the metal is folded on itself, it does not want to bend into a smooth curve. Just do your best. Find a can, pot, or other round object you can bend the metal around and make the best curve you can. Leave about 2 to 3 inches in the middle to connect each side of the heart together.
Once you’re done cursing the bending process, you can join the two halves of the heart with a strong glue or with rivets — we happened to have a rivet gun from duct work at the 1905 cottage, so we used a couple of rivets.
Adding the arrow shaft is the next step. Lay the dowel rod on the top of your newly shaped heart and position it where you like. Mark the spots where you want it to go through the heart. You can use a metal punch (or an awl) and tin snips to make the hole. In my case, I just used a big drill bit and pushed hard. Ideally you want a hole that’s just the same size as the dowel.

Before you insert the dowel, trim it to size. Again, lay the dowel rod on top of your heart and estimate how long you want it to be on each side. Using whatever saw is handy — a hacksaw, a miter saw — cut the dowel to size. I then used a hacksaw to make a small (1/4-inch deep) groove in each end of the dowel. Make sure your grooves are at the same angle so your arrowhead and feathers will be flat.
Insert the dowel. If it slides around in the heart, use a dab of glue – hot glue will do — to hold it in place on both sides.
Cut the arrowhead and the feathers. You still have your gloves on, don’t you? This is where you can be artistic.
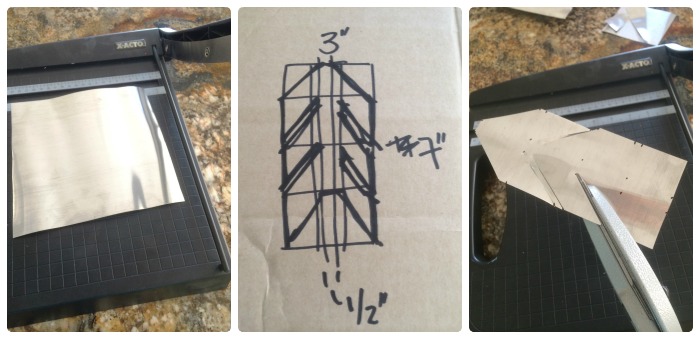
As you can see on the left above, I used a paper cutter to trim the arrowhead to about the right size — it’s just a triangle. I made a little sketch of what I thought the feathers should look like, then did my best to cut that shape using tin snips (center and right, above).

Attach the arrowhead and feathers and hold in place with a dab of glue each.
![]()
Add your embellishments and the hanging ribbon – and you’re done!


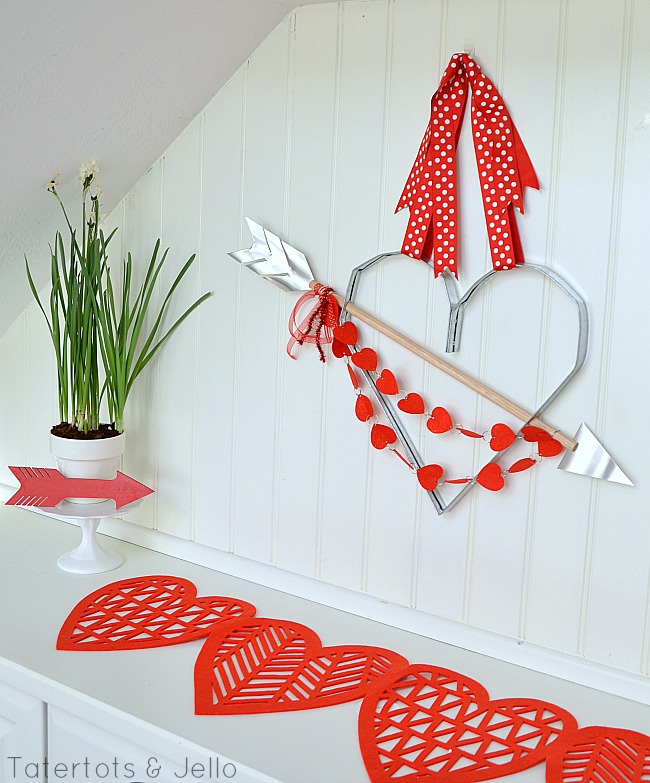
And I love the way it looks along with my Red and White Mantel:
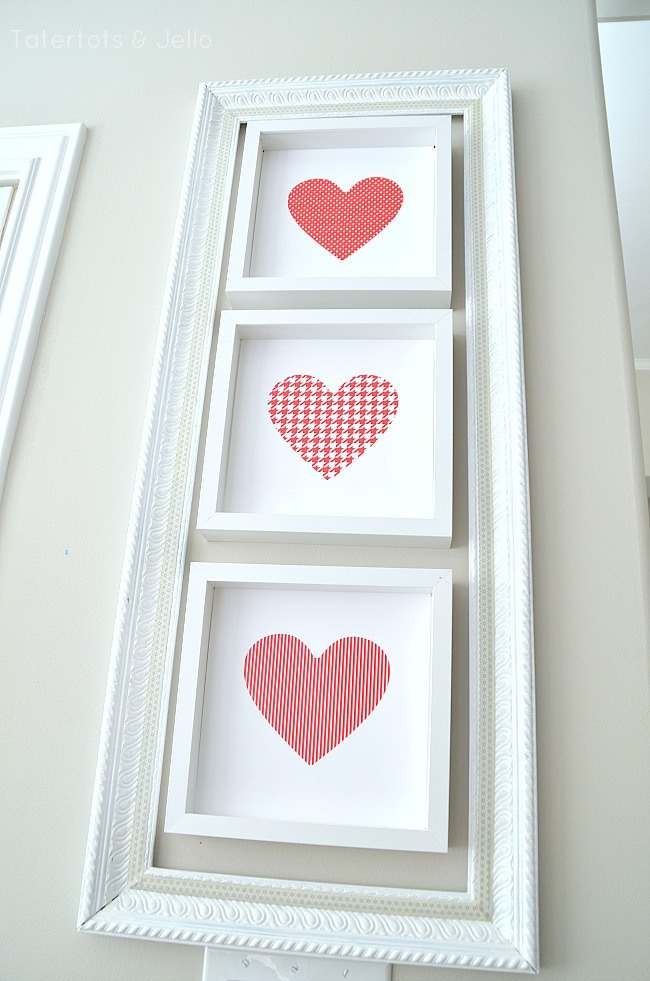
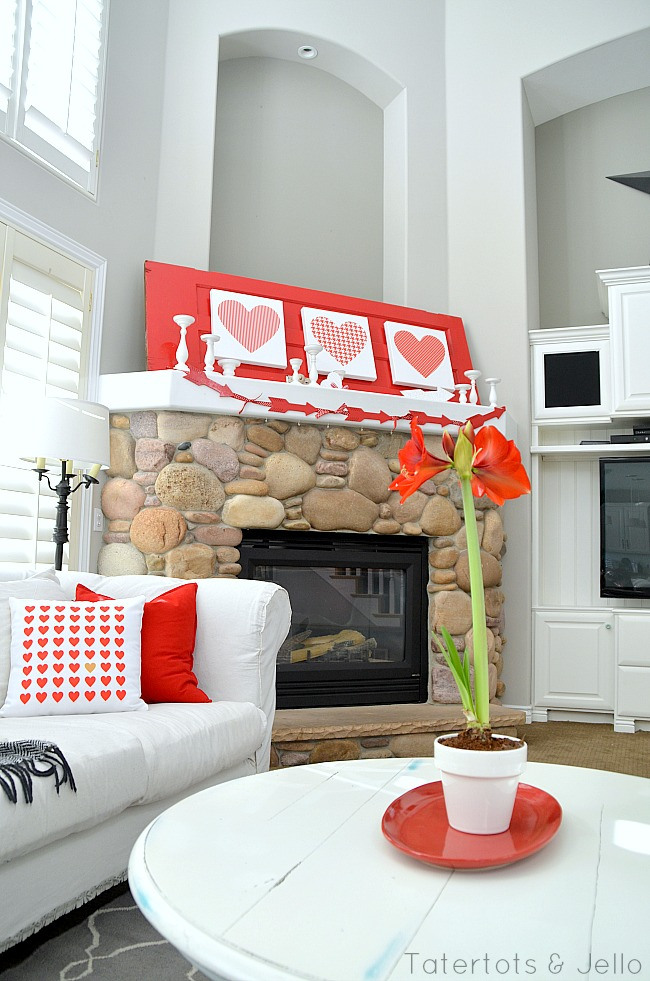 And be sure to grab these free Red and White Heart Printables too!!
 Do you decorate for Valentine’s Day??
Share YOUR ideas in the comments.
I would love to come over and see what YOU have made!
Have a Beautiful day!!
xoxo


hi jenn
thanks for sharing this neat craft will have to check it out. Following from link party I’m lorraine at http://lorrainesresources.blogspot.com
This is just adorable!!!
Hi Jen! I love this project so much, I’d like to share it on my ‘weekly wonders’ post tomorrow morning. Let me know if that’s a problem, otherwise, I hope you’ll stop by to read the post! ~Lisa
This is such a great idea of Valentines heart.
I love this!! Pinning now! And thanks for the inspiration! ~Lisa
Thanks Lisa!
xoxoxo
Your entire Valentine set up is beautiful! I just found and started following you on bloglovin’, so HAPPY that I did!
S
Hi Sarah!!!
Yay! Thanks for following me!
xoxo
I love the red heart runner under your heart! Is there instructions to make this? Love your ideas! Thanks!
Hi Janet!!
The runner is from Target!
xoxo
SUPER fun and different. And adorable!!
Thanks Mique!!! I think it’s kind if fun and different 🙂
xoxox