How to make 10-minute pillow covers. Pillow Covers are an EASY and inexpensive way to change your room up for different seasons and holidays!
Pillow Covers are Easy to Make
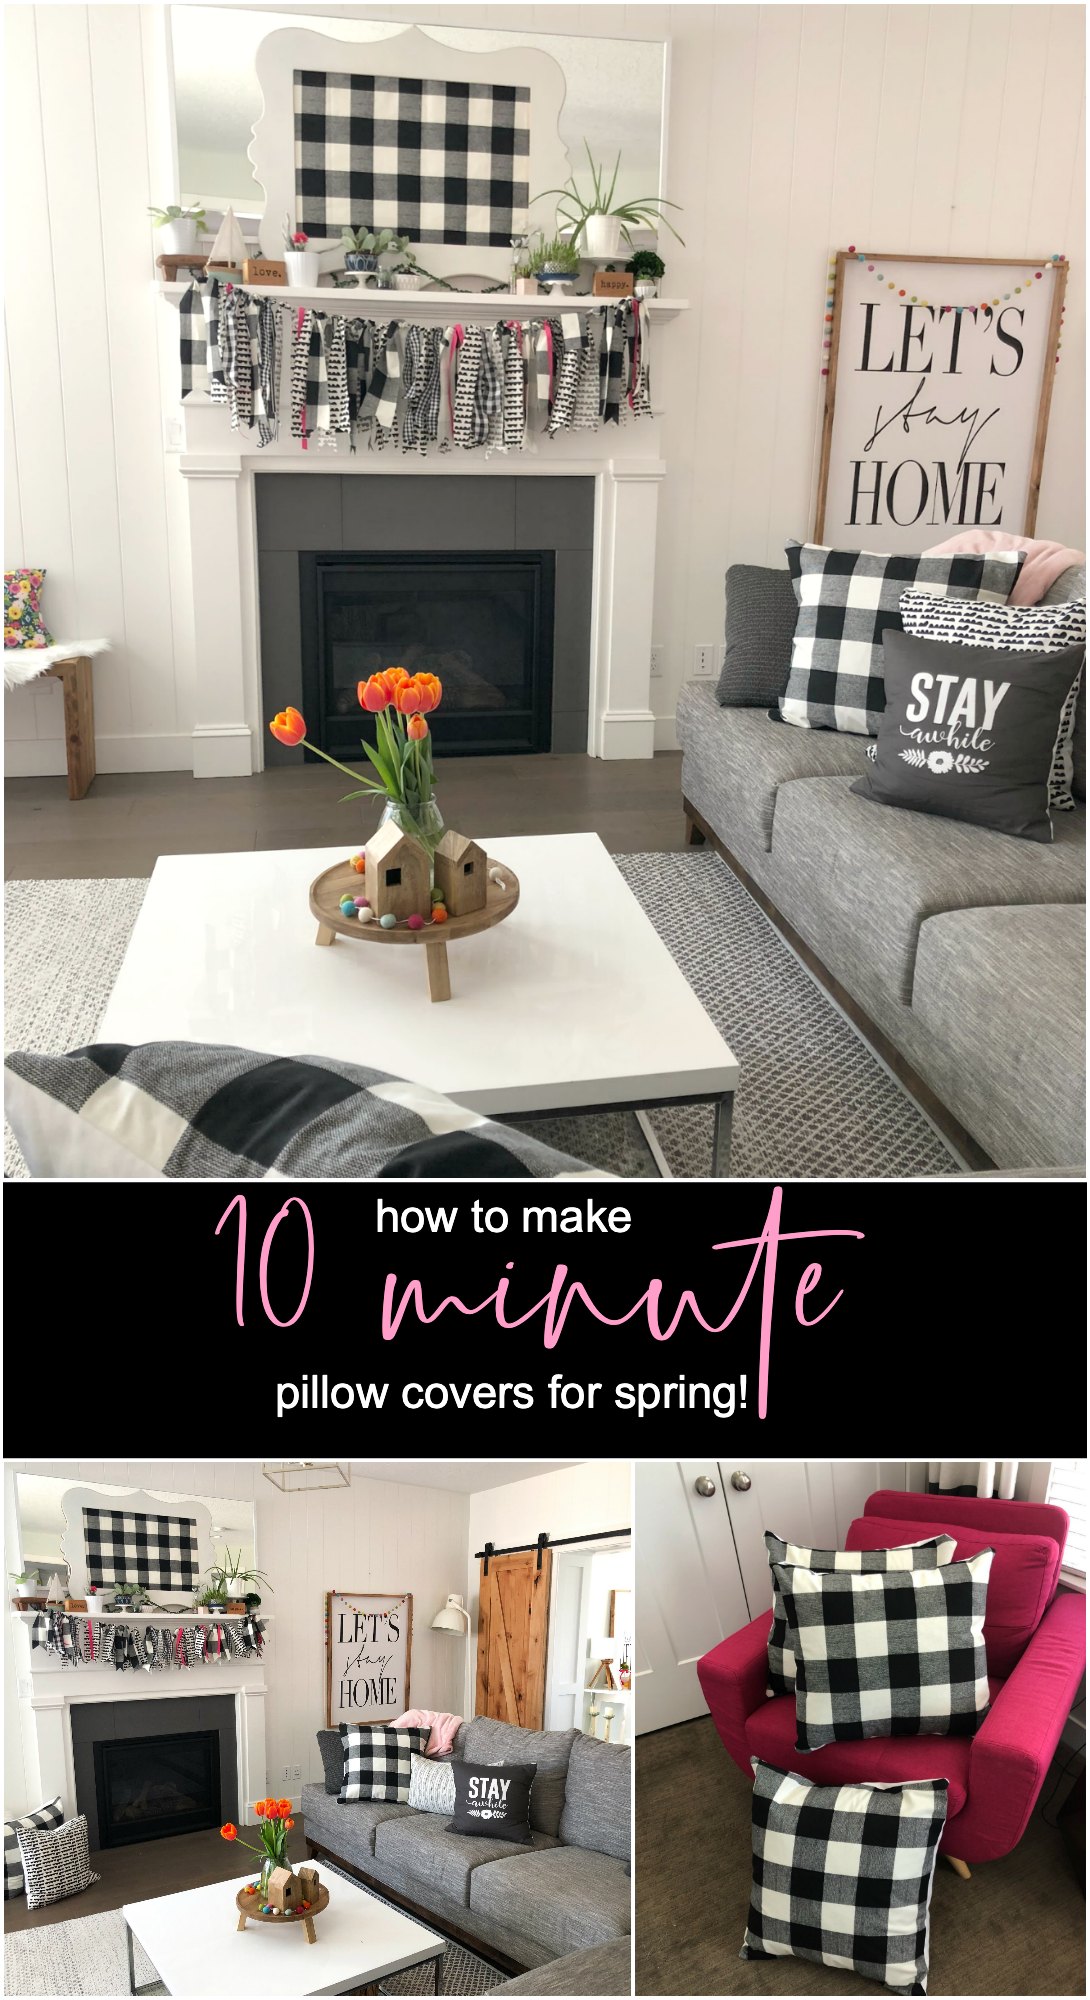
I LOVE pillows. Pillows can change the look of a room completely. And instead of buying new expensive pillows for every season and/or holiday, you can take a pillow insert and make pillow covers for that insert and then just switch the pillow covers out. This will save you so much storage room. Make 10-minute pillow covers for spring!
Pillow Covers are Easy to Switch Out
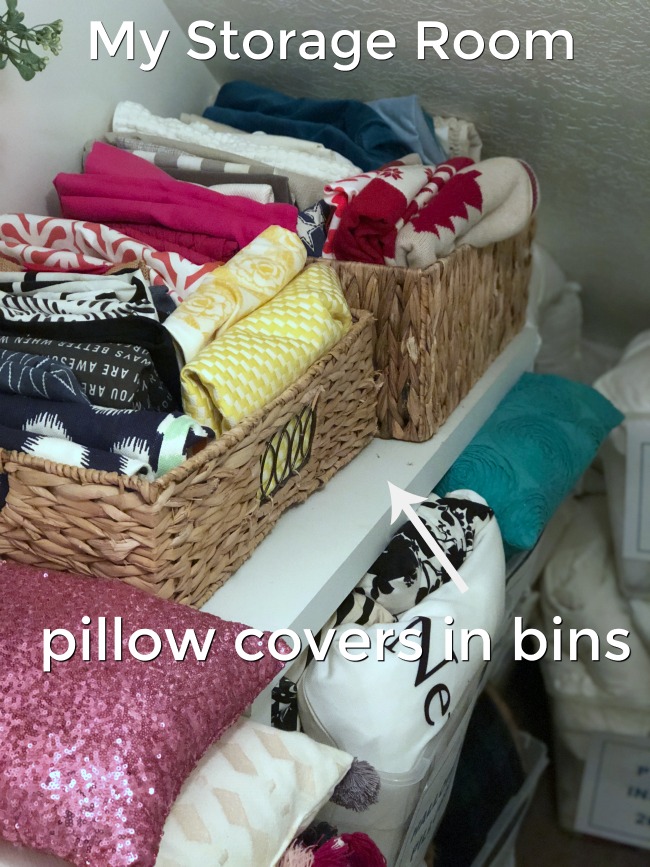
What I did was I took all of my pillow covers and put them in bins in a small closet in my house. I organized them by color. So now when I want to change the look of a room up, all I need to do is go over to my pillow cover bin and I can see all of my options! Of course I love making NEW pillow covers too. I will show you how easy it is to make your own pillow covers. In less that 10 minute you can have a pillow cover done and ready to use! Make 10-Minute Pillow Covers for Spring!
Where Do You Buy Fabric to Make Pillow Covers?
I have a lot of people ask me where I get the fabric for my pillow covers. One of my favorite places is fabric.com. But sometimes I am in a hurry and I don’t want to wait the time it takes to order something and wait for it to get to my house. JoAnn Fabric also has a great selection of fabrics, and surprisingly Hobby Lobby has a pretty decent fabric selection as well. Hobby Lobby has a lot of “duck fabric” which is a heavier, canvas-like fabric and it makes really durable pillow covers. Hobby Lobby also does a great job of keeping up with trends so I can usually find something cute when I want to make some covers.
Make 10-Minute Pillow Covers for Spring
I shared an Instagram reel that shows the easy steps to make these pillow covers – 10-Minute Pillow Covers.
Pillow Covers are Inexpensive to Make

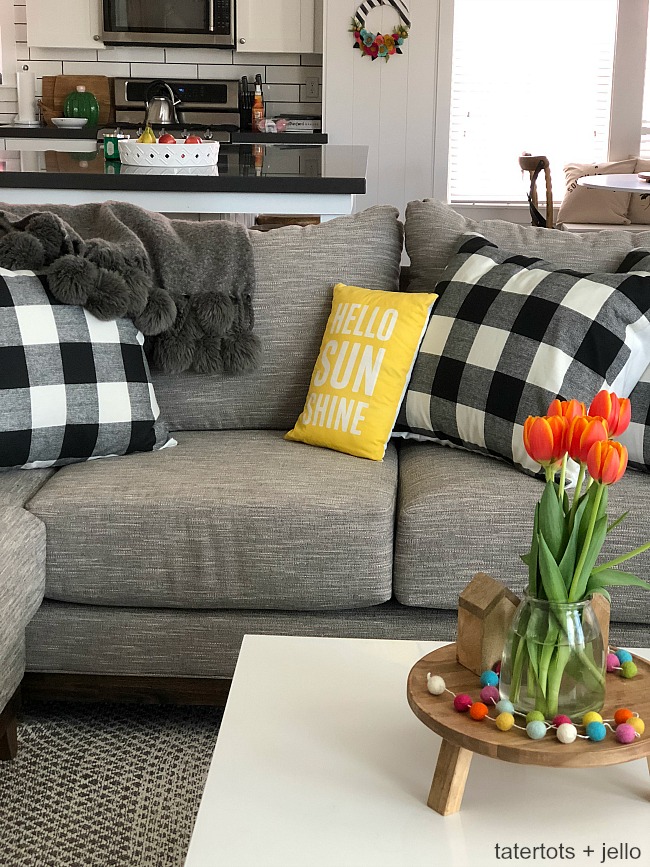
In less than half an hour I had 3 new pillows for my couch! I use the envelope-back style pillow covers because sewing zippers in is much harder and my sewing skills are VERY basic. I actually taught myself to sew a few years ago and I think I’ve probably made close to 100 pillow covers since then. They are SO easy!
How to Make BASIC 10-Minute Pillow Covers:
Measure your pillow insert.
1. Measure Your Pillow Form and cut out the front panel of your pillow cover.
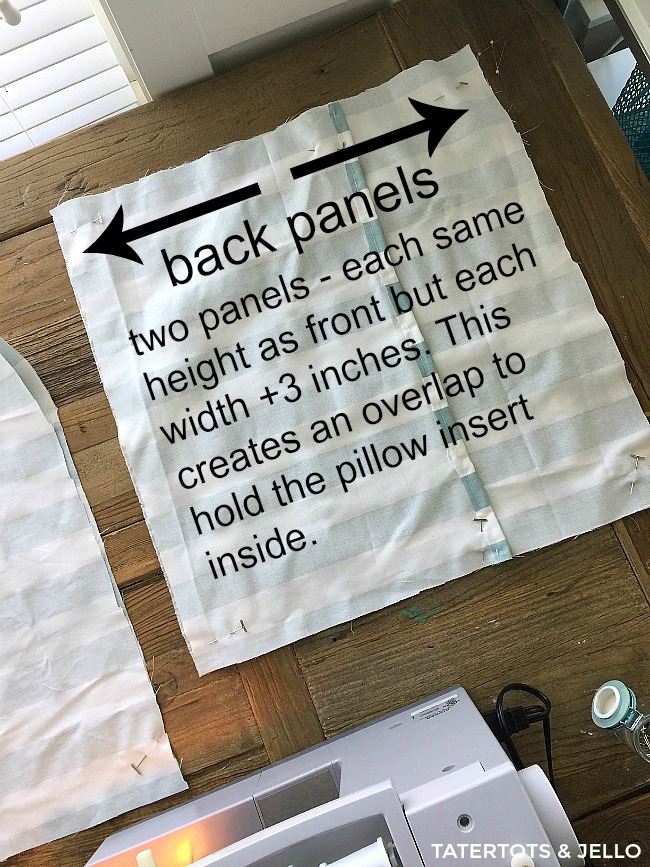
Cut out the back panels of the pillow cover.
2. Cut out the front panel of your pillow cover – add 1 inch total to the width and height for seam allowance and cut out the material.
Measure the width of the front pillow cover, divide it in half and then add three inches to the total for both panels. So if you have an 18 x18 pillow, add an inch for the seam allowance — so the width will now be 19 inches, and each back will be 12.5 inches in width. You will have ONE piece of material that is for the front of the pillow. Then TWO pieces of material for the back of the insert. The height of these TWO fabric panels will be the same as the front, but the width has a three inch overlap, this material that overlaps keeps the pillow form inside the pillow cover.
Sew the seams of the back panels.
3. Take the length of each of the panels that will be overlapping and fold the seam twice to create a smooth seam. Sew the seam on both back panels.
Sew the front and back panels together.
4. Pin the back panels to the front panels with the right sides facing inward. Then sew around the entire pillow cover. I back stitched over each of the seams for durability. Turn it right side out and put the pillow insert inside.
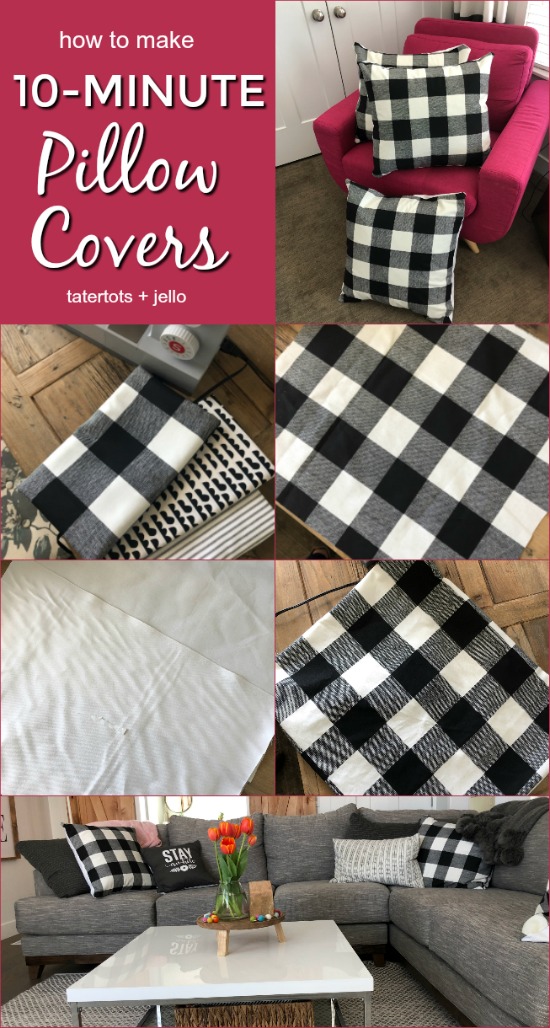
Note — if you want even crisper edges, you can sew a stitch around the entire outside of the pillow once it’s turned right-side out. Like this:
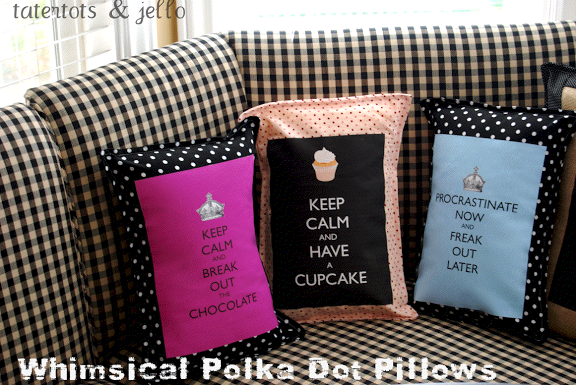
I made these GIANT buffalo check pillow covers for $4 each. WOW!!
Make 10-Minute Pillow Covers for Spring!
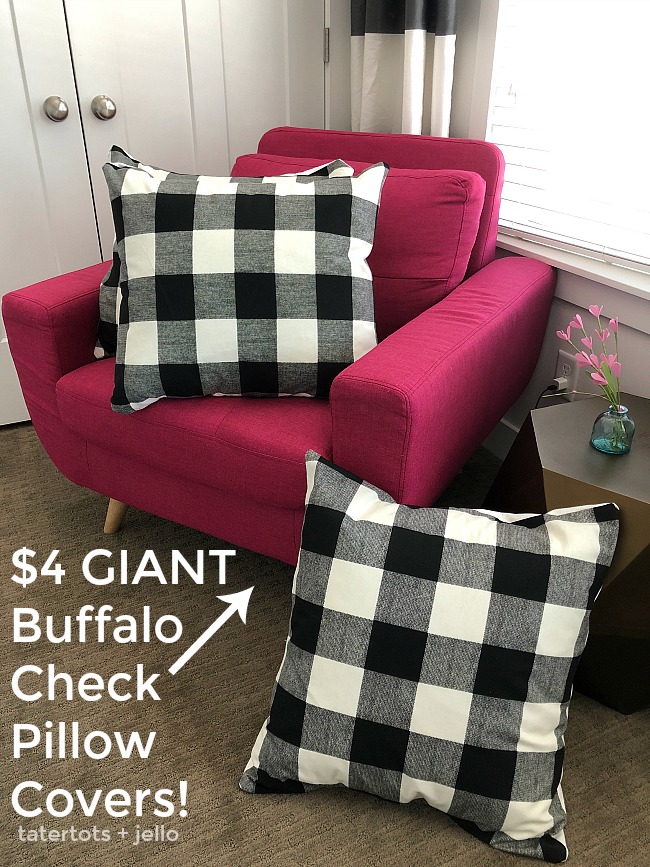
More DIY Pillow Cover Tutorials
Here are a few other pillow covers I have made using this technique over the years:

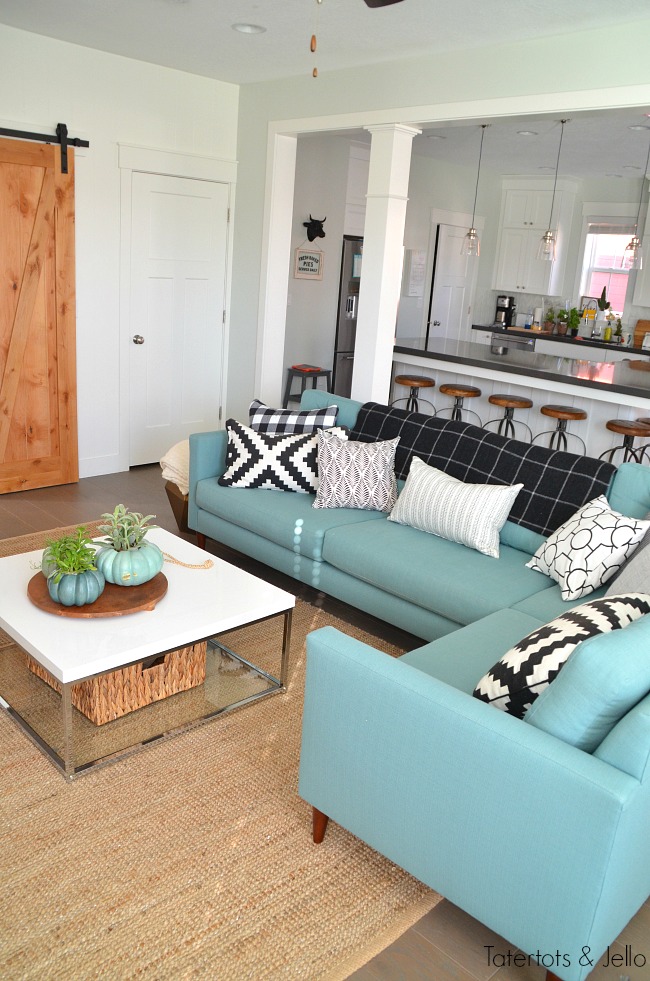
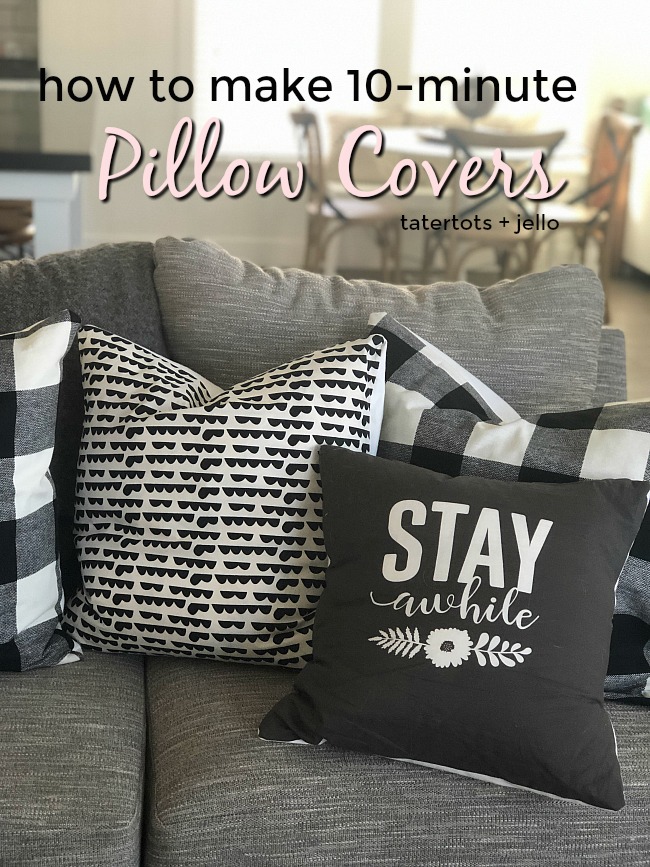
It’s easy to mix patterns when you keep the same colors in your pillow covers. I made several pillow covers with different black and white fabrics. They all look good together because they have the same color scheme.
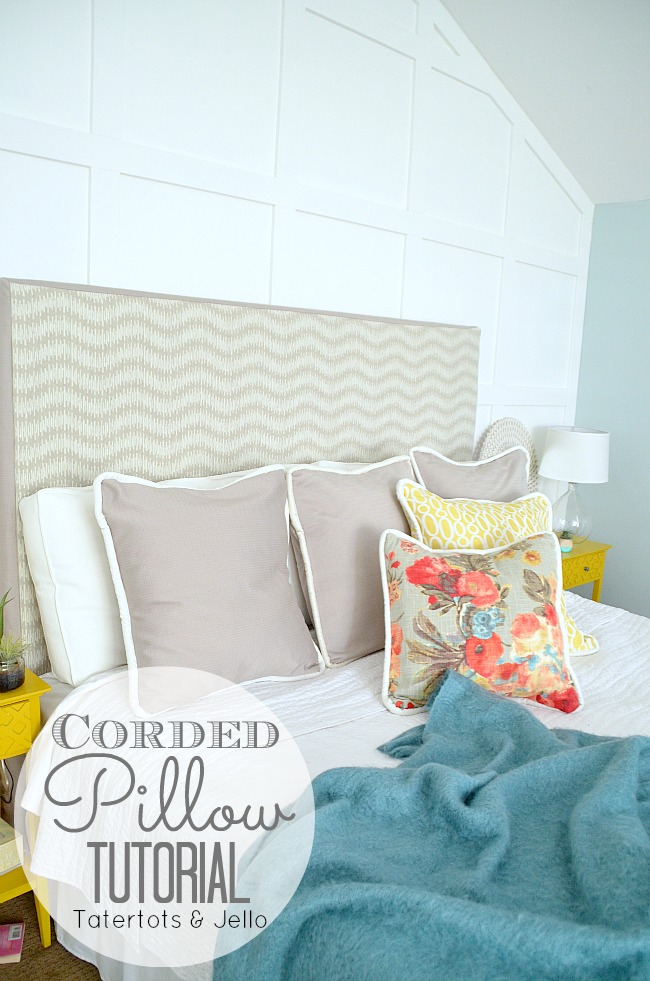
Add cording around your pillow covers to elevate the aesthetic. You can buy cording in different materials but you can also cover the cording with whatever fabric you want and attach it to your pillow cover.
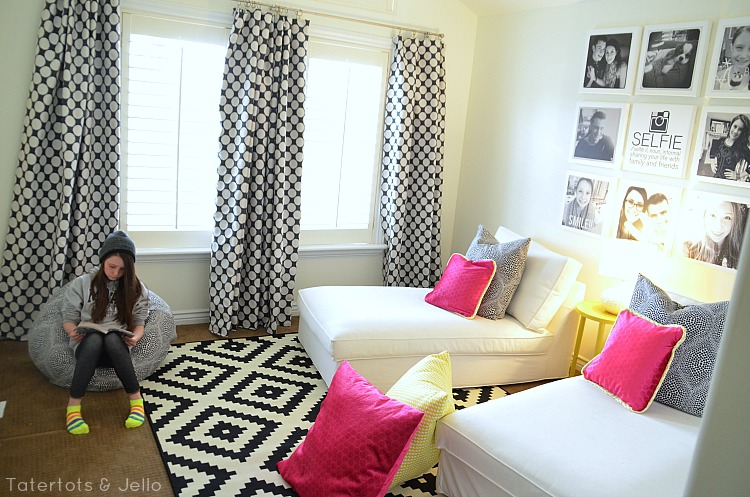
Pillow Covers in our Teen Hang Out Room
Make pillows in different sizes to add color and interest to a room.
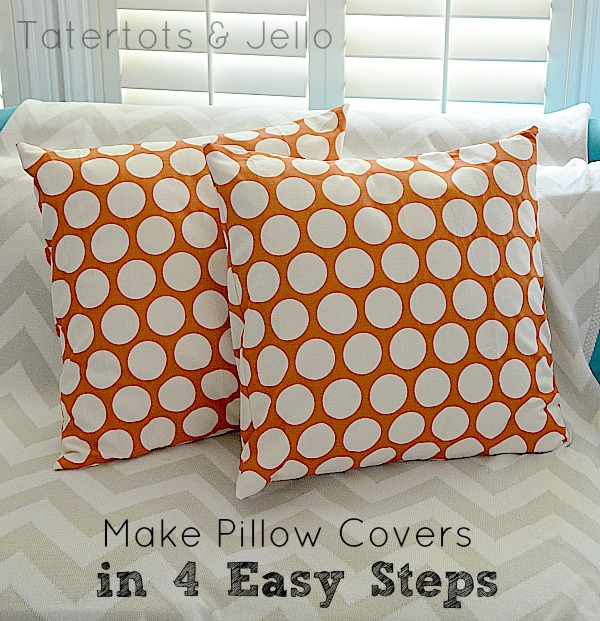
You can make pillow covers in just minutes with four easy steps. These are a couple pillow covers I made for Halloween one year!
Tag me on Instagram @tatertotsandjello and show me YOUR pillow covers! Also – it’s a great place to see the behind-the-scenes projects as we work on our new #1895Avenuescottage fixer-upper!!
Have a Beautiful Day!
xoxo



For a 20″ pillow, cut a 20″square of cardboard. Cut 20″ across the width of 45″ fabric of your choice. Putting the right side of the fabric towards the cardboard, wrap the fabric around the cardboard and overlap the flap, folding in the raw edges. Press the flap. Slide the cardboard out and sew the two sides. Done.
Can’t recommend Hobby Lobby as they are homophobic. I’ll take my business elsewhere
Hi! I totally understand! Jo-Ann Stores is also a great place to get beautiful fabric.
xoxo
Love that idea, looks beautiful! I am going to make one
Yay!! Tag me on Instagram and show me your pillow when you are done! @tatertotsandjello
xoxo
You can never have too many pillows–or pillow SHAMS/covers!!! I love to decorate seasonally and enjoy making new styles to compliment! Thanks for sharing.
Yes!! It’s my favorite way to decorate 🙂
xoxo
These pillows look so cute! We totally need to make some for our home!
Paige
http://thehappyflammily.com
They are super easy to make and only $4 with this fabric which is so inexpensive 🙂
xoxo
Hello, Love your pillows- I have the same addiction! ????. I need to know where you bought your couch?!?!?!
Hi Julie!
I got that couch from World Market!
xoxo
Where do u find your words/phrases panels for some of the pillows you show? Love the buffalo check also!
Hi Rachel!
I found the buffalo check at hobby lobby but the sayings are from my scrapbook line. I took the art and uploaded it at spoonflower.com and had it printed onto fabric! It’s really easy to do. You can create a saying in picmonkey and save it, then upload it as a file at spoonflower.com and have them print it on fabric for you!
xoxo
Thank you Jen are you using a sewing machine for
The pillows I assume you are I need one but I don’t
See I do embroidery and live to do pillows but I
Really wanted to make my own because covers were expensive I will try but I guess by hand your pillows are very pretty
Thanks Deborah! I hope you make some!
xoxo
Thank you so much for this tutorial! I can’t believe how simple making a cover is (if you know what you are doing haha!) And when you added that you just change the covers for each holiday or season instead of having to store pillows that is such a simple idea and makes so much sense that I can’t believe I never heard that before! I can’t wait to buy some material and make some covers!!
Thanks Cathy!
They really are so easy to make!
xoxo
Love the buffalo check pillows!!
Thanks! Me too!!
xoxo