I’m so excited to try new things using Essential Oils, and today I’m sharing this fun mini bath bomb recipe that’s perfect for Mother’s Day! (Oh, and a free printable, too!)
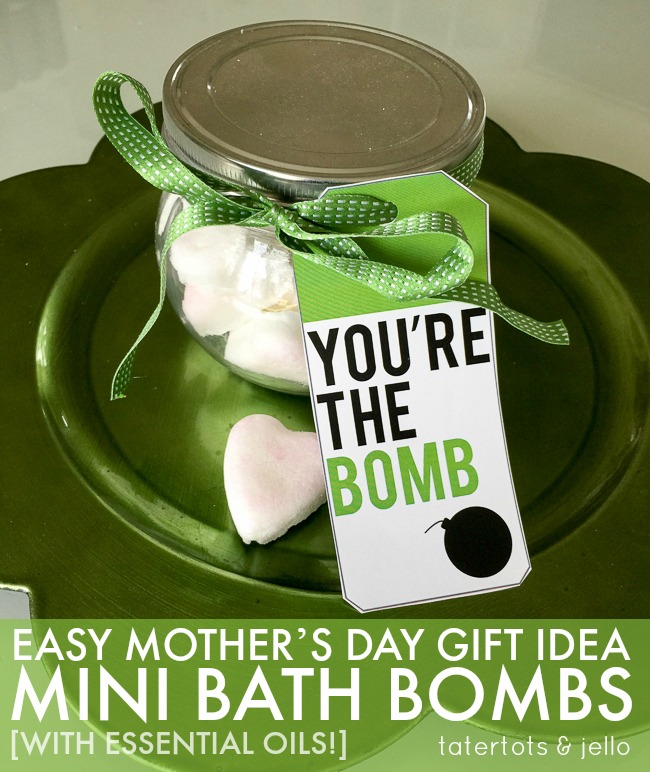
They’re both easy to make … and a little tricky! I’ll share with you how I made these, a few tips I learned on the way, and even a free printable.
Here’s how I made the recipe:
First, I got some small silicone molds. Thanks to eatknitanddiy‘s comment on my Instagram post (above), I won’t be using those for anything but bath bombs now — unless I want it to taste like peppermint! I purposely chose small molds because I wanted mini bath bombs.
Ingredients:
- 1/2 cup citric acid (it’s in the canning section of the grocery store — that’s where I found it)
- 1 cup baking soda
- 1/2 tablespoon olive oil (you can use other oils too: they call them “carrier oils,” and some recipes suggest grapeseed, almond, jojoba, coconut, and so on. I used olive oil because it was handy.)
- spray bottle filled with water (why a spray bottle? I’ll explain below.)
- 12 drops Young Living peppermint essential oil
- 6 drops Young Living lemon essential oil
(Some recipes suggest using cosmetic mica powder for coloring. I didn’t do that, but you can learn more about that and check out some awesome tips and recipes in these awesome posts here, here and a loooooong one here.)
Next, I mixed the citric acid and baking soda well in a medium mixing bowl. In a separate small bowl (hooray for ramekins), I mixed the olive oil and essential oils.
Then I mixed the oils in with the citric acid and baking soda as well as I could using a wire whisk and a fork.
Now comes the tricky part: using the spray bottle, add water to the top of the mixture until damp. Then mix into the bowl. Repeat this until the mix is just damp enough to clump together when you try to shape it into a ball with your fingers. If you get it too wet the bath bomb will activate and start fizzing (I had a couple of mine fizz a bit in the molds).
Once damp and mixed, scoop and press the mixture into the molds, trying to make the back somewhat smooth. Pack as tightly into the mold as you can.
I tried taking my bombs out of the molds almost right away, and that was not a good idea. Instead, after I waited a few hours, the bombs came out easily. Here are the first two I took out:
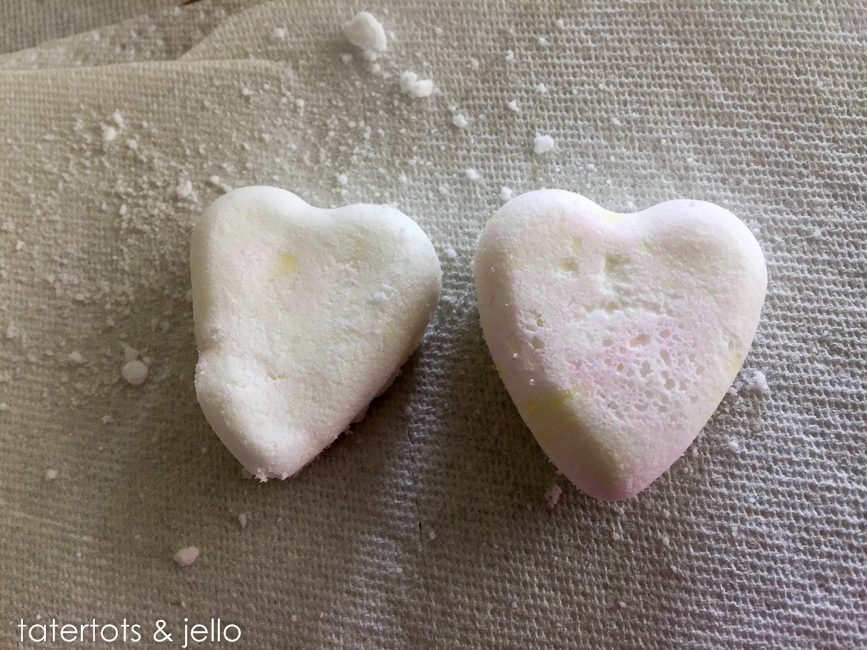
Yes, I’m still practicing!
If you used a metal or rigid mold instead, you should be able to put a cookie sheet with some foil or paper towels on top, flip it upside down, and tap the bottom of each “cup” to release the mixture. I’m going to try that trick next time!
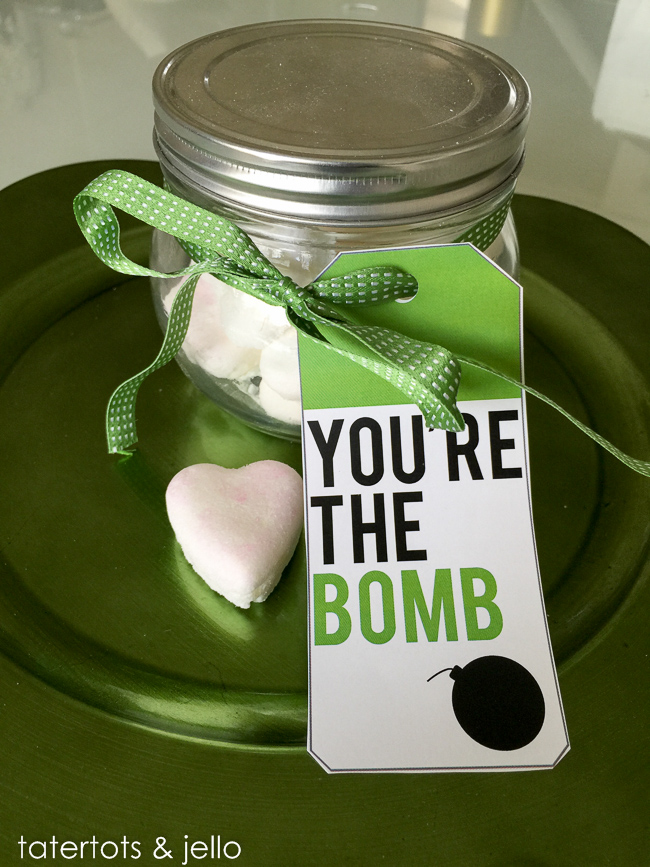
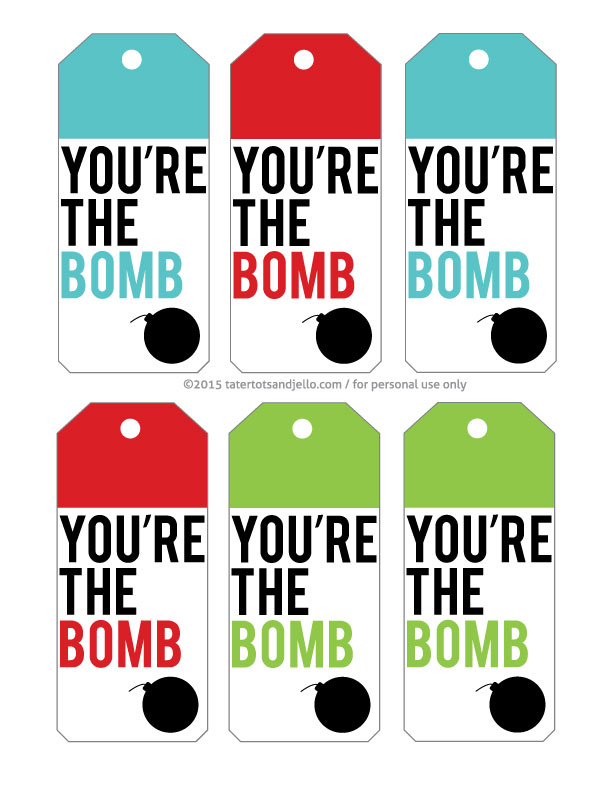
Once they’re out, you can put them in a fairly airtight container like the jars in the picture or cute gift bags. Just add some ribbon and the free printable tags, and you’ve got a great homemade gift for Mother’s day, birthdays, or any occasion!
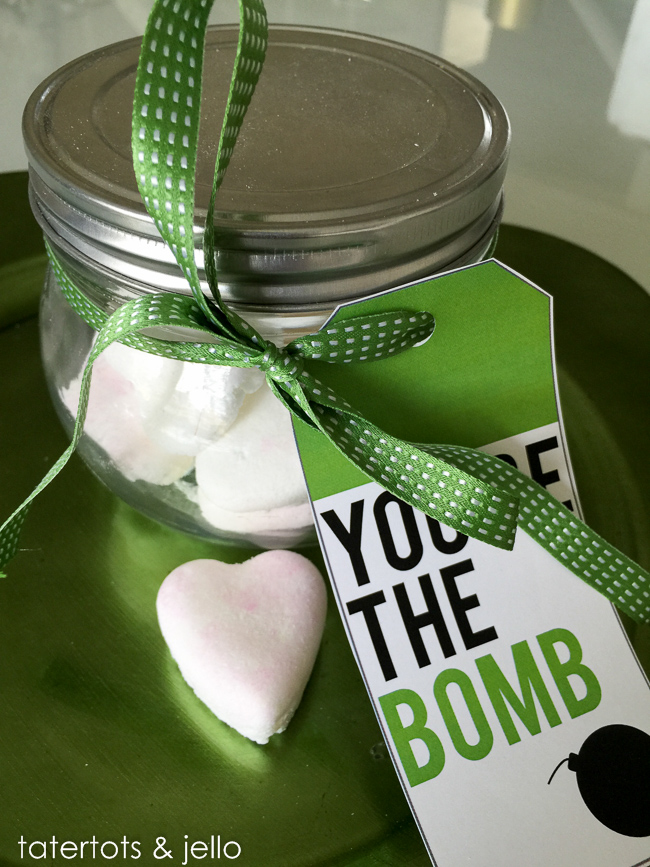
And here is the printable!
Just right-click this link or the image below and choose “save link as” to download the printable PDF – it includes tags in three colors! As always, it’s for personal use only.
Check out these other amazing, homemade Mothers’ Day Gift Ideas:
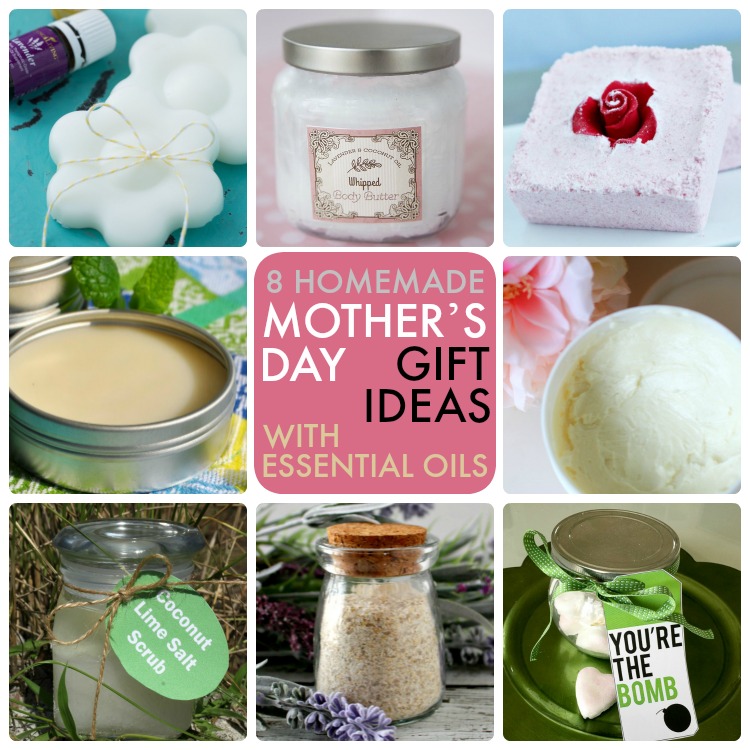
Beautiful Bath Bombs from The NY Melrose Family
Whipped Body Butter from Skip to my Lou
Lavender Bath Soak from Princess Pinky Girl
Lip Balm from The Seasoned Momma
Coconut Lime Sea Salt Scrub from Coffee Cups and Crayons
Lavender Lotion Bar from Made to be a Momma
Moisturizing Body Butter Recipe from PinkWhen
Mini Bath Bombs & Free Printables from Tatertots & Jello
* * * * *
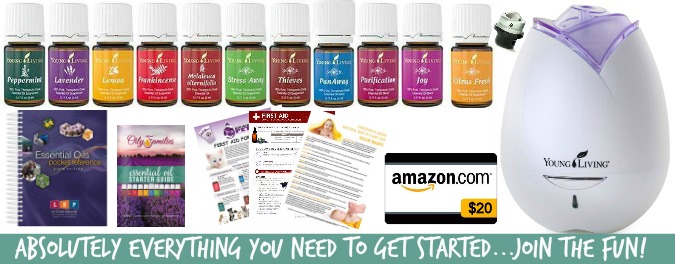
Interested in trying essential oils? There’s a great deal right now — not only a great price on a starter kit, complete with how-to information, but also a bonus $20 Amazon gift card! Check it out here.
Have you tried making homemade bath bombs? What are your favorite tips?
xoxo

