Here’s an easy way to change the look of a room.
When I was redoing my guest room, I had a headboard in that room that I had bought about 10 years ago and I still loved the curved shape of the headboard.
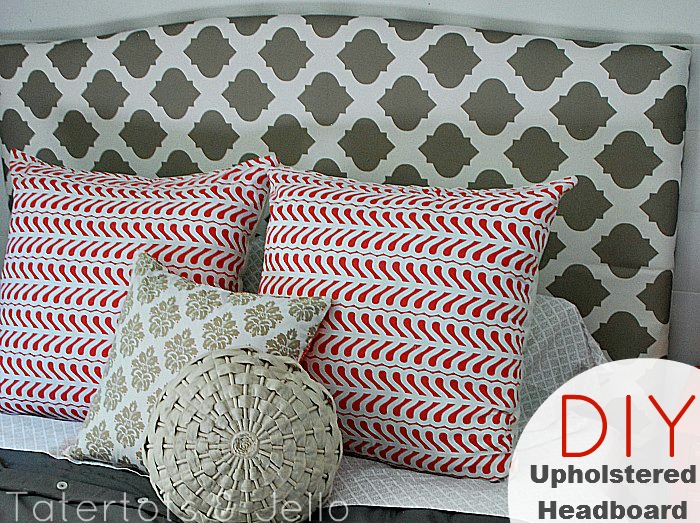
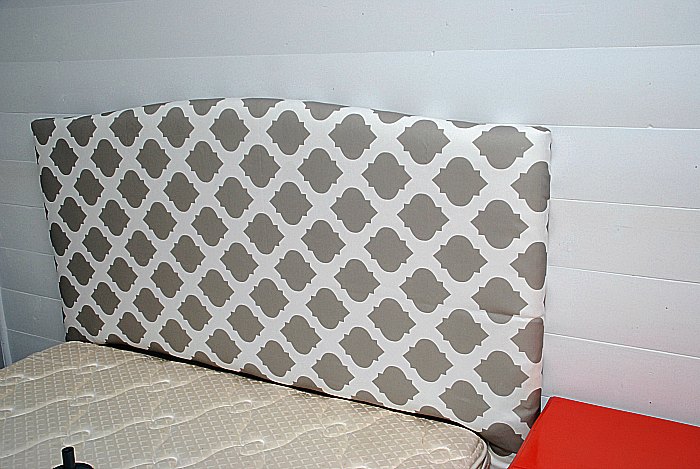
So I decided to try to upholster that headboard. And it turns out that it was easy to do.
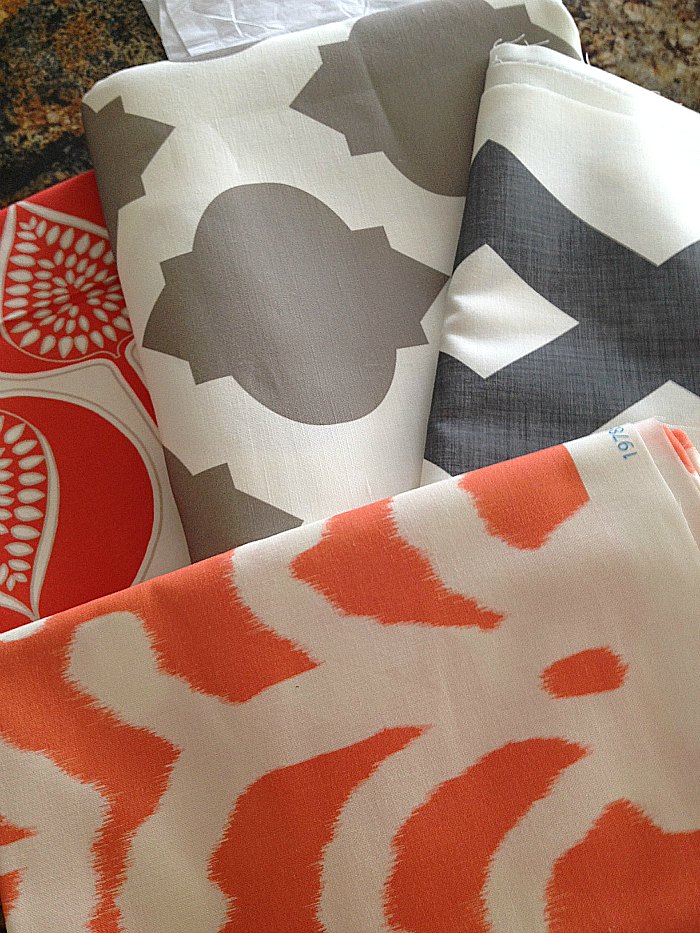
I ordered some fabric from Spoonflower.com – I love that place! It is a little more expensive than buying fabric from your local fabric store, but there are thousands of awesome patterns there that you won’t find anywhere else. Plus, you can design your own fabric and then have it made up and make something with that. How cool is that??? I am going to try designing some fabric one of these days.
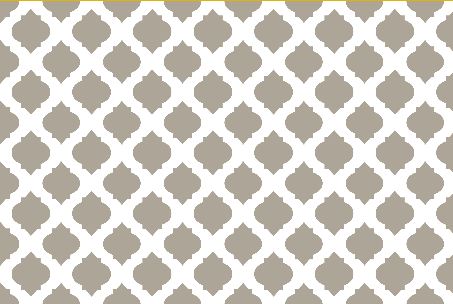
The pattern I ordered is called Medallions in Mushroom.
This is what I did:
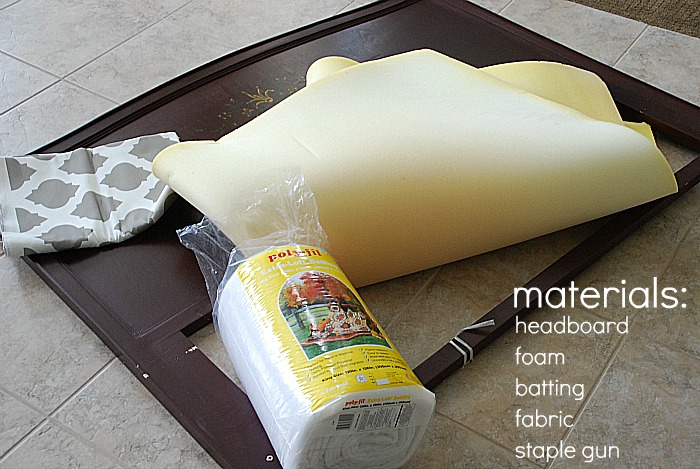
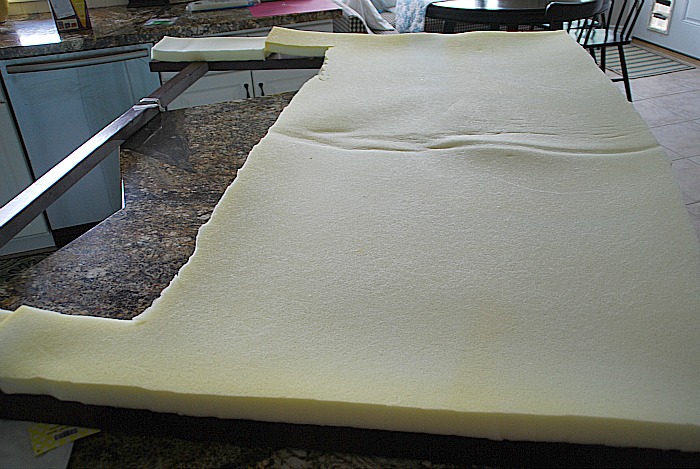
- I took an old foam mattress cover and cut it to cover the headboard. I just laid it in the floor and then put the headboard on top and traced the shape onto the foam and then cut out the foam.
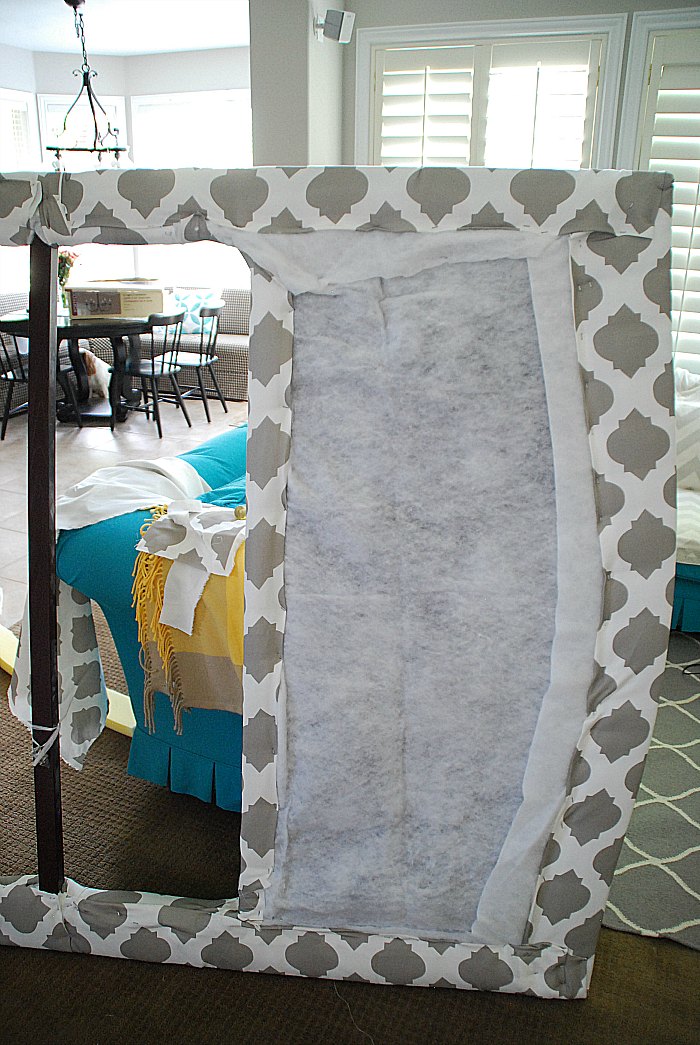
- Then I laid the foam on top of the headboard and wrapped the headboard with two layers of batting. I attached the batting with my staple gun on the back of the headboard.
- Then I did the same thing with the fabric that I had done with the foam. I laid the fabric on the floor with the right side of fabric side down, then I laid the headboard face down onto the fabric. Then I cut the shape of the headboard out of the fabric, leaving 8 inches all the way around to leave room to wrap the fabric around the back of the headboard and also to fold the cut edge under before I stapled. The bottom of the headboard was a little tricky to upholster because it has a wood piece at the bottom that I had to work around. But I knew that the wood piece would not show so I didn’t upholster that.
- If your headboard had legs, it looks good to upholster them because they might stick out from under your bedskirt. I am really happy that I upholstered mine.
- As you staple the fabric to the headboard, start at one end and then work your way around, pulling the fabric taught as you go. You want the fabric to be tight.
I was going to add a row of upholstery tacks to the outside of the headboard, but I decided that I liked it just the way it was. And if you don’t have an existing headboard, you can upholster an old door or get a piece of plywood cut and upholster that. The possibilities are endless!!
All in all, it took me 30 minutes to turn my drab headboard into something new!!

I’m almost ready for the full room reveal – it’s been a really fun project.
And I am also almost done with the next-door bathroom reveal. YAY! Here are the tutorials on some of the other elements in the room:
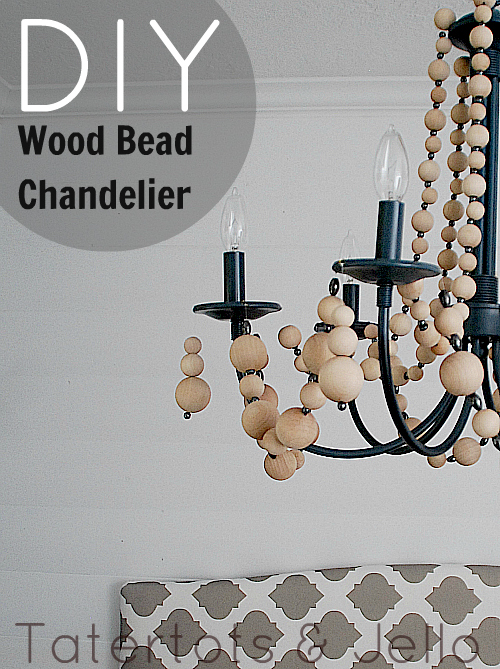
DIY Beachy Beaded Chandelier Tutorial
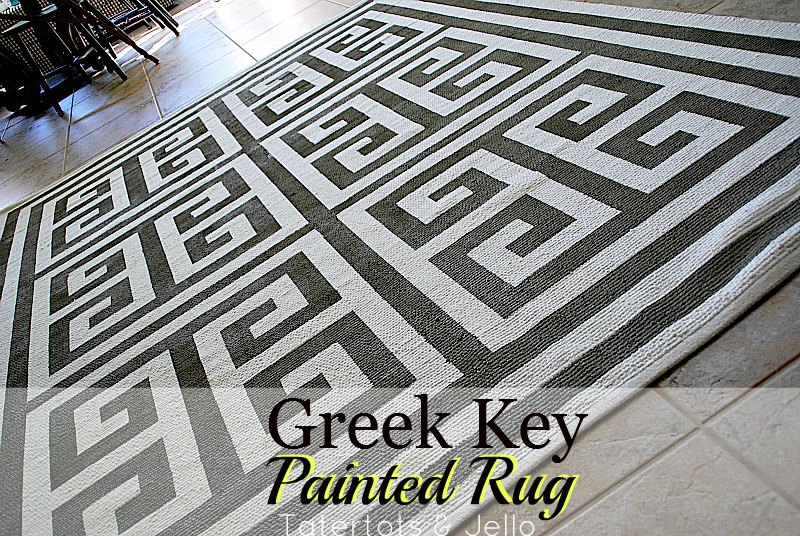
Painted Greek Key Rug Tutorial
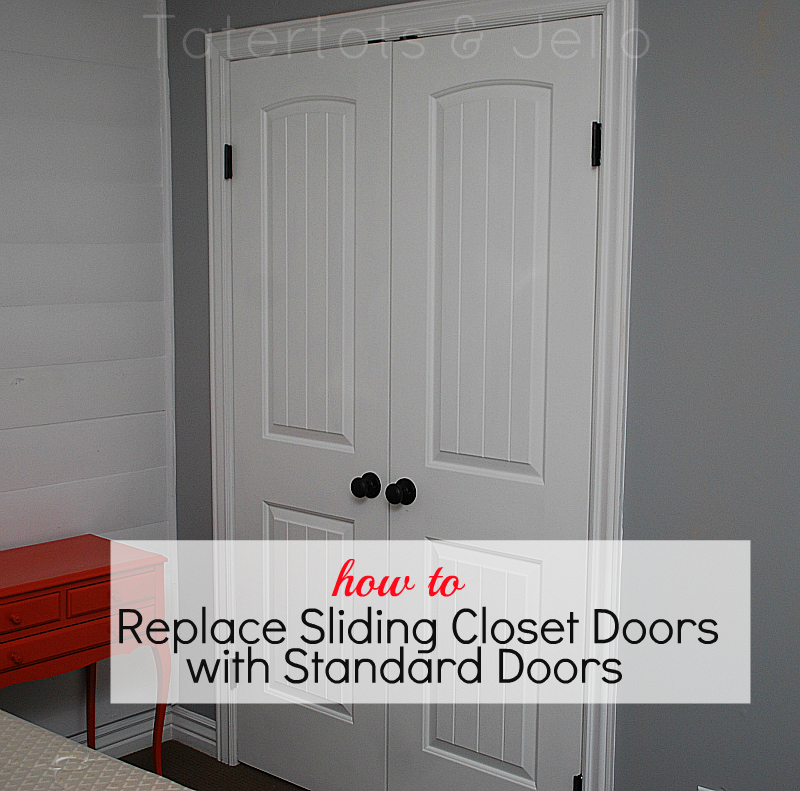
How to Replace Sliding Closet Doors with Standard Doors
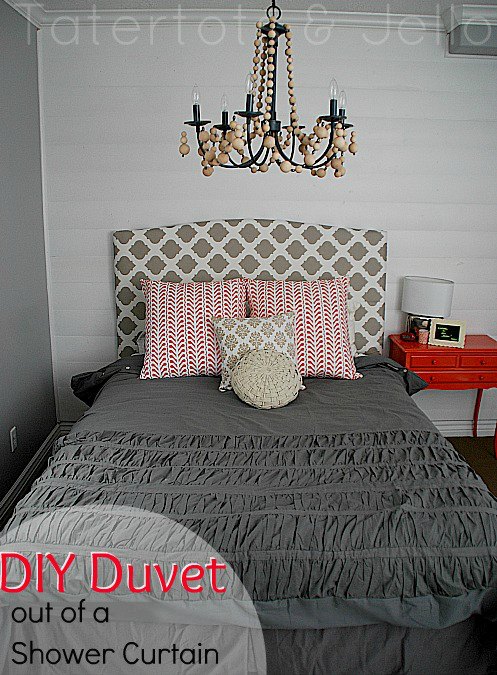
Make a Duvet Out of a Fabric Shower Curtain
Thanks for stopping by. I appreciate it so much!!
And if you wonder how to make a Tufted DIY Headboard, check this tutorial out from Amy at The Idea Room!
Have a Wonderful Day!
xox
The whole reveal coming up soon!!







each time i used to read smaller content which also clear their
motive, and that is also happening with this piece of writing
which I am reading here.
I really likе reading a post that can make people think.
Αlso, thank you for allowing me to comment!
Hi, I do think this is a great web site. I stumbledupon it 😉 I’m
going to return yet again since i have book marked it.
Money and freedom is the greatest way to change, may you be rich and continue to
guide other people.
Love the projects! You have a great eye for mixing patterns and great attention to detail. Wonderful!! I never leave comments, but I couldn’t resist after seeing your DIY projects.
What kind of fabric do you recommend? Linen? Or regular cotton?
thank you so much . I really love it and I will definitely try to do the same thing for my bed
THANKS for the easy idea !!! 😉
Thanks for the comment!! Good luck making your own. Let me know if you have any questions!!
[email protected]
xoxo
I have a black leather headboard but I want to cover it up with fabric, do you think your method would be possible still?
Cute, is that a full or queen size? I have a queen and wondering how much fabric to get? Thanks!
So excited to try this DIY project! Love the fabric website too. Do you have any suggestions on patrerns to avoid for headboards (too small, busy, or large)? Also what grade fabric did you use? There are several options to choose from on the website.
This turned out great. And those red pillows are the perfect accent. Where did you find them?
I have a full size headboard I’d like to do this too but not sure how much fabric to get. I can DIY up a storm but with fabric I always fall short. Advice?
We have twinsie headboards in our guest rooms! HA!
LOL – I just realized that!! I love yours and it’s cooler because you painted it!
xoxo
Love your choice of patterns. (I’m going to have to check out your fabric source.) Wonderful job, Jen!
Oh wow! Brilliant!
Funny, Jen, I’m working on two different upholstery projects right now!
Beautiful! I love everything in the room!
awesome!! love the fabric, those patterns are so amazing!
Perfect! I love the fabric!!!
How much fabric did you order?
I ordered 3 yards but only used about 2 yards of material 🙂
xoxo
It’s looking great! The headboard is fabulous – gorgeous pattern and so custom!
Great tutorial, Jen! You did a wonderful job. 🙂 Love the beautiful fabric!
Thanks Jessi!! It was easier than I thought it would be. I think the trick was pulling the fabric taut.
xoxo
I love that headboard! You make it look so easy, and it turned out SUPER cute!