Turn Scrapbook Paper into Party Medallions. Learn how to create versatile and stunning paper medallions using scrapbook paper for festive decorations, perfect for any celebration.
Turn Scrapbook Paper into Party Medallions
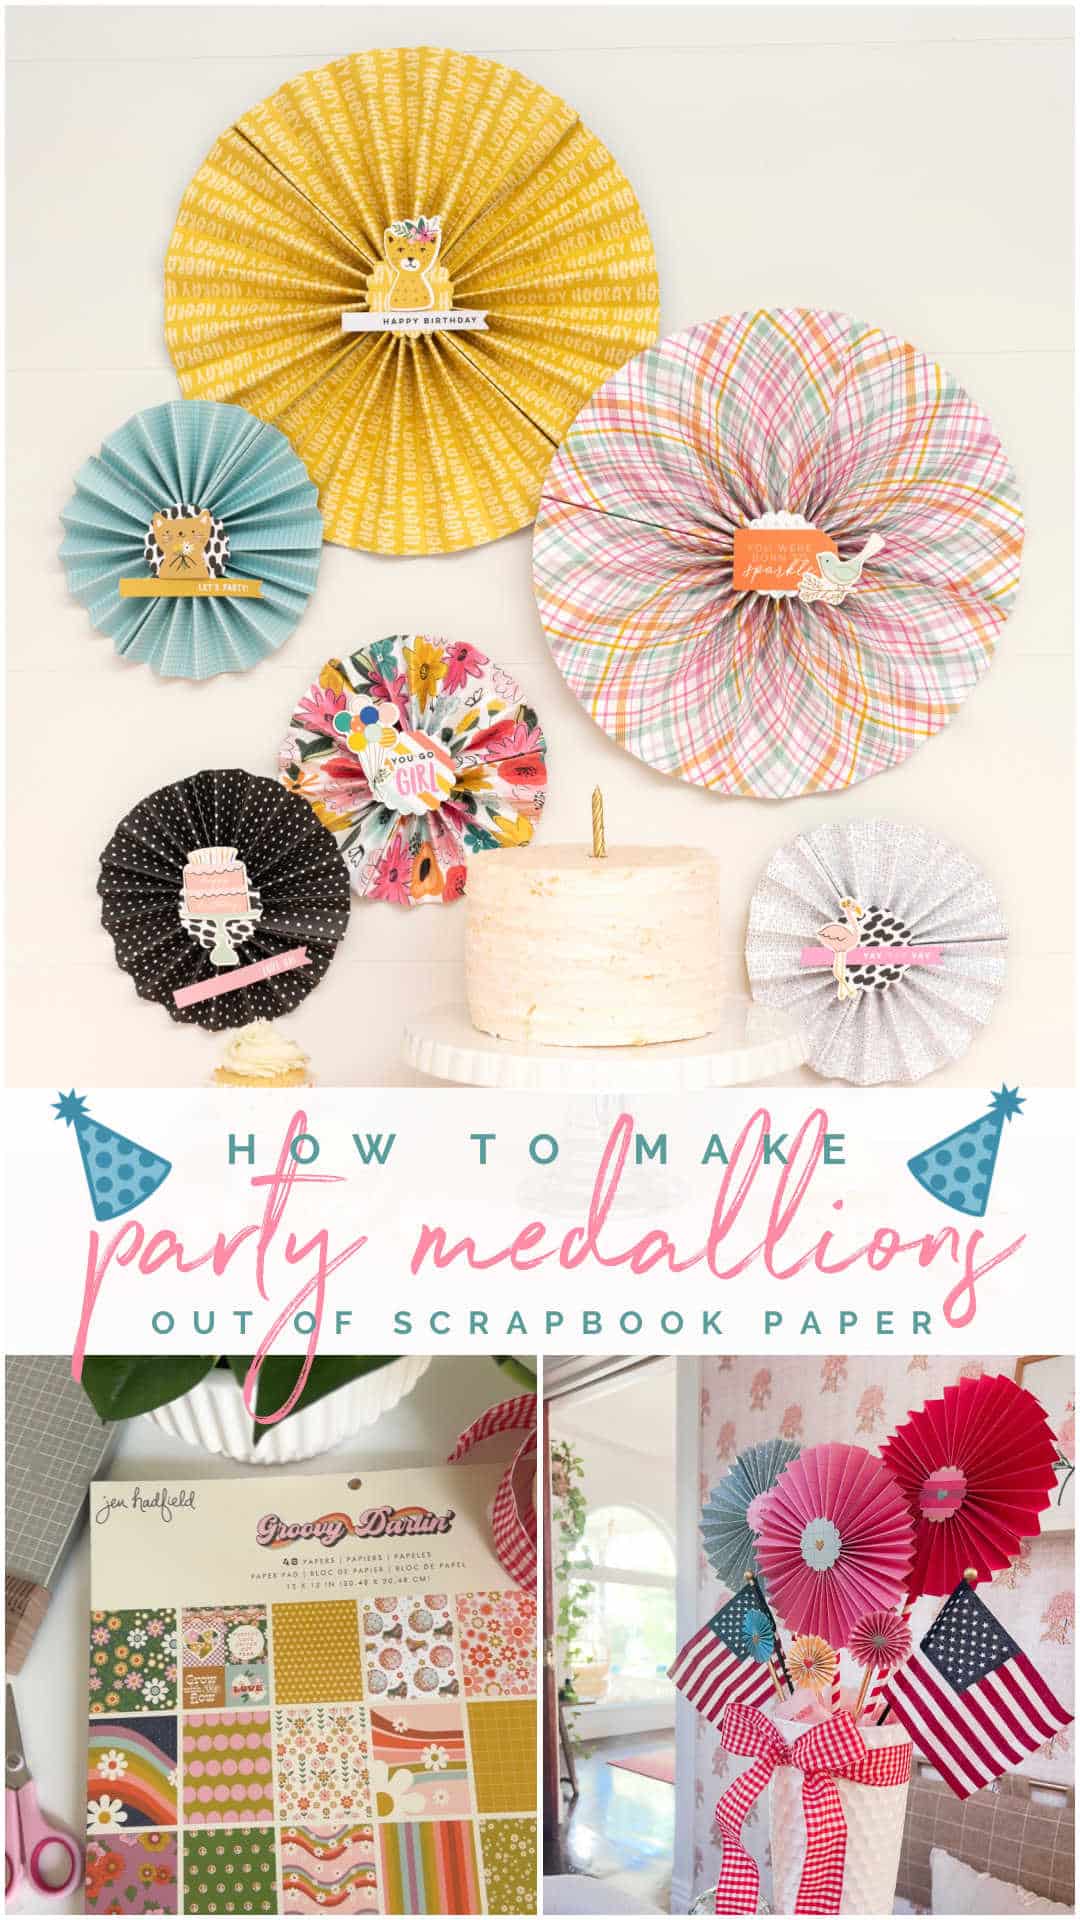
Crafting is a fantastic way to express your creativity, and one of my favorite projects is making paper medallions. These charming decorations are perfect for a variety of occasions, from parties to holiday décor. Recently, I used my new American Crafts Groovy Darlin’ paper line to create an adorable Fourth of July medallion centerpiece. Here’s how you can make your own beautiful paper medallions, perfect for any celebration!
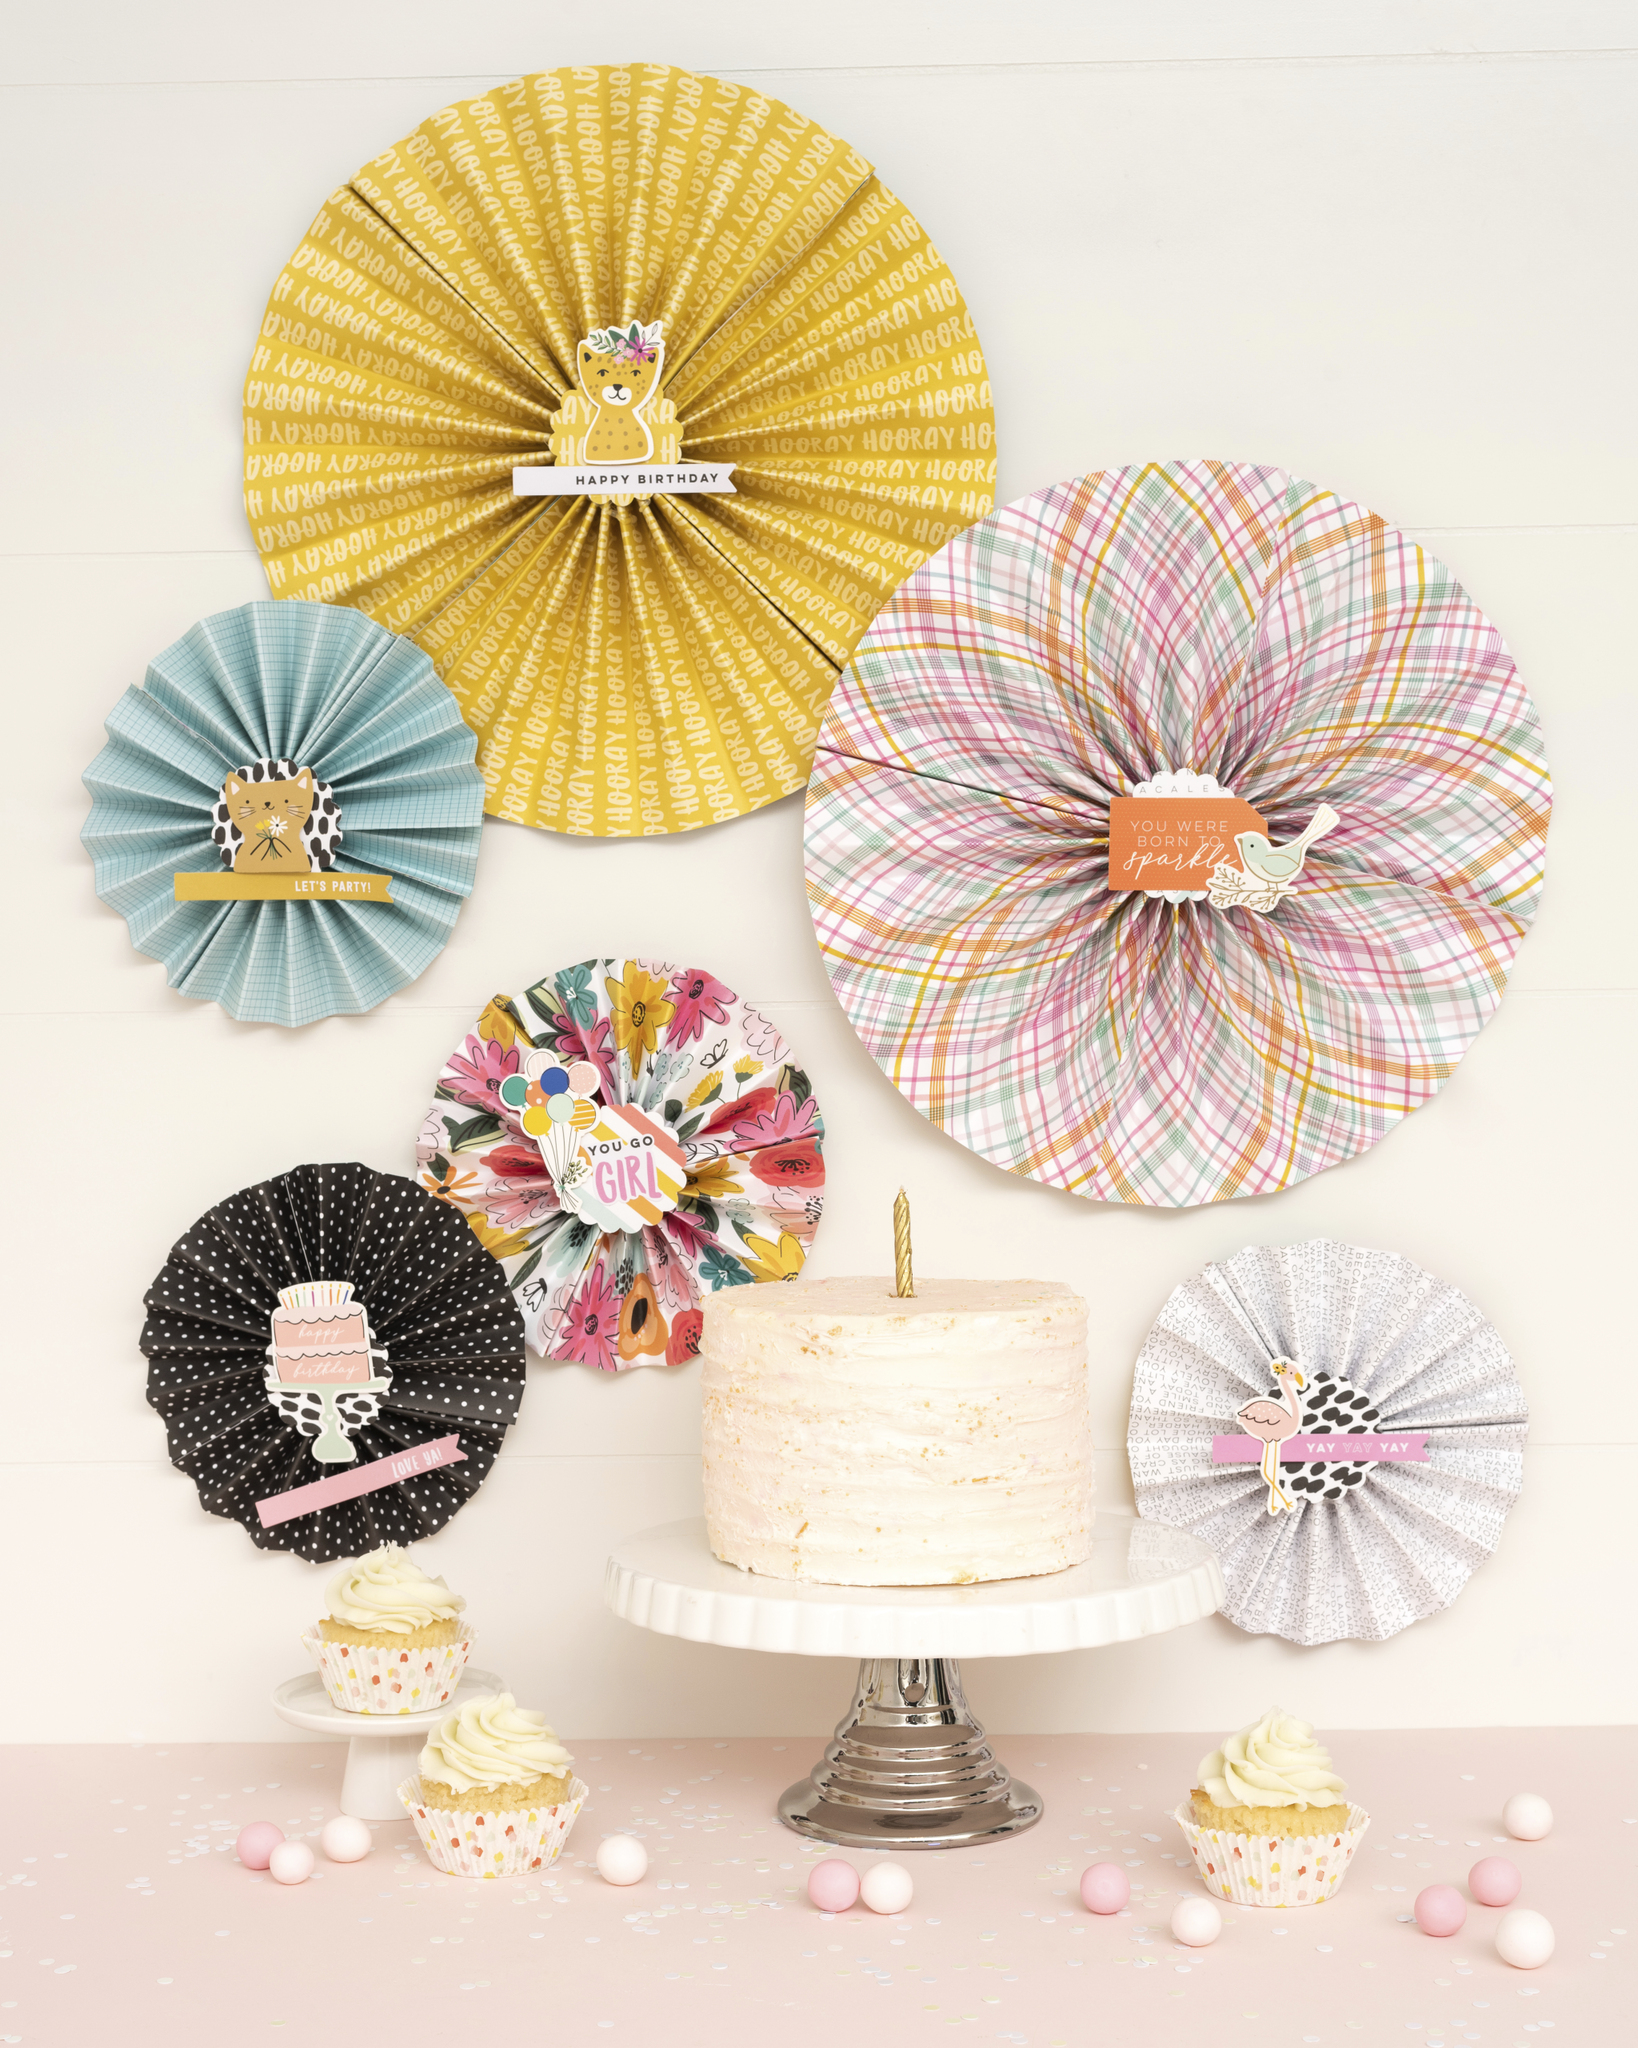
Why Paper Medallions?
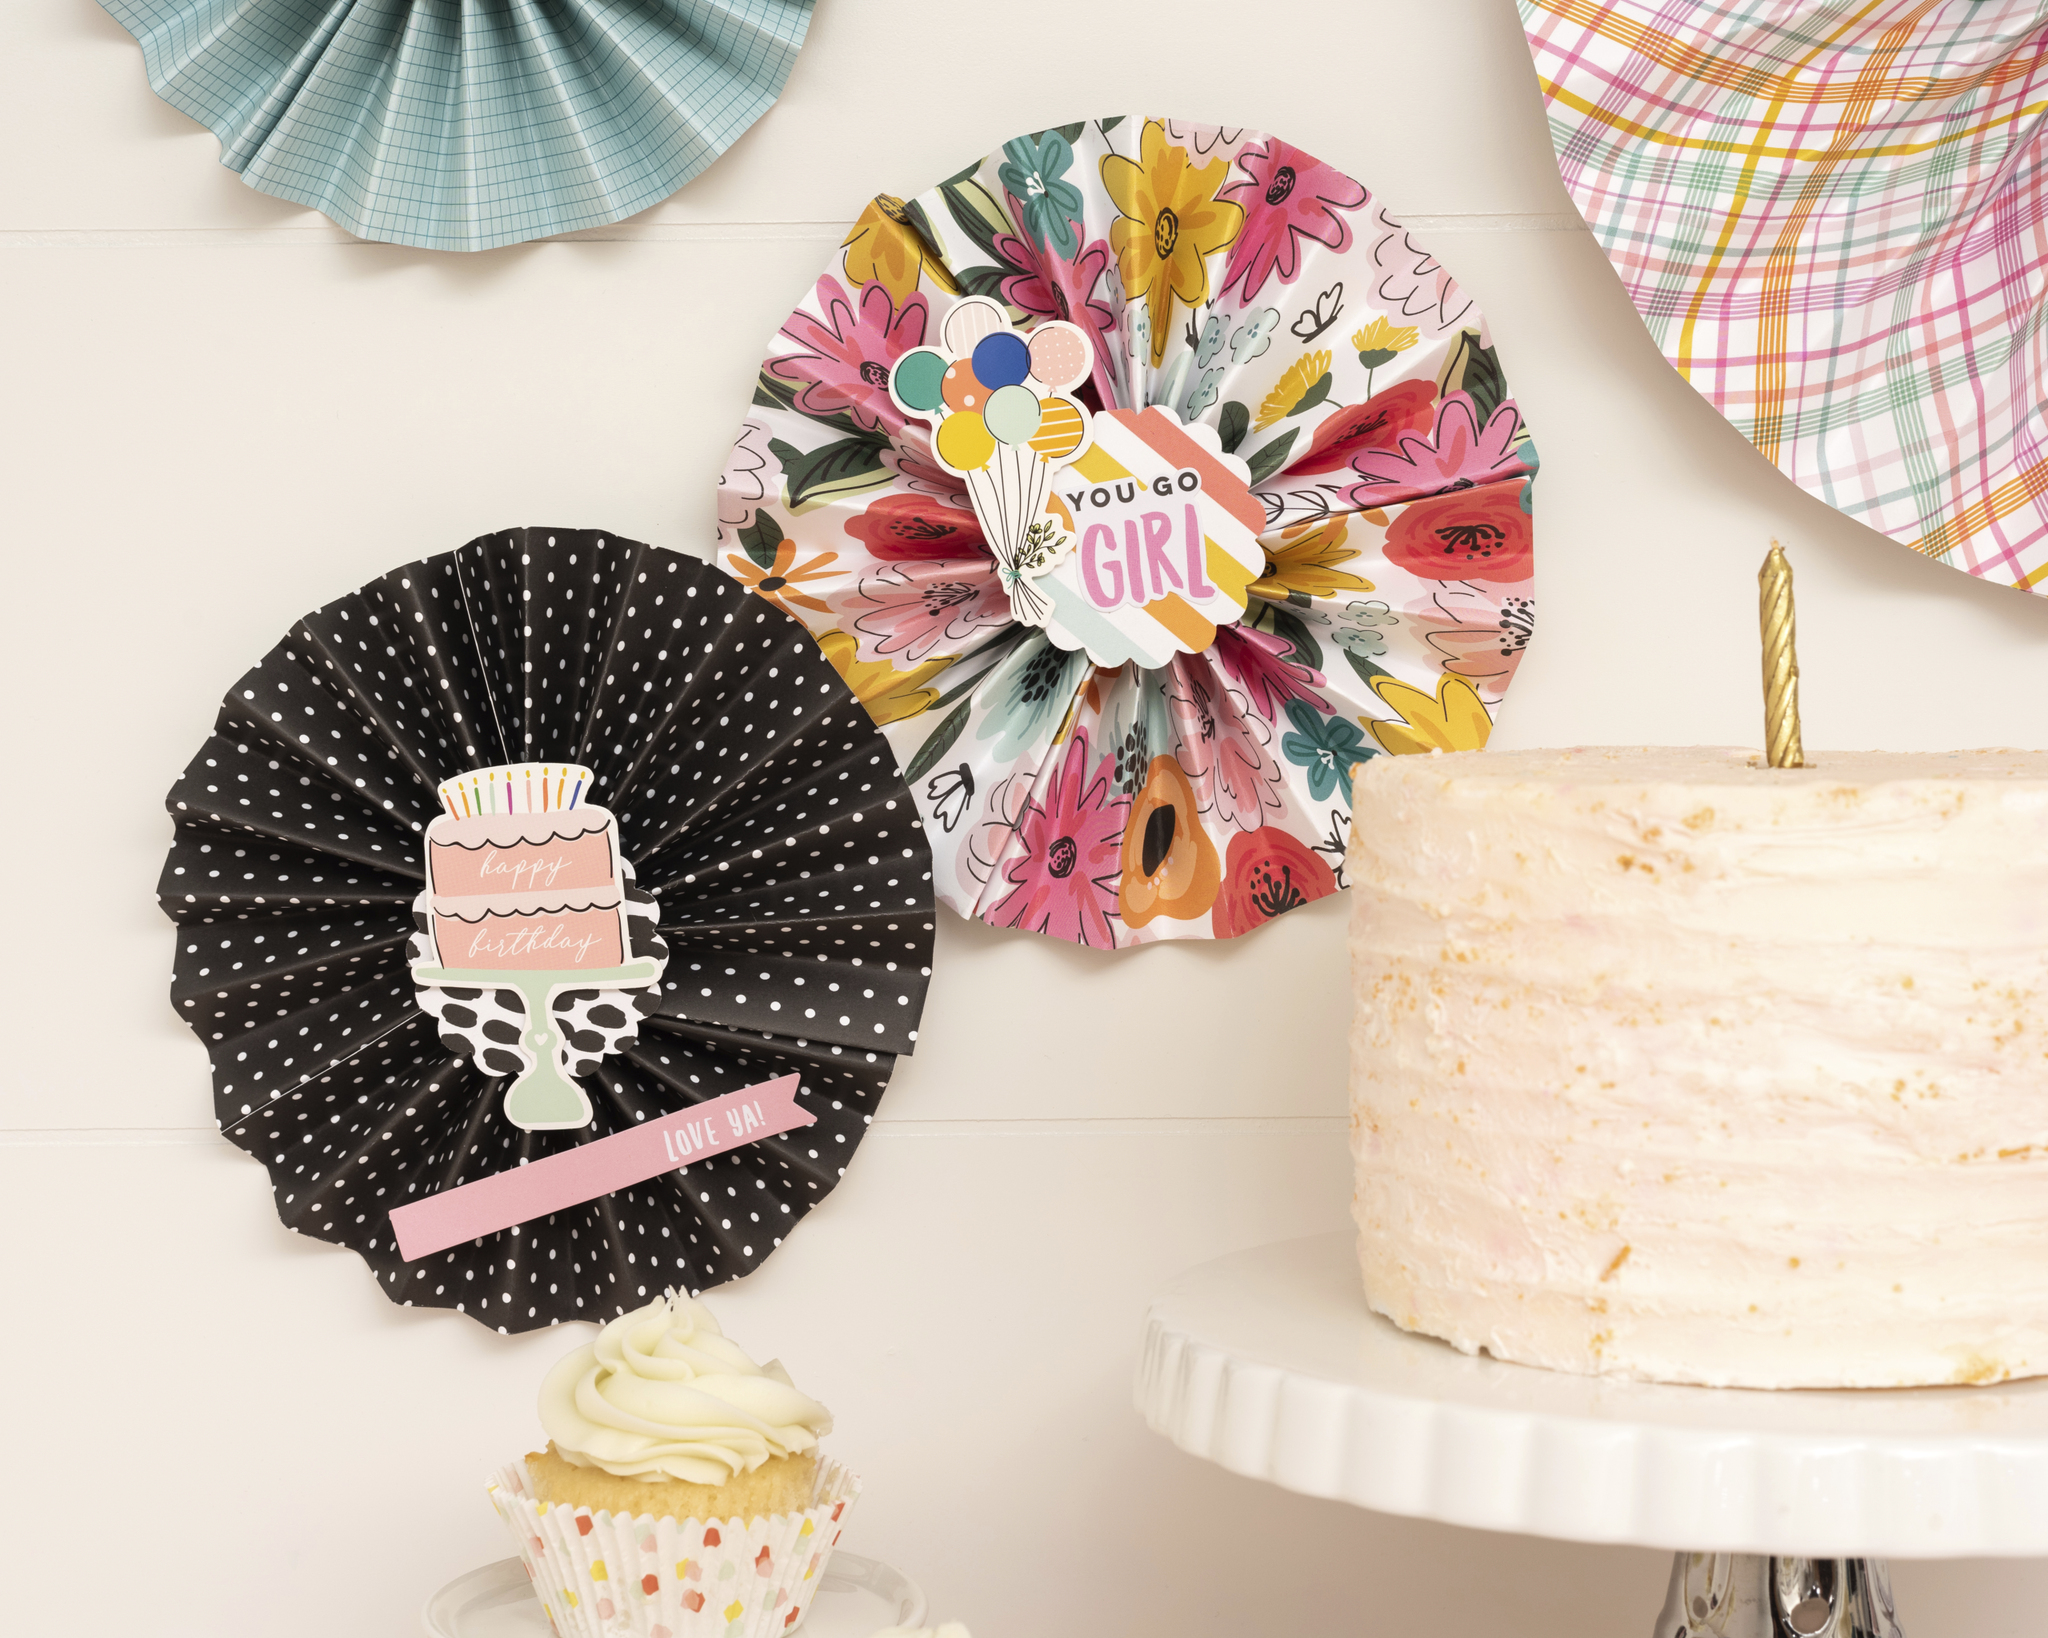
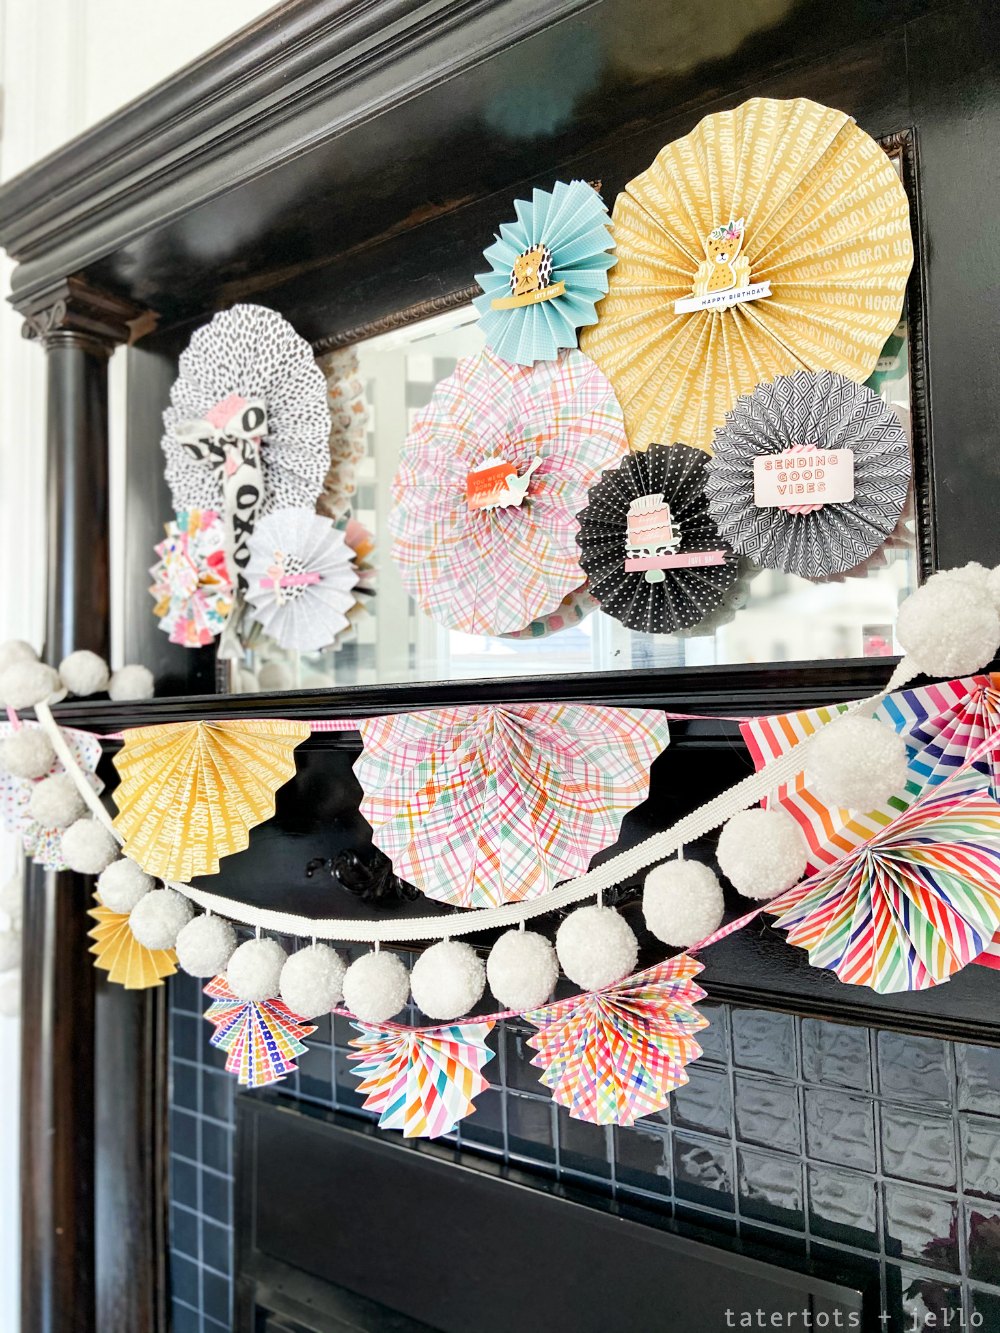
Paper medallions are incredibly versatile. You can create large medallions to hang from the ceiling or on the wall, making a bold statement at your party. Smaller medallions are ideal for garlands, adding a festive touch to mantels, or even for embellishing cards and scrapbook layouts. The possibilities are endless, and the results are always stunning.
Paper Medallion Centerpiece Supplies
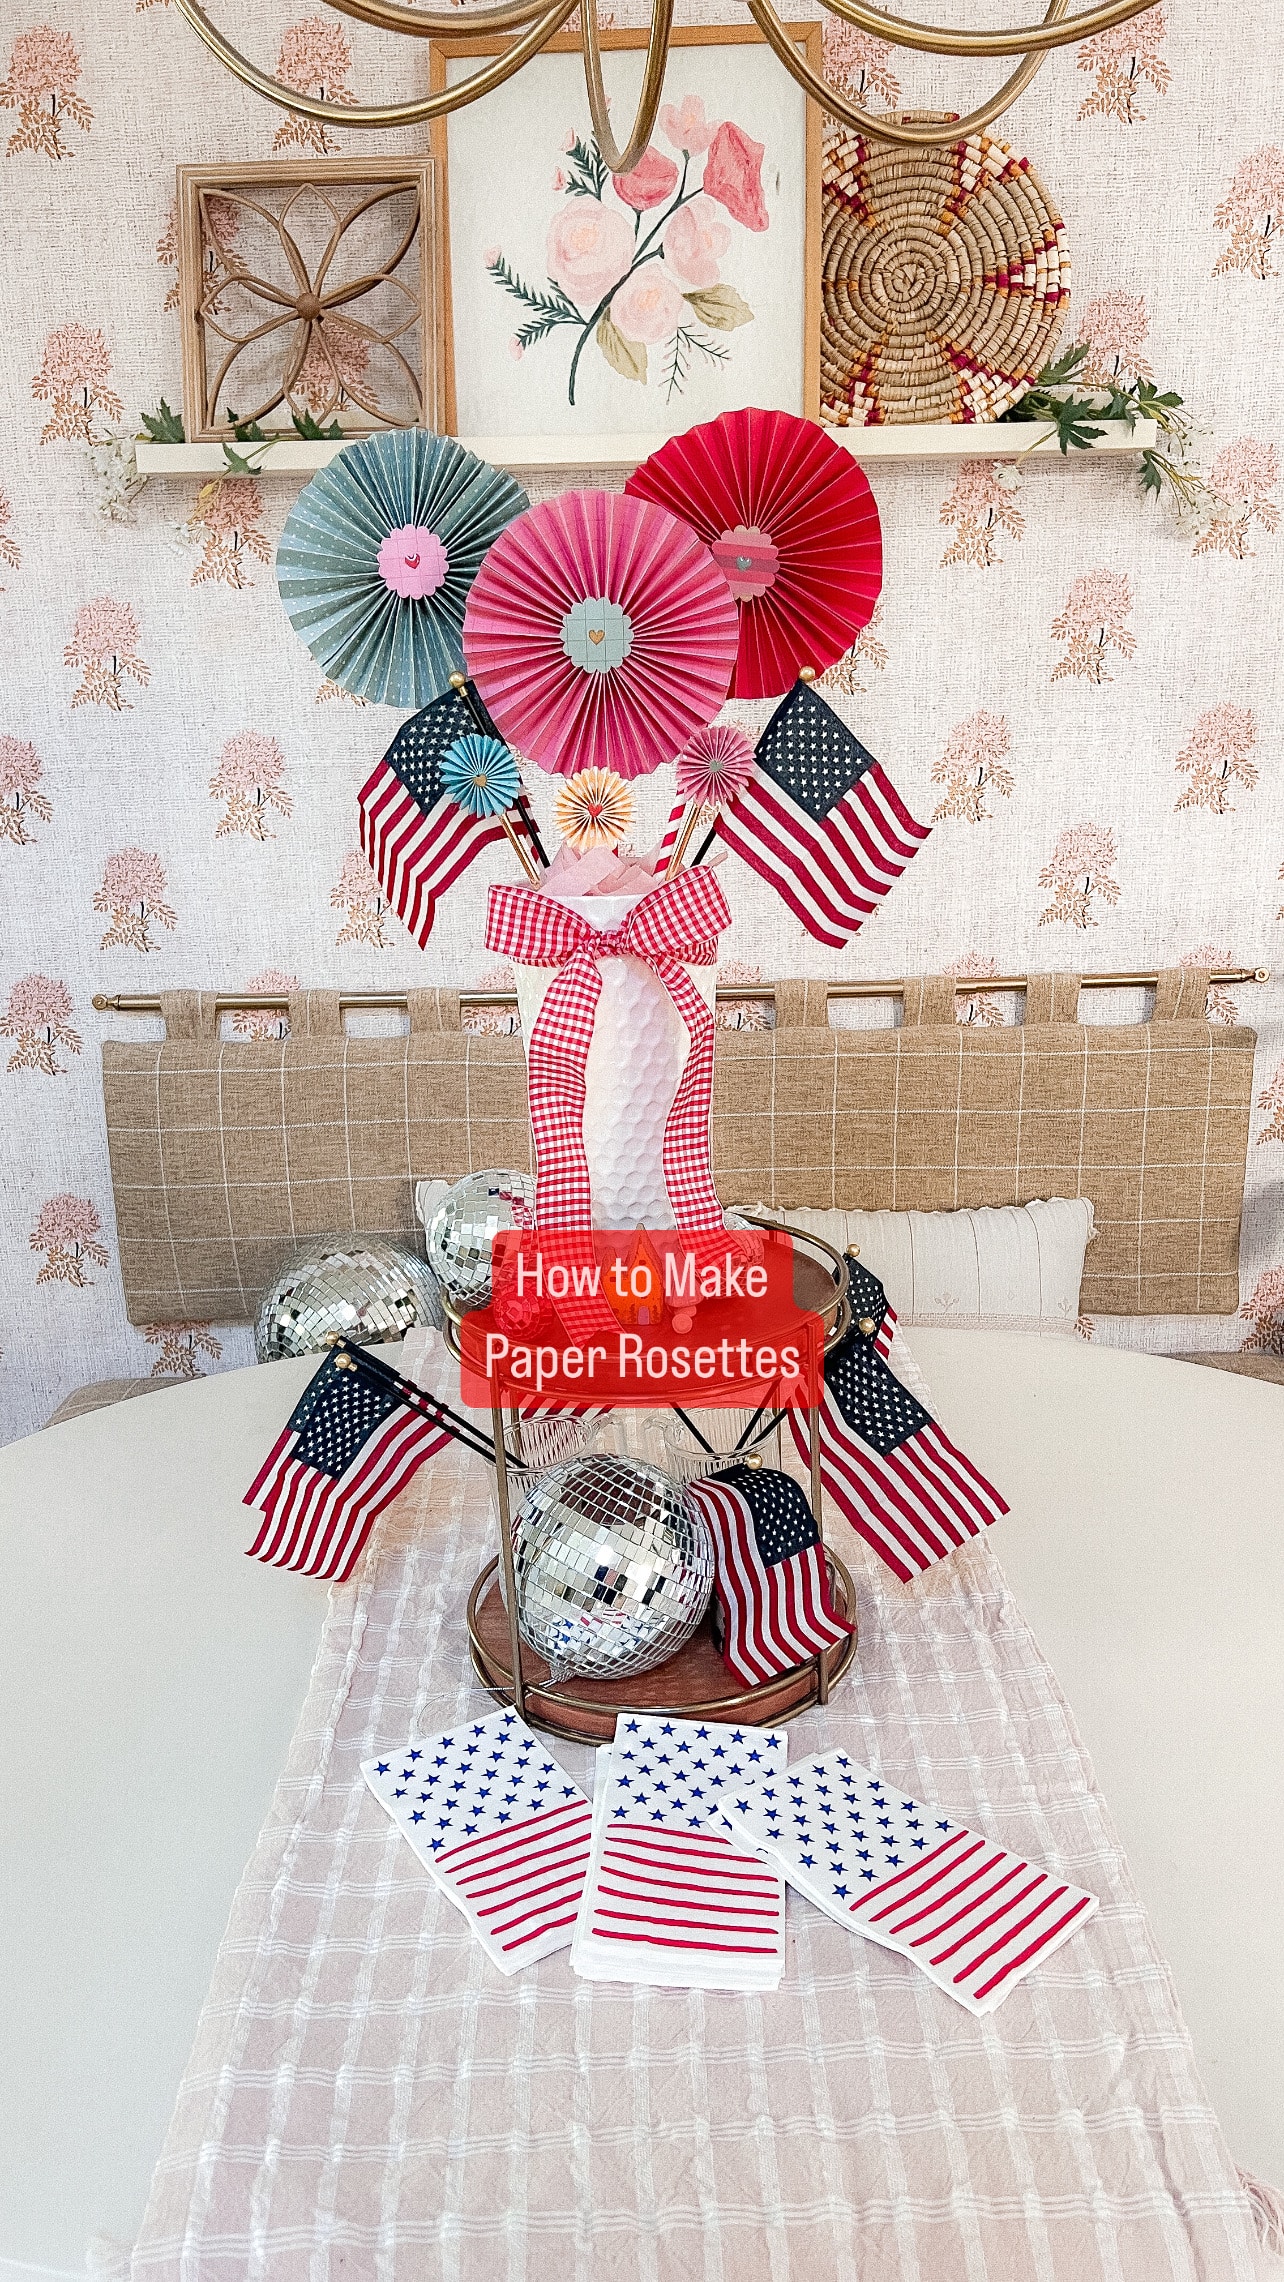
To create a paper medallion centerpiece like mine, you will need the following supplies:
- Paper from the Groovy Darlin’ Paper Line: This paper line is available in stores including JoAnn Stores.
- Embellishments: I used heart embellishments from my Groovy Darlin’ line.
- Paper Straws: These are used to support the medallions.
- Skewers: These help secure the medallions into floral foam to hold them in place.
- Paper Punch: I used a circle punch for the center of the medallions.
- Vase: To hold the medallions.
- Floral Foam: To hold the skewers inside the vase.
- Ribbon: To tie around the vase for an extra decorative touch.
- Hot Glue or Regular Glue: For assembling the medallions.
Directions
Step 1: Cutting the Paper
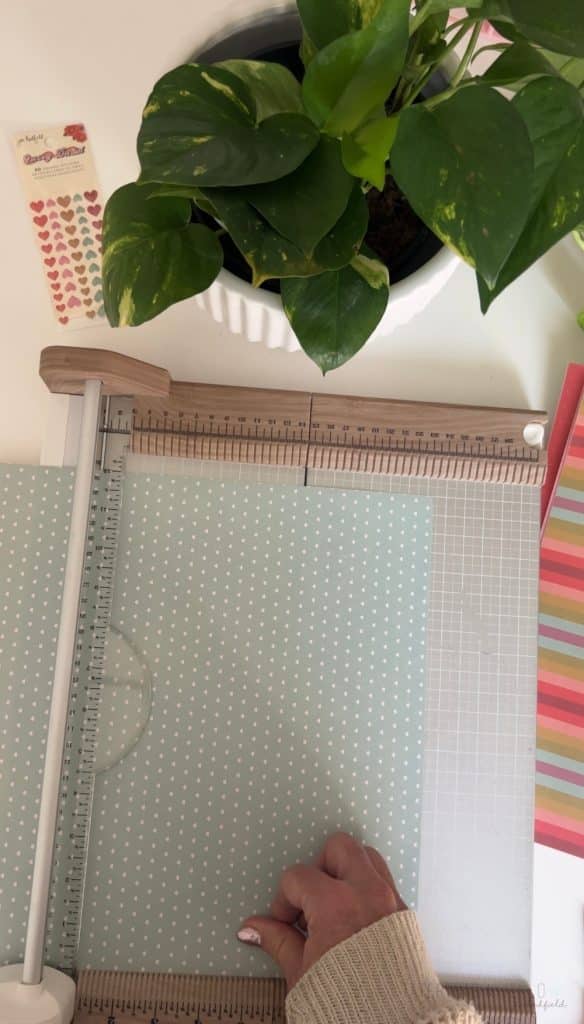
For larger medallions, cut 12×12 sheets of paper into four sections, each measuring 3 inches wide by 12 inches long. For smaller medallions, cut the 12×12 paper into 1-inch wide strips by 12 inches long.
Step 2: Folding the Paper
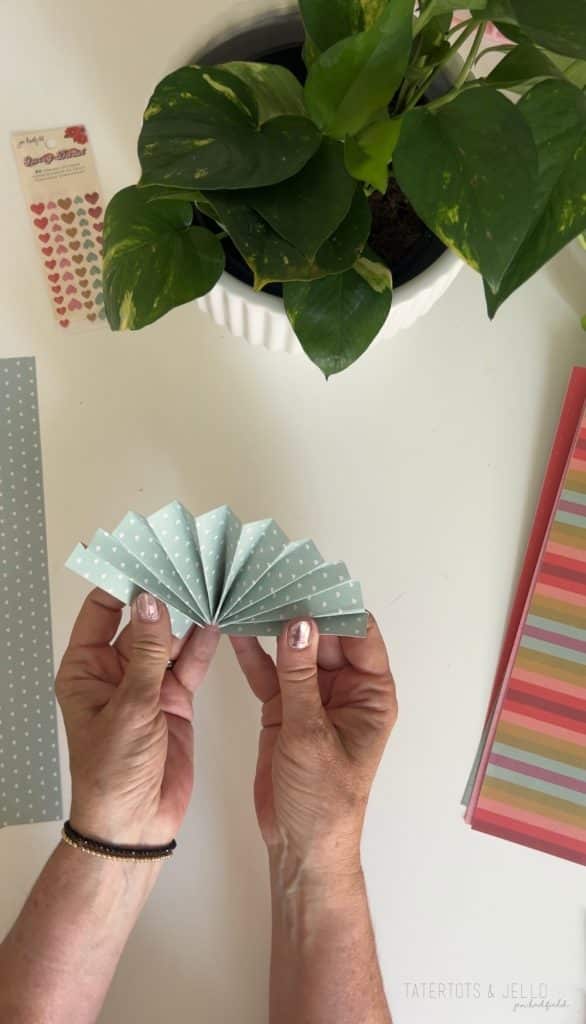
Take each strip of paper and fold it accordion-style. Don’t worry about making the folds exactly perfect – the beauty of handmade crafts is in their uniqueness.
Step 3: Forming the Medallions
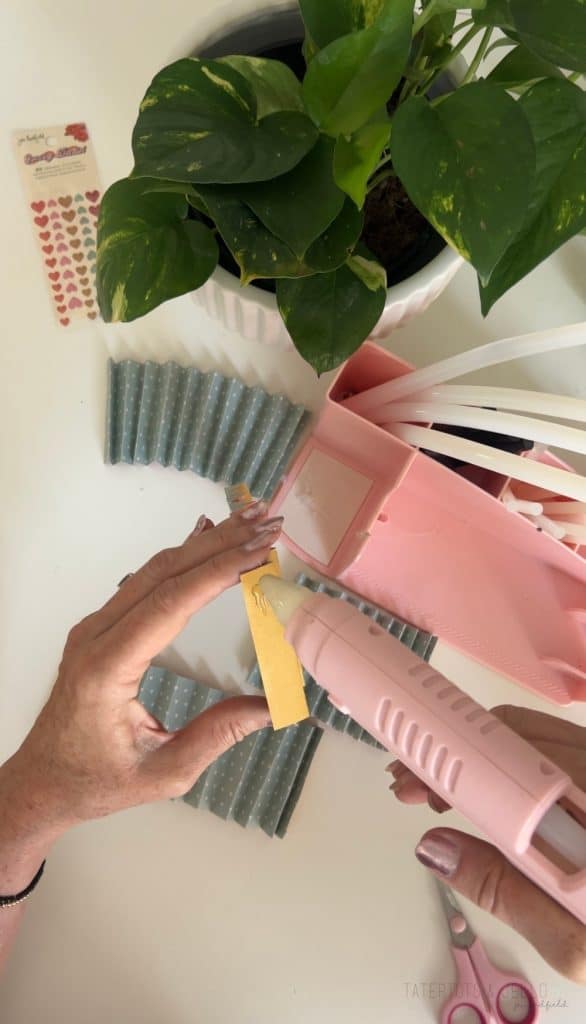
Once all the pieces are folded, connect each strip of paper together with hot glue to form a circle. (for the small medallions, you will only have one strip of paper that is 1″ wide x 12″ long). Lay the circle flat and press the center together to create the medallion shape.
Step 4: Securing the Medallions
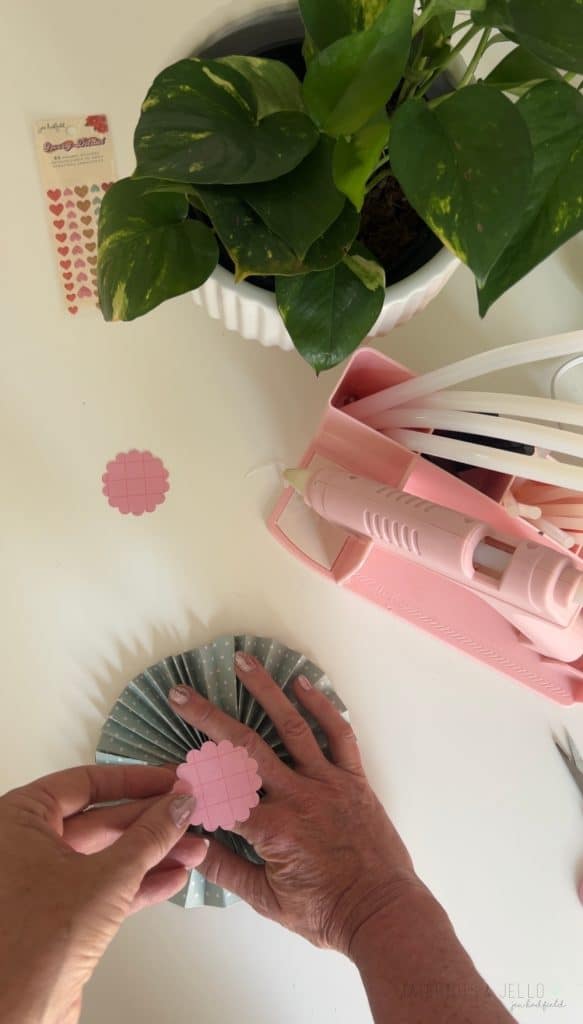
Use a round piece of paper cut out with a paper punch for the center, your craft cutting machine, or hand cut out with scissors. Add hot glue to the back of the paper circle and place it in the center of the medallion, holding it until the glue cools and sets. Repeat this on the back of the medallion to secure the shape.
Step 5: Adding Embellishments
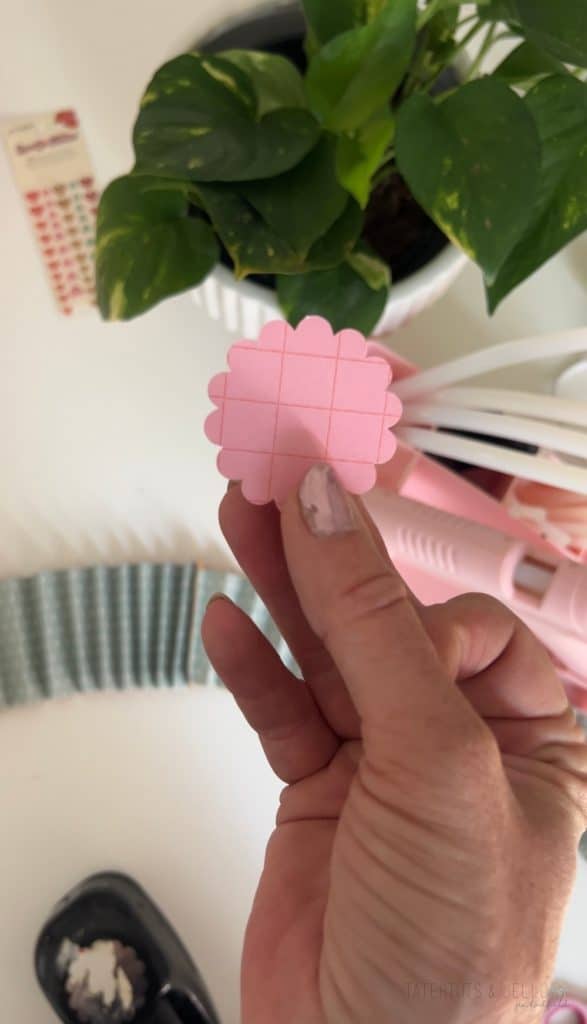
Now it’s time to get creative with embellishments. I used heart embellishments from my Groovy Darlin’ line, but you can use any decorative items that fit your theme.
Step 6: Attaching the Straws
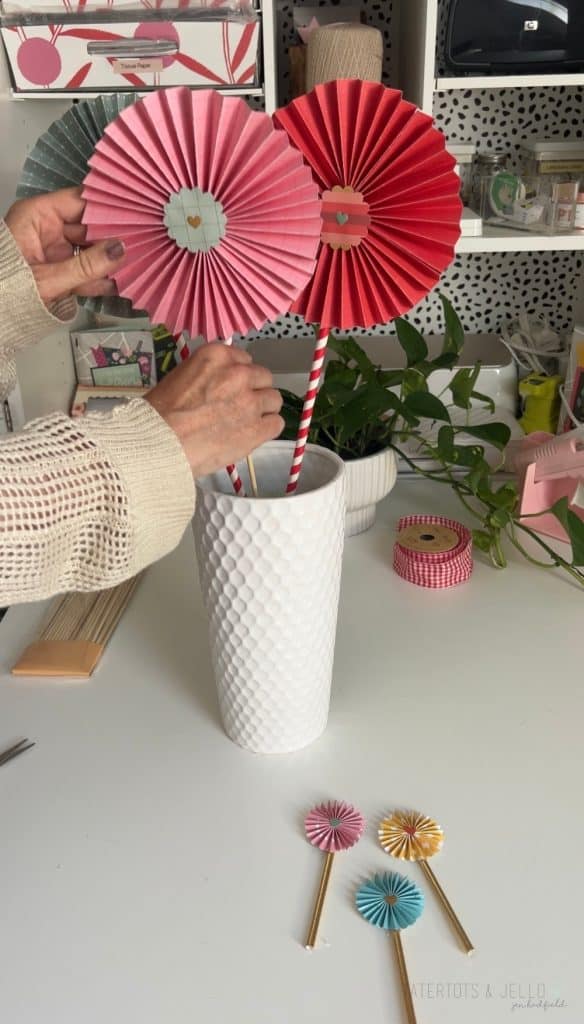
Glue a paper straw to the back of each medallion. This will allow you to position the medallions in your arrangement.
Step 7: Arranging the Medallions
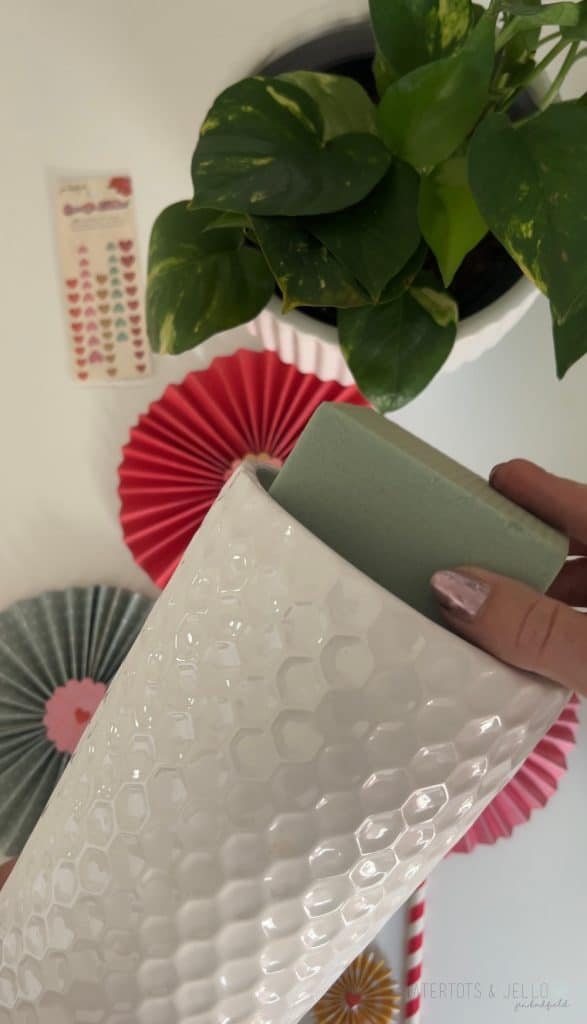
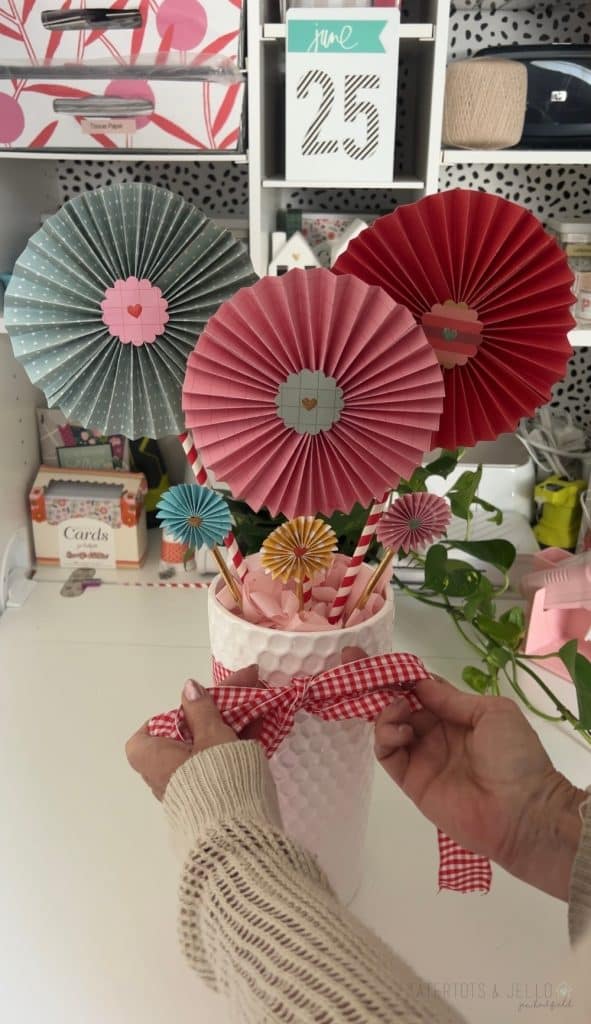
Insert skewers into the floral foam inside your vase. Slide the paper straws over the skewers to hold the medallions in place. I arranged three large medallions in the back and three smaller ones in front for depth and variety.
Step 8: Finishing Touches
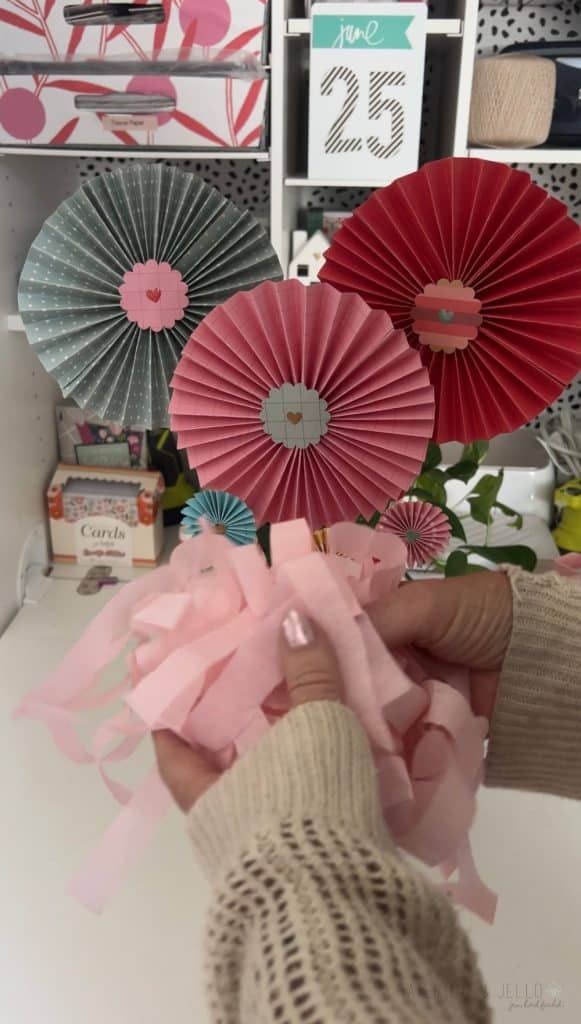
To cover up the foam in the vase, I cut tissue paper into strips and place them over the foam. Finally, tie a ribbon around the vase for a polished look.
Tips for Success
- Color Coordination: Choose papers and embellishments that complement each other and fit your party theme.
- Experiment with Sizes: Mixing different sizes of medallions adds visual interest.
- Personal Touches: Personalize your medallions with names, dates, or special messages.
Inspiration for Other Occasions
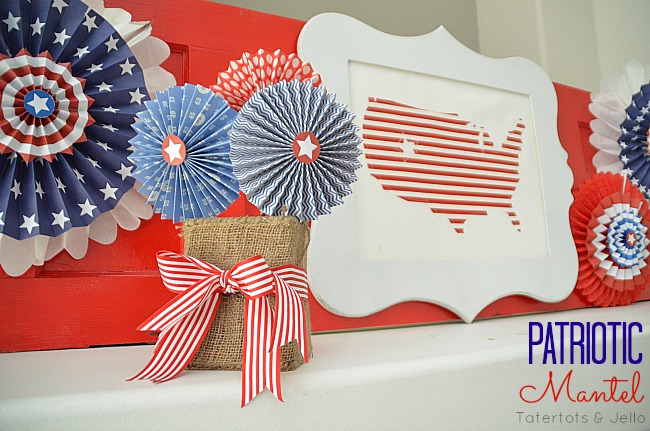
While I made my medallion centerpiece for the Fourth of July, you can easily adapt this project for other celebrations:
- Birthdays: Use bright, cheerful colors and birthday-themed party wall or hang from the ceiling.
- Weddings: Opt for elegant paper and romantic accents like lace or pearls.
- Holidays: Tailor your medallions to fit Christmas, Halloween, Easter, or any other holiday by choosing appropriate colors and decorations. This idea is perfect for party tables or your mantel.
Conclusion
Creating paper medallions is a delightful and rewarding project that adds a handmade touch to your celebrations. With the beautiful Groovy Darlin’ paper line, you can craft stunning decorations that will impress your guests and make your events unforgettable. So grab your supplies, get creative, and have fun making your own paper medallion masterpieces!
More Ways to Use Paper in Home Decor
Here are a few other ways to use scrapbook paper in home decor!
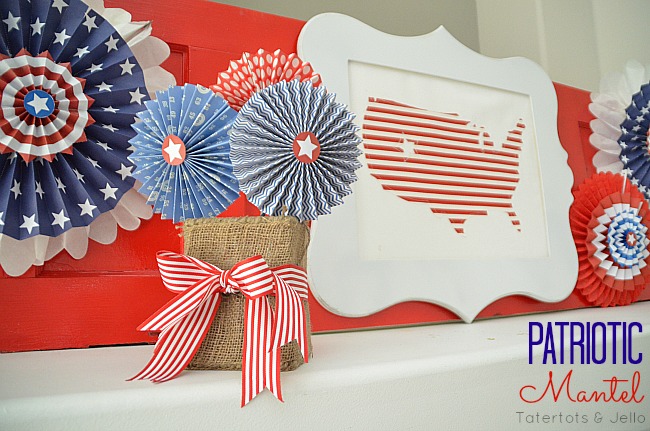
DIY Patriotic Mantel with Paper Medallions
Make a festive fourth of july mantel with DIY paper medallion lollies!
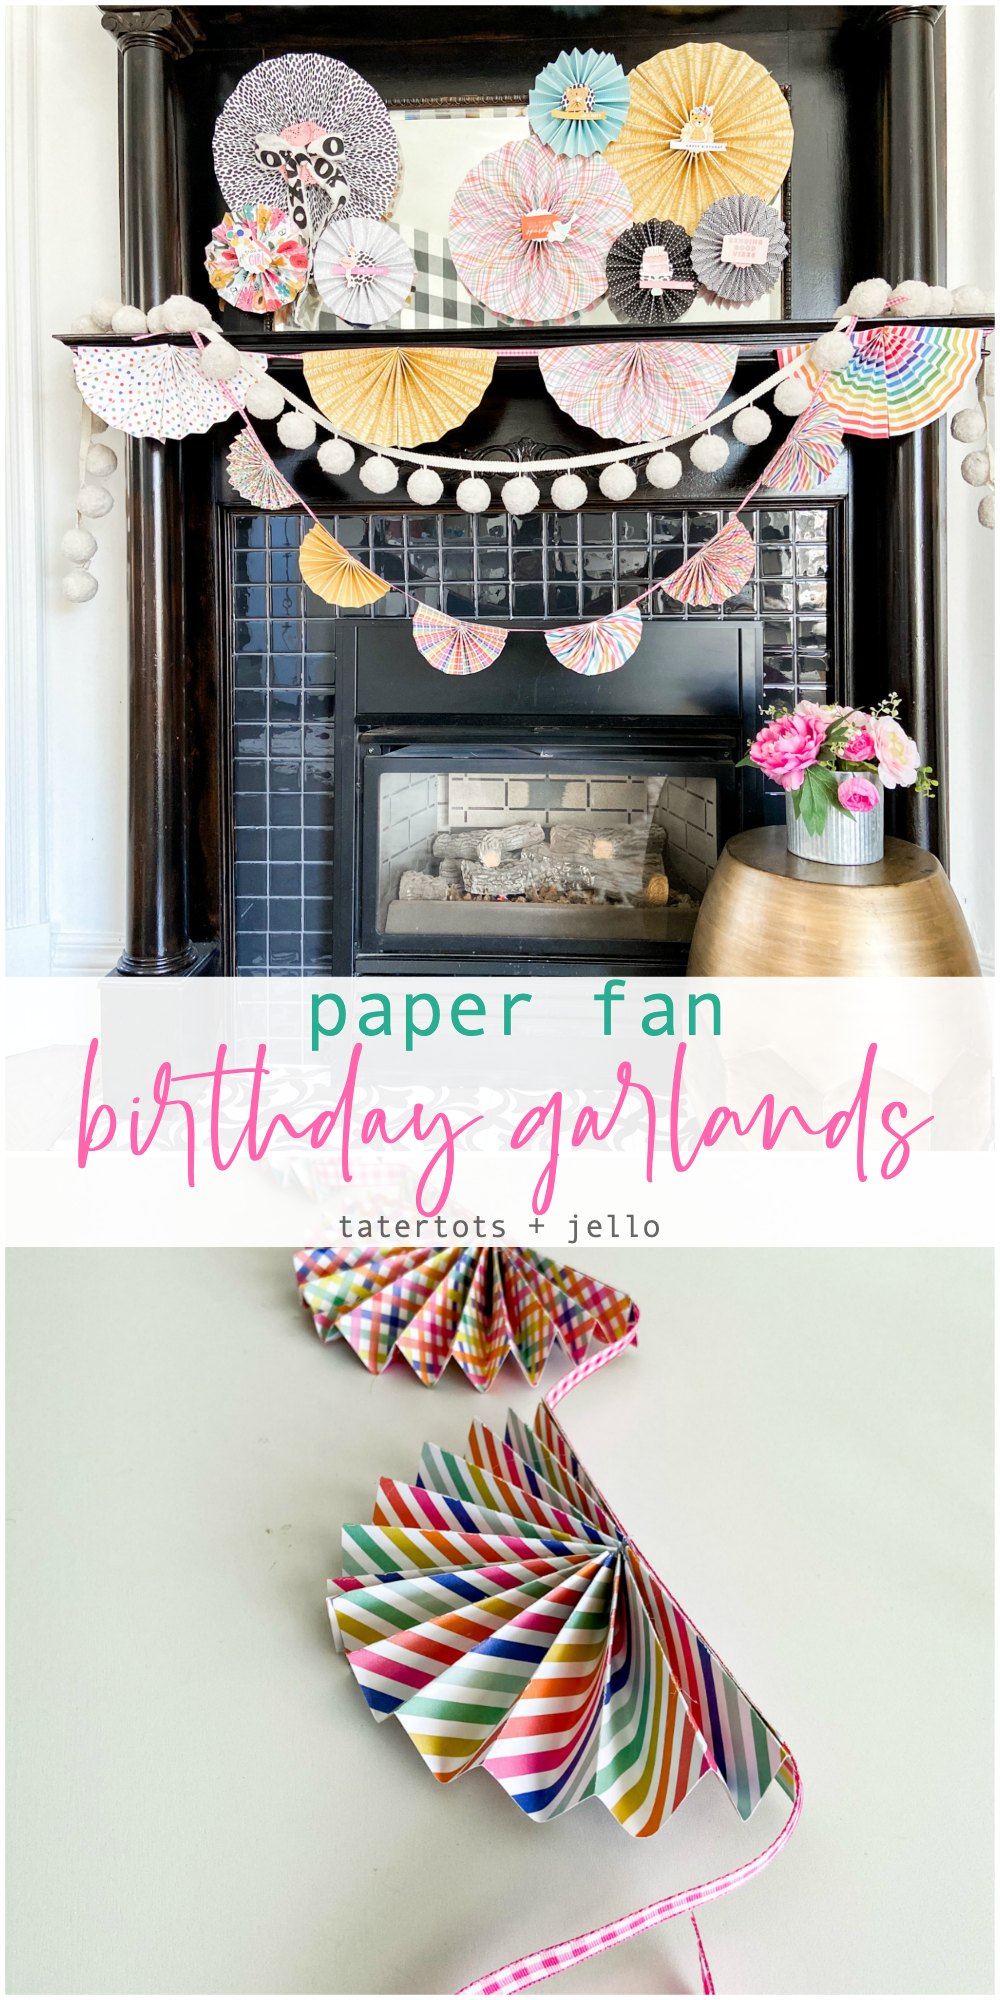
Make a Paper Fan Medallion Garland
DIY Paper Fan Birthday Garlands. Create two sizes of birthday fan garlands in minutes using your favorite scrapbook paper.
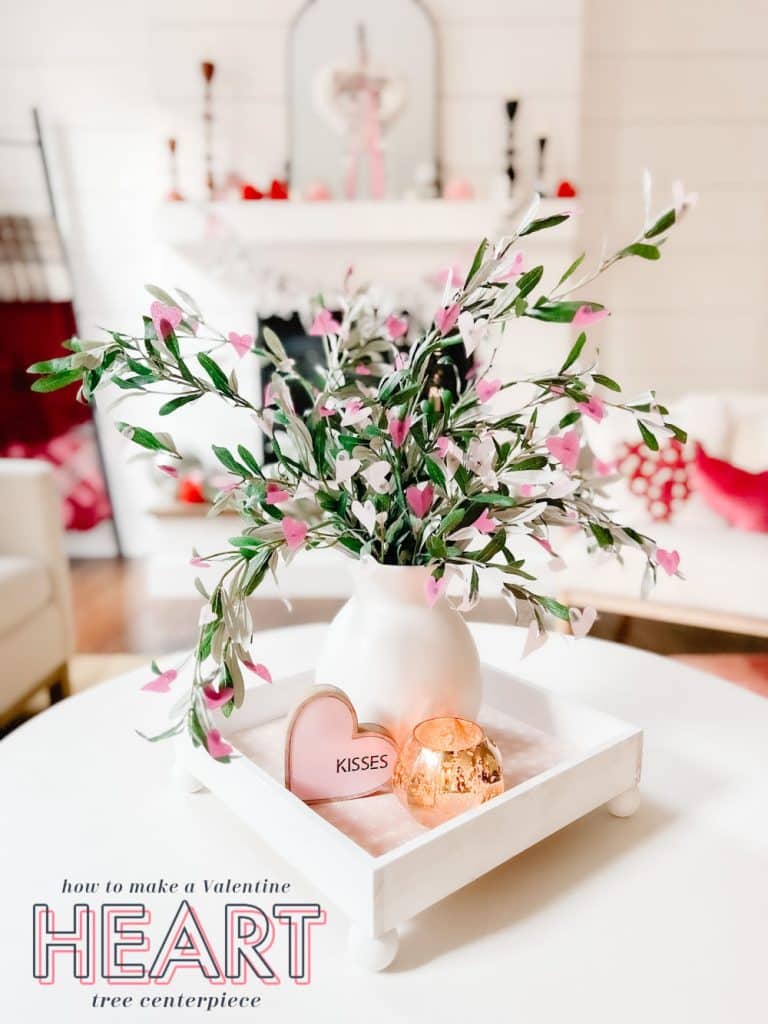
Make a Paper Heart Centerpiece
Tissue Paper Valentine Tree Centerpiece. Use inexpensive sheets of tissue paper to create a sweet valentine tree for a centerpiece or focal point!
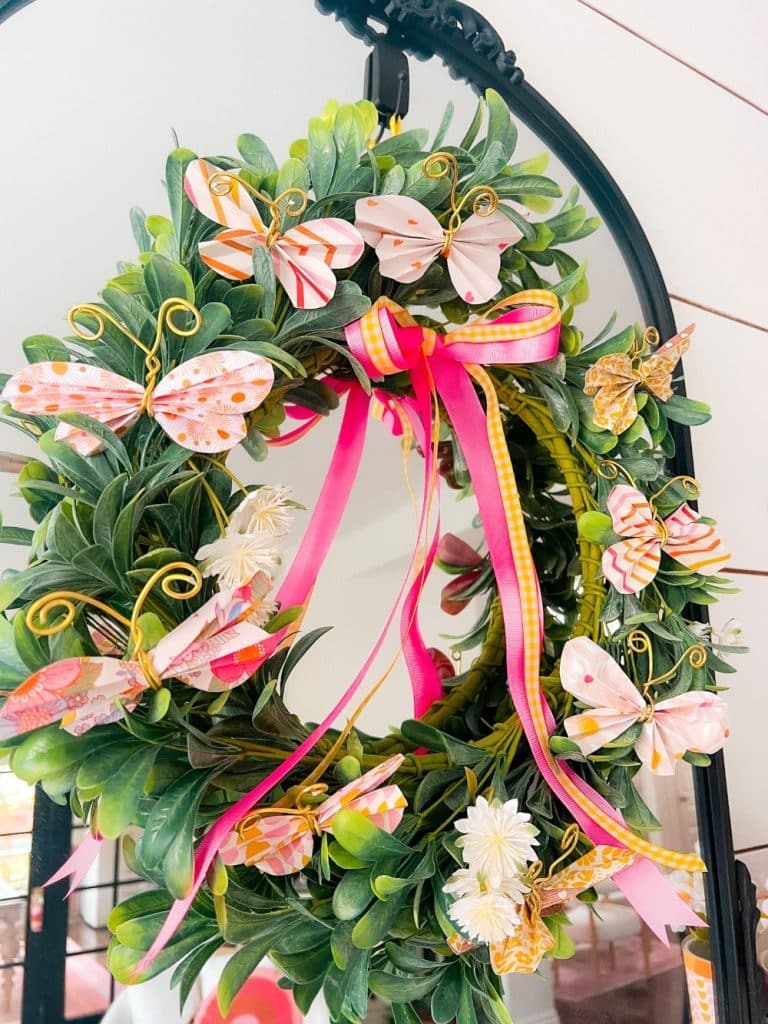
Make Paper Butterflies with Free Template
Paper Butterfly Wreath and Free Butterfly Template. Create a vibrant summer wreath adorned with paper butterflies, adding a touch of whimsy and handmade charm to your home decor.
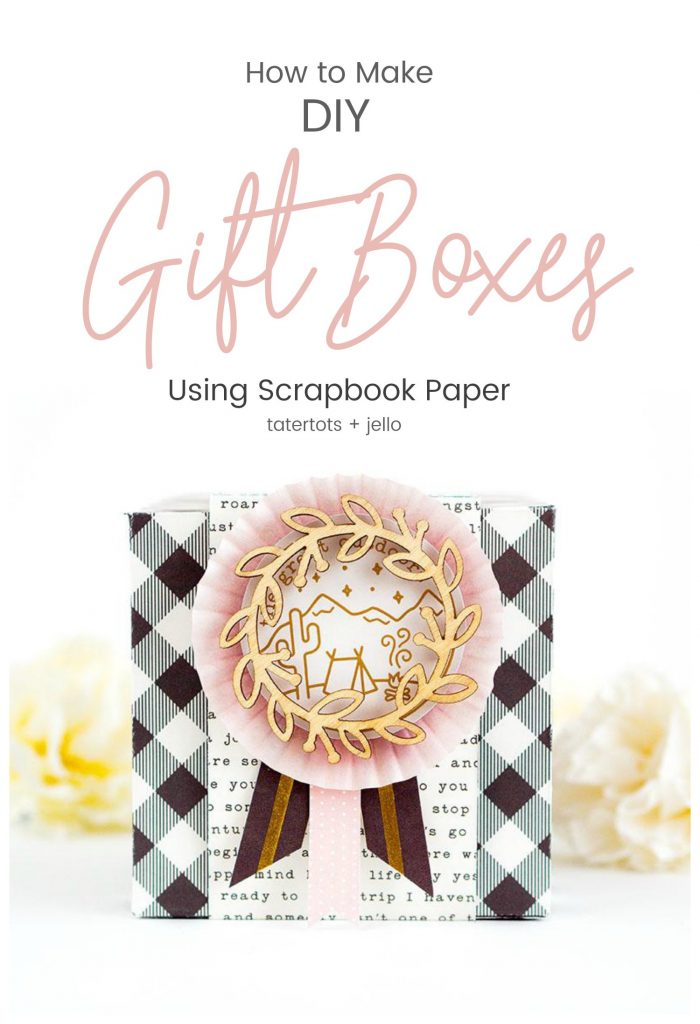
Make Paper Gift Boxes
Make a custom gift bag out of a sheet of scrapbook paper! Gift bags are so easy to make and personalize for parties, special occasions and special gifts. I’ll show you how to do this with the We R Memory Keepers Gift Bag Punch Board.
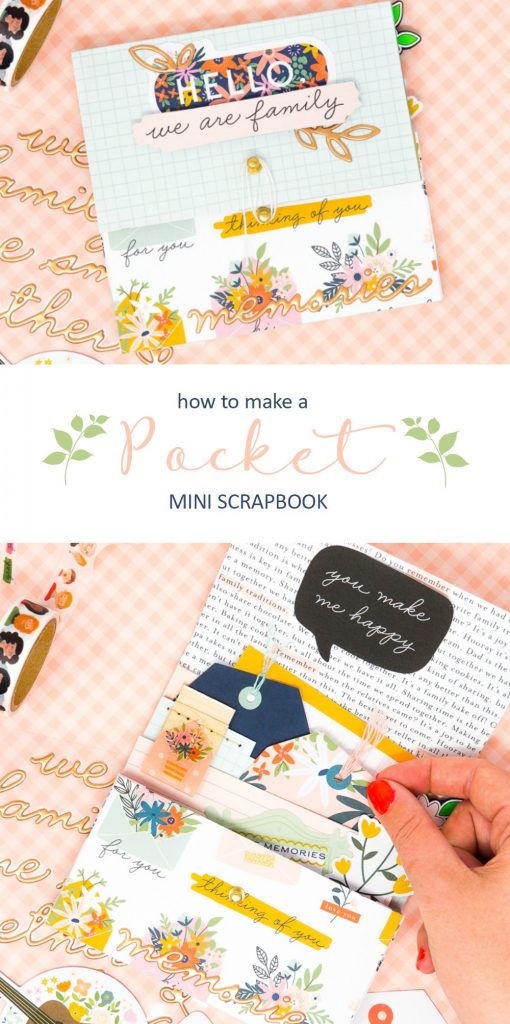
Make a Scrapbook Mini Album
DIY Pocket Mini Scrapbook. Keep your memories close at hand with a handy little scrapbook that has pockets and fits in your purse!
Happy crafting!
xoxo

