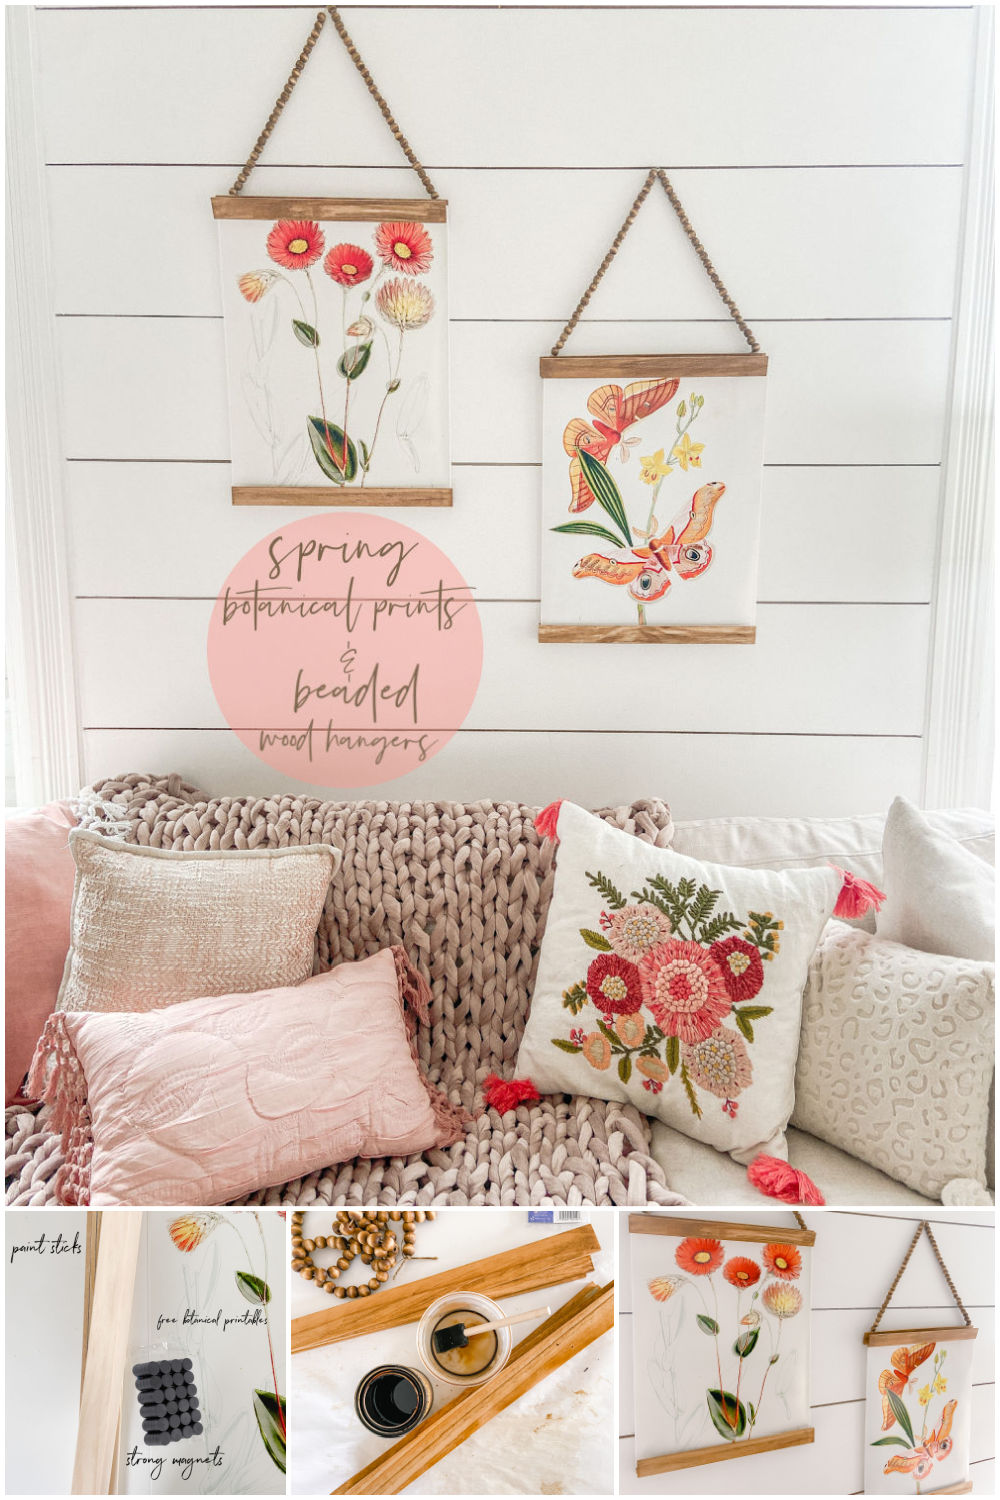
Spring Botanical Prints with DIY Beaded Hangers. Bring a little spring color into your home and make beaded hangers for less than $5!
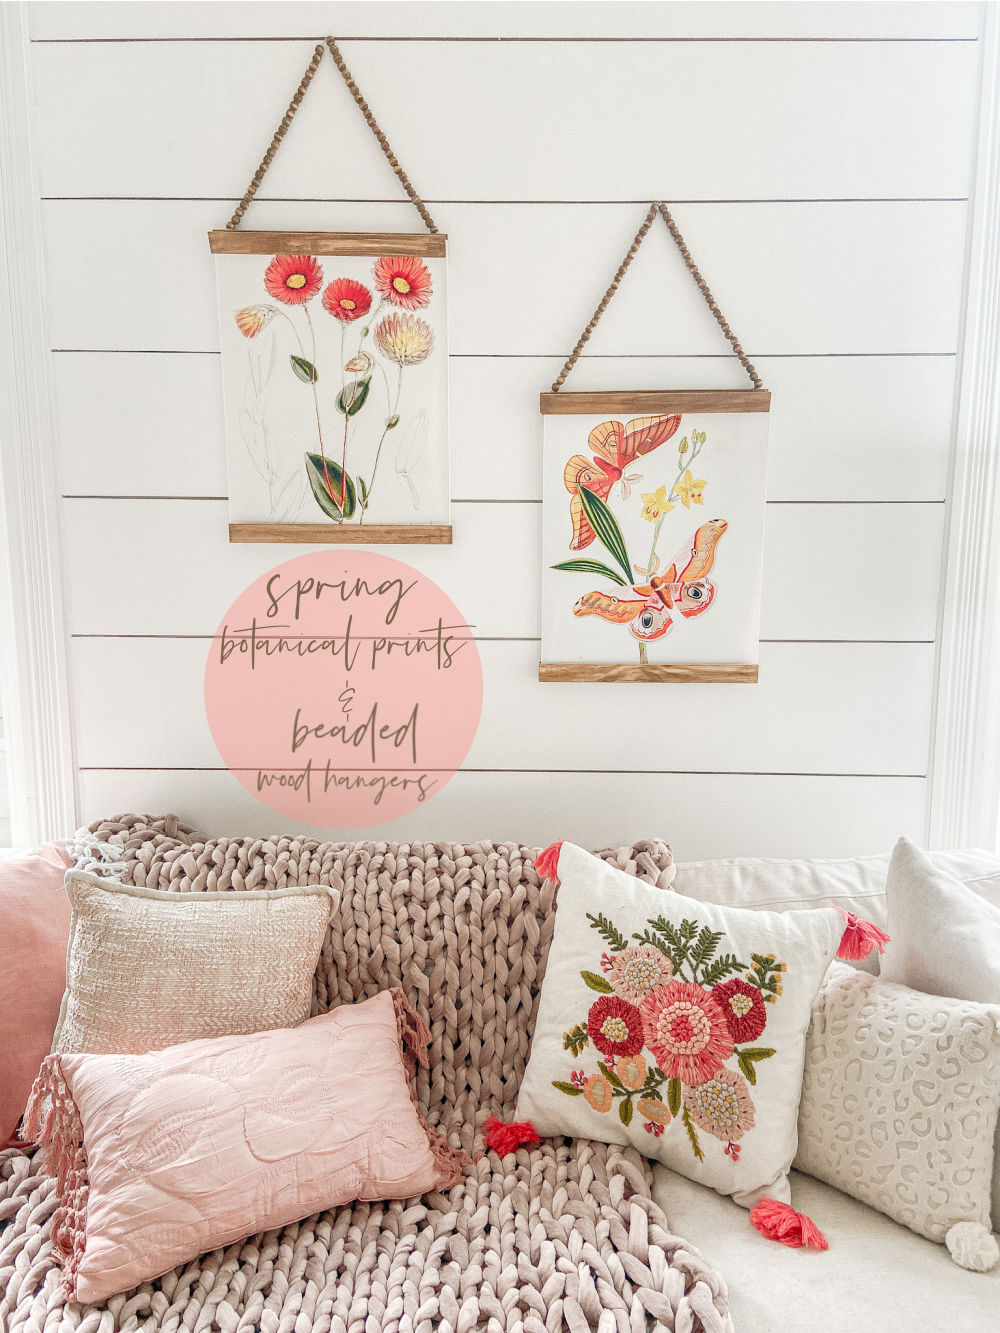
Spring Botanical Prints with Beaded Hangers
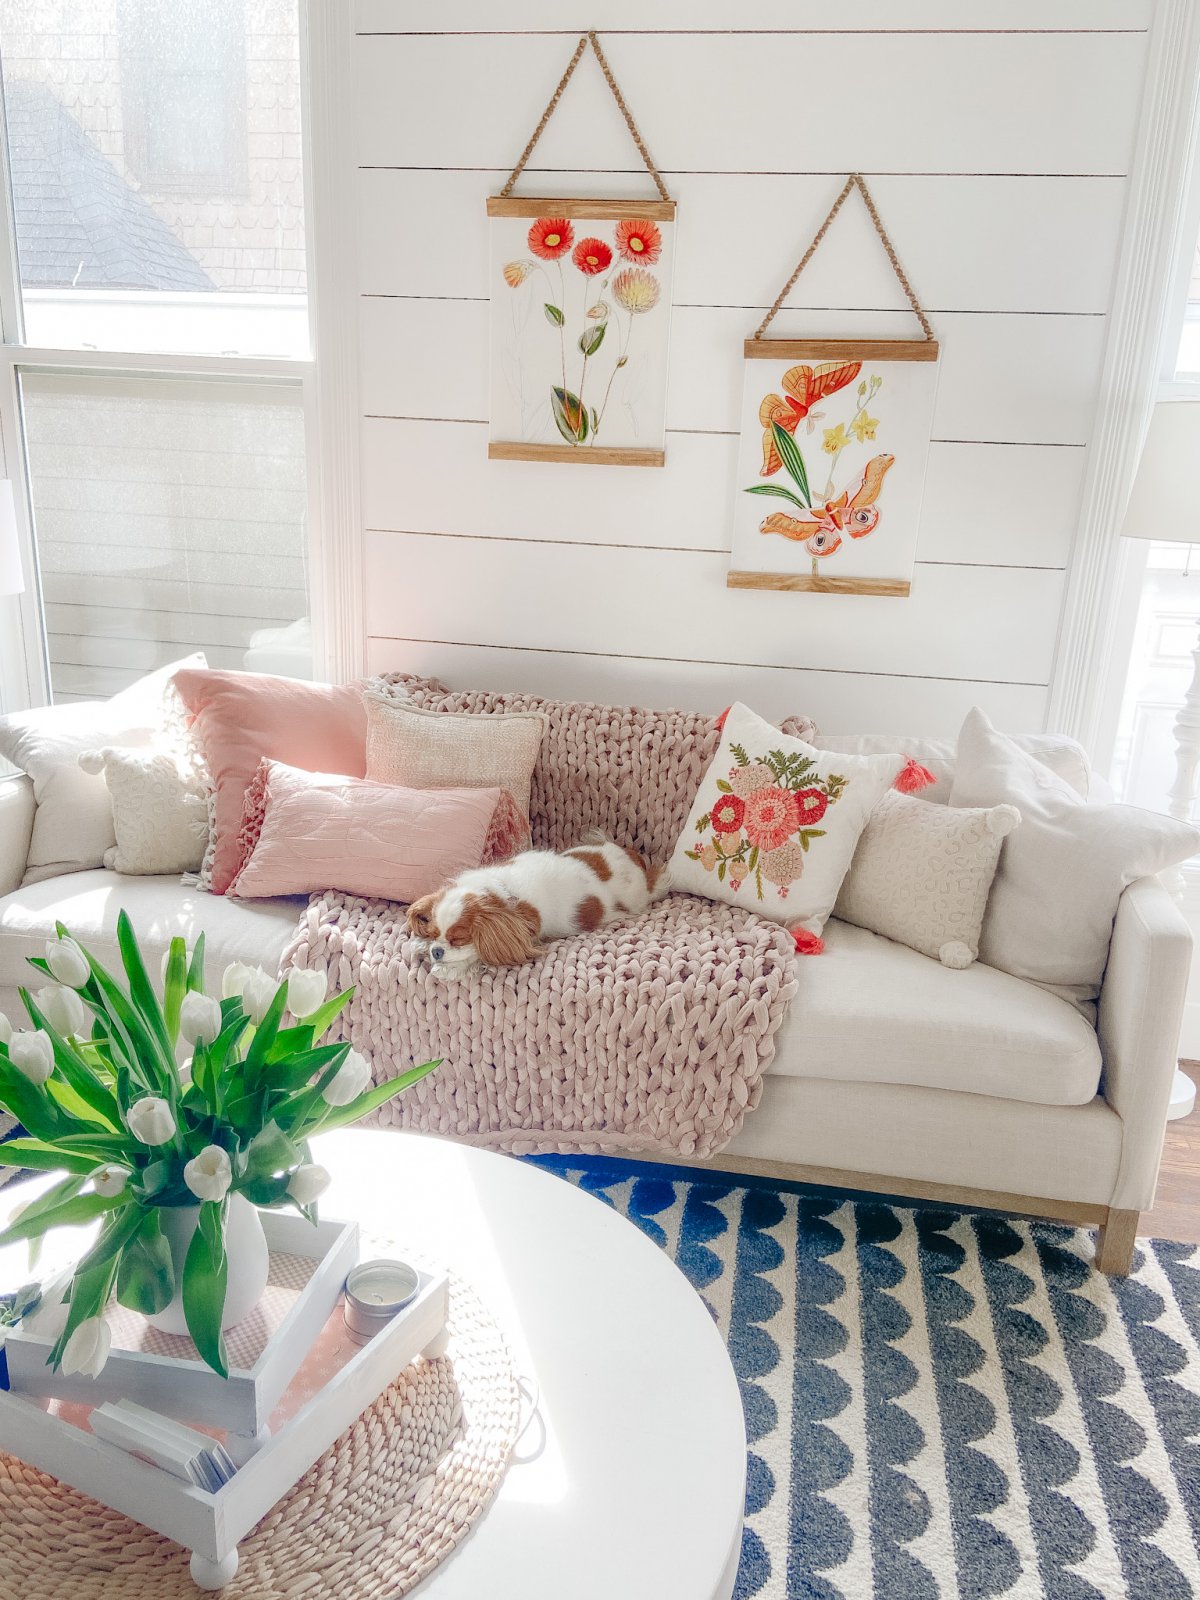
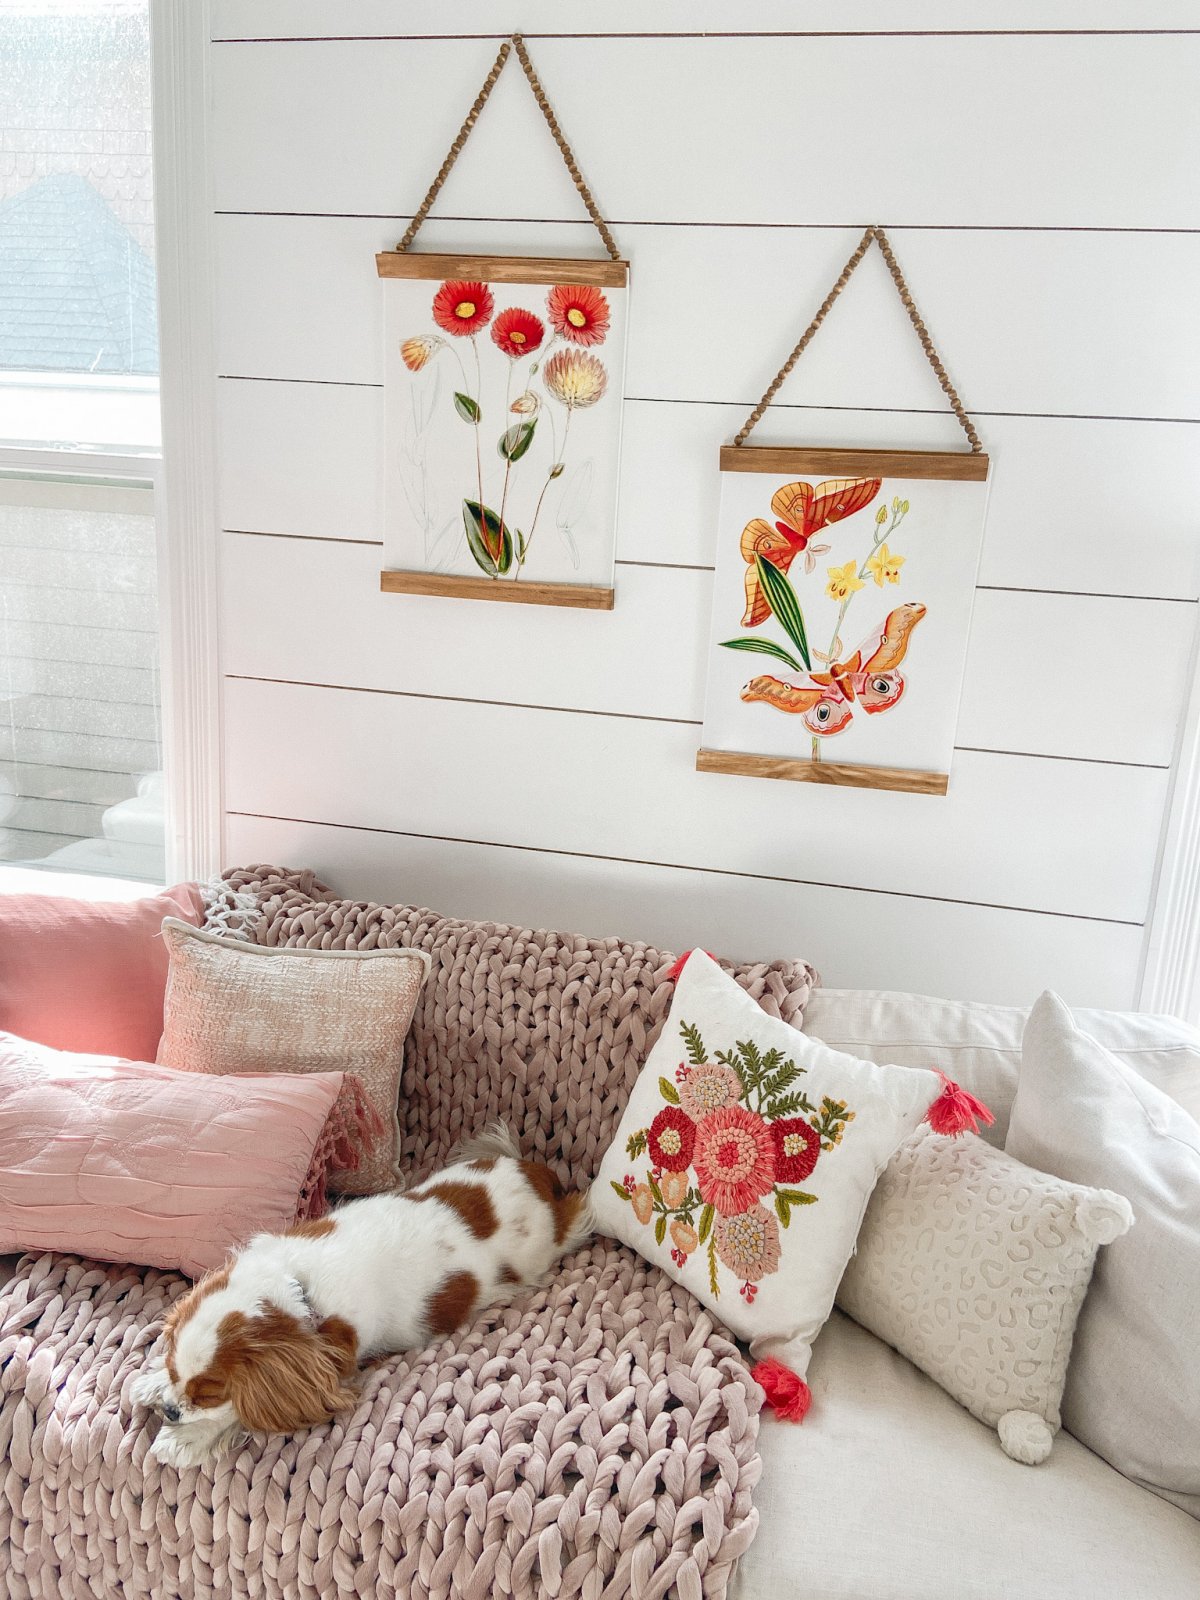
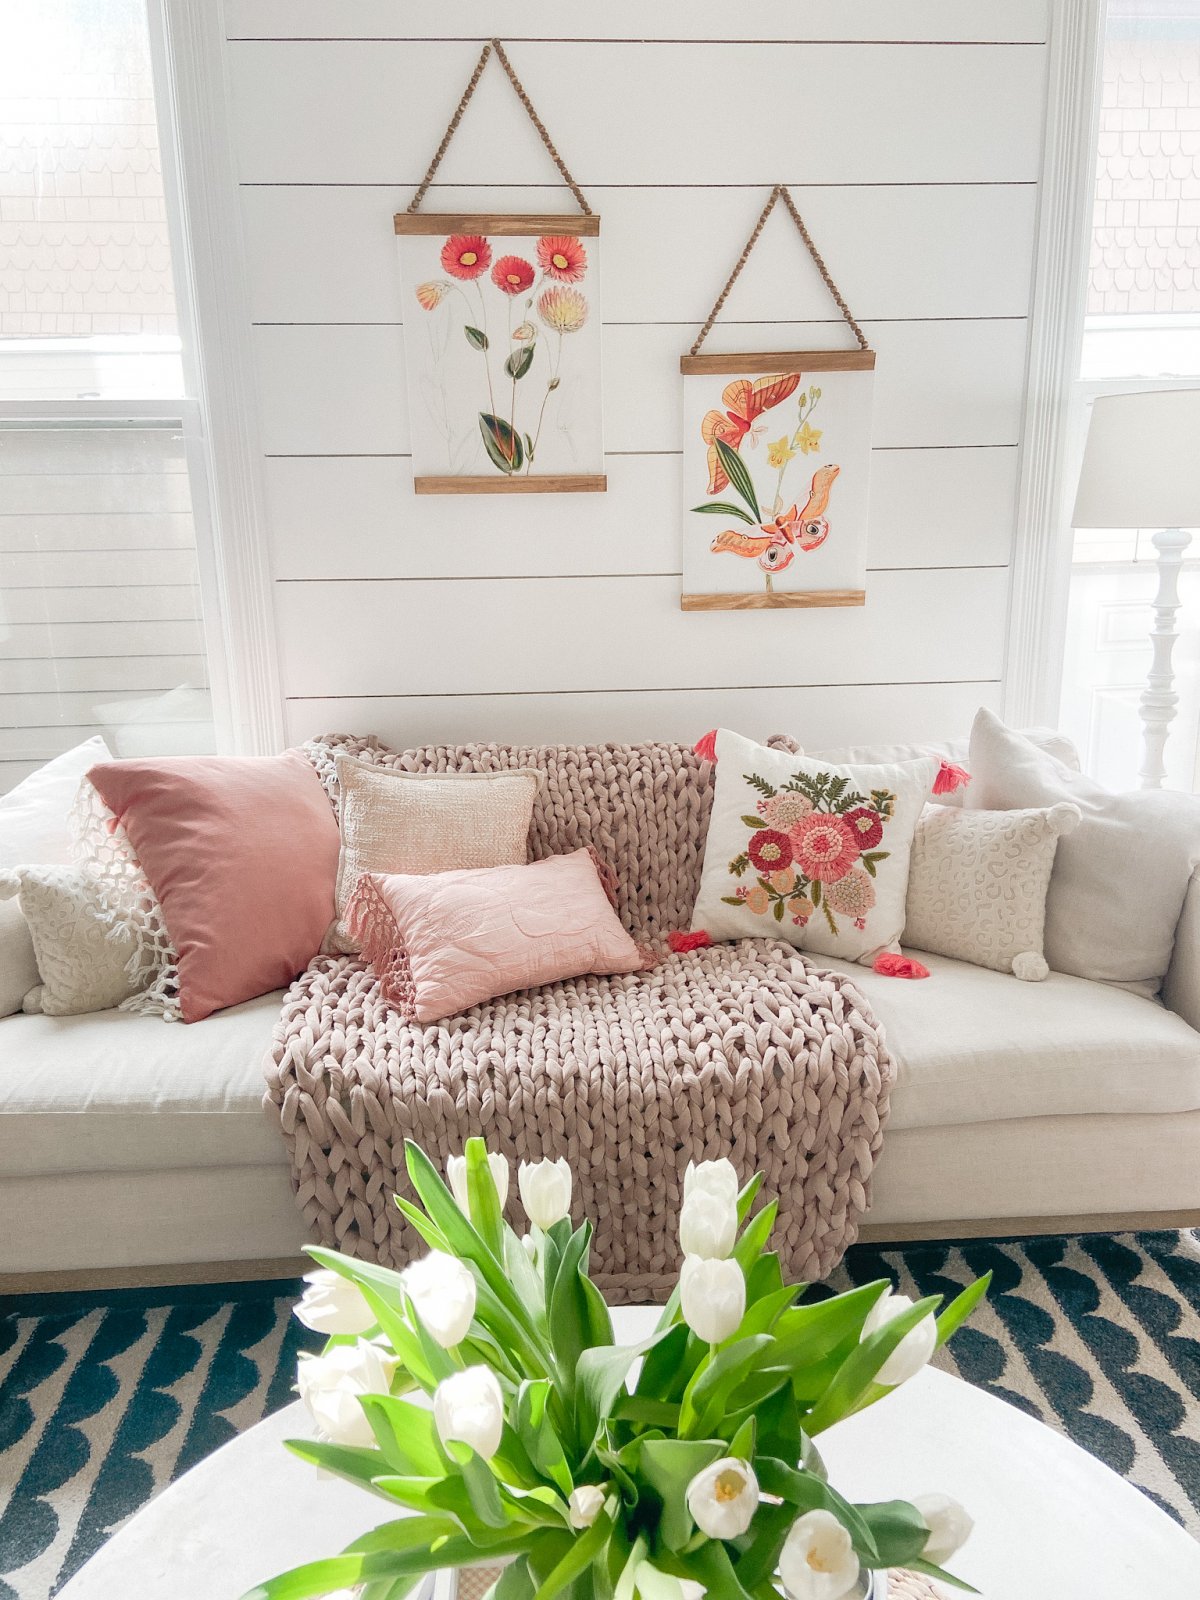
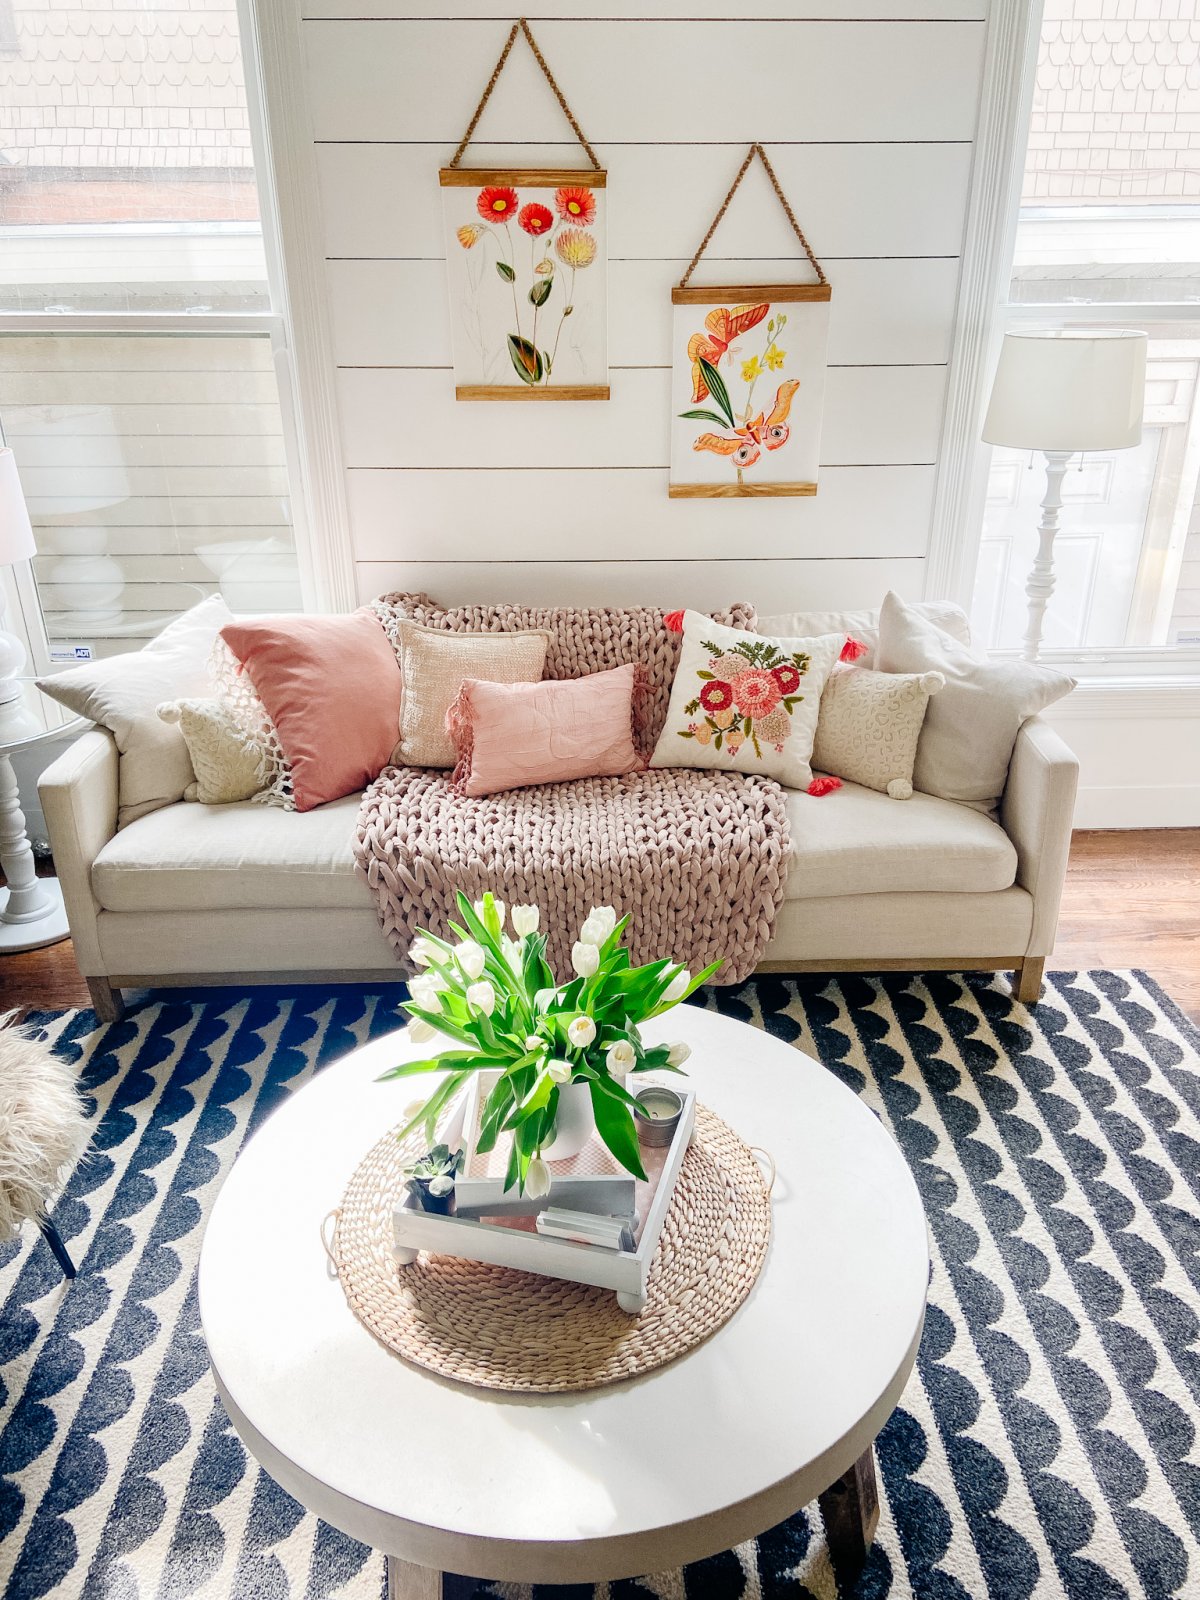
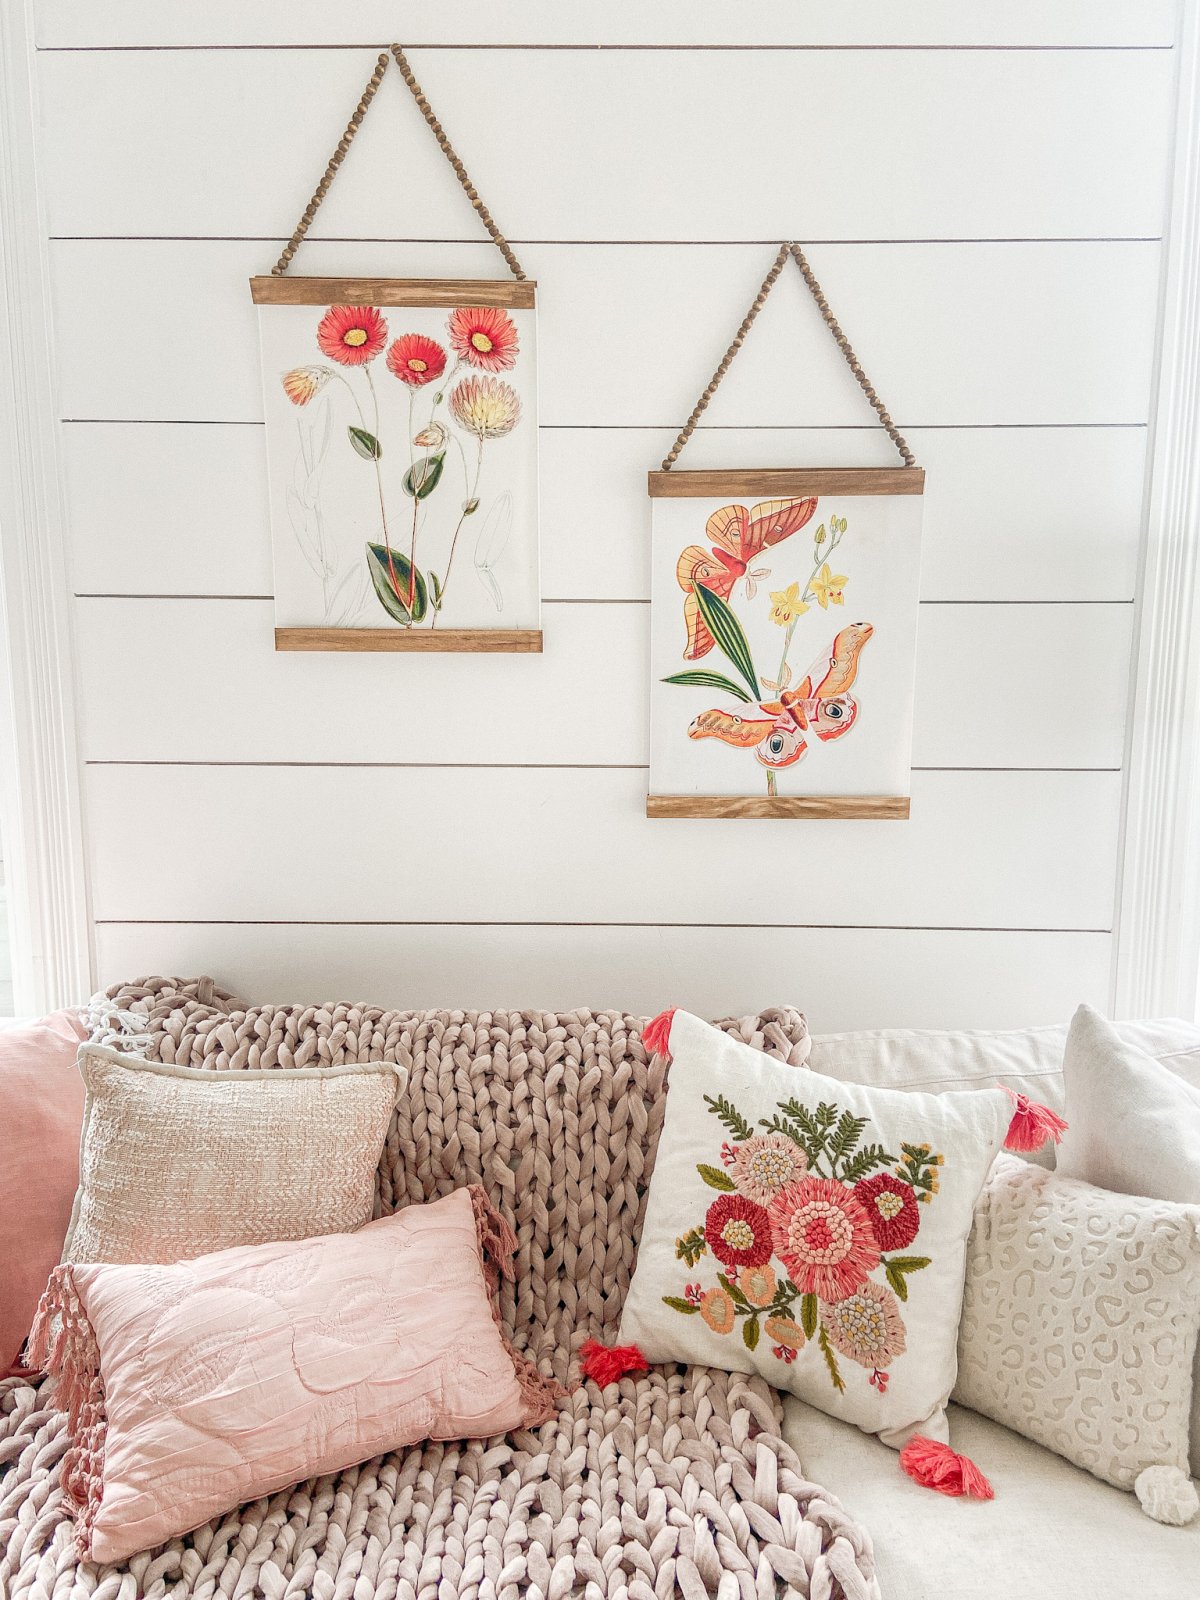
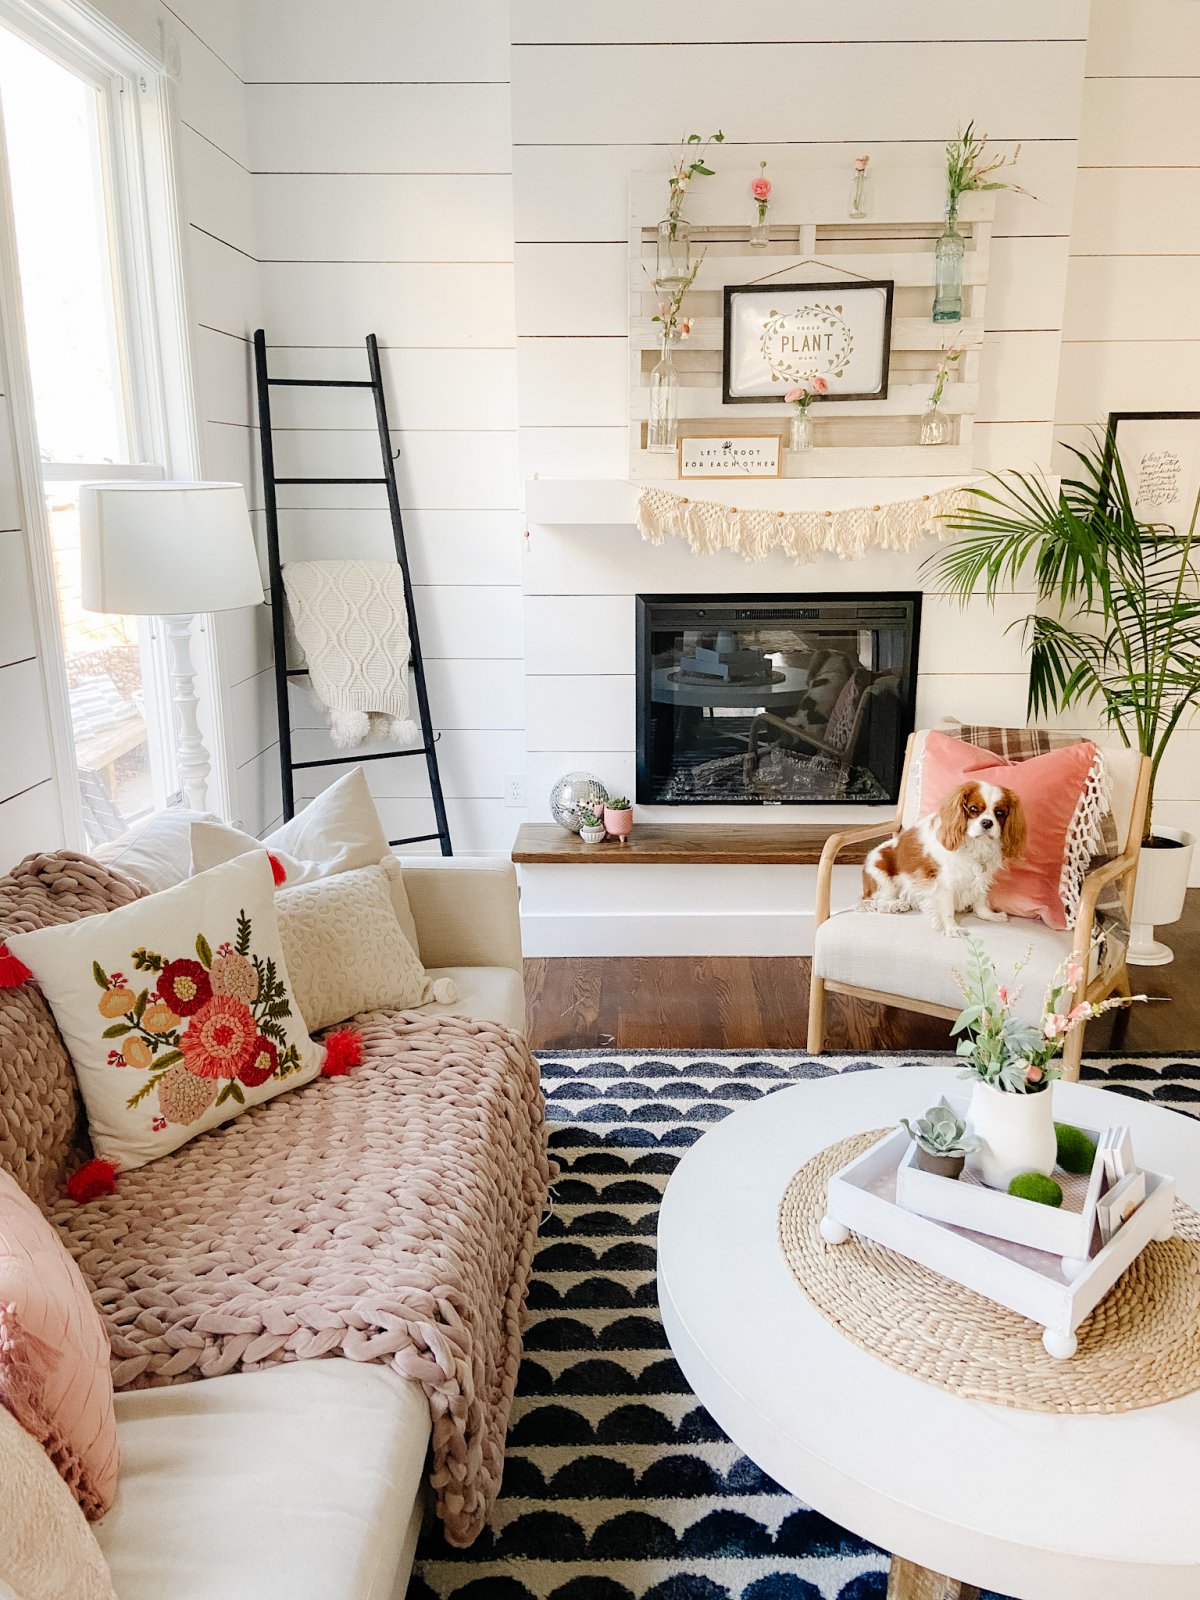
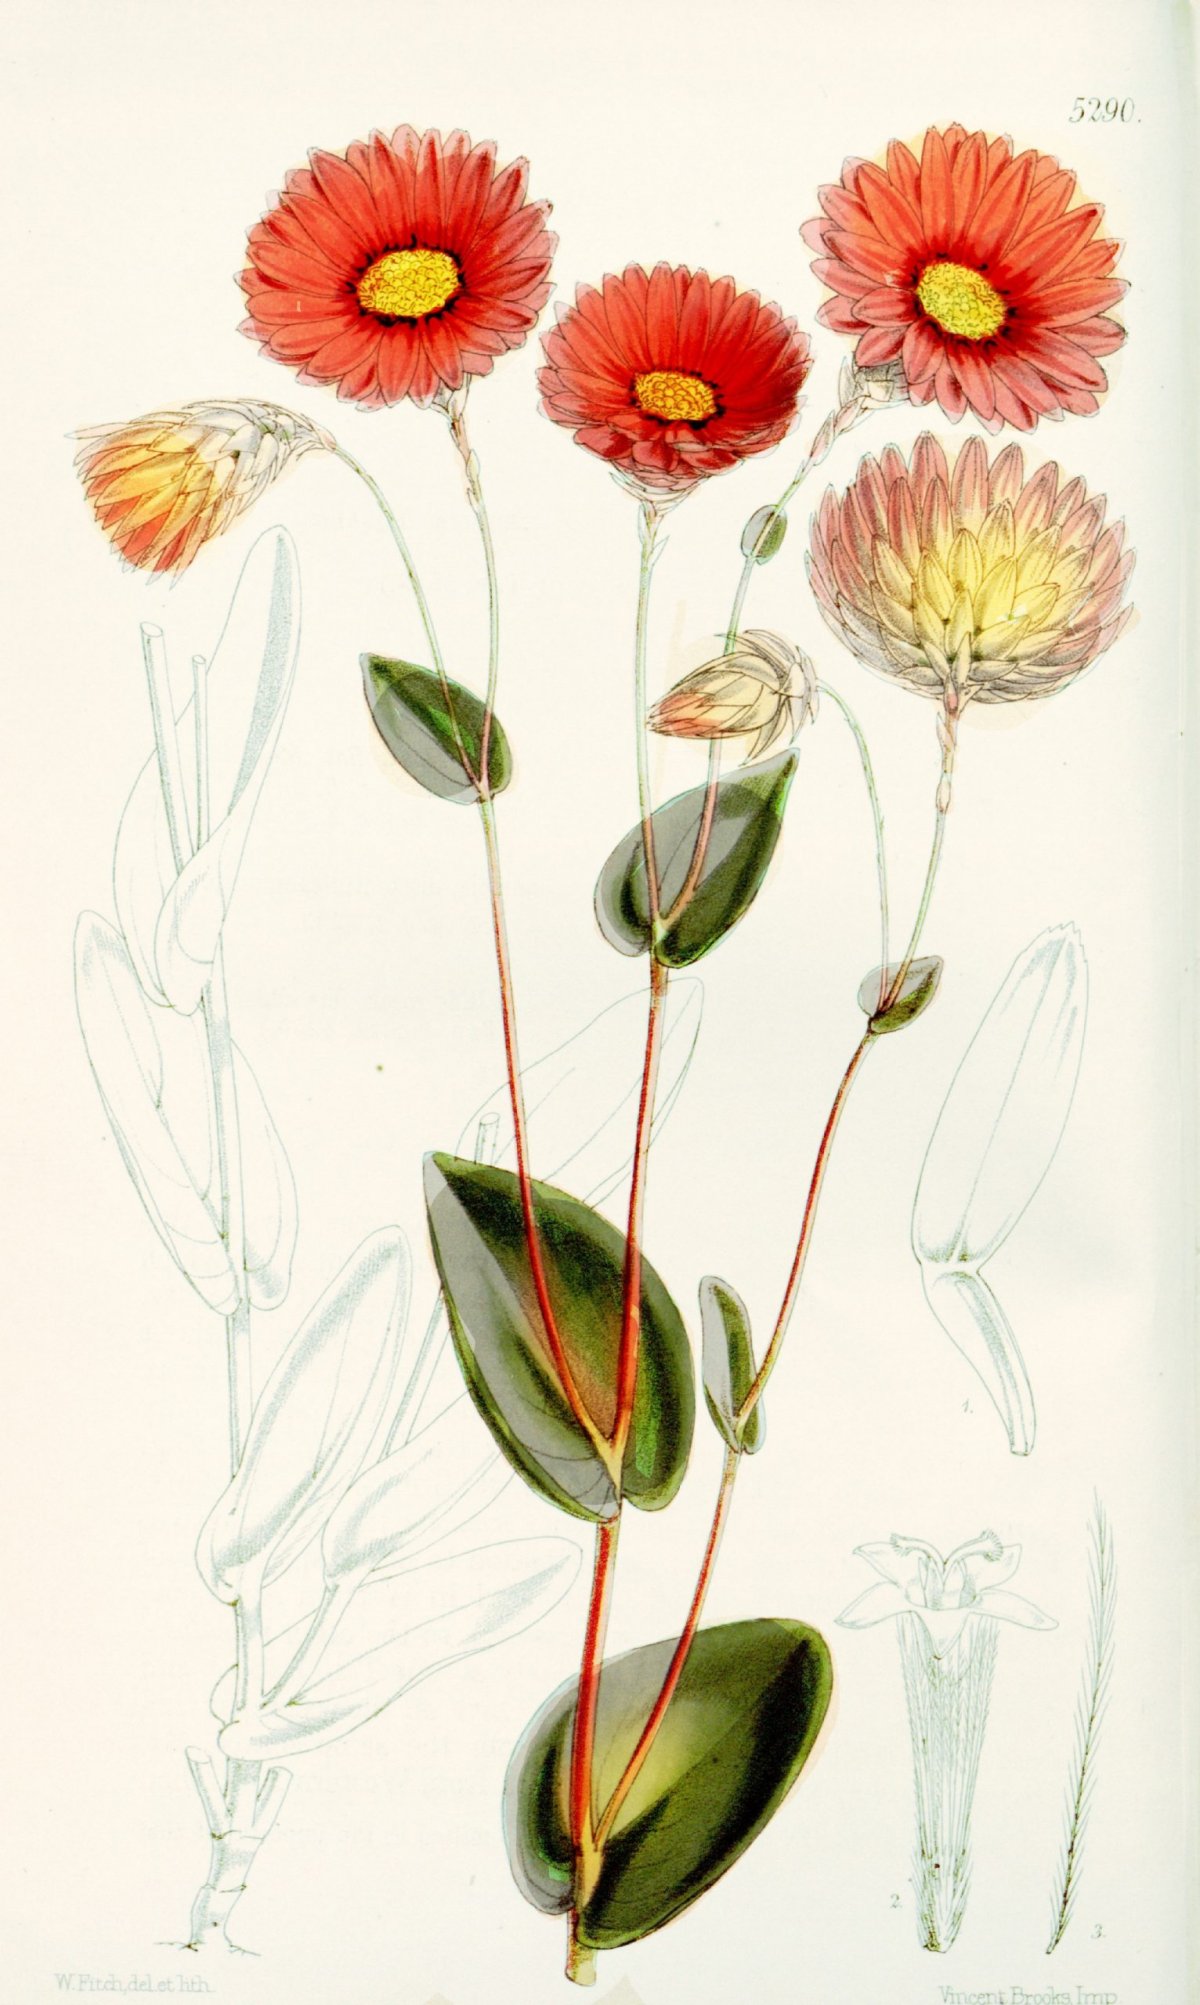
I love decorating for spring! There’s something so hopeful about seeing flower sprouting up. Have you ever seen vintage botanical prints? They are so detailed and pretty! I found some open source botanical prints from the 1800’s. Inspired by my new spring floral flower pillow, I cleaned up the prints and deepened the color. I love the way the prints look in our family room!
How to Make Beaded Wood Picture Hangers
I love to change things up at my house. So when I was thinking up this project I considered a few different ways to display these botanical prints. Of course you can frame them, but have you ever used wood hanging strips? It’s an easy way to display art and change it out!
Matching Spring Floral Pillow
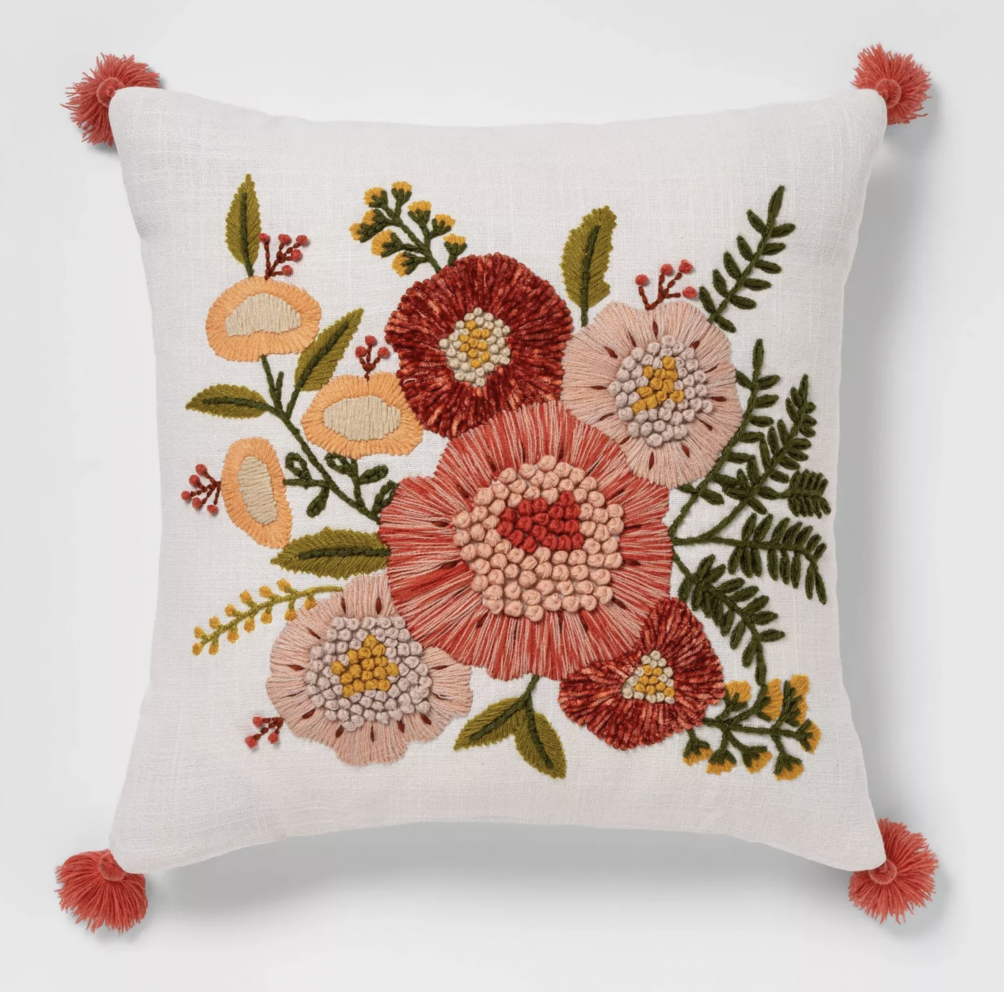
I designed these prints to coordinate with Target’s Opalhouse Embroidered Pillow! Click on the link to grab it – at only $25 it’s a beautiful way to add some spring color to your home and matches perfectly with my FREE artwork!
Make Hanging Strips for Less Than Five Dollars
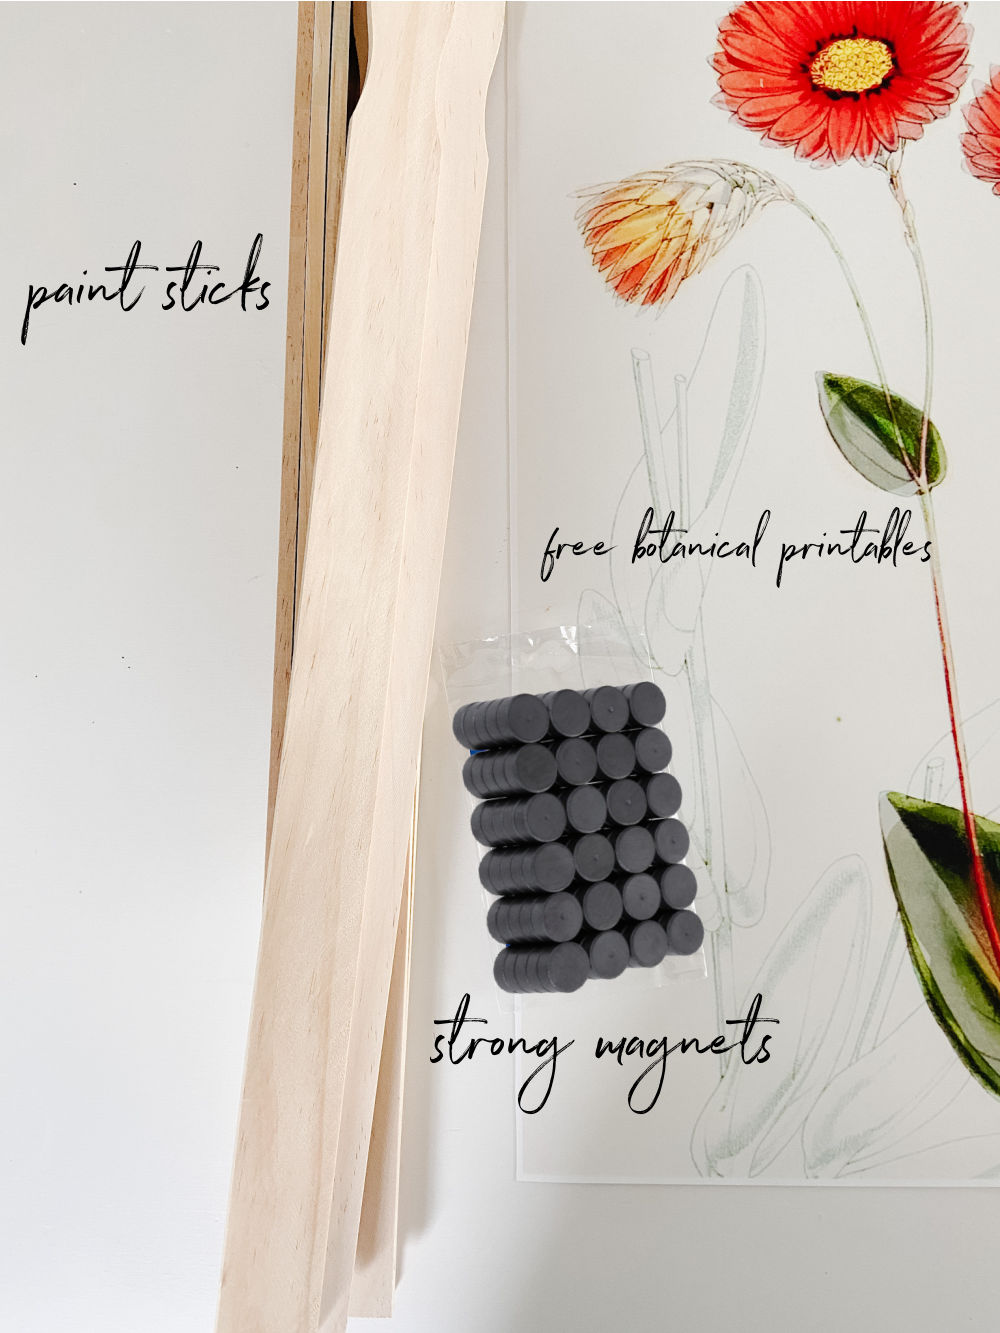
All you need to make these wood hanging strips are:
- Wood (I used paint sticks – they’re free)
- Magnets – use strong magnets! The ones I’ve linked here are great. You need 8 magnets for each hanger. So to hang both prints you will need 16 magnets.
- String
- Wood Beads (this is optional – I used beads I already had but you can also just use string to hang the art)
- Glue Gun – this is the glue gun I have.
- I used a light walnut stain but you can leave them unfinished or use a different stain or paint.
How to Make Wood Picture Hangers
I used free paint sticks to create these wood picture hangers. But any type of thin wood will work too!
Cut Paint Sticks to Length
Decide what size are you want to hang. These are 16×20 prints that I sent over to Walgreens. So I cut the paint sticks to 16-inches which is the width of the prints.
Stain Paint Sticks
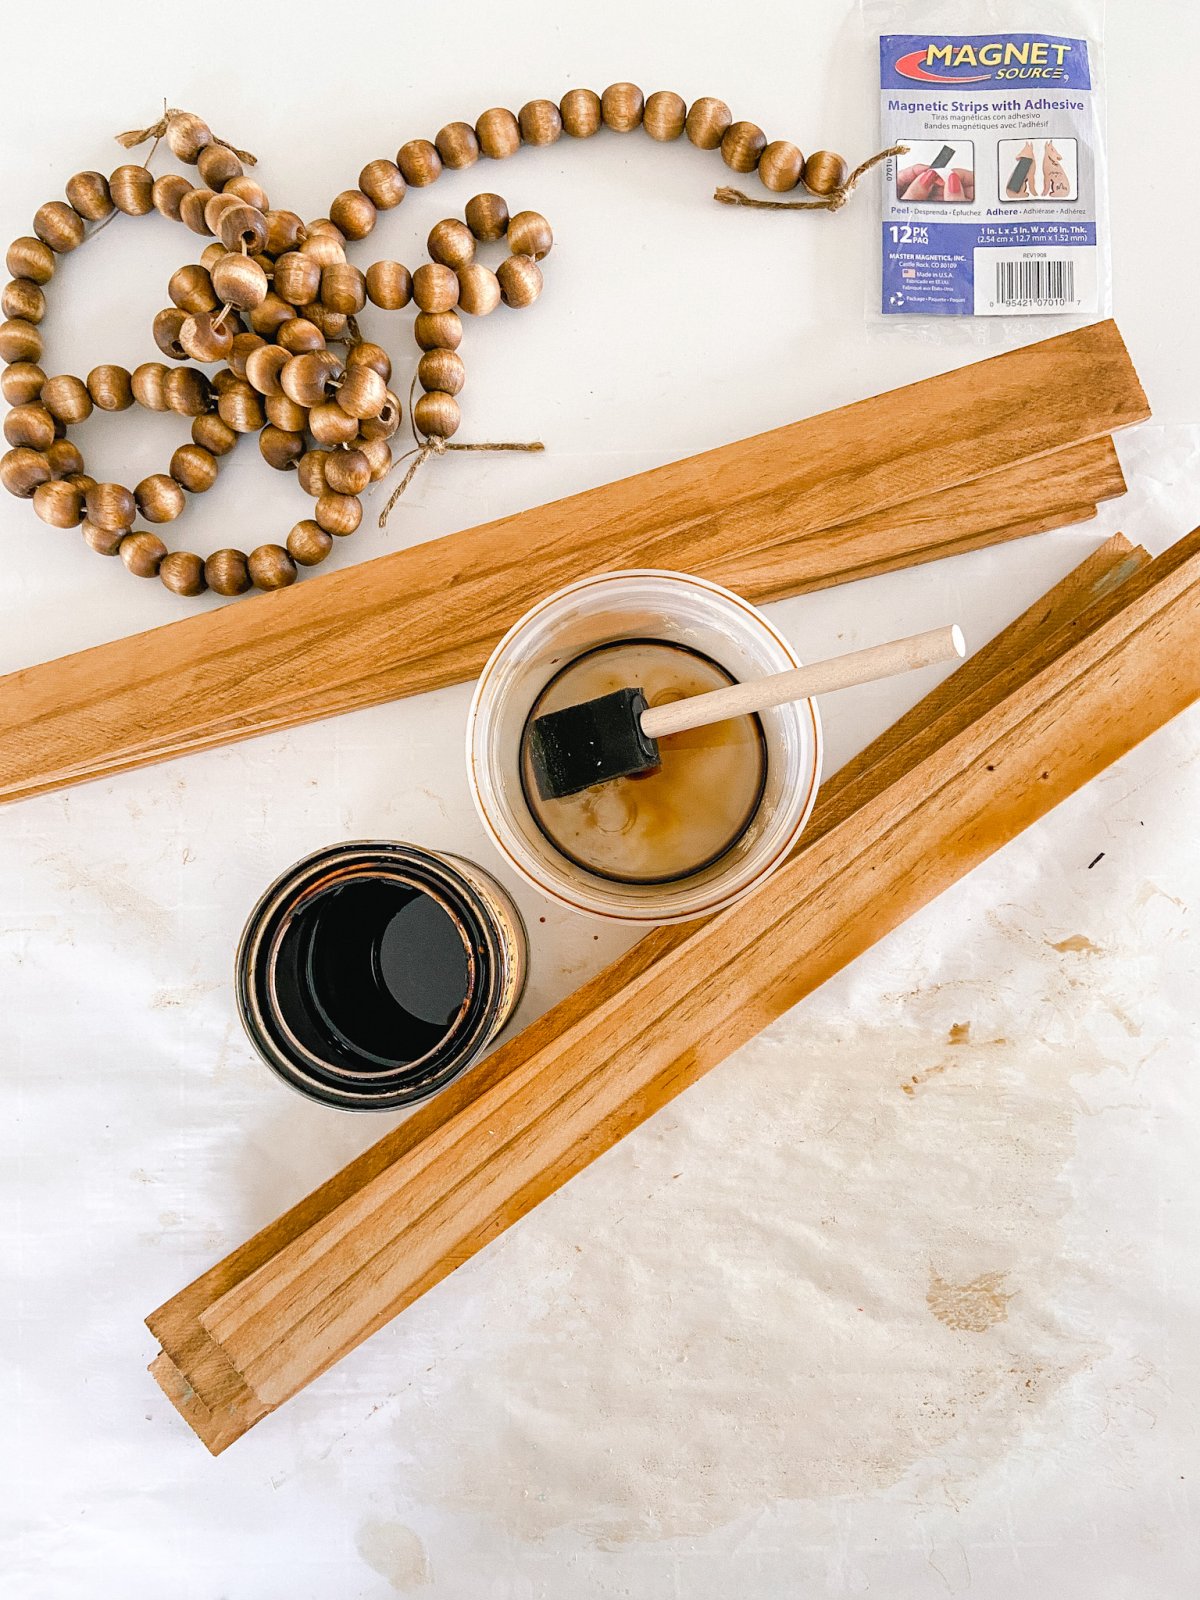
Stain or paint the wood and let it dry. I also stained the wood beads I was using during this step. I strung the beads on string, then tied off the wood beads. 50 small wood beads for each hanger which was 20-inches long. I tied the ends so that there was about 2 inches left of string after the knot. I put the stain in a tupperware container with a little bit of water. Then I submerged the bead strands in the stain and took it out and wiped them off with a paper towel.
Hot Glue Magnets onto the Wood Strips
I tried using magnet strips for this project and the strips were not strong enough. Make sure that you get pretty strong magnets. I used two magnets about 1-inch from the ends of each wood strip. So you will need 8 magnets per picture hanger.
Hot glue String to Wood Strips
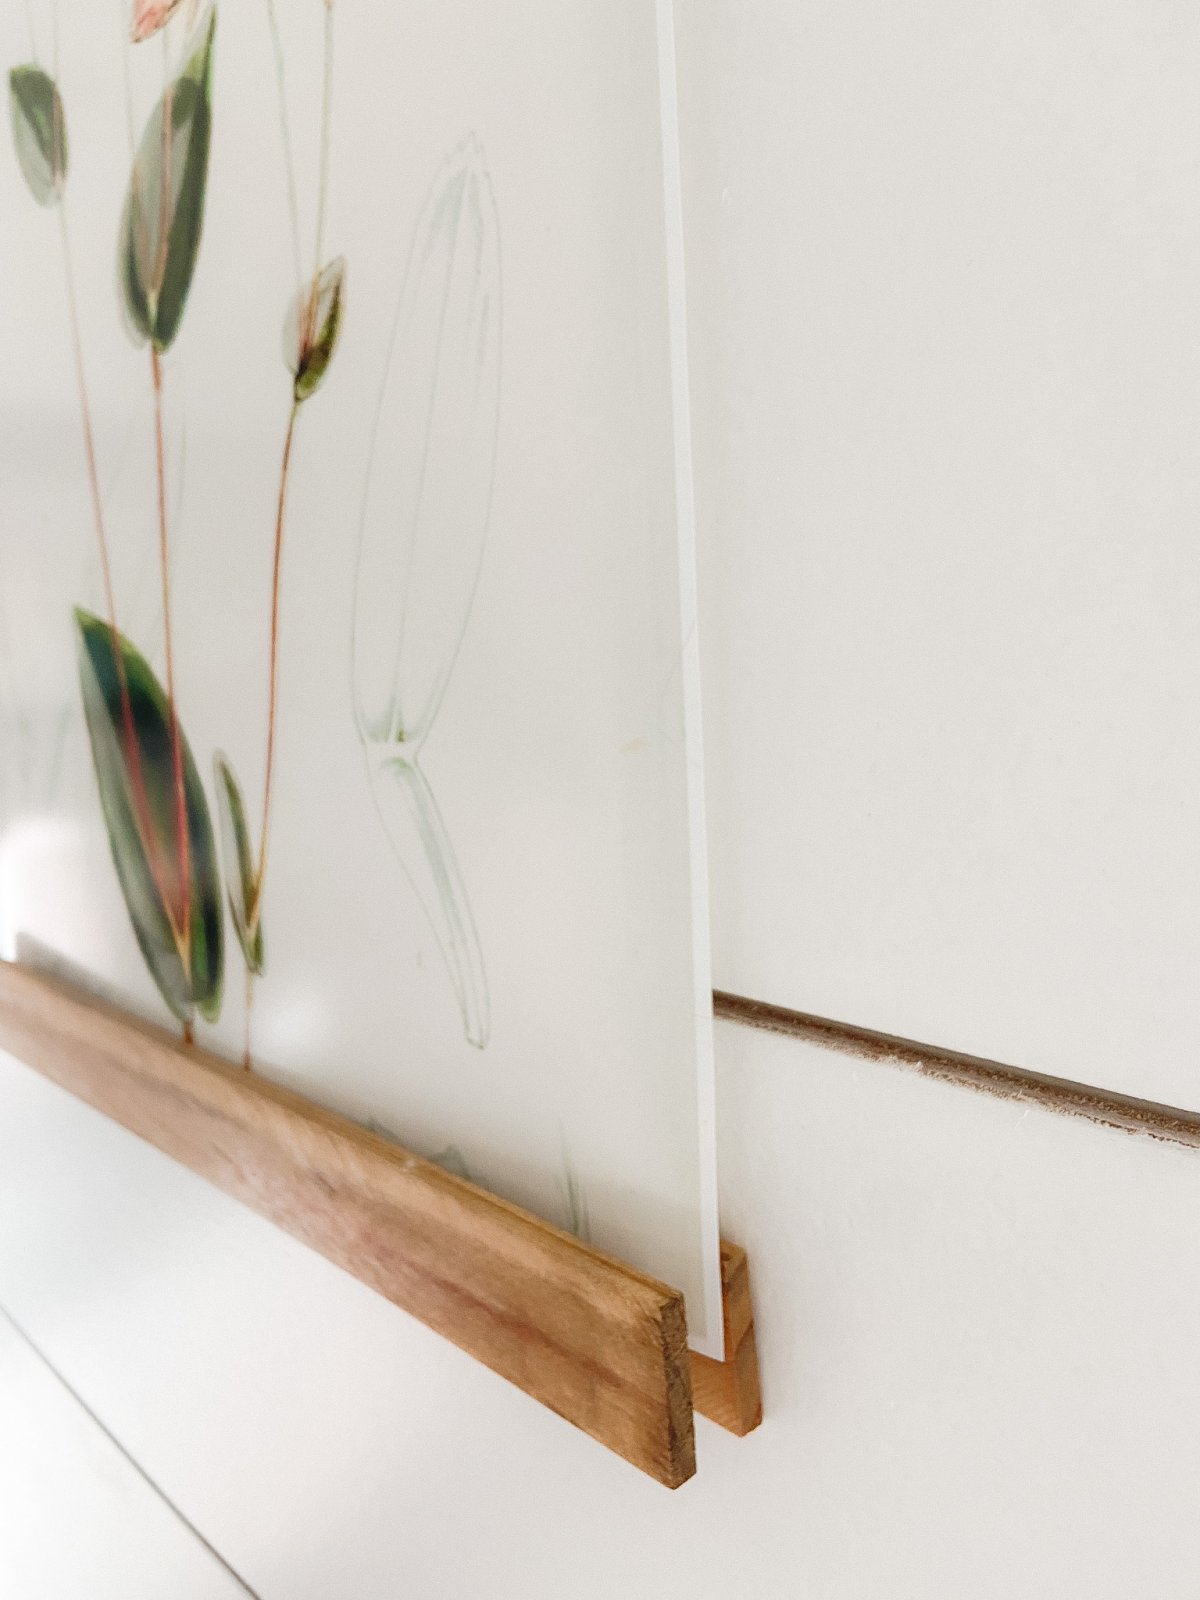
I took the left over string beyond the knots in the string and hot glued the knot behind the wood strip that faces the wall. Make sure to hot glue the knot close to the edge of the top of that strip, otherwise the wood hanger will lean forward. If you have a beaded string, you can hot glue the first bead to the top of the wood strip. This will make the hanger lie flat against the wall.
Print Out Free Spring Flower Botanical Art
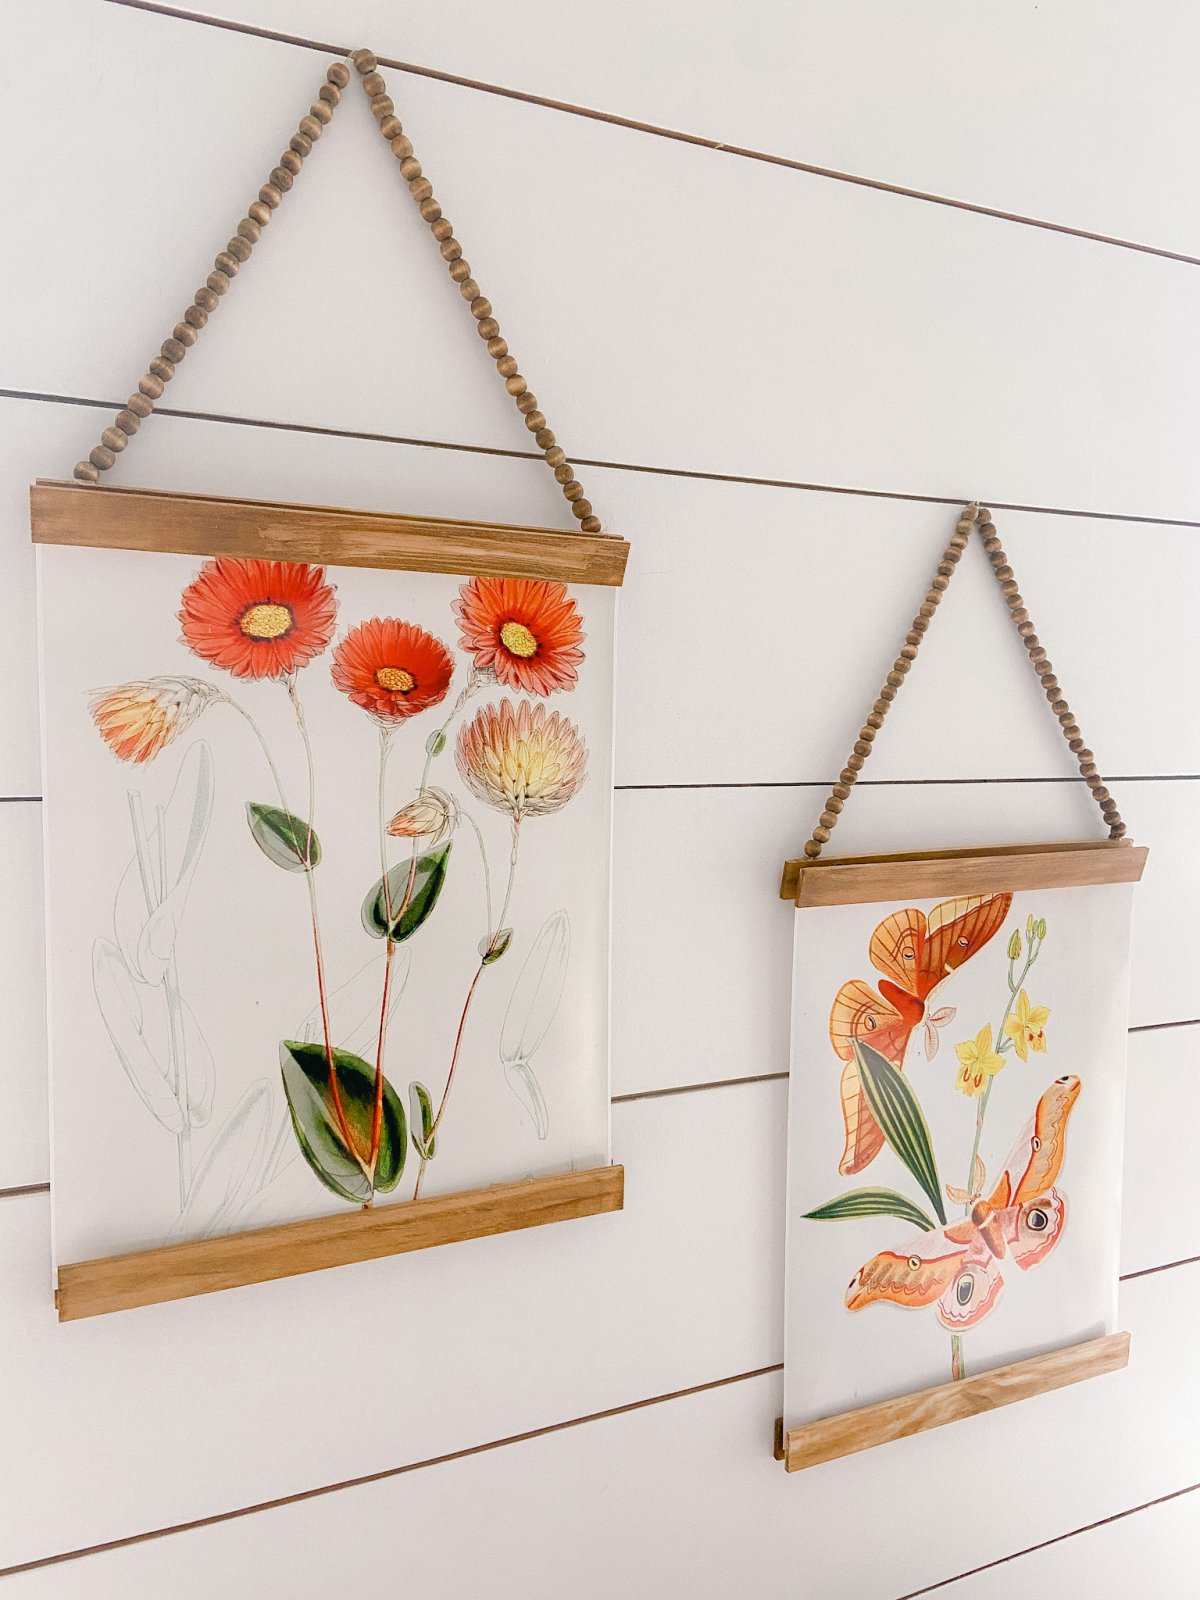
I have two botanical prints to share. One with all flowers. One with flowers and butterflies! You can print them at home for free or send them off to be printed in whatever size you want!

Spring Flower Art Printable
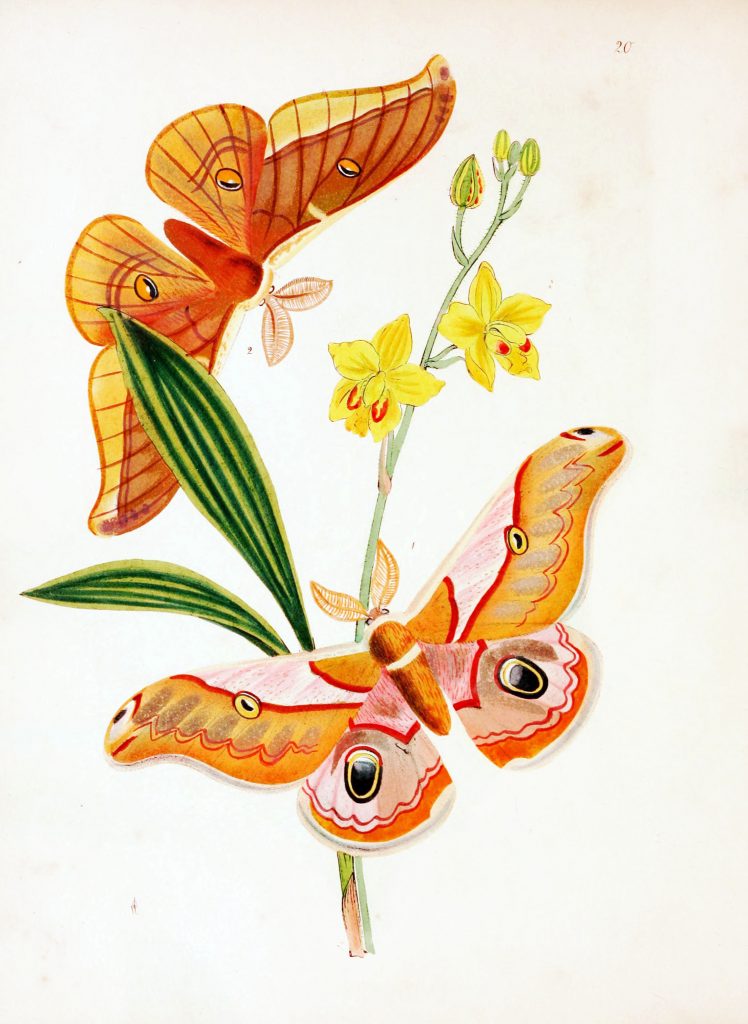
Spring Butterfly Botanical Print
Hang up Your Spring Botanical Prints
Attach Artwork to Wood Hangers
To attach the artwork, simply take the wood pieces apart, then lay the artwork over the top of the magnets and lay the coordinating piece with the magnets over the top. The magnets will attract each other and secure the artwork in between.
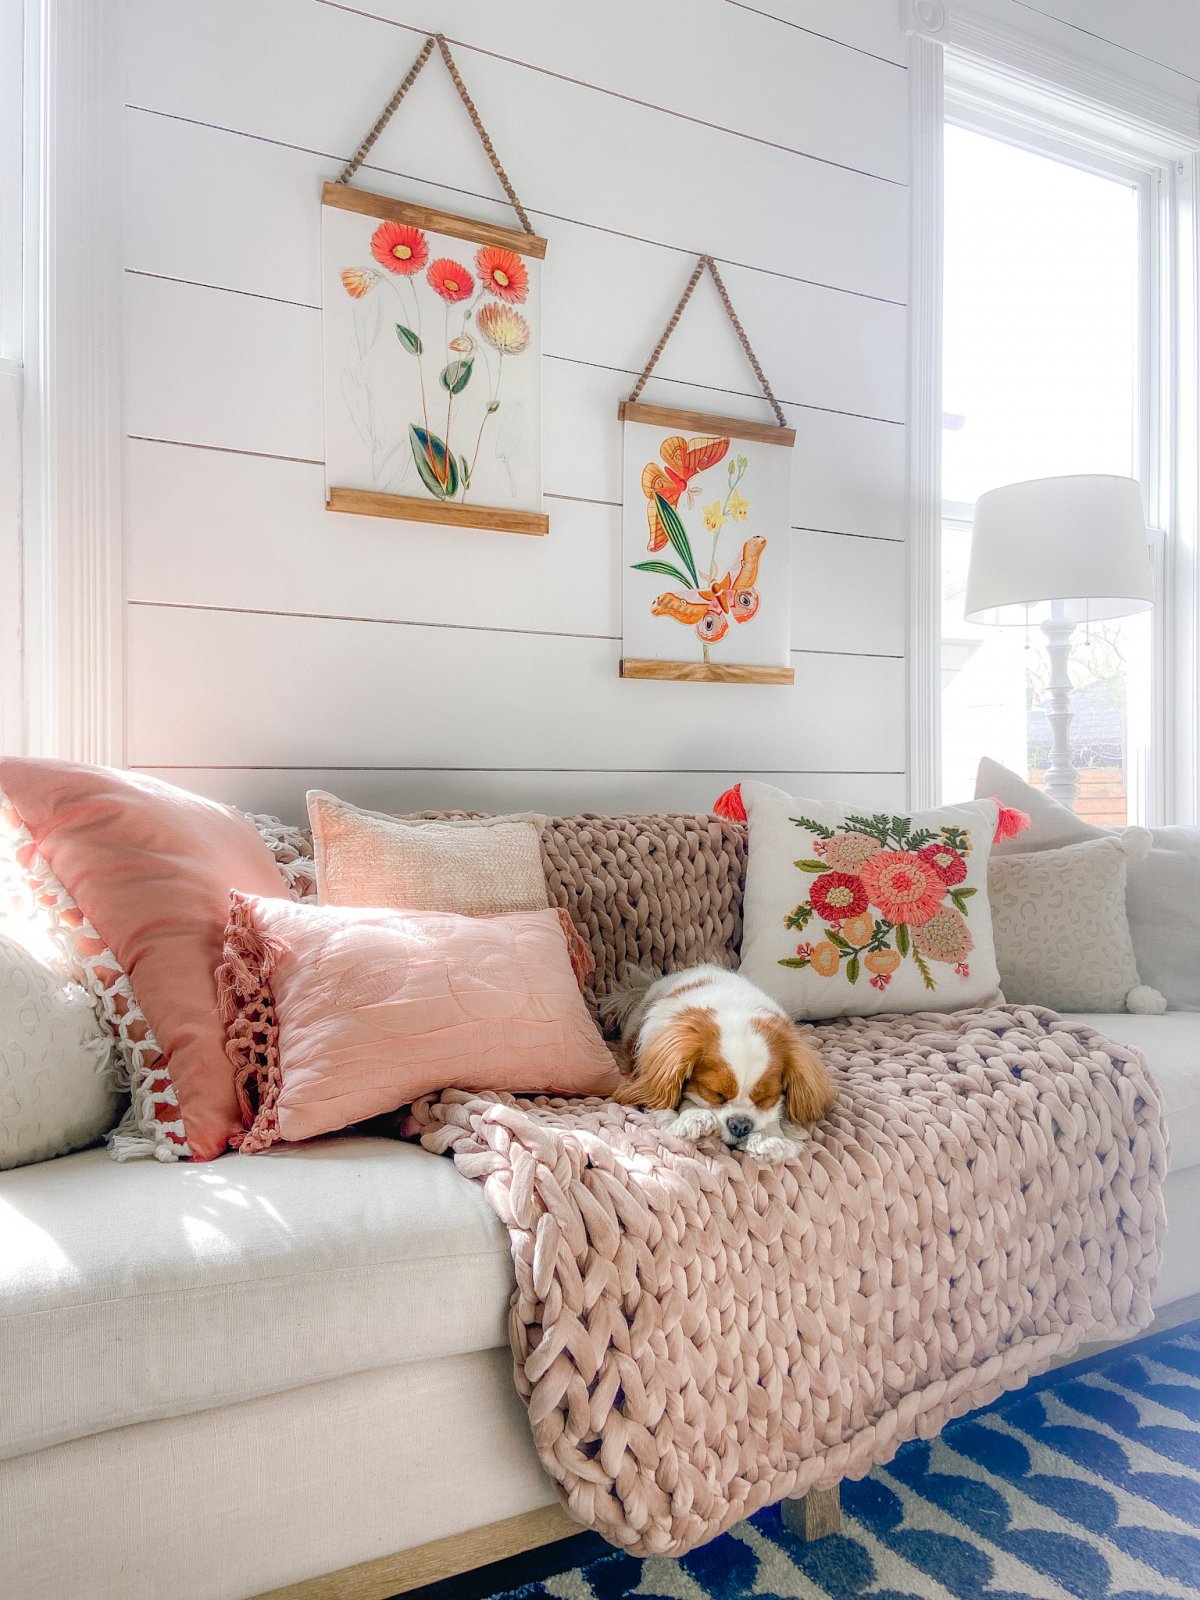
Hang them up to enjoy!
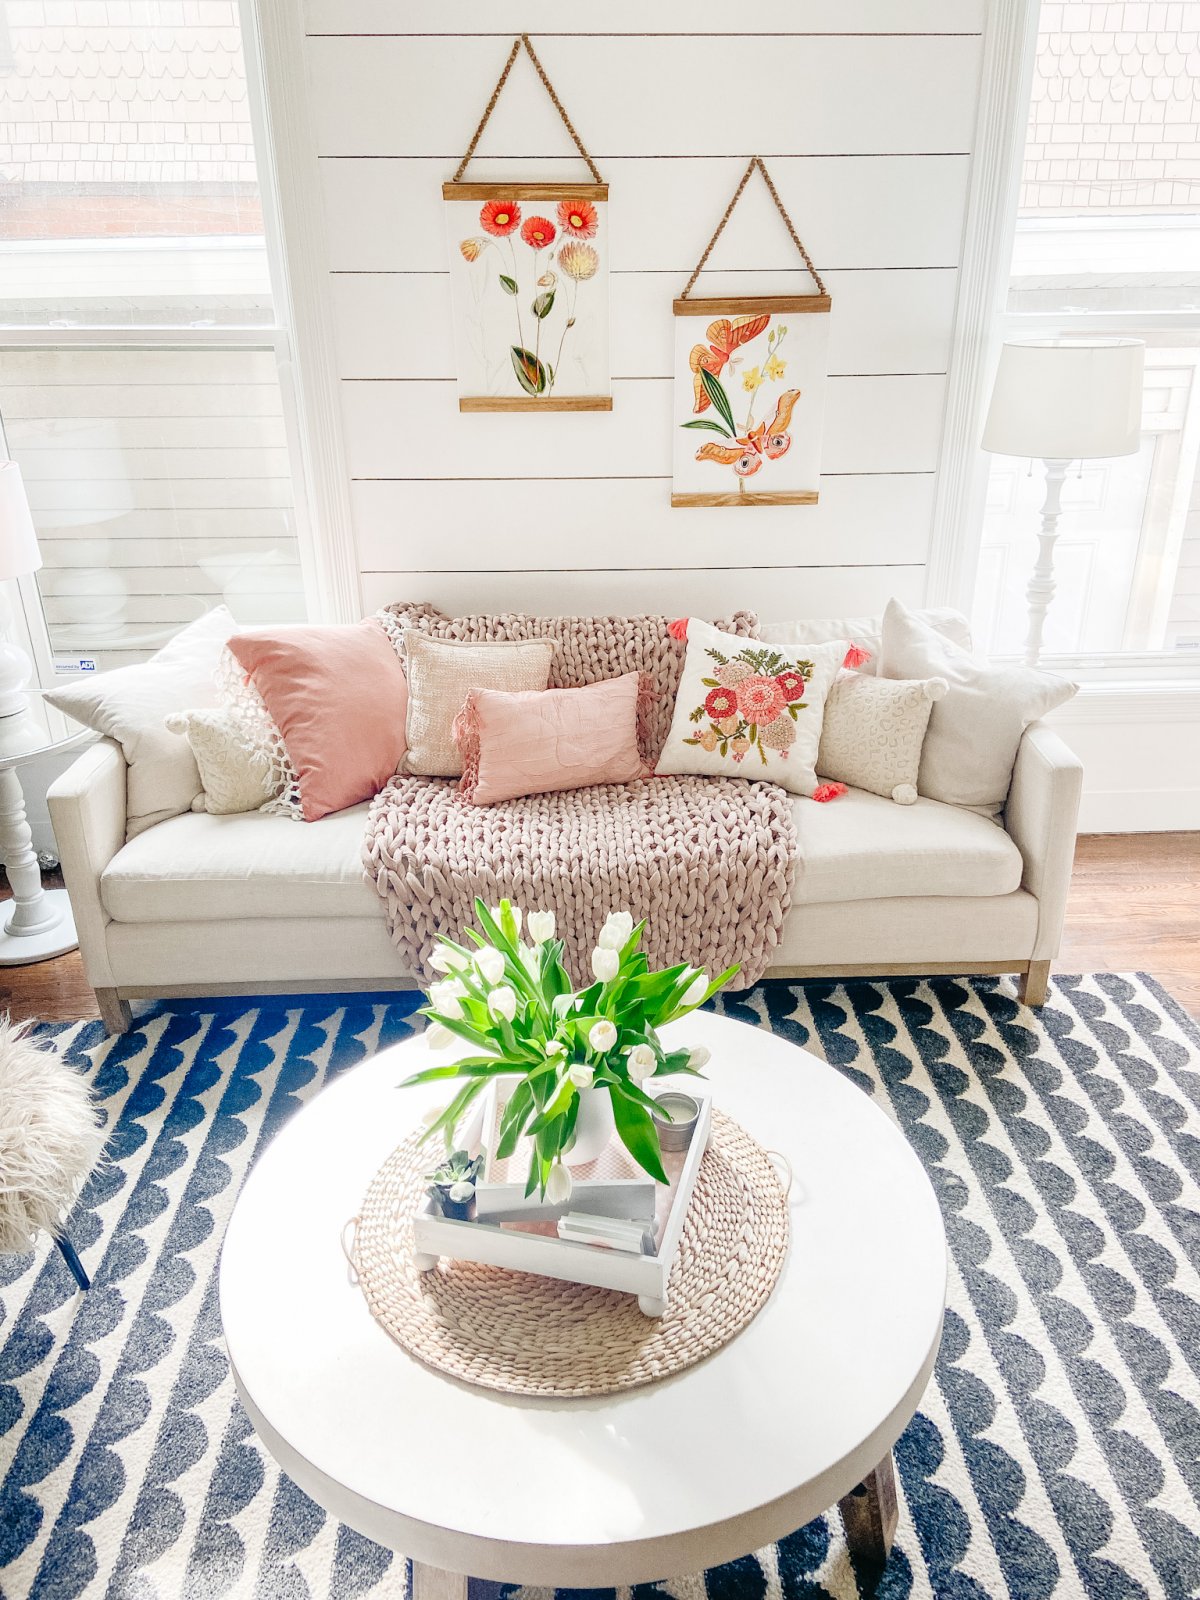
Display your new art! I love being able to switch artwork out so easily with these beaded wood hangers!
Spring DIY Flower Projects
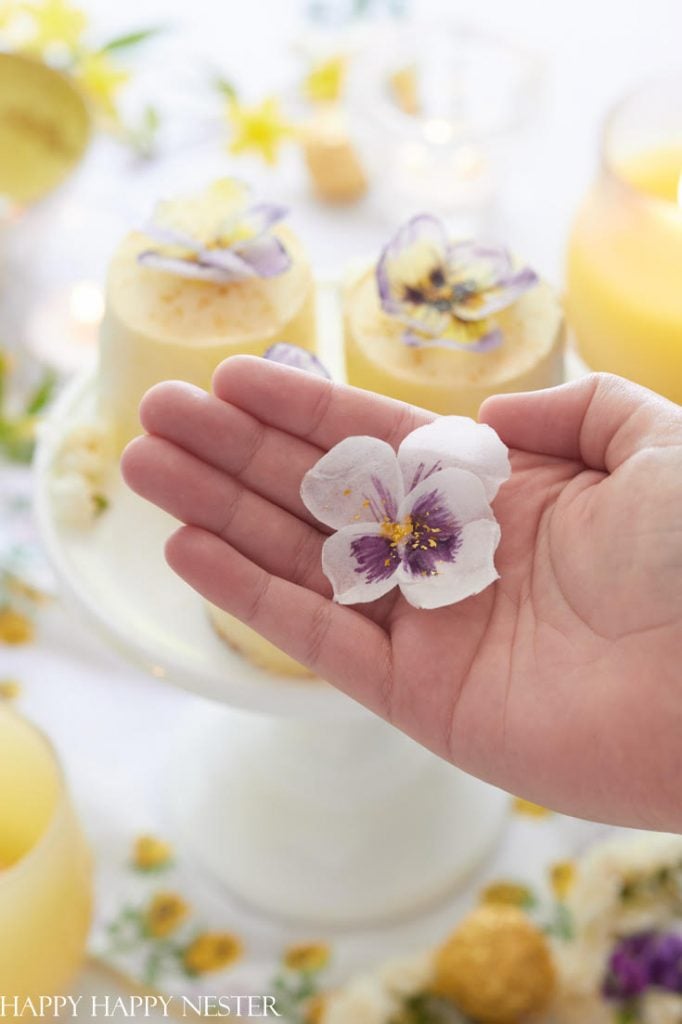
Decorate your desserts with these beautiful Wafer Paper Flowers. All the materials are edible, including potato paper, food coloring, and edible glue. Learn how in these easy paper flowers in this step-by-step tutorial.
DIY Floral Monogram Tumbler with Cricut
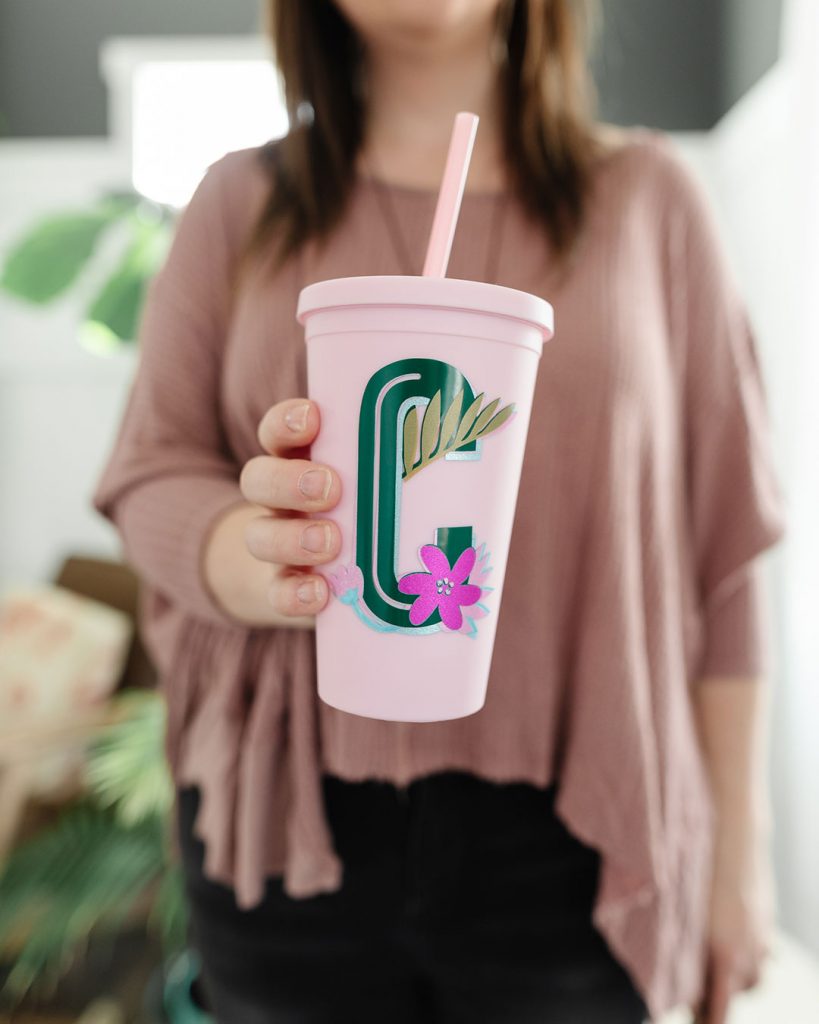
It’s almost iced coffee season! Let’s make a pretty DIY floral monogram tumbler with Cricut that’s perfect for your Spring and Summer drinks. This tropical-themed tumbler features a layered vinyl design, and you can customize the colours to suit your style.
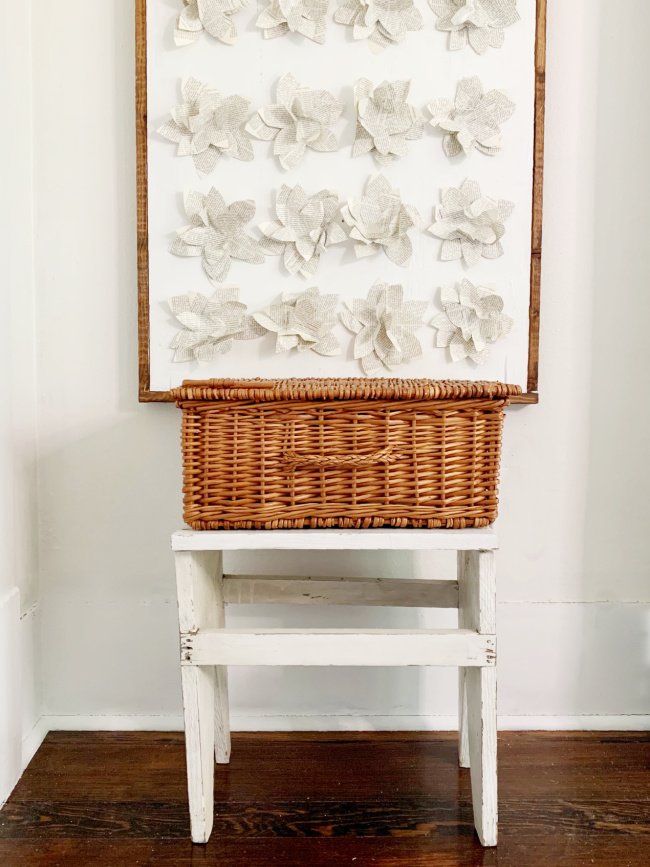
Have a big blank wall and can’t figure out what to do with it? You can make this simple, easy DIY artwork in under an hour for (almost) FREE.
How to Make a Flower Craft Pillow
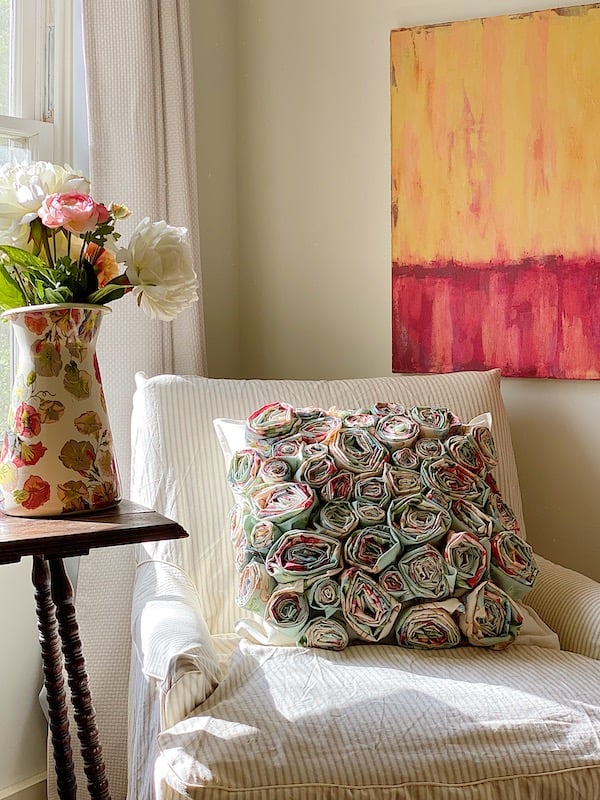
Decorate your home with this amazing flower craft pillow. It’s an easy craft that requires no sewing!
Pin DIY Beaded Picture Hangers to Make Later!
Pin this so you can make some DIY picture hangers when you’re ready!
More Spring Ideas
DIY Envelope Cover and Macrame Trim
Did you know you can make a pillow cover in 10 minutes? It’s true! I took my 10 minute pillow tutorial and added macrame trim for a boho spring idea!
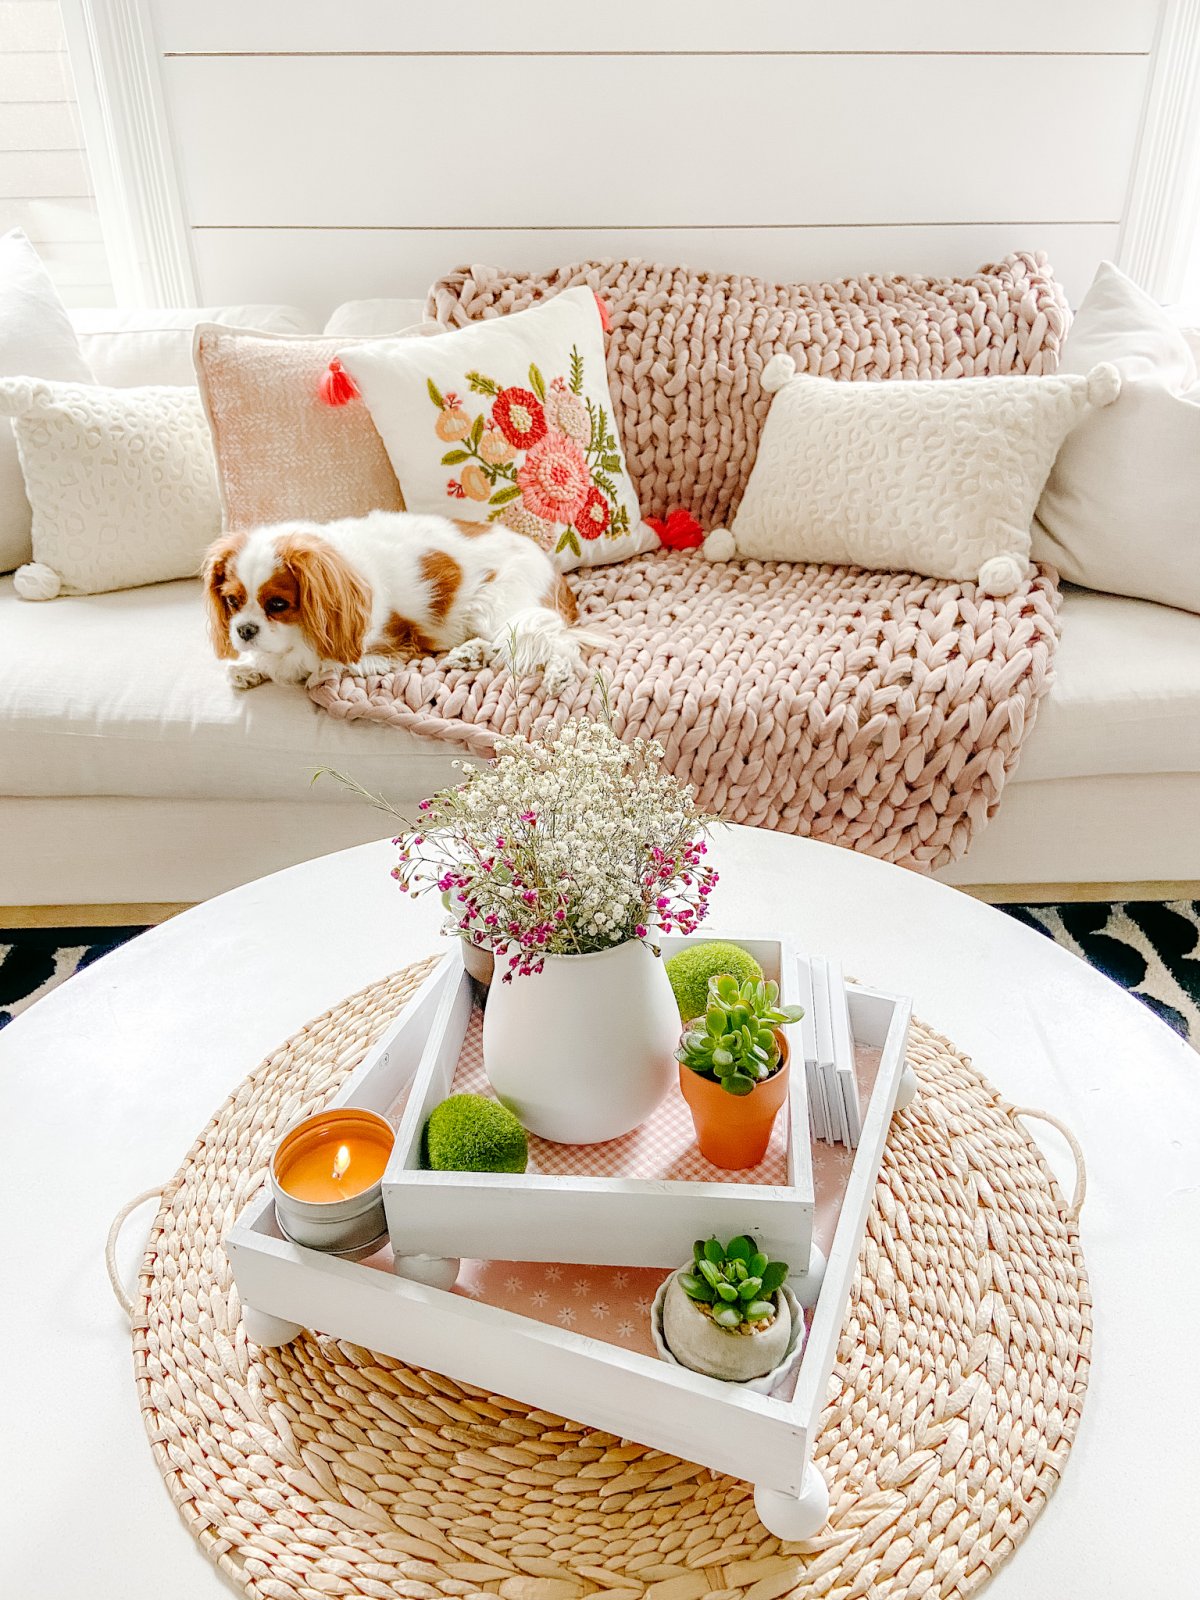
DIY Footed Tray Spring Centerpiece
This was so fun to make! I took two unfinished frames, added wood beads for feet, lined them with scrapbook paper from my new Reaching Out collection at JoAnn Stores and layered them for a pretty centerpiece. Check out my Instagram for the video!
What are YOU working on for Spring?
xoxo


hello this is Claudia from Texas, can you email me about beaded hangers video show how to and instructions? thank you
Once you make the investment in home improvements, you can be sure that they’ll hold up well for the long run. Fine Tree Service Fort Collins
Oh, these are the happiest botanicals I have ever seen!! I love this project! I’m going to share your link in my weekly roundup post today.
Oh thank you!! You are so sweet Jennifer!
xoxo
Enjoy seeing your work.
Thanks Donna! I hope you had a great weekend!
xoxo