Simple Easter Bunny Treat Bags. Celebrate Spring and Easter with the simple bunny bags you can create in minutes!
Simple Easter Bunny Treat Bags
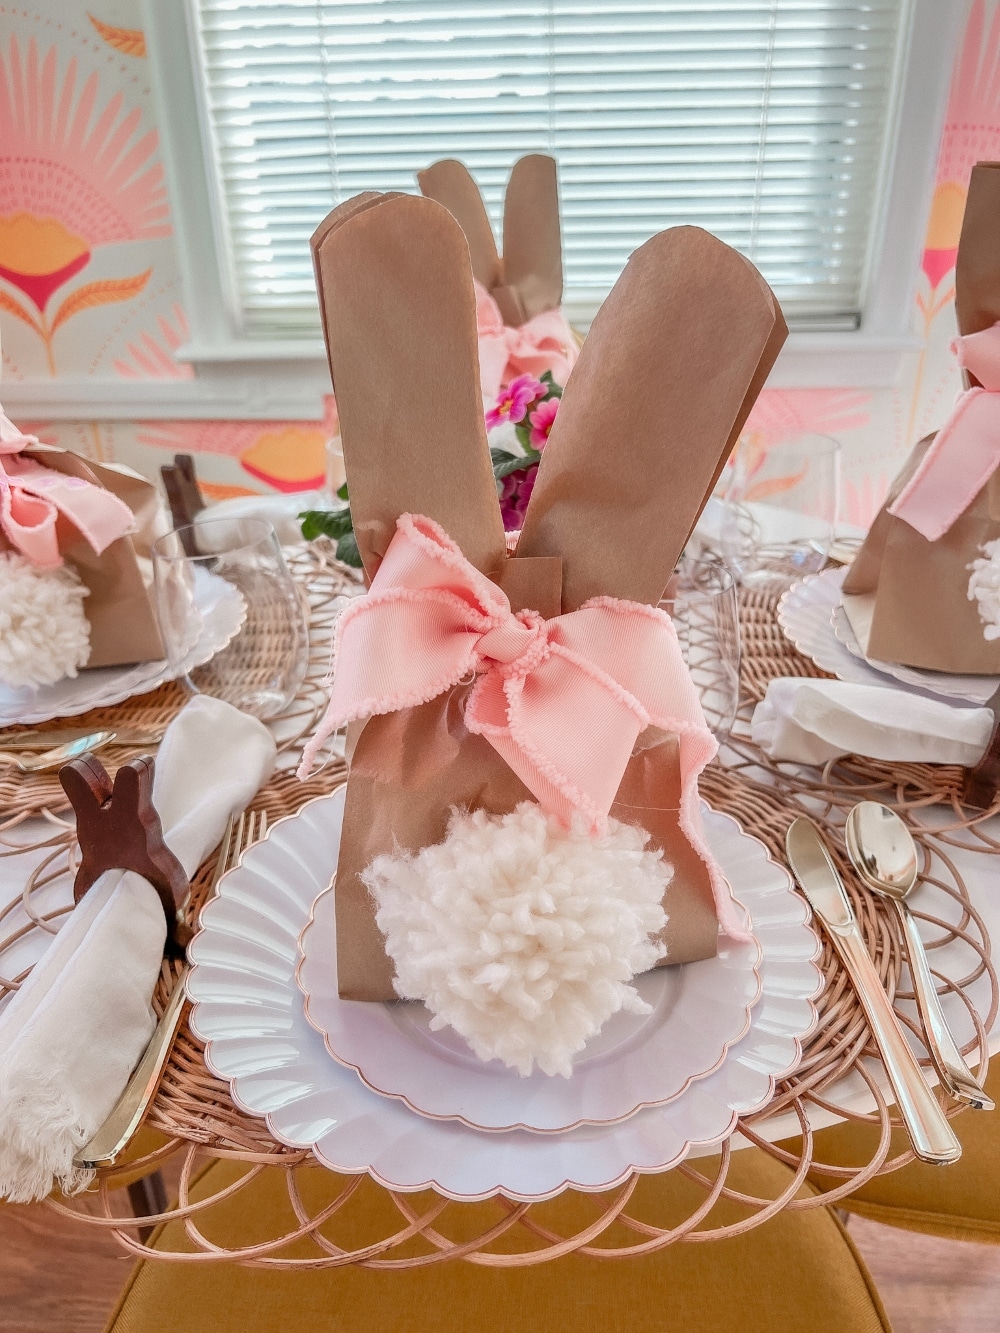
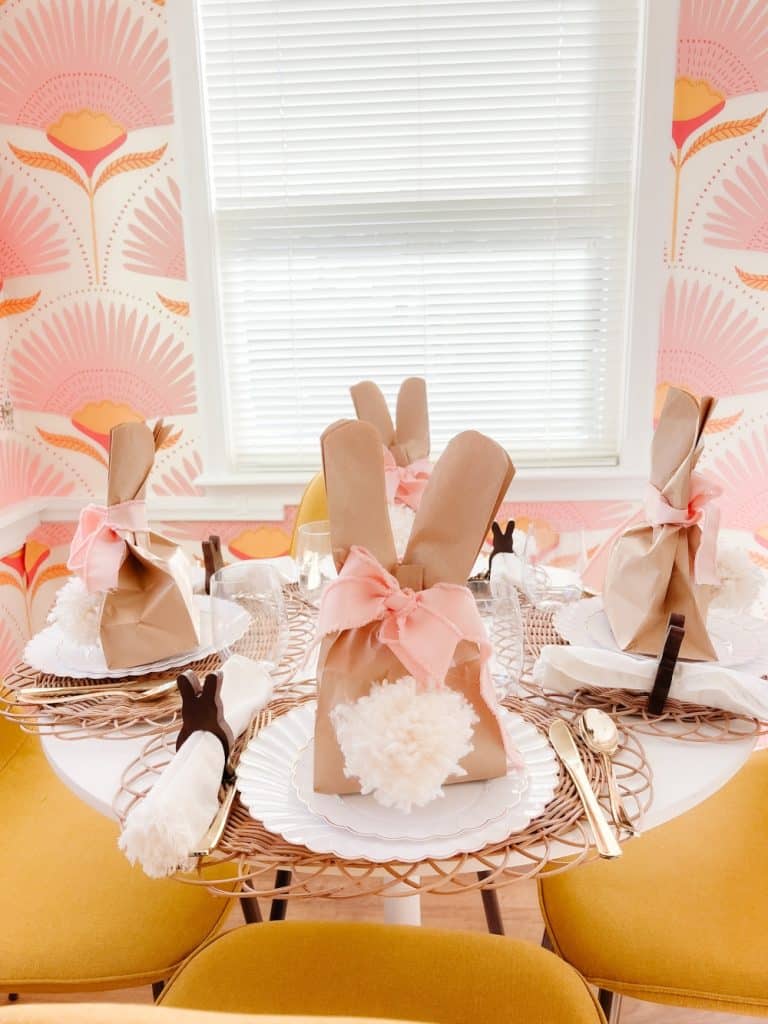
Hi friends! Can you believe it’s March?? Spring is right around the corner, and today I am so excited to share a super simple gift bag idea that you can make for your spring parties or to package Easter gifts!
8 Easter Decor DIYs!
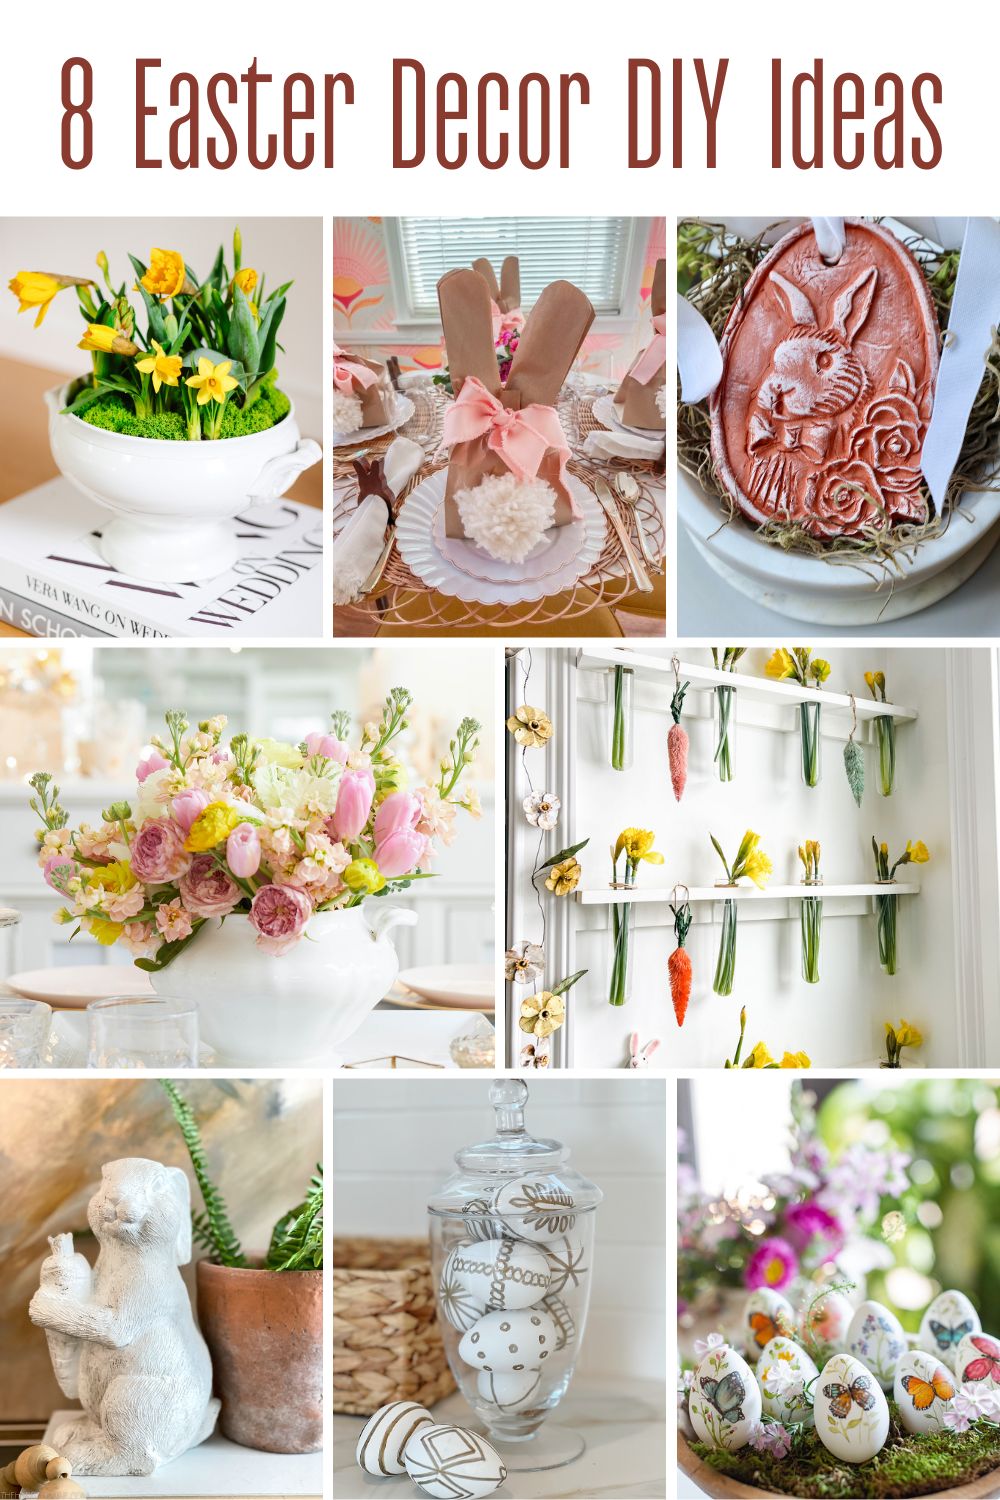
I’m joining some of my favorite friends today who are also sharing really fun Easter decor ideas. Be sure to scroll down to HOP over and grab the ideas!
Turn Grocery Store Paper Bags into Adorable Gift Bags
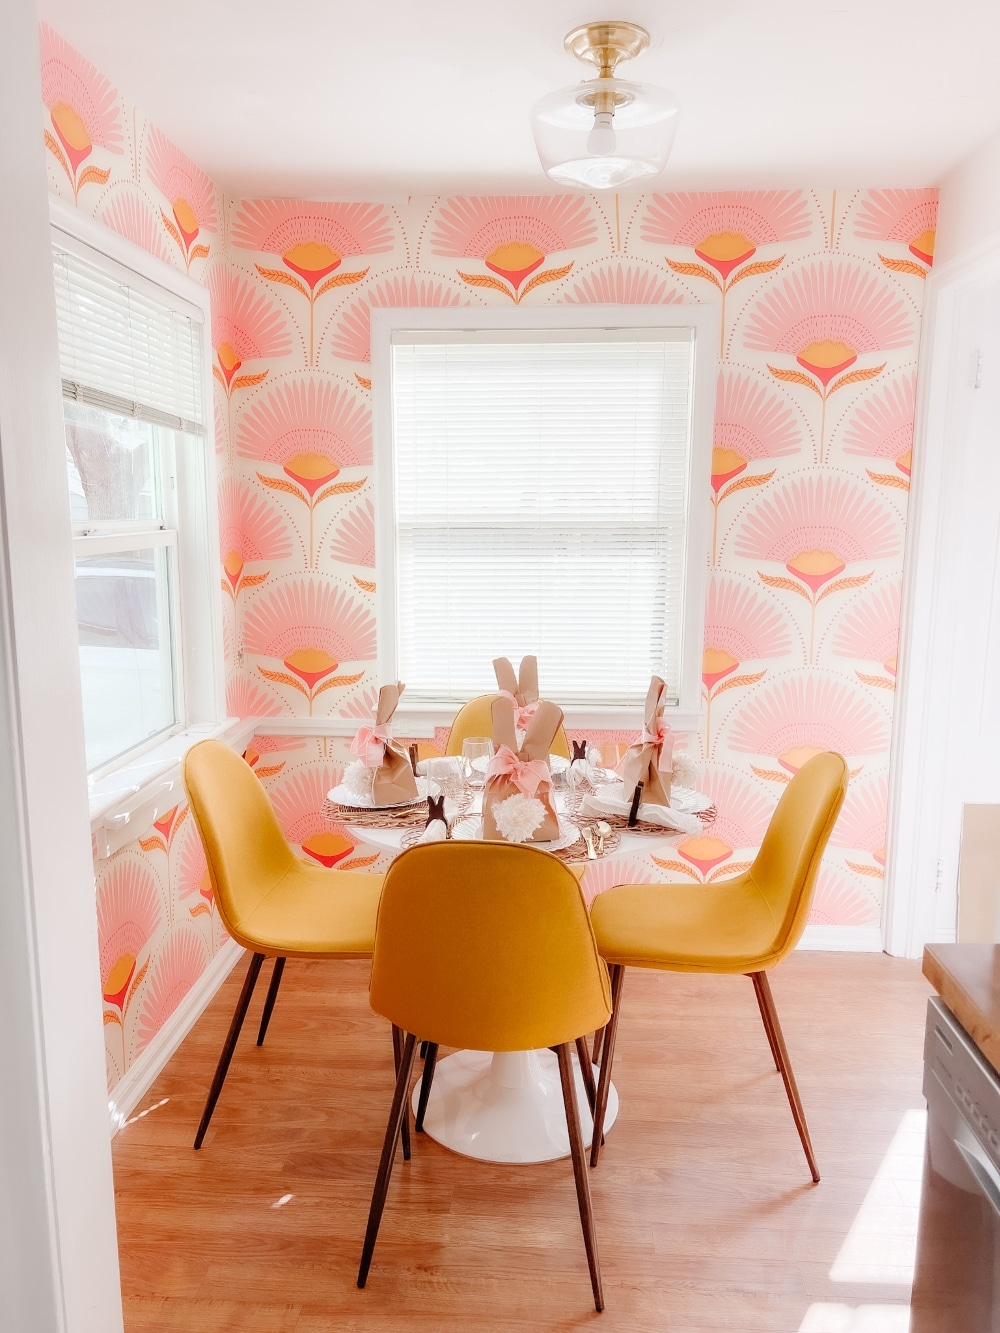
One of the things I love about this idea is how inexpensive it is to create these bunny gift bags! All you need are ordinary lunch bags that you can buy at the grocery store and yarn. I used some yarn that I already had on hand, but you can find yarn at any hobby store. Here is a link to similar yarn that I used — Fuzzy Cream Yarn. I love the fuzziness of the yarn, it’s so soft and the texture is really pretty.
Make Easter Bunny Treat Bags with Your Kids
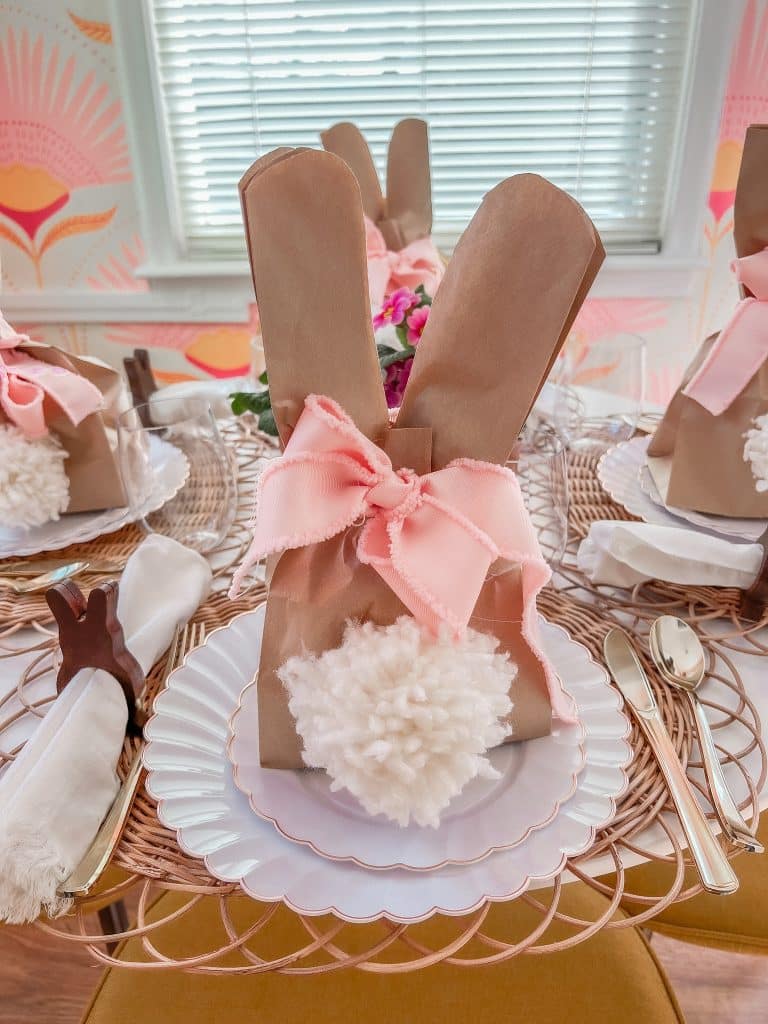
This is a really fun craft to make with your kids and even teens love it. It’s really fast to make and your kids will love making the pom poms!
Here’s How to Make Easter Bunny Treat Bags
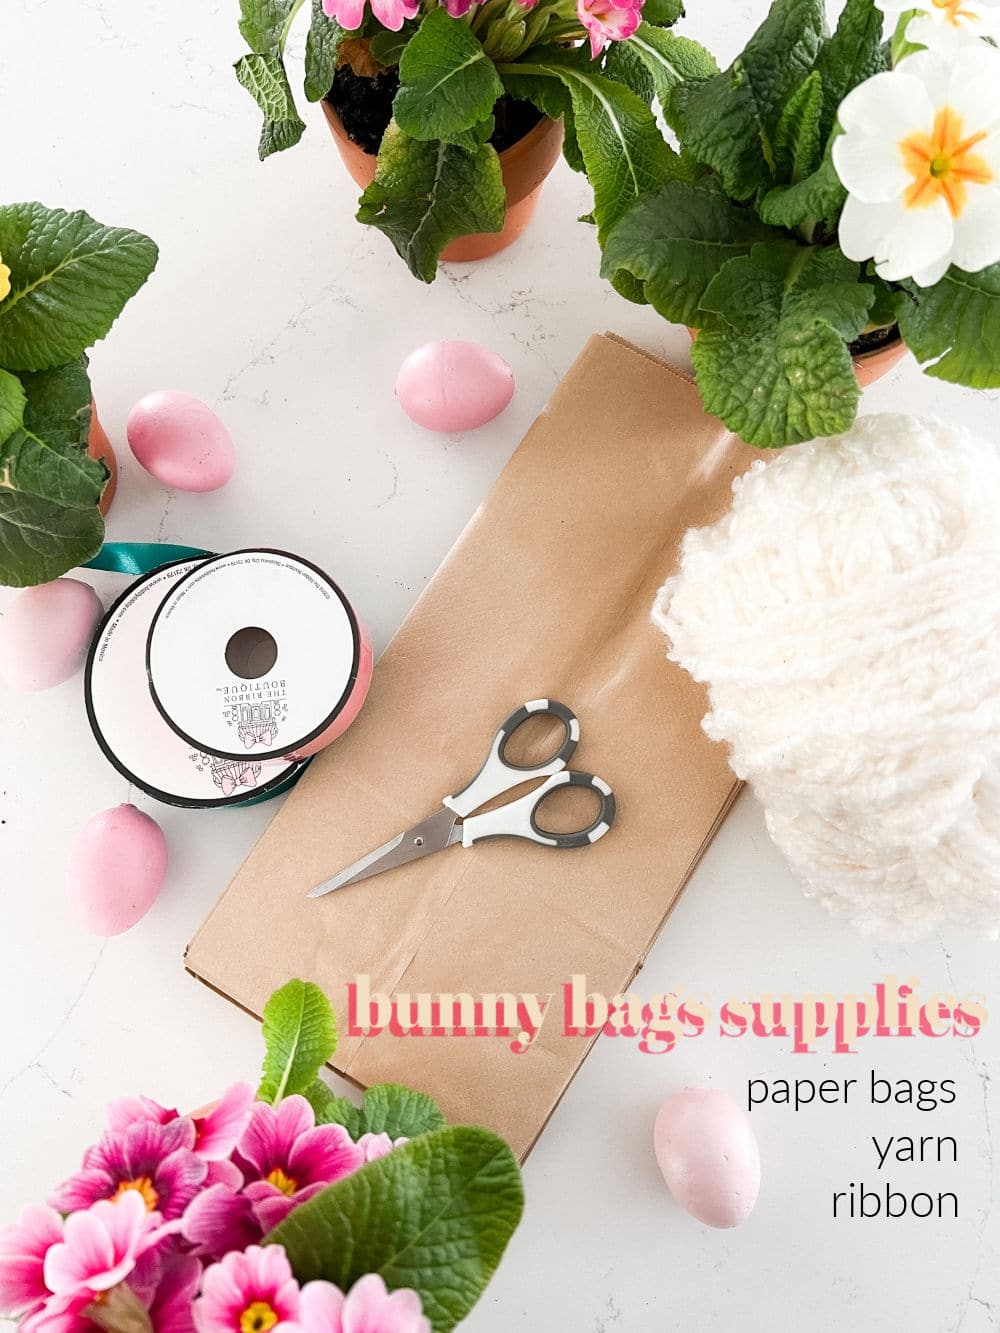
Only a few steps are needed to make these adorable treat bags.
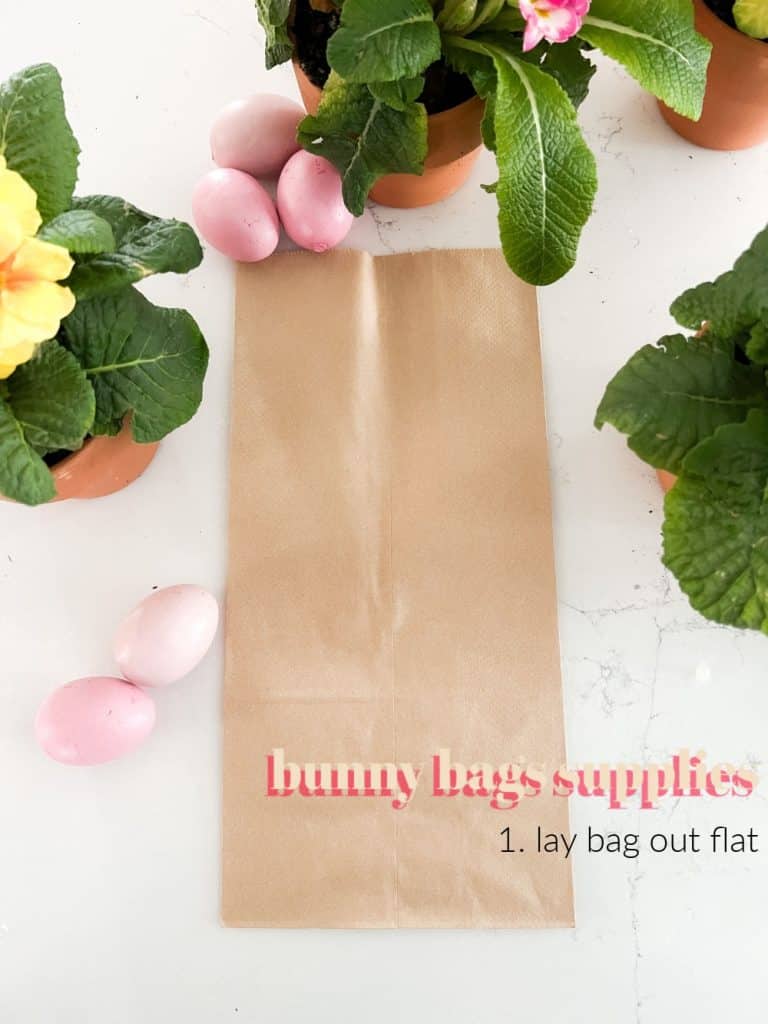
Step 1: Lay Your Paper Bag Out on Your Work Surface
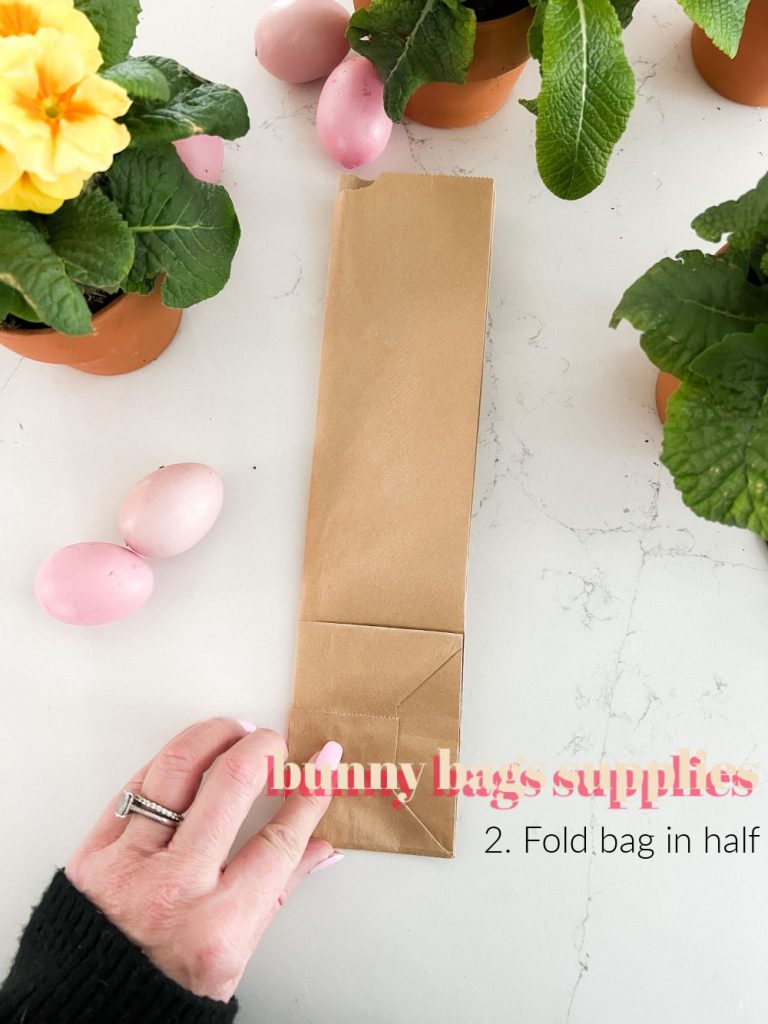
Step 2: Fold The Paper Bag in Half
Step 3: Make a Cut at the Fold
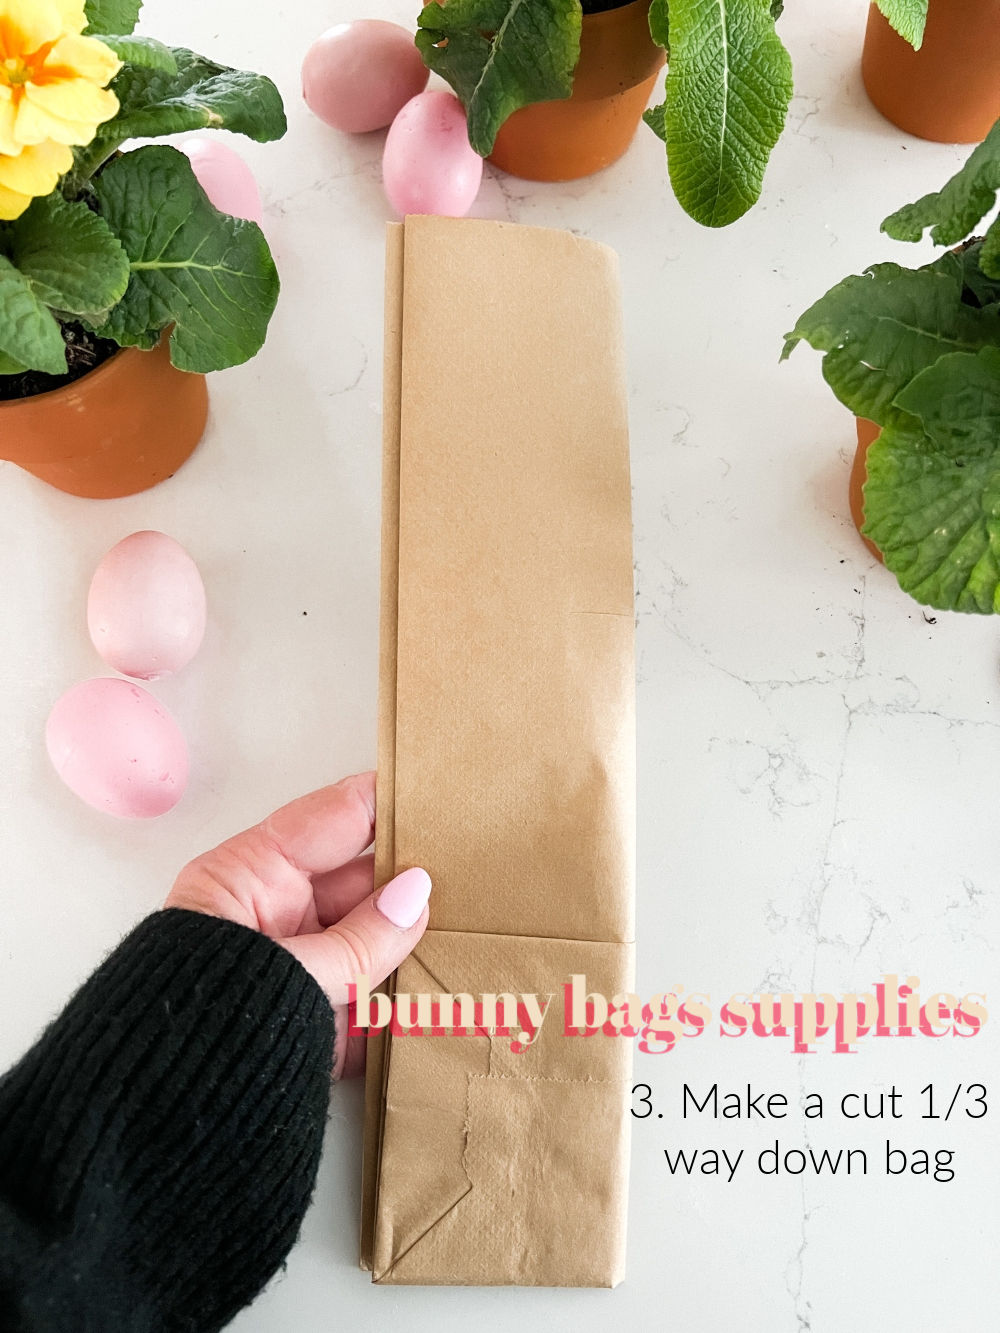
Make a cute about 1/3 of the way down the bag at the fold. The cut should be about 2 inches long.
Step 4: Make the Ears
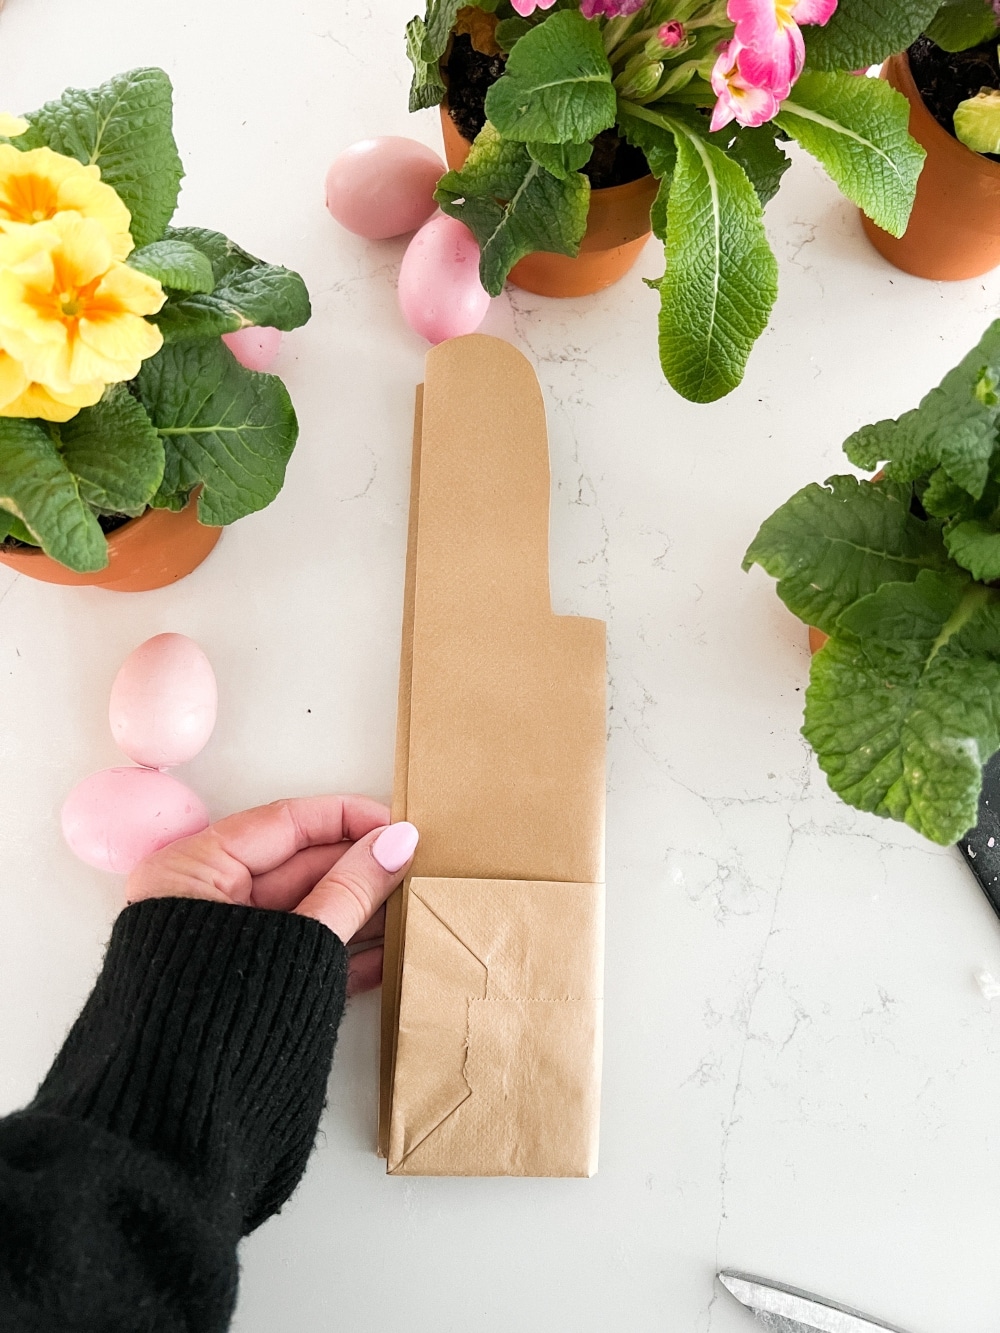
Start at the end of the cut and cut straight up the bag. When you get about 3 inches from the top, start curving the cut so that it looks like a half circle. This is the top of the bunny’s ear.
Step 5: Unfold the Bag and Lay it Flat
Step 6: Make the Bunny Tail.
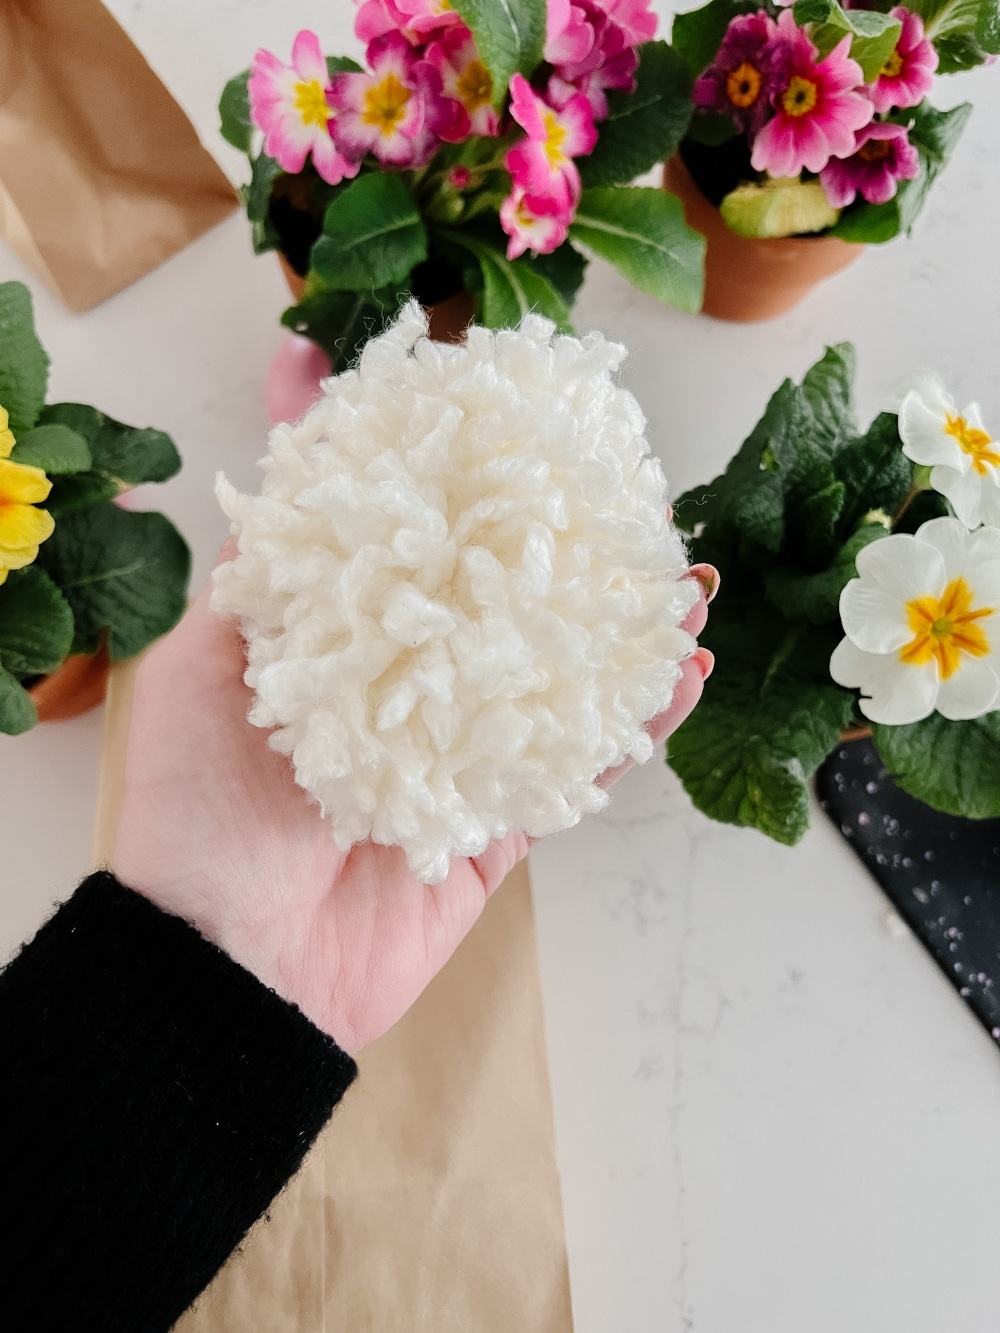
- To make the tail, find something that is about 5 inches long. You can use a small book, your phone, or even a piece of cardboard that is cut to that length.
- Wrap the yarn around the object 75 times.
- Slide the yarn off the object and cut the yarn at the top and bottom, so you have two sections of yarn that are the same size.
- Lay the yarn in a pile.
- Take the uncut yarn and cut a 6 inch length.
- Lay that 6-inch length of yarn on your work surface.
- Lay the pile of yarn on top and tie it in the middle. Tie it tightly with a knot.
- Use your scissors and shape the yarn into a ball shape.
Step 7: Fill the Bag with the Treats/Gift
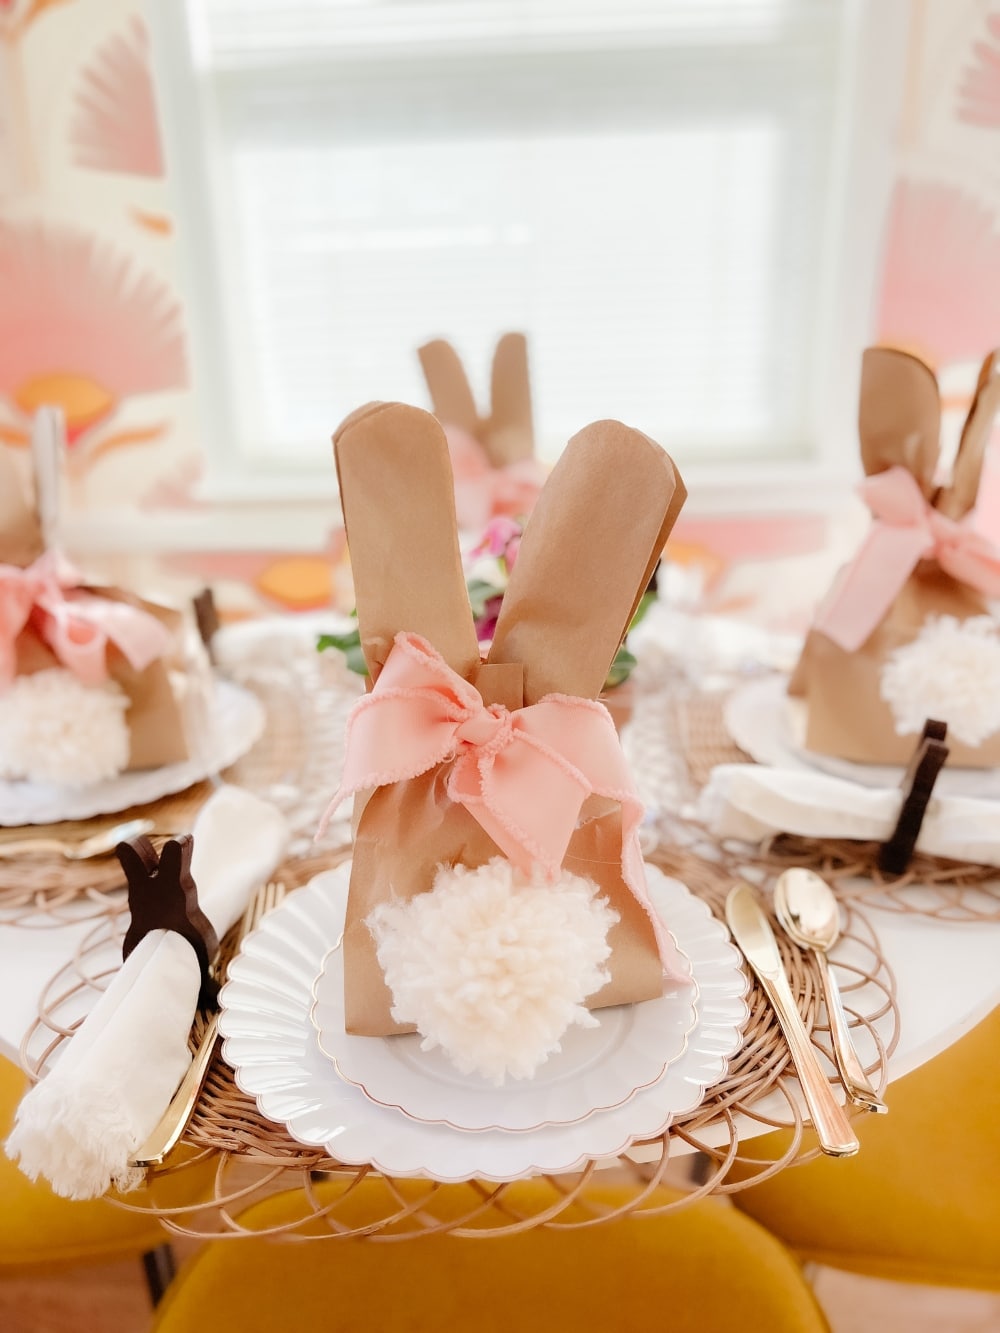
Step 8: Use ribbon to tie the bag right under the ears.
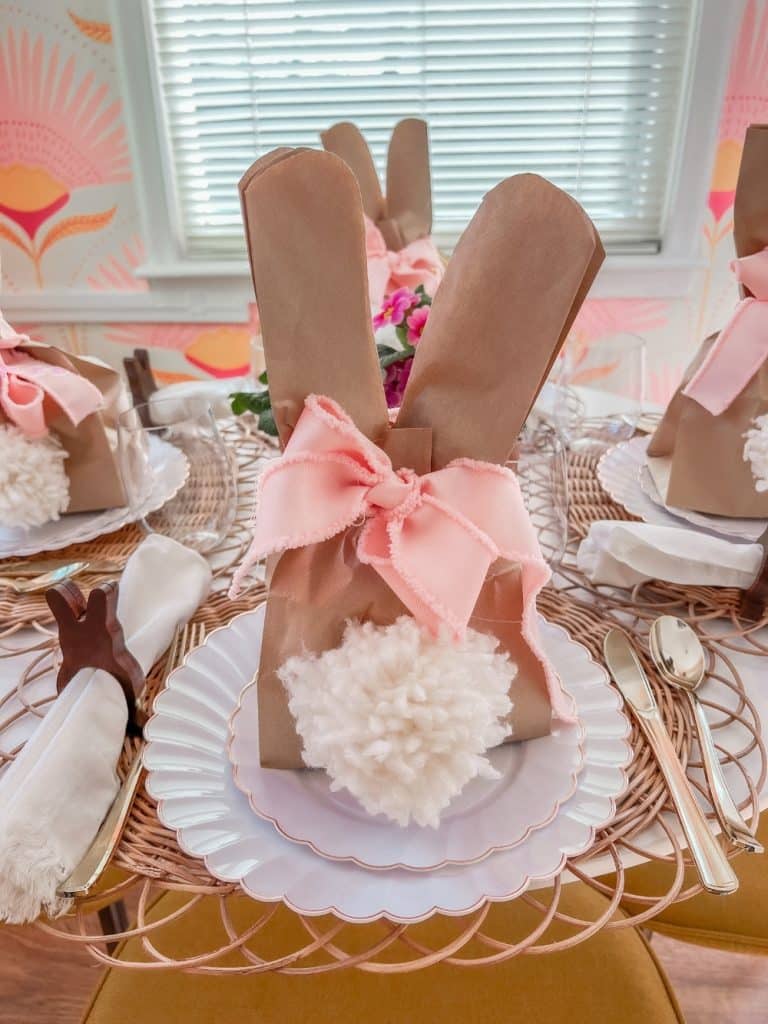
I used a book to hold the ears in place so that I could tie it in the middle of the ears. Make a bow.
Step 9: Hot Glue the Tail
Hot glue the tail in the middle of the paper bag, under the bow , leaving 2-3 inches of lunch bag showing under the tail.
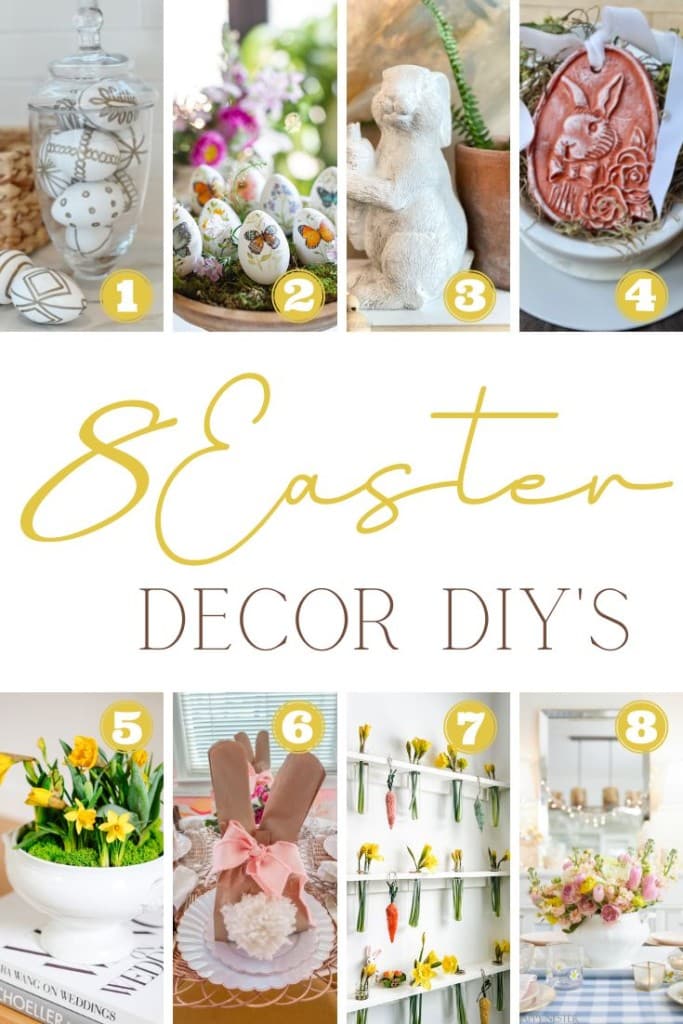
Blogger’s Best Easter Decor DIYs
- Hand Painted Plastic Easter Eggs DIY | My 100 Year Old Home
- Hand Painted Butterfly Easter Eggs | Craftberry Bush
- PB Knockoff Faux Stone Easter Bunny Sculptures from Dollar Store Finds | The Happy Housie
- DIY Clay Rabbits | My Sweet Savannah
- Flowering Bulb Centerpiece In Vintage Ironstone | Modern Glam
- Simple Easter Bunny Treat Bags | Tatertots and Jello
- How to Make a Simple Spring Flower Wall | Most Lovely Things
- Vintage Flower Arrangement (Trader Joe’s) | Happy Happy Nester
More Easter DIY Ideas
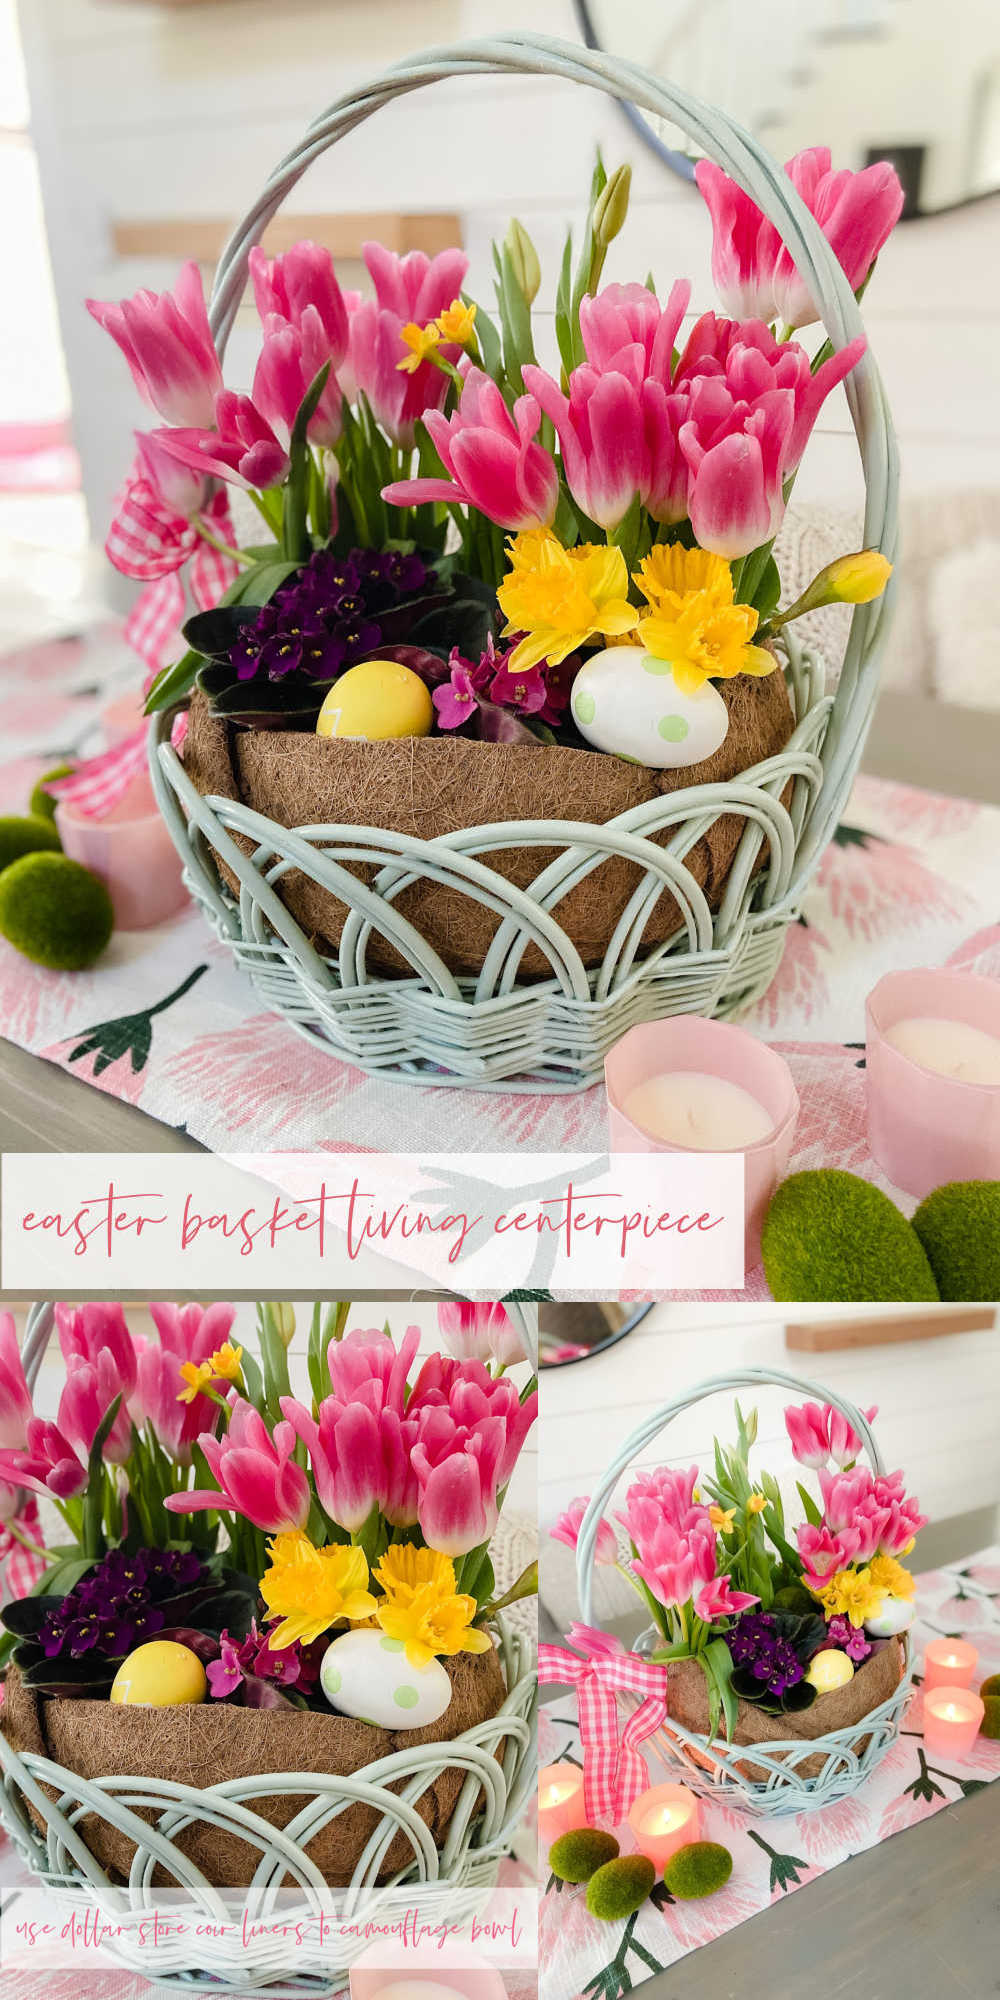
Easter Basket Living Centerpiece
Easter Basket Living Floral Centerpiece. Take an Easter basket, plant flowers in a bowl and cover with a dollar store coir liner for a beautiful spring living centerpiece.
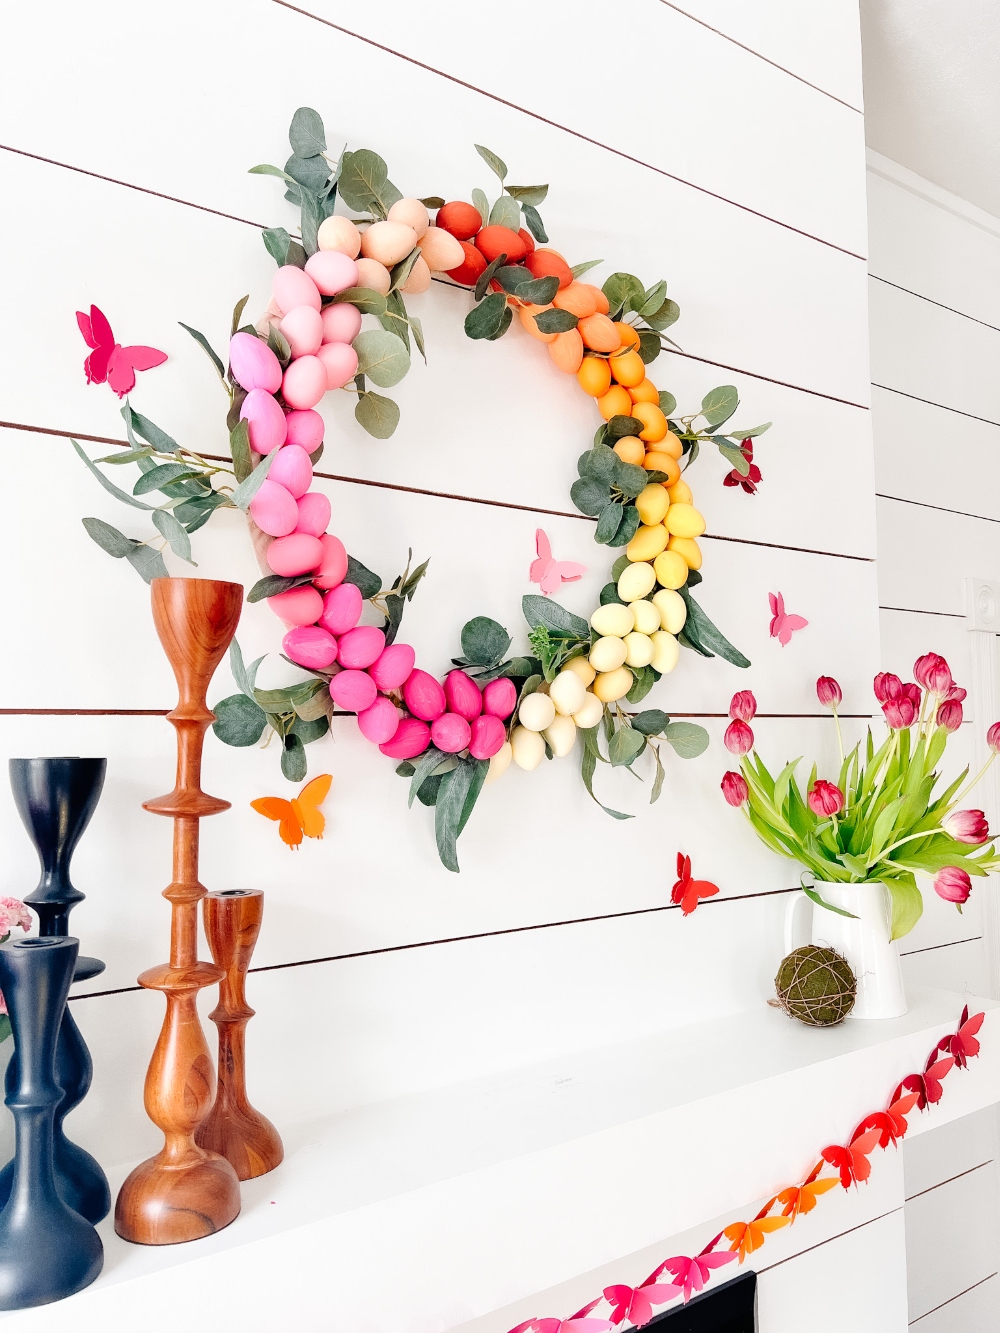
Rainbow Easter Mantel. Rainbow Easter Mantel. elebrate color this Eastr by making a rainbow egg wreath and paper butterfly banner.
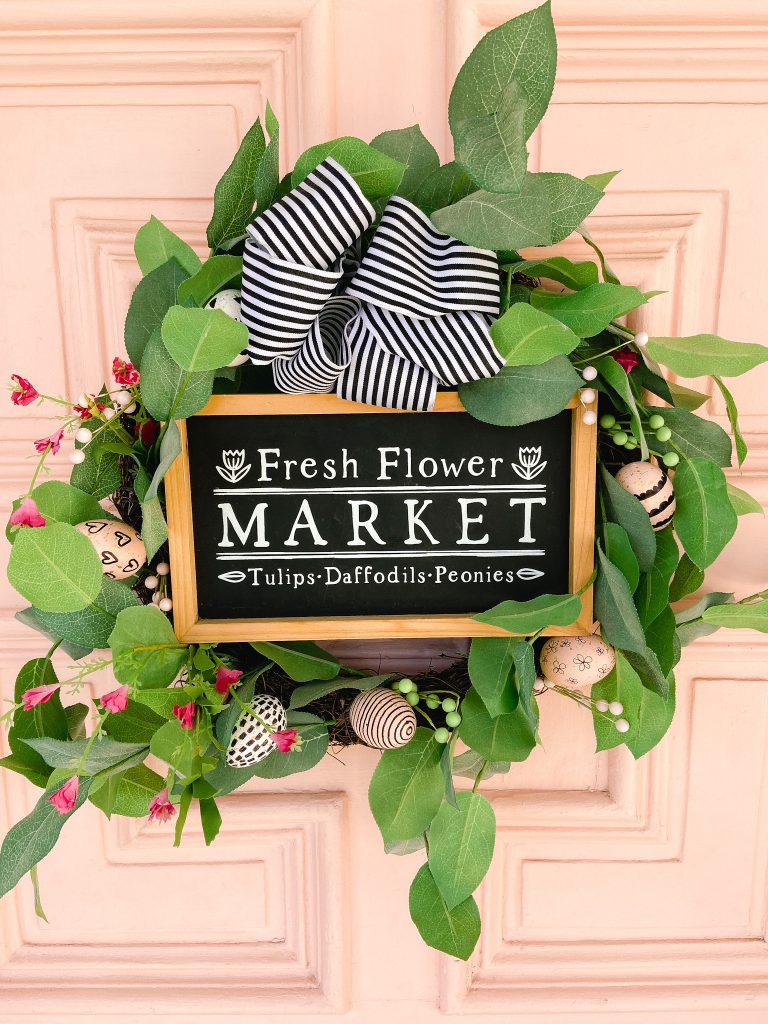
Sharpie Easter Egg Wreath
Farmhouse Spring Sharpie Egg Wreath. Create a vibrant Spring Wreath with sharpie eggs for a black and white farmhouse take on Spring!
Have a Creative Day!
xoxo



Super cute idea! I love this.
Thanks Renae! I can’t wait for spring!
xoxo
Such a cute idea! I love those little tails! What a perfect addition to an Easter breakfast table or Easter party!
Thanks Krista!! It would be fun to make with the kids 🙂
xoox
These are the cutest! What child wouldn’t love one?
Thanks Melaine! They were so fun to make 🙂
xoxo