This post is sponsored by Walmart and SheKnows Media.
Sharpie mugs are fun to make and a great gift idea! Make a special DIY mug for a friend, neighbor or teacher and fill it with a yummy Betty Crocker Mug Treats cake mix for a gift ANYONE will love! This tutorial shows you how to make DIY Sharpie Mugs that will last!
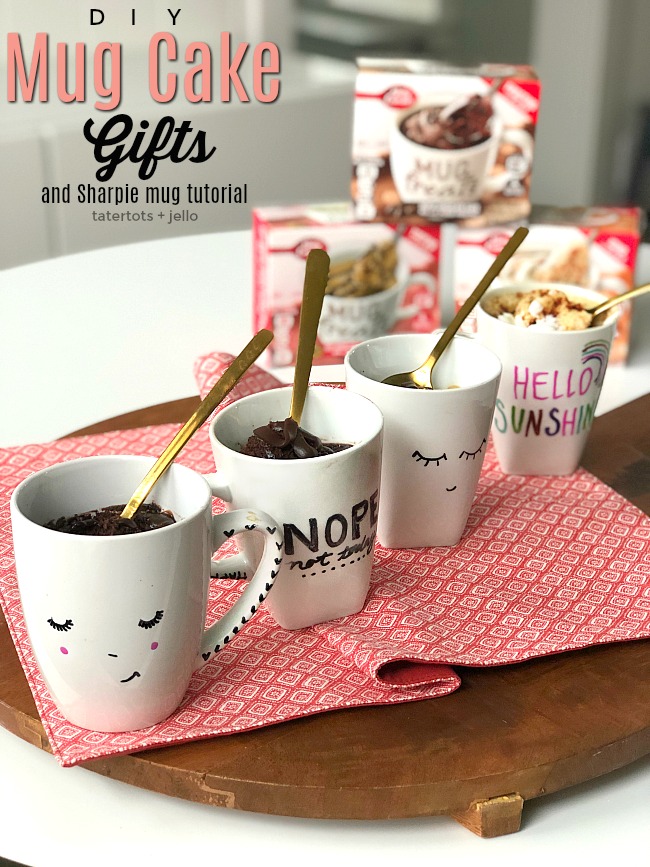
Sharpie mugs are a perfect gift idea! It’s the perfect craft to make with your kids! Your kids will love making a special gift that is useful too! Plus this tutorial will show you how to make a sharpie mug that doesn’t wash off. Sharpie Mugs and Mug Cake Gift Ideas
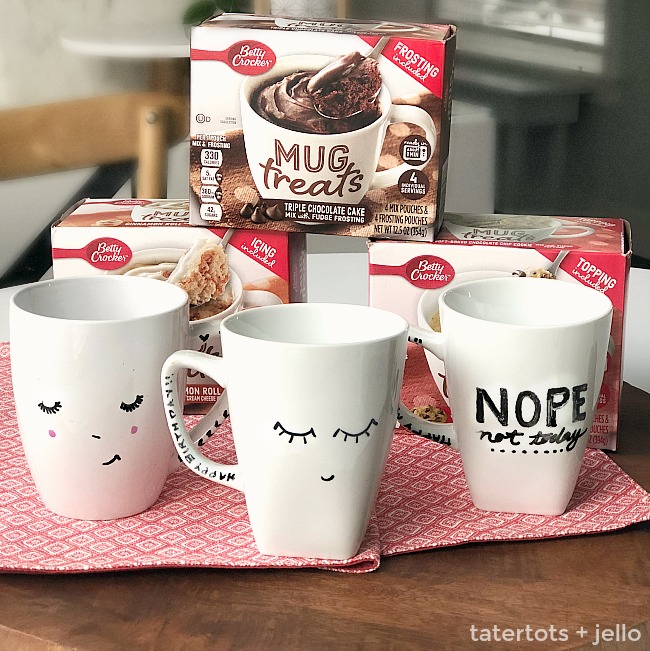
Did you know that Betty Crocker has come up with a PERFECT single serve mug cake mix? They have all kinds of yummy flavors, including FOUR new ones that are exclusive to Walmart: Chocolate Chip Cookie, Hot Fudge Brownie, Triple Chocolate Cake, and Cinnamon Roll. They are SO good! And super easy to make. I love that the Betty Crocker Mug Treats are all-inclusive and come with FOUR in a pack so you can make ONE and save the rest for another time, or make them all for your family to enjoy. Let everyone choose their favorite flavor to make and enjoy your different desserts together. SUCH a fun concept.
Walmart contacted me to see if I wanted to come up with a fun craft that goes along with these delicious mug treats. I KNEW I wanted to make sharpie mugs that you can make and then fill with a yummy TREAT. The thing I love about this craft is that you can customize the design or saying on your mug for the person you are creating it for! Plus – you can fill the mug with their favorite flavor cake mix. It’s pretty much the perfect gift idea. Sharpie Mugs and Mug Cake Gift Ideas

Here’s the tutorial to make Sharpie Mugs and Mug Cake Gift Ideas!
The trick to making Sharpie mugs that are lasting is using a different kind of Sharpie marker. In the past I have made Sharpie mugs using regular Sharpies which is fun but I noticed that the Sharpie markers washes off after a while. I experimented and found that Sharpie makes an oil-based paint marker which is long-lasting on ceramic or glass. Walmart has an amazing assortment of these Sharpie oil-based paint markers. I also love that you can buy them in packs of different colors which is SO economical. I bought one of the colorful assortment of these markers for just $6.69, plus a basic black oil-based Sharpie marker.
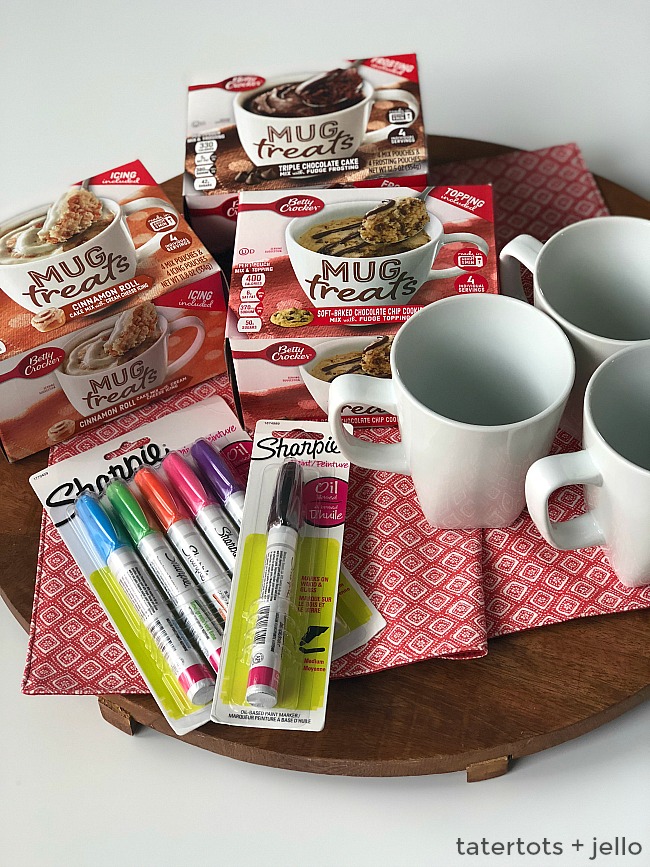
TIP – these markers come in different tip widths which is awesome! The markers I used have the regular tip but I HIGHLY recommend getting a black marker with a FINE TIP if you want to write sayings on your mugs. A fine tip will let you make an outline of the letter and then fill it in which looks much cleaner and will save you a lot of aggravation. Hand lettering is hard to do. My advice is to go with your natural handwriting and just go for it. If you overthink the letters it is stressful and your person will appreciate your true handwriting. If you DO mess up, you can use nail polish remover to wipe the whole thing off and start over.
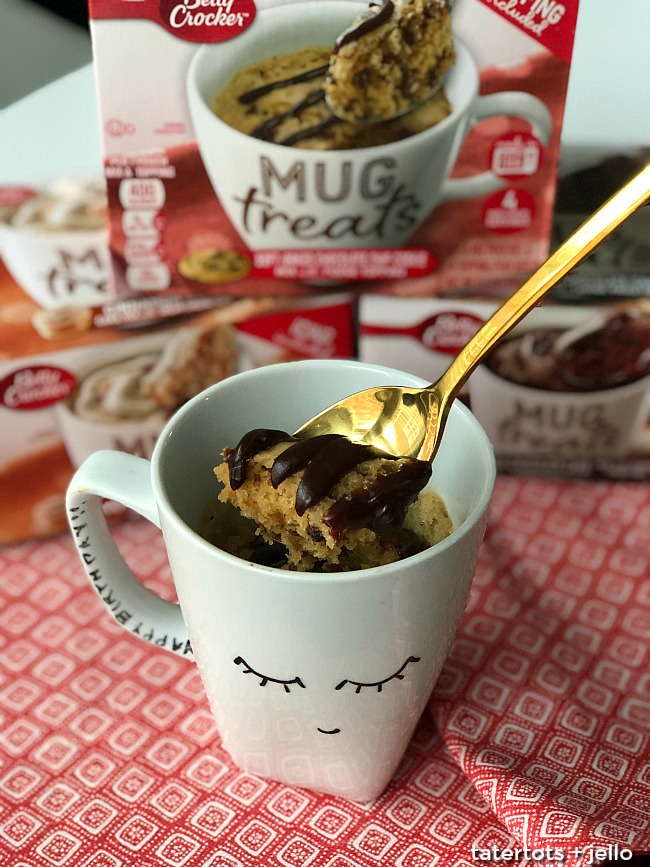
I made a few different mugs. I think they are super fun. The easiest ones for me were the simple faces. I could make those in one try. The ones with the lettering were harder but I decided not to stress if they weren’t perfect. Imperfections make the mug look handmade which is what you want!
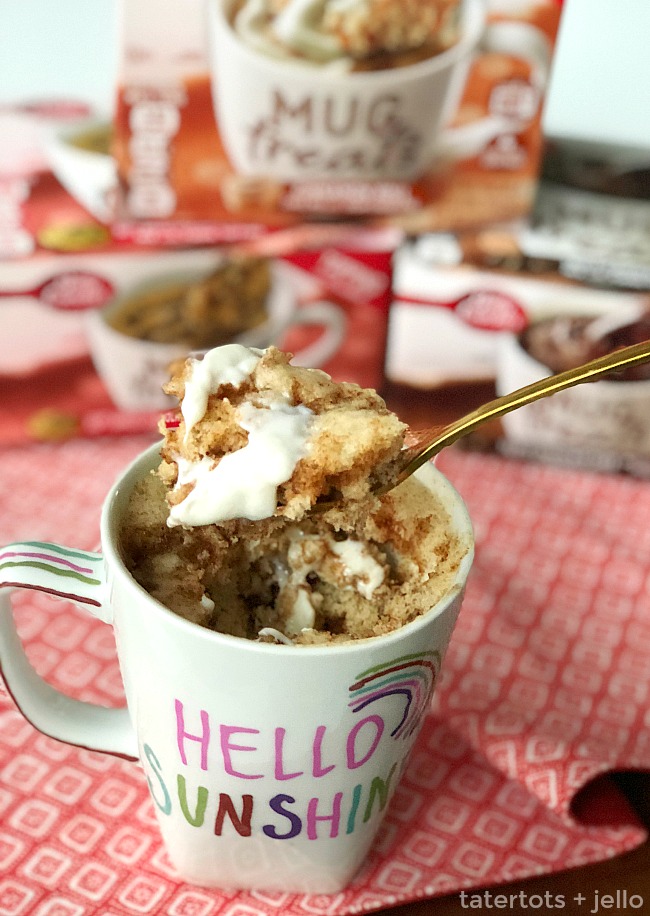
I decorated the handles too! With hearts, sayings and rainbows. I think this gives the mugs a little whimsical element which I love.
Wash your mugs and wipe them clean.
Getting all of the dirt and oils from fingerprints will help the paint stick better.
Sketch out your pattern or design on a piece of paper.
This will save you some aggravation. Then just go for it. You want your mugs to look handmade so imperfection is good. If you mess up you can wipe it all off with nail polish remover and start over.
Let the paint dry for a few minutes.
If you handle the mugs while the paint is wet it will smudge.
Put your mugs on a baking sheet and put them in the oven.
Set your oven to 425-degrees and let it heat up with the mugs inside. DON’T put the mugs in the oven when it is hot because they could crack due to the sudden temperature change.
Let the mugs cook for 30 minutes.
Turn the oven off after 30 minutes and keep the mugs in the oven until it has cooled down to room temperature.
Take the mugs out and let sit for 12 hours before cooking with them.
Make your Betty Crocker Mug Treats!
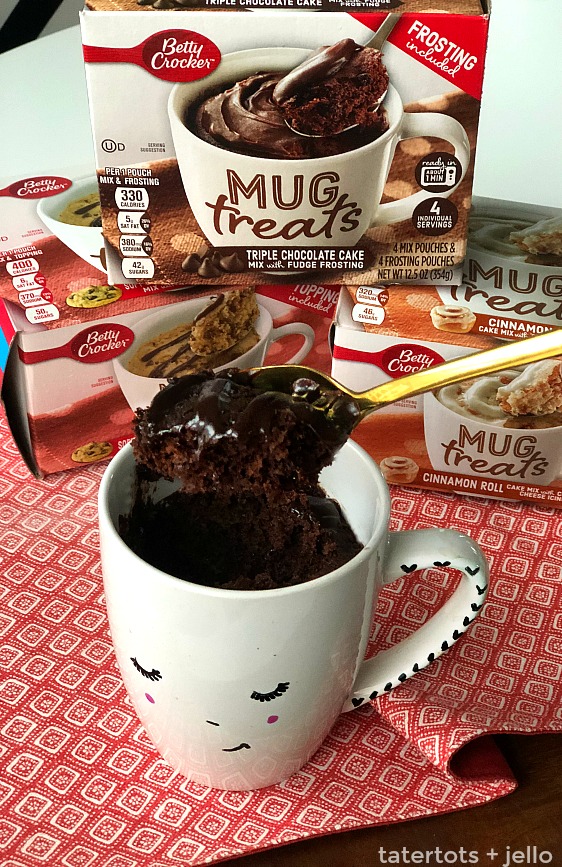
Each Betty Crocker Mug Treat comes with everything you need except for water or milk. They’re so easy to make. You just pour the cake mix into your mug and then add either water or milk and stir. Then pop it in the microwave for about a minute for the perfect little treat! When it’s done cooking, there is a frosting packet that you can top the cake with and it’s DONE!
Then deliver it to YOUR special person or eat it yourself.
These DIY Sharpie Mug Cakes make the perfect gift.
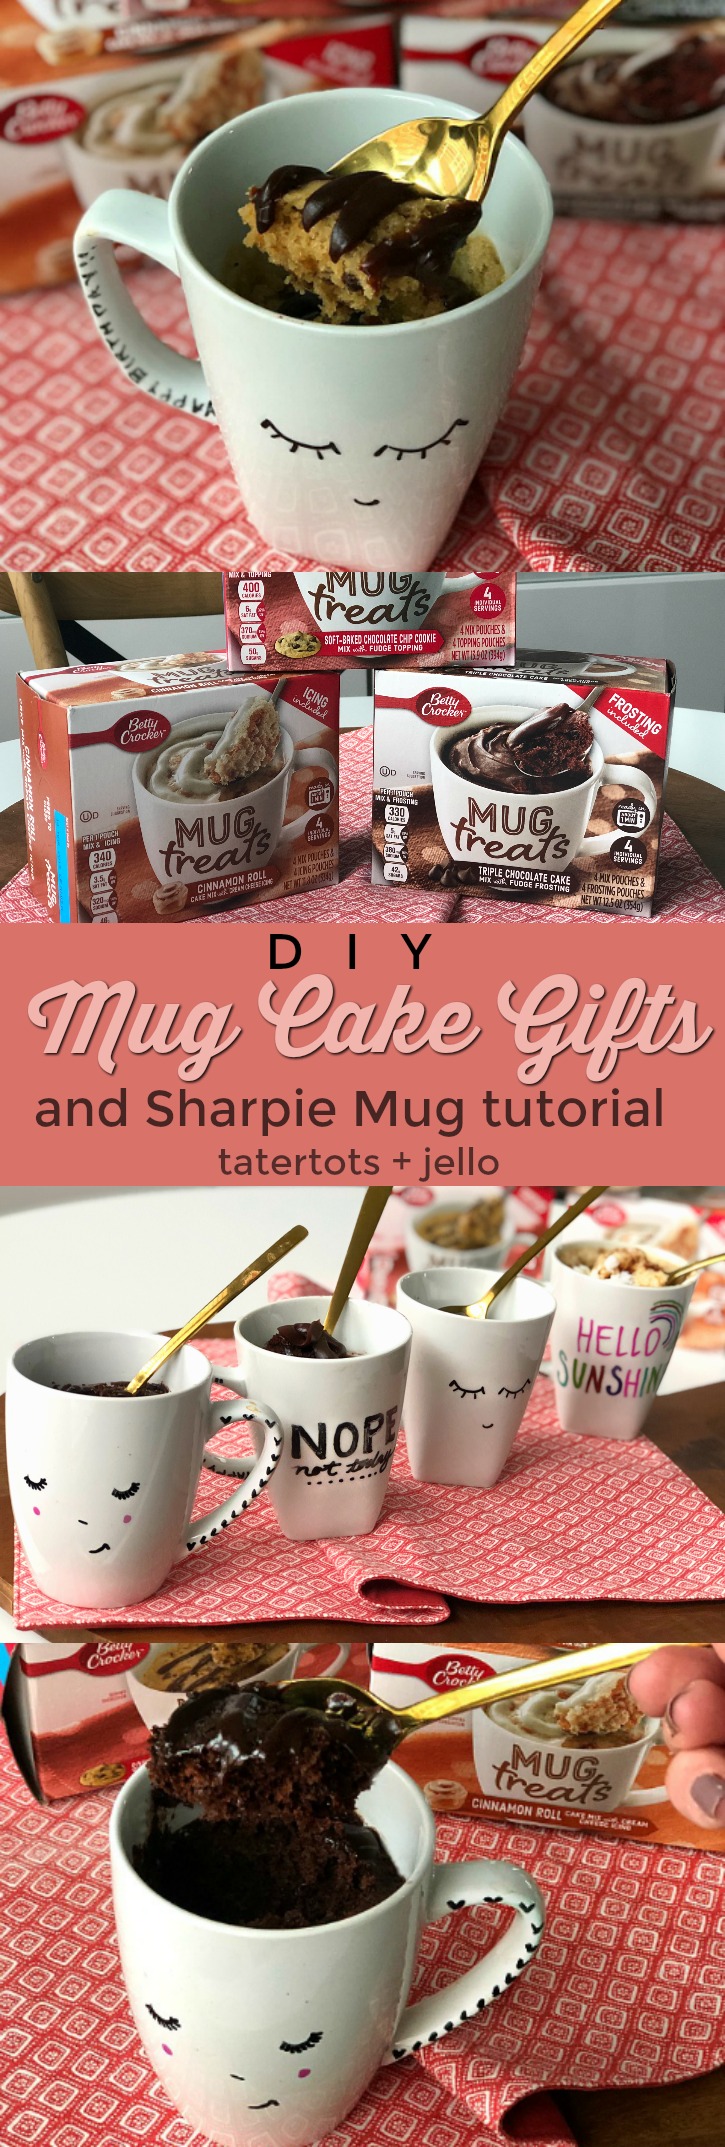
One last note – These Sharpie oil-based pens make the design more durable than regular Sharpie pens, but my advice is to NOT use them in the dishwasher. Just hand-wash them and they should last.
UPDATE — I’ve washed each of these 5-6 times in the dishwasher and they still look great. YAY!!!
You can buy the Betty Crocker Mug Treats and all of the items in this tutorial at your local Walmart store, including the white mugs!
Have a delicious day!
xoxo




Where did you buy the mugs? Can’t wait to make these!
The mugs are from Walmart 🙂
Oxo
I love this idea! Thanks for the tip about the pens!
You are welcome! I hope you make some. They are fun presents! And be sure to try the cakes!
xoxo