I was shopping at one of my favorite haunts – DownEast last week and I spied some super discounted striped curtain panels. I bought them thinking they might work for a project. When I got home I discovered that they wouldn’t work for the project I had in mind, but they looked so great in my living room. Hmmmm. My mind was spinning.
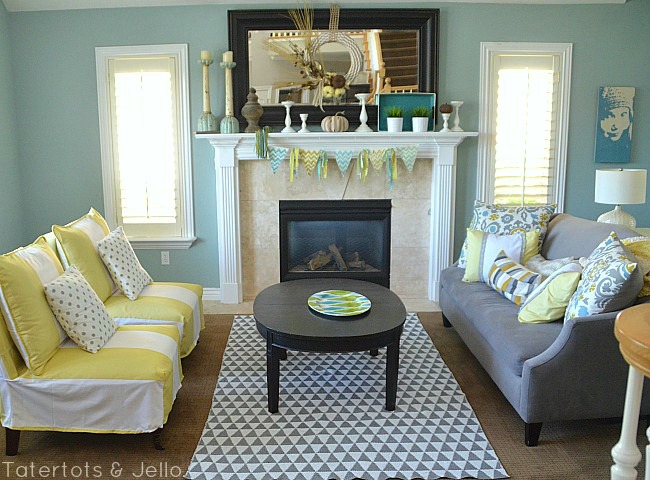
You see, I had such a fun time making over my Master Bedroom, that now I am on a decorating kick. I want to make over every single room in my home. So looked at my orange velvet slipper chairs and I thought I needed to sell them and buy some new chairs. But after buying these curtain panels, I thought — “wouldn’t it be so much less expensive to make slipcovers for these chairs than buy new chairs??”
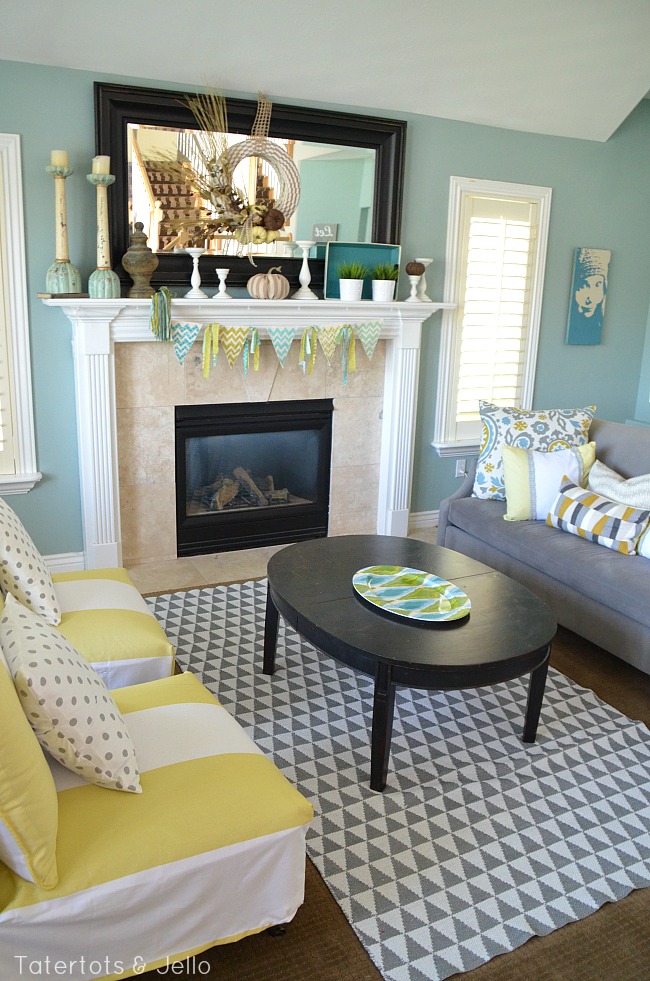
And that’s what I did. I have to say I LOVE this little room mini-makeover!!
Here’s how I made the chair slipcovers:

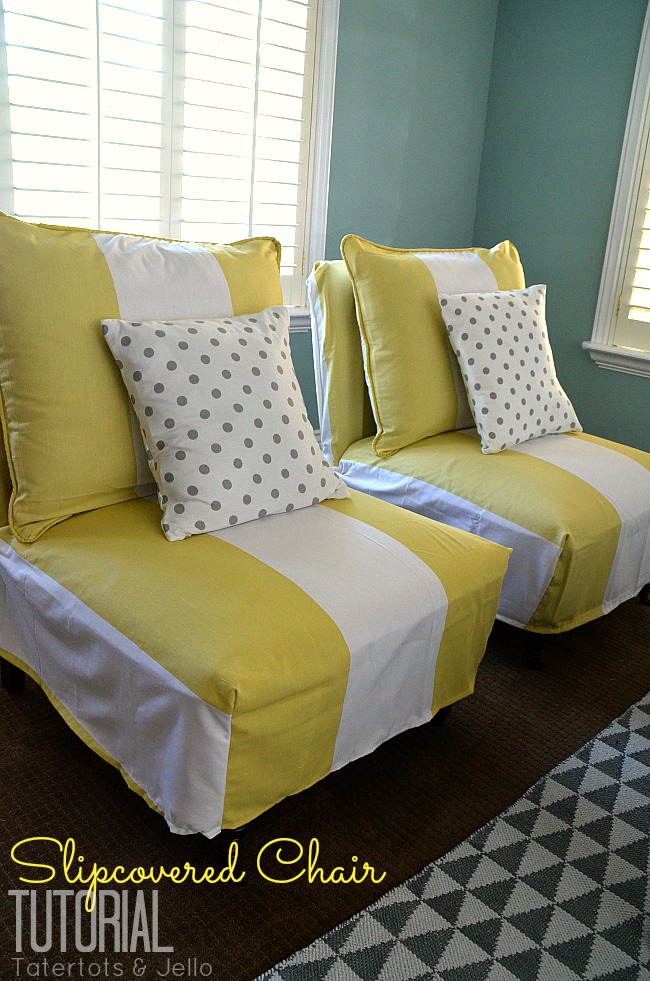
- I bought 4 panels of curtains to makeover these two chairs. Now – here’s my biggest tip for slipcovering furniture, instead of making patterns, I lay the fabric over the chair or couch and then pin it in place. For me — I have found that this really makes the slipcovers fit best. It also saves you time. The only exception I have found, is if you are slipcovering an asymmetrical piece – like the slipcover for my sectional that I just made.
- One more tip before we get started — make sure to wash your material before you make slipcovers. Most material shrinks when you wash it and you will be so sad if you spend all of that time making a slipcover and then it shrinks in the wash and no longer fits. Ok – let’s get started!!
- The first thing I did was I laid the first curtain panel over the slipper chair, right-side down.
- Then I cut the first piece. From the top of the chair all the way down the front of the chair. I left inch for the seam allowance.
- (I pin the piece on the chair and then cut the fabric while it is on the chair. I do this with each piece. And once I have pinned two pieces of fabric together on the chair, I can go back and trim up the seams so they fit perfectly.)
- Once I had that piece cut, I pieced the sides on, pinning them onto the front panel, with the right-sides of the material facing down.
- The trickiest part of making these slipcovers was on the sides, where the seat seams met the sides. I just folded the material and pinned it to the side panels, folding the fabric so there was a little gathered seam.
- The nice thing about slipcovers is that noone expects them to be perfect. Slipcovers can be loose and hide a multitude of imperfections.
- Then I cut out the back panel and pinned it to the side panels.
- After that I took the pinned slipcovers off and sewed them up.
- Once all of the sides of the slipcover were sewn, I flipped the material right-side out and then put them back on the slipper chairs.
- Then I hemmed the bottom of the fabric all the way around – making it as even and straight as possible.
- The last thing I did was I made the look more tailored with a Corded Pillow. Check out my tutorial for more tips and tricks for making Corded envelope-back pillow covers. The top cushion on my slipper chairs is separate, so I was able to take those pillows off and make separate pillow covers for those pillows. I matched up the stripes so they matched the slipcover underneath. I even added cording – I was so proud of myself!
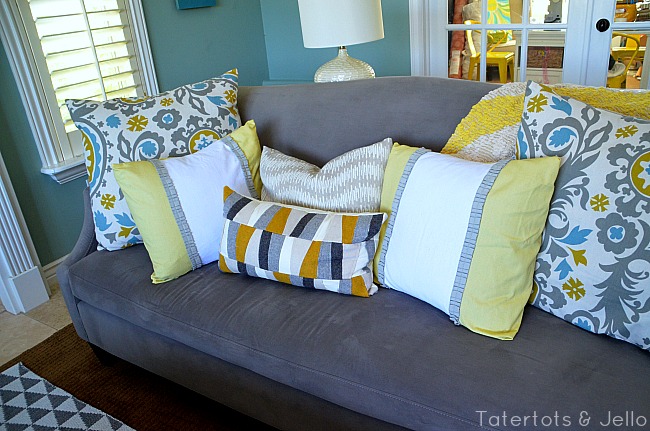
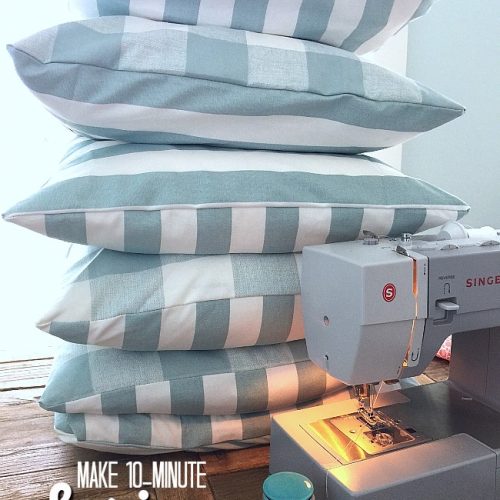
I also make a few matching pillows for my coordinating sofa.
I took the striped material, made Corded envelope-back pillow covers.
After I cut out the fronts of the pillows, I added a couple strips of ruffled twill trim from the #HGTVHomeMagic fabric line.
I just love the way it looks!!
Thanks for stopping by!!
PS -I am so excited about my new slipcover project. A tutorial coming up about this soon!
Have a Fabulous Friday!!
xoxo

PS — I hope you can stop by tonight for the NEW linky party – Link Party Palooza!
I have a fabulous giveaway this week!!
It starts at 5 pm MST. I can’t wait to see YOUR ideas and feature YOU!!


Hi!
BEAUTIFUL room! where did you get those blue grey and yellow pillow cushions!? they are gorgeous! they are exaclty what ive been looking for to put together our living room
Beautiful room!! I LOVE the wall Color. Can you tell me what it is? Planning g on a room redo in a few weeks!
Hi! I love this room. Where did you get the gray and white rug?
Hi! The rug is from Rugsusa.com.
xoxo
Hi Jen! I am brand new to your blog as my mother in law found you by looking for slip cover tutorials. She sent me the post and now I can’t stop looking through your DIY’s! Anyway… I love your gray couch in this post, where did you find it?
Hi Danielle!!
Thanks for reading my blog!! I found the grey couch at Downeast – which you might know if you live in Utah.
xoxo
Wow, they look awesome! Just bought those same shower curtains to make regular curtains in my new house at DE! Can’t wait! Funny, I met you at DownEast! It was at the tent sale last year and I was the extremely overdue pregnant lady with 2 little girls running everywhere 🙂
Anyway, these are the same colors I’m using and I’m wondering where you got the fabric on the pillows you have on each side of your couch with the print–the blue, white, yellow and gray ones? Just wondering if you have a second!
So cute! I love how everything turned out! You’re amazing friend 🙂
I love all of your furniture in this room! I am also especially drawn to your wall colour.. I’ve been thinking about a blue shade for my foyer for quite some time and now I’m almost certain I will follow through!
Enjoy the rest of your weekend,
Brandi
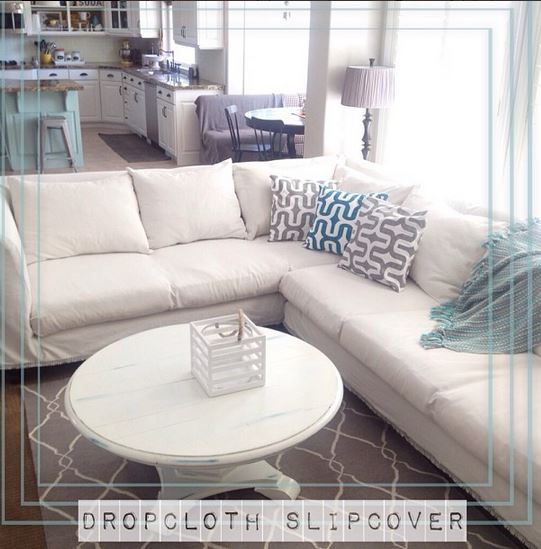
Ah! I love it!! I saw your sectional on twitter yesterday…can’t wait to see the tutorial on that!!
Thanks Beth!! I am just in love with my new white sectional. I really love the dropcloths. They seem super durable. I am hoping to post a tutorial on it next week 🙂
xoxo
I wish I had just a fraction of your creativity – LOVE
Suzanne of Simply Suzannes at Home
Jen! Your slipcovers look fantastic!
What a great idea!!
Thanks so much for sharing :0)
Have a great weekend,
Suzanne
I have always been a little scared of sewing slipcovers these look great ~ Lisa
Jen,
These turned out beautiful! I love the fabric…err..curtains 🙂 I also love DownEast! And this room turned out darling. Love it!
xo,
Alicia
http://www.thriftyandchic.com