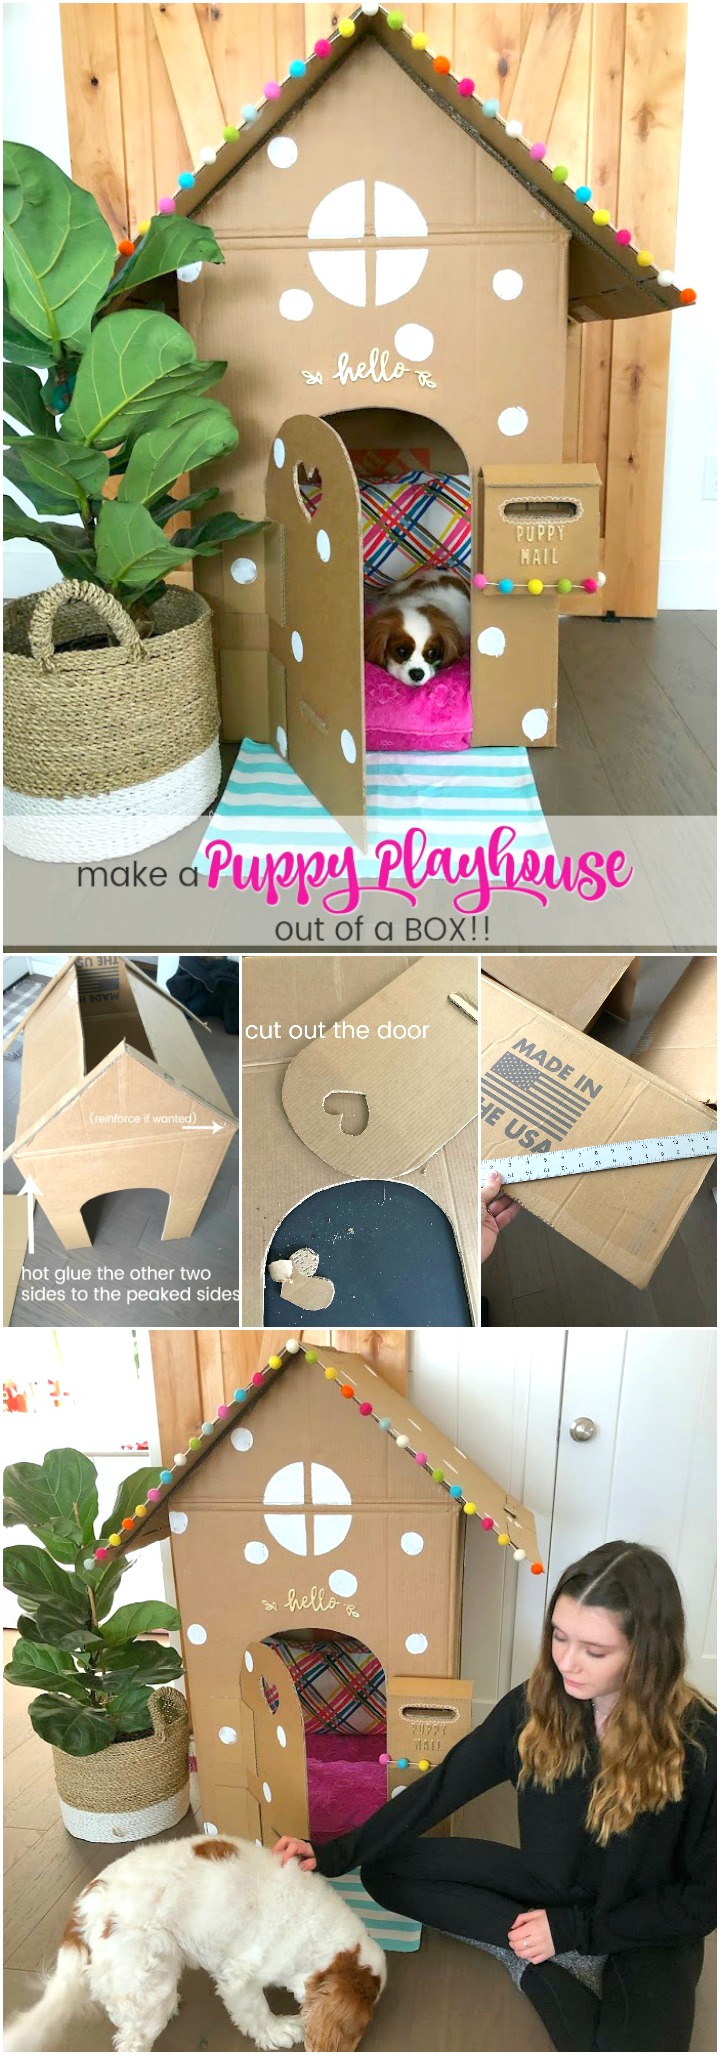
Make an Adorable DIY Playhouse Out of a Box! Use your imagination and create a sweet playhouse for your kids or pets with a cardboard box!
Make an Adorable DIY Playhouse Out of a Box!

Creating a cozy and cute playhouse out of a cardboard box is a fantastic way to recycle and provide a fun space for your furry friend. But why stop at just dogs? This adorable DIY project can be easily adapted to create a playful hideout for kids, cats, or dogs!
Cardboard Playhouse Tips:
- For Kids: Consider adding fairy lights or glow-in-the-dark stickers to make it a magical play space. You can also include small shelves or pockets inside the box for storing toys or books.
- For Cats: Add some scratching posts or dangling toys to keep them entertained.
- For Dogs: Incorporate chew toys or treat-dispensing toys to make the playhouse even more enticing.
What Can You Make With a Box?
Ever wonder what you can do with an empty box?
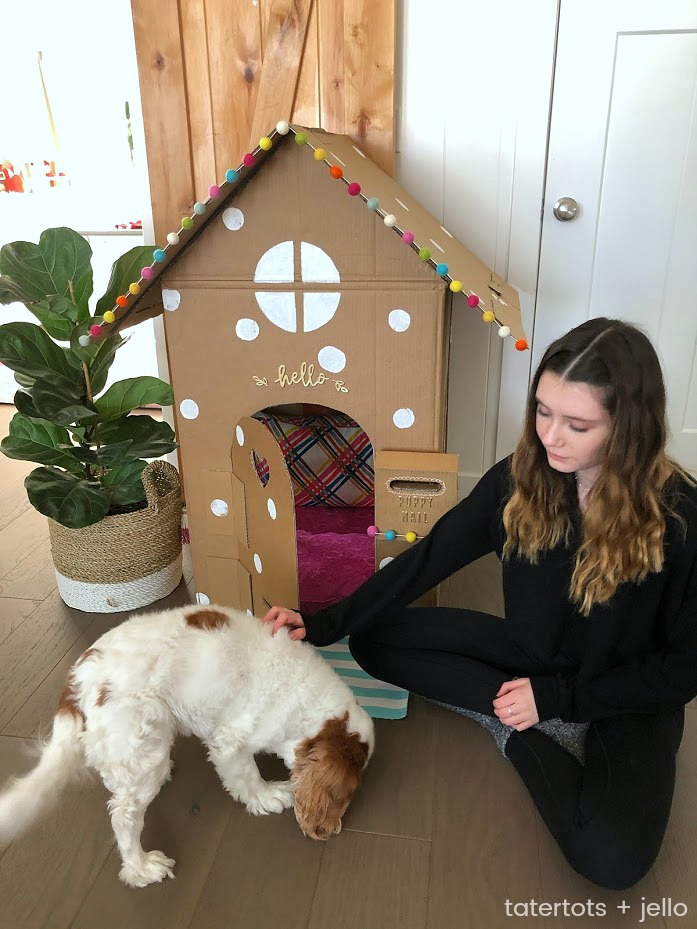
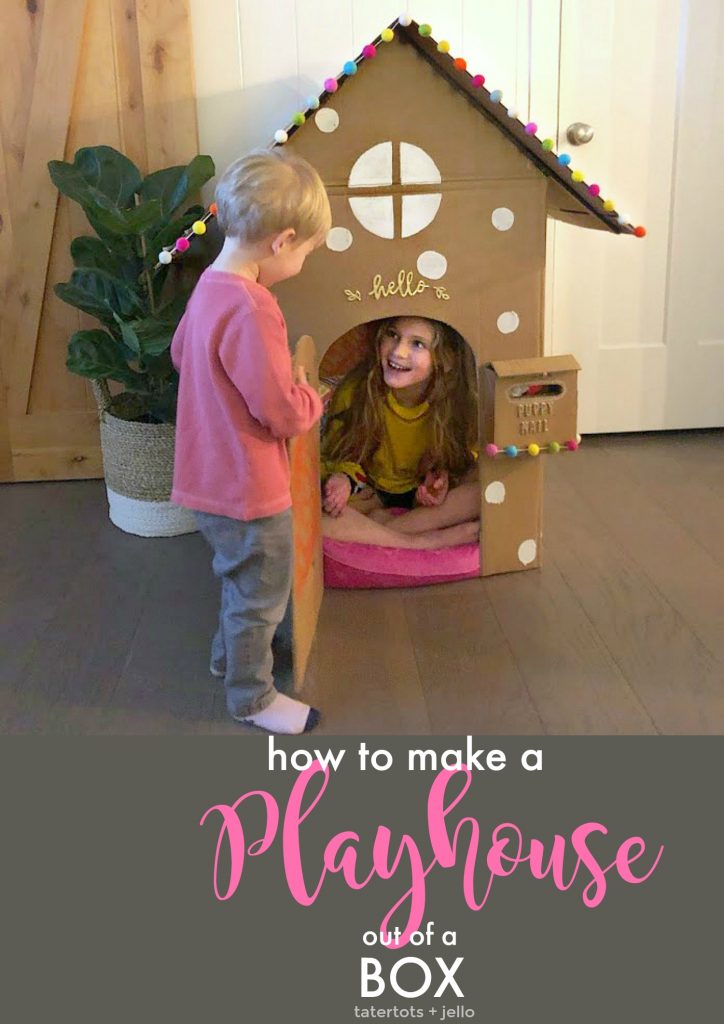
Upcycle a Cardboard Box into a Playhouse
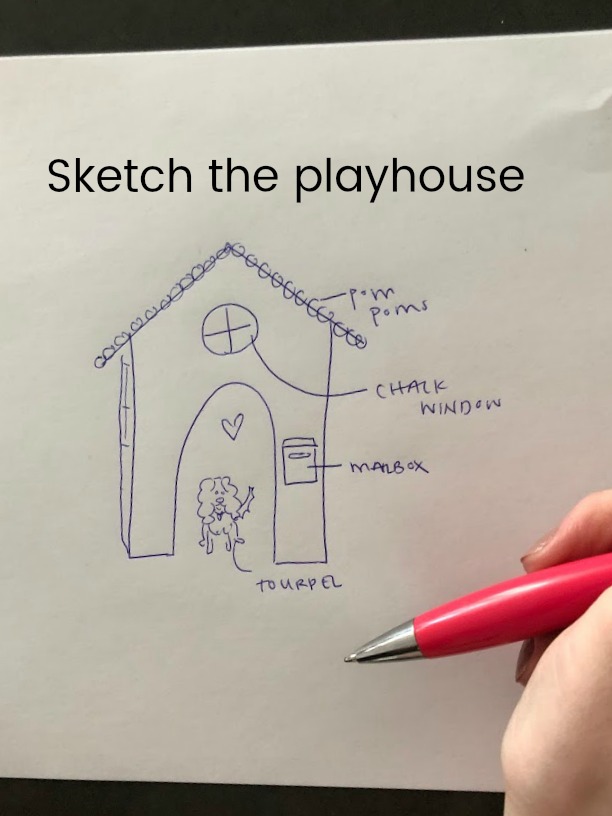
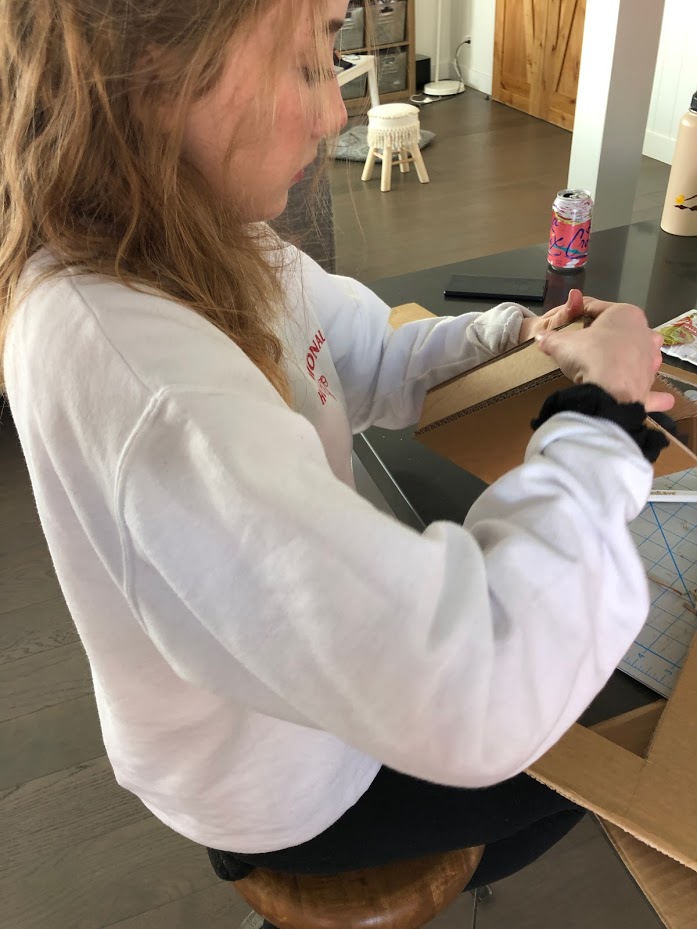
We decided to make a little playhouse for our pets! My daughter sketched out the house first. She made it big enough that our dog or cats crate can fit inside. Hannah also made the house have an open bottom so we can easily put it over the crate when they sleep inside, but we can lift it off and out pillows inside for when they’re awake so she can go in and out of the house. We also put two windows on the side of the house so the inside would get plenty of ventilation.
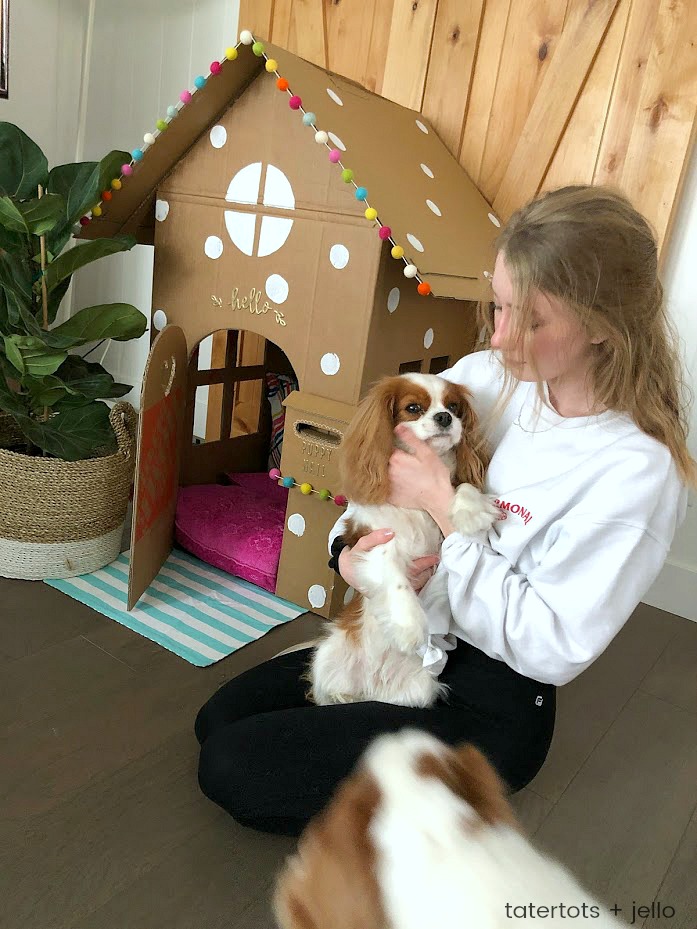
How to Make a Cardboard Playhouse out of a Box
Supplies:
Cardboard Box
Box Cutter and/or Xacto Knife
Packing Tape or Duct Tape
Pencil
Ruler
Cutting Mat or Cutting Board
Paint (optional)
Hot Glue and Hot Glue Gun
Sketch Out Your Playhouse
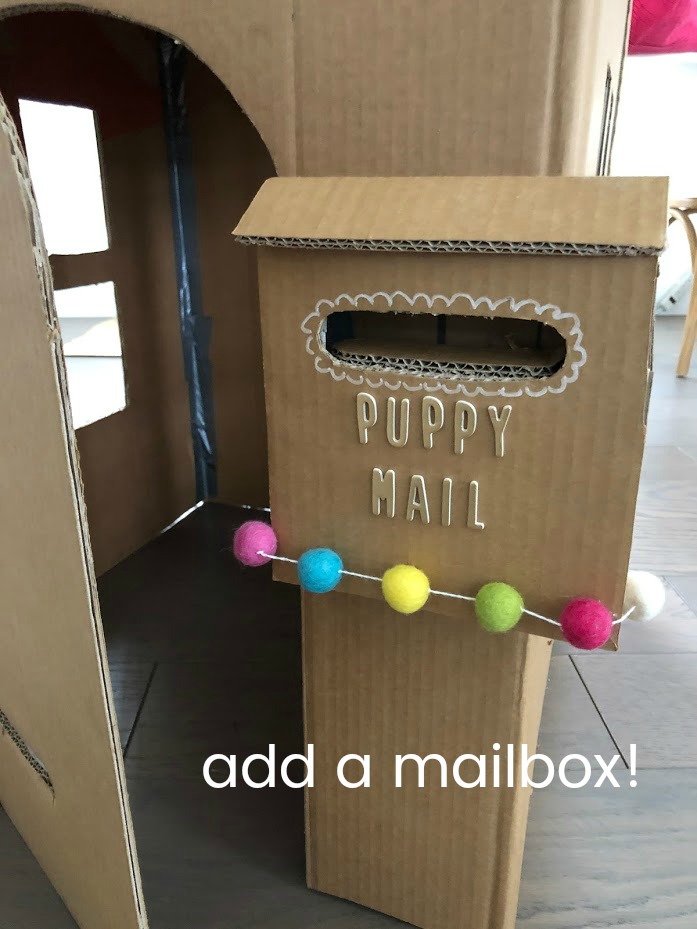
Make a sketch of the house. Figure out what size you want it to have and what features. We added a doors, windows and a little mailbox to ours.
Find a Large Box
We asked around and found a neighbor with a large wardrobe box.
Cut the Box Flat
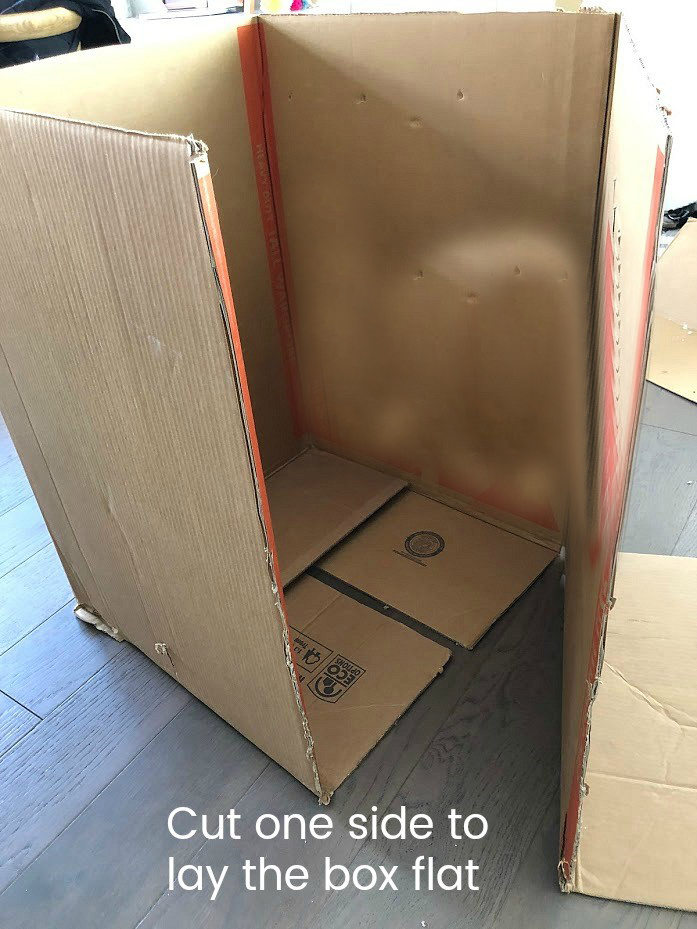
Cut one side of the box so you can lay it flat. Flip it over so the side without words (if your box has any) is facing up.
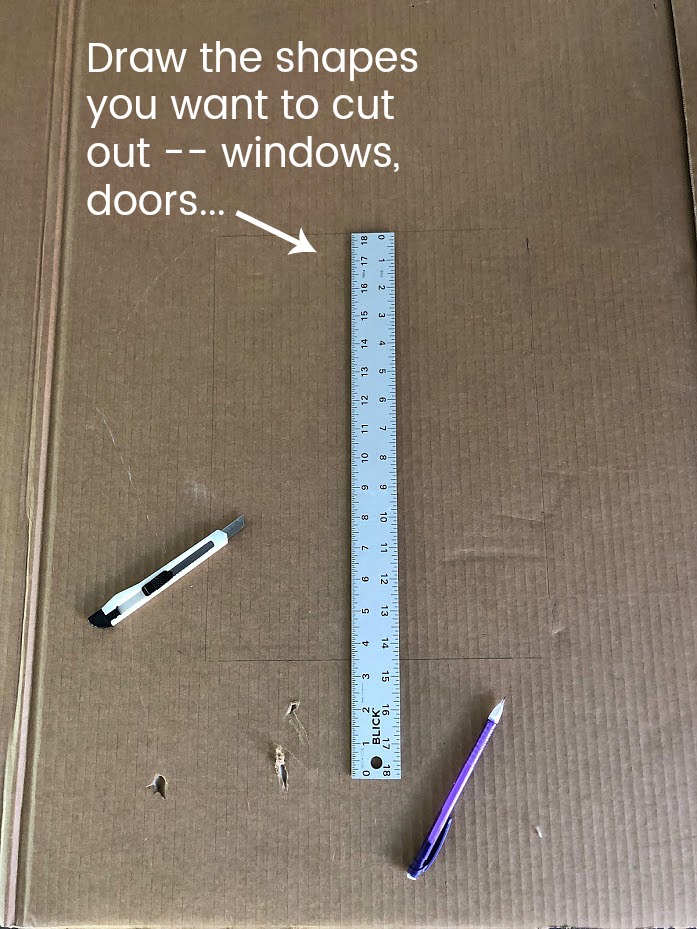
Draw the Windows and Doors
Use a ruler and pencil, draw your windows and door or any open areas you want to cut out on the cardboard.
Cut the Openings
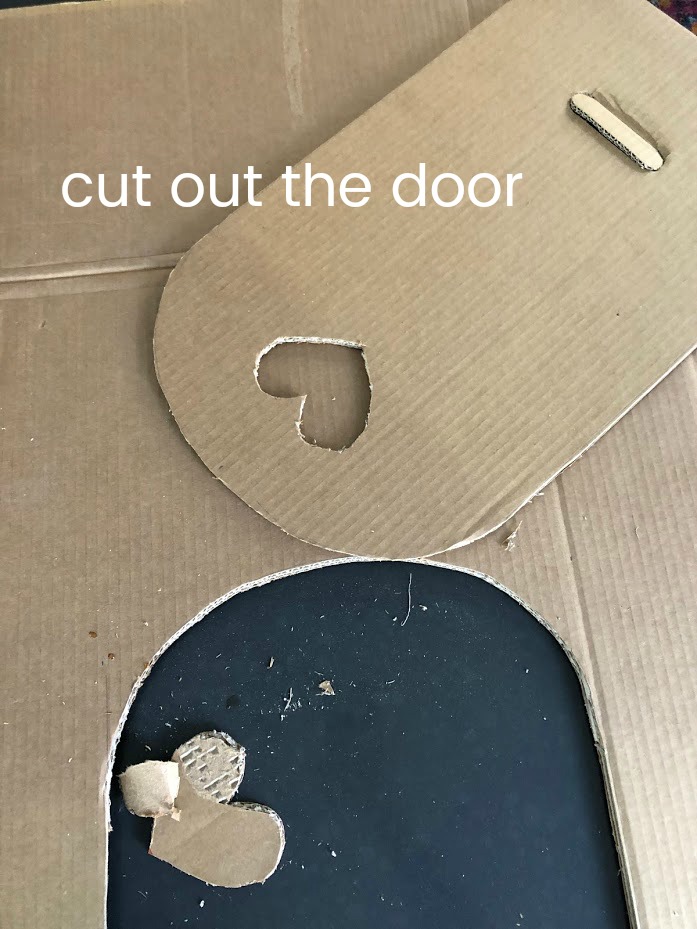
Put the cutting mat or cutting board under the areas that you intend to cut — windows and doors. Cut out the openings. You can leave the left side of the door attached and fold the door so it opens. We decided to cut the door completely out. We added hinges to make the door sturdier.
Reattach The Cut Side
Use hot glue or duct tape to attach the cut edge of the box together INSIDE OUT. You want the inside of the box outside, with the words or logos from the box inside.
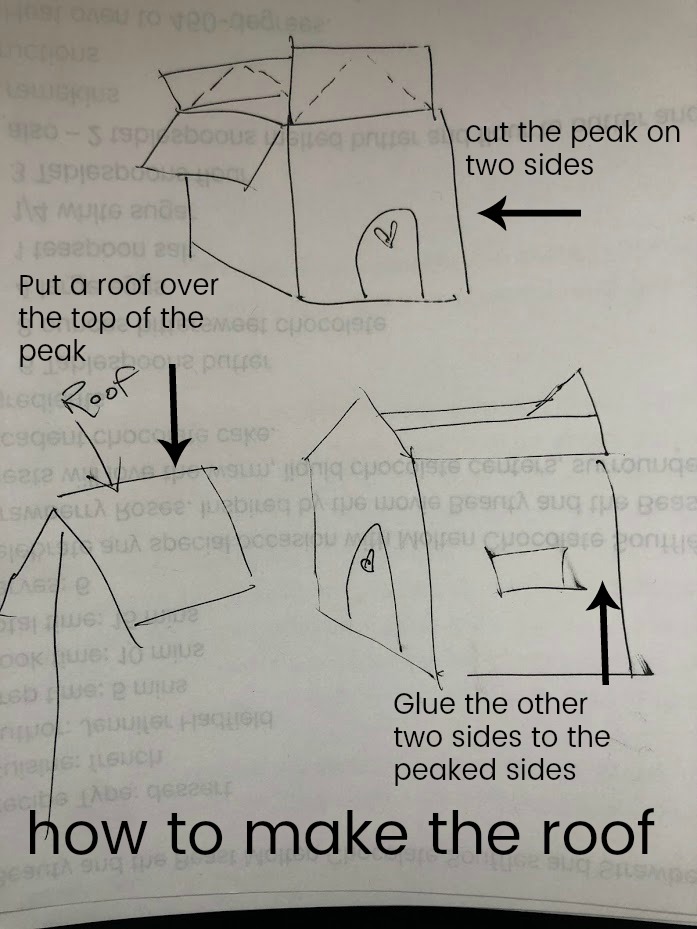
Make the Roof Peaks
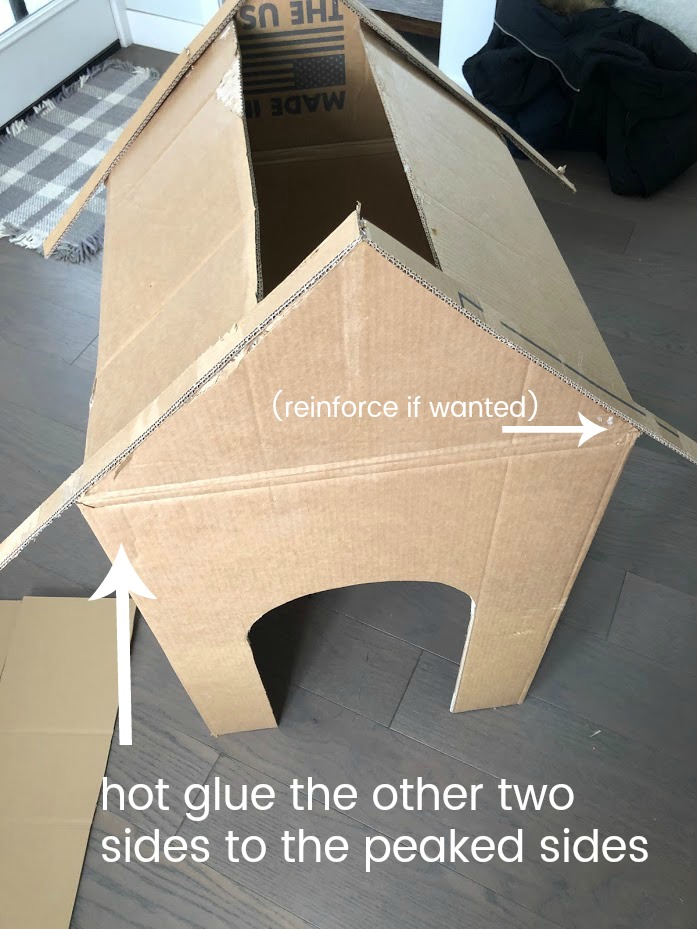
Mark the center on the box’s front side flap. Use a ruler to draw a line from the edge of that flap to the center of the flap and another back to the other side – creating a peak. Do this on both sides of the box.
Glue the flat sides to the peaks. Glue each side of the flat box tops to the sides of the peak. The flat flaps will not meet at the top of the peak, there will be a gap at the top — that is ok!
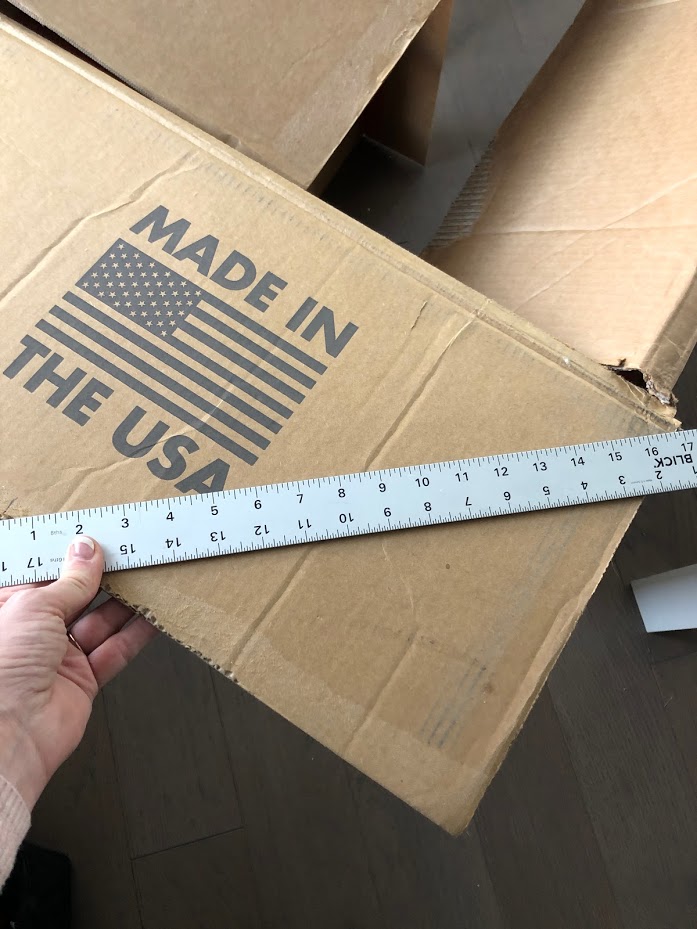
Measure the Roof
Measure the width of the box and half of the roof from the peak down to the edge of the box. Add about 6 inches to the width + length so you have an overlap. Make two of these dimensions for each side of the roof. You might need to use another box for the roof.
Glue the Roof to the Playhouse
Hot glue the roof onto the house. We reinforced our roof with flat 2 inch lengths of cardboard because the box we were using didn’t have a flat surface that was big enough and it had a bend in it. So to make the roof straight we had to lay that folded side on something straight.
Attach the Door
If you decided not to fold your door and cut it all the way out like we did, you will need to attach the door. We took two rectangular pieces of cardboard about 6″ x 8″ and folded them in half to make a 6″ long by 4″ piece of folded cardboard. Fold the cardboard and then hot glue one side to the door, the other to the edge of the doorway, creating hinges.
Embellish Your Playhouse
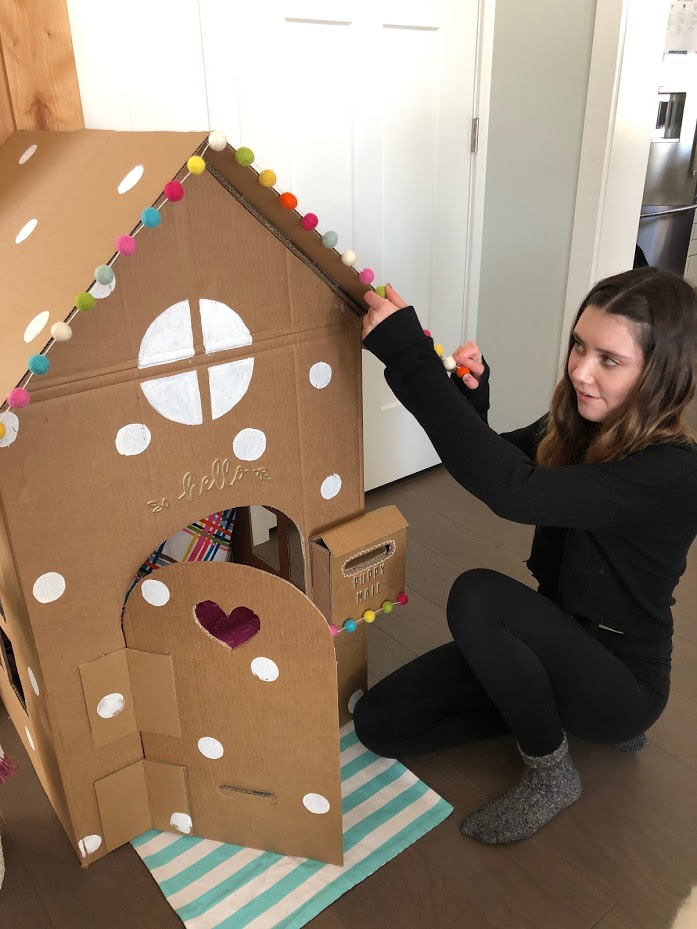
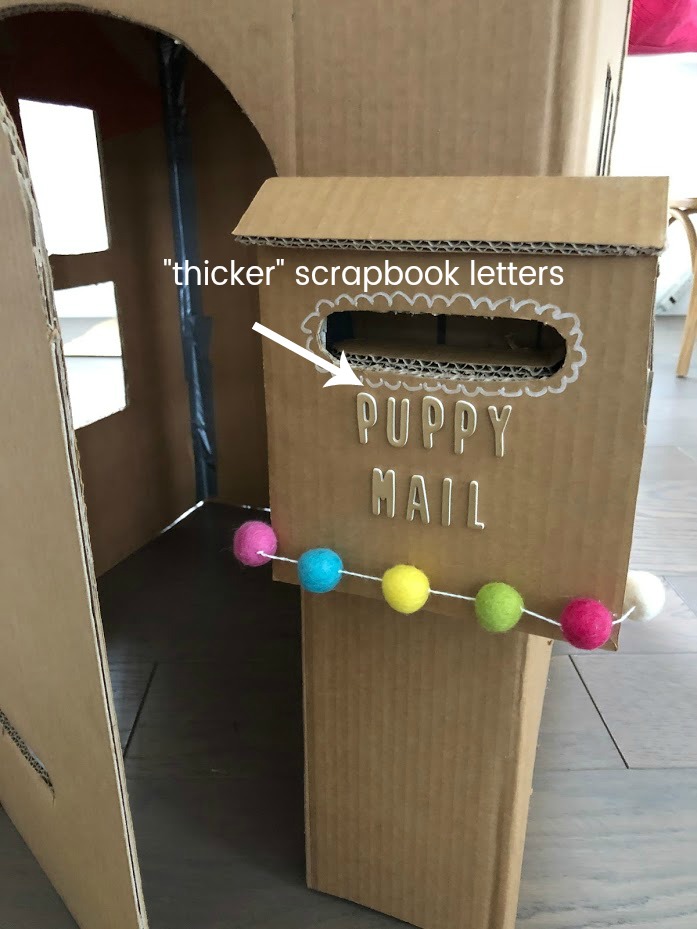
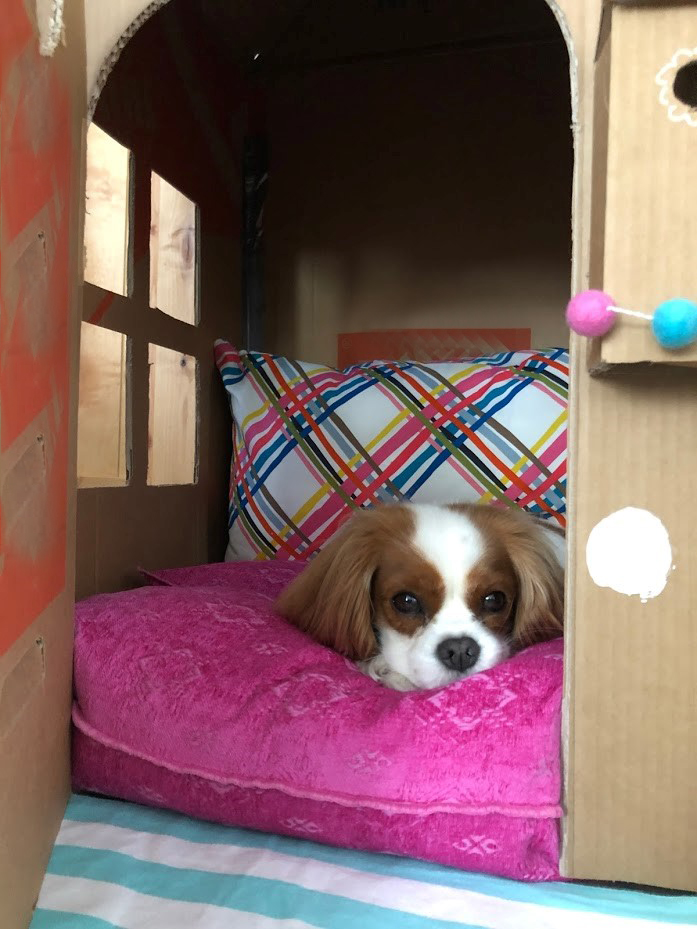
We painted polka dots on our house. Then we added pom poms along the roof and the mailbox. And we added “thicker” scrapbook letters to the mailbox that say PUPPY MAIL. And also a Welcome above the door. Then we put pillows inside for the dogs!
Let Your Kids or Pets Enjoy Their Playhouse
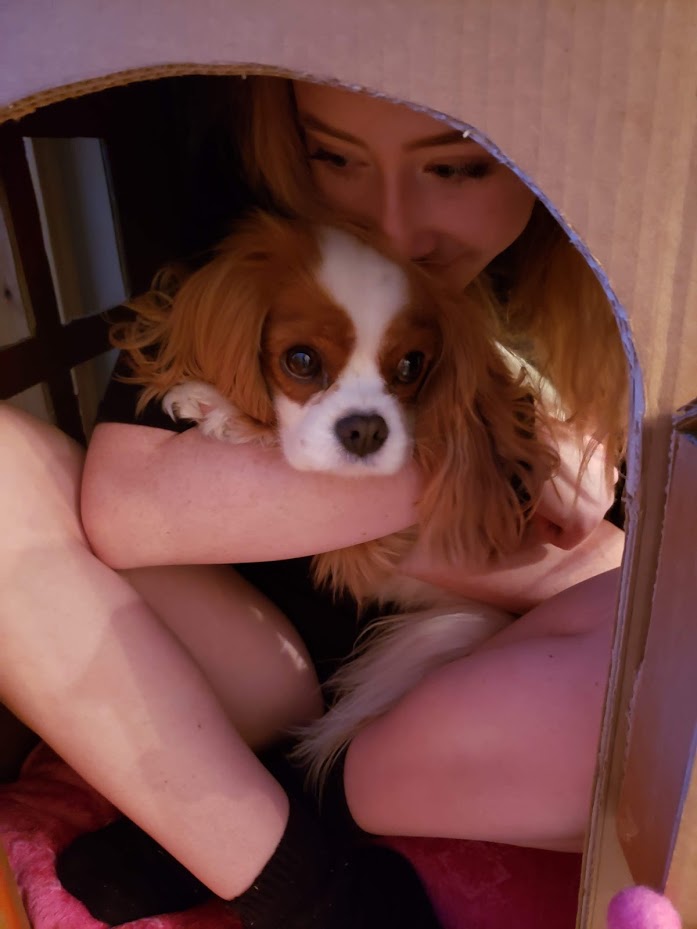
It was so funny! Our puppy immediately went inside the house and made it her home. It’s so cute in our family room. And the nice thing is that it’s really lightweight and we can take it upstairs so we can use it with her crate too!
What Can YOU Make Out of a Box?
Now it’s YOUR turn!! What can you make out of a box? I can’t wait to see what YOU make!!!
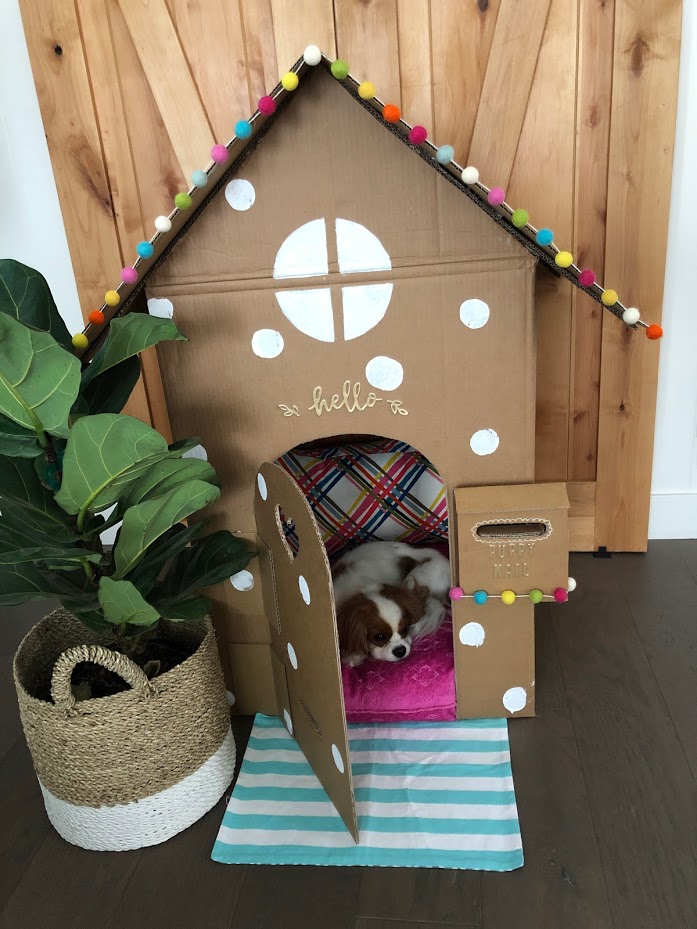
Whether you have a curious cat, a playful dog, or imaginative kids, this DIY playhouse is a versatile and fun project that everyone can enjoy. Get creative and make a space that’s perfect for your little ones—whether they have fur or not!
More DIY Kid Ideas
Here are a few more DIY projects that your kids/teens will love creating:

Summer Kids/Teens Crafts
Summer Activities for Kids and teens. Discover 35 engaging crafts, recipes, and activities for kids and teens to enjoy summer break and beyond, offering endless opportunities for creativity and fun.
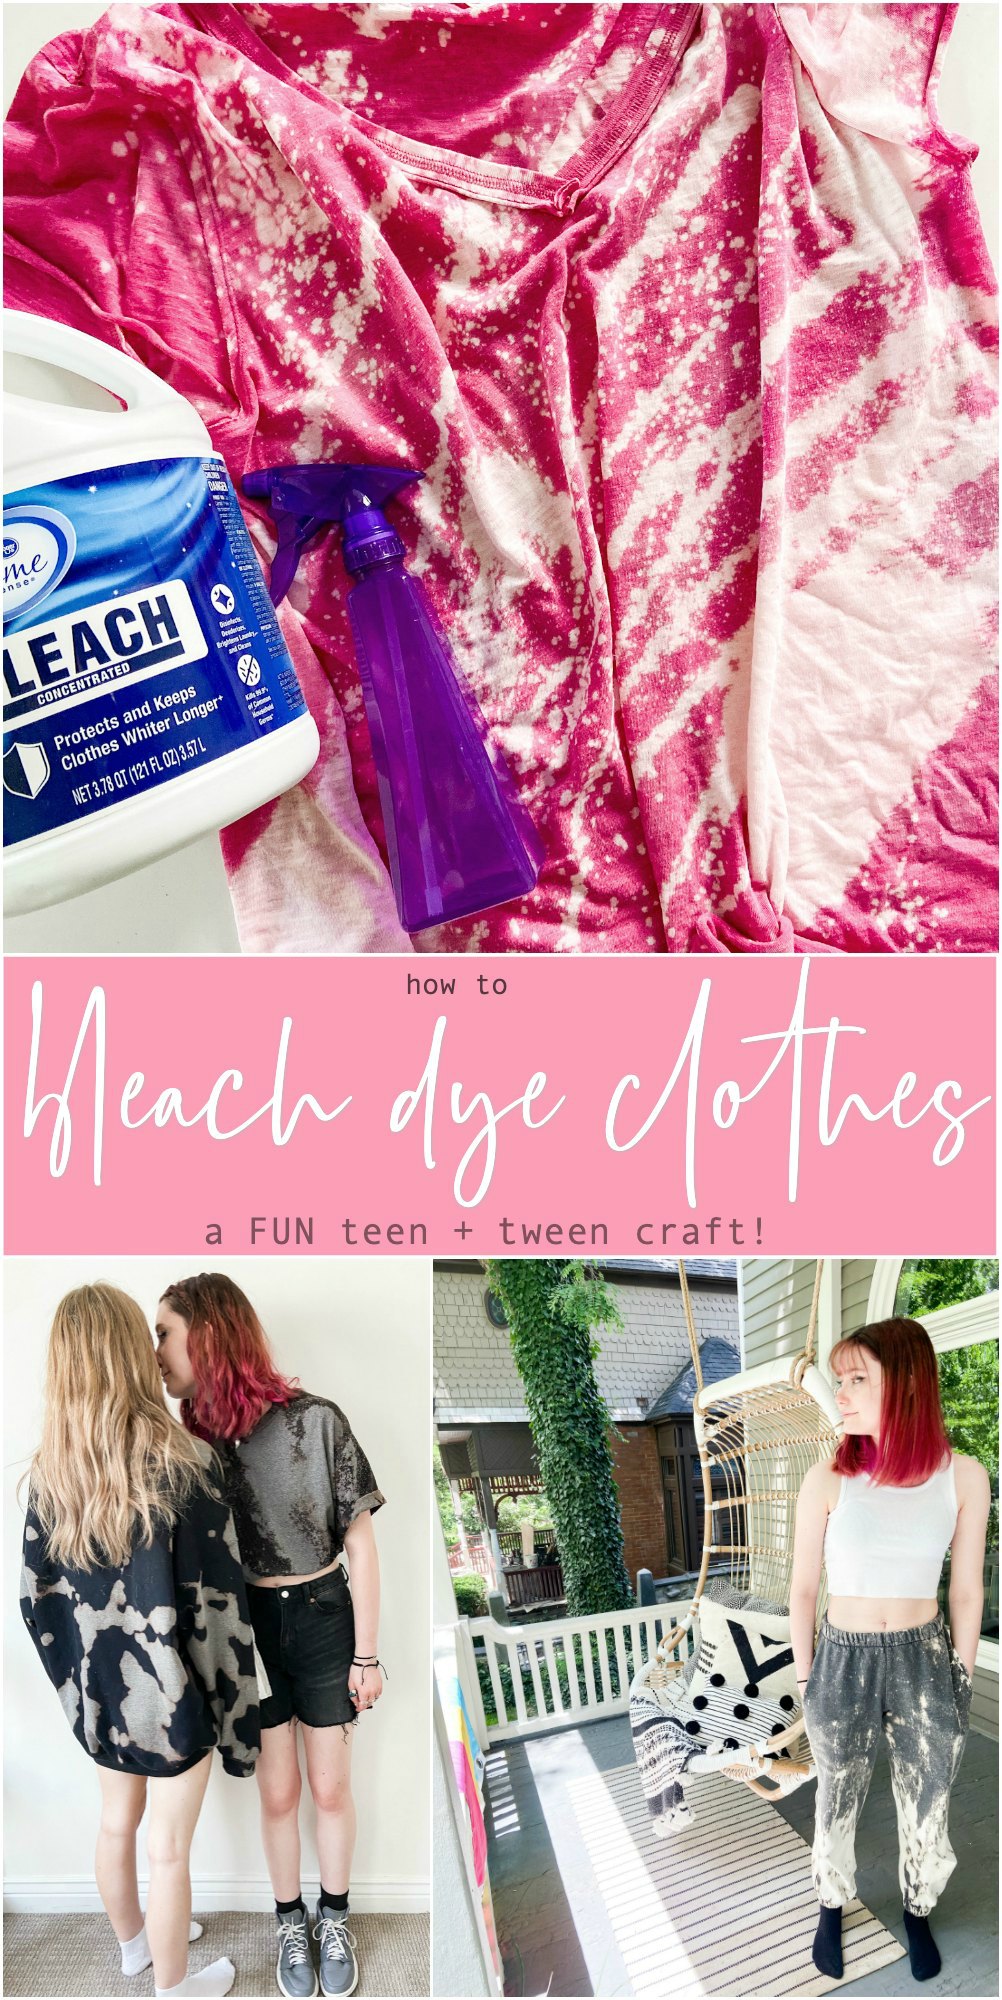
How to Bleach Dye Clothes
How to Bleach Dye Clothes – a FUN teen or tween craft. Bleach Dying clothes is a fun summer craft. All you need is bleach to give old clothes a brand new look!
Have a Creative Day!
xoxo

