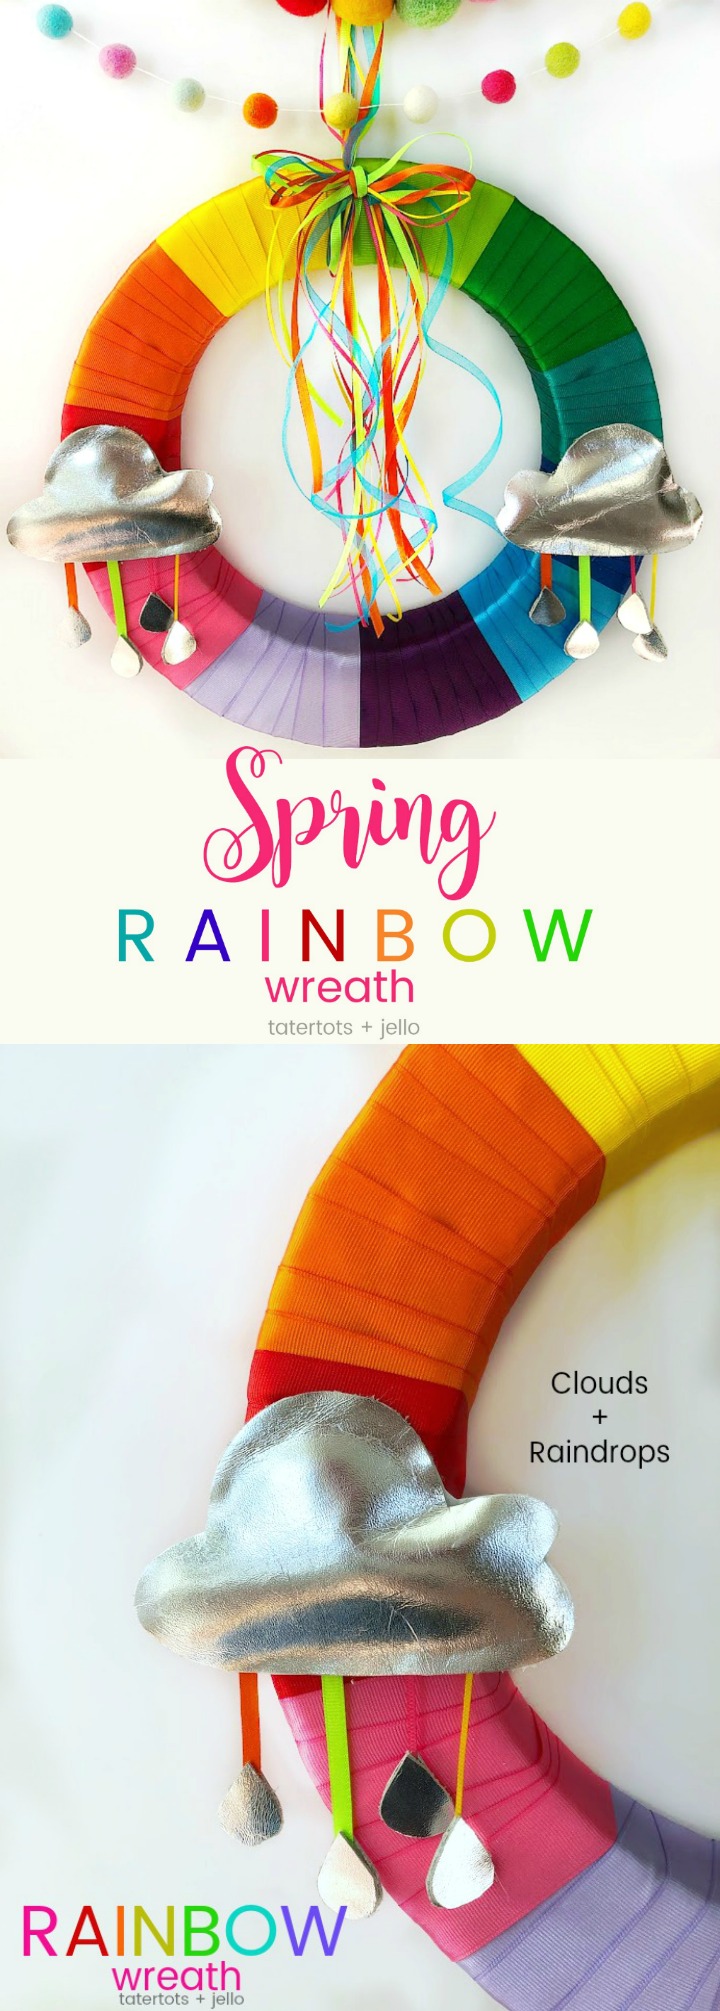
Make a Colorful Rainbow Wreath for Spring with templates! Brighten up your home with a bright ribbon rainbow wreath. It’s easy to make with free templates to create the clouds and raindrops and a wreath you will enjoy for years to come!
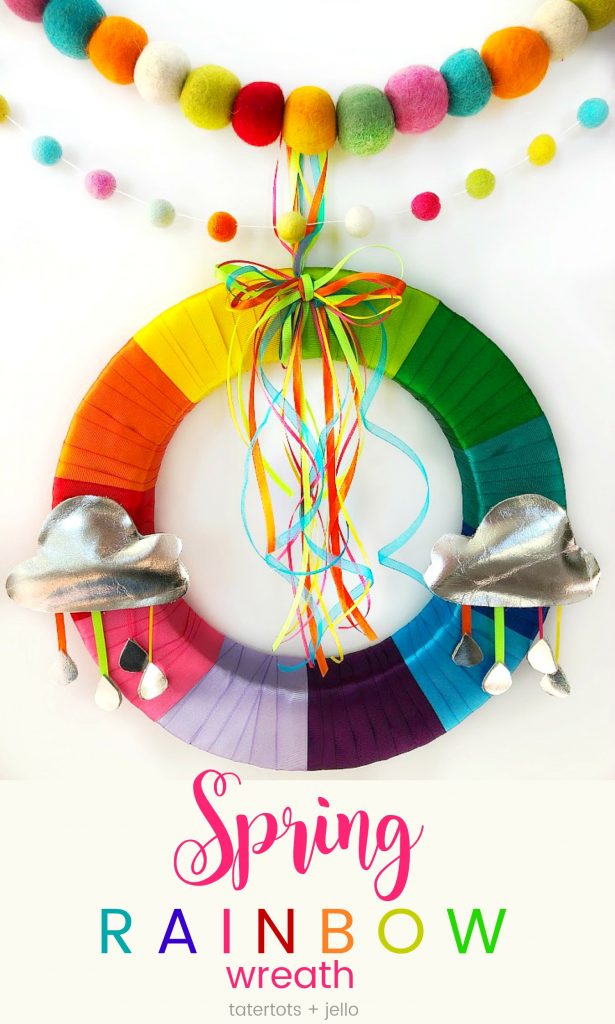
Wreaths are an Easy Way to Decorate for Seasons and Holidays
I love making wreaths! Making a wreath is such an easy way to decorate for any occasion. I make them for different seasons, for holiday, even for birthdays!
Where to buy Wreath Forms
You can buy wreath forms at any craft store, but you can also buy them at dollar stores! Dollar stores have foam wreath forms as well as wicker wreaths forms, metal wreath forms and I have also seen people create wreaths using dollar store hula hoops and pool noodles! It’s so easy to create a wreath inexpensively.
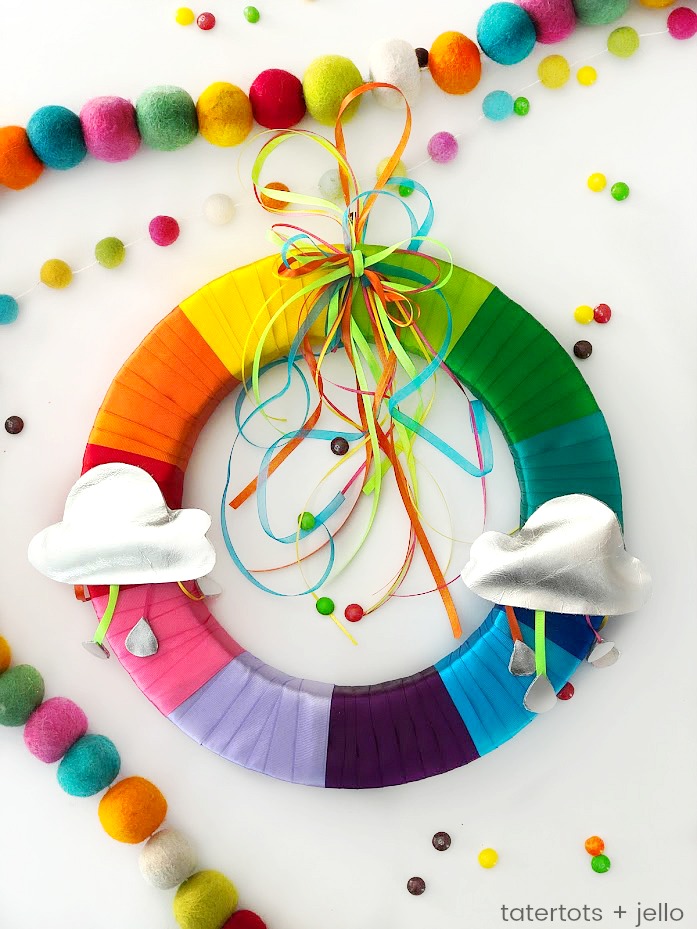
Make a Spring Wreath
After Valentine’s Day I wanted to create a new wreath for my front door. Since we are in the middle of multiple snow storms, it doesn’t seem like Spring at the moment. I thought about what type of early Spring wreath I could create and remembered St. Patricks Day. I’ve never really decorated for St. Patrick’s Day before, but I LOVE the idea of rainbows. And I thought a rainbow wreath would be so cute and bright! My motto is “Colorful Happy Home” so I thought a rainbow wreath would be the perfect thing to create!
Make a Wreath Out of Ribbon
There are so many types of materials to use to make a rainbow wreath. I already had a lot of colored ribbon in my Dream Box Craft Storage Cabinet, so I grabbed 11 different colors and got to work!
Here’s How to Make a COLORFUL Rainbow Wreath for Spring:
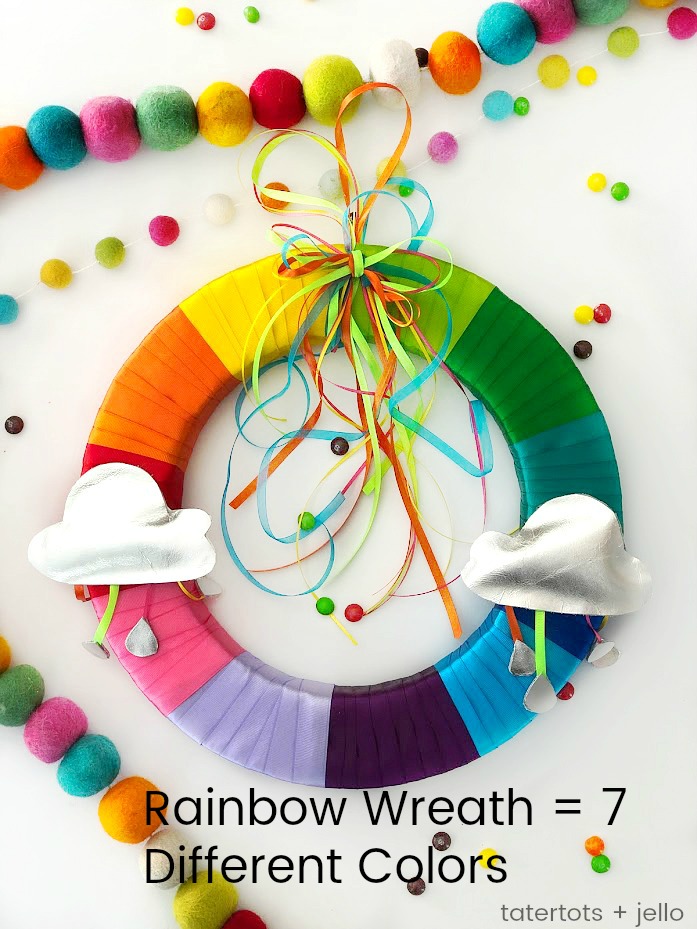
Use 7 Different Colored Ribbon
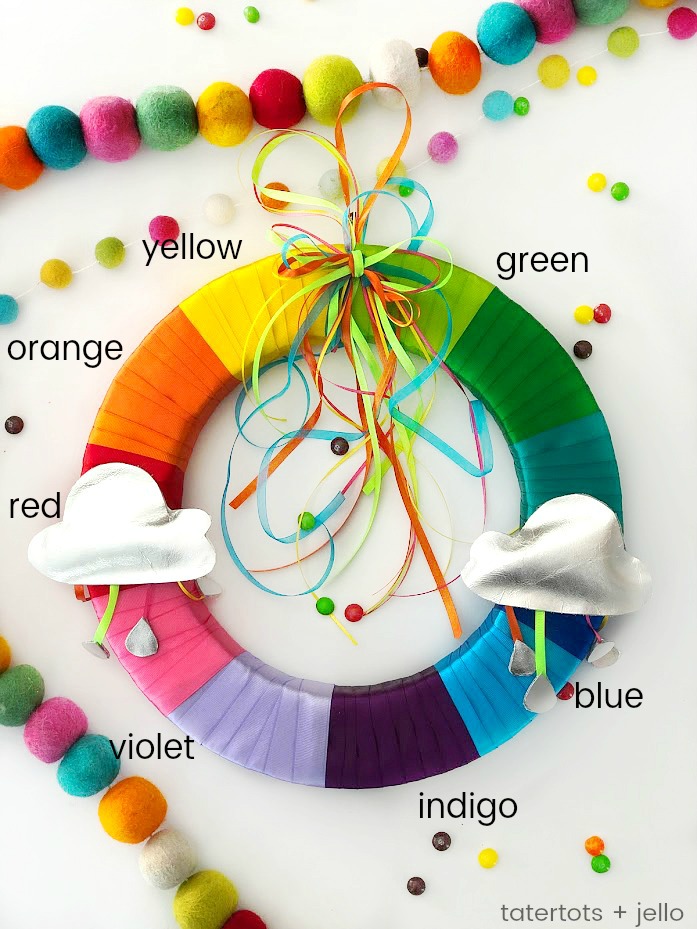
There are 7 different colors in a rainbow — red, orange, yellow, green, blue, indigo and violet. You can use JUST these 7 colors, or you can add a couple different shades to each color. I ended up using 11 different colors for my wreath. I added pink after indigo too.
Supplies:
Ribbon
Wreath Form (I used a 12″ wreath form, but you can use any size you want. The amount of ribbon you use and how many times you wrap it around will different, depending on the size of wreath form you use and the width of the ribbon you use)
Fabric for the Clouds (I used silver metallic leather)
Smaller Ribbon for the Bow (or you can use the same ribbon as you did for the main wreath)
Hot Glue and Glue Gun
Cotton Balls or Tissue Paper to Stuff the Clouds
Start with the first color in the rainbow
Place a dab of hot glue on the back of the wreath and attach the end of the first color to the hot glue. Wrap that ribbon around the wreath. I used a 12″ wreath form and 7/8 width ribbon and 11 different colors. I wrapped each color of ribbon around my wreath form 8 times. I overlapped the ribbon on top of each section so that you can’t see the wreath form underneath.
Determining How Many Times to Wrap Each Color Ribbon
You will have to experiment to see how many times to wrap each color, depending on how many colors of ribbon you use, how big your wreath form is and how wide your ribbon is. I wrapped the first color on the wreath and then measured how wide that was and how long the inside of the wreath was to get a general feeling of how many times to wreap each color ribbon around. Once you think you have the first color wrapped around enough, cut the ribbon and add another dab of hot glue to secure it on the back of the wreath.
Continue Wrapping Each Color Ribbon Until You Get Middle of the Wreath
Check to see how many colors you have used and how many colors of ribbon you have left. When I got to the middle of my wreath, I saw that I needed another roll of ribbon because I was only wrapping the wreath 7 times for each color. I changed the tutorial to say to wrap it 8 times. But to keep from having to redo my whole wreath I added another shade of blue to my wreath to make up for the gap.
Keep Wrapping Ribbon Until You Get to the Beginning of the Wreath
Continuing wrapping the colors until you get all the way around the wreath. When you reach the end, tuck the end of the ribbon under the first row of ribbon that you started with. If this seems to difficult, you can always use that section to put your cloud on top of and you can hide that section with the cloud.
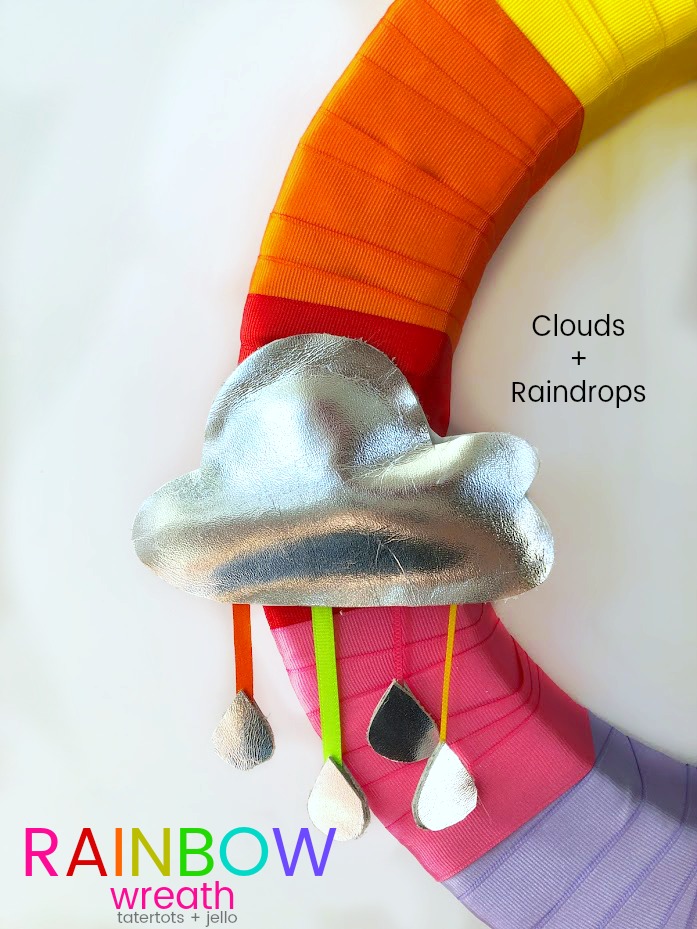
Make Clouds and Raindrops with Free Templates
Use the Stencils Included to Create Clouds and Raindrops
I have included a stencil you can use to make the clouds and raindrops. Or you can create your own. Simply print off the stencils, cut them out and then trace around them to make the clouds. You will need 4 sides for the clouds. Two that are mirrors of the others. So if you are using fabric that has a front and back, trace two of the clouds on the front and two on the back. Do the same thing with the raindrops. You will need 16 pieces of raindrops – 8 fronts and 8 backs.
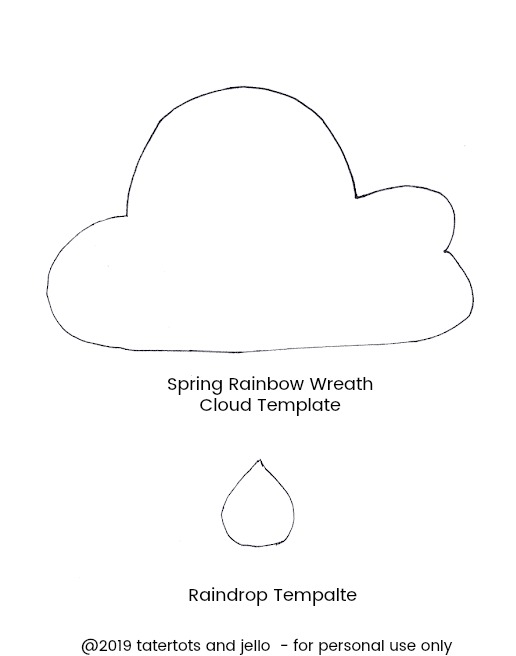
Cloud and Raindrop Templates –
just right click and download the template. Then print it out!
Stuff the Clouds
I used 3 cotton balls to stuff my clouds. I hot glued the tops of the clouds, then added the cotton balls. I pulled them apart so they weren’t as thick. Then I hot glued the bottom of the clouds, then the sides.
Cut Thin Ribbon for the Raindrops
I used very thin ribbon to attach the raindrops to the clouds. You can also use thread or fishing wire. I cut 8 pieces of different colored ribbon – four colors, two ribbons each color, 3 inches long each.
Attach the Ribbon to the Raindrops
I laid each raindrop face down, added a dab of hot glue and the ribbon to each. There are 8 total raindrops. Then I put another eight raindrop fabric cut outs on top of the other ones, right-side facing up, so the ribbon was inside of the two sides.
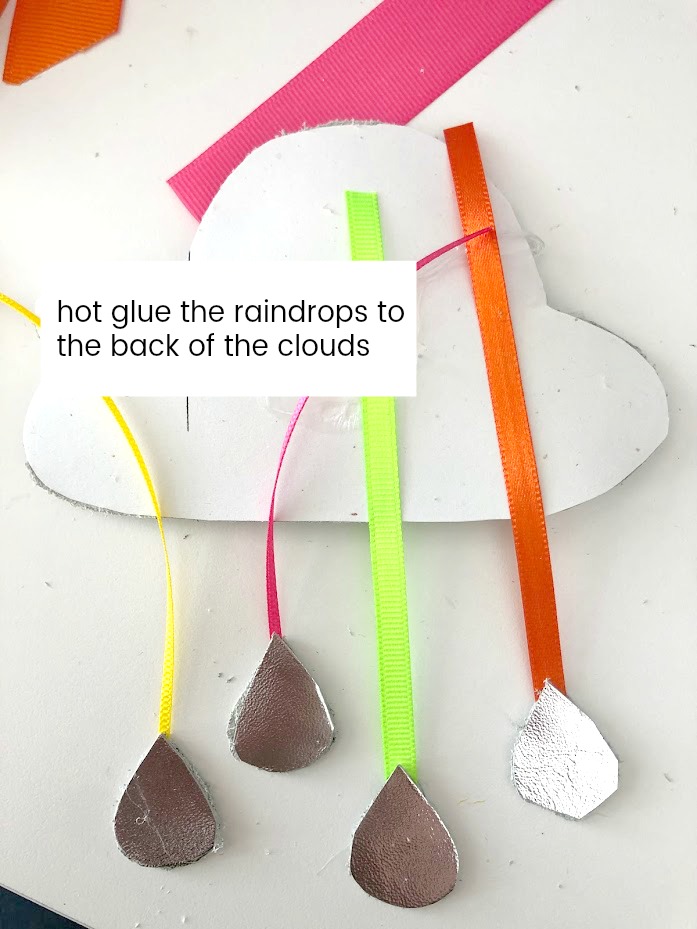
Attach the Ribbon to the Back Side of the Clouds
Turn the clouds face-side down and hot glue the rain drop ribbons to the back. I alternated the length of the raindrops so that two were high and two were low.
Hot Glue the Clouds to the Wreath
Find the spots where you want your Clouds to be and hot glue the clouds to those spots.
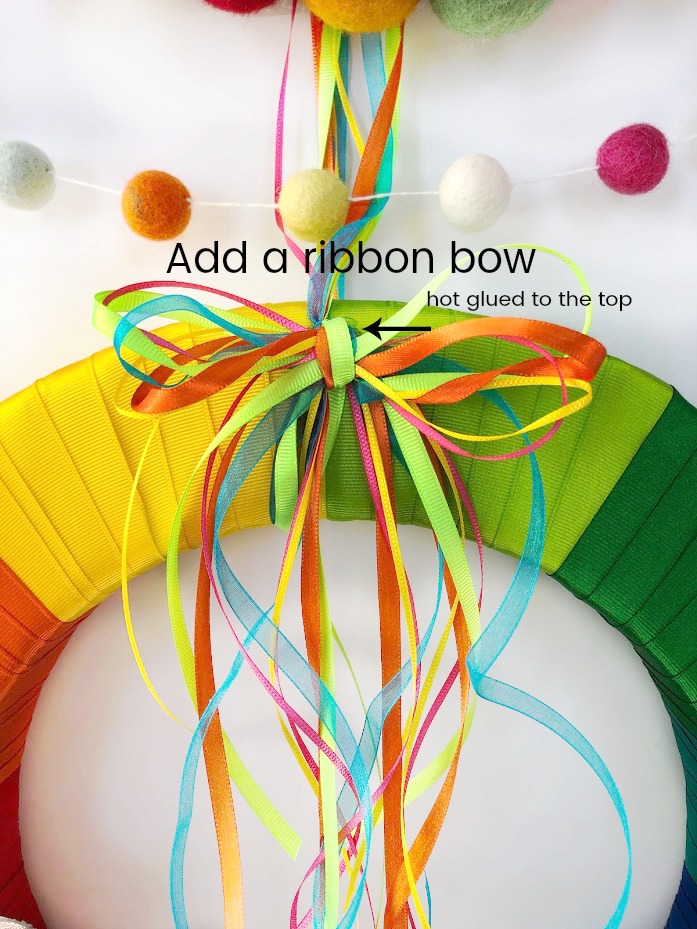
Add a Ribbon Loop to the Top of the Wreath
I wanted 4 inches at the top of the wreath to hang it from the hook on my front door. I made a loop of the smaller 5 colors of ribbon and tied them in a knot at the top of the wreath and tied a bow. You will need about 20 – 30 inches of each color of ribbon, depending on how long you want the tails of the ribbon to be. Use one color of ribbon to test this until you find the length you want, then cut all of the ribbon to that length.
Hot Glue the Bow to the Top of the Wreath
I glued the ribbon to the top of the wreath and hot glued the back of the wreath too so that the ribbon was taut at the bottom of the wreath. Then I trimmed the ends of the ribbon that hung down in the middle of the wreath.

Enjoy Your Spring Rainbow Wreath!
Other Occasions to Use a Rainbow Wreath
You can use your rainbow ribbon wreath for so many occasions — St. Patrick’s Day, Spring, Pride, Birthdays — anytime!
I hope you enjoyed this tutorial. I shared this tutorial live last Friday and I have a video of the tutorial that I will put on my YouTube page if you want to see a video demonstration! Tune in each week on my Instagram page where I share a LIVE tutorial and I interact with all the fun people that have tuned in. I love doing it!
Also – leave a comment if there is a project you want me to make LIVE on one of my Friday tutorials! I would love to craft with YOU!
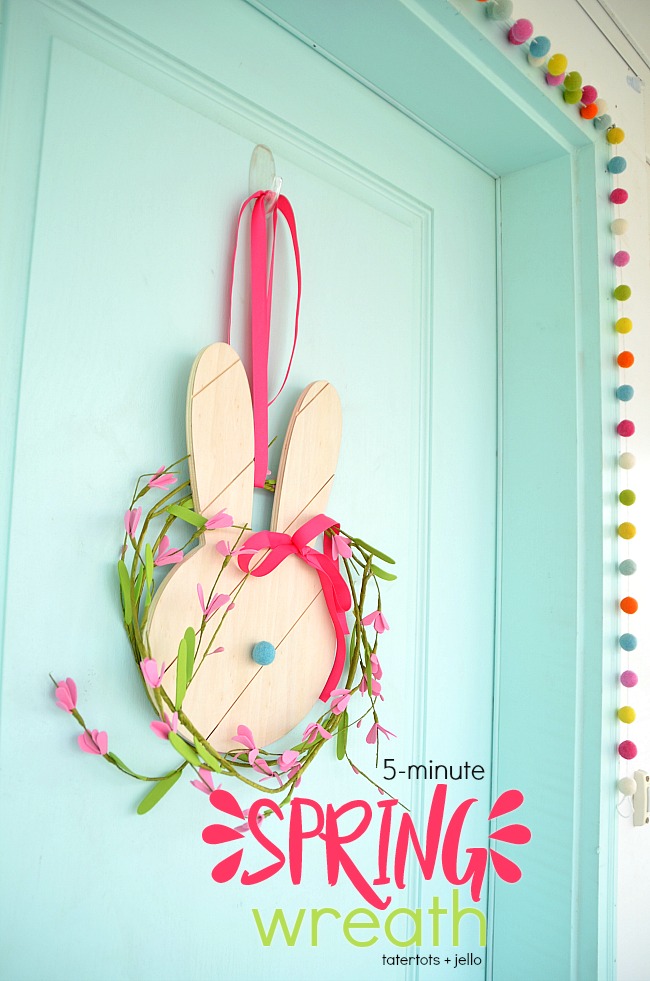
Here are a few other EASY and INEXPENSIVE ways to decorate for Spring:
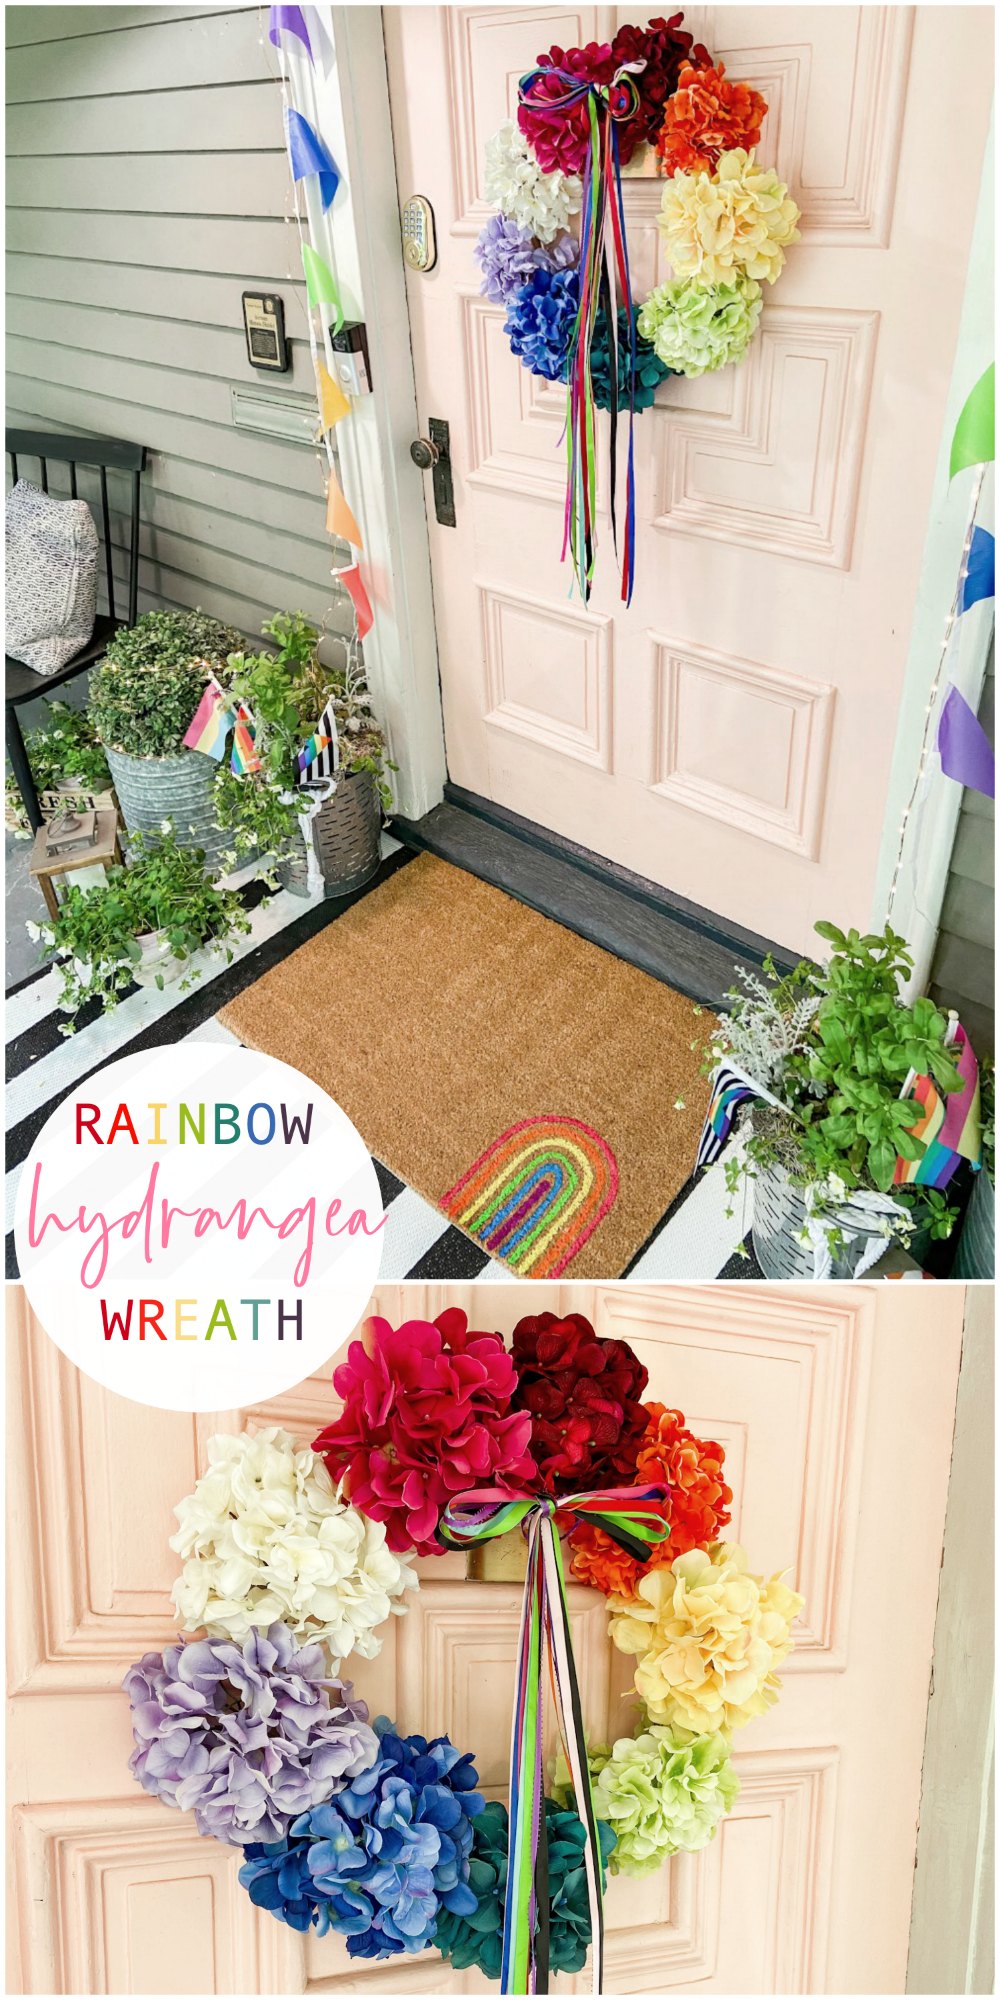
Rainbow Hydrangea Wreath

Spring Felt Flower Hoop Wreath
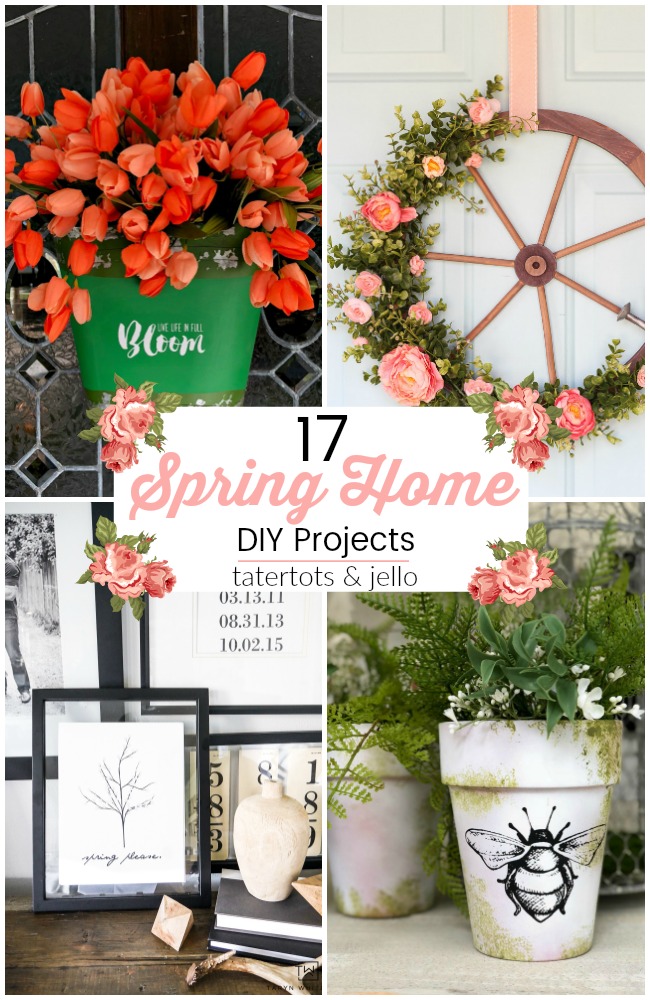
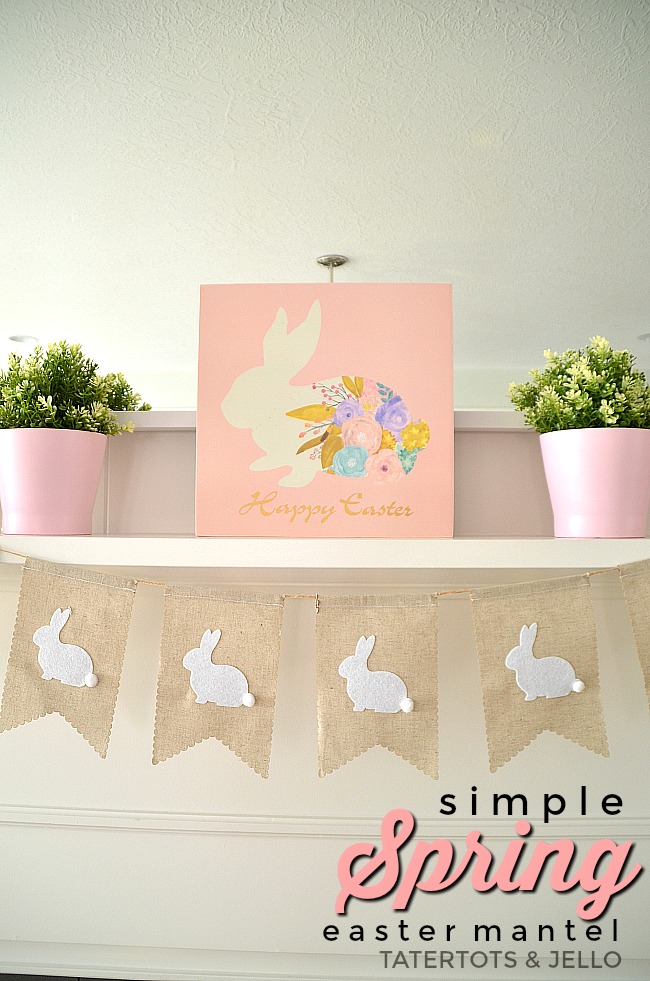
Have a CREATIVE day!
xoxo





This will be so cute for St. Patrick’s day and on into spring! Thanks for the great idea and free cloud templates.
Thanks Scarlet! I hope you make one. Send me a picture if you do. I would love to see it!!
xoxo
This is gorgeous! i’m so inspired but not sure I have the patience…yet lol!
Thanks Ellen!
I hope you had a great valentine’s day!
xoxo