Welcome to the Summer of Paper series – where we’ve invited fabulous guests to create projects using supplies from my Home + Made paper decor line.
Hi Tatertots & Jello readers! My name is Marty and I’m a long time scrapbooker and patterned paper is my love language!

Whether I’m writing about my latest DIY project, easy recipe, frugal living tip or family story, my desire is to inspire, encourage and empower my readers to find beauty and contentment in even the most difficult circumstances. You can read more about my journey at Marty’s Musings,
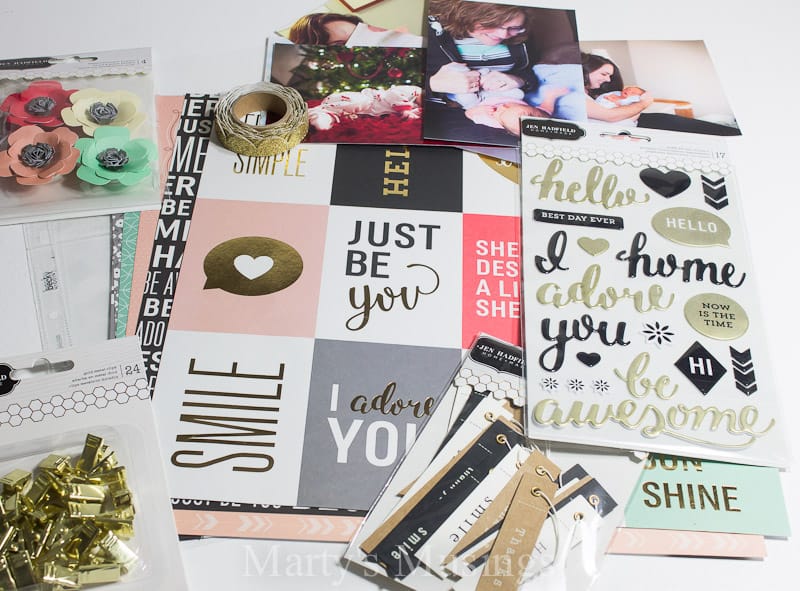
This happy mail from Jen made my day and I knew immediately how I was going to use her wonderful designs.
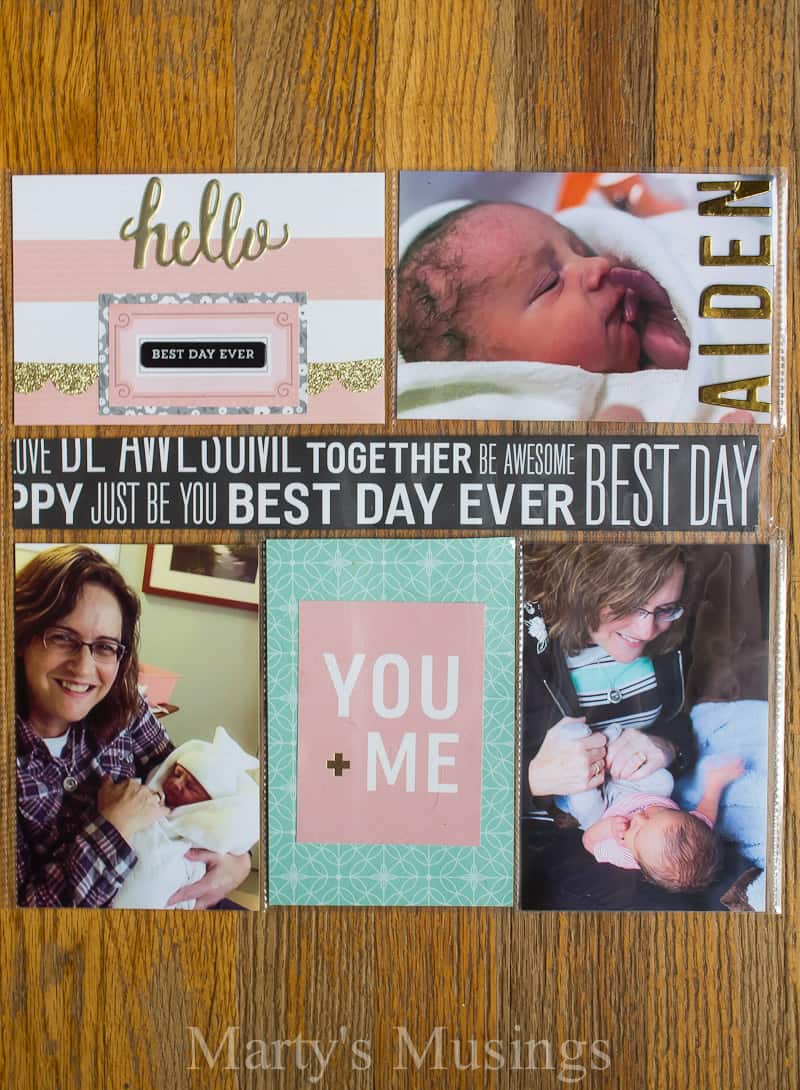
When I started scrapbooking 18 years ago I labored over the pages (and cut many a kid’s head with patterned scissors. Can anyone relate?) Now I document our everyday lives with Project Life pages, a memory keeping system composed of pocket pages with slots for everything from 4×6 pictures to instagram photos. There is a wide selection of brands and sizes of page protectors which gives you a variety of options. You can make the pages as simple or as complicated as you want by adding precut papers, embellishments, journaling and memorabilia.
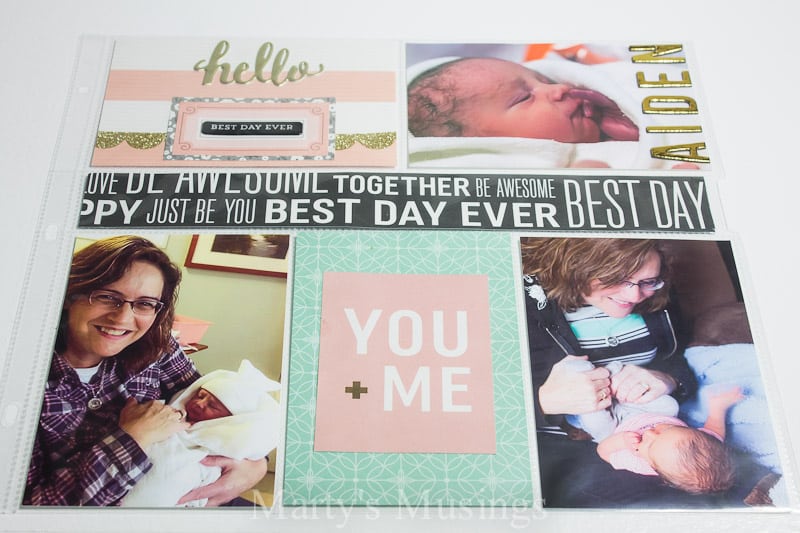
For this project I combined two different size pocket pages and a variety of elements from the Home+Made Collection. One of the many things I love about this collection is that the papers mix and match well together. Even though I was using pictures of my first grandchild I wanted to stick to a more neutral palette and I loved these colors! I told y’all pattered papers spoke to my heart!
Supplies:
4×6 pictures
Page Protectors
12×12 Scrapbook Paper
Puffy Stickers
Decorative Tape
Thickers Letters
Paper Cutter
Step 1: First I selected the scrapbook papers and embellishments.
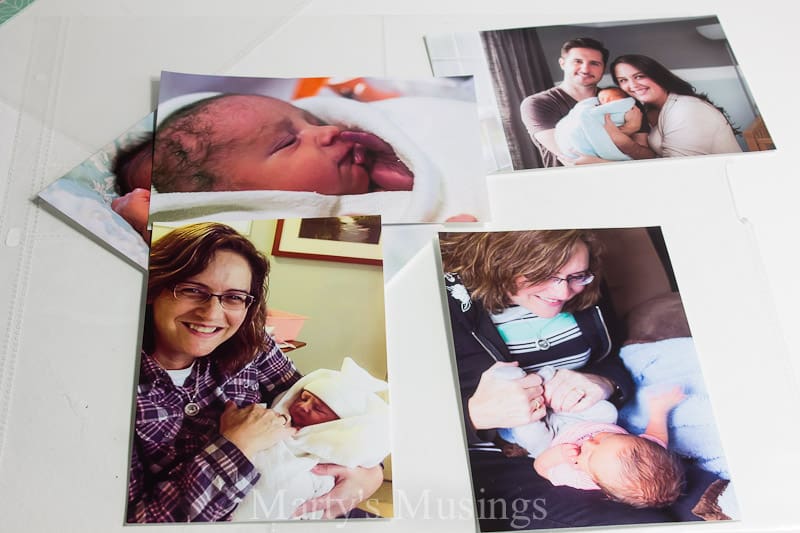
Step 2: I chose the pictures I wanted to scrapbook and the page protectors to fit those sizes. This layout was about the birth of my first grandson but you could also do a layout covering a week in your family life or a specific topic or even several pics representing years in a row.
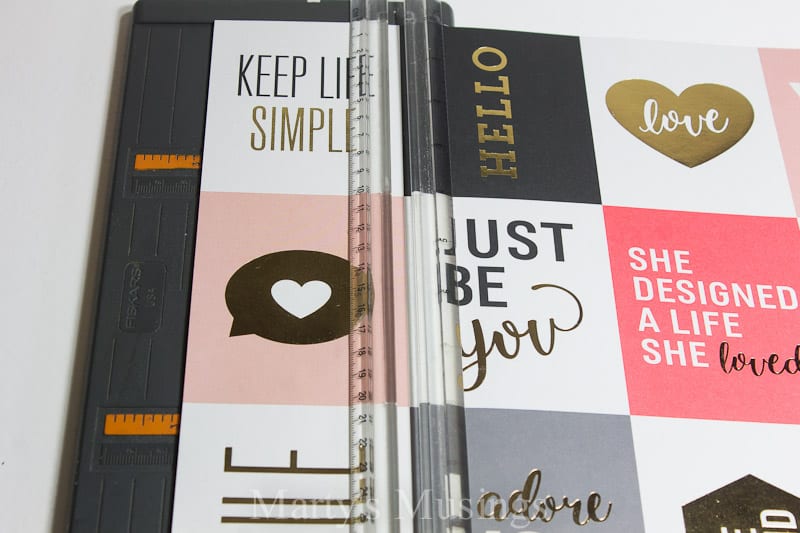
Step 3: I then cut a 12×12 sheet of cards into 3×4 sections.
Step 4: I cut a couple of frames out of the cardstock sheet.
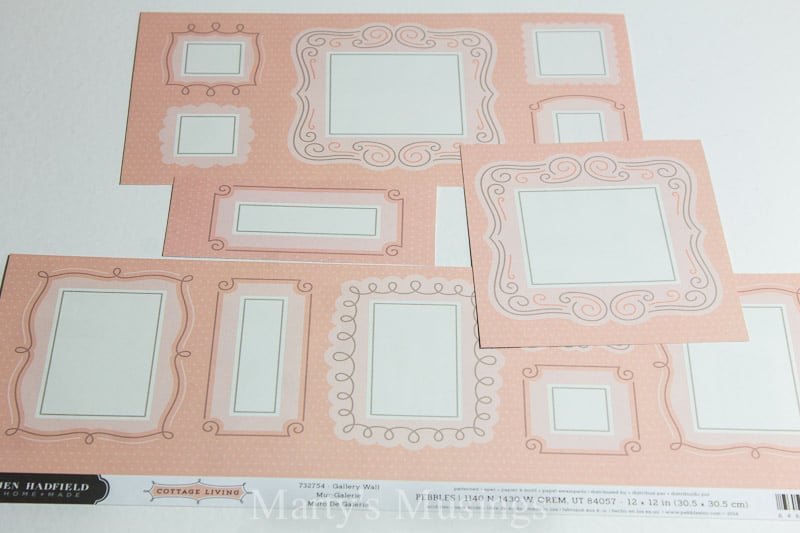
Step 5: I then added a puffy sticker to the frame and matted with coordinating paper. I cut out a 4×6 piece of paper, added the hello sticker, frame and a strip of decorative tape.
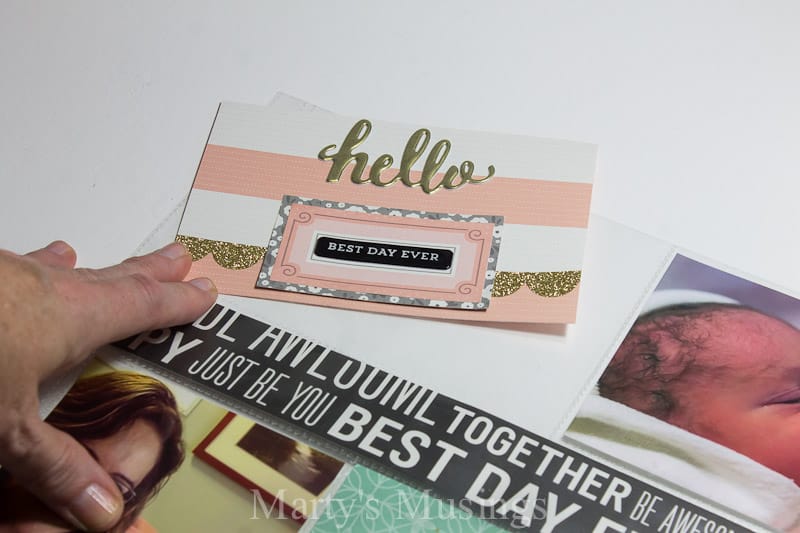
Step 6: I added Thickers to the outside of a pocket (my grandson’s name) and a narrow strip of cardstock for the open center section. I then glued the 3×4 card to a 4×6 piece of cardstock and inserted everything into the pockets.

Step 7: I matted another frame and wrote out my grandson’s full name and birthdate. I like to have my handwriting in my scrapbooks even if it’s not pretty!
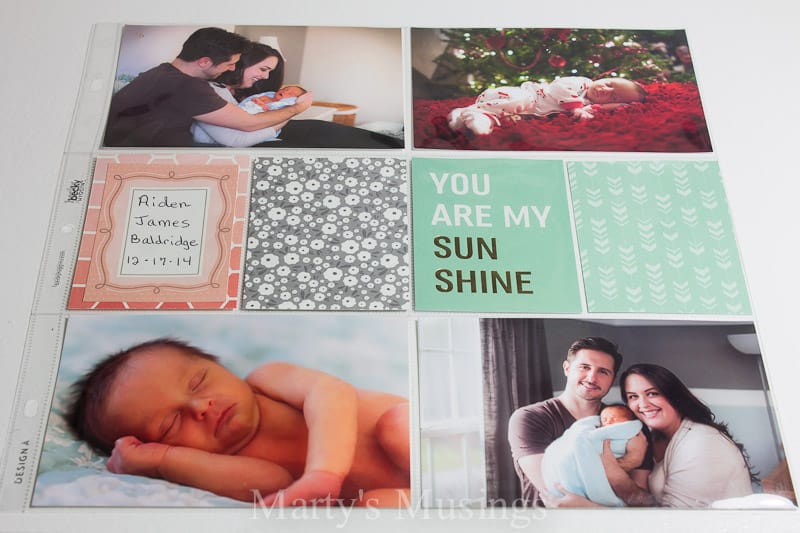
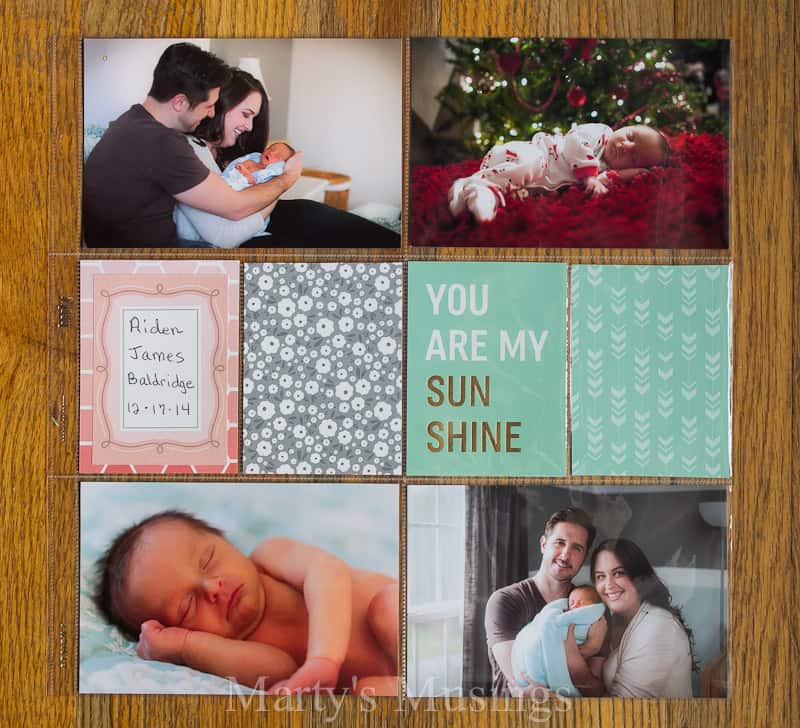
I added the rest of the cards and pictures and the pages were done!
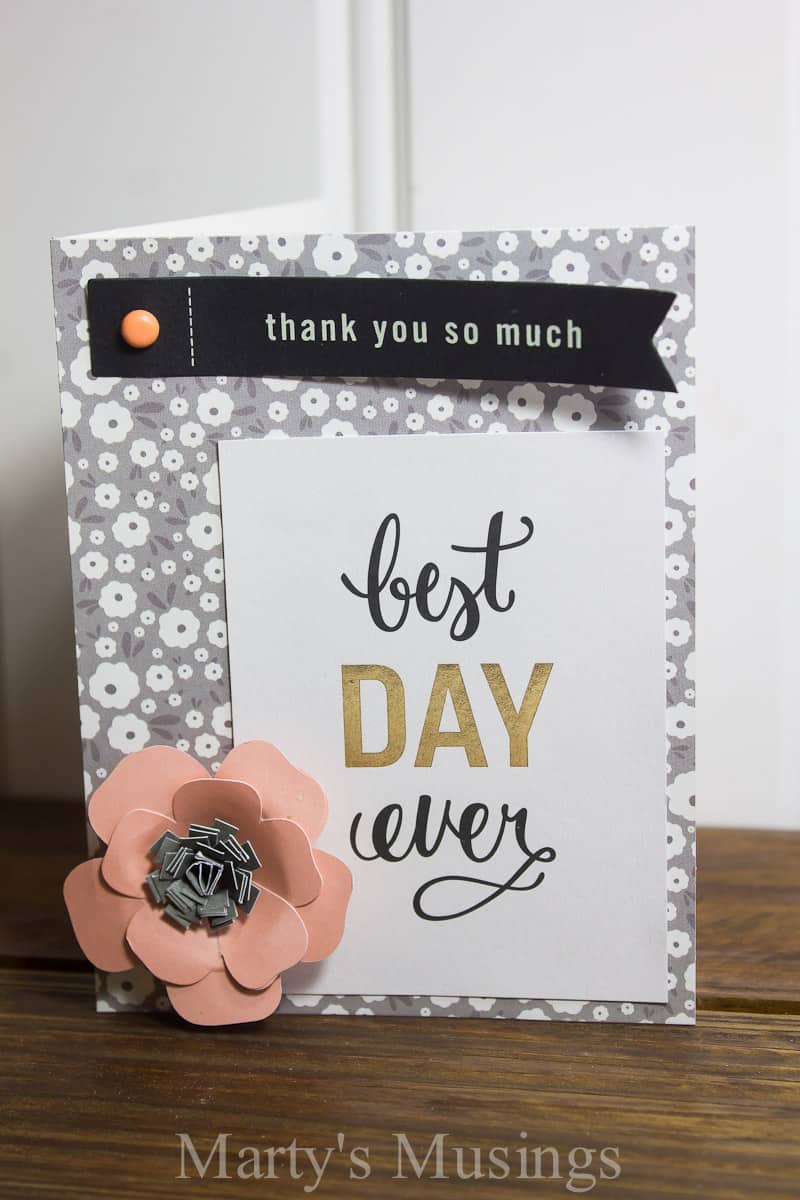
For a little bonus I threw together a quick little card from leftovers! I save my scrap papers and embellishments and whip up a card whenever I can.
Card Supplies:
8 1/2 x 11 cardstock
Scrapbook Papers
Puffy Stickers
Tag
Flower Embellishment
1 Brad
Glue Stick
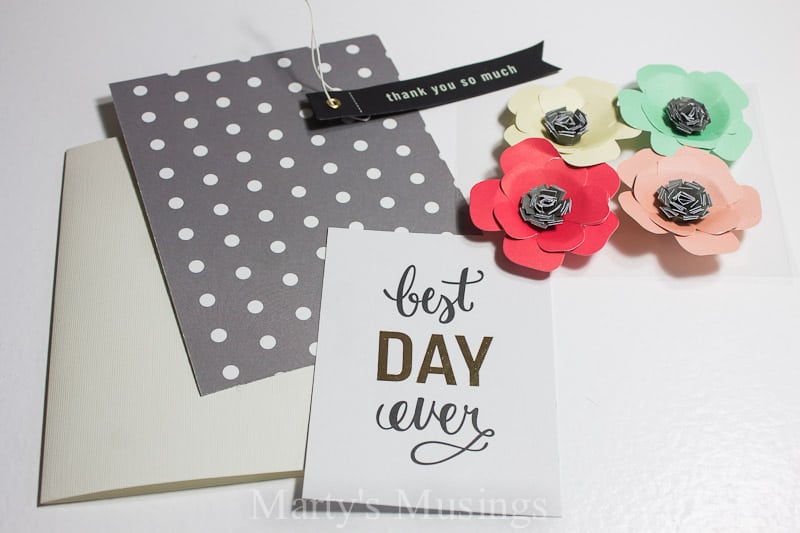
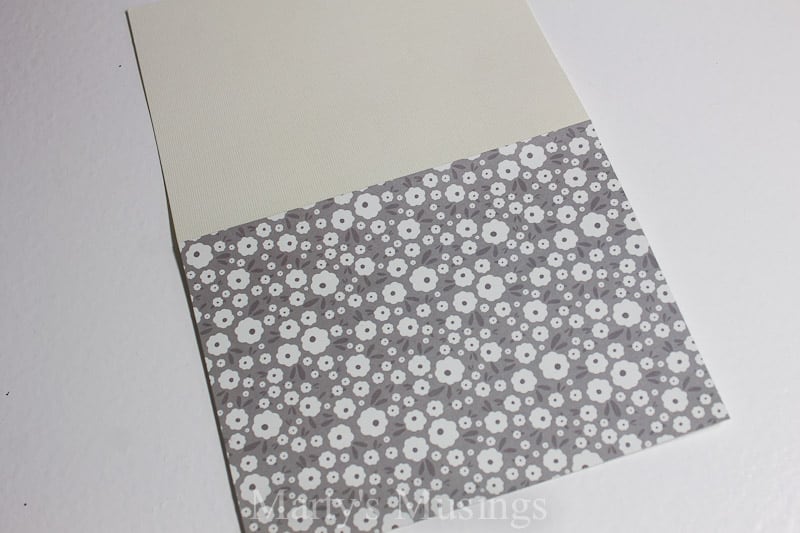
Step 1: Cut the 8 1/2 x 11 piece of card stock in half and glue a 5 1/2 x 4 1/4 piece of patterned cardstock to it as shown.
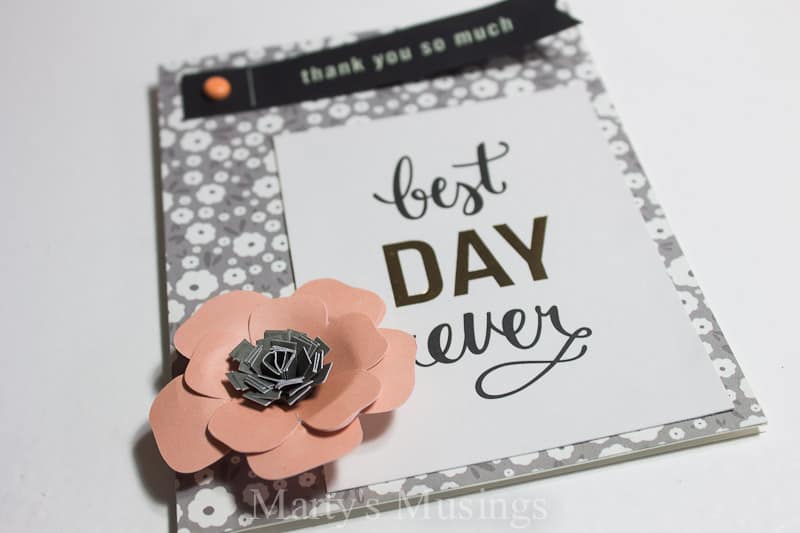
Step 2: Glue one 3×4 saying and add one tag attached with a brad. Add a flower embellishment.
You’re done! This card would be perfect as a thank you for a wedding or baby gift.
*******
Thanks Marty! I love the paper layouts and the card is just perfect, too! Marty has great ideas on her blog. Here are a few I know you’ll love:
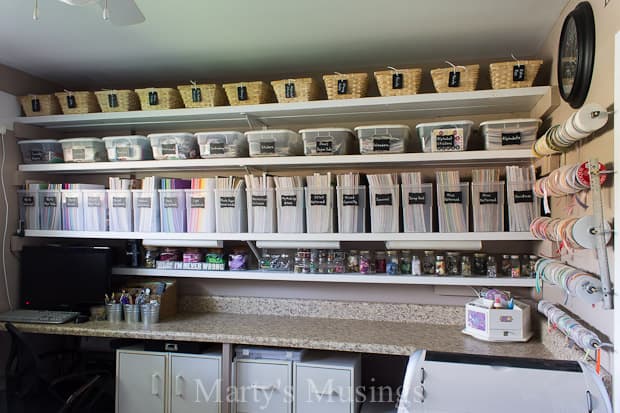
Her craft room makeover is amazing! It’s any crafter’s dream room!
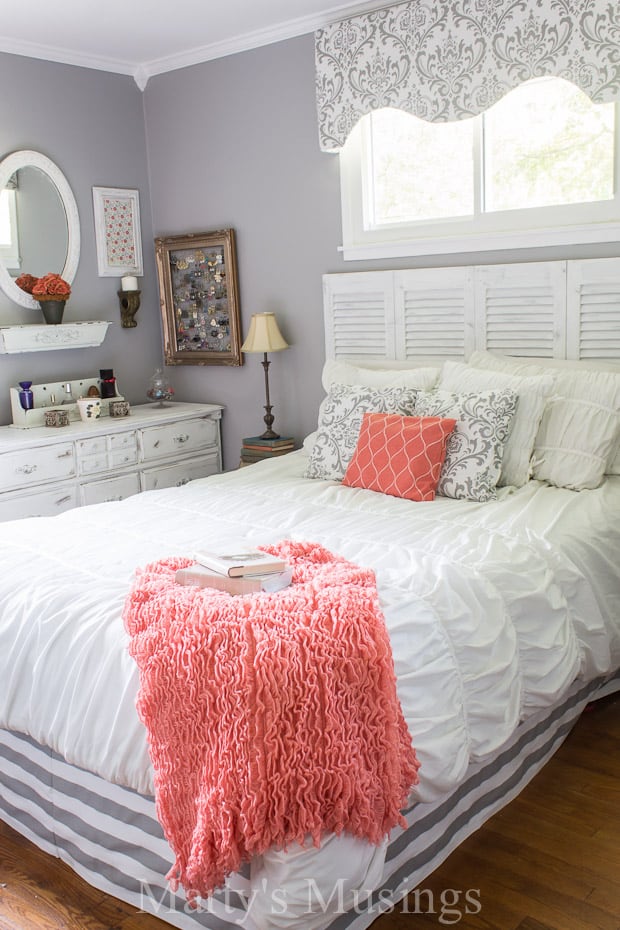
And her shabby chic gray and coral bedroom makeover is gorgeous too!
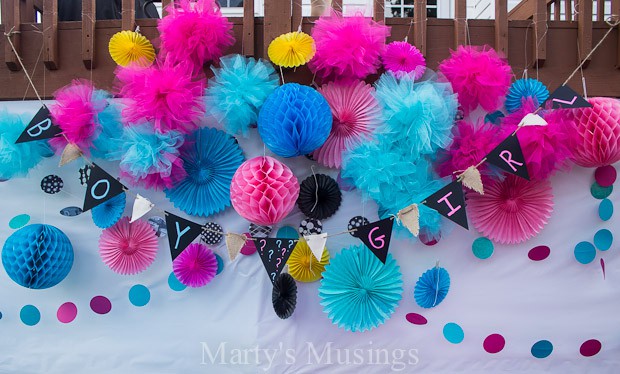
And if you’re looking for a creative way to announce the gender of your baby, check out her gender reveal party!





Beautiful scrapbook pages. I’ve been considering switching to project life, but haven’t quite yet. Love the card too!!
I just recently got into Project Life. I was wondering how you combined horizontal and vertical pictures on the same page. Beautiful layout by the way.