Hello Tatertots and Jello readers! I am so excited to be here today!
My name is Bev and I blog over at Flamingo Toes. I love sharing all sorts of projects – but mostly sewing, embroidery, jewelry and things I’ve made from my home.
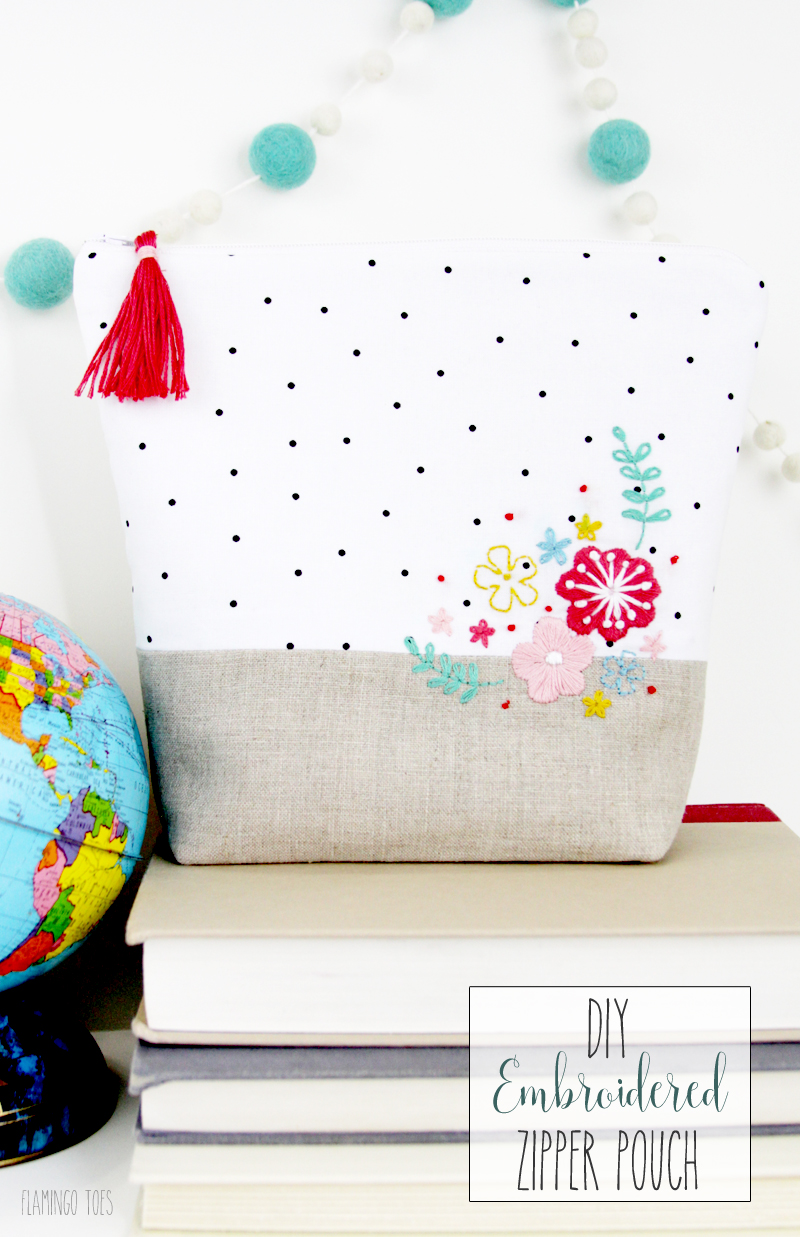
Today I have a little mix of all of that for you! (Except the jewelry part – though you could put jewelry in this cute zipper pouch so we’ll count that too k?)

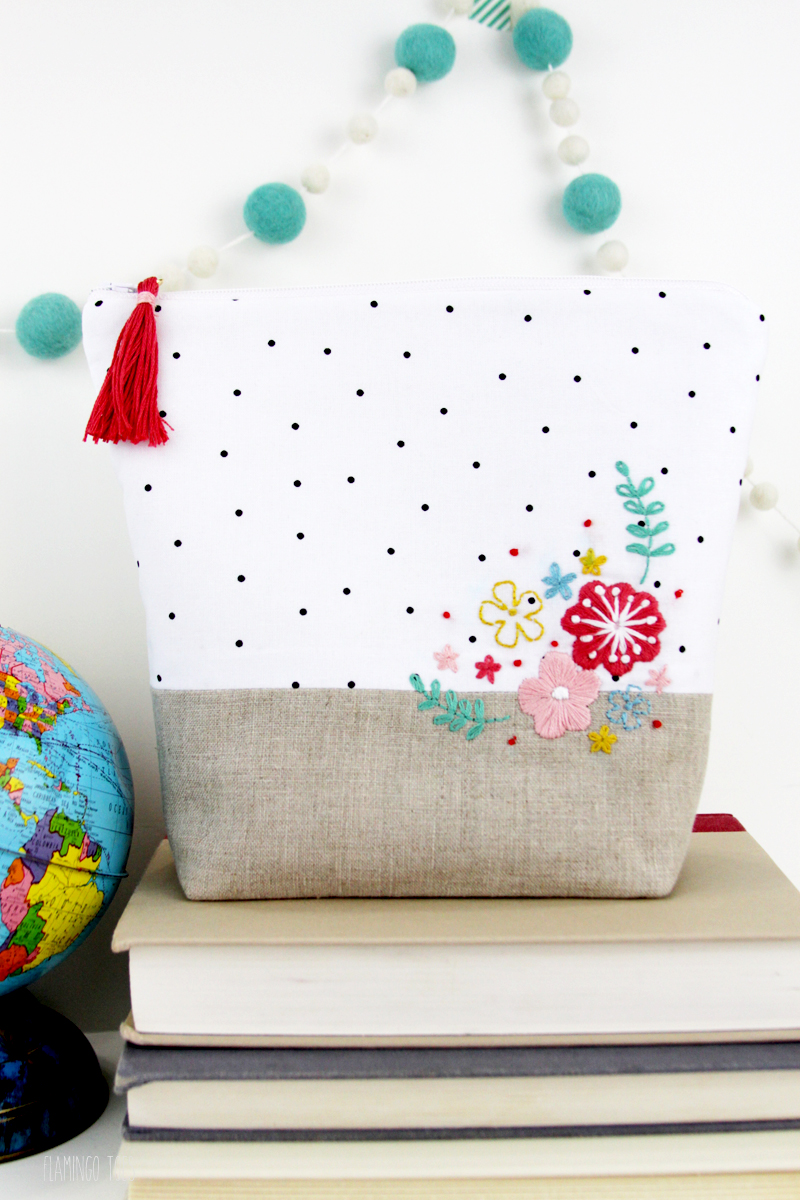
This sweet little DIY Embroidered Zipper Pouch is so fun to sew up and makes such a great gift! Or you could buy your friend a Starbucks card and keep your cute zipper pouch. I won’t tell on you. 😉

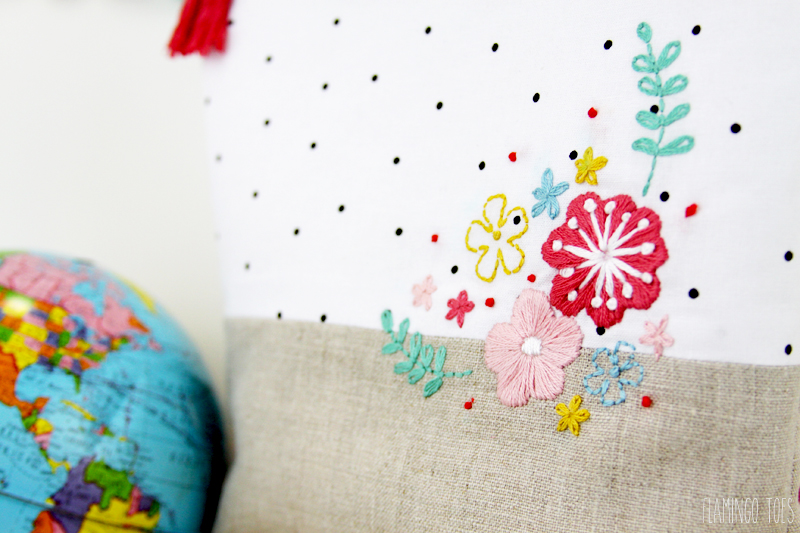
Our bag is all decorated with a little embroidered flower garden. If you haven’t done embroidery before, I have some great basic stitch tutorials on my blog. I promise anyone can do this!
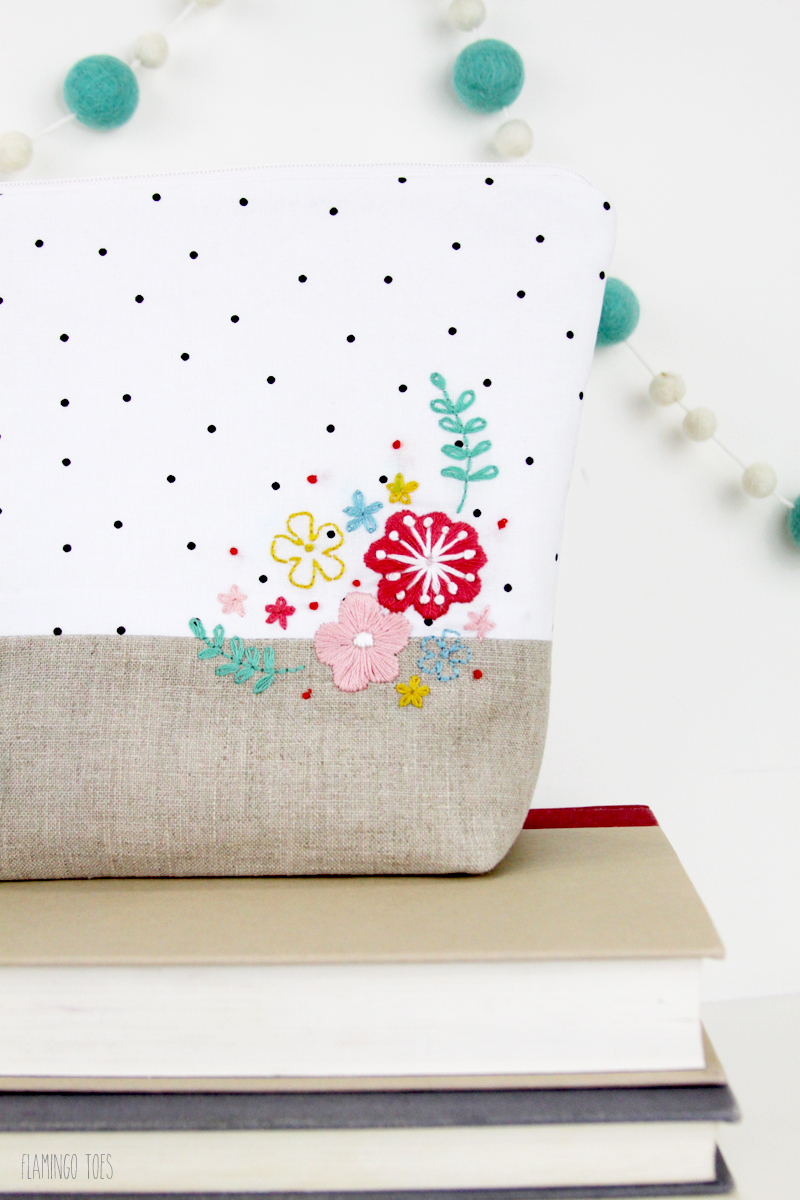

Are you ready to get started? Here’s your materials list:
- Top Outer fabric: 2 pieces 10″ x 6″
- Bottom Outer fabric: 2 pieces 10″ x 5″
- Lining fabric: 2 pieces 10″ x 10″
- Fusible Fleece: 2 pieces 10″ x 10″
- 9″ zipper
- DMC Embroidery Floss: white, 597, 666, 761, 992, 3820, 3832
- Embroidery Needle and Embroidery Hoop
- Gold Jump Ring
- Floral†Embroidery Pattern
- Coordinating thread, plus sewing machine, scissors and marking pen
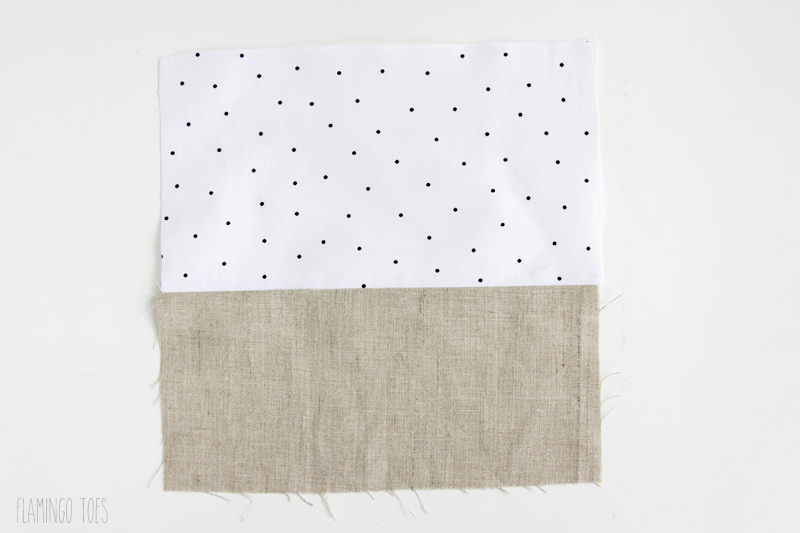
Begin by sewing each of the top outer pieces to a bottom outer piece, so the print is on top and the linen is on bottom. Use a 1/2″ seam allowance and press the seam open.
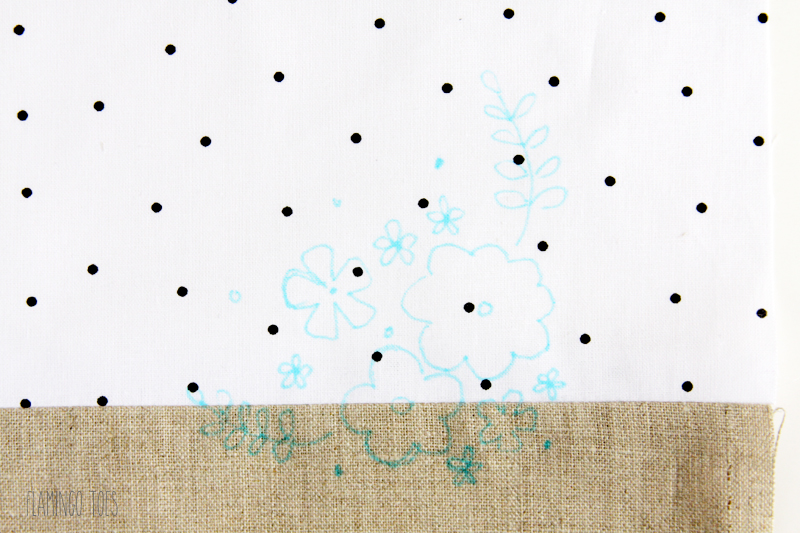
Trace your embroidery design onto the fabric so it overlaps the linen just a bit, 2″ from the right side of the fabric.
Stitch the design according to the pattern.
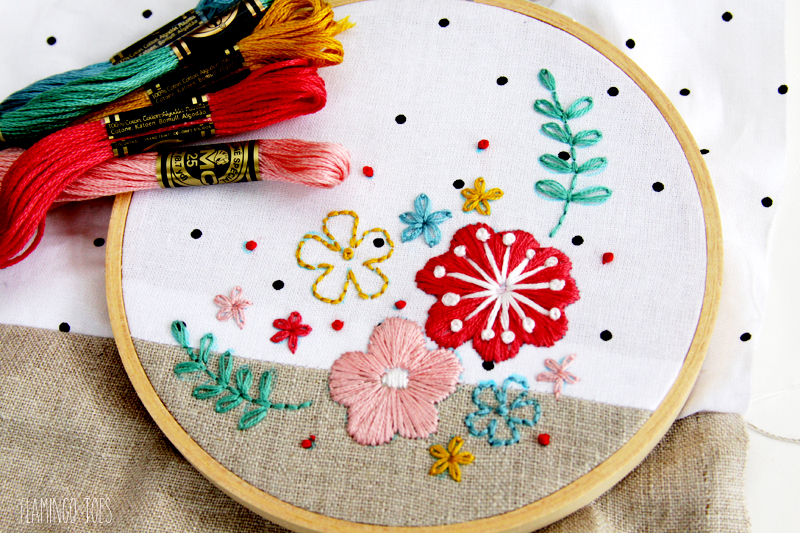
Once you’ve finished your embroidery, remove it from the hoop and press the piece. Remove any visible marking pen as well. Press the wrong sides of the front and back outer pieces to the fusible fleece.
Lay the front outer piece of the zipper pouch down face up. Lay the zipper face down along the top edge of the piece. Layer the lining piece face down over this, lining up the top edges. Sew along the top of edge of all three items, using a zipper foot.
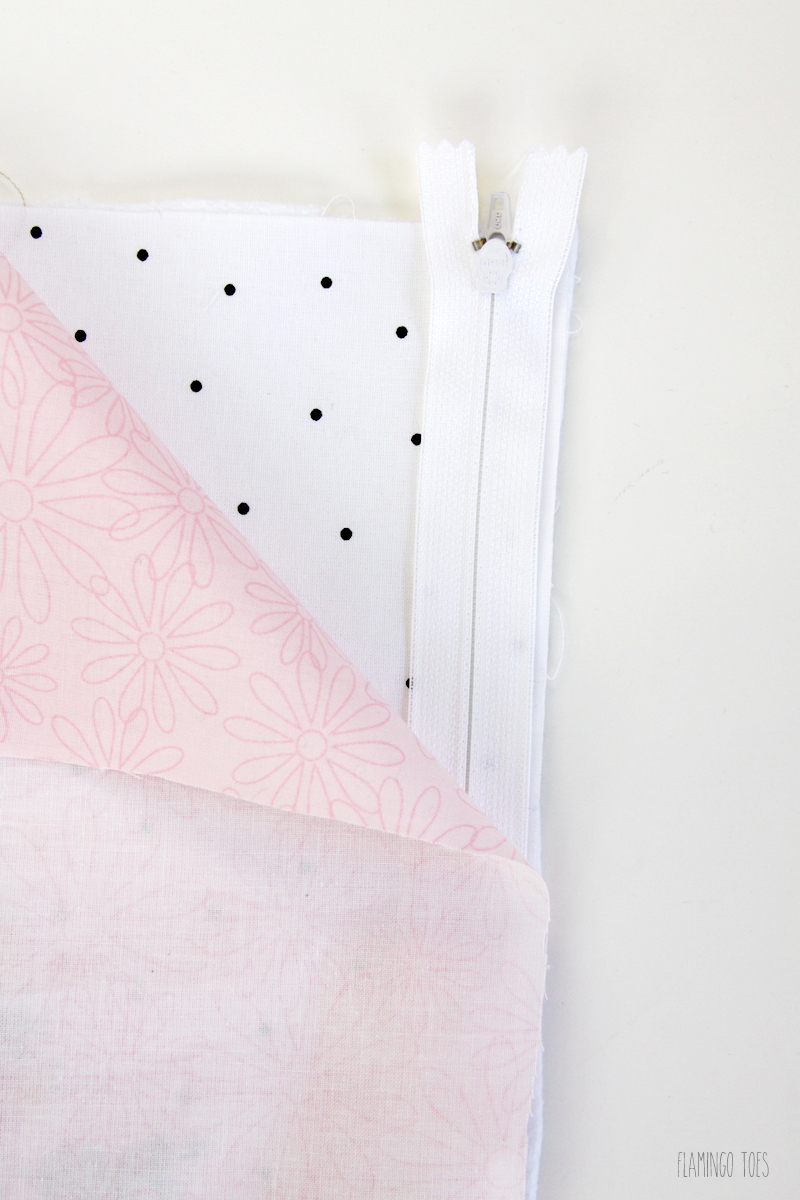
Open up the pieces and fold the lining back so the wrong sides of the pieces are together. Line the remaining back outer piece and lining up with the other side of the zipper. You’ll want to make sure the right sides of the lining are facing each other and the right sides of the outer fabrics are facing each other. Sew the fabrics to the other side of the zipper.
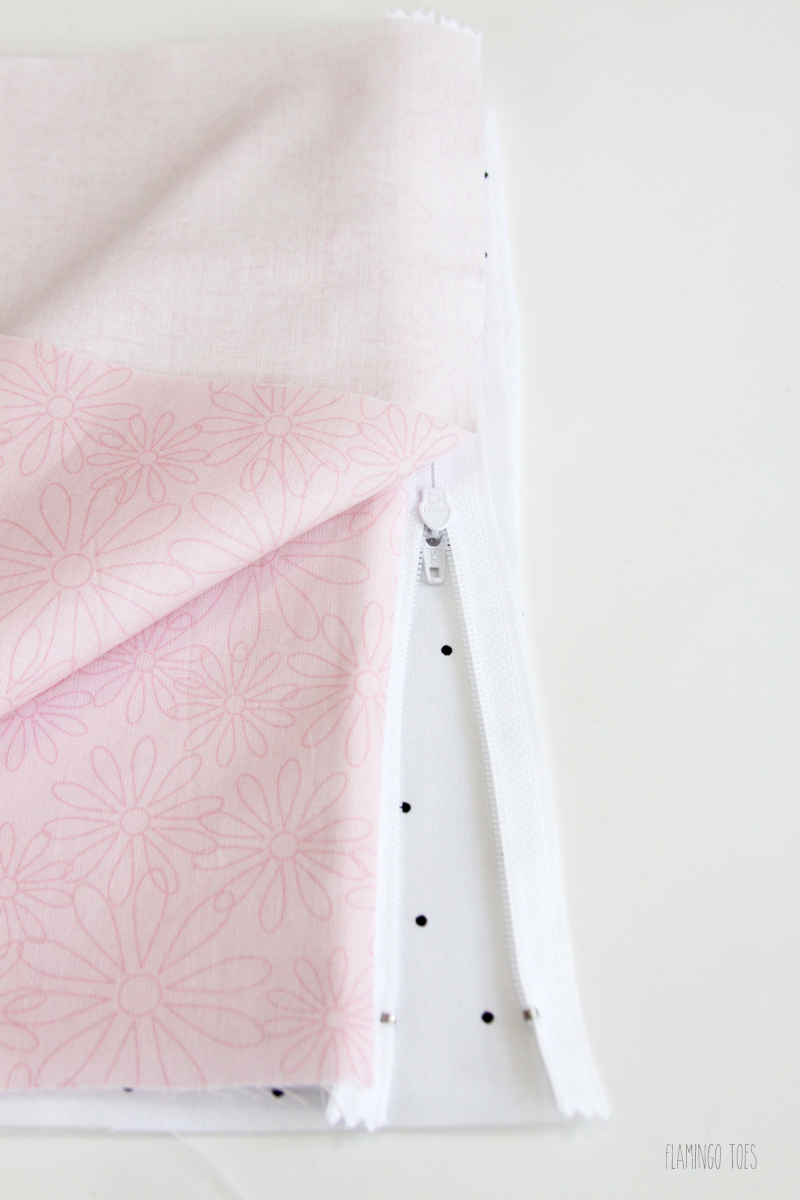
Open up the fabrics and press away from the zipper.
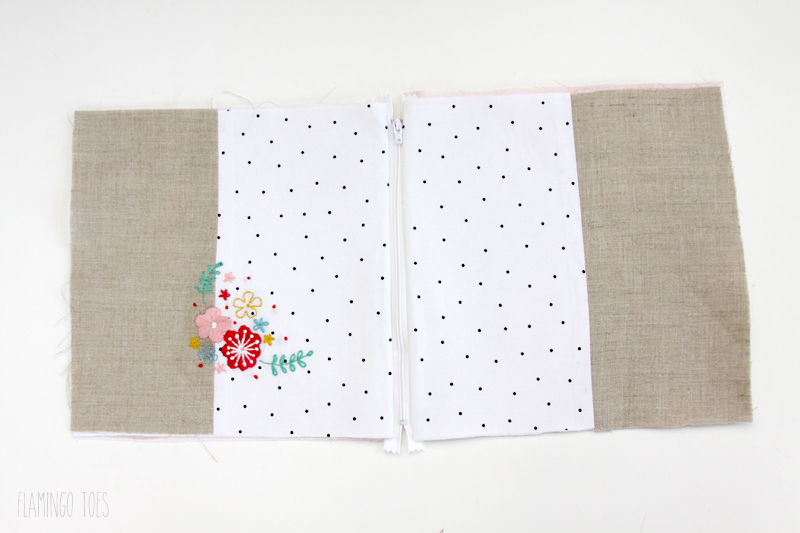
Fold the front of the lining pieces together so the right sides are facing each other and do the same with the lining, to make a large rectangle with the zipper in the center. Open up the zipper a few inches. Sew around all four sides, leaving an opening in the bottom of the lining piece for turning the fabric right side out.
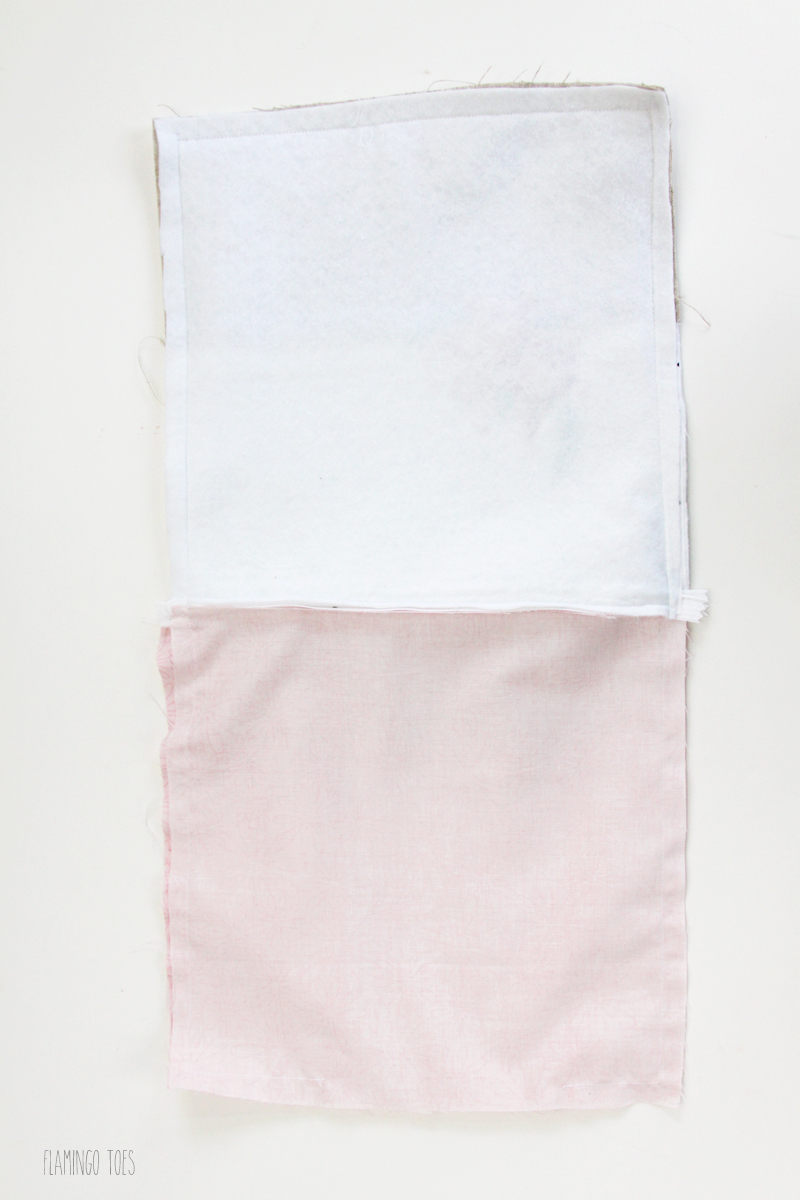
Clip all four corners.
To make the box edges of the bottom, take one corner and fold it into a triangle with the corner at the top and the side seam meeting up with the bottom seam. Measure down from the point 1 1/2″ and draw a line. Sew across this line.
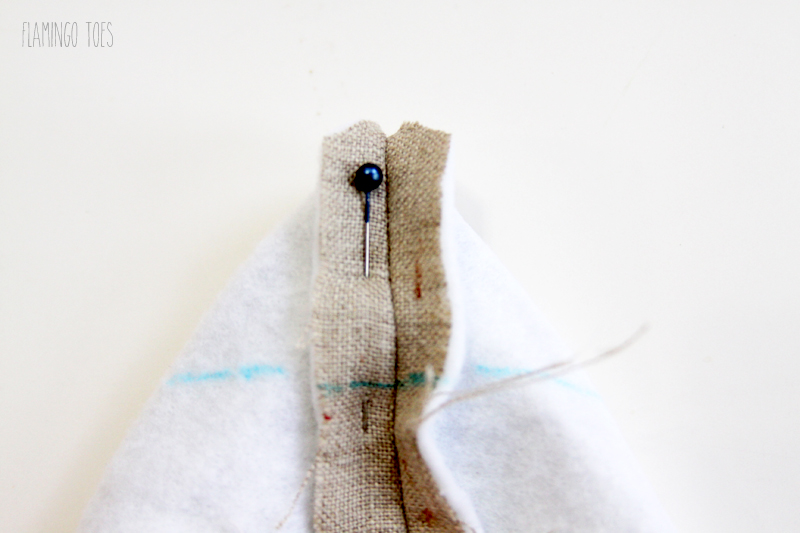
Repeat for all four corners. Trim off just below the seam. Turn the pouch right side out and hand sew the opening in the lining closed. Tuck the lining into the pouch and press.
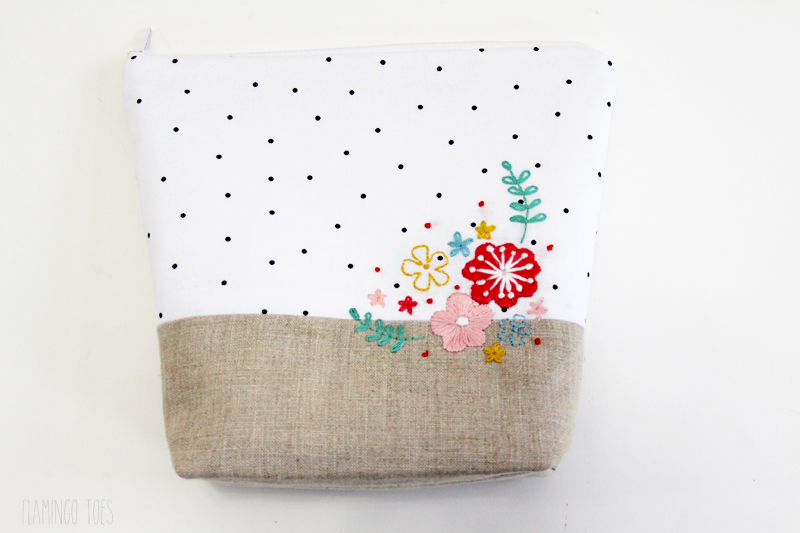
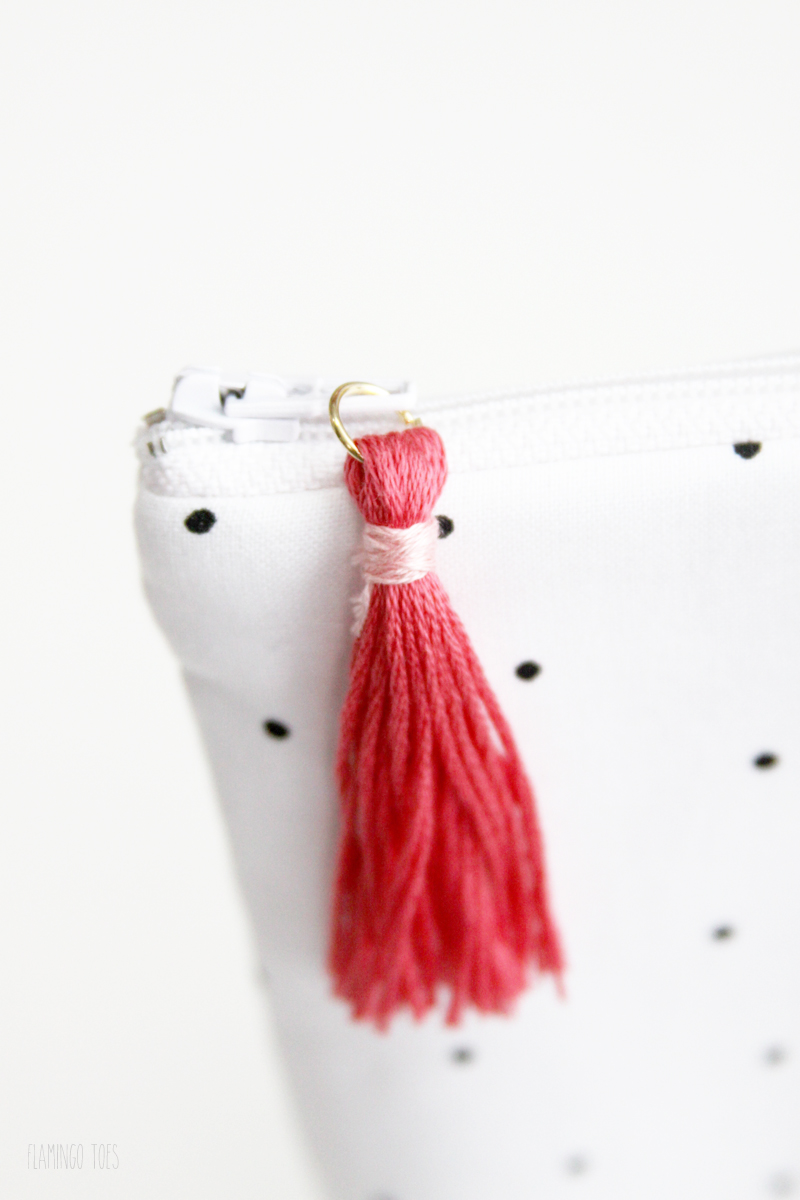
Make a small tassel from one of the embroidery floss colors and add it to a jump ring. I have a super easy tutorial for mini tassels on my blog.
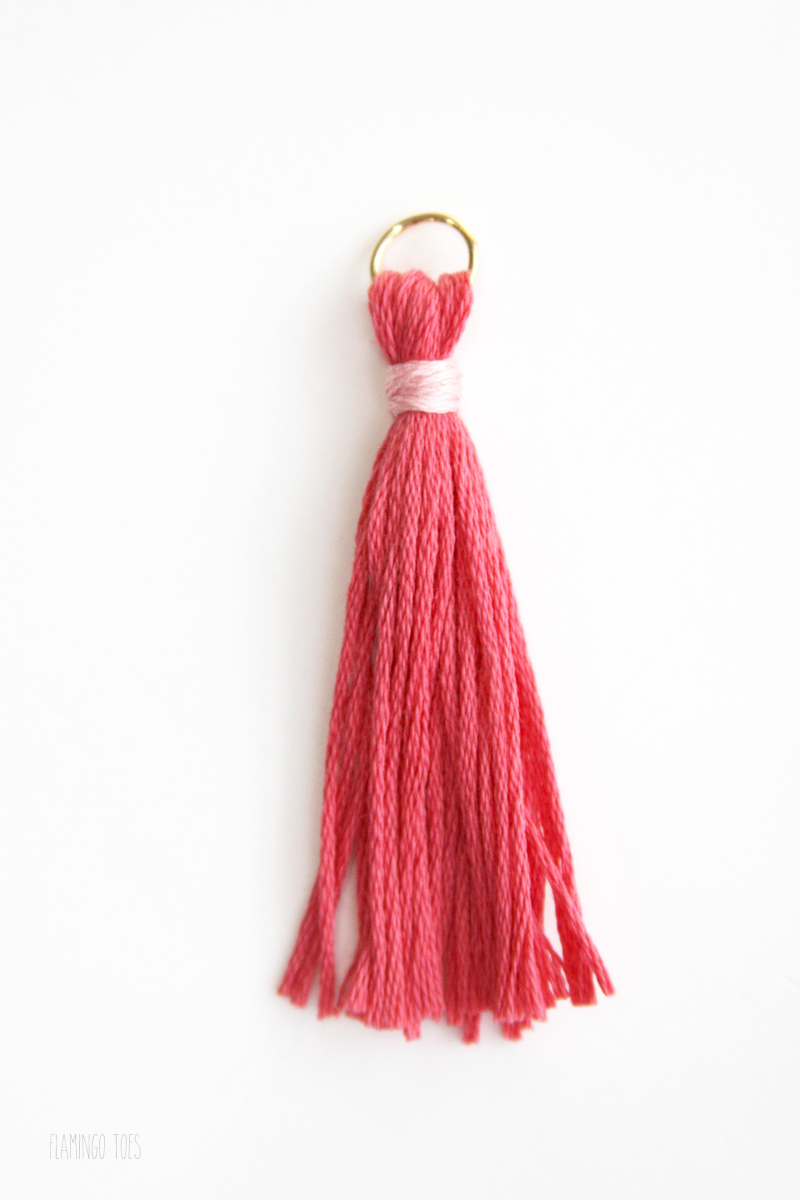
Add the jump ring to the zipper pull and close the ring. Now you’ve finished off your cute embroidered zipper pouch!
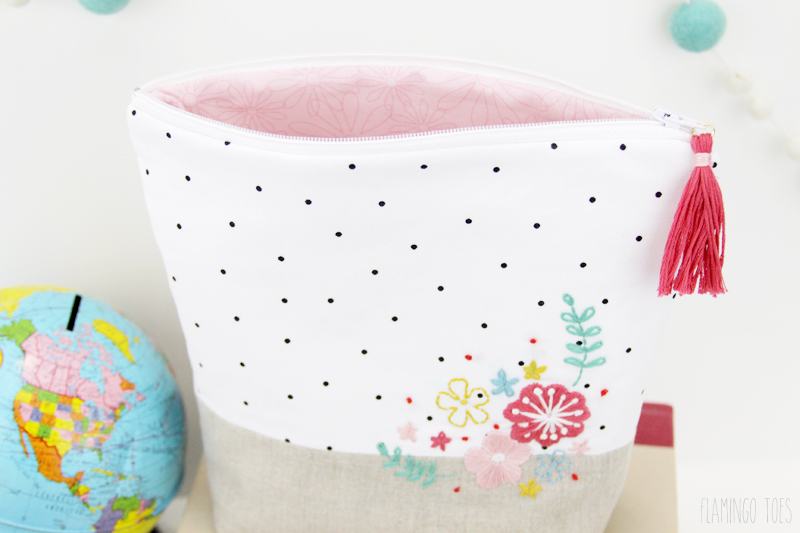
I love how the lining looks when you open the bag. You could use a laminated lining too if you want – then it would be great for makeup!
I hope you give it a try! Thanks so much for having me over Jen!
****
Thanks Bev! What a darling little bag! You are seriously so talented. Here are a few more ideas of Bev’s that you might want to check out!
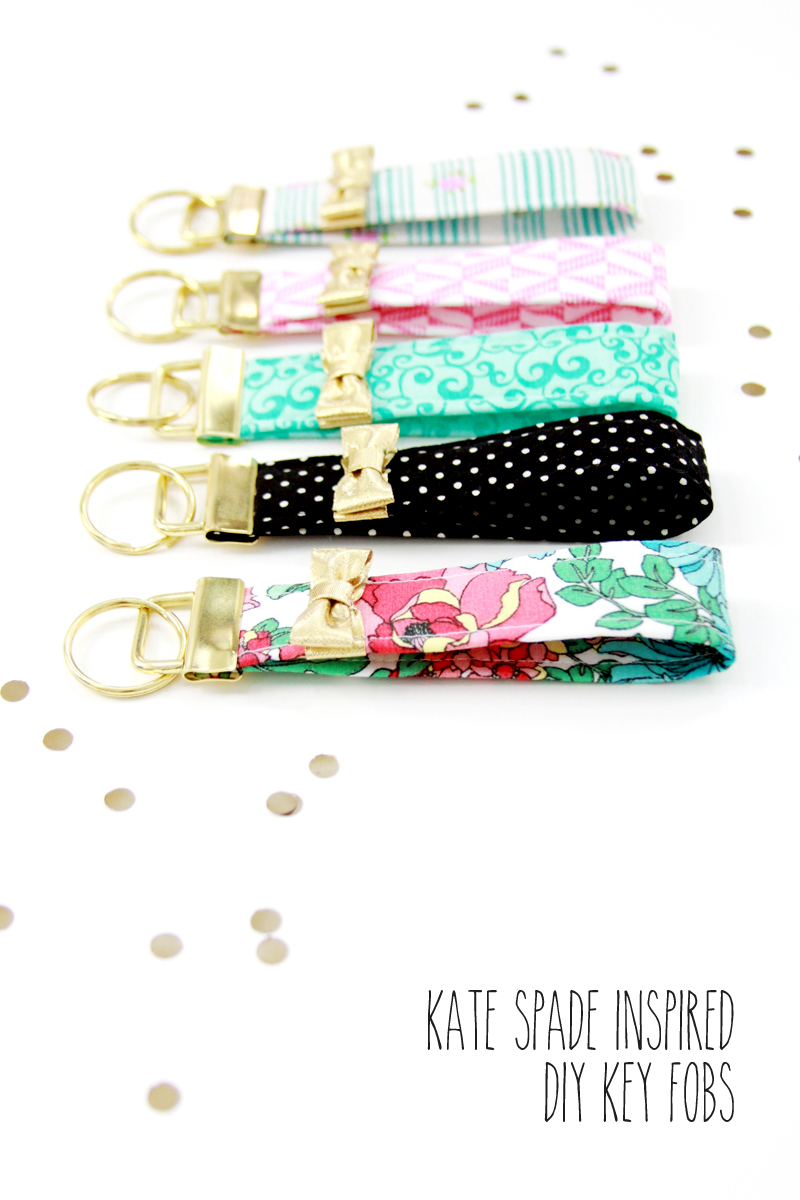
She has these super cute Kate Spade Inspired Key Fobs! So great for a stocking stuffer idea!
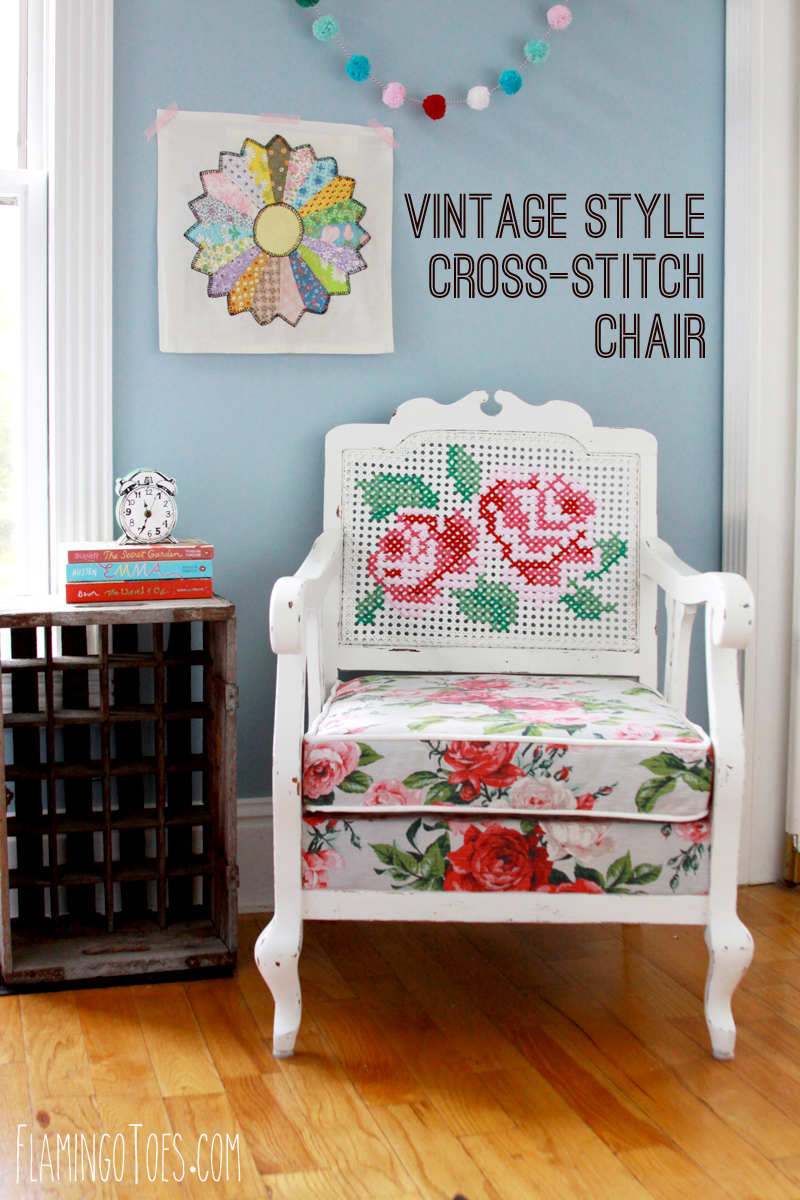
And, I’m dying over this darling Vintage Style Cross Stitch chair!
And her Chalk Art Merry Christmas Hoop is too cute!





This bag is so gorgeous! You did an amazing job!
Paige
http://thehappyflammily.com