You’ll love this Valentine’s Day wreath!
I’m thrilled to be guest posting on Tatertots and Jello today – a BIG thank you to Jen! Today, I’m going to show you how I created an easy, fun, and festive Valentine’s wreath with a favorite of mine – paint chip samples. Before we begin though, let me introduce myself.
I’m Jenna, Interior Designer and Design Blogger of SAS Interiors.

SAS Interiors is a hybrid site for my Interior Design business and my creative design blog. It’s filled with DIY projects ranging from super easy to more involved creations. One of my all-time favorite DIY transformations is my reupholstered desk chair…
I also share decorating tips and ideas, like how I styled my newly painted laminate bookcases…
I’m always striving to inspire (and get organized). I’m off to a good start this year so far with my newly revamped Family Central Command Center.
But now, it’s time for me to show you how I created this beautiful wreath for Valentine’s Day.
The supplies I used for this wreath creation were:
- Grapevine wreath ( I got mine on sale at AC Moore for $2.50)
- Eucalyptus leaves
- White spray paint (I used a gloss finish)
- Paint chip samples in an array of pinks and reds
- Hot glue gun
- A heart punch or scissors to manually cut out hearts
I started off by creating the flowers.
Using paint chip samples in a range of colors from pinks to reds to purple, and a 1.5″ heart-shaped hole punch, I cut out about 40 hearts. I got this decorative paper punch at AC Moore for less than $10, but as an alternative, you could cut hearts out with plain ole’ “old school” scissors. The hearts may not result as exact, but the idea is still the same.

Then I cut a piece of felt about 3″ round (any heavier material will work as well), laid out 6 hearts around the outer edge, and secured them with a nice-sized dab of hot glue.
Then for the inner hearts, I curled the top edge using a pencil to create the look of a flower.
I layered (4) ‘curled’ hearts in the center, on top of the outer edge of hearts. To complete each flower creation, I added a small 3 dimensional piece of paint chip for the center of the “flower”.
After making a few more flowers of different sizes (they don’t all have to be this large size – differing sizes make it more interesting), I added them to the wreath. Having the back of the flowers on felt, allows the ease of adding them to the wreath. With a dab of hot glue, I attached the felt-backed flowers to the wreath. Once Valentine’s Day is over, the flowers can easily be removed from the wreath, and different embellishments can be added for other holidays or occasions.
This wreath truly was a joy to create and took only about an hour to make (I add the eucalyptus & spray painted the wreath Day 1 which took about 15 minutes, then made the flowers and attached them Day 2 which took about 30 minutes).
This festive Valentine wreath would be great hanging on a front door or inside the home. I have it above my fireplace – it’s the perfect centerpiece above my mantel.
Super cute, right?!
Thanks so much for letting me share a new project with you today! I hope you enjoyed it and were inspired to create one of your own.
And a big thanks to Jen for inviting me to Tatertots and Jello for the day!

If you’d like to connect with me and see more of my DIY, decorating, and interior design ideas, visit me at SAS Interiors, as well Facebook, Twitter, and Pinterest.
* * * * *
Thanks, Jenna!
I love Jenna’s design sense, and her projects are amazing!
She already highlighted one of my favorite of her projects — the Chalkboard Command Center (I even highlighted it again last weekend!).
Her blog is chock-full of great advice on not just specific projects, but also on how to approach decorating rooms, tackling remodeling projects, and so on,
like these:
and
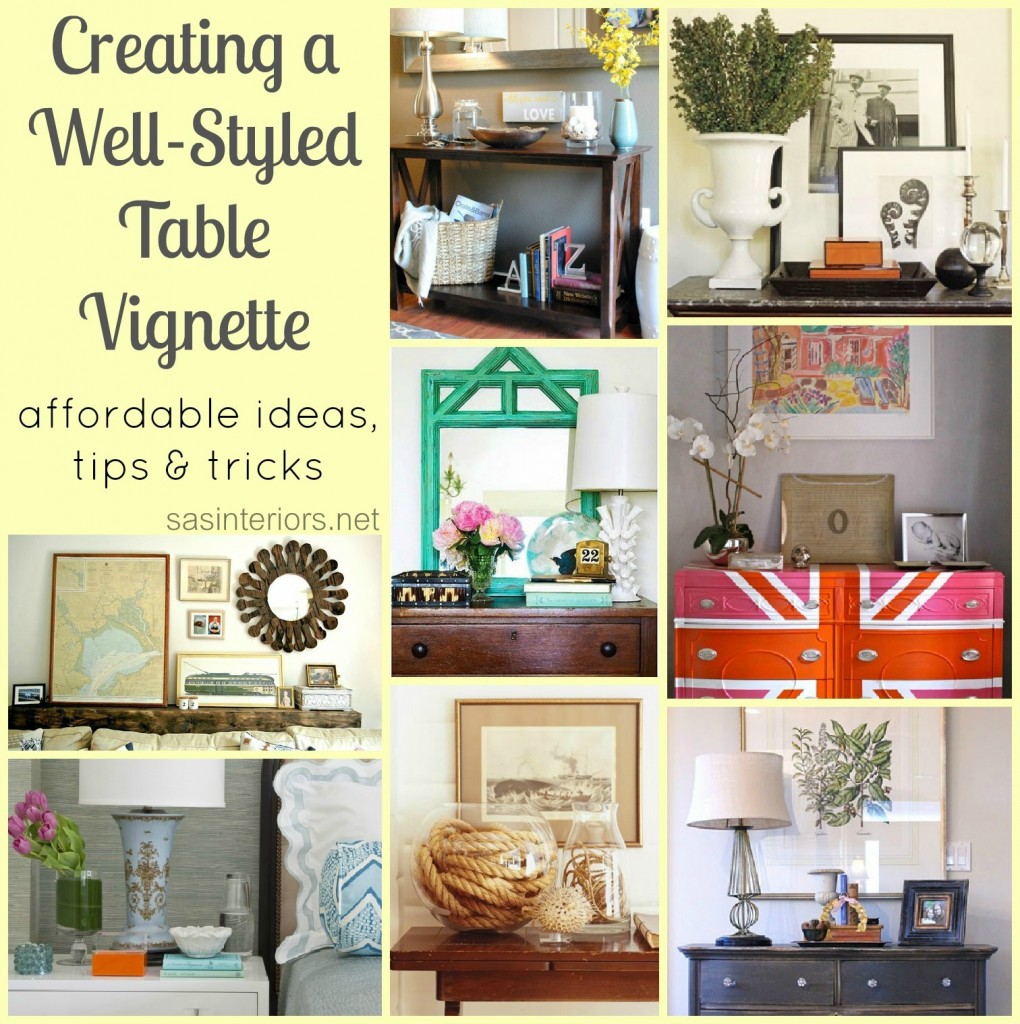
Creating a Well-Styled Table Vingnette
and
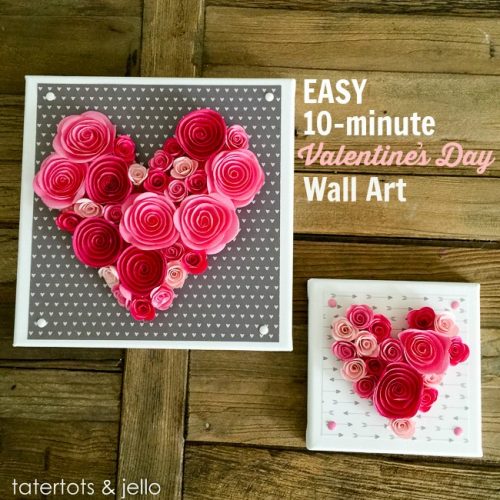
You’ll also find inspiring decorating projects, like the great ones she featured at the beginning of this post, and:
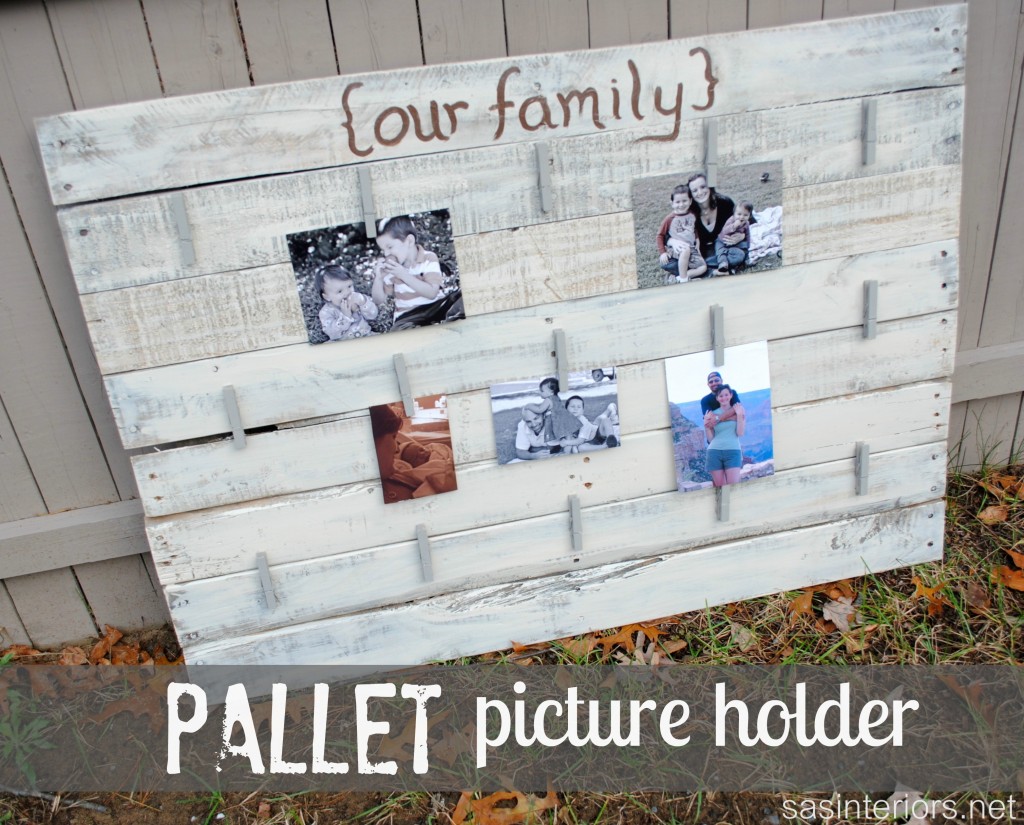
This DIY Pallet Picture Holder
(One of the things I like best about her projects is that she provides tips about how to build the project. In this post, for example, she tells you how she rebuilt the pallet — and what the easiest way to rebuild them is!)
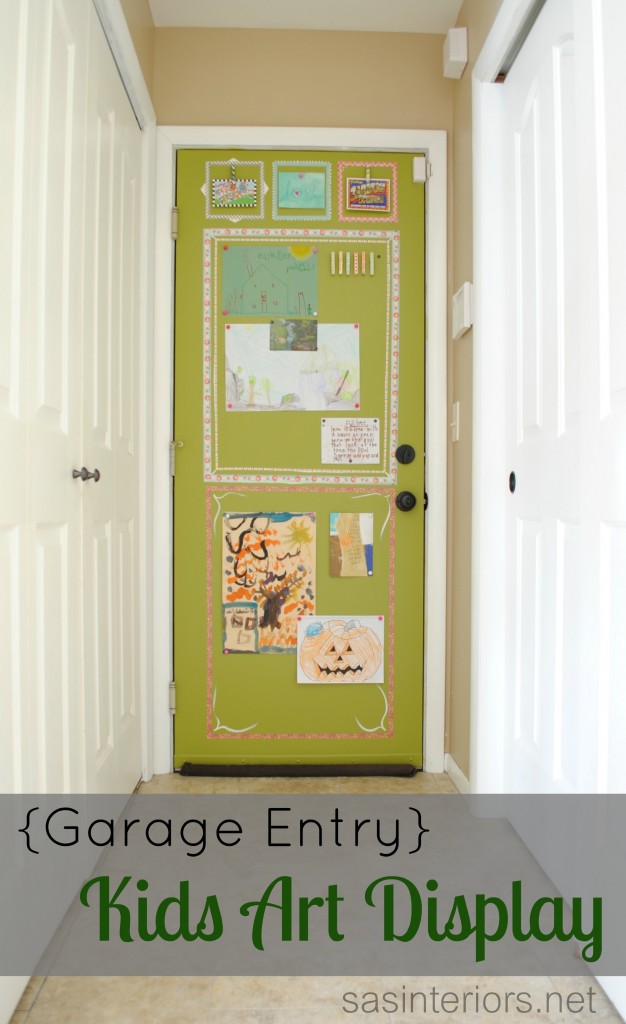
And this great idea for turning your garage entry door into a kids’ art display!
* * * * *
Head over to SAS Interiors and see all of Jenna’s amazing ideas!
xoxo





Thanks for the great idea Jenna. I love those paint chip flowers!!
xoxoxo
Thank you so much Jen for featuring me! xo Jenna
so cute! i adore Jenna & love her style!
Thanks Kellie so much! I adore you as well 😉
xo
Jenna
I just love Jenna, and how perfect is that wreath? Apparently, I need to make a trip to Lowe’s 🙂
That’s so sweet – thanks Jessica!
Super cute idea, and it doesn’t look too hard either.
That’s really pretty. Love the contrasting colors!
I absolutely love the paint-chip wreath idea. Thank you for sharing your idea and how to make it! 🙂