Make a Fabric-Covered, Magnetic Inspiration Board!
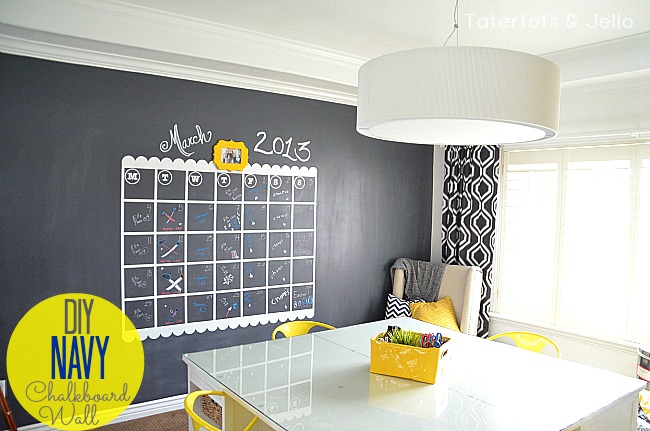
I ‘m in the process of moving my craft room/office. I shared a little sneak peek of my old office which I am turning into a kids’ homework room and a BIG navy chalkboard calendar wall earlier this week.
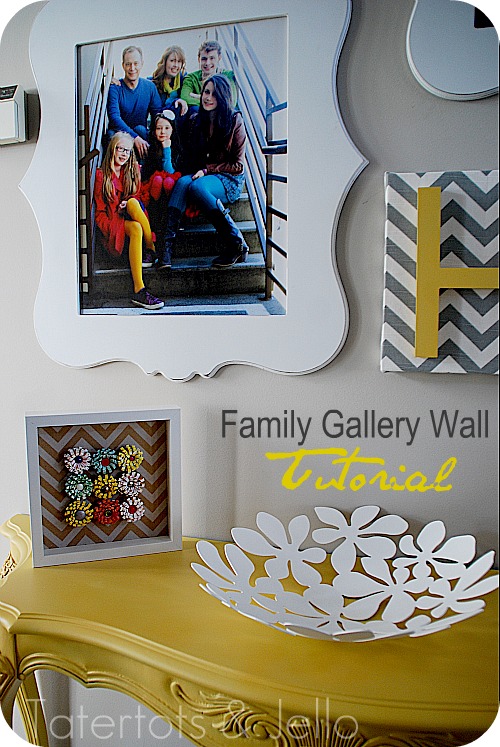
Cut It Out Frames — who made the frames I used to make my Family Gallery Wall, have a new product — double frames!!
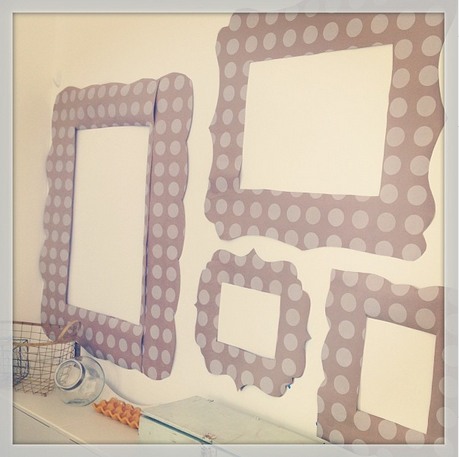
And I am using their new frames in a big organizational wall for my new office space.
I traced the frames on wallpaper and taped them on the wall to get the placement right.
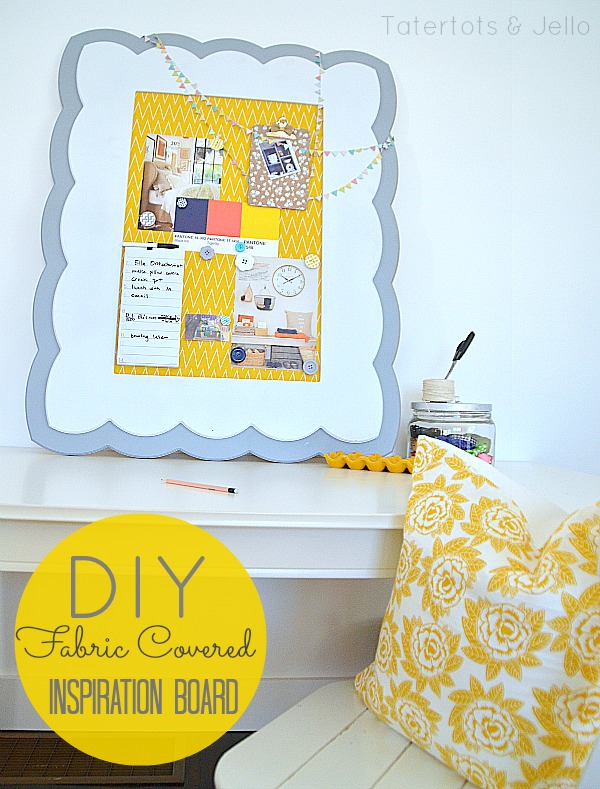
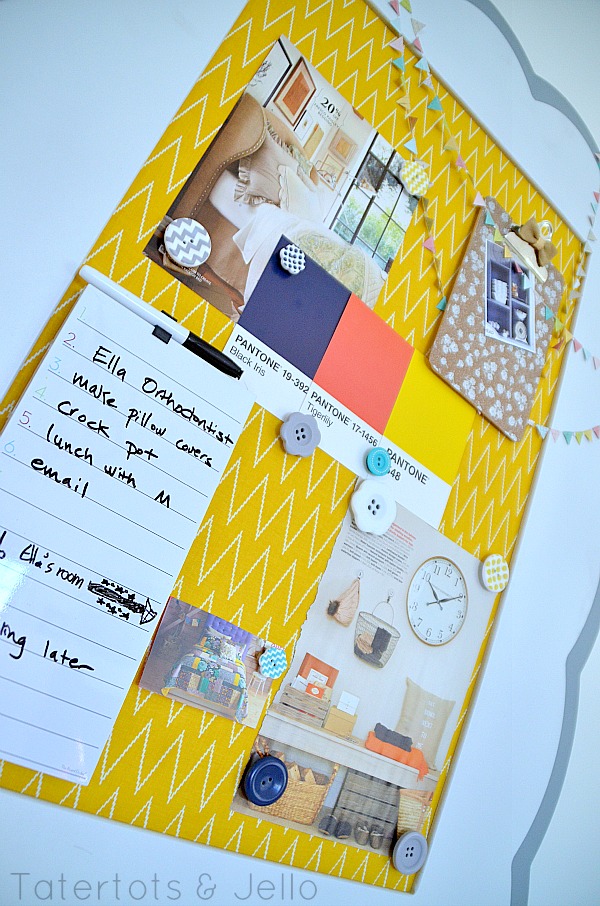
One of the things I knew I wanted to put in my new office was a BIG fabric-covered, magnetic inspiration board.
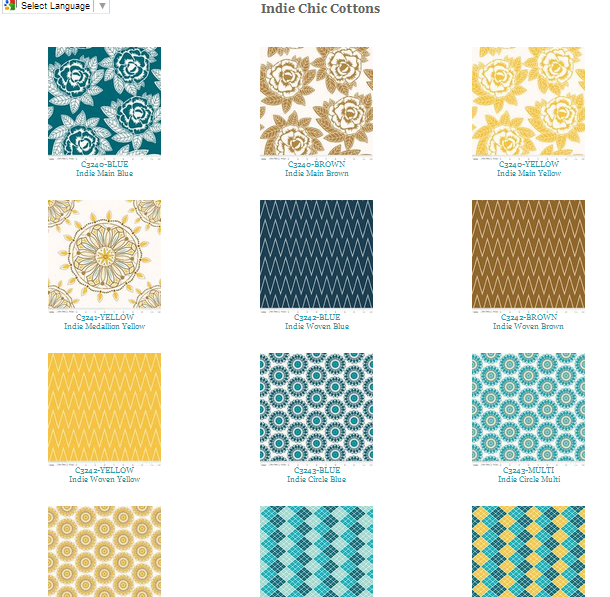
And I love the new Indie Chic line of fabric from Riley Blake that just came out:
I was so excited to use some of the fabrics from this design line for my new organizational wall.
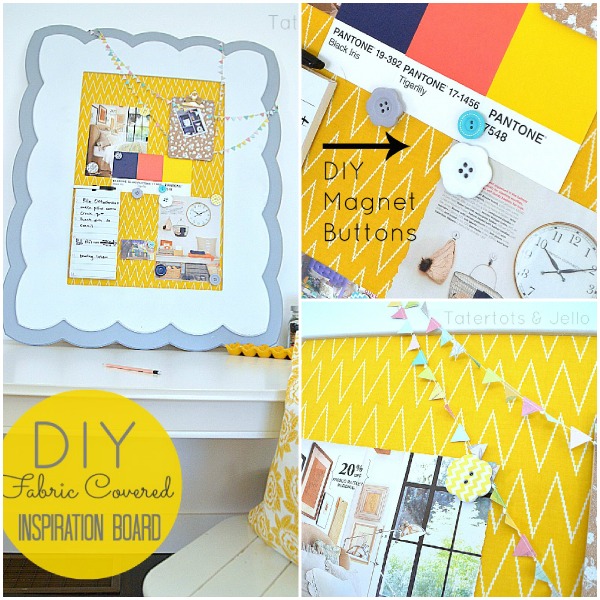
Here’s how I made a GIANT Magnetic Fabric Inspiration Board for my office:
Materials:
- Frame — I used a 20 x 30 Double Frame from Cut It Out Frames
- Fabric – enough to put around the opening (20×30) plus 3 inches on all sides.
- Buttons to make into Decorative Magnets (magnets and adhesive)
- Duct Tape or Painters Tape
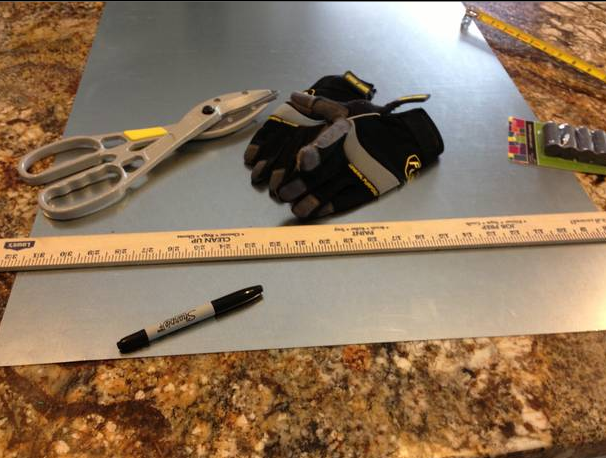
- Tin Snips
- Metal Sheeting (from the hardware store)
Here’s how to make a DIY Fabric-Covered Magnetic Inspiration Board:
1. Take the opening in your frame, add 3 inches on all sides for the fabric you will need for the project.
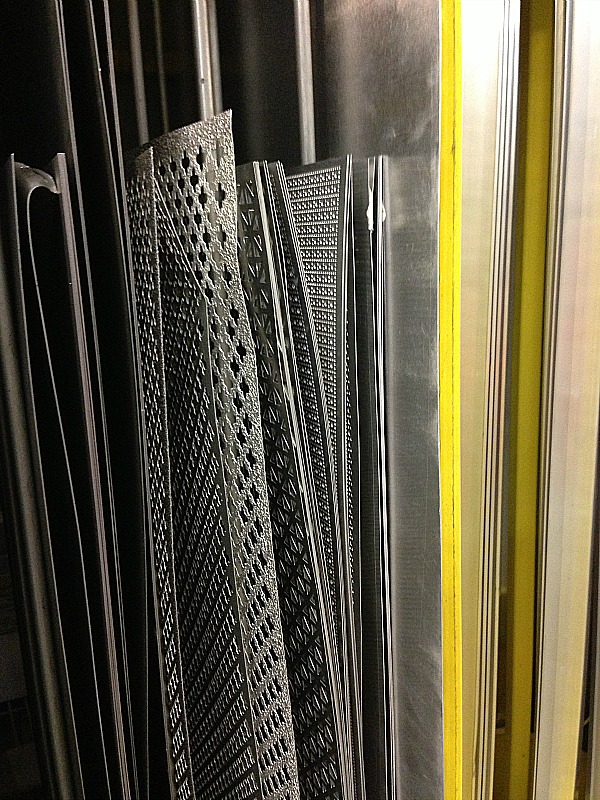
2. Then get a sheet of metal from your hardware store. You can find sheets in the roofing section.
3. Use tin snips to snip the metal to the opening measurements of your frame. (use gloves too if you can so you don’t cut your hands)
4. Lay the fabric on your work surface, and then lay the metal sheeting in the center of the fabric. Fold the fabric as if you were wrapping a present, folding the edges in at an angle and securing all sides with either duct tape or painter’s tape.
5. Once the metal is wrapped in fabric, place the wrapped metal in the middle of the frame opening and secure within the frame with the metal prongs that are included with the frame (they were originally meant to be used to secure the glass to the frame).
Now your Inspiration Board is ready to use!
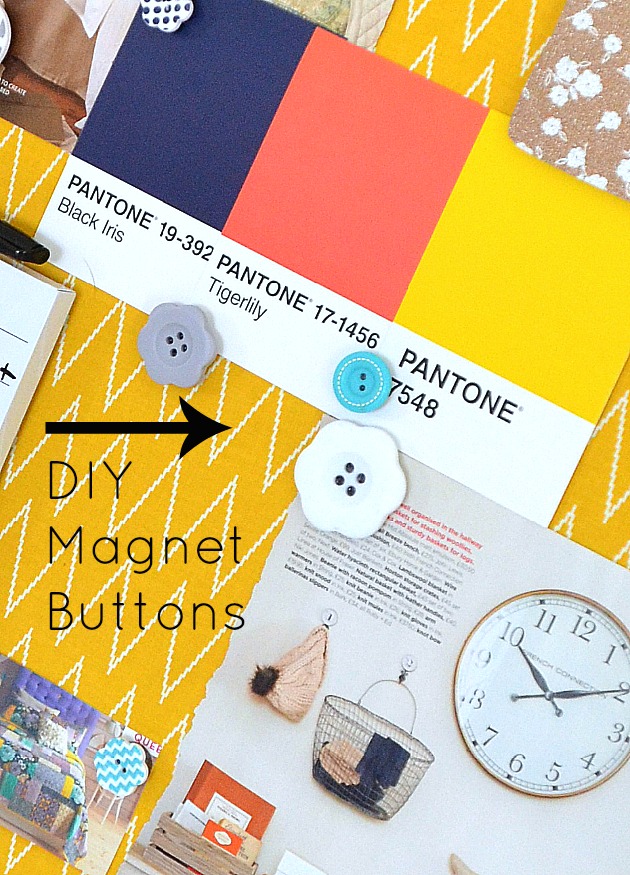
If you want to make some button magnets like the ones I made, all you have to do is attach the magnets to the buttons with adhesive like e9000. Just let the adhesive set for at least 24 hours for best results. (These buttons are also from Riley Blake)
This is a super easy way to add some color and dimension to your work space. And it’s no-sew!
I am still working on the full organizational wall, but I am SO excited to show it to you!!
The Double Frames will be available through Cut It Out Frames very soon!
Have a Creative Day!!
xoxo
PS — It’s Friday!!!
My favorite day of the week.
It’s almost time for the Weekend Wrap Up Party.
I love to feature YOU!!
I hope you can stop by for the fun.
The party starts at 6 pm MST.
Riley Blake and Cut It Out Frames provided product for this post. All opinions and ideas are mine.





Do you happen to have a coupon/promo code for Cut It Out? I read in one of your previous posts that they always have specials/promos but I can’t find one.
I’m dying to order some frames for my gallery wall but the s/h for what I want to get is crazy! I love their products though and the prices for the actual frames are quite reasonable. Thanks!!!
Hi Kristy!!
I have never heard of them having promotional codes. But I would email them and ask. They are super nice!!
xox
Oh I LOVE, Riley Blake Fabrics and this new Indie line is to die for… I love how you incorporated it into the room. The Yellow Main fabric pillow is Beautiful!! 🙂 Oh, the magnet board is Super Cute 😉
xo
Angelina
Thanks my friend – you are so sweet!!
xoxo
I love the idea of an inspiration board and I love that yours looks so great…! Inspiring – thanks!!
Thanks Cathy!! I love how happy it is 🙂
oxox
This is sooooo cute Jen! I love the yellow fabric, perfect choice 🙂
xo, Tanya
Thanks Tanya!!! I really like the fabric color and pattern – it’s so bright and cheerful. Have a great weekend!!
xoxo
So cute! Great idea. When do you have time to all this?!
haha Chessa! It really was a pretty fast project. The only thing that took very long was waiting for the paint to dry 🙂
xoxo
Great fabric choice!! I love that bright yellow Riley Blake fabric!
Jenny
Seamingly Smitten Sewing Patterns *Women & Children
http://www.etsy.com/shop/SeaminglySmitten
Thanks Jenny!! I love their fabric too. Thanks for stopping by!!
xoxoo
Yours is really pretty. I made one like this last year except smaller, but I find the magnets have pulled the fabric out the fabric in the center. I did use some super magnets though. Have you had that happen yet and found a fix?
Hi Marti!!
Oh no! I have made a few like this and haven’t had a problem. I wonder if it’s that you used really strong magnets? I will keep my eye on it and let you know if that happens with this one.
xoxo
Love the board!! It’s so cheery & bright! Yesterday I posted a magnet board I made for my daughter – it’s such a fun project! Addicting. Also am loving your magnets!!
Take care-
Kim
Magnet Board: http://www.twotendesigns.com/2013/03/fabric-covered-magnet-board.html
Hi Kim!! Your magnet board is SO cute!! I love your patchwork fabric idea. It’s so vintage-y and pretty! And I love that you hung it low so your cute daughter can reach it. SO fun!!
Thanks for sharing it with us!
xoxo
I love your lovely gallery wall. Would you happen to know what color you used for the little table under the photos that has the bowl sitting on it? I have trouble getting nice warm gold-ish colors, they sometimes turn out too yellow and harsh.
Oh yes!! It is called Golden Maize from Valspar at Lowes. And I really love it. it’s kind of a warm and pretty yellow. I’ve painted all kinds of things with it haha!!
xoxo
Love it! Very cute board! Do Cut it Out frames have glass with them? How do the pictures stay in otherwise?
Hi Rachel!! Cut It Out can’t ship the frames with glass. But for the smaller frames you can get glass from the Dollar Store by buying one of their dollar frames and switching out the glass. For the bigger sizes, your local hardware store sells glass in these normal sizes and it’s very affordable. All of the Cut It Out frames come with white cardboard backing in the space where you would put glass, so if you don’t want to hang it with glass, you can put the picture in, and the cardboard backing will keep the picture in place. The opening for the glass or picture is smaller than the opening for the picture, so there is an edge that will keep the picture from falling out, and the cardboard backing will keep the picture straight within the frame. Does that make sense? haha – sorry for the long explanation. I actually like my gallery wall without glass because then I don’t get the glare of the glass when the light hits it 🙂
Have a wonderful weekend!
xoxo