DIY Halloween Gingerbread Village. Make a DIY Spooky Gingerbread Village by painting small houses black and adding spooky touches like webs and ghosts for a fun Halloween twist!
DIY Halloween Gingerbread Village
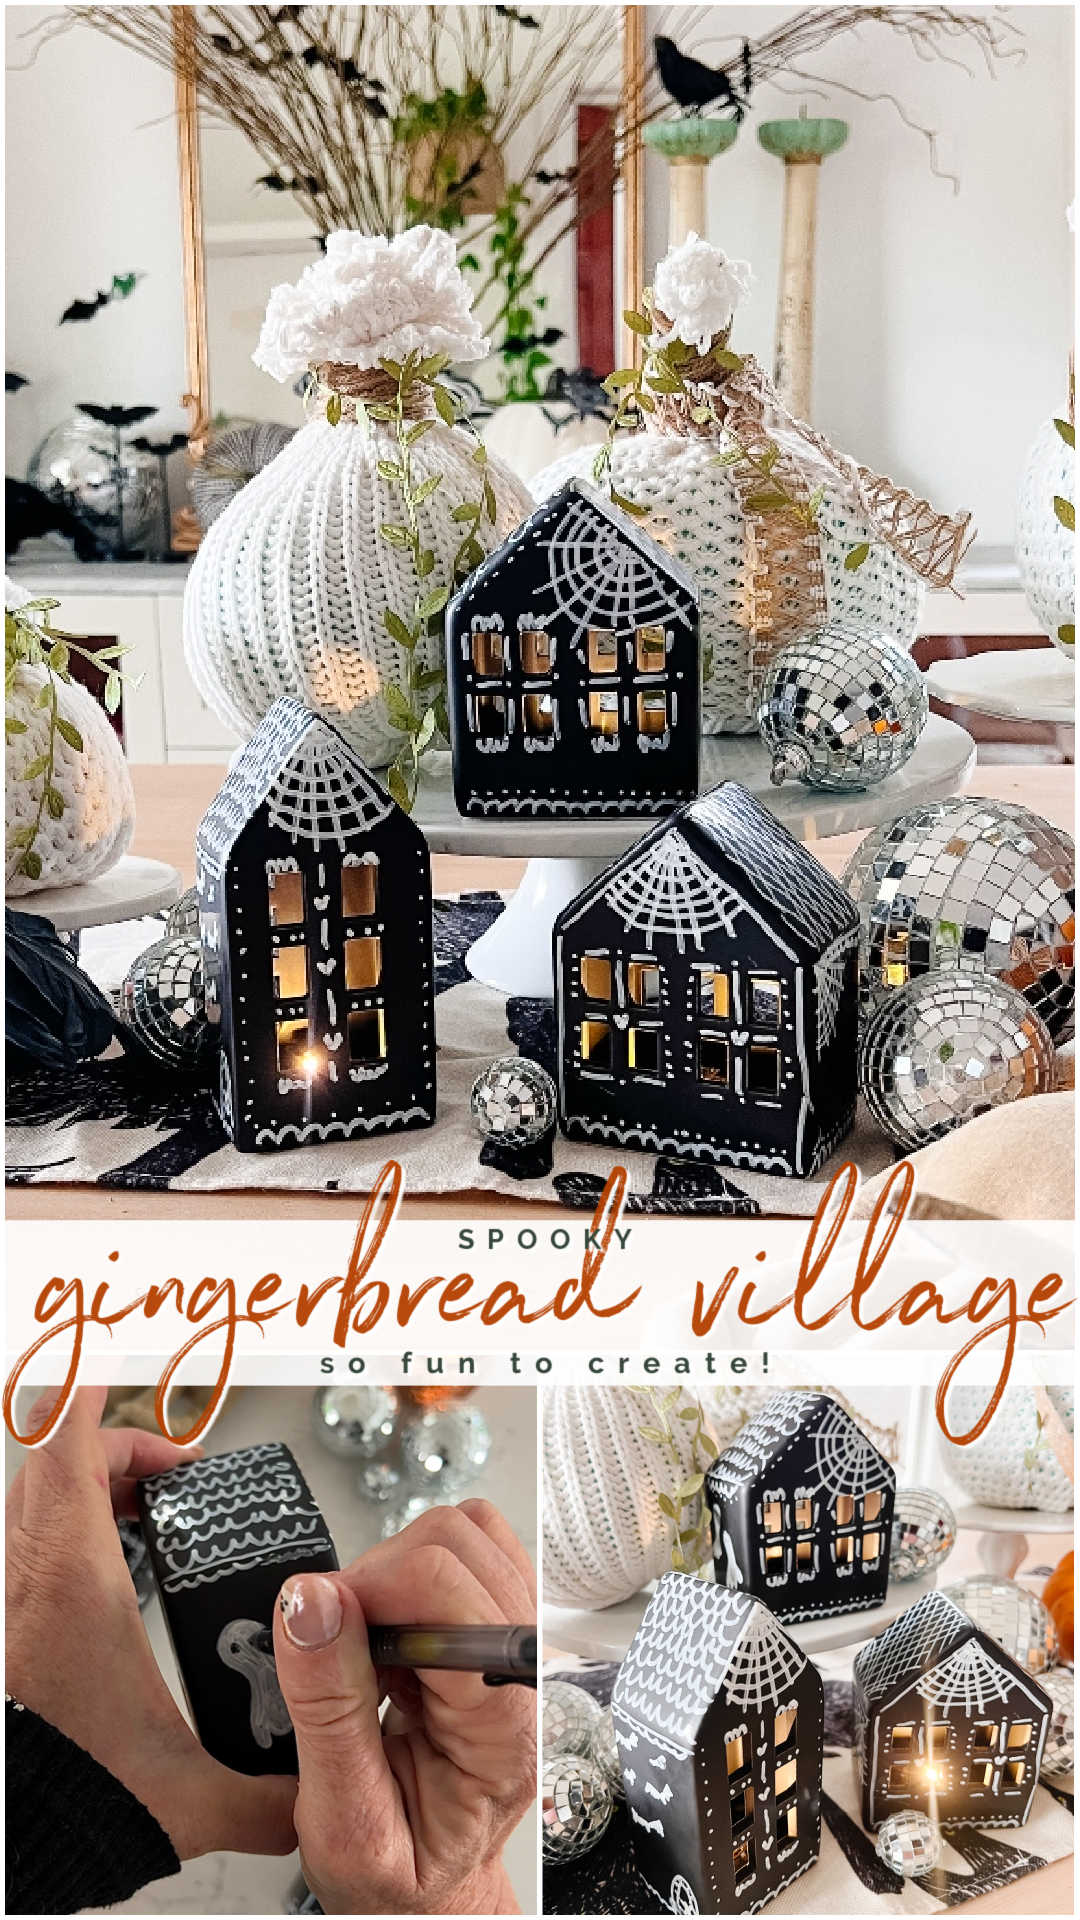
Last year, I chose a gingerbread theme for my holiday decor, and it was such a delight! I shared all kinds of gingerbread tutorials that you all loved, like how to create gingerbread houses, garlands, and themed ornaments. (scroll down to the bottom of the tutorial to HOP over to see these gingerbread projects.) This year, I thought it would be fun to take that gingerbread theme and give it a spooky twist for Halloween by creating a DIY Spooky Gingerbread Village. These little haunted gingerbread houses are perfect for adding a spooky-yet-sweet touch to your Halloween decor!
Easy and Fun Supplies for Your Spooky Village
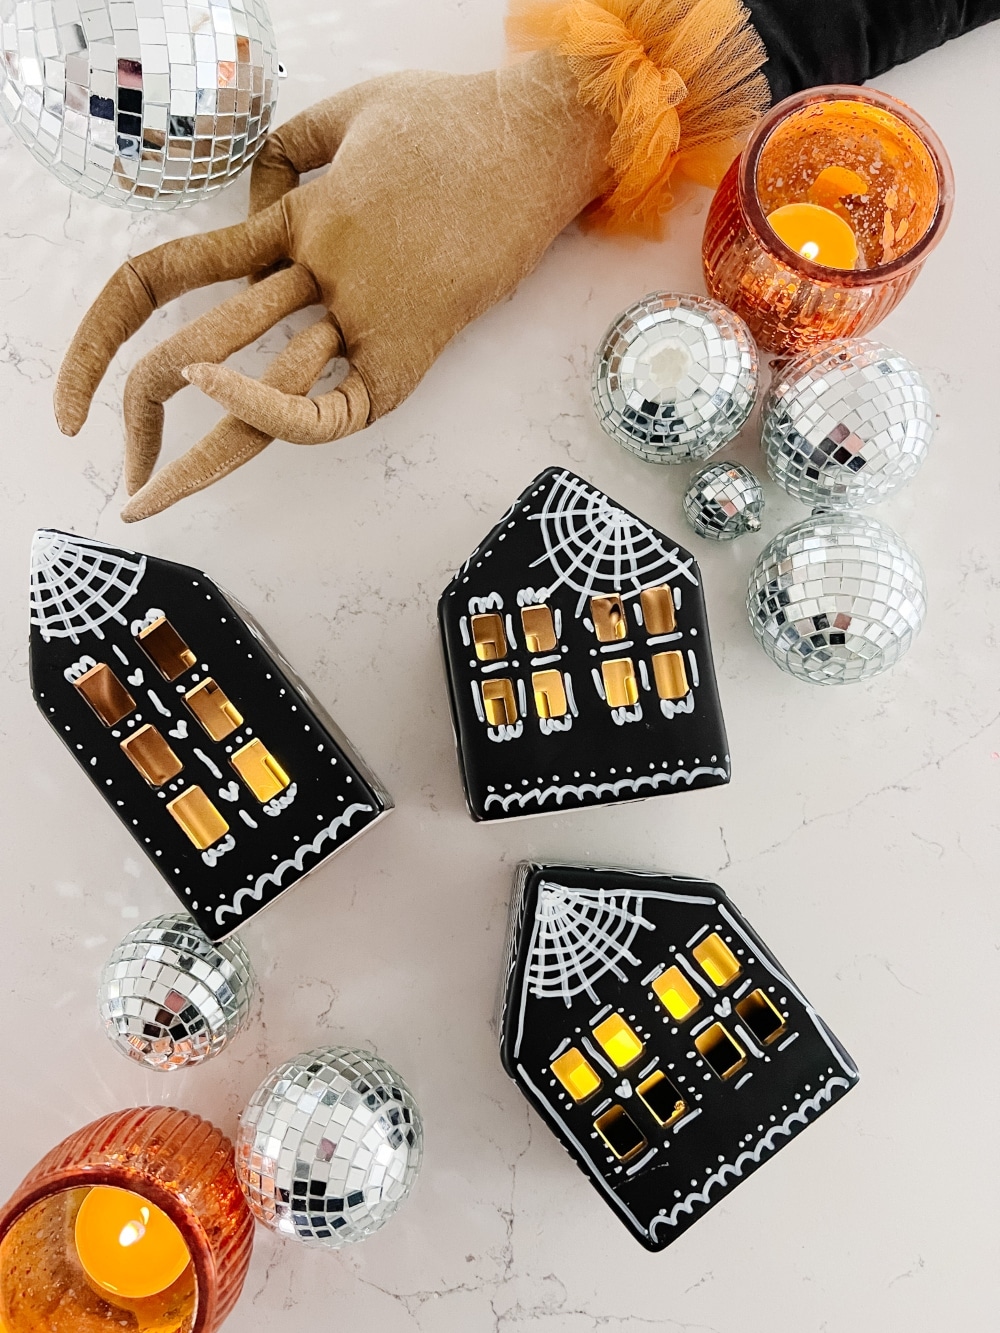
One of the best things about this project is how simple it is to put together! You don’t need a ton of fancy materials or complicated tools. Here’s what you’ll need to create your own spooky gingerbread village:
- Black spray paint (or pre-painted black houses)
- White paint pen (fine tip recommended)
- Black paint pen (if you want to add eyes to your ghosts)
- Small light-up houses (The ones I used are already painted black and are in the holiday area of Hobby Lobby) but you can also use white houses and spray paint them black. I included links to these as well.
- Timer lights to use with houses that don’t have lights inside of them. Just add one of these lights and set the timer so your houses will light up!
I love that these supplies are so accessible, and you might already have some of them on hand from other DIY projects.
Make It Spooky!
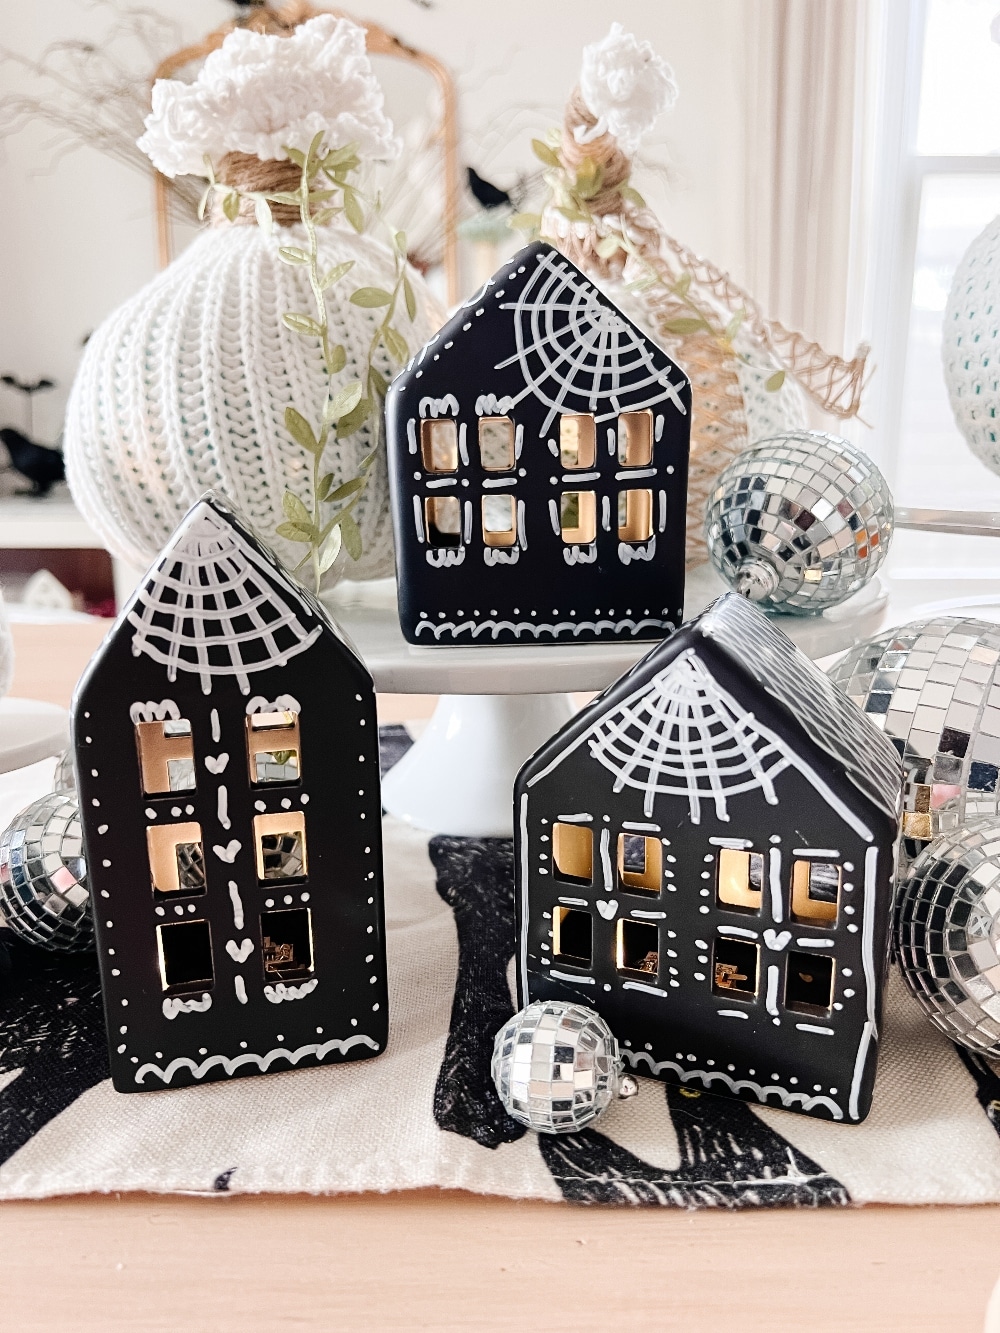
The first step in making your gingerbread village spooky is switching up the classic color palette. Instead of painting the houses brown, we’re going for a dark, eerie look by painting them black. If you’re lucky enough to find houses that are already black (like the ones I used from Hobby Lobby), you can skip this step! But if you’re starting with white or unpainted houses, simply give them a couple coats of black spray paint.
Next comes the fun part—adding spooky details! After your houses are painted and dried, grab your white paint pen and start outlining the gingerbread designs just like you would on a traditional gingerbread house. You can add rooftops, windows, and even faux frosting swirls. To make things extra spooky, think about including little elements like spider webs, tiny ghosts, or gravestones in your design. You can also attach small plastic spiders, skulls, or other eerie embellishments to your houses for added creepiness. Let your imagination run wild—this village is meant to be haunted!
Using a Paint Pen for Fine Details
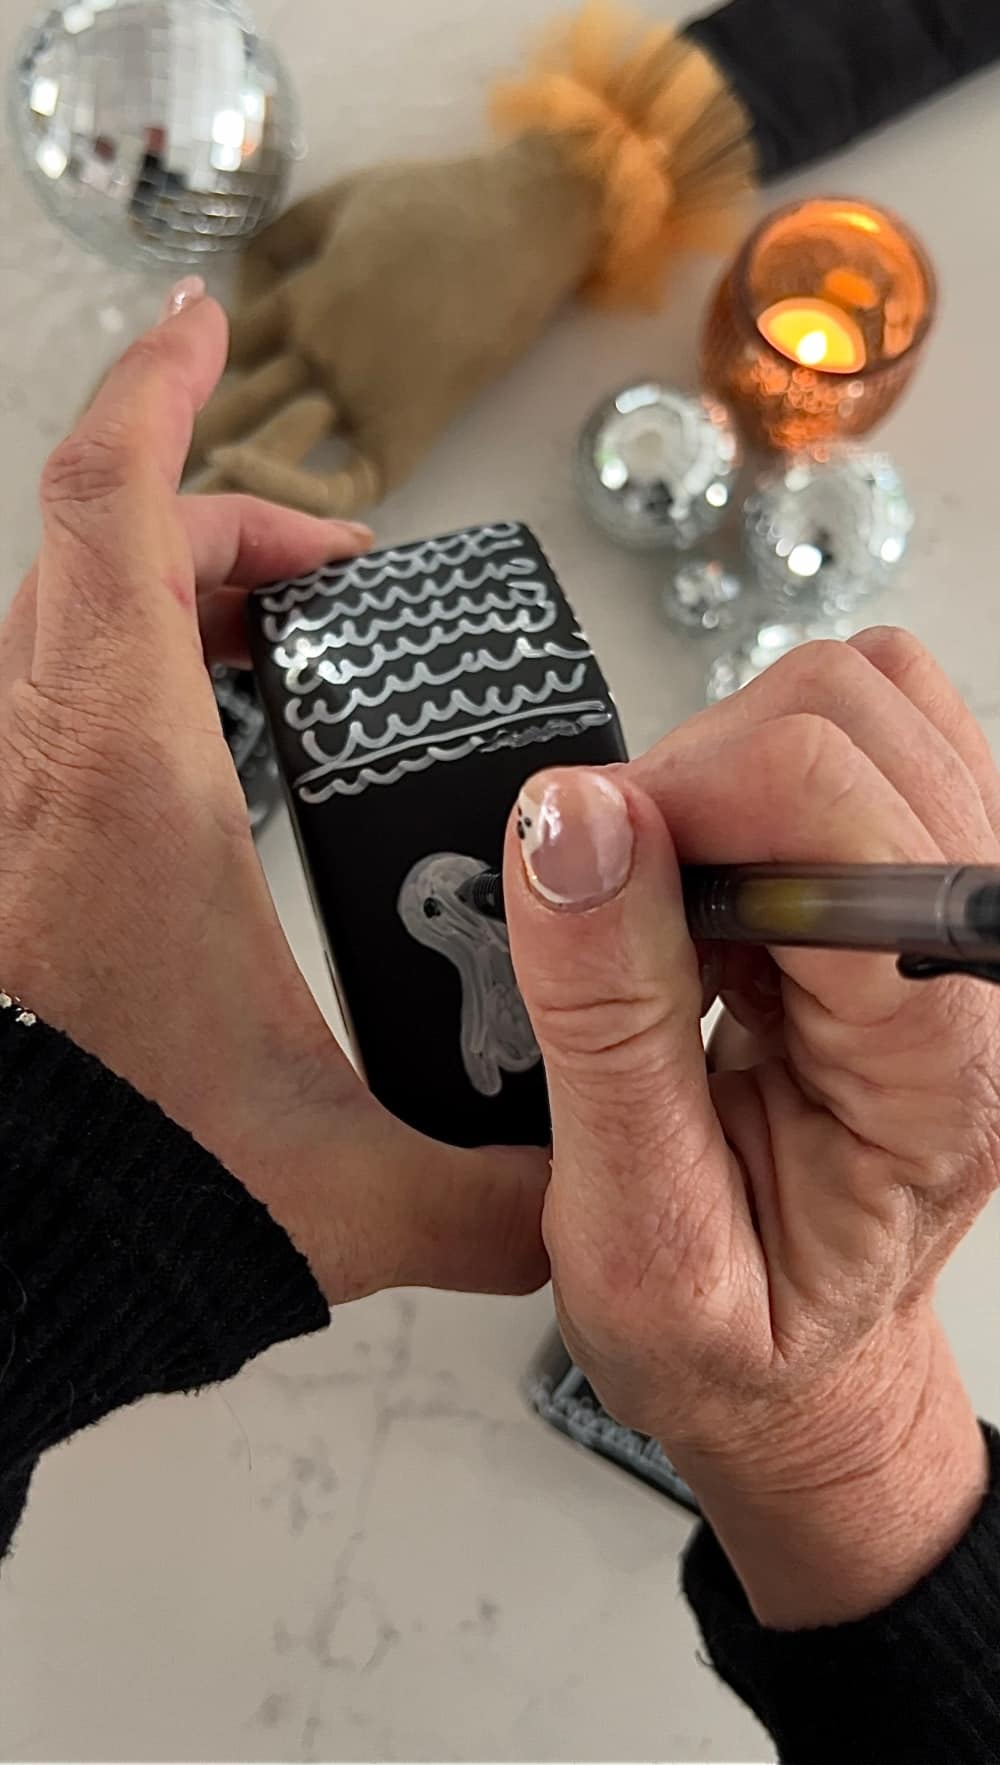
For creating detailed lines and intricate patterns on your gingerbread houses, I love using a paint pen. Paint pens are fantastic because they allow you to have a lot more control than a traditional paintbrush, especially when working with smaller surfaces like the tiny windows or intricate details of the houses. They come in a variety of widths, from fine to thick, so you can choose the one that works best for your project. For my spooky gingerbread village, I used a fine-tip paint pen to get those crisp, clean lines that make the white stand out against the black background. Aand don’t worry if your lines are not straight, imperfections show that this is handmade!
If you’re new to paint pens, they’re super easy to use! Just give them a shake, press the tip to get the paint flowing, and start outlining. Don’t worry if your lines aren’t perfect—it adds to the whimsical, homemade feel of the village.
How to Fix Mistakes
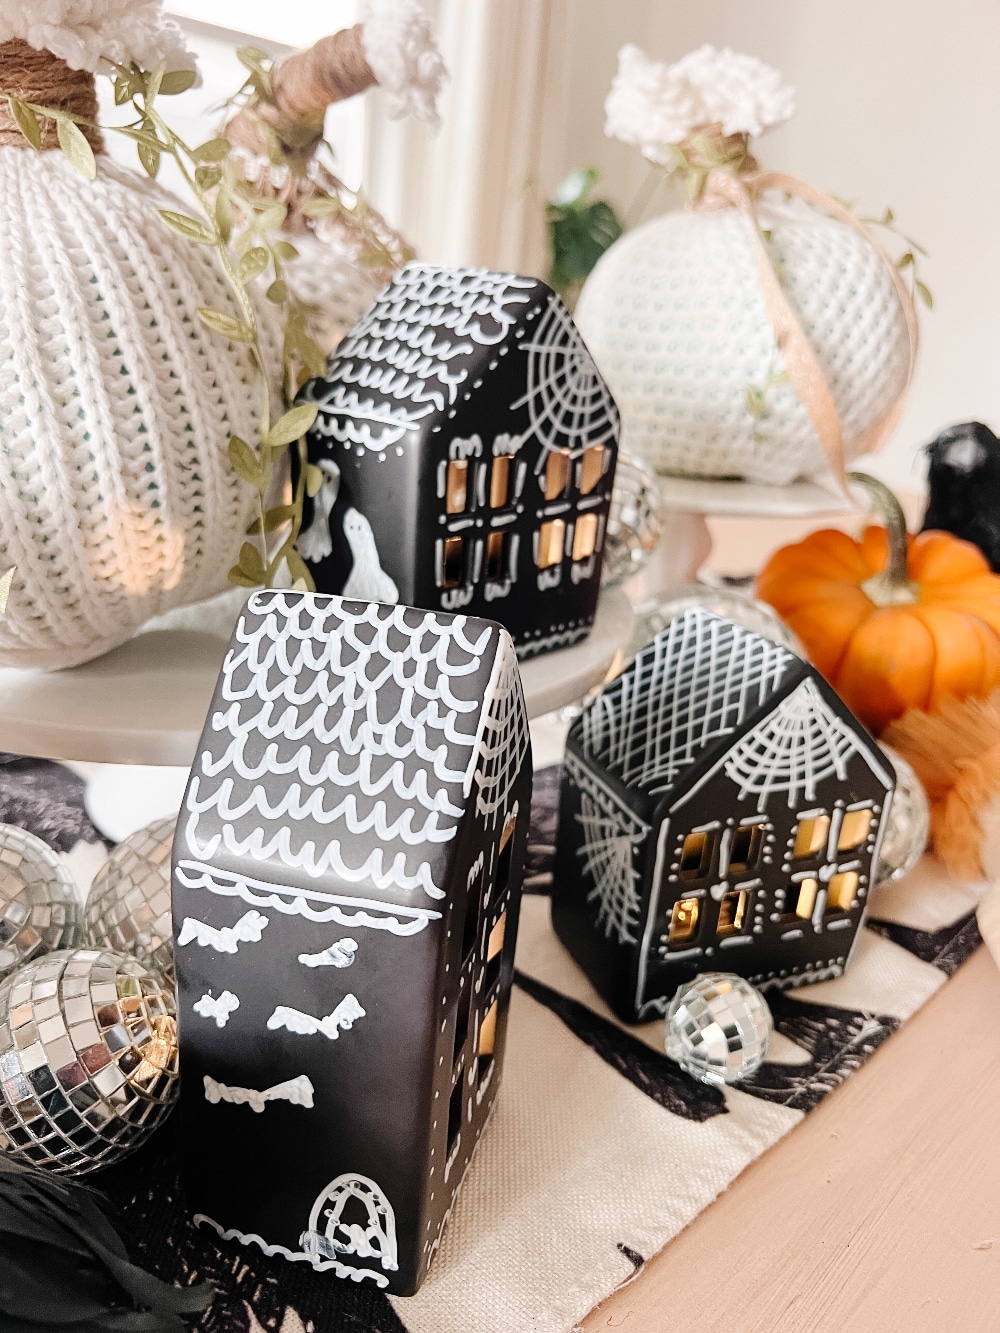
Mistakes happen! But don’t worry, if you mess up a line or accidentally smudge the paint, it’s easy to fix. While the paint is still fresh, grab a damp paper towel and gently wipe away the paint where you made the mistake. You can start over without much hassle. The great thing about this project is that imperfections can add to the spooky, hand-made charm. And since you’re working with a white paint pen over black paint, any slip-ups can be quickly corrected. Just make sure you’re patient and allow your design to dry before handling the houses again.
Built-in Lights with Timers!
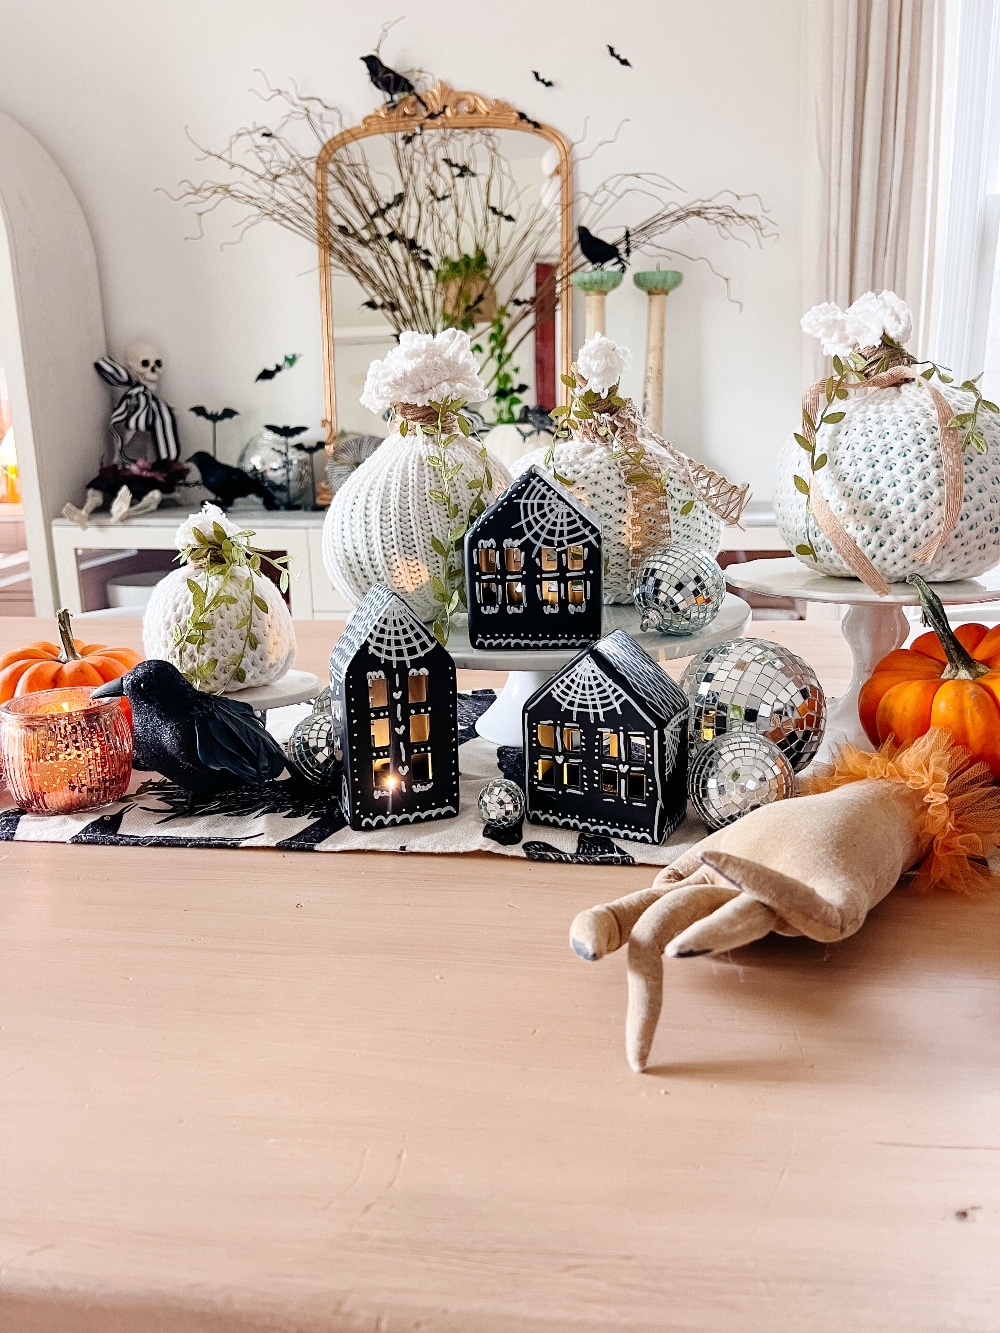
One of my favorite features of these black village houses is that they come with built-in lights! Even better, they have a built-in timer. You can turn them on using the “timer” setting, and the lights will stay on for six hours before automatically shutting off. Every night, your spooky gingerbread village will light up, casting an eerie glow that’s perfect for Halloween nights. You don’t even have to remember to turn them off—how easy is that?
If you’re buying similar houses that don’t come with built-in lights, you can still create a similar effect by placing battery-operated tea lights inside or even small string lights to illuminate the village. I’ve included these in the supplies as well.
Add Your Own Spooky Touches
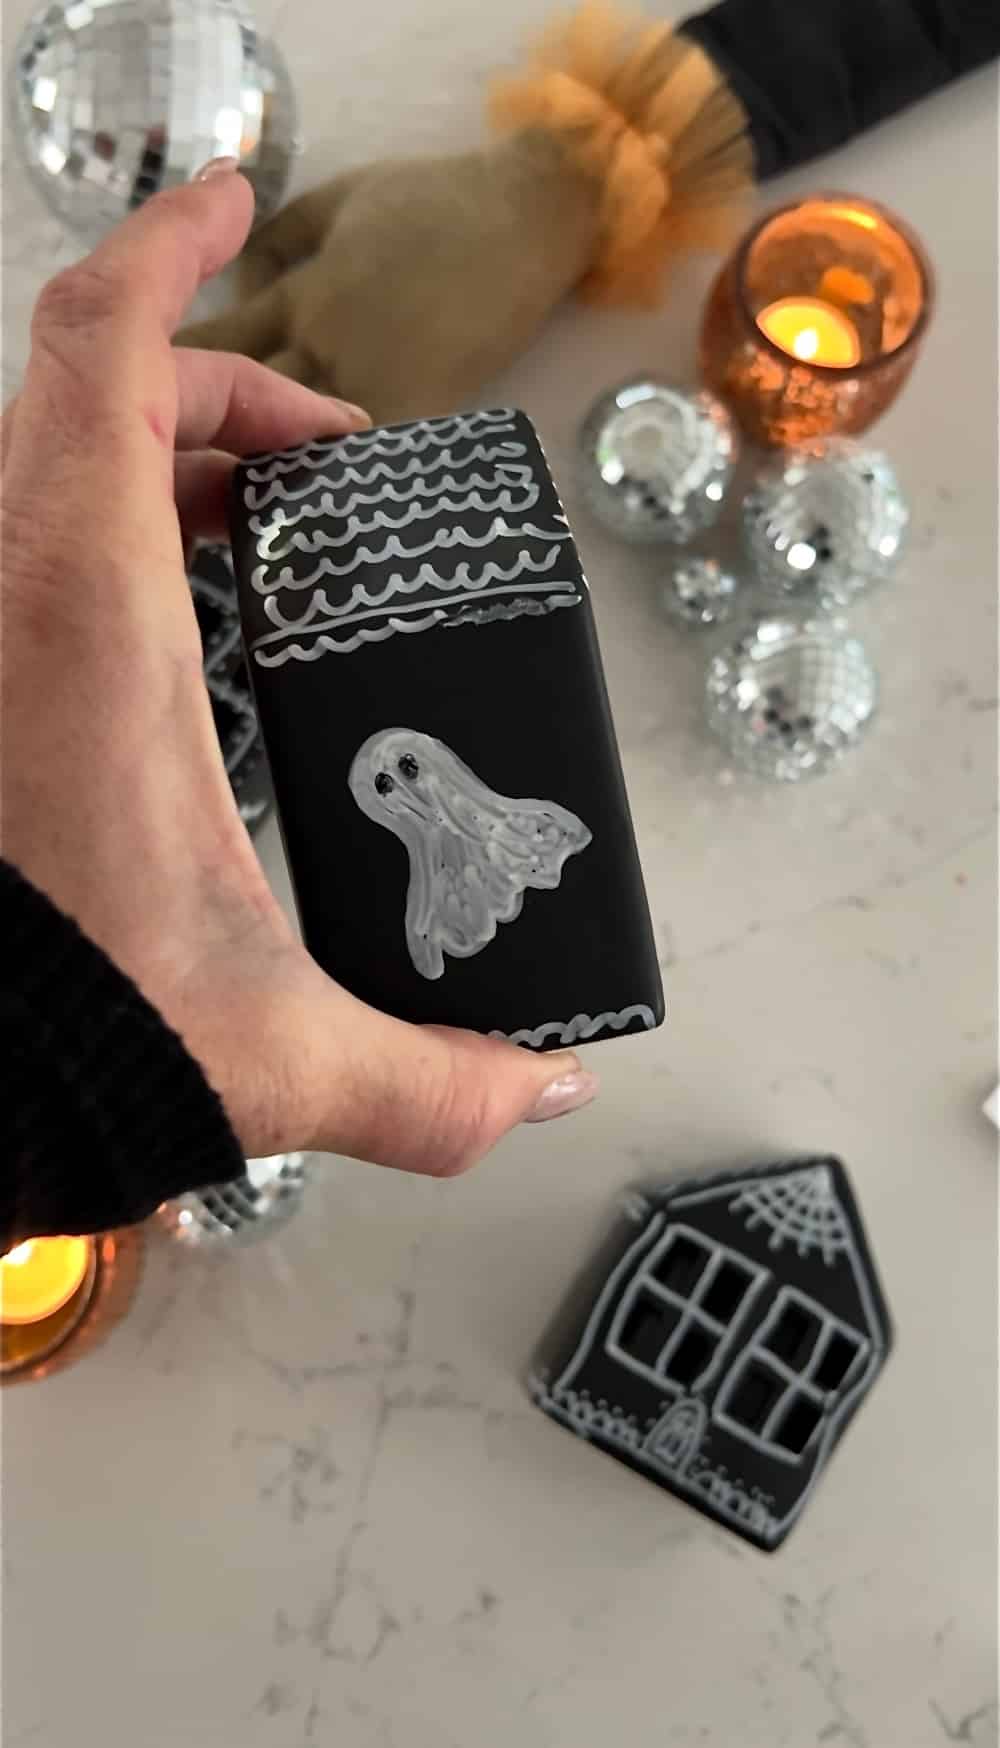
Once your gingerbread houses are all decorated, you can place them together to create a whole spooky village scene! To make your village even more Halloween-ready, consider adding some creepy accessories. You could place small fake cobwebs across the rooftops, tuck in tiny ghost figurines, or even add mini gravestones around the houses for that ultimate haunted look. Little plastic spiders or bats would also look fantastic hanging from the edges of the roofs or resting on the windowsills.
Feel free to personalize your village to match your style—whether you want something more whimsical or eerie, the choice is yours!
Final Thoughts
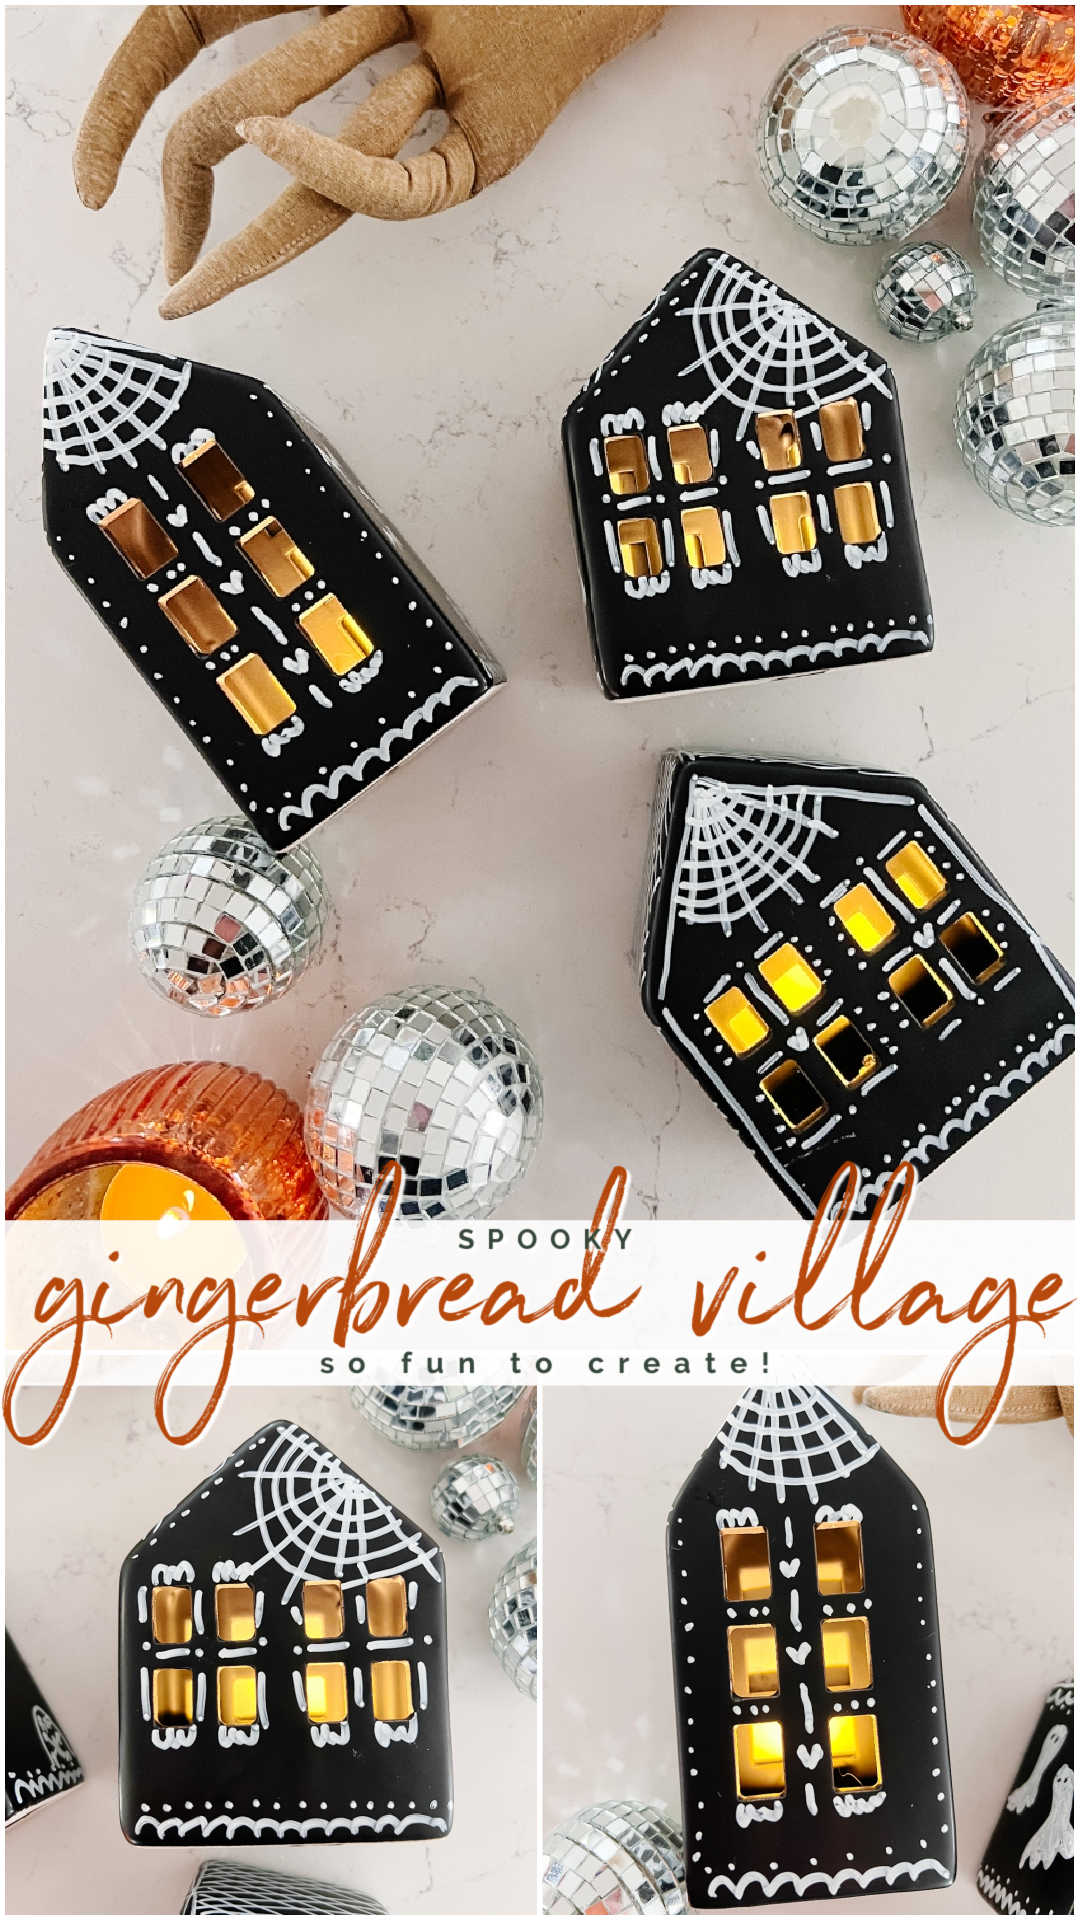
I hope this tutorial has inspired you to make your own DIY Spooky Gingerbread Village! This project is a wonderful way to bring some Halloween magic into your home, and it’s simple enough that anyone can do it. Whether you’re decorating your mantel, coffee table, or kitchen shelves, these little haunted houses will add a charmingly spooky touch to your space. Plus, it’s so fun to see them glow each night!
More DIY Gingerbread Village Tutorials
- Turn a Christmas White Village into a Gingerbread Village
- Transform galvanized houses into gingerbread houses.
- Gingerbread House centerpiece.
- DIY paper gingerbread house gift bags.
- DIY gingerbread house wreath.
- Salt Dough gingerbread men garland.
- DIY Gingerbread Cookie Ornaments
- 7 Gingerbread projects to make for the holidays!
Don’t forget to share your creations—tag me on Instagram at @tatertotsandjello. I’d love to see how you bring your spooky gingerbread villages to life! Happy Halloween crafting!
Have a Creative Day!
xoxo

