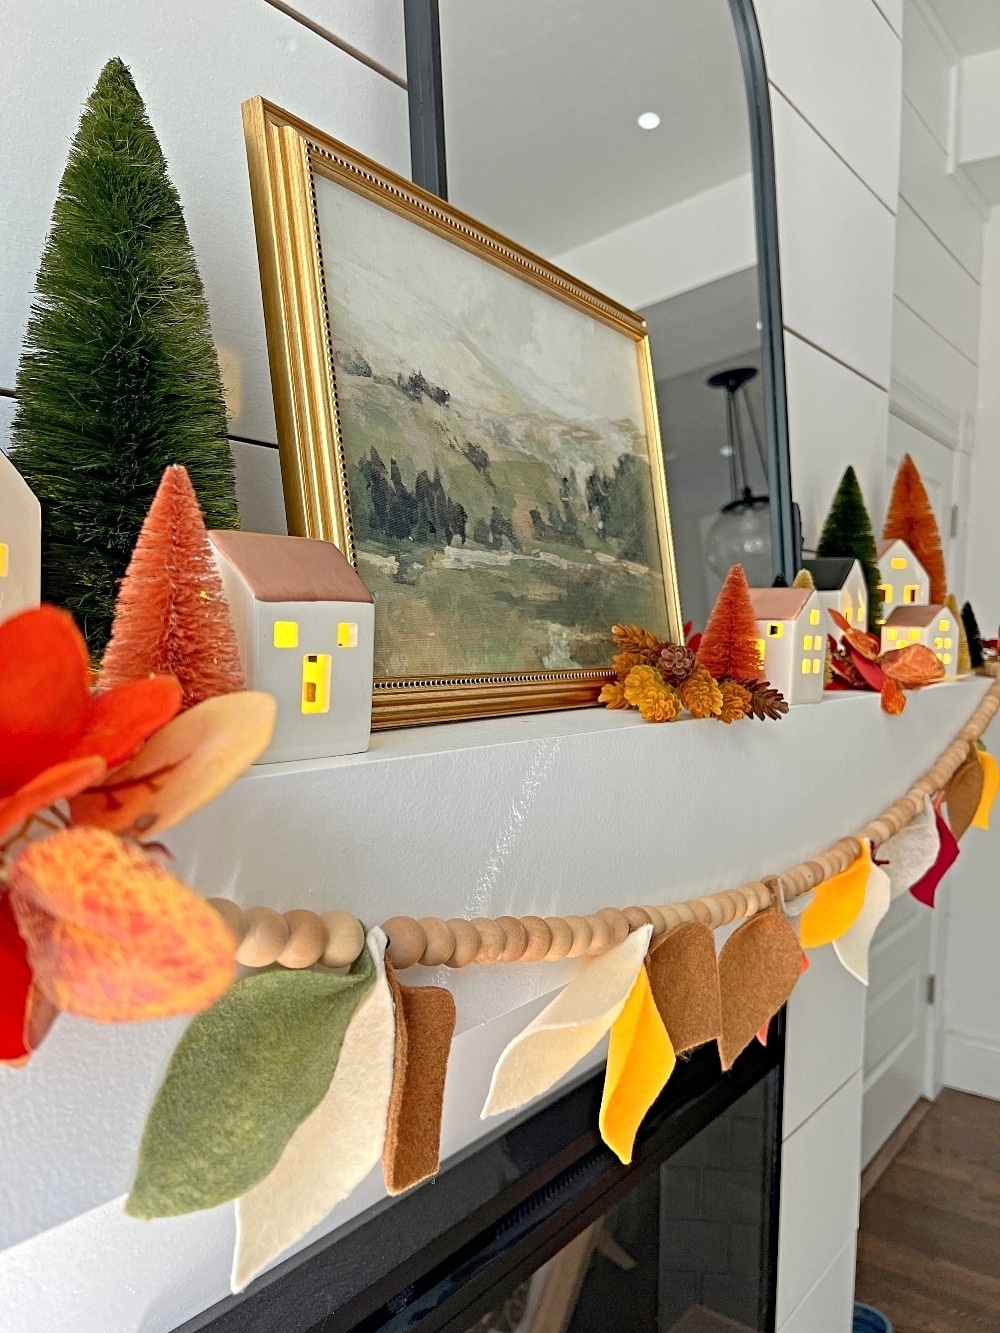
DIY Fall Felt Leaves Beaded Garland. Bring the beautiful colors of fall into your home with this felt leaf garland!
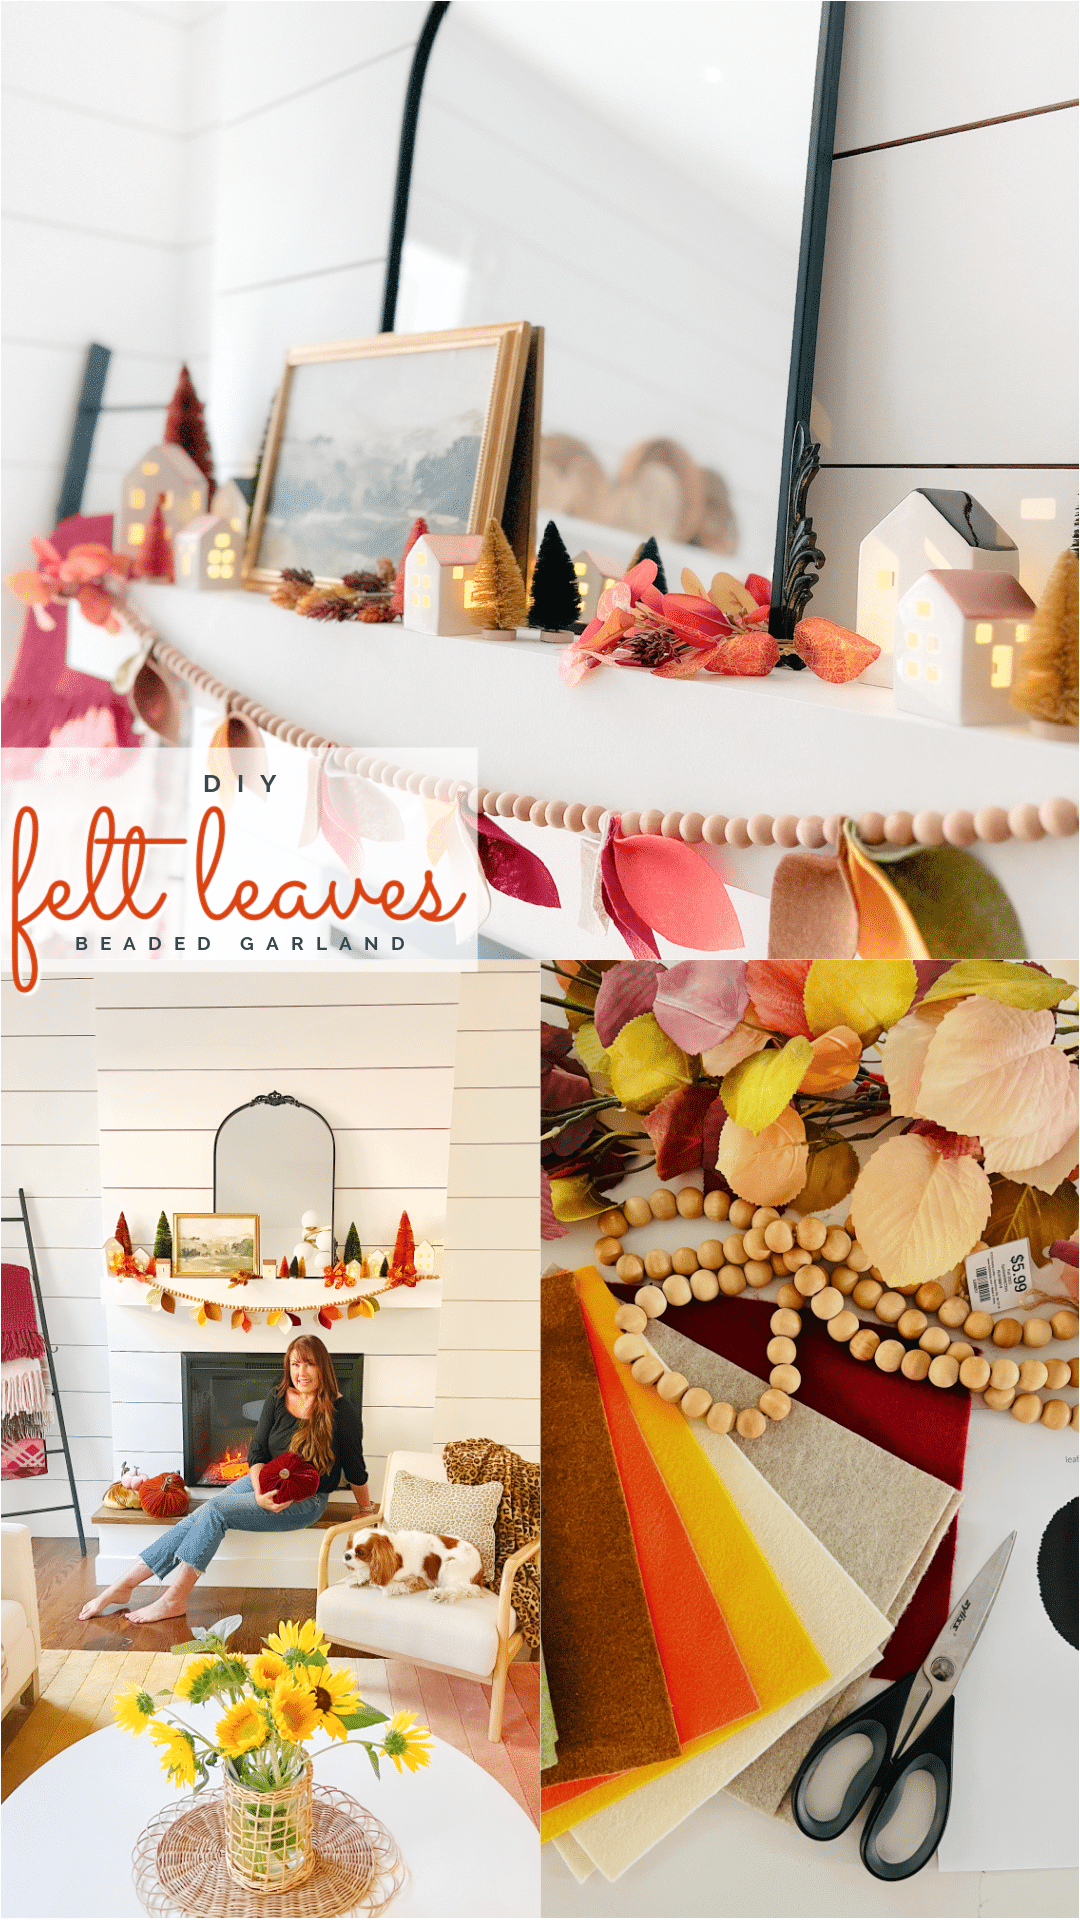
Fall, with its vibrant tapestry of colors and crisp, cool air, is undoubtedly one of the most beautiful seasons of the year. As leaves cascade from trees in hues of red, orange, and yellow, there’s a sense of wonder that fills the atmosphere. Capturing this natural beauty and bringing it indoors is a delightful way to celebrate the season. In this tutorial, we’ll show you how to create your very own felt leaf beaded garland—a charming craft project that allows you to customize the colors to match your fall decor.
Supplies You’ll Need:
- Wood beads (how many depends on the length you want your garland to be.)
- Twine or string
- Felt sheets in various fall colors (red, orange, yellow, and brown)
- Hot glue gun and glue sticks
- Leaf template (download our free template)
- Scissors
- Optional: Regular glue for a kid-friendly version
Step 1: Gather Your Materials
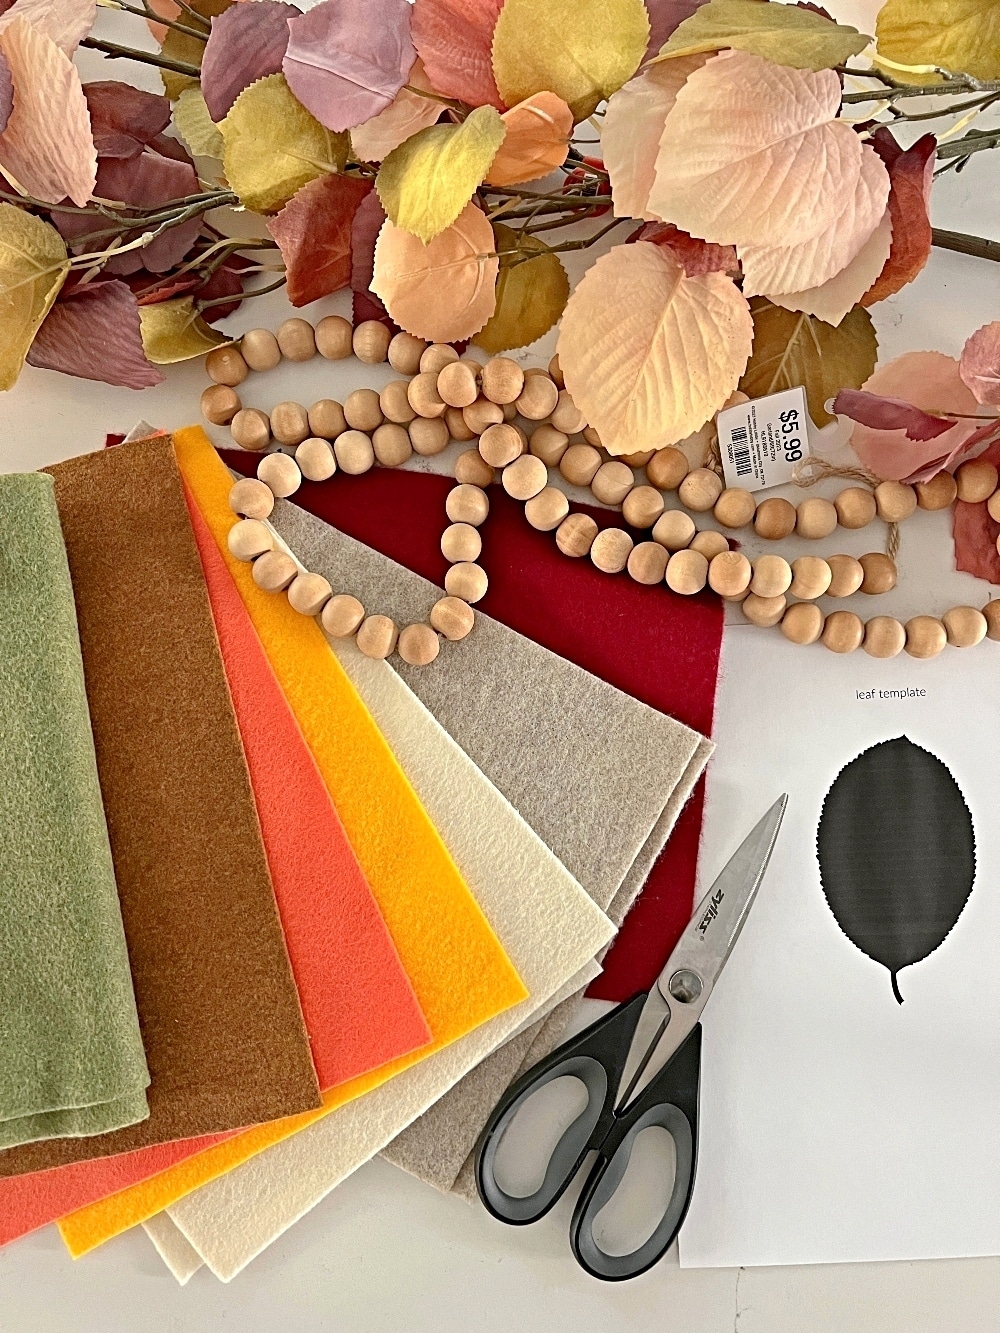
Before diving into the crafting process, gather all the necessary materials and set them up in a clean, well-lit workspace. Make sure your felt sheets are large enough for the leaves you plan to create and that you have a variety of beads to choose from.
Step 2: Download and Cut the Leaf Template
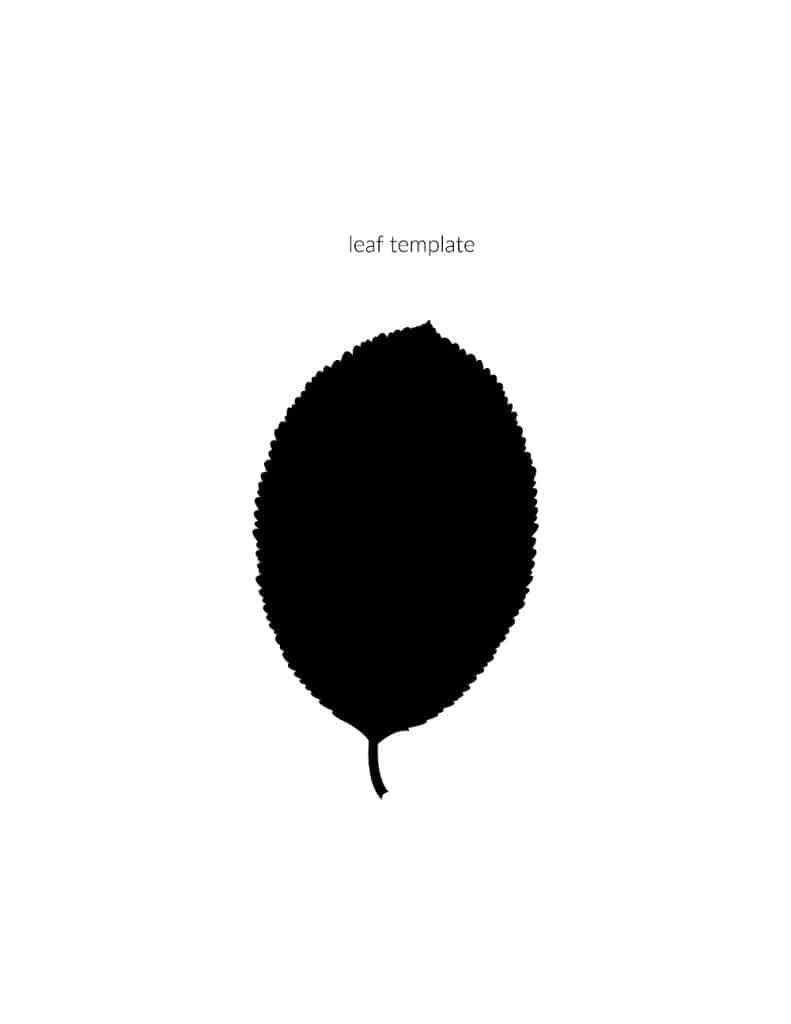
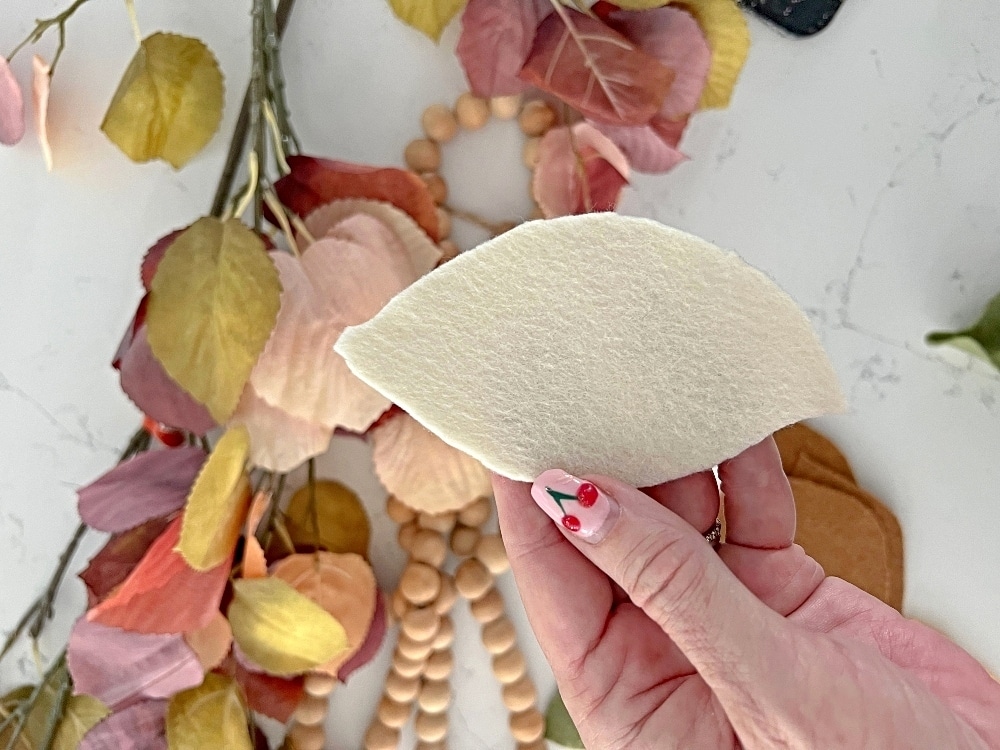
We’ve created a free leaf template to make this project even easier for you. Download and print the template. Then, carefully cut out the leaf shapes. These templates will serve as a guide for creating your felt leaves.
Step 3: Trace and Cut Your Felt Leaves
Place the leaf template onto your chosen felt sheets and trace around it with a pen or chalk. Repeat this step for as many leaves as you’d like to include in your garland. Once traced, carefully cut out the felt leaves along the marked lines.
Step 4: Add Beads for a Touch of Elegance
Now, it’s time to add the beaded accents to your felt leaves. Heat up your hot glue gun and prepare to attach beads to each leaf. Place a small dot of hot glue on the backside of a leaf and press a bead onto it. Continue this process, arranging beads in various patterns or styles on each leaf. Experiment with different bead sizes and colors to achieve the desired look.
Step 5: Create the Beaded Garland
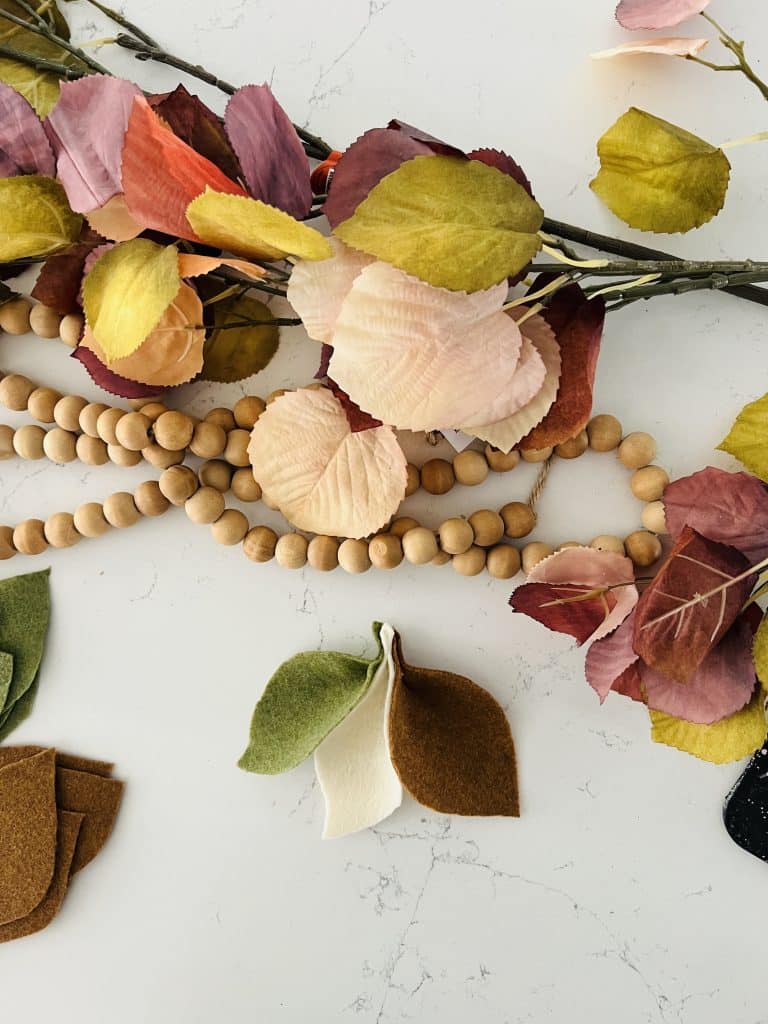
To assemble your garland, cut a length of twine or string to your desired length, leaving a little extra for hanging. Using your hot glue gun, attach each felt leaf to the twine. Be sure to space the leaves evenly along the twine. This process not only secures the leaves but also allows you to adjust their positioning to your liking.
Step 6: Decorating Your Space
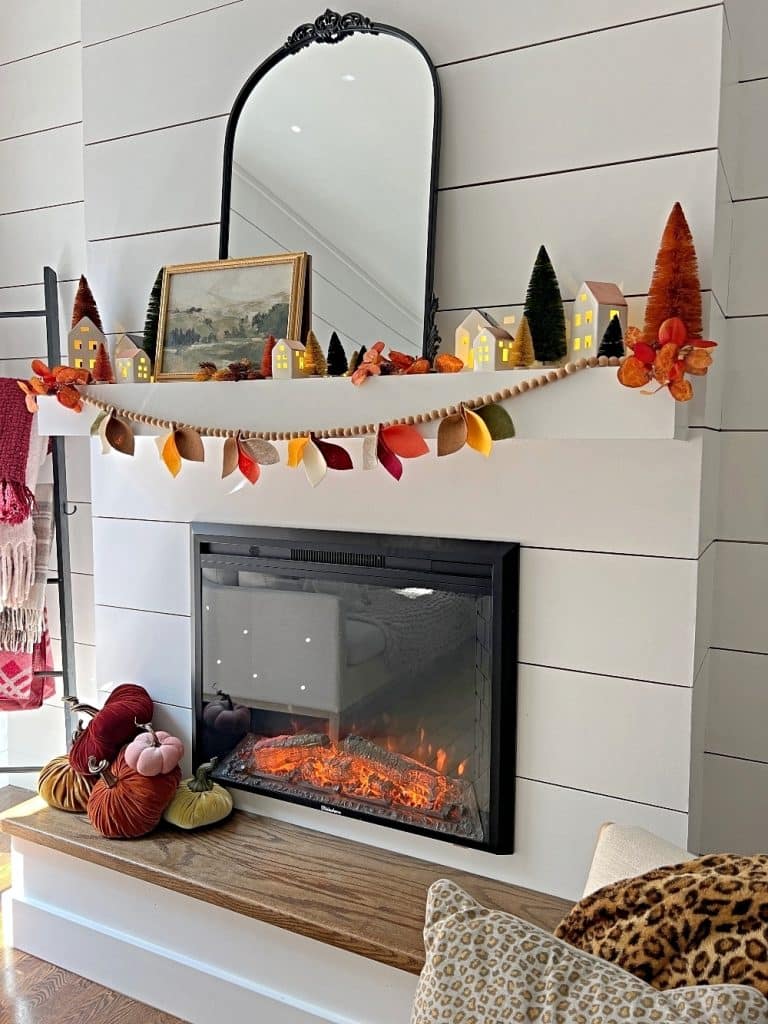
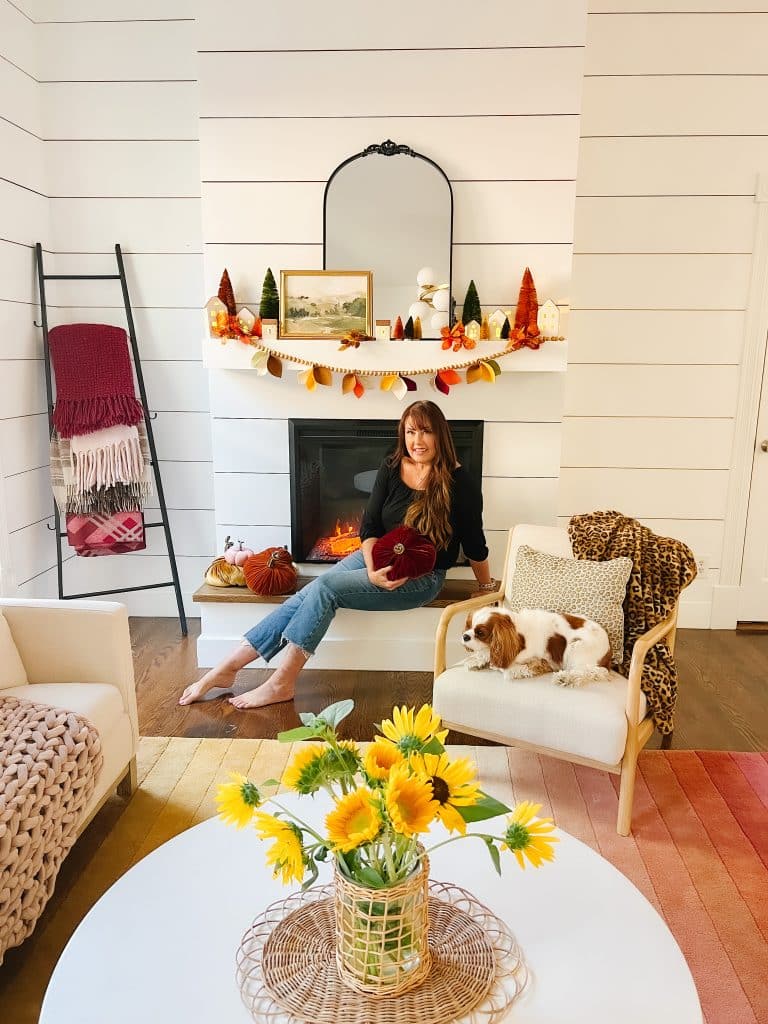
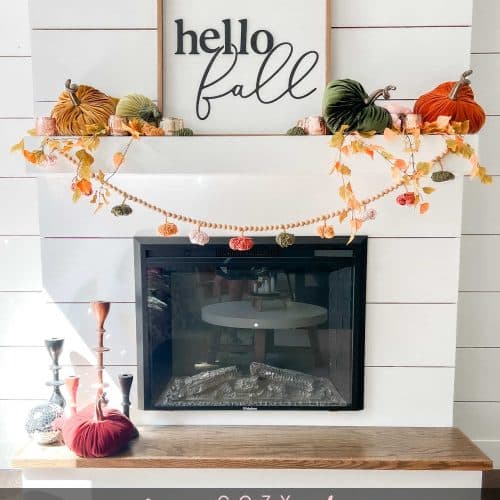
Now that your felt leaf beaded garland is complete, it’s time to find the perfect spot to display it. I chose to adorn my mantel with this charming garland, but you can let your creativity run wild. Hang it over a doorway, drape it on a shelf, or use it as a table centerpiece—the possibilities are endless. This garland will infuse your space with the warm, inviting colors of fall.
Crafting with Kids

Halloween Cookies
If you’re looking for a fun and family-friendly craft, this project is perfect for children, too. Just remember to supervise the use of the hot glue gun or opt for regular glue and allow the garland to dry thoroughly. Crafting together is a wonderful way to create lasting memories and share the joy of fall’s beauty with your loved ones.
In conclusion, the beauty of fall is a sight to behold, and with this DIY felt leaf beaded garland, you can bring those gorgeous colors indoors and infuse your space with the essence of autumn. Customizable and easy to create, this craft project allows you to celebrate the season in your own unique way. So, gather your supplies, download our free leaf template, and embark on this creative journey to capture the enchanting spirit of fall. Happy crafting!
More Fall Decor Ideas!
BLOGGER’S BEST FALL DECOR IDEAS
\
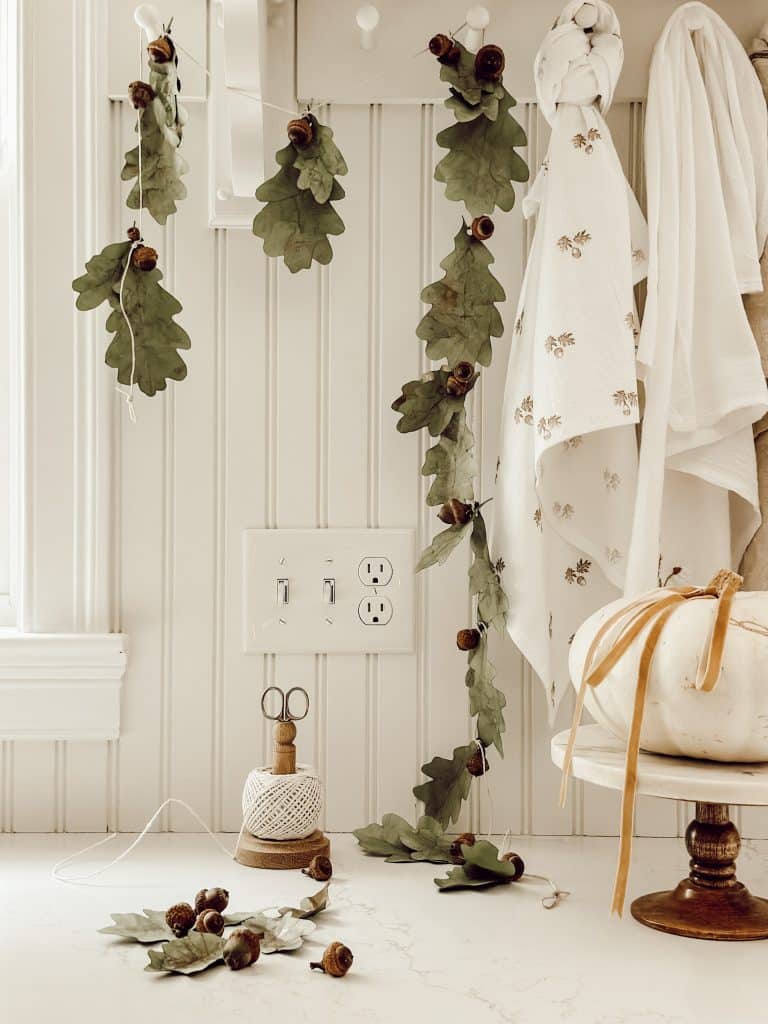
DIY Fall Garland: A Fun and Easy Craft With Acorns | Eleanor Rose Home
Create the perfect blend of rustic elegance in your autumn home decor with this step by step tutorial on how to make a DIY fall garland using collected acorns, natural twine, and green cardstock. It’s easy to make and the perfect way to embrace the beauty of the season!
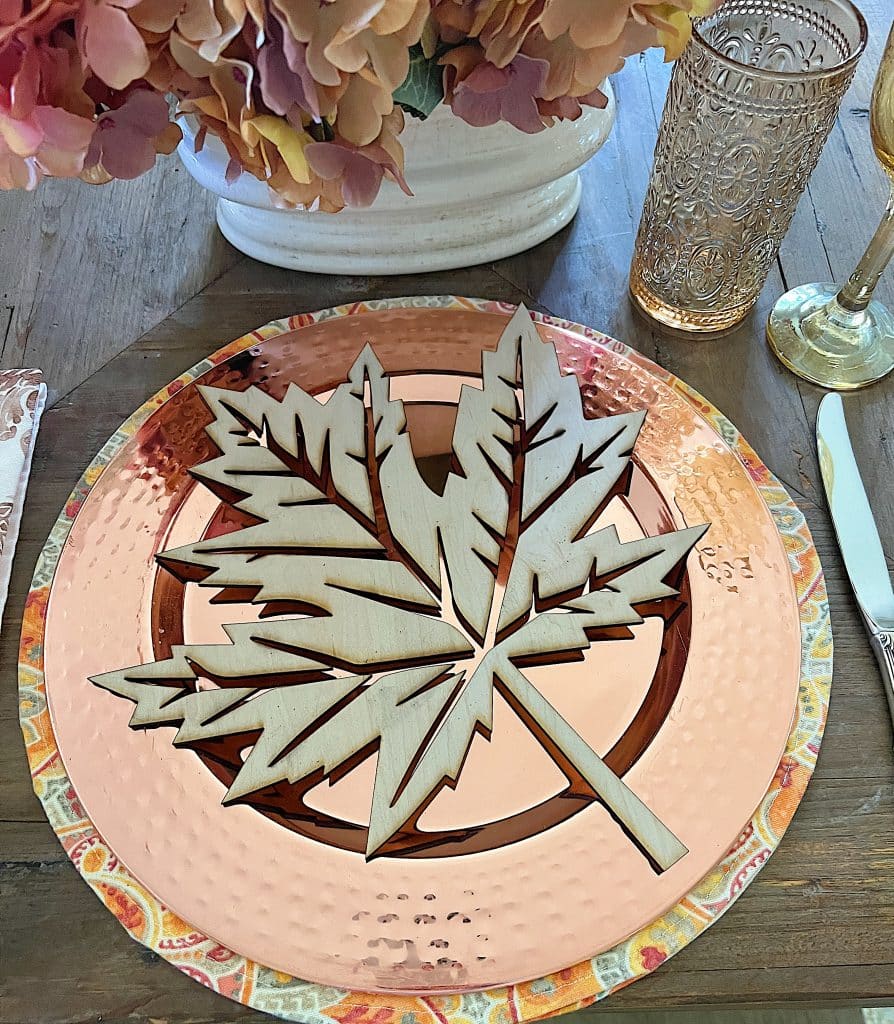
DIY Fall Leaf Plate Chargers | My 100 Year Old Home
Fall is a beautiful time of year, and I made some wood leaf plate chargers for my fall table with my new xTool M1 laser cutting machine.These chargers are easy to cut from wood and they’re a great way to add a touch of fall to your tablescape.
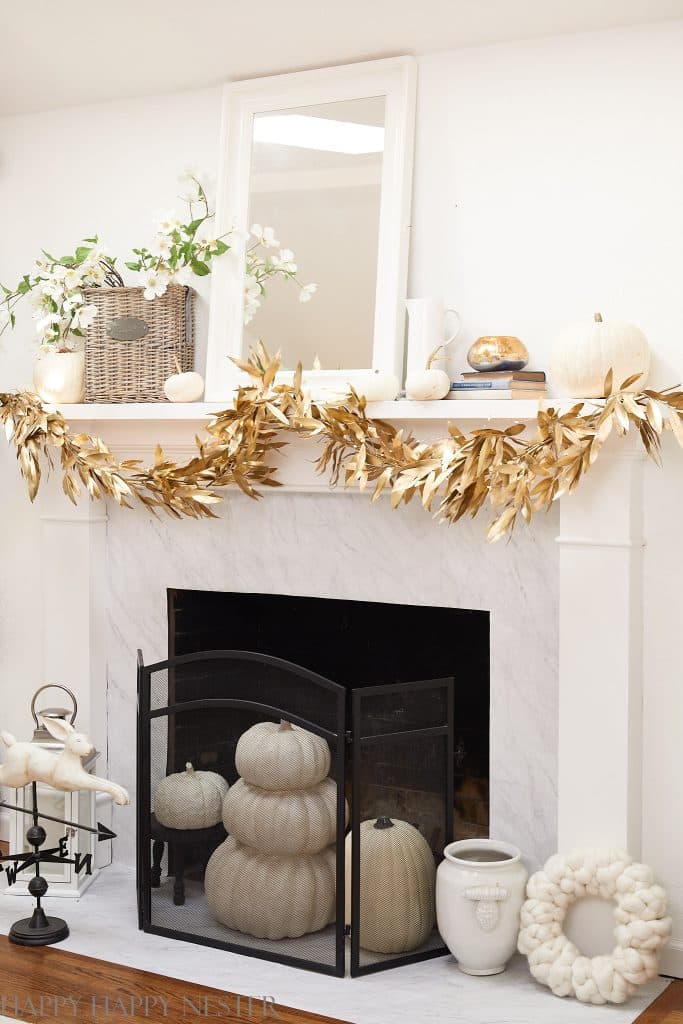
DIY Fall Garland (Gold Bay Leaf) | Happy Happy Nester
Create your own budget-friendly DIY Fall Garland with this simple project. You can easily whip up this fall gold leaf garland right at home using real bay leaf branches jazzed up with a touch of gold spray paint.
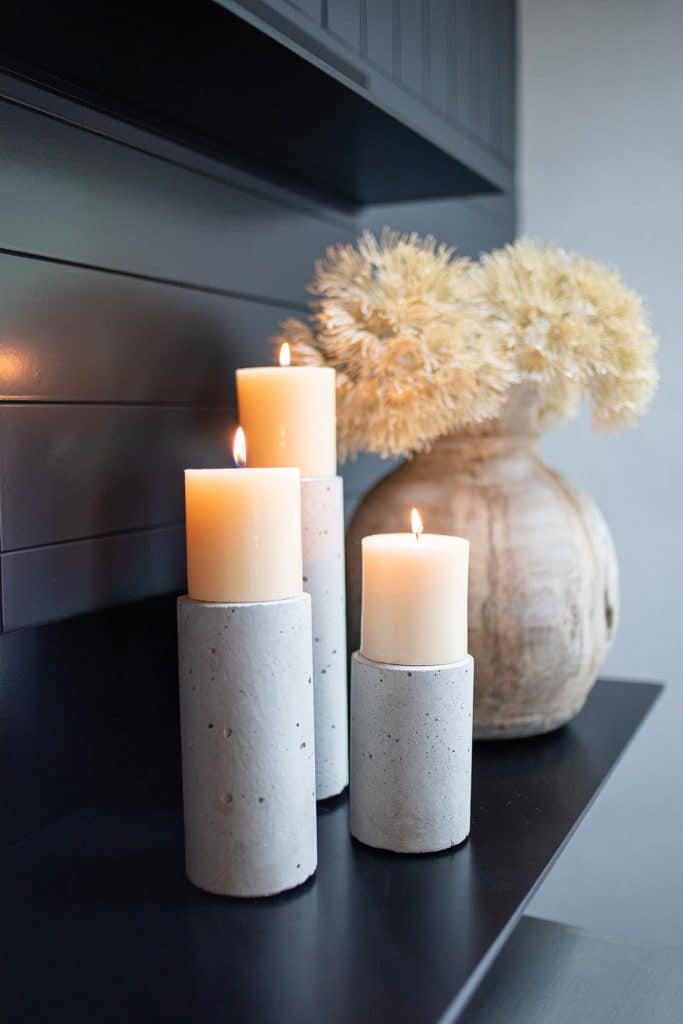
DIY Easy Concrete Candle Holders | My Sweet Savannah
You’d never believe what I used to make these DIY concrete candle holders. No messy concrete mix, and the form is that just might suprise you! One of the easiest DIY projects I have ever made.
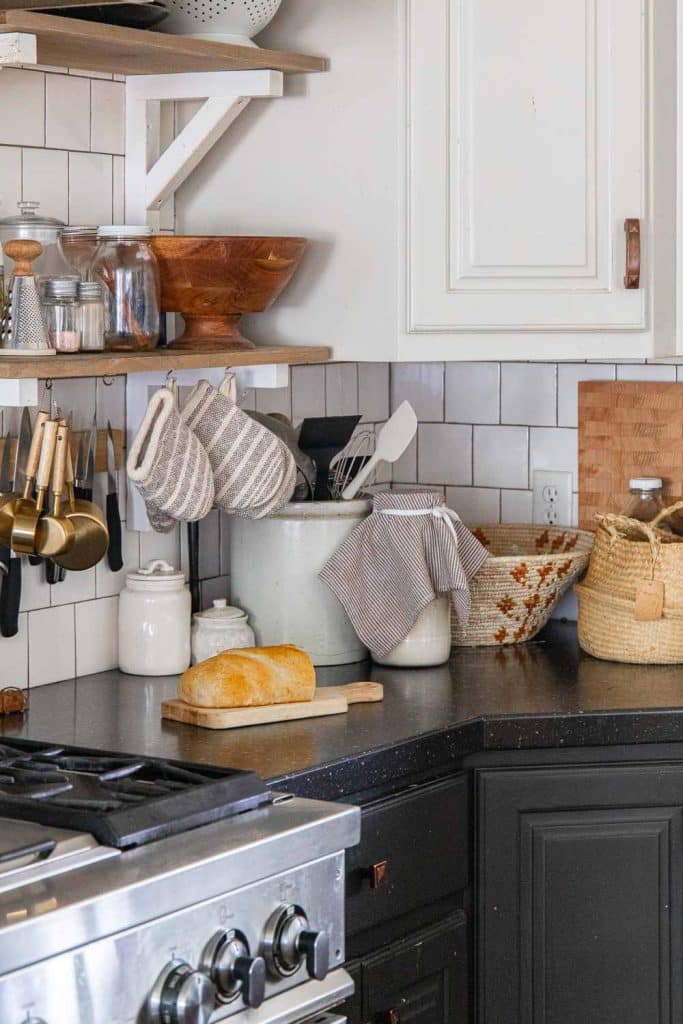
Simple Fall Decor Ideas for the Kitchen and Dining Room | Twelve on Main
Find simple ways to add fall touches to your kitchen and dining spaces without overwhelm. It is easy to add simple fall decor to these spaces and create a cozy fall look.
What are you working on for fall at YOUR house?
xoxo




The Viksit Bharat Rojgar Yojana focuses on generating meaningful employment and ensuring equal opportunities for all. It helps industries grow while empowering job seekers with stable careers. This scheme strengthens India’s workforce, reduces unemployment challenges, and aligns perfectly with the government’s vision of building a developed and globally competitive nation.
Lovely clicks, Jen. I love the beaded garland … it’s a nice way to get creative, make something to adorn our homes or just part of relaxing after a hectic day.
this is too cute!
Thanks Melaine! It’s so easy!!
xoxo
This garland is the cutest Jen! I love the fall colors and it looks so beautiful hanging on your mantle!
Thanks Heidi! I love this time of year 🙂
xoxo