Good Beautiful Afternoon Tatertots and Jello Fans.
I hope your holiday season is fill with JOY and HAPPINESS! It is amazing how time flies, already November 30?! Did you know that I LOVE to decorate with photos? It personalizes your home decor and the possibilities are truly endless.
I’m Stacie from The Three Sweet Peas and today I am sharing a tutorial that will include a creative use for simple snapshot photos.
First things first, select the photo you are going to print. I used the one above.
Cut out two sheets of tissue paper a little bit larger than your 8.5 x 11 computer paper. I taped the tissue paper to the computer paper. I used a light tan, not white. I am going for the aged look.
This is the picture printed out on tissue paper. You will only use the printed layer. Untape carefully from the computer paper it is very fragile.
Next, comes the piecing part of the process. I am placing this picture on the letter “H”. Obviously I can’t run it straight across. I cut it and made it fit.
I started with the two largest pieces. I put down a VERY thin layer of Mod Podge. You need to place your piece of tissue paper exactly where you want it. It is so thin and delicate it will tear if you try to adjust it.
I used the rest of the photo and filled in the empty areas. I wrapped the sides of the picture around the edge of the H and then cut the excess off.
This process is designed to look aged. I took an ink pad and aged and distressed even more.
Then, I slopped on the mod Podge. I have to SAY I LOVE IT!
I pounded one hole in each letter and threaded string through it. Display anywhere in your home.
Mine are getting displayed on this amazing ladder.
I hope each one of you have a Merry Christmas and find a creative use for your photos!
Thanks Jen !
I “HOPE” you enjoy!!
XOXO
Stacie
www.thethreesweetpeas.blogspot.com
Thanks Stacie!!
What a wonderful project.
I am so happy to have Stacie as a monthly blog contributor. Plus she also helps we with the Weekend Wrap Up Posts AND she’s a great friend in real life!!
If you don’t know Stacie’s blog — be sure to check it out. She is full of fabulous ideas!!
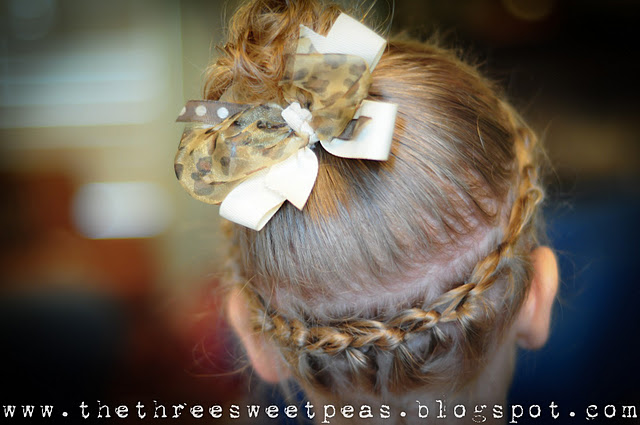 If you have girls — you need to follow along with Messy Hair Mondays — these amazing hair ideas are awesome!
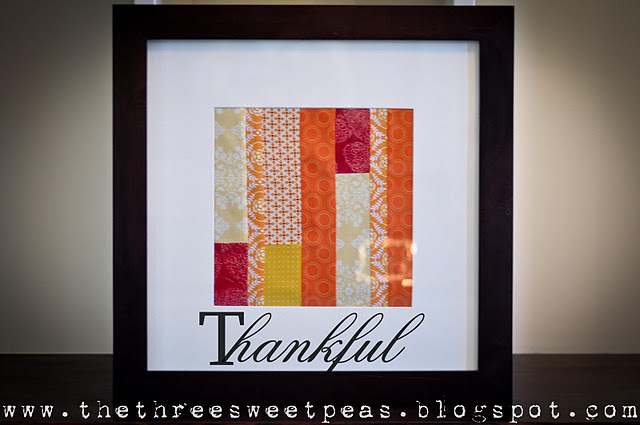 I love this Thankful Quilt Square that Stacie made — beautiful idea!
And so much more — be sure to visit Stacie over at The Three Sweet Peas!!
xoxo
PS –Be sure to enter to win the FUN Giveaway Day giveaways this week — great holiday gift ideas:
- $50 to Linkel Designs Jewelry — beautiful unique jewelry!!
- $57 Libby Lane Party Press Pack — Party Pack — including 2 punches!!
- $50 to Amy Cornwell — Handcrafted beautiful jewelry!!
- One month of craft supplies from Mindy Mae’s Market!!
- $40 to The Hicks Girls — Headwear and Home Decor!!
- $50 of Custom Silhouette Ornaments from A Lovely Place to Land!!
- Win a $100 Black & Decker Steam Mop — one of my favorite things!!
- $50 t0 La Posh Style — my new favorite online clothing store!!
- $40 to Tickle Bellies – Personalized Gift Ideas!!
This post sponsored by Oh My Crafts:







This is great site.However how do you get the picture on the tissue paper?
love this!! I decorate a LOT with pictures of my family on my walls and shelves along with other accessories of course. But by far its family pictures! I am always looking for a new and unique way to display them so I cant wait to try this one! Thanks!!
Cute idea!!!
jamie @ sewrockin
Really cute idea! I’ve never seen photos on letters like that – I like it!!
Love this idea!!! You could use any word to make gifts, or to decorate in different areas.
What a cool idea. I may have to try that one day soon. Thanks for sharing
That is such an adorable idea!
I really like this idea. I’ve been trying to think of a gift for my MIL and this might be it.
I think this is a wonderful project and something to treasure for many years to come. I seem to be all thumbs once I get out the Mod Podge, so I doubt mine would look nearly so perfect! I really enjoyed your post!
AWESOME idea! This would be a great gift for our grandparents or just cool art in my sons’ room.
Such a cute project!!
Brilliant! Must get to work …
And I almost love the floor in the background of the pics just as much … mind sharing what it is exactly?
such a cute DIY craft!
Wow! This is awesome! I love it!!! Definitely putting it on my list of do-able homemade gifts. I think you could easily alter the concept to be the last “initial” of a family and give it as a gift — or first initial of a younger gift recipient! 🙂
Thanks for sharing! Would you mind if I shared this next week, if I end up following through on that idea? I’d be linking back to you for the initial idea 🙂
-Carly @ Createlive
Oh wow this is such a GREAT idea! Thanks for sharing 🙂
Hey, There you are… 🙂 isn’t this just ADORABLE!!!! I LOVE IT and I love how you displayed it as well… HHMM!!! I am thinking I need a Ladder.. 🙂
If I had such a cute family, I’d decorate with their photos too! What a darling idea.
AMAZING! I absolutely HAVE to try this!
What a wonderful idea… And gift idea! I may whip one up for my mother for Christmas!
WOW! Such a great idea! I love it!