This is a sponsored post written by me on behalf of Hobby Lobby. All opinions are 100% mine.
Year-Round Interchangeable Wreath. Create a wreath you can leave up all year by switching out seasonal wood decorations!
Year-Round Interchangeable Wreath
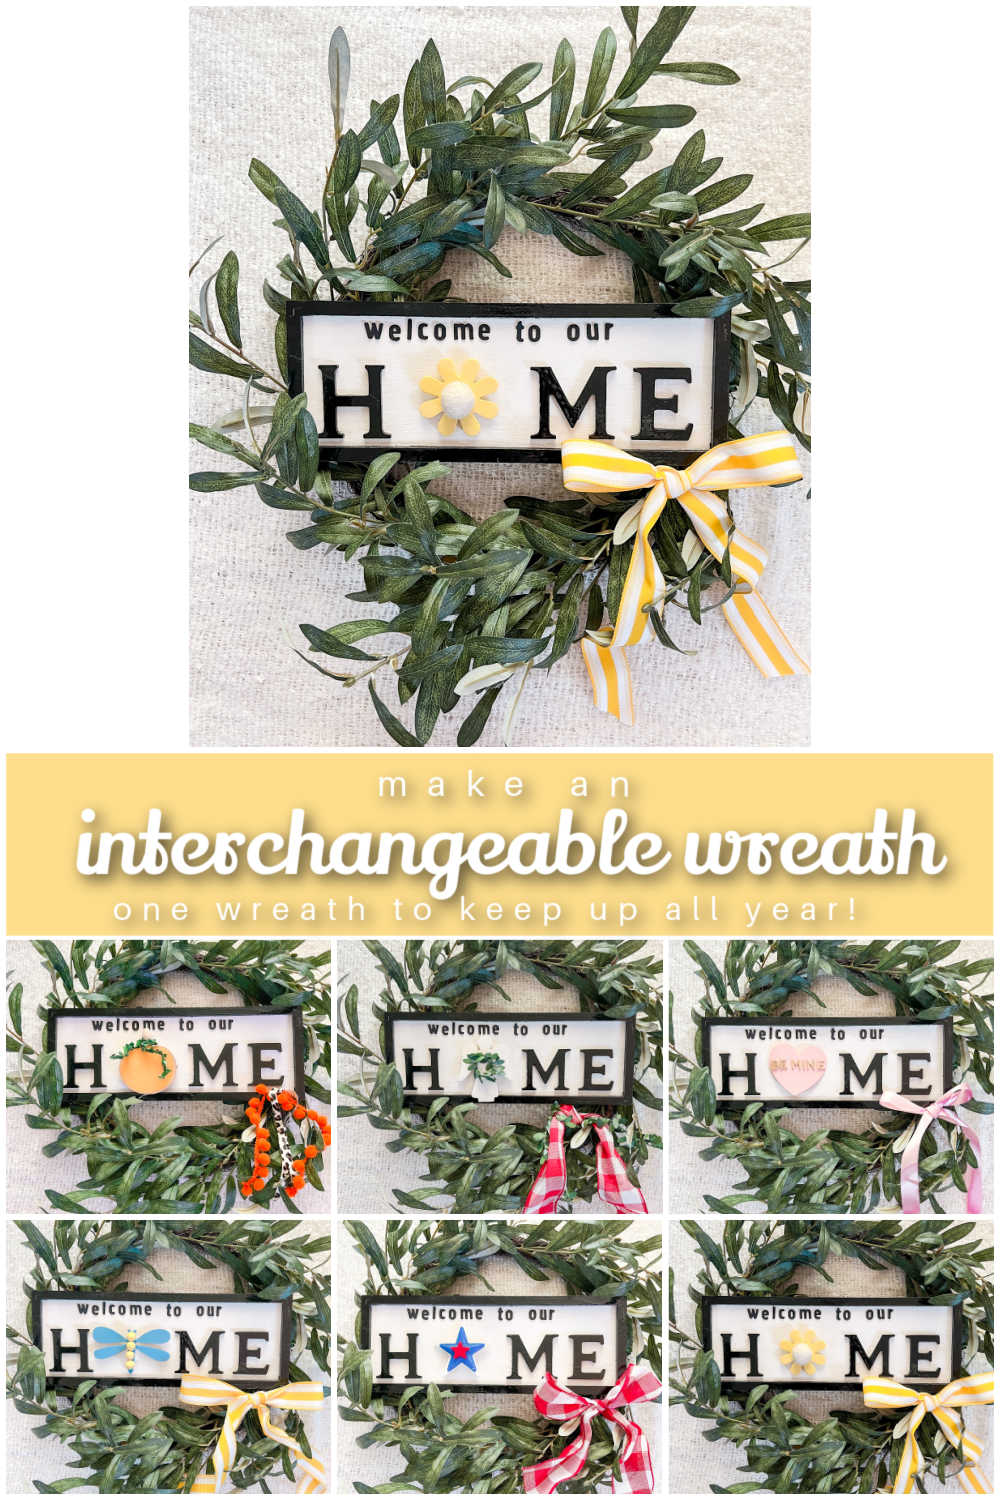
I love creating wreaths. As someone that has limited storage space in our 1891 home, I thought creating a wreath that can be use all year would be a great idea! I teamed up with Hobby Lobby to share how to make this easy and practical wreath!
How to Make a Year-Round Interchangeable Wreath
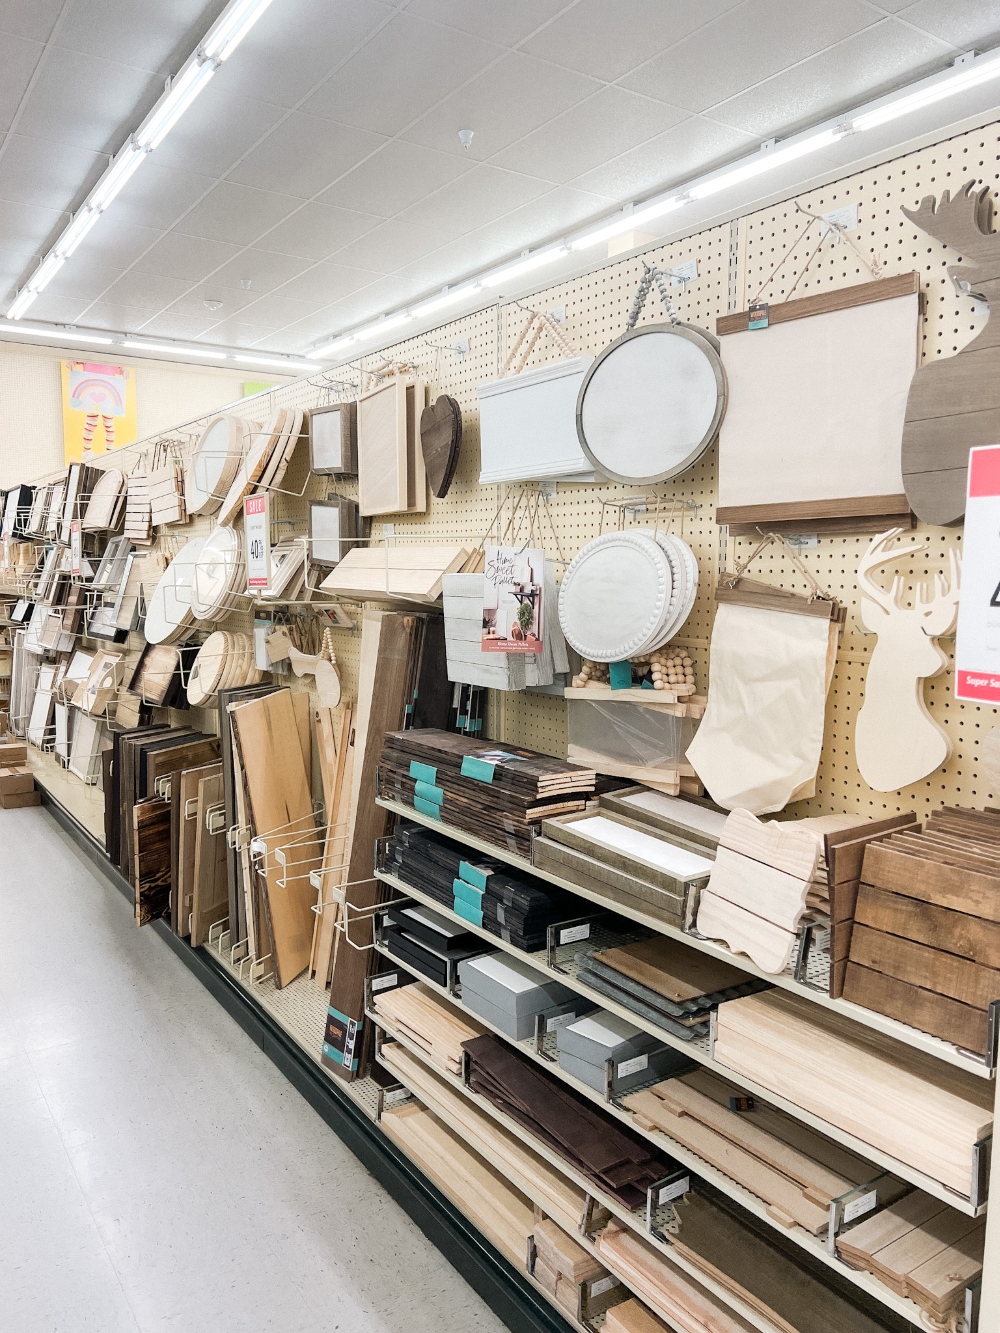
I headed off to Hobby Lobby’s Wood Craft Department to find the main items for this wreath. Hobby Lobby has a wonderful selection of all kinds of Seasonal Wood Projects. There are many different kinds of pallets, signs, wood shapes, letters and more.
Pick Out a Neutral Wreath
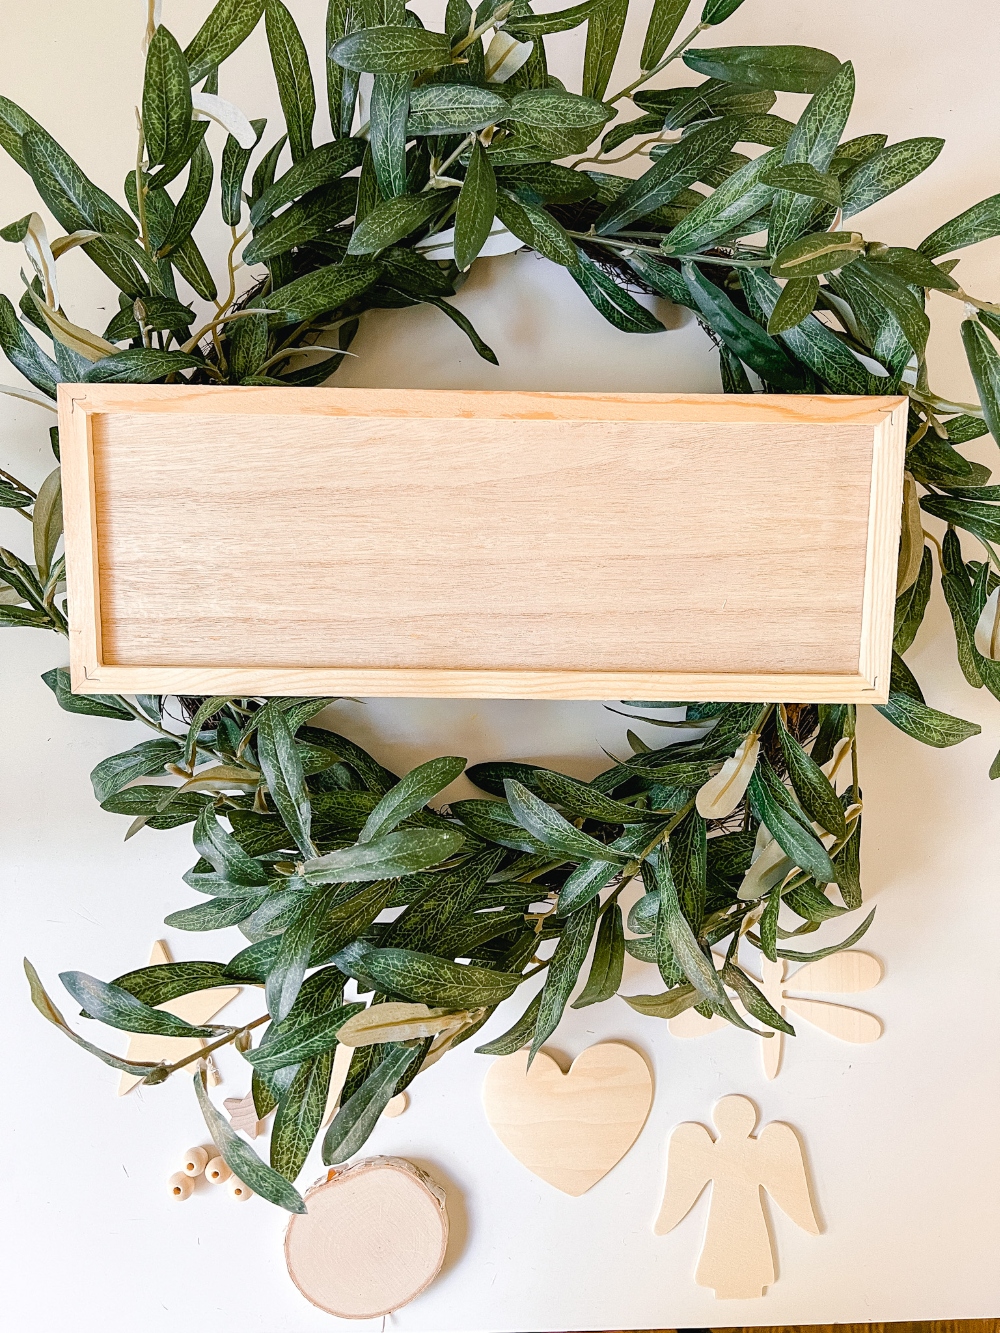
Start with a neutral wrath that can be used all year with different kinds of seasonal elements. A green wreath or grapevine wreath is a good neutral wreath to use. The wreath I used is their Olive Wreath. I love the green fluffy branches, but you can use any wreath that you want!
Start with a Welcome Sign
Next I picked out a rectangular wreath from the wood craft department. This one is the Beaded Rectangular Sign. I didn’t use the beaded hanger but I did use some of the beads as an accent on the dragonfly I used for the Spring element.
Pick Out Wood Letters
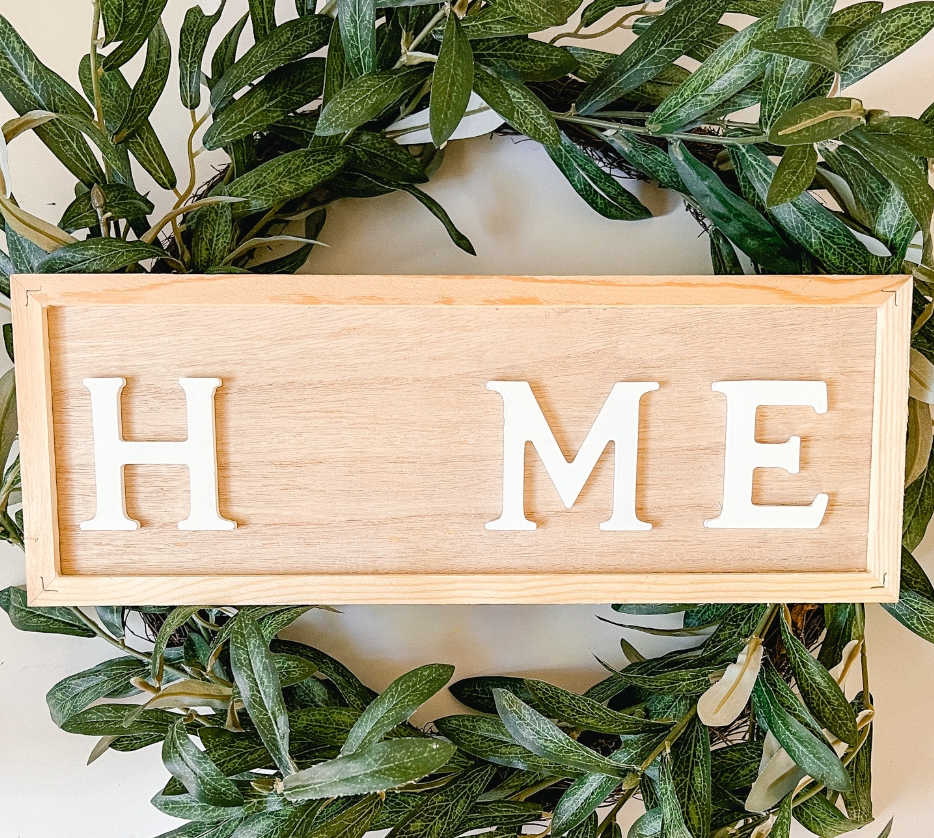
Then I picked out the “H”, “M”, and “E” for the “HOME” detail on the sign. The “O” is going to be filled in with the seasonal wood decorations. I will share how to create those in a moment.
Decide Which Seasons or Holidays You Want to Display
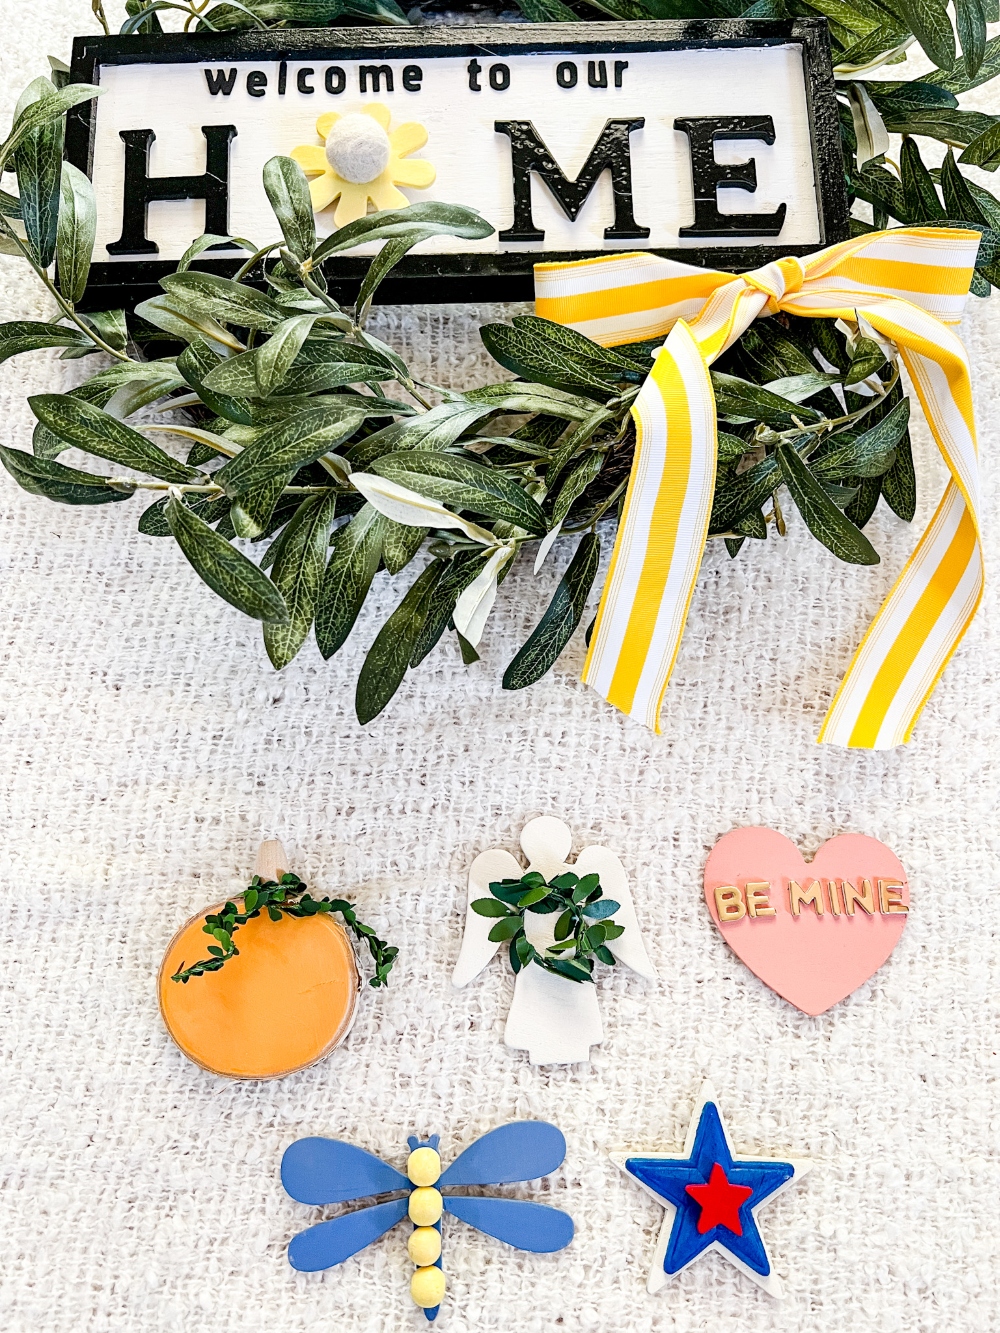
Now is the fun part! There are many different wood die cuts and shapes that you can use to display the different seasons or holidays for your sign. I decided to create a summer flower, wood pumpkin for fall, an angel for Christmas, heart for Valentine’s Day, dragonfly for Spring and Star for Fourth of July. But there are literally dozens and dozens of different shapes you can use!
Grab Paint for Your Wood Decorations
Look at your wood decorations and decide what colors you want to paint them. I chose yellow for my flower, orange for the pumpkin, white for my angel, light pink for the heart, periwinkle blue for the dragonfly and red white and blue for the star. Black glossy paint for the letters and border of the sign and white for the inside of the frame.
Pick Out Some Coordinating Ribbon
Now that you have your die cut wood shapes picked out, you can grab some coordinating ribbon. I also used some greenery ribbon for the angel’s wreath and around the pumpkin stem. Hobby Lobby’s ribbon department is one of my favorite elements of the store. And ribbon goes on sale every other week so I stock up when it is on sale!
Paint the Frame
I painted the frame white and then used a small brush to paint the edges black.
Paint the Seasonal Decorations
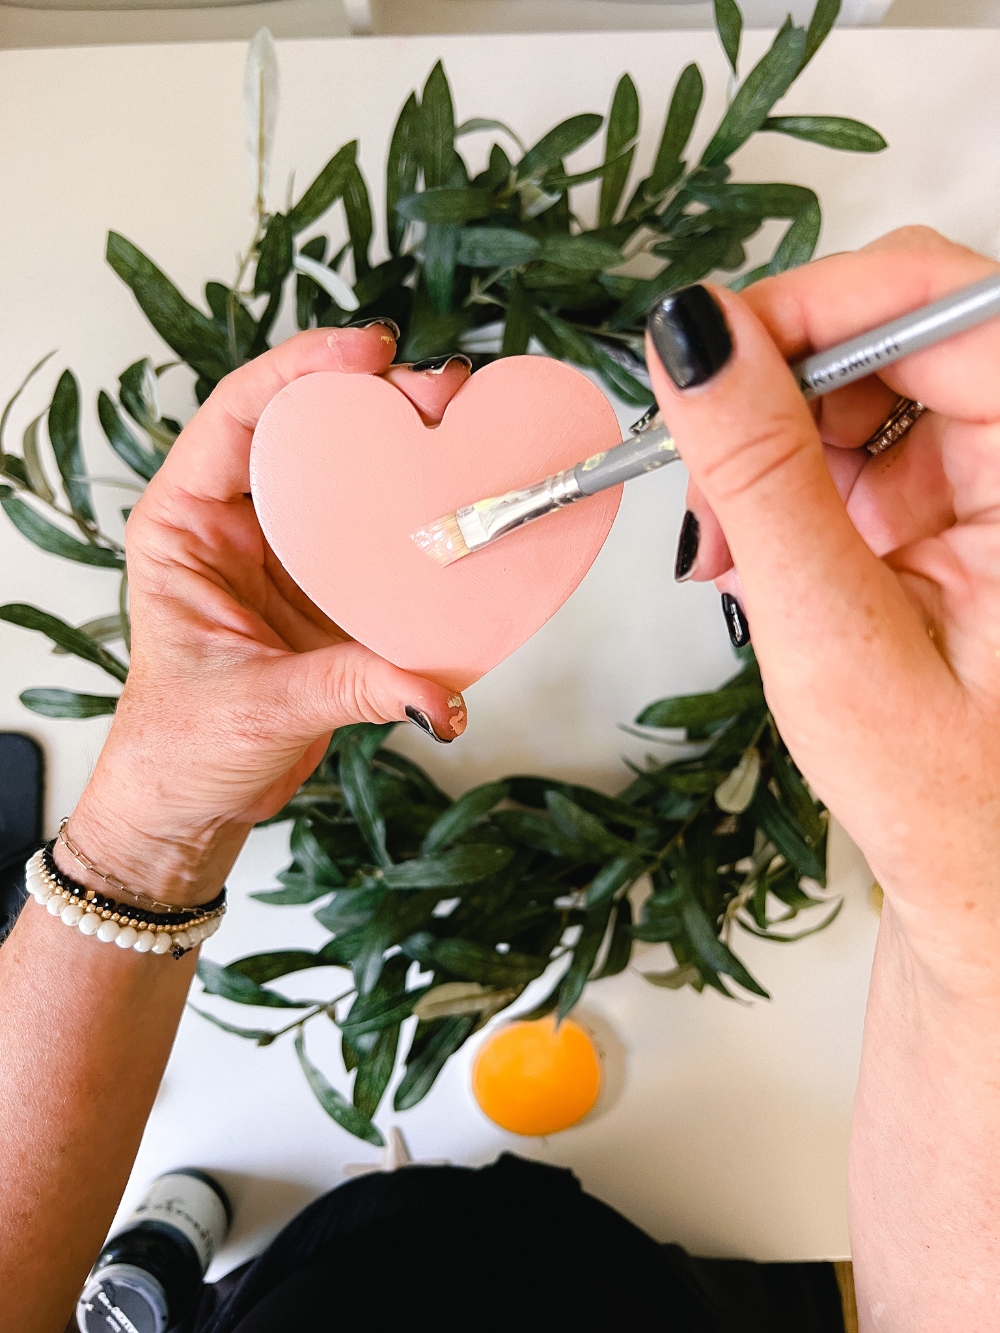
While the frame dried, I painted the decorations. Here’s a run down of how I created each of the decorations:
Summer Flower
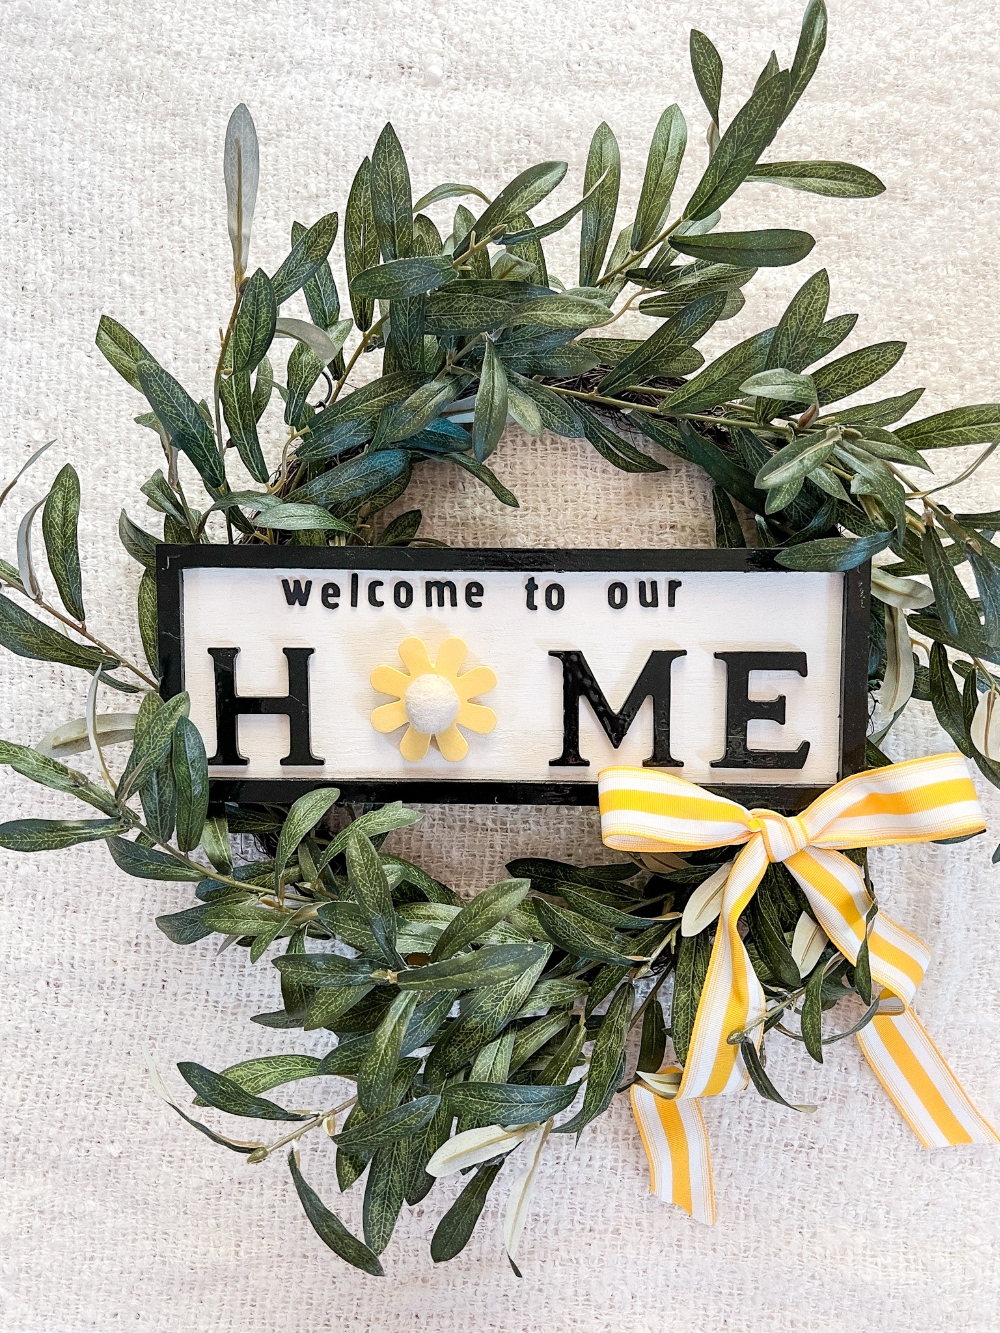
- Flower wood die cut, Yellow Paint, White Felted Pom Pom.
Fall Pumpkin
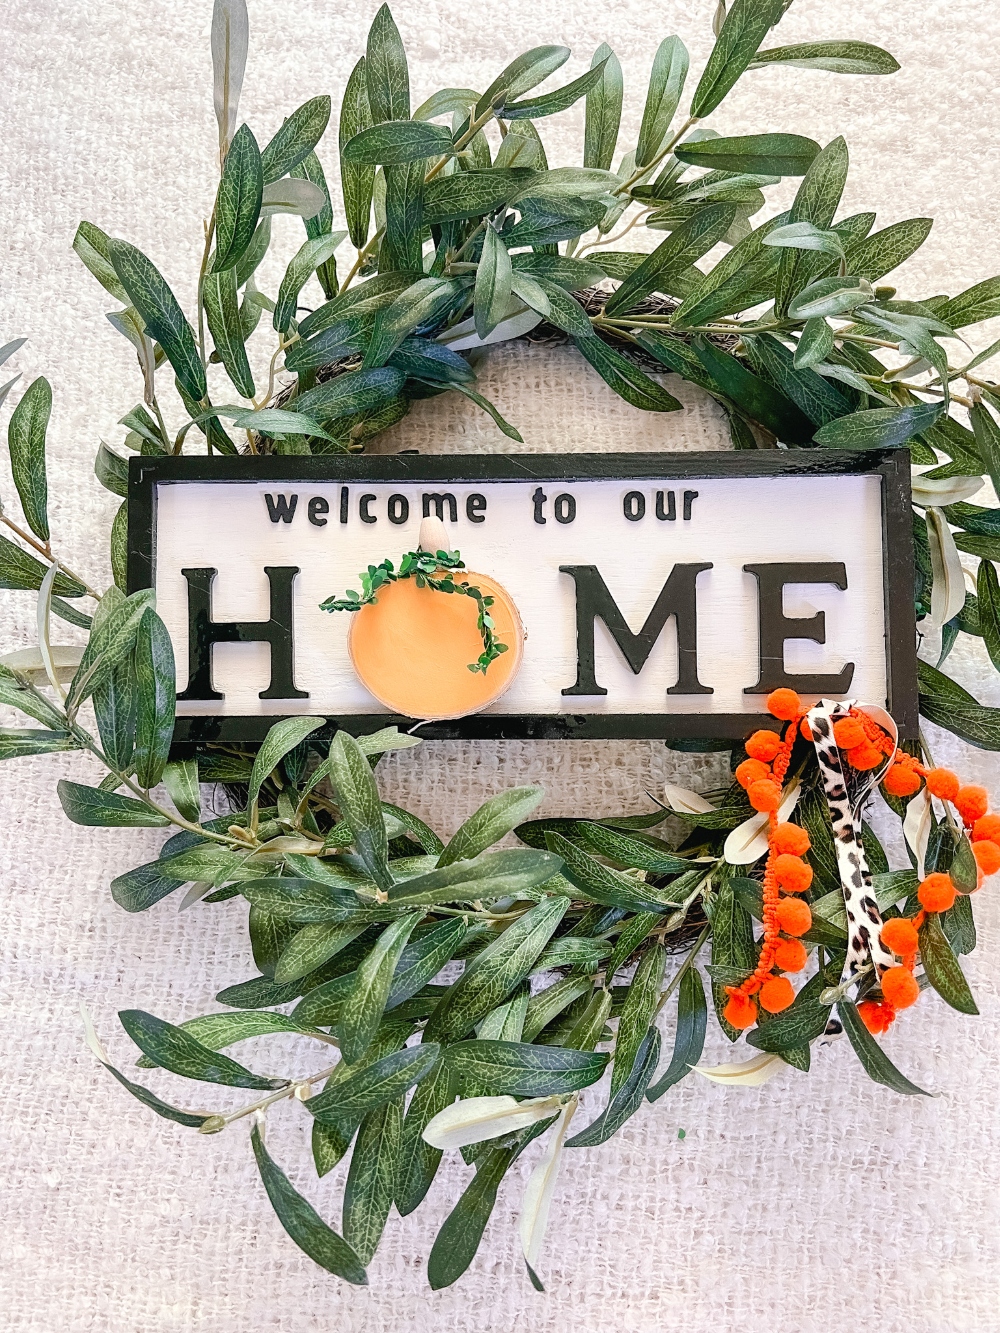
- Wood Branch Disc, Orange Paint, Wood Bead, leaf ribbon.
Christmas Angel
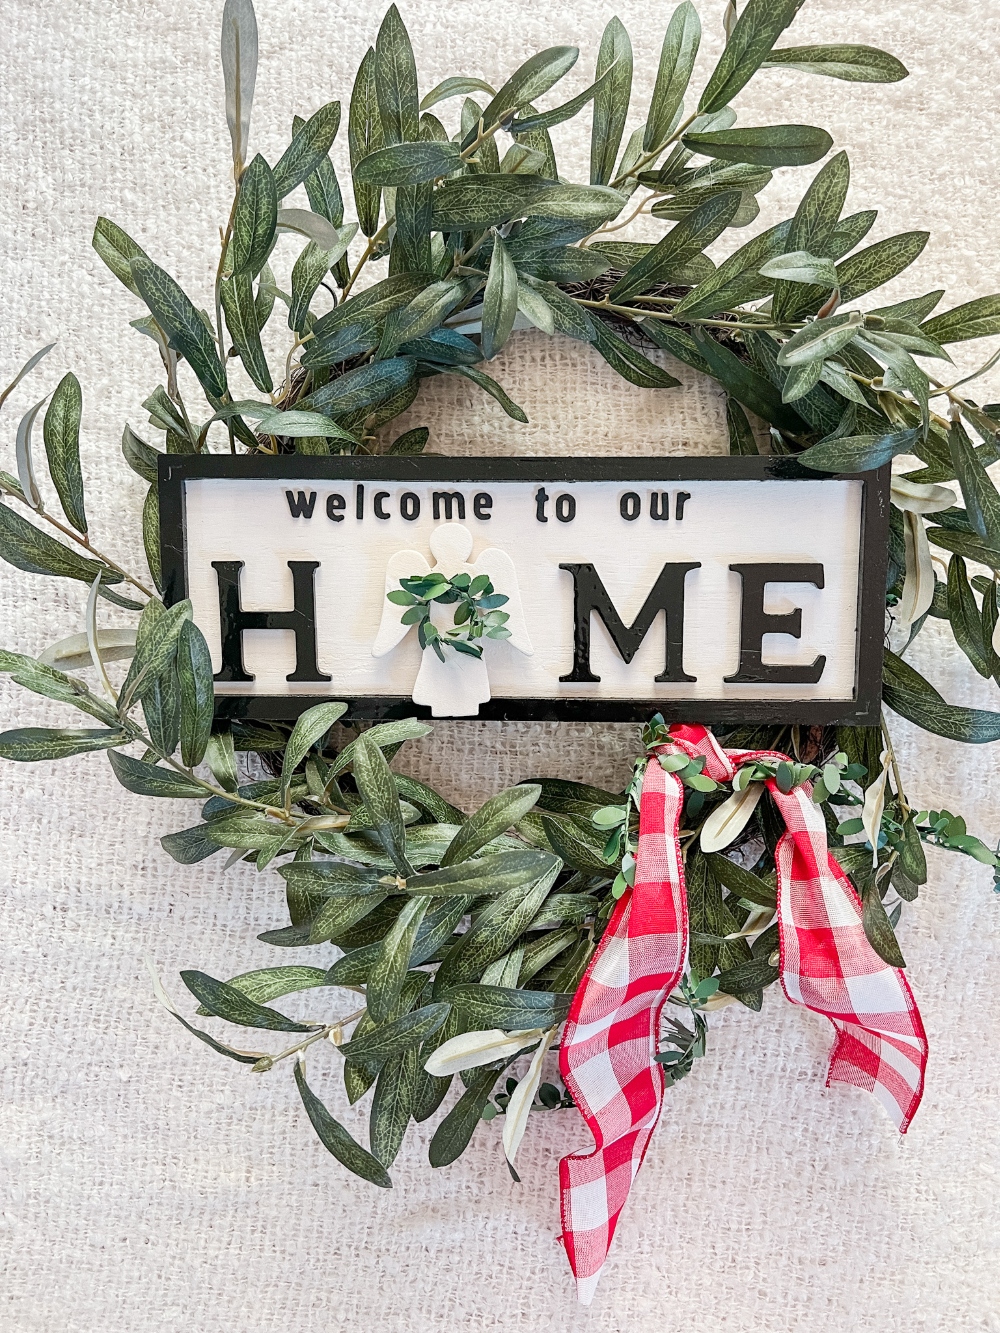
- Angel Wood Die Cut, White Paint, Wreath (made out of leaf ribbon).
Valentine Heart
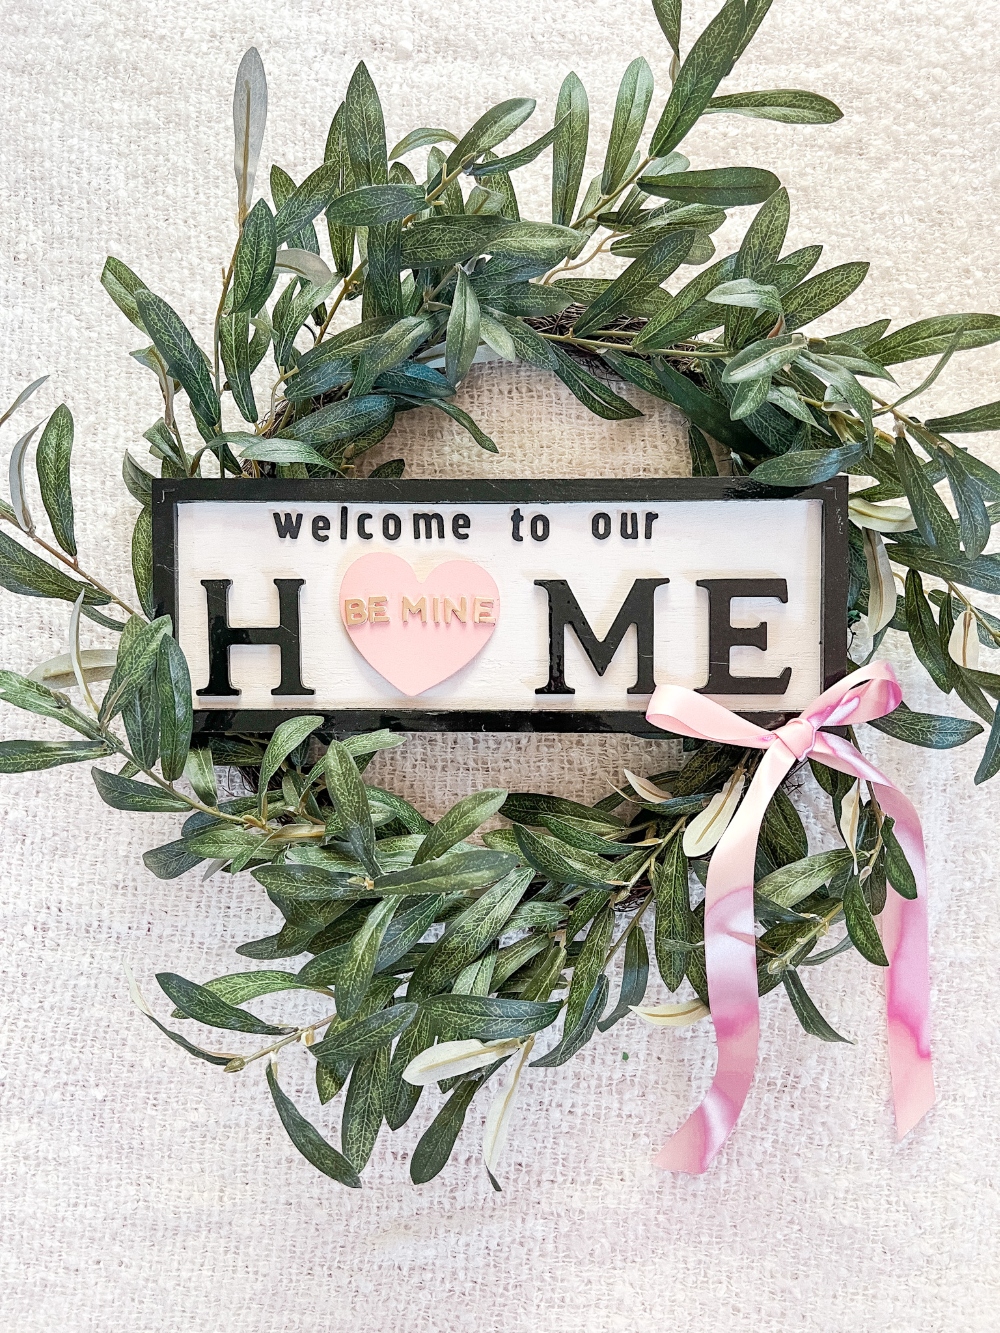
- Heart Wood Die Cut, Pink Paint, Gold Scrapbook Letters.
Spring Dragonfly
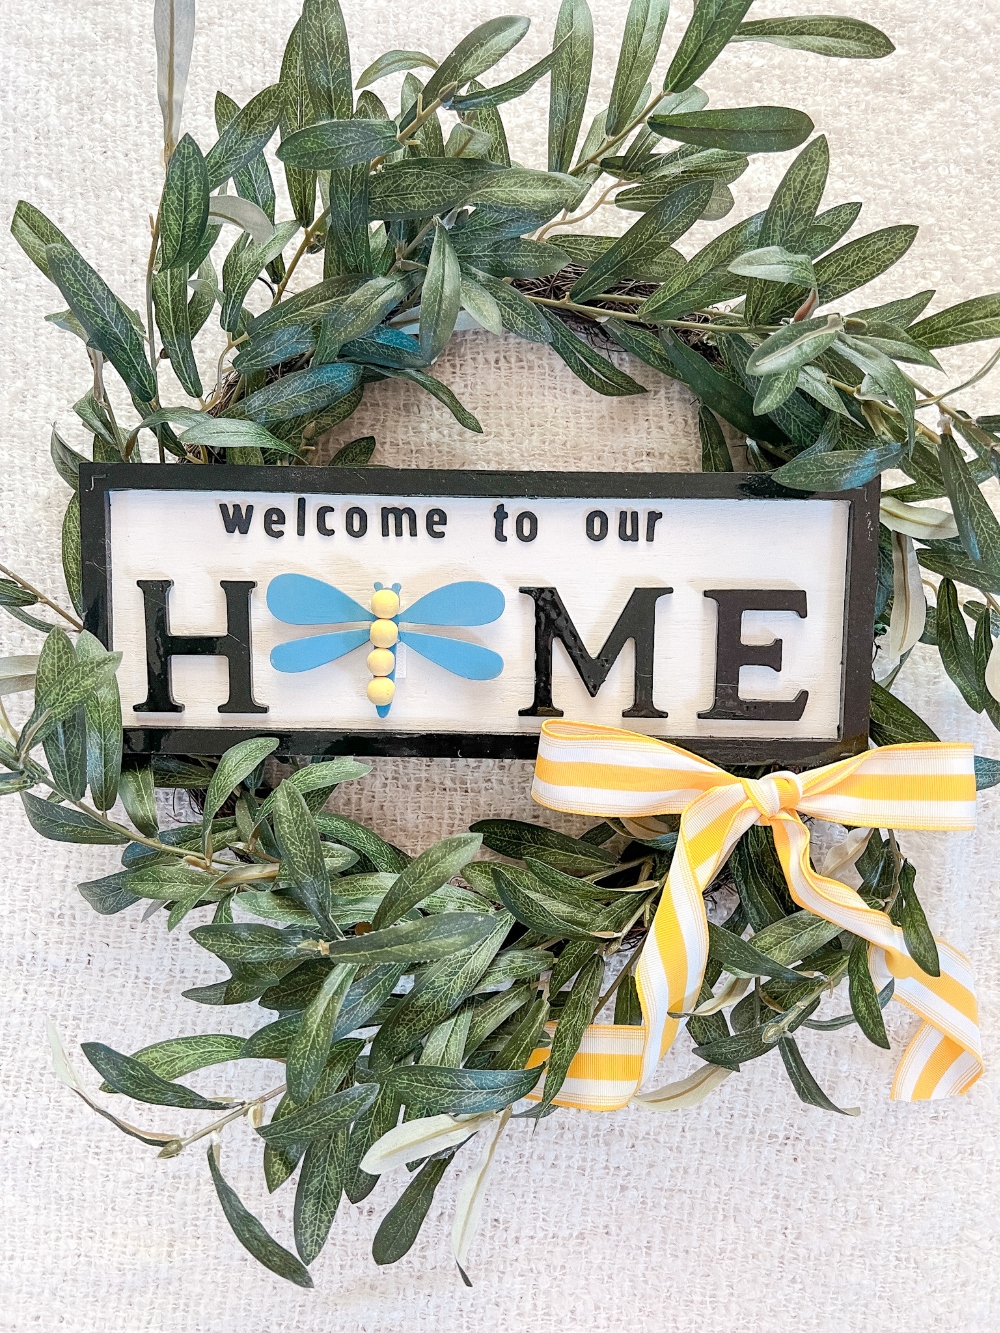
- Dragonfly Wood Die Cut, Purple Paint, Wood Beads (from the hanger on the sign), Yellow Paint.
Fourth Of July Star
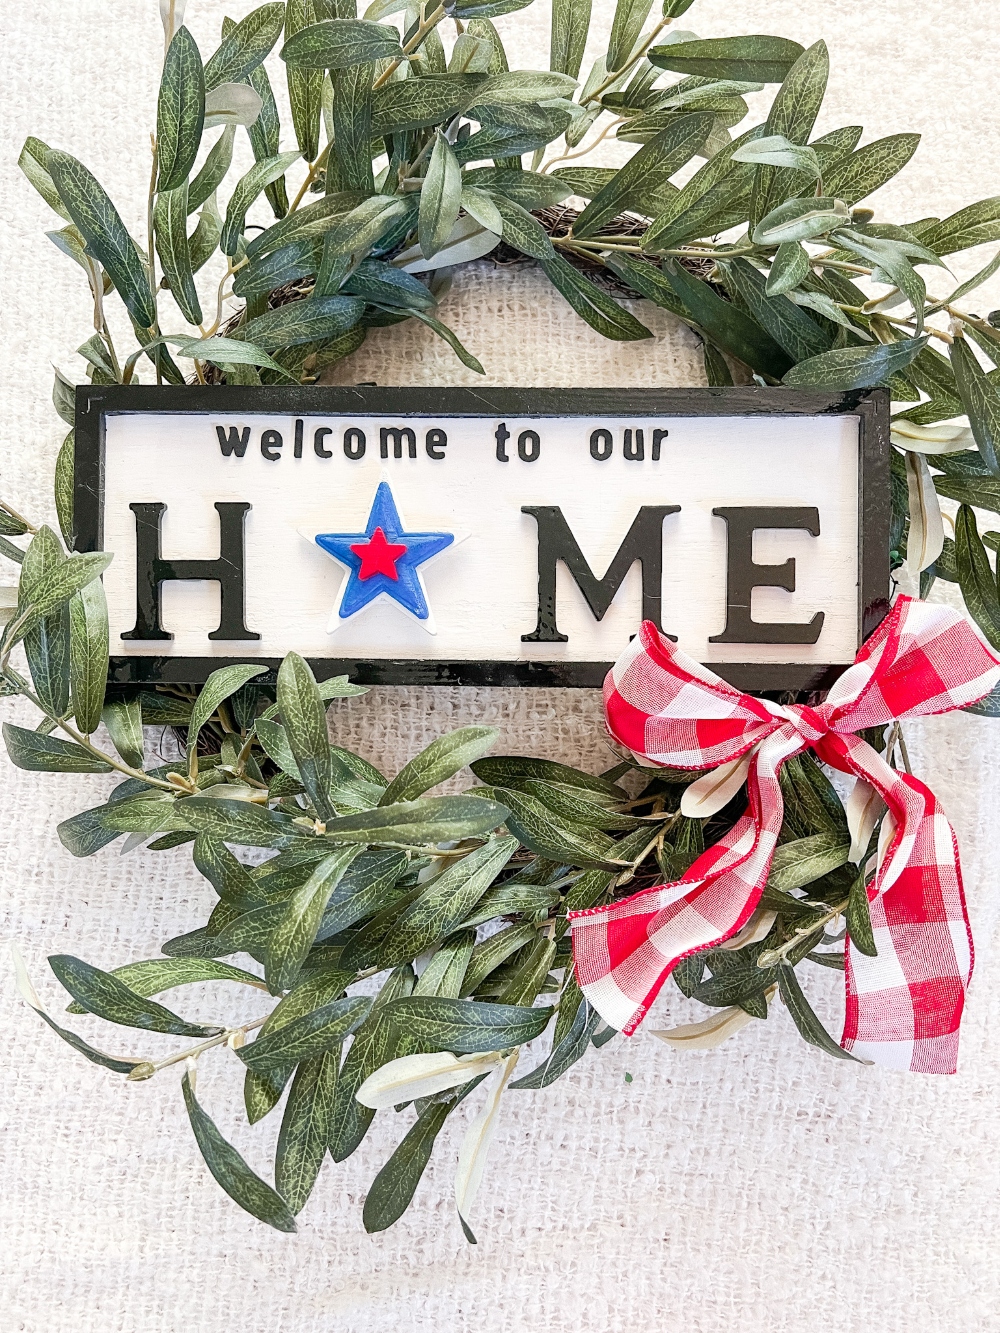
- Three Different Stars, Red White and Blue Paint.
Attach the Painted Letters to the Sign
Now you will glue the letters on the painted sign. Find the largest wood seasonal element and lay that on the board so you know how far to space the “H” and “M” with the space in the middle for the painted wood elements. Then glue the letters on the sign.
How to Attach the Elements to the Board
I used command strips to hold the elements to the sign. I glued a strip to the center of the space between the “H” and “M” letters. You can use a dab of glue to make sure the command strip is attached to the board securely. Then attach a command strip the back of each wood element. You can cut down the command strips so that they are hidden behind the wood elements.
Add Welcome At the Top
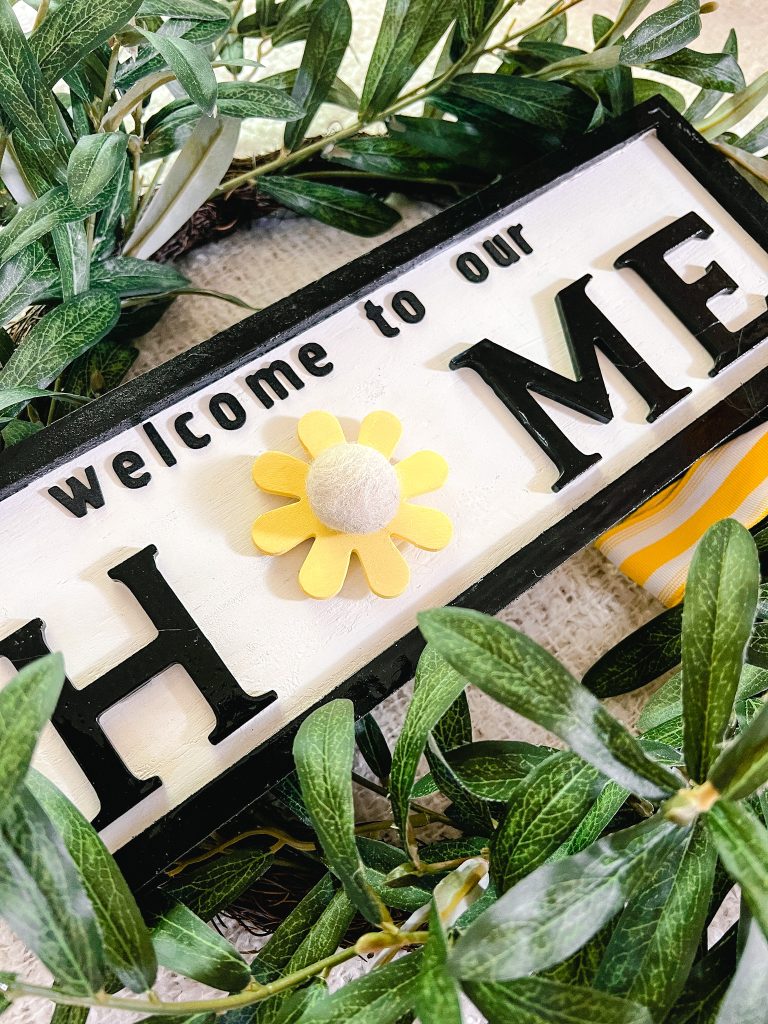
You can hand draw “welcome to our” at the top or use foam scrapbook letters like I did. So easy!
Attach the Wood Sign to the Wreath
I used hot glue to glue a wire to the underside of each side of the sign. Then I placed the sign on top of the wreath where I wanted it to lay and wrapped the wire around each side of the wreath.
Enjoy Your Sign ALL Year Round!
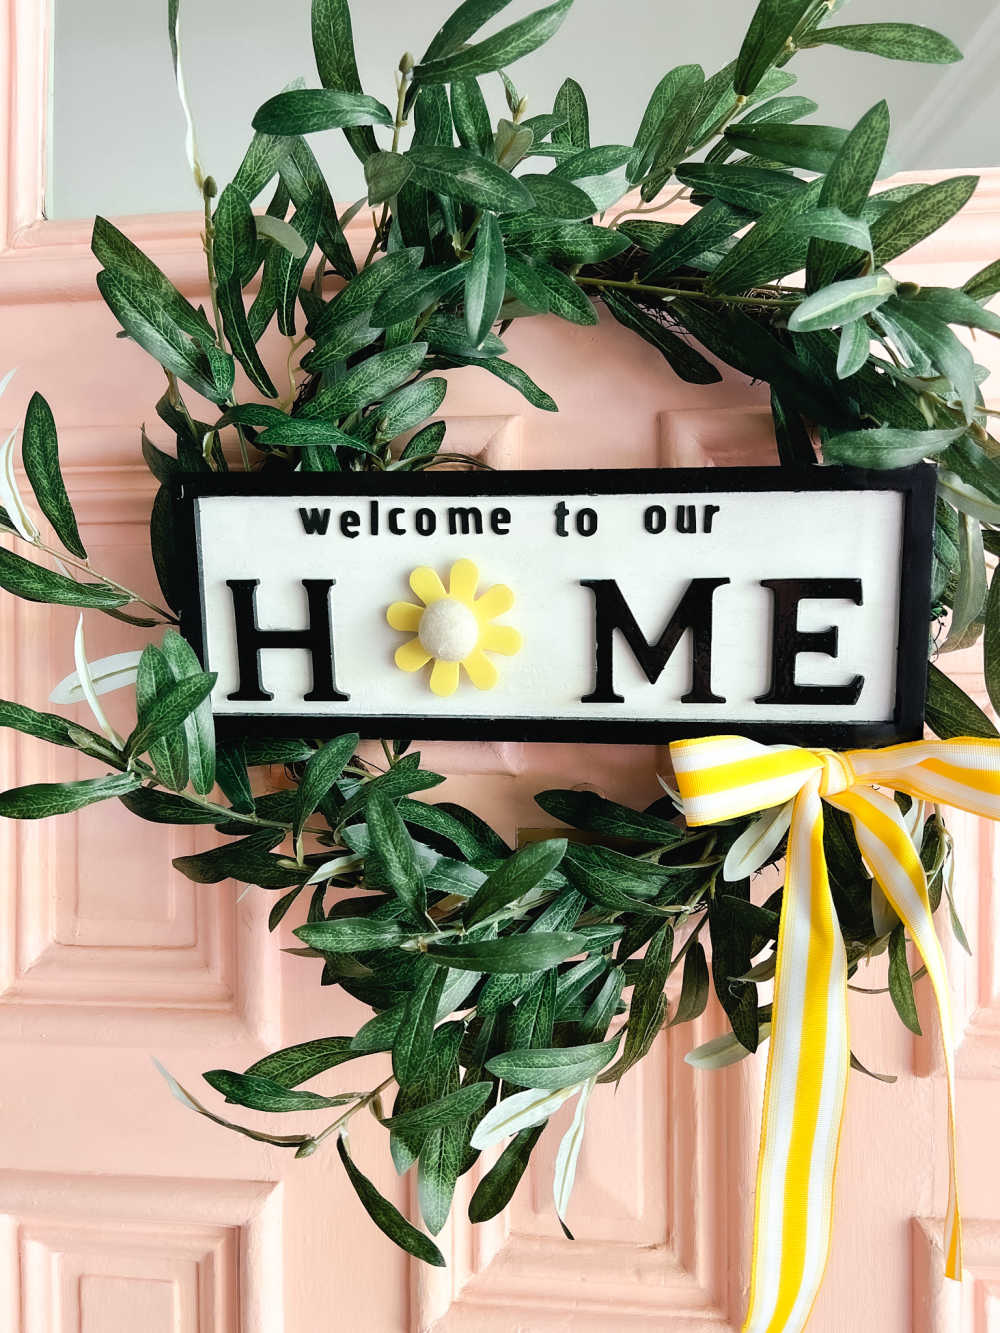
Now you can hang up your wreath and enjoy it ALL year. It’s so nice to have ONE wreath that I can change out each season and for holidays! I keep all of the ribbon and wood holiday wreath decorations in a little box so I can find them all easily!
You can find more Inspiration:
Have a creative day!
xoxo




Jen,
This is genius; thank you for sharing such a fabulous idea.
Pinned and will be trying it out.
xoxo,
Brendt
Thanks Brendt! I love that I can keep it up all year 🙂
xoxo
LOVE this wreath, Jen!! Such a great idea!
Thanks Jennifer! I am excited to use it all year!
xoxo
What a great wreath! Such a fun craft project that covers all the seasons!!
Thanks Kim! I love that I can keep it up all year!
xoxo