Envelope Pillow Cover with Macrame Fringe Trim. Add a little boho detail to your next pillow with this pretty fringe idea and easy pillow!
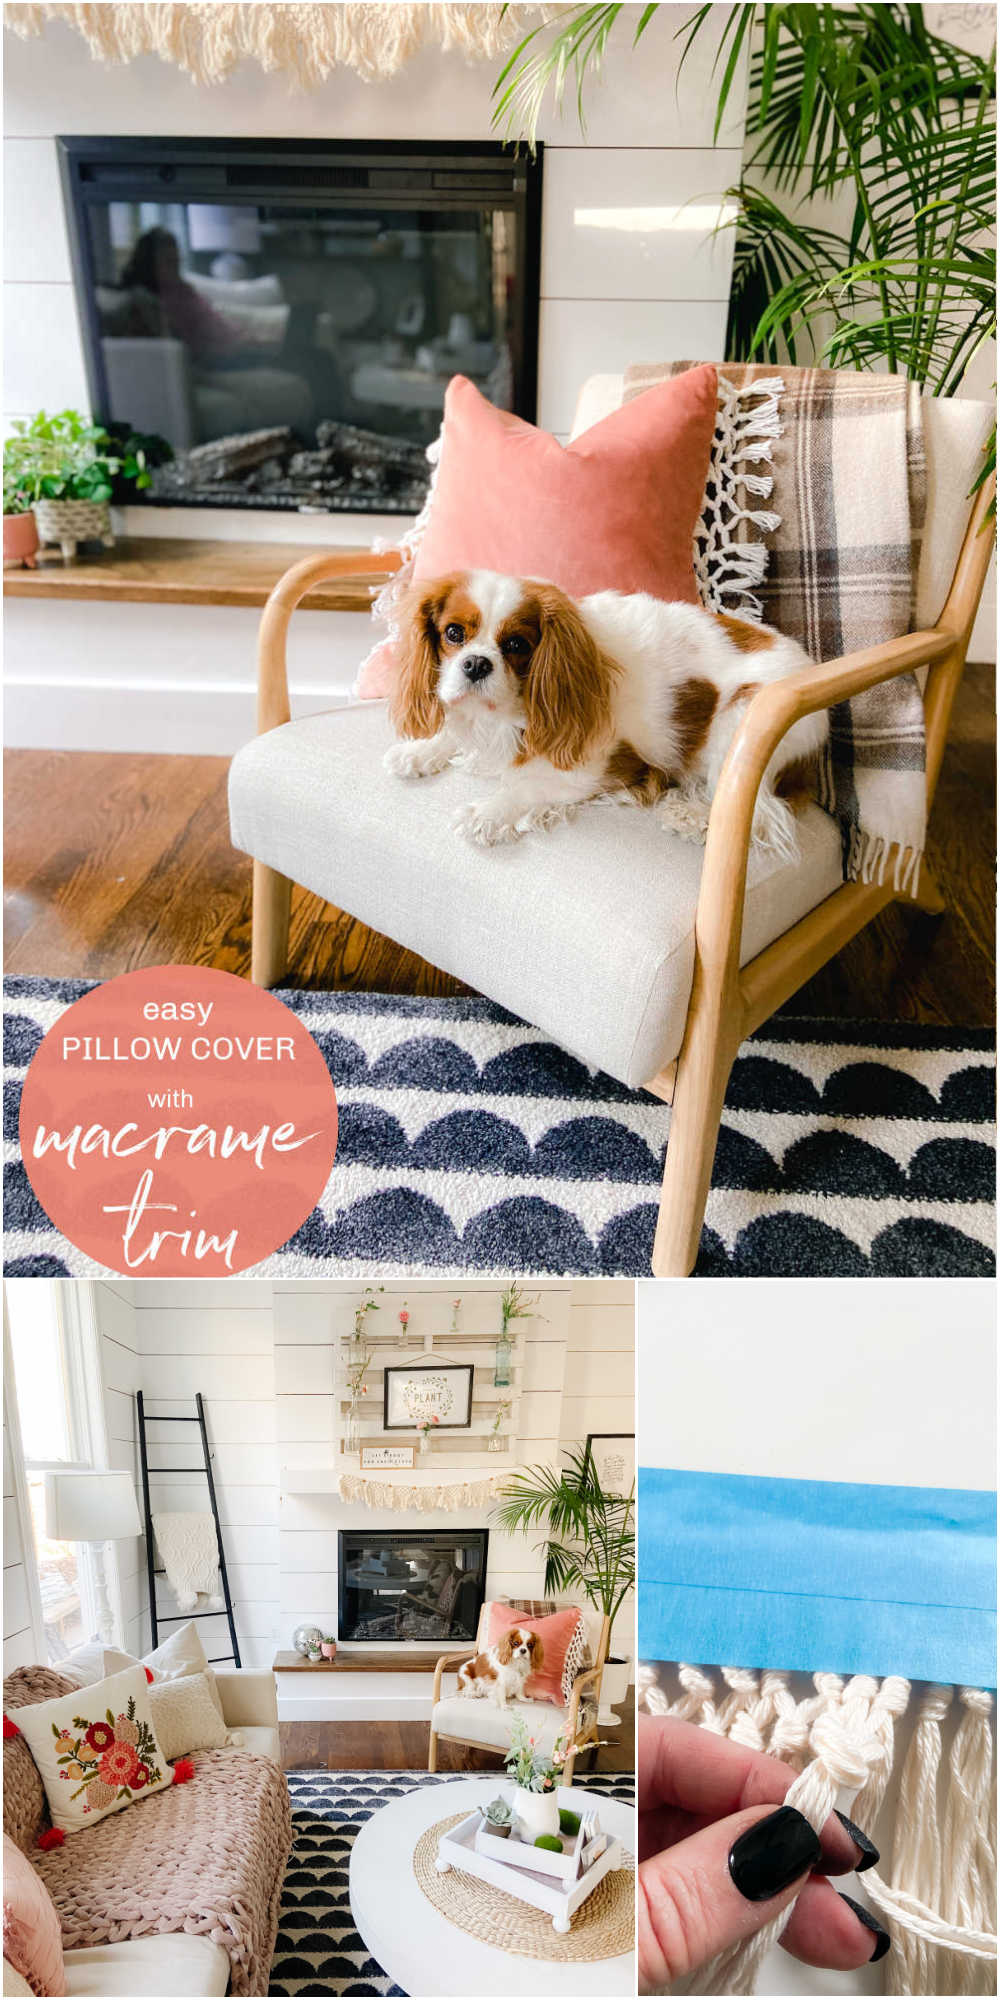
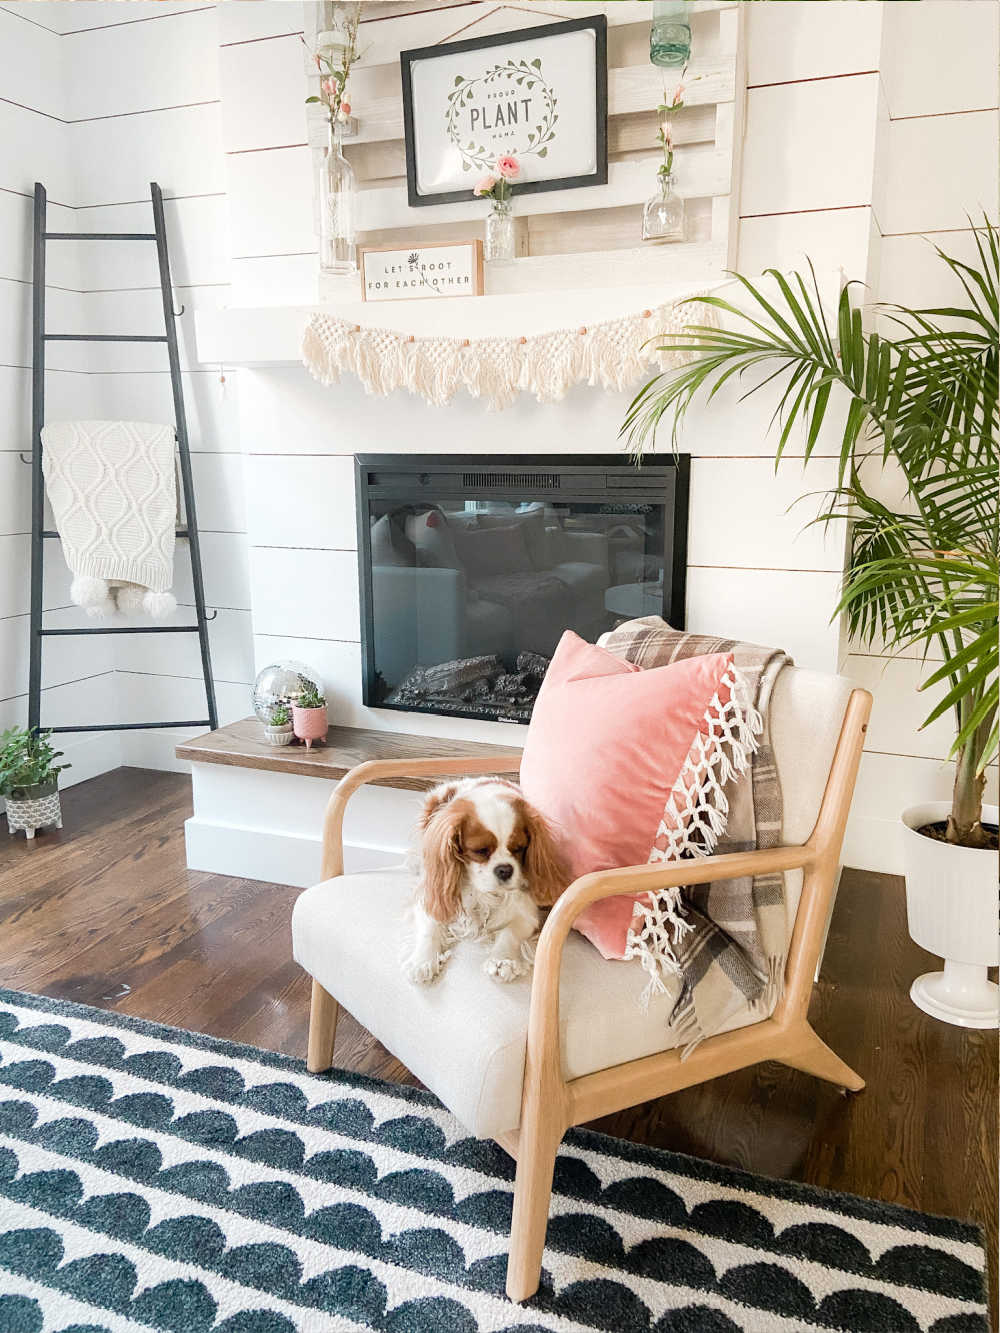
Envelope Pillow Cover with Macrame Fringe Trim
I love pillows! You can change up a room in no time and so easily by making new pillow covers. I love changing up my pillow covers for different seasons and different holidays.
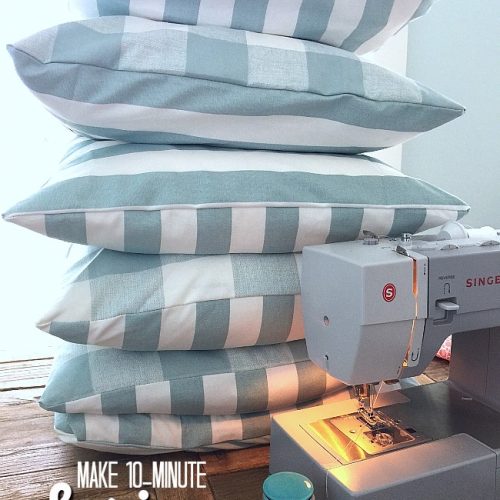
Make a Pillow Cover in 10-Minutes
Did you know you an make an EASY pillow cover in 10 minutes? It’s true! And you don’t have to be a great seamstress to make a pillow cover. I have a really popular tutorial on my site – Make an Envelope Pillow Cover in 10 Minutes – that walks you through making the easiest kind of pillow cover that requires no zipper.
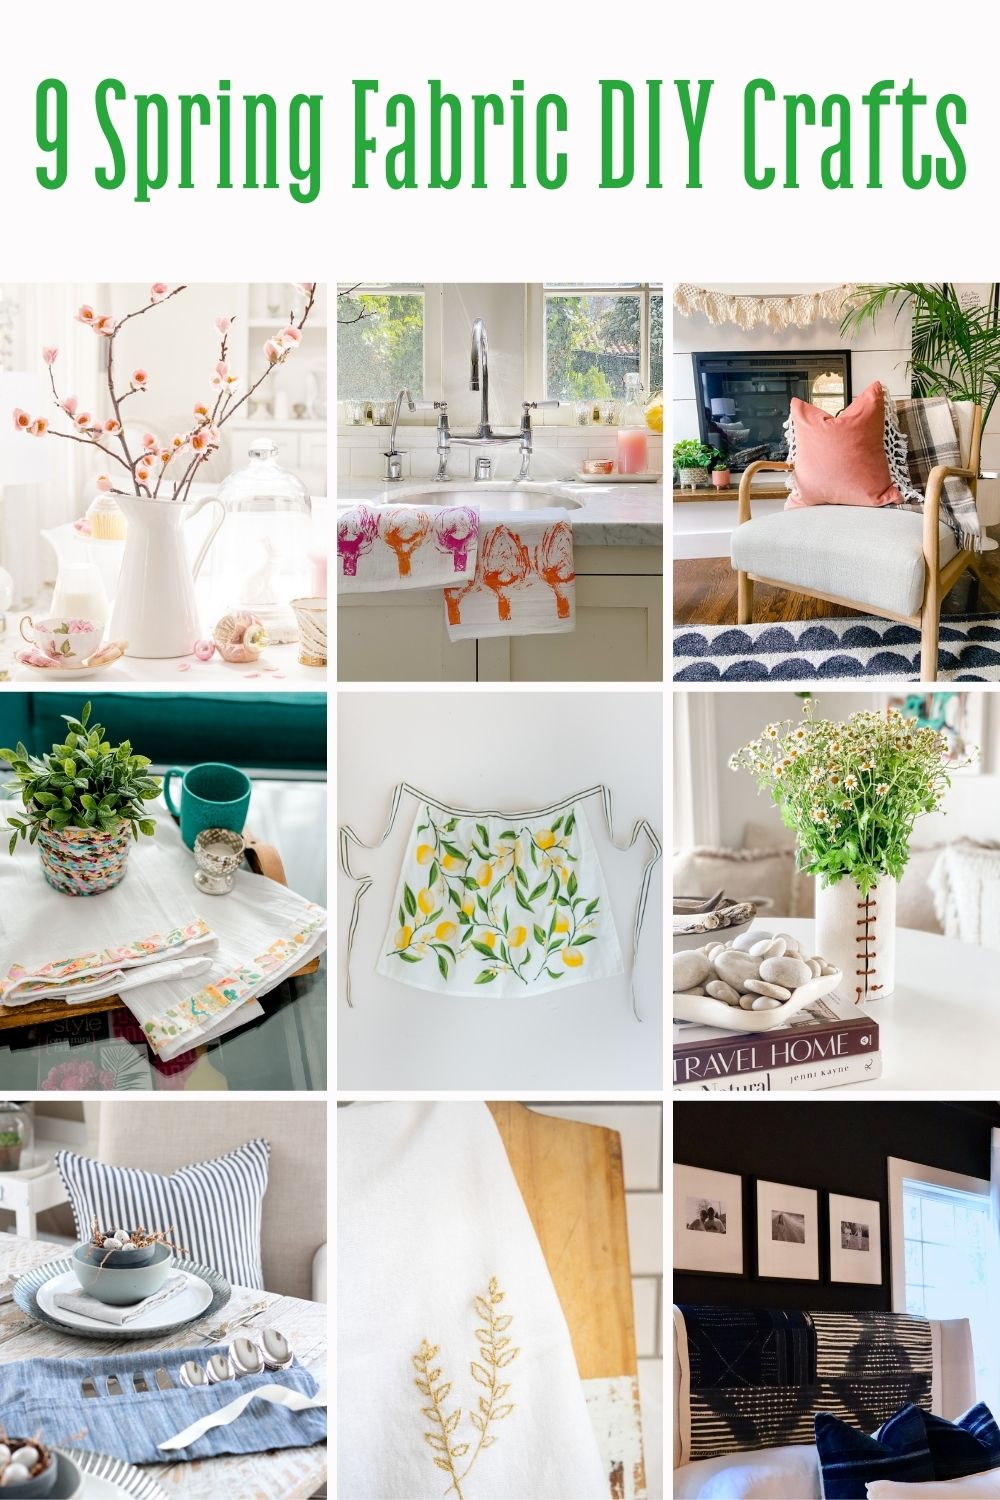
Spring Fabric DIY Ideas
My friends are all sharing fun Spring fabric DIY’s! Scroll down to hop over to their tutorials!!
Macrame is Very On-Trend
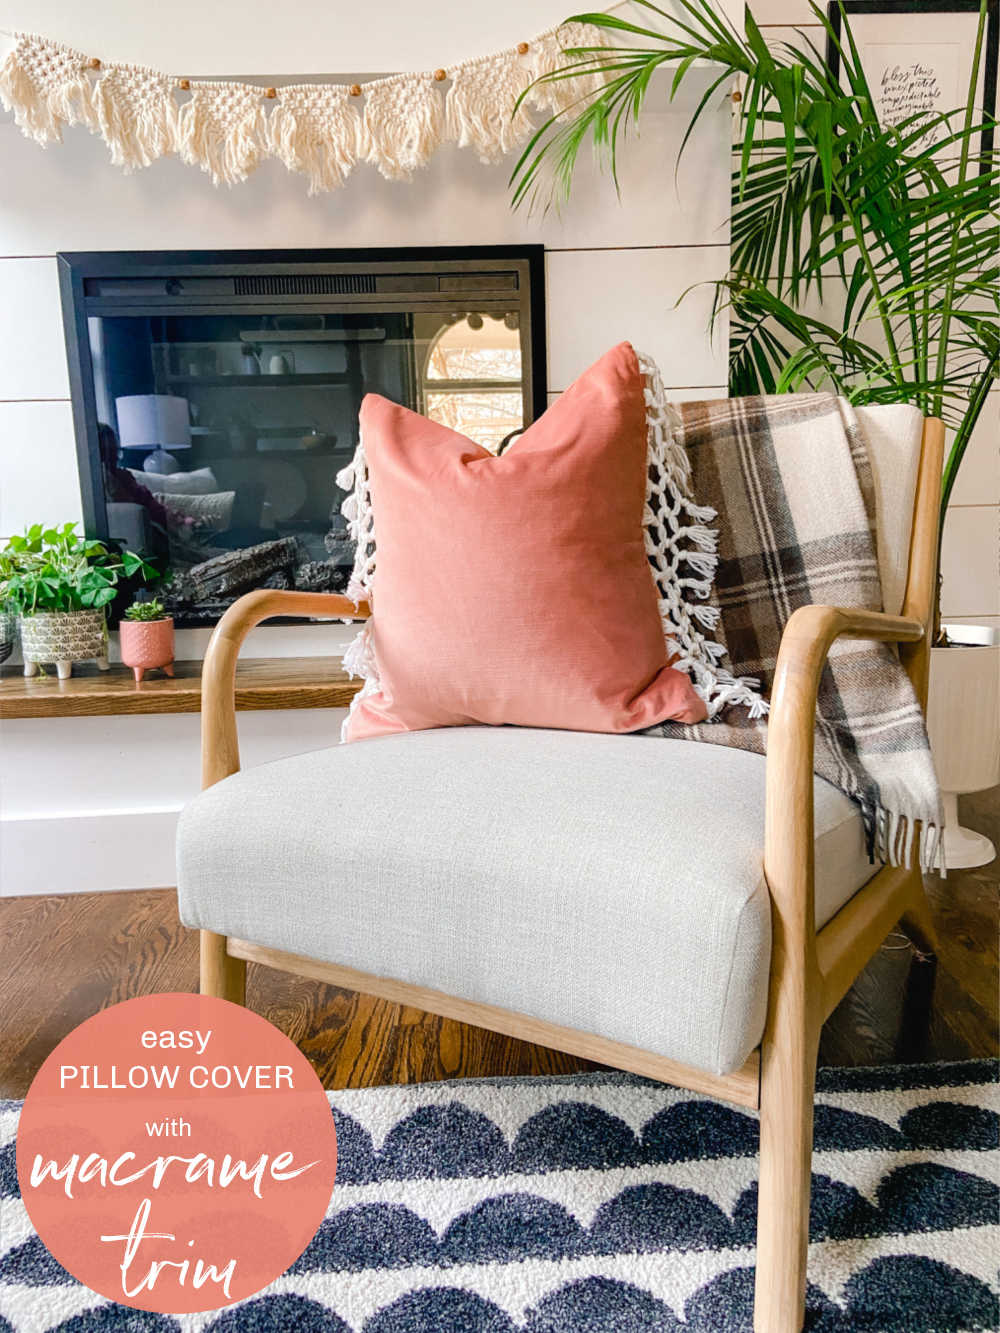
You might remember macrame from the 70’s. It’s back! But the new macrame is very modern and has a boho look. I love the look of macrame for spring! I shared an easy Macrame Market Bag a couple of weeks ago. It’s an easy way to get the hang of macrame. This pillow cover fringe is even easier!
What is Macrame?

Macrame is a form of textile using knots instead of weaving and it’s been around for thousands of years! In my Macrame Market Bag tutorial I share three easy knots that are typical to use in macrame. For this macrame fringe tutorial there is only ONE knot. So easy!
One Knot to Make Macrame Fringe
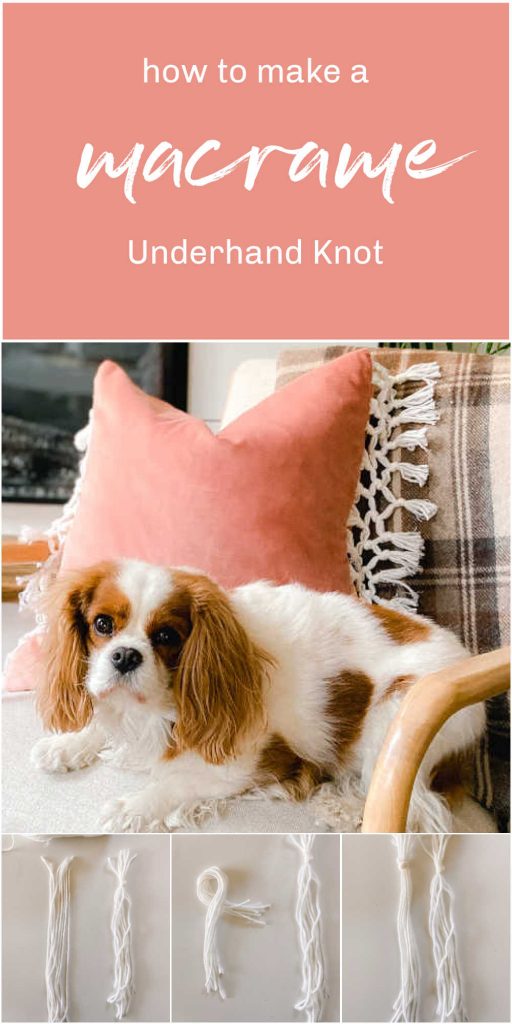
This fringe trim is made with only ONE knot – The Underhand Knot! It’s the easiest knot in macrame and that’s it! Anyone can make this pretty boho pillow idea for spring. You can also tie the knot as an Overhand Knot. Which is essentially the same knot with the tail going over the loose strings and looping down into the loop.
What Material Do You Use to Make Macrame Fringe?
There are several types of material you can use to create macrame fringe.
- Macrame String (I buy mine in bulk!)
- Yarn (this is what I used to make this pillow fringe)
- Embroidery Floss (this makes a thinner fringe)
Envelope Pillow Cover with Macrame Fringe Trim Supplies
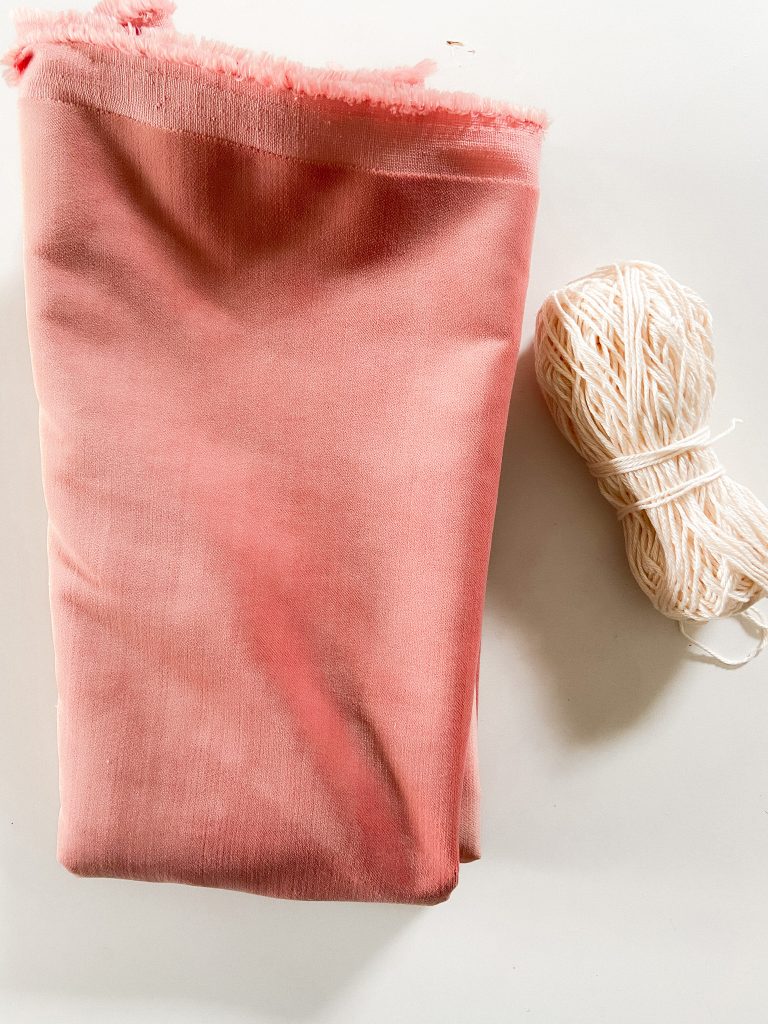
- Pillow Form
- Fabric (I made a 20″ pillow and used 3/4 yard of fabric)
- String (I used yarn)
- Bias Tape or Ribbon (40″ for a 20″ pillow)
- Fabric Glue (I used a fast-drying fabric glue)
- Sewing Machine (This is my favorite machine. It’s great for simple sewing and you can sew thick material really easily with no problems or needle breaking)
Decide What Size Pillow You Are Making

Once you decide what size pillow to make you can start making the macrame trim. My pillow uses a 20 inch square pillow form. To make the trim I used 28 overhand knots on EACH side of the pillow. Each knot uses EIGHT 10-inch pieces of yarn. So total for the whole pillow = 56 knots with 8 strings each. Total 10-inch pieces of yarn = 448. This might seem like a lot! What I did was I used a 11 inch clipboard and wrapped yarn around it 225 times and then cut it at both ends. It only took about 5 minutes to wrap the yarn around the clipboard.
Macrame The Fringe While You Watch TV
Macrame is a very soothing craft. It’s perfect to do while you are watching television, waiting in a carpool line or while you are at your kids’ sporting events. I love to multi-task. So this craft is perfect to keep my hands busy while I watch a show at night.
How to Make an Envelope Pillow Cover with Macrame Fringe Trim

Here are the instructions on how to make a 20″ square macrame fringe pillow cover. You can make a different size, you will have to adjust the materials, but that can easily be done.
Make 56 Overhand Knots
To start, gather 8 pieces of string, make an overhand knot in the yarn and push the knot to the top of the string. You want about 1-2 inches of string above the knot and the rest of the string loose below.
Lay Knots in a Row
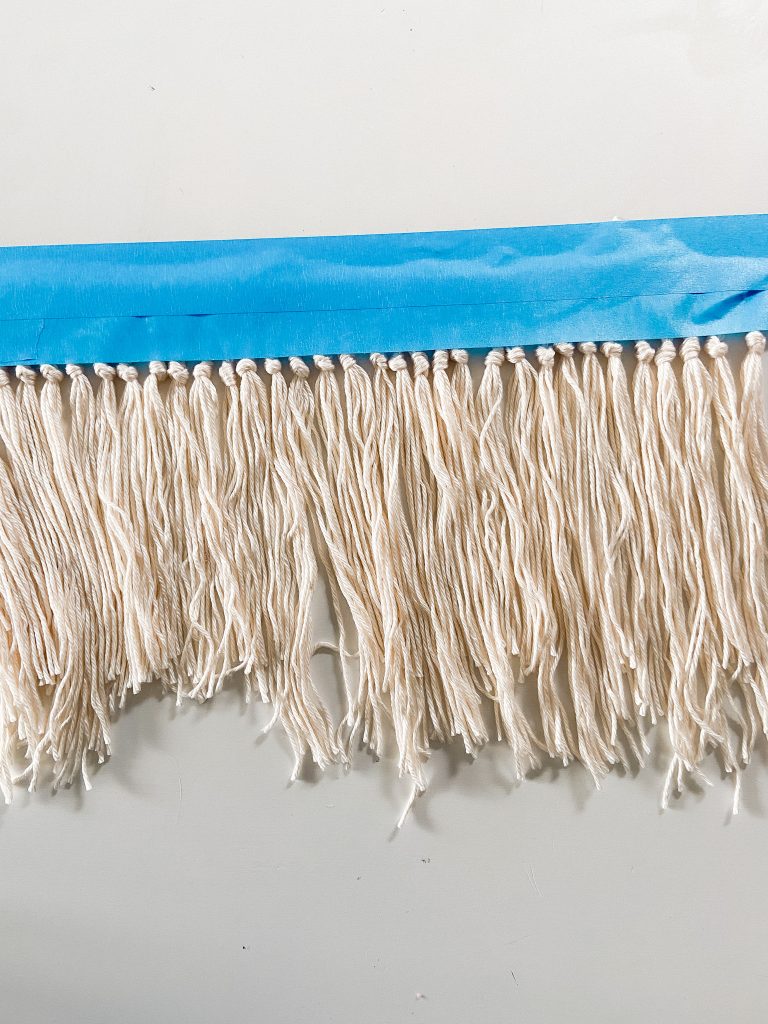
Once the overhand knots are done, lay them out on a flat surface with the knots close together in a row. I used the side of my clipboard to make sure they were lined up in a row.
Tape Knots onto Flat Surface
After laying the knots in a row, use painters tape to secure the knots. Lay the tape over the strings above the first knot. I also had to lay a coffee mug over each section I was knotting to make sure everything stayed in place.
Combine the First Two Knots
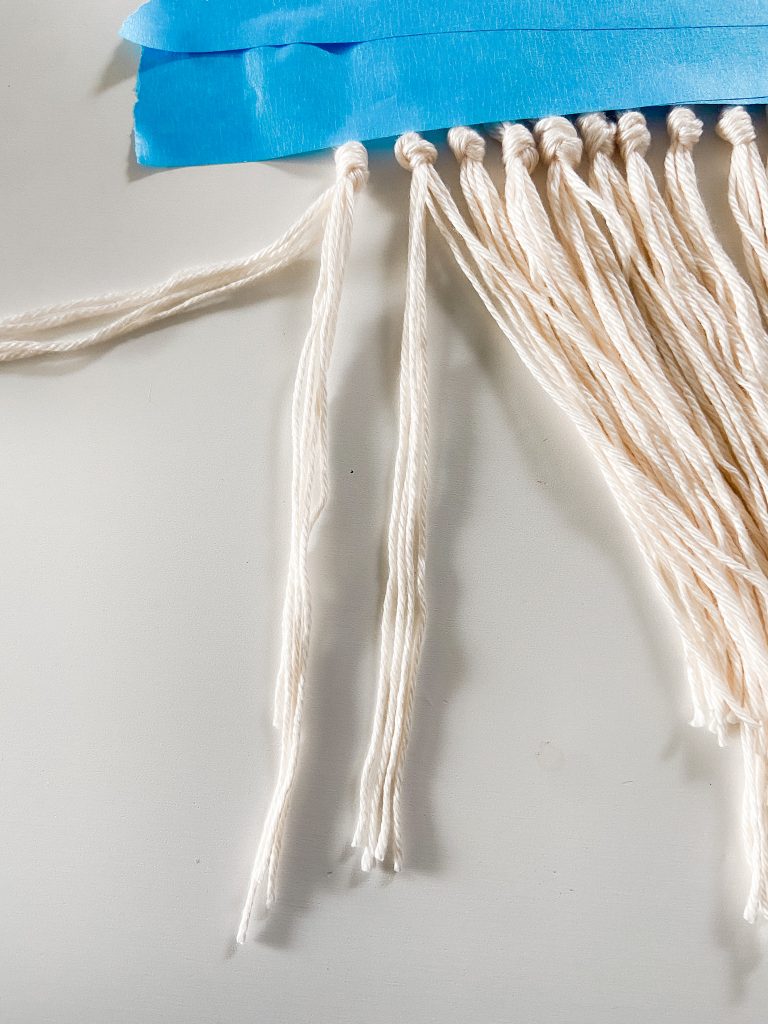
The first thing you are going to do is divide the eight strings of the first knot in half. Take the left four strings and lay them to the side. Then take the other four strings and combine them with the adjoining four strings of the second knot. Use the same overhand knot to combine the four strings from the first knot the adjoining four strings of the second knot. Push the knot about 1/2 inch to 1 inch under the first set of knots. This knot will be in between the first knots above. This is how you attach the trim together.
Make a Row of Knots Going Across the Trim
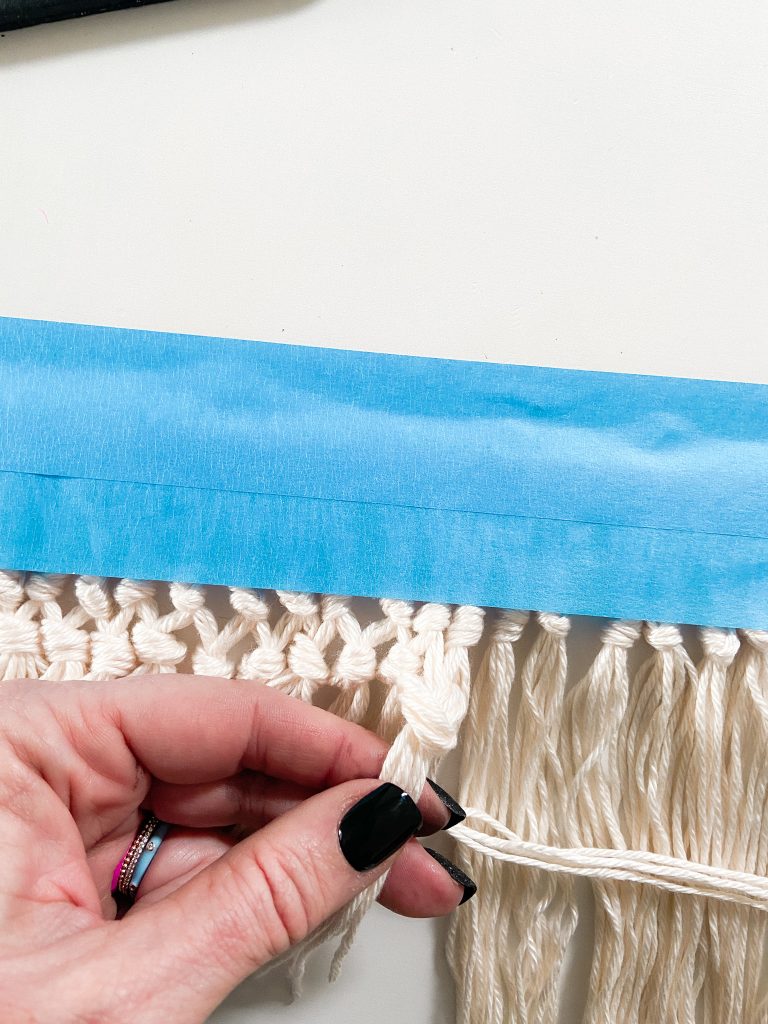
Keep combining the four strings from one knot to the adjoining four strings of the next knot until you reach the end of the trim. You will have four loose strings at the end which match the four loose strings at the beginning of the row.
Make Another Row of Knots Under the Second Row
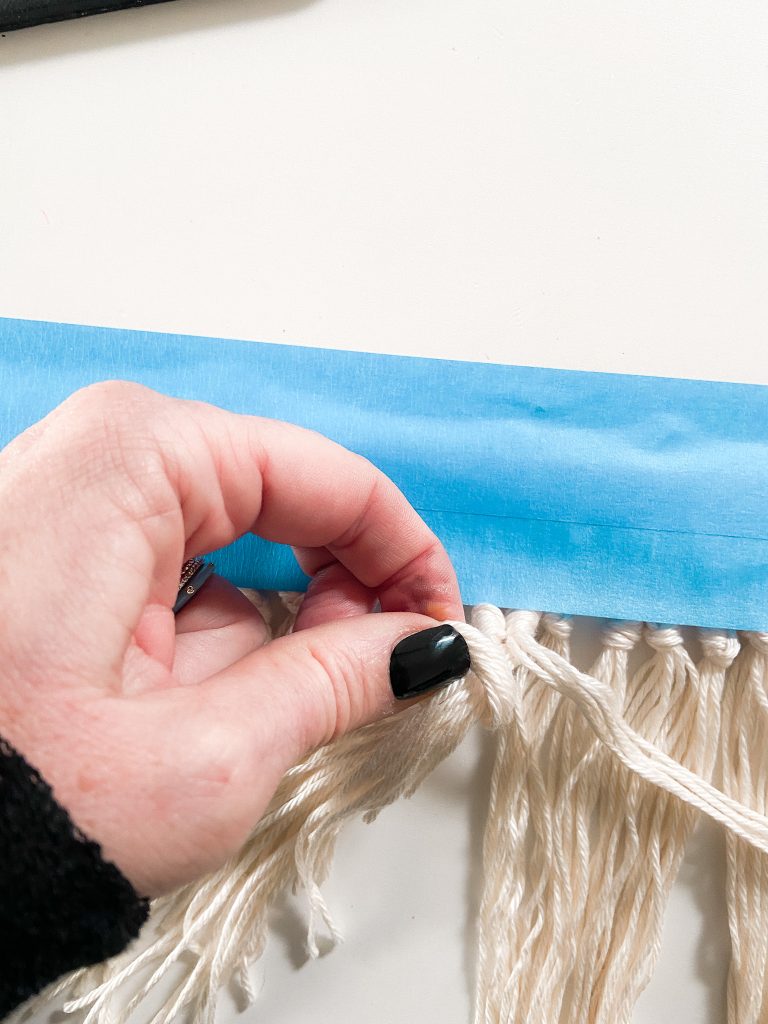
Go back to the beginning of the trim and take the four loose strings from the beginning of the row you just completed. Use those four strings and the first four strings from the knot above and make another overhand knot. Push the knot under the second row and pull tight. This is the third row. Keep combining the kots and go across the trim, the same way you created the second row. This row will also combine trim from each of the two knots above to create a third row. I only make three rows of knots for my trim. If you want to make a longer trim you will need to cut longer lengths of yarn or cording.
Cut a Length of Ribbon or Bias Tape
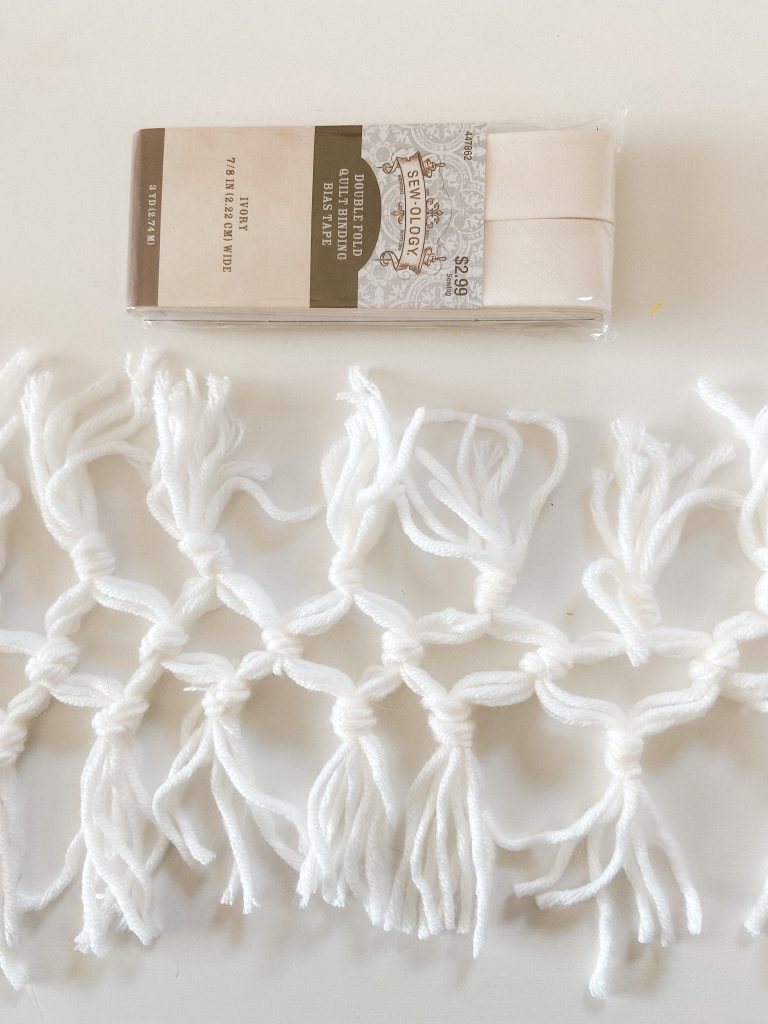
Now you will cut a length of ribbon or bias tape that is the length of the pillow side you are creating. Since my pillow is 20 inches square, I cut my bias tape to 20 inches.
Glue Top of Fringe to the Middle of Ribbon or Bias Tape
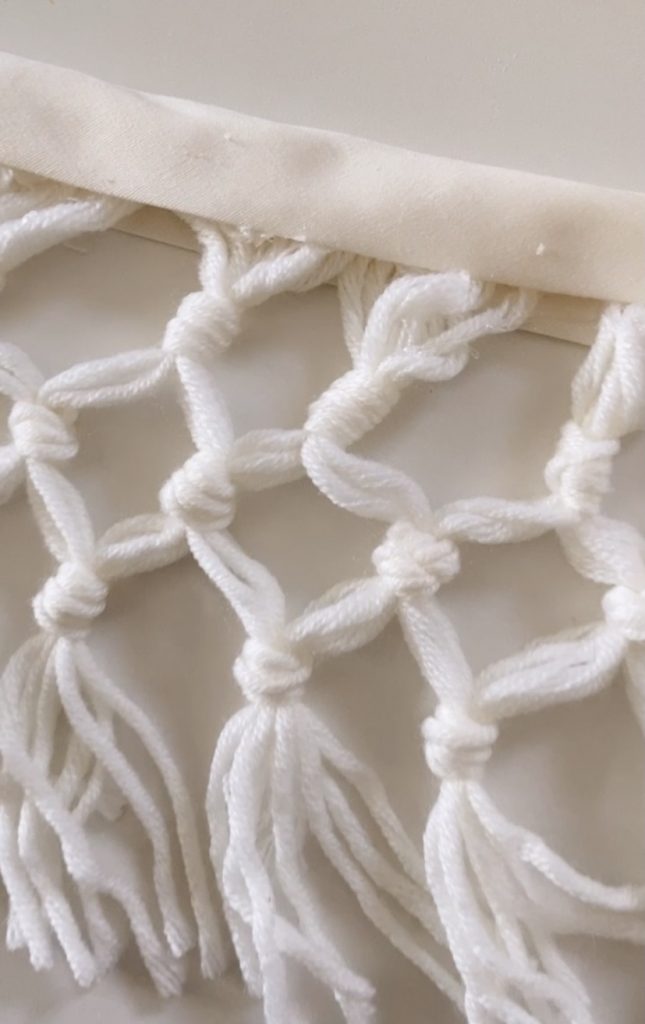
I used fabric glue to attach the top of the fringe to my bias tape. I ran a bead of fabric glue across the middle of the bias tape. Then I laid the top of the trim on top of the fabric glue. You will want to spread the top strings out as you glue them onto the bias tape so that the top of the strings connect with each other.
Fold Bias Tape Over the Glued Fringe
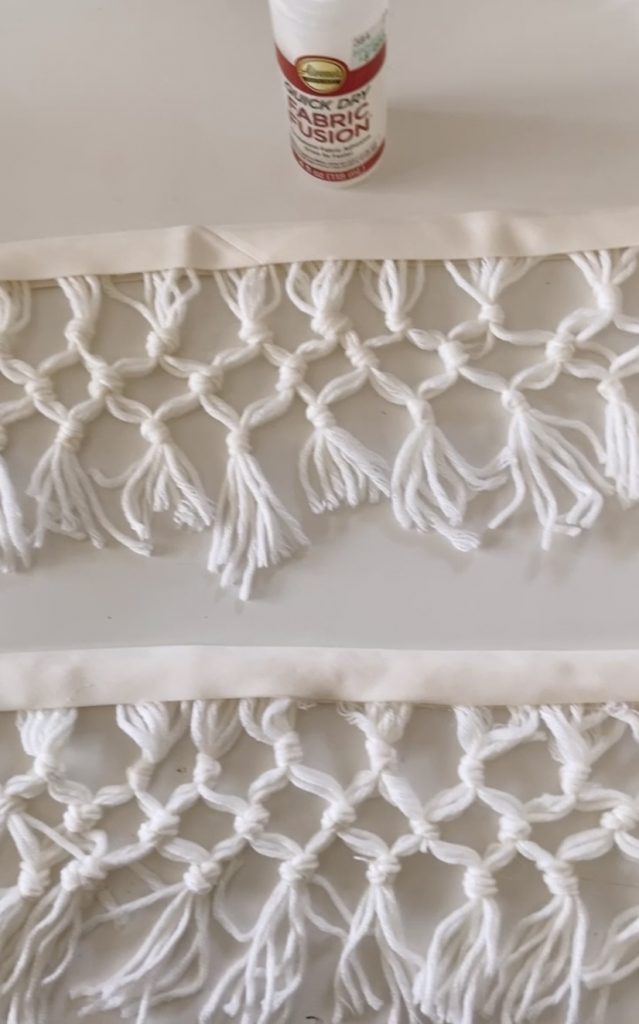
Once I had glued the top of the fringe onto the middle of the bias tape I folded the other side over the fringe and ran my hand over the folded bias tape to smooth it out. If you are using ribbon, cut another length of the ribbon and lay that over the fringe and glue to secure the top of the fringe.
Trim Excess String
Once your trim pieces are secured with the bias tape or ribbon, trim the loose ends in a straight line. I took the shortest ends and trimmed everything to that length. You might wonder why the ends are different lengths when you started out with yarn that is cut to the same length. The reason is that when you are making the knots, some ends are pulled at different lengths and that makes thing get uneven. But no big deal, just trim everything to the same length now.
Create Envelope Pillow Cover
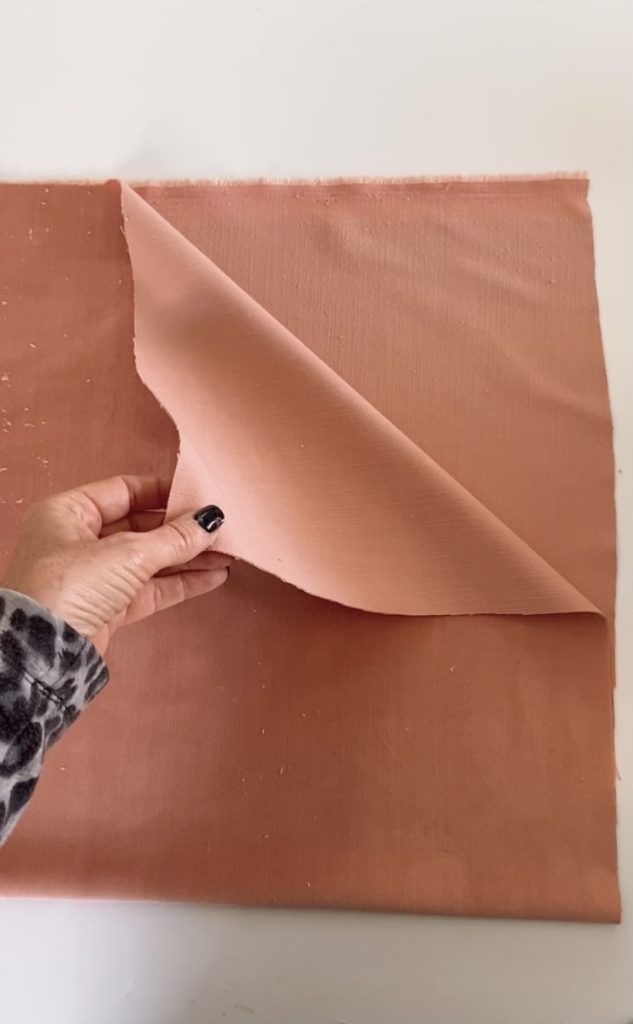
Use the directions in my Envelope Pillow Tutorial to cut out the pillow cover. You will have a piece of fabric that is the front of your pillow cover and then a longer length of material that is the same wide as your pillow but is about 6 inches longer than the length.
IMPORTANT — for this pillow cover you need to cut bigger seams to conceal the bias-taped side of the fringe. So instead of a 1/2 inch seam you will need to sew the pillow cover with a 1-inch seam on the two sides you are adding the fringe to.
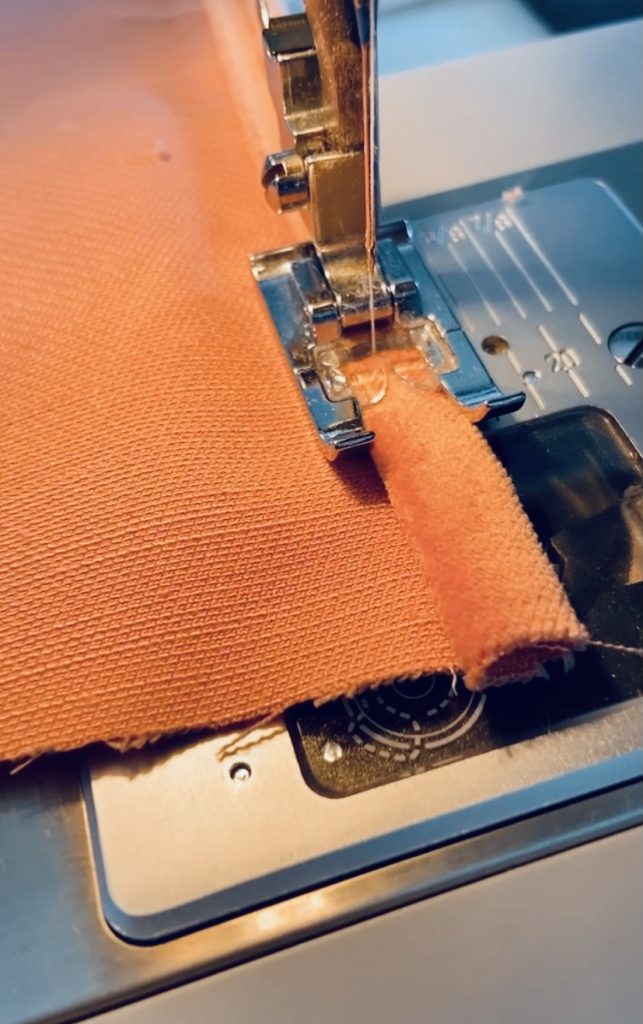
You cut that piece of material in half to create the envelope back of the pillow. This is how the pillow is inserted into the pillow cover. You will fold the one open seam of fabric on the envelope back to create the seam on each back of the envelope. This might sound confusing but if you look at the tutorial you can see that it is easy.
Lay Front of Pillow Cover on Flat Surface
Now you lay the front of the pillow cover on your surface with the front side of the fabric facing up.
Put Trim on Front of Pillow Cover
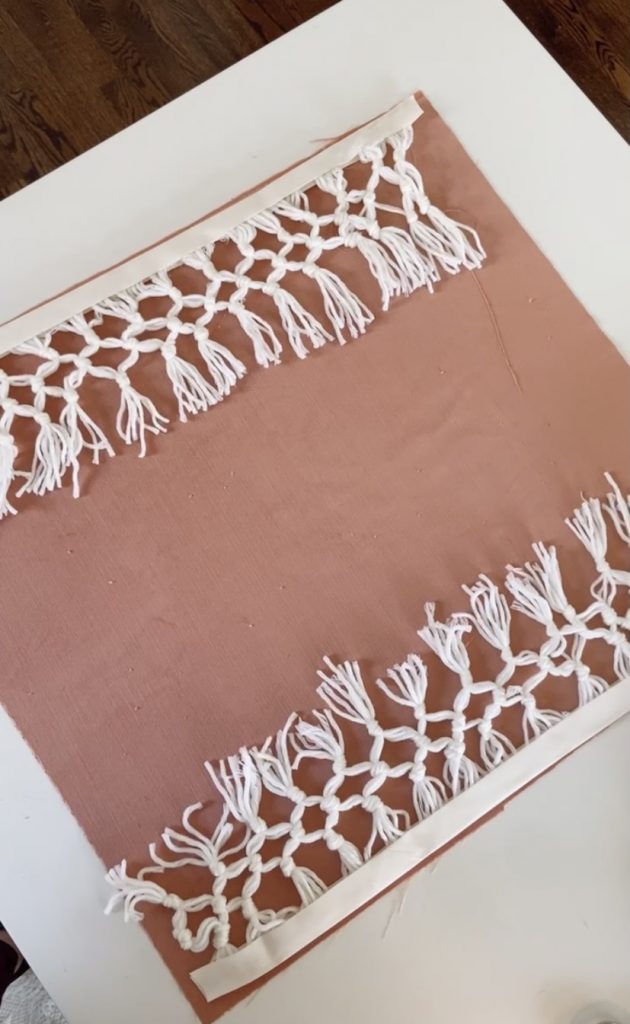
Lay the trim on top of the pillow cover with the outside of the fringe in the middle. The side with the bias tape or ribbon will line up with the edge of the pillow cover.
Pin the Layers Together
Use pins to lay out where you will sew. You need to make sure you are attaching all of the layers. You have the front cover, the bias tape trim, then the two pieces envelope back. So FOUR layers. Pin the whole pillow cover and make sure all four layers are pinned with the bias tape outside of where the seam will be. You don’t want the ribbon or bias tape to show outside of the seam.
Sew the Pillow Cover
Now you sew. Go slowly because you are sewing a lot of layers. Also make sure the fabric glue has dried. You don’t want to sew with glue that is wet. Fast drying fabric glue dries fastest.
Flip Pillow Cover Inside Out

After you have sewn all four sides of the pillow cover, Put your hand inside the envelope and flip the pillow cover inside out. This is really the outside of the pillow cover and the macrame fringe will be on the outside of the pillow cover. If you can see any of the ribbon or bias tape, simply flip the cover back the way it was and go around the pillow cover on those sides, making the seam wider. I had to do this and it was no big deal. It only takes a few minutes and makes the pillow cover even more secure.
Envelope Pillow Cover with Macrame Fringe Trim
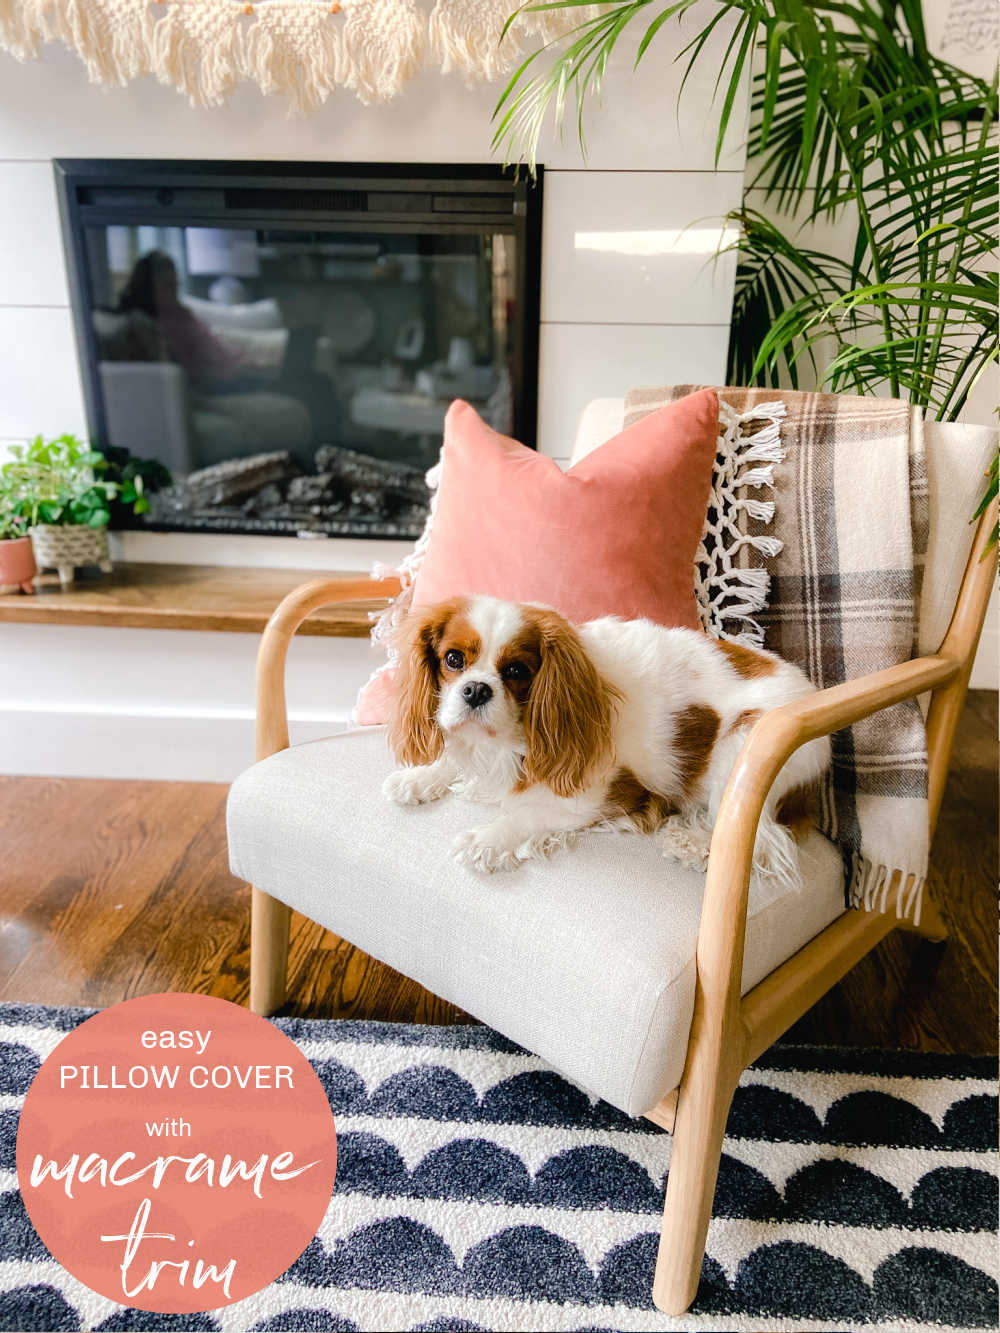
Enjoy your handmade pillow! If the ends of the fringe seem a little uneven you can also trim them now.
More Easy Fabric Ideas

My 100 Year Old Home | DIY Craft Easy Vegetable Printing
Twelve on Main | Easy DIY Embroidered Tea Towels
Happy Happy Nester | How to Make Felt Flowers
Tattertots and Jello | Pillow Cover with DIY Macrame Fringe Trim

Most Lovely Things | DIY Canvas Wrap Vase
The DIY Mommy | No Sew Ruffled Tea Towel from Scrap Fabric
Zevy Joy | How To Sew An Apron From A Kitchen Towel
My Sweet Savannah | DIY Shibori Flag
Satori Design for Living | DIY Tea Towel Flatware Holder
Here are a few other easy fabric and craft ideas to make!
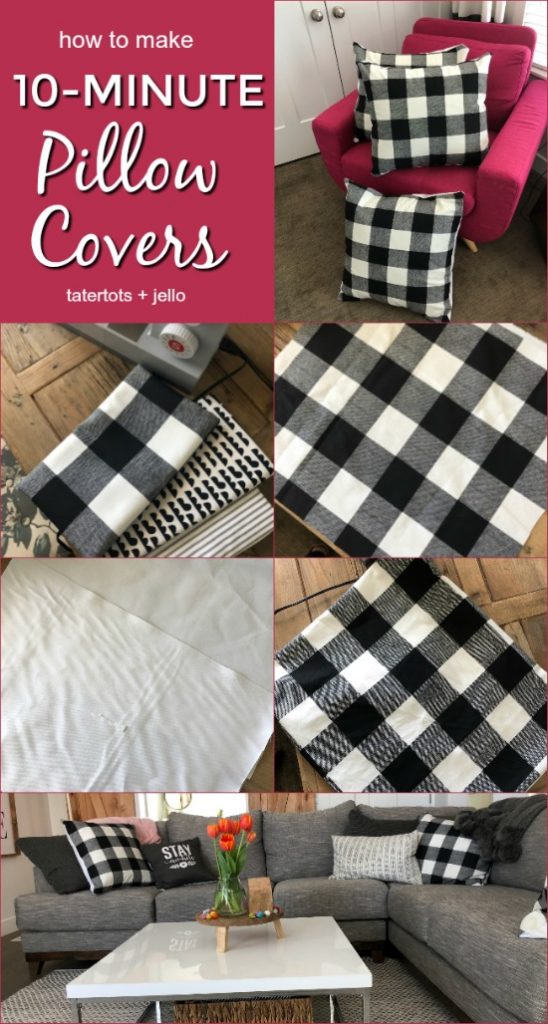
10-Minute Pillow Cover Tutorial
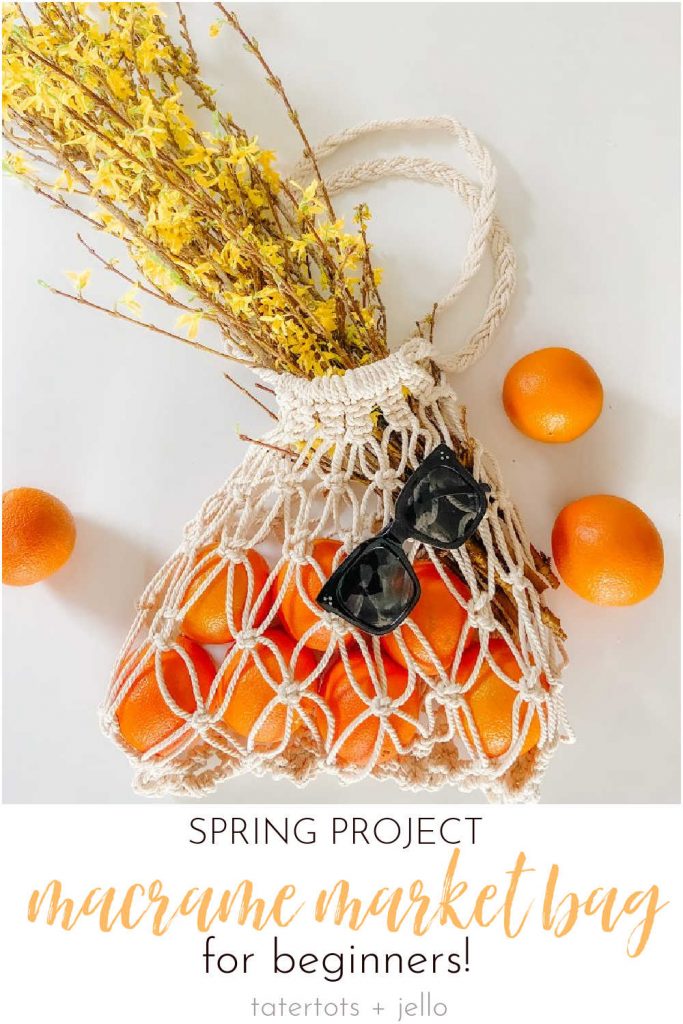
DIY Macrame Spring Market Bag
Have a Beautiful Day!
xoxo




Where did you get your half circle blue and white rug. I have been looking for something like this for a while. Thanks!