Removable Wallpaper Tips and Tricks! Transform a wall in under an hour with these easy tips and tricks!
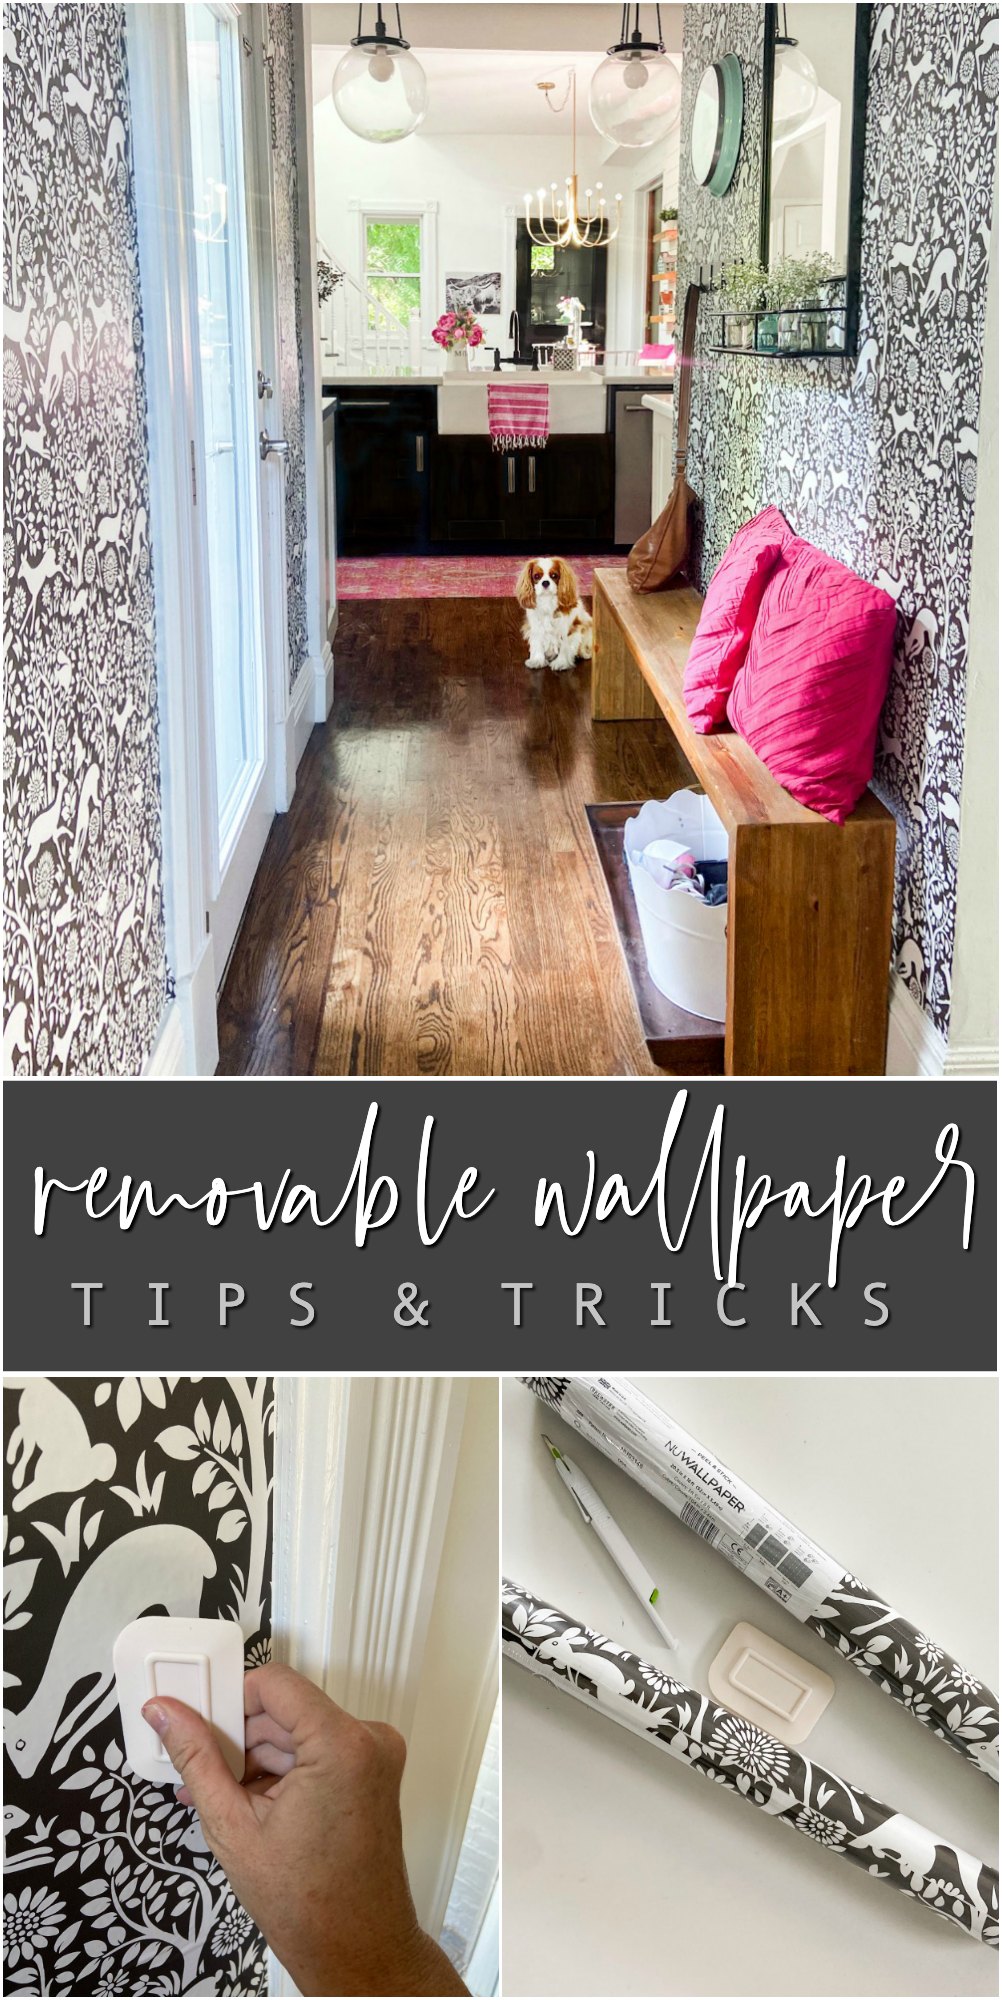
Removable Wallpaper Tips and Tricks
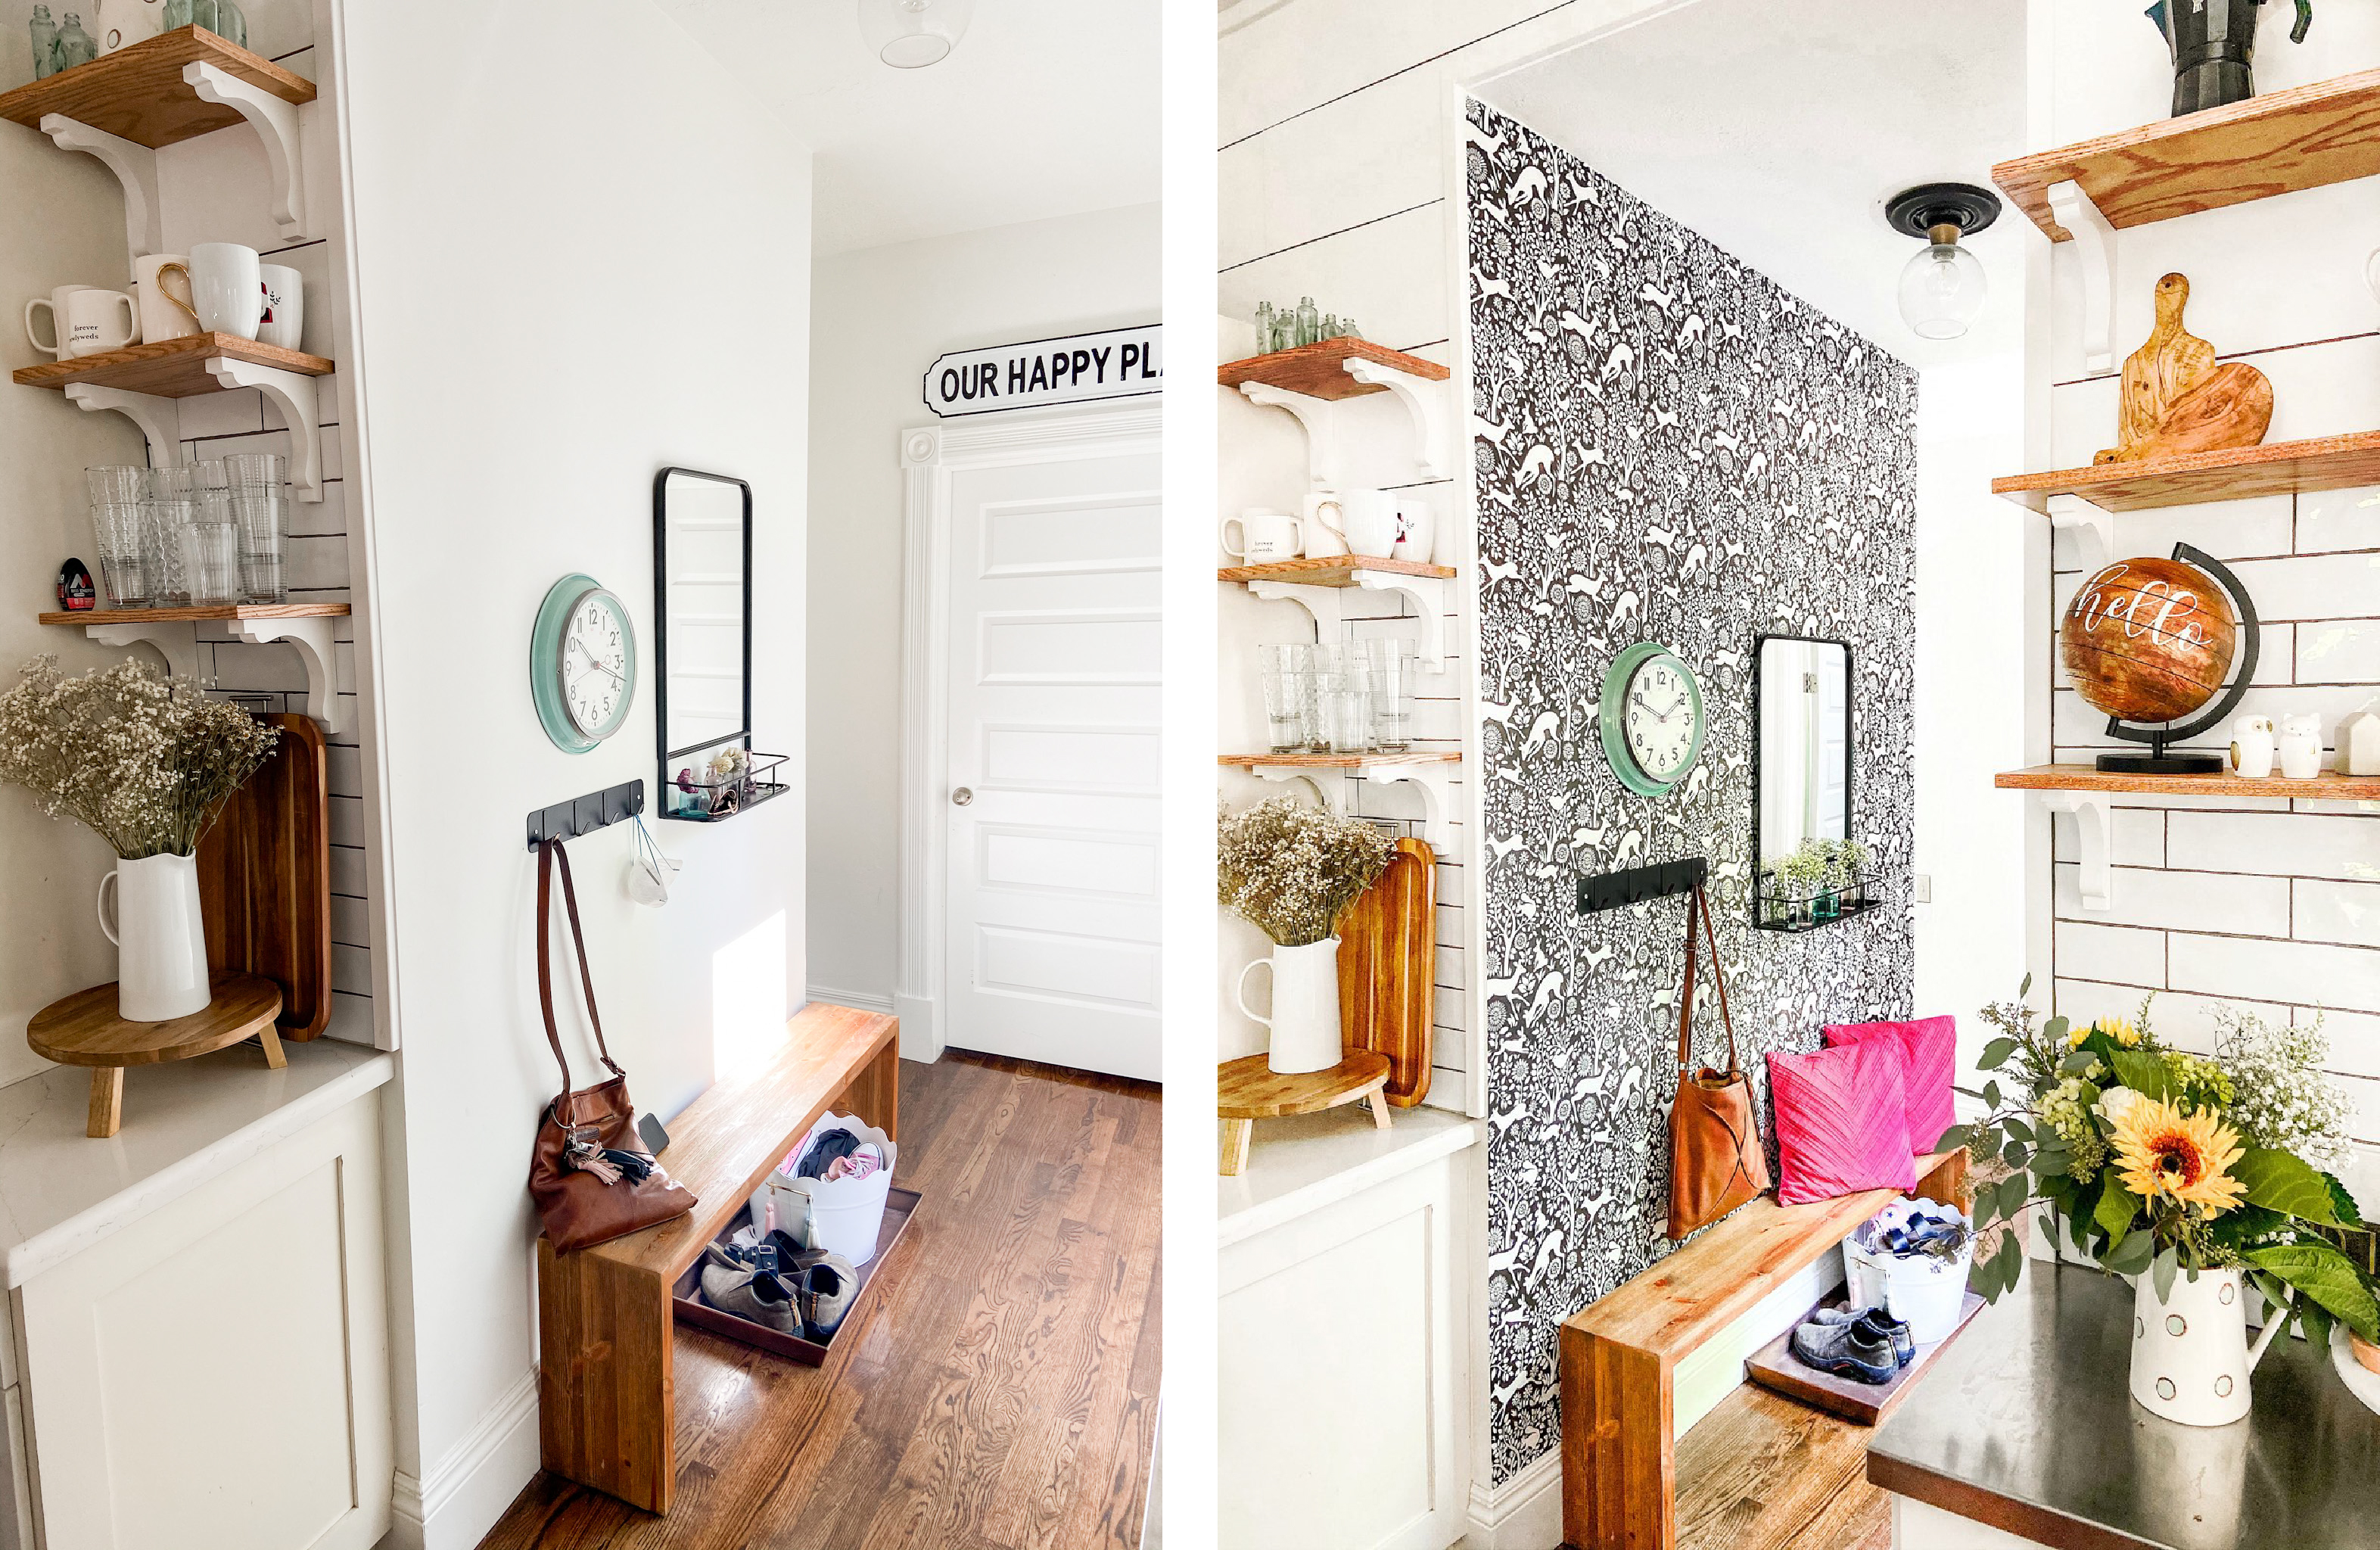
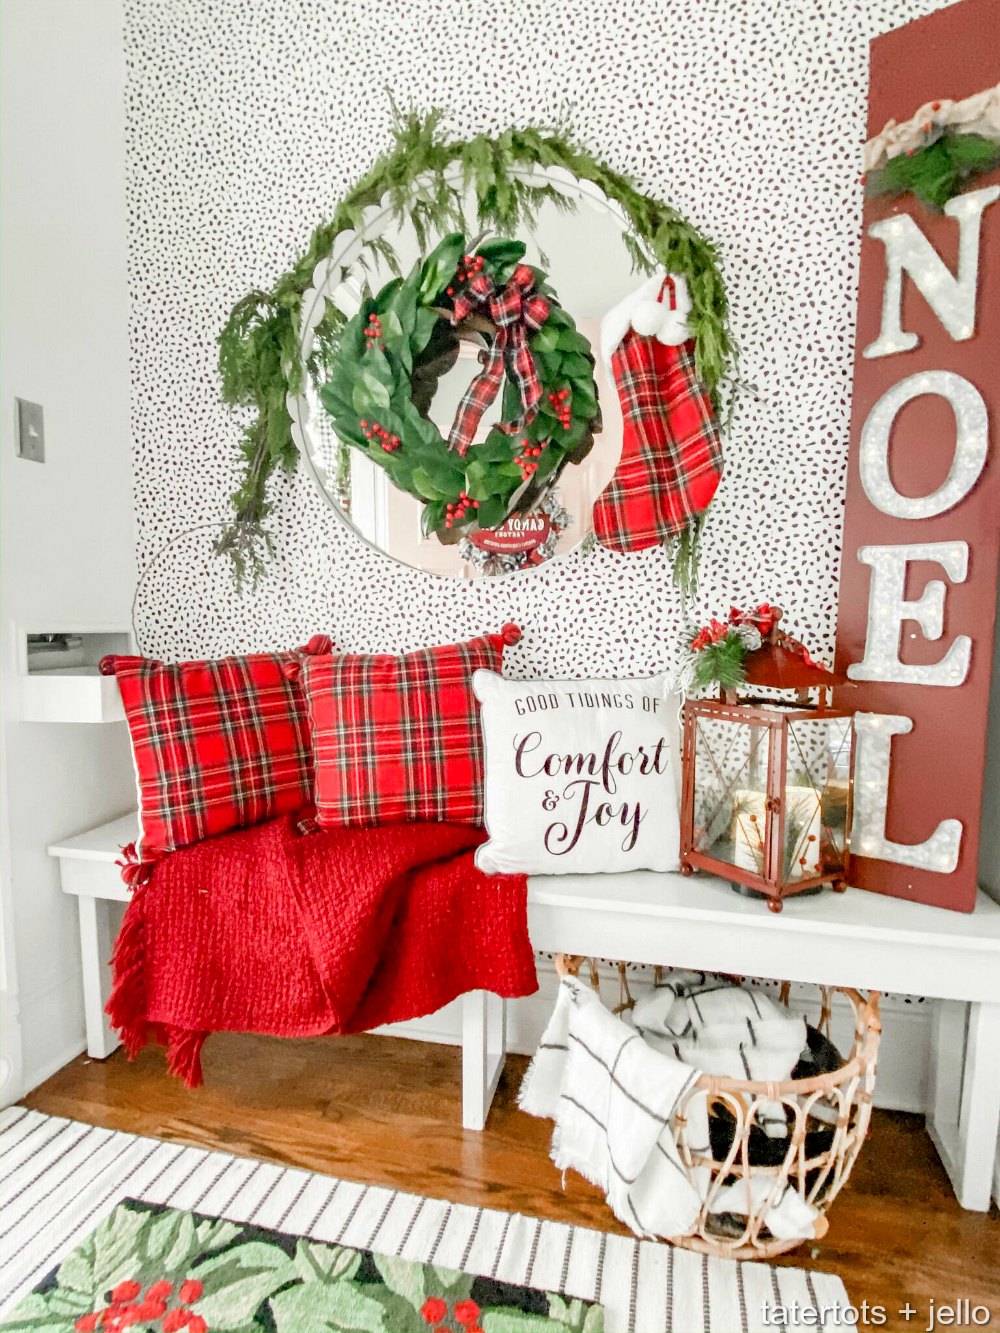
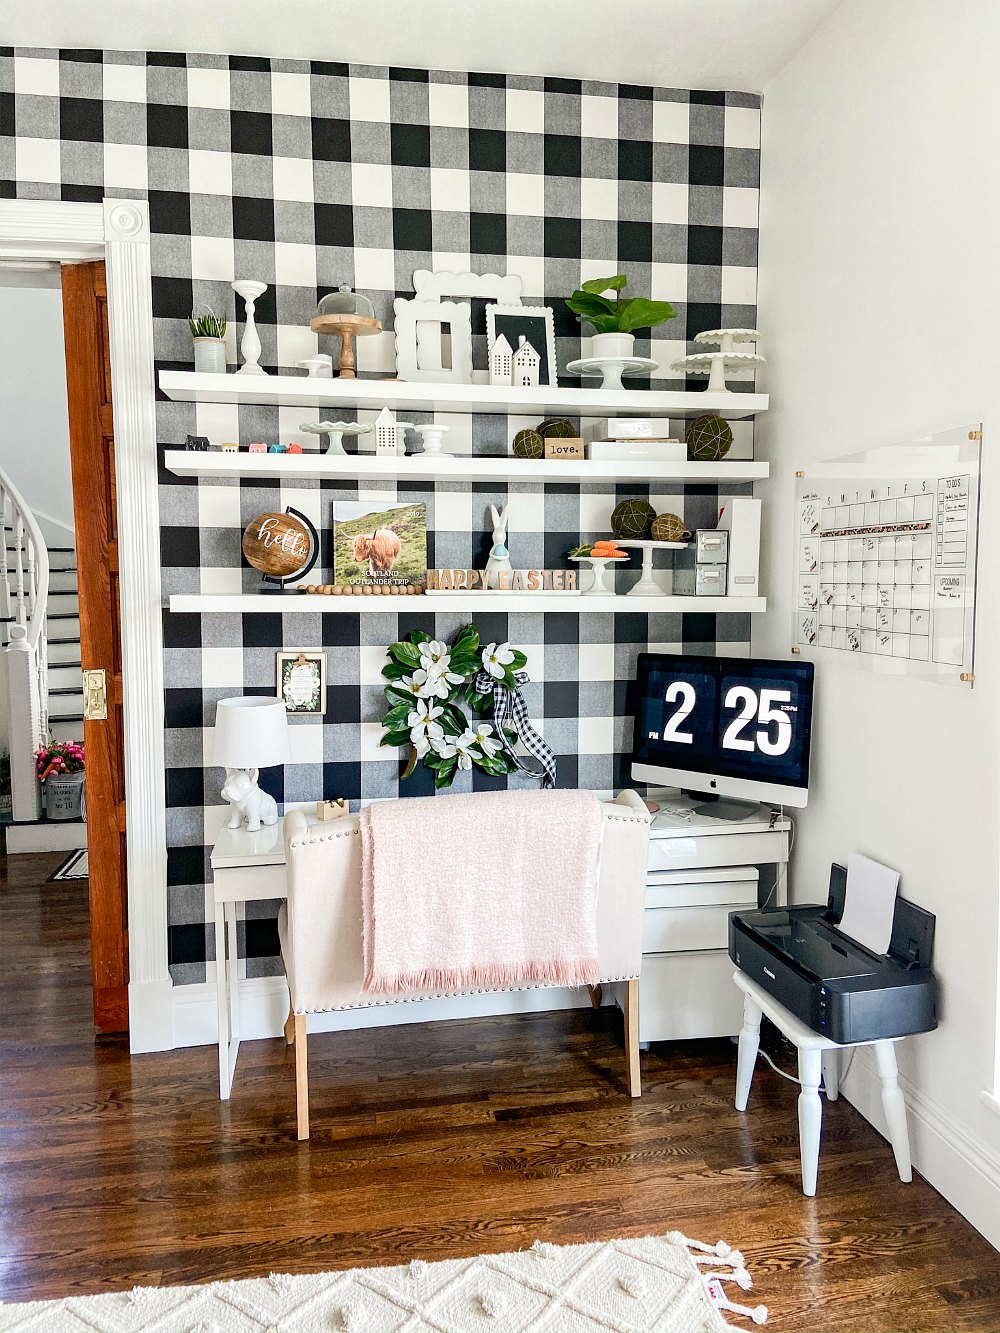
Removable wallpaper is my new favorite thing! I used it in our master bedroom last year for the first time. Since we moved into our new home I’ve used removable wallpaper in our front entry, on two walls in my office and I just wallpapered two walls in our back entry too! I love it!
This post contains some affiliate links to the products I used. Tatertots and Jello earns a small percentage off affiliate links which lets us bring you free content.
Tips to Make Installing Removable Wallpaper Easier
Over the past year I’ve learned from my mistakes and I am sharing what I’ve learned. Learn from my mistakes and you can transform a wall in our home in under an hour!
Tools to Install Removable Wallpaper
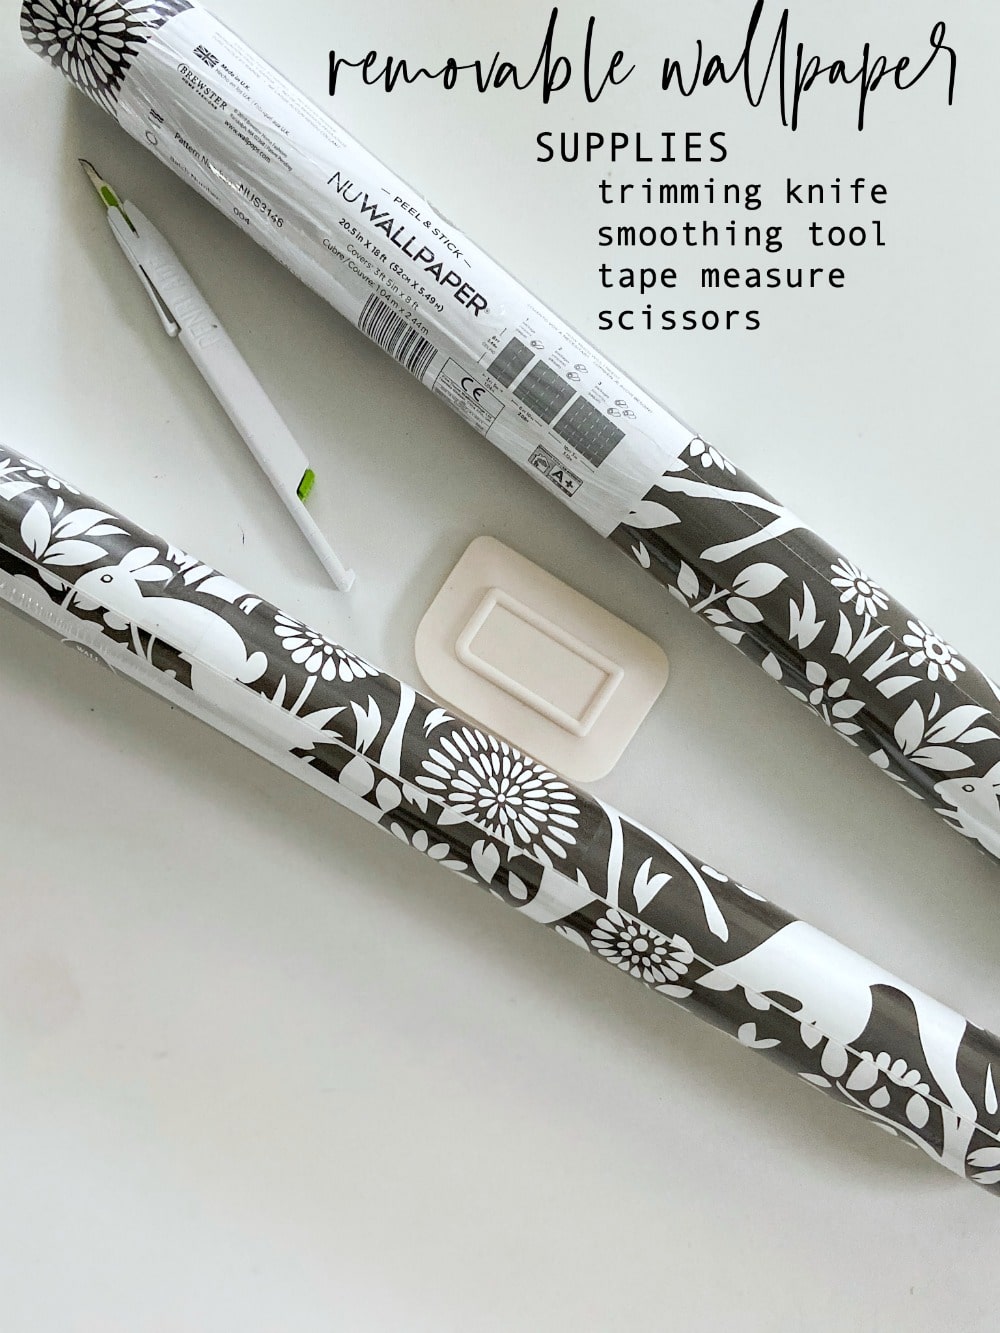
There are a few tools you can use to make installing removable wallpaper easier:
- Scissors
- An Xacto knife or Micro Blade (this is what I prefer because it’s gentler on your molding and ceiling)
- Smoothing Tool – you can use a credit card but the edges can be too sharp and might tear your wallpaper. This smoothing tool has rounded edges.
- Tape Measure
Where Do You Start When Installing Removable Wallpaper?
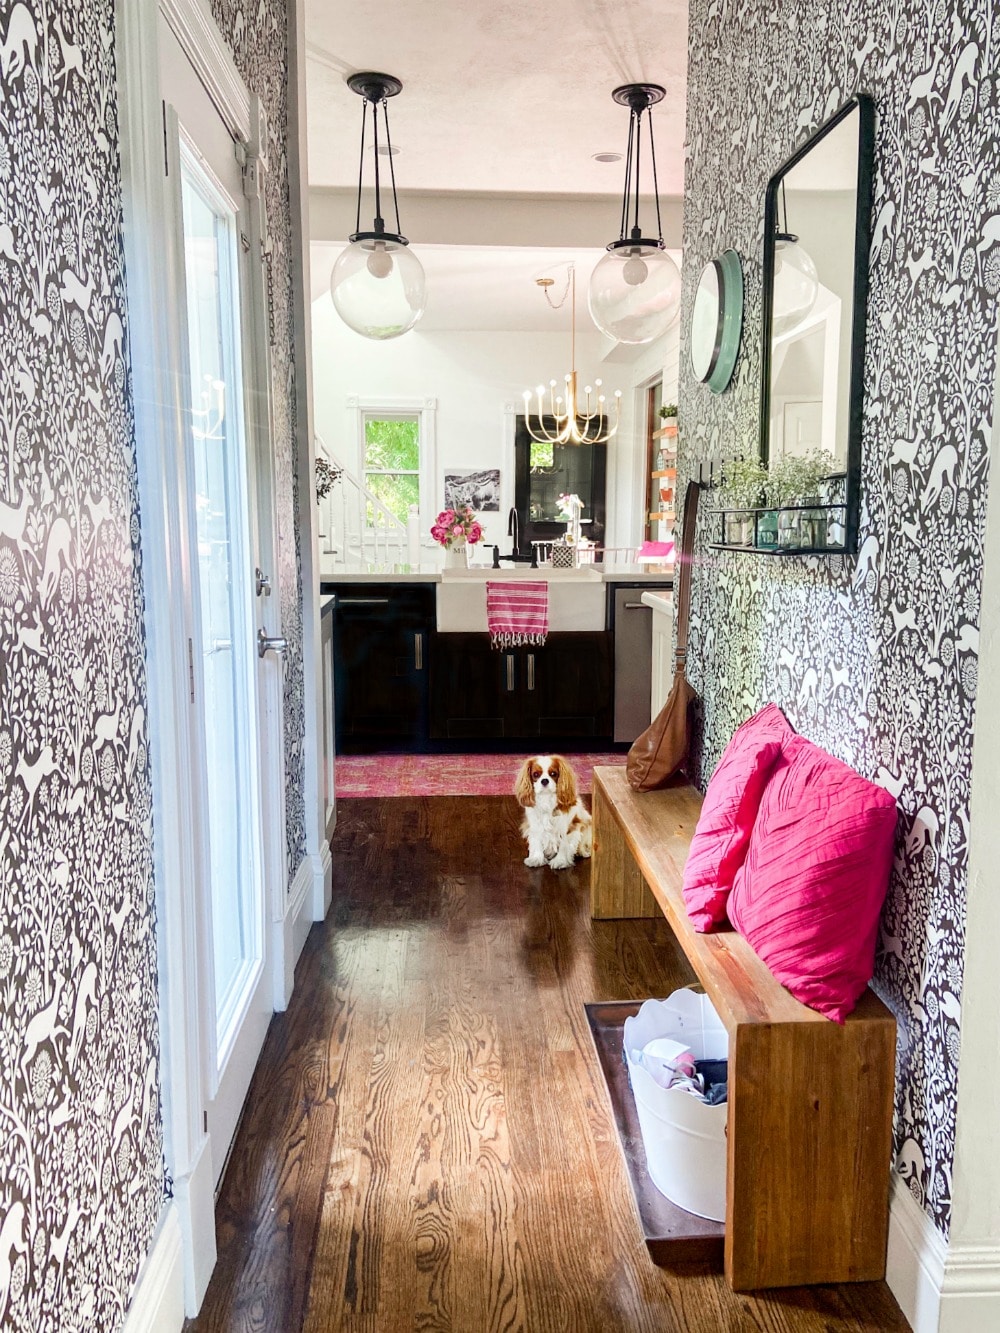
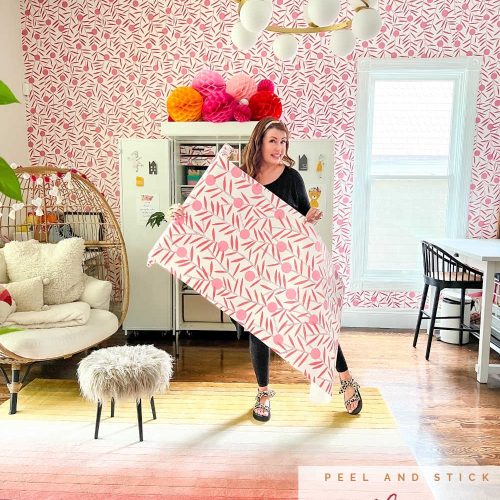
Here’s a link to the wallpaper I used for this project — Merriment Charcoal Wallpaper.
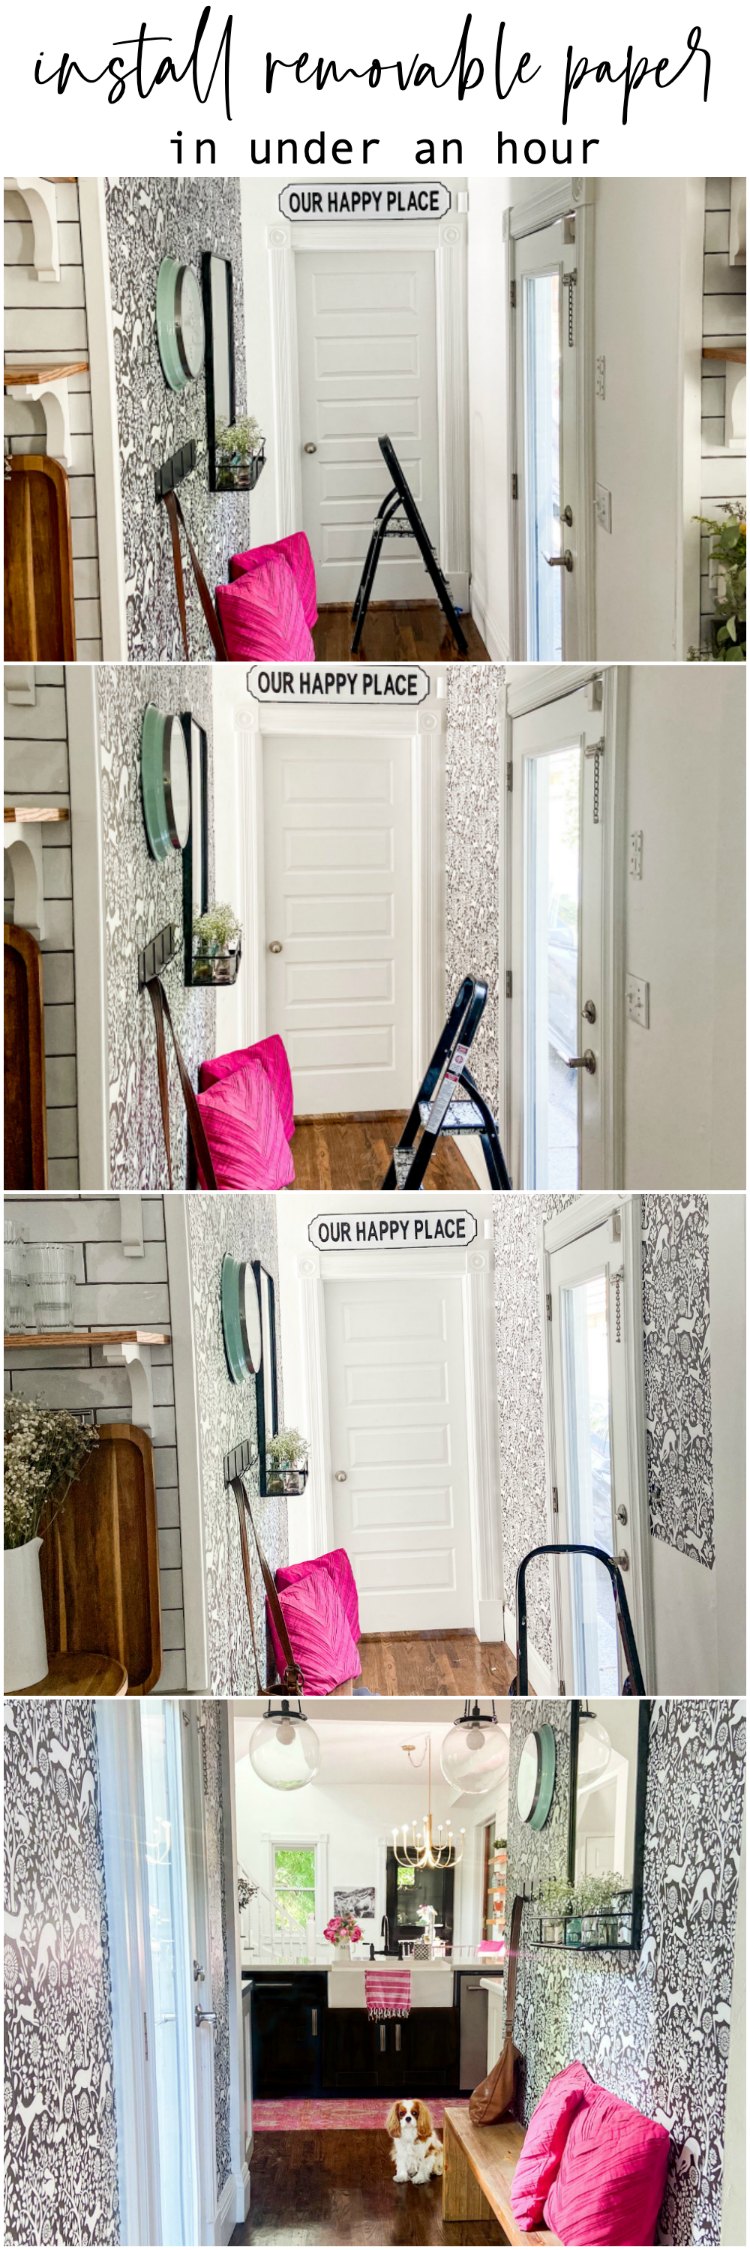
I always start at one corner of the room and work my way across the room. Line up the edge of your wallpaper at the top of the wall and lay it along the edge of the wall.
Steps to Install Removable Wallpaper
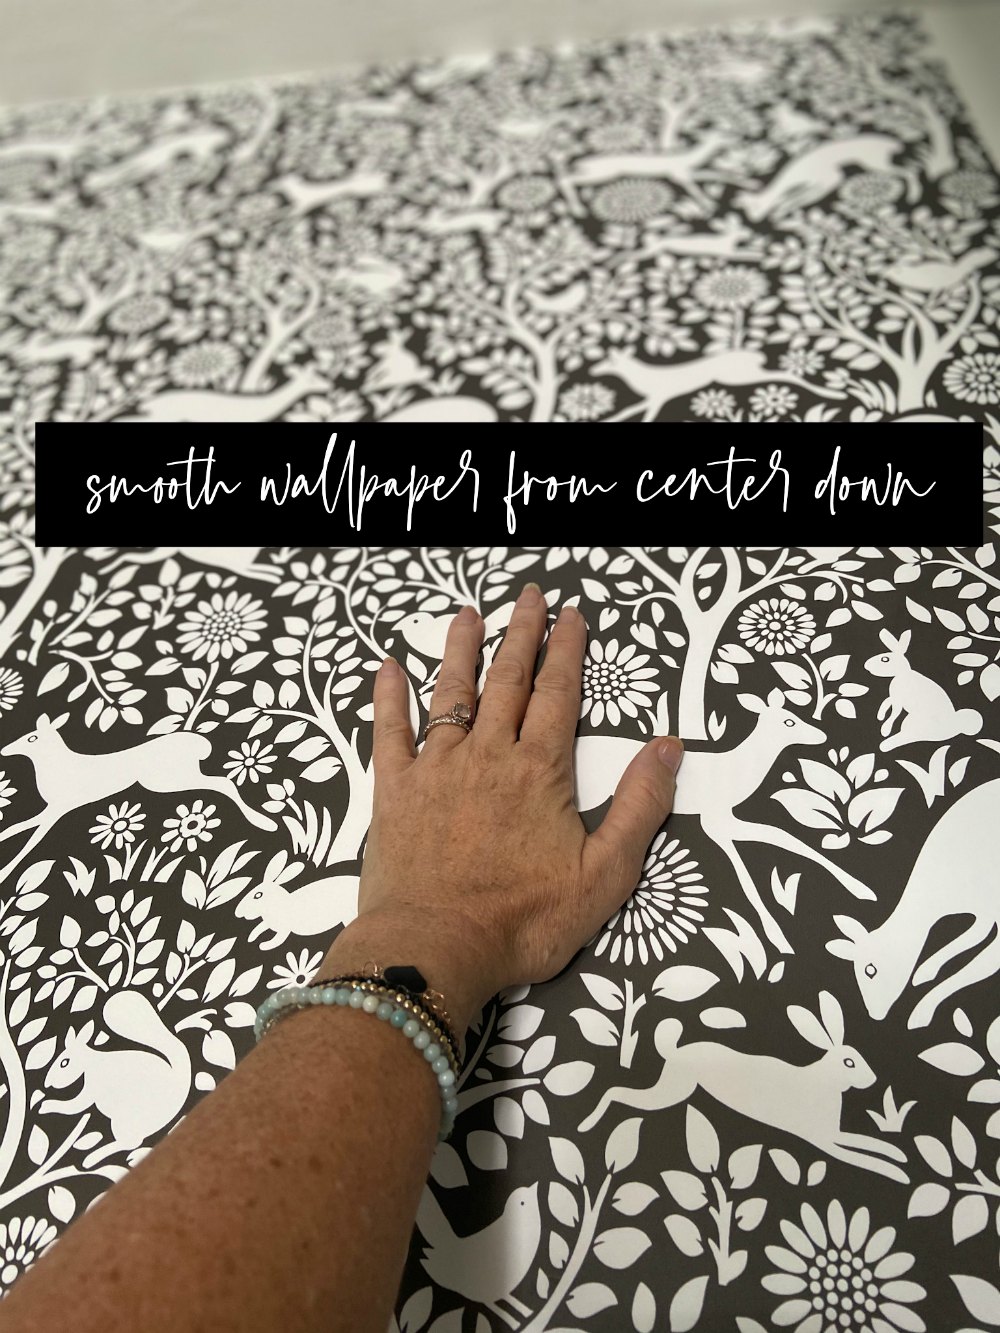
Here are detailed instructions on how to install the first panel. The first panel is the most time consuming because you need to get the first panel lined up against the wall to make sure the whole wall is straight.
Installing the First Panel
- Measure the length of the wall and add 5 inches. Cut the wallpaper panel to that length.
- Start at the top corner of the room. Line up the corner of the wallpaper to the corner of the wall.
- Peel the wallpaper backing down about 5 inches and fold it flat against the back of the wallpaper panel.
- Line up the edge of the corner and lay the panel against the edge of the wall.
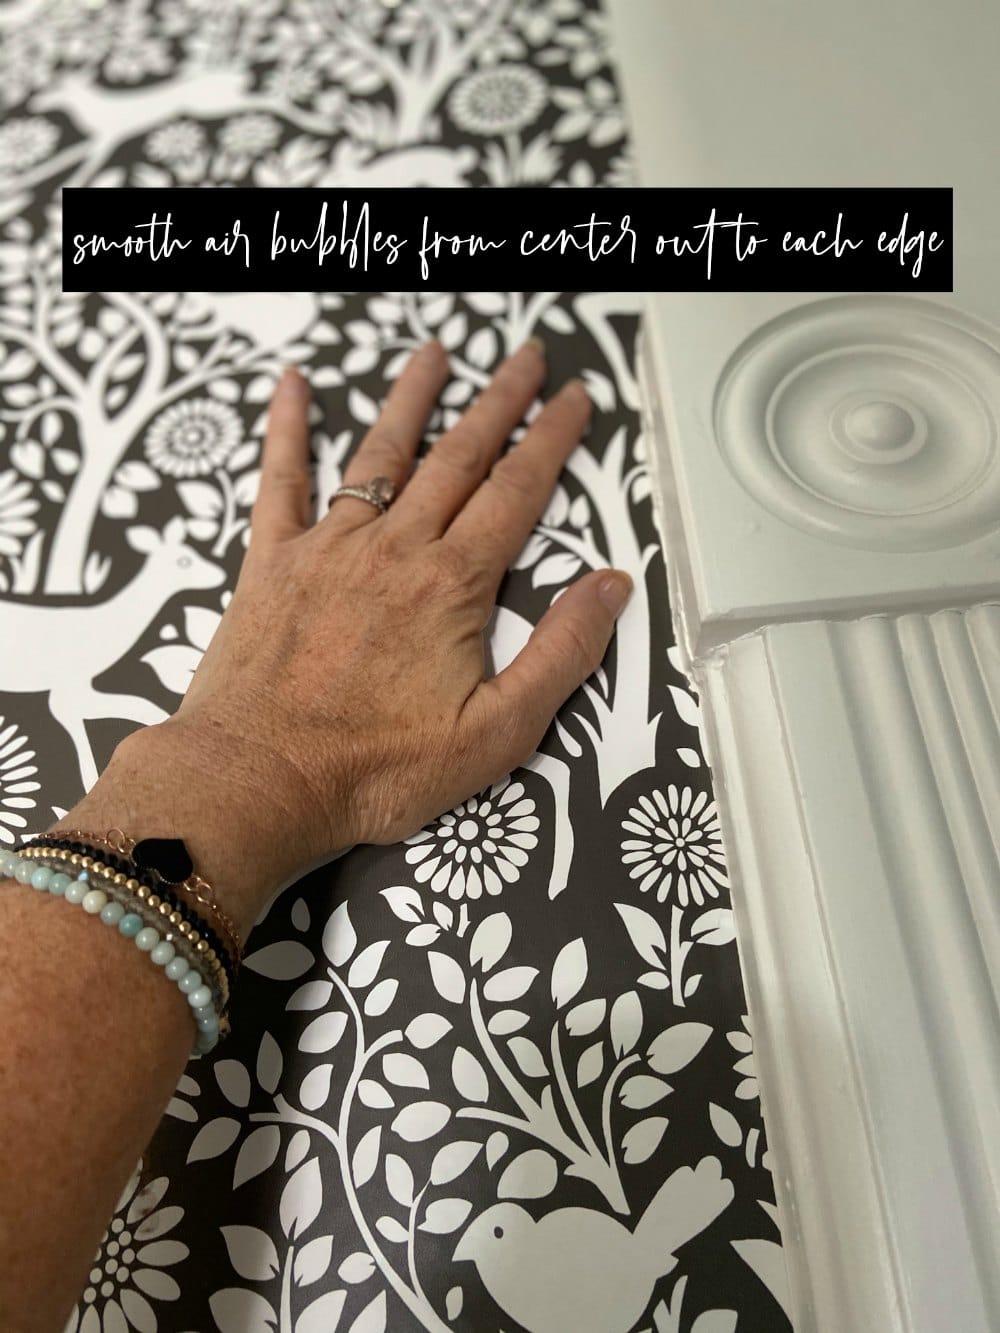
- Smooth the edge of the wallpaper against the wall and smooth the wallpaper, running your hand up toward the ceiling.
- Smooth the wallpaper panel to the other edge by running your hand from the wall up diagonally to the other edge of the wallpaper at the top of the ceiling.
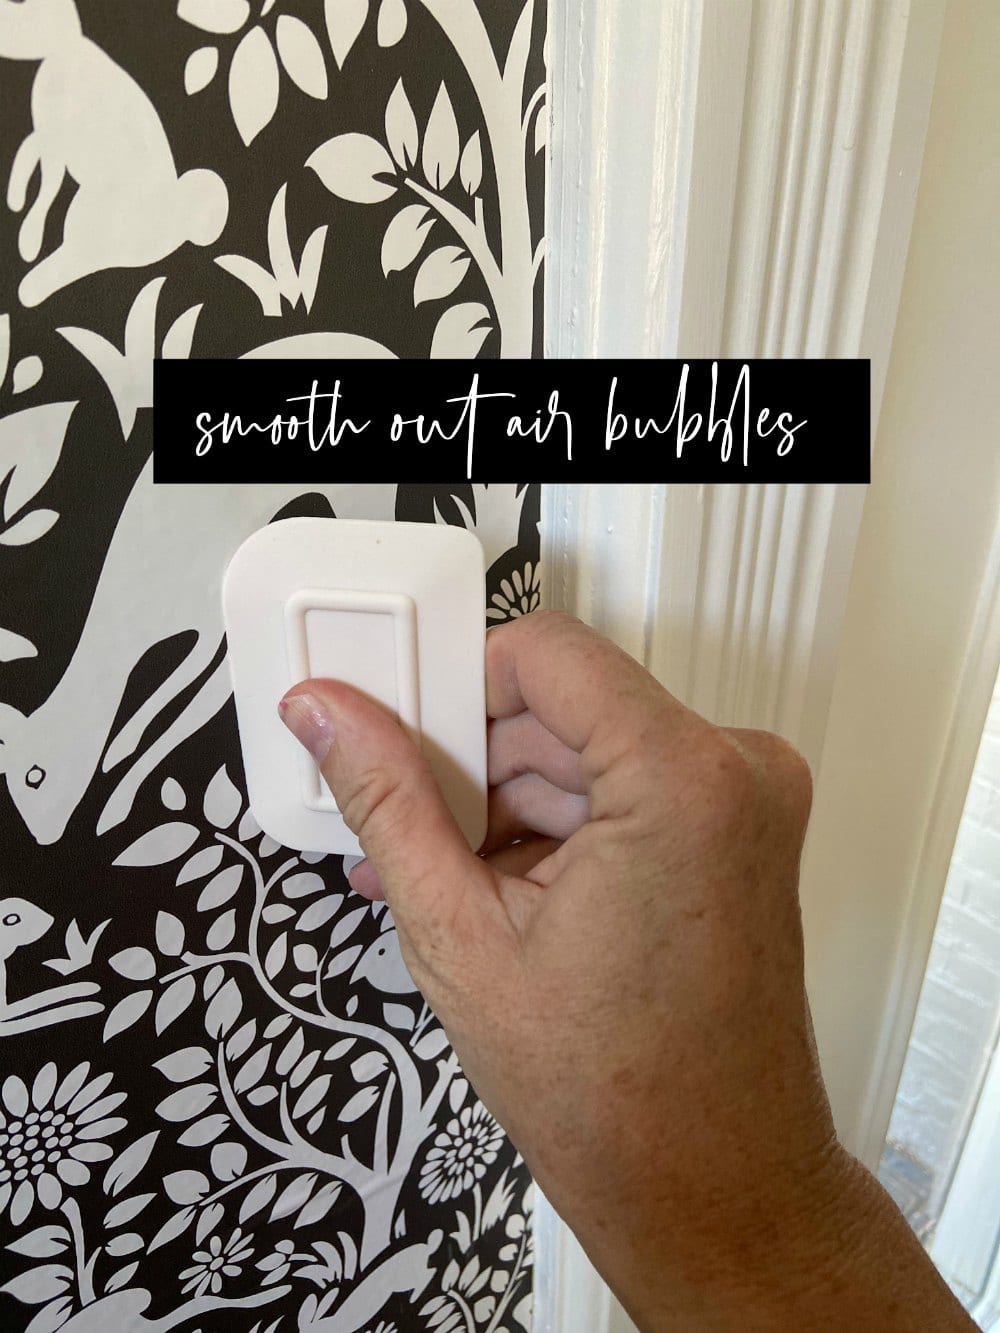
- Tip — You might get some air bubbles. If you do, peel back the top of the wallpaper panel and smooth it by running your hand up the center of the wallpaper panel and smoothing both sides by running your hand one way to the side of the panel and doing the same thing on the other side of the panel.
- Tip — The hardest part is getting the corner and sides of the panel lined up straight. Once you get the panel straight, the rest of the panels will line up and it won’t be as difficult.
- Tip — Don’t be afraid to reposition the panel as many times as you need to in order to get the edge of the panel straight against the wall.
- Tip — Don’t worry if the top of the panel isn’t lined up perfectly against the ceiling. If you have extra wallpaper at the ceiling you can trim it when you are done.
- Once the top is lined up against the wall, continue peeling the backing off by rolling it down by pulling it straight down under the wallpaper.
- Peel back about 2 feet of backing at a time. Run your hand down the middle of the panel and then smooth both sides by running your hand across each side, going downward toward the bottom of the exposed wallpaper.
- Keep doing that until you reach the bottom of the wall.
- Tip — Smooth everything down to make sure there aren’t any air bubbles. Most small air bubbles can be smoothed out by running your hand from the center of the panel to the sides. If there are air bubbles that are too big and you get folds, reposition the wallpaper until everything is smooth.
Installing More Panels
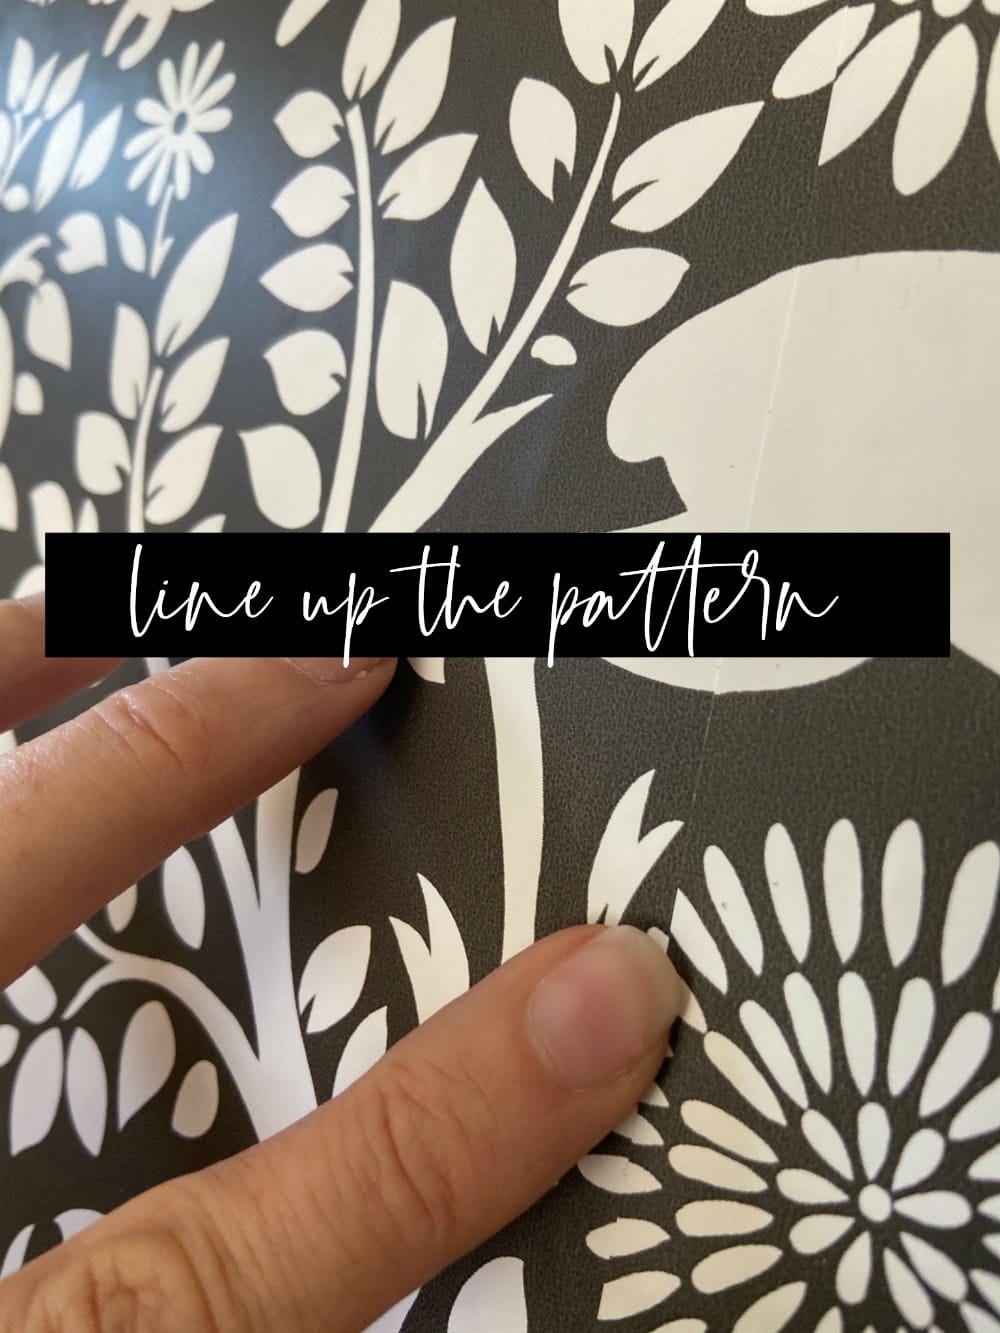
- Once your first panel is installed, now you need to line up the pattern on the second and subsequent panels.
- Line up the pattern with the rest of the roll of wallpaper. See how much wallpaper you need to trim to the ceiling and trim the wallpaper to that point PLUS add 3 more inches to be safe.
- Then measure from that point down to the baseboard and cut the next panel.
- Do the same thing at the top of the panel, peeling the back off about 2 feet down. Line up the print in the panel to the first roll. I line up the edge to the panel next to it and then smooth the wallpaper up to the edge of the top, diagonally. The most important part is lining up the print so you can’t see the seam.
- Tip — You will need to slightly overlap the print so that there won’t be any gaps as you go down the wall.
- Once you get the seams lined up, smooth the wallpaper going up to the ceiling. There will be wallpaper to trim at the top, that is ok.
- Keep peeling the wallpaper backing by pulling straight down as you work your way down the wall. Be patient. You will need to reposition the panel a few times. I probably repositioned each panel 5-8 times per panel. It’s worth the frustration to make the panels line up.
Once All Wallpaper Panels are Installed
Once you have all of the panels installed, there will be wallpaper to trim at the top and at the bottom of the wall.
Trim Wallpaper at the Ceiling
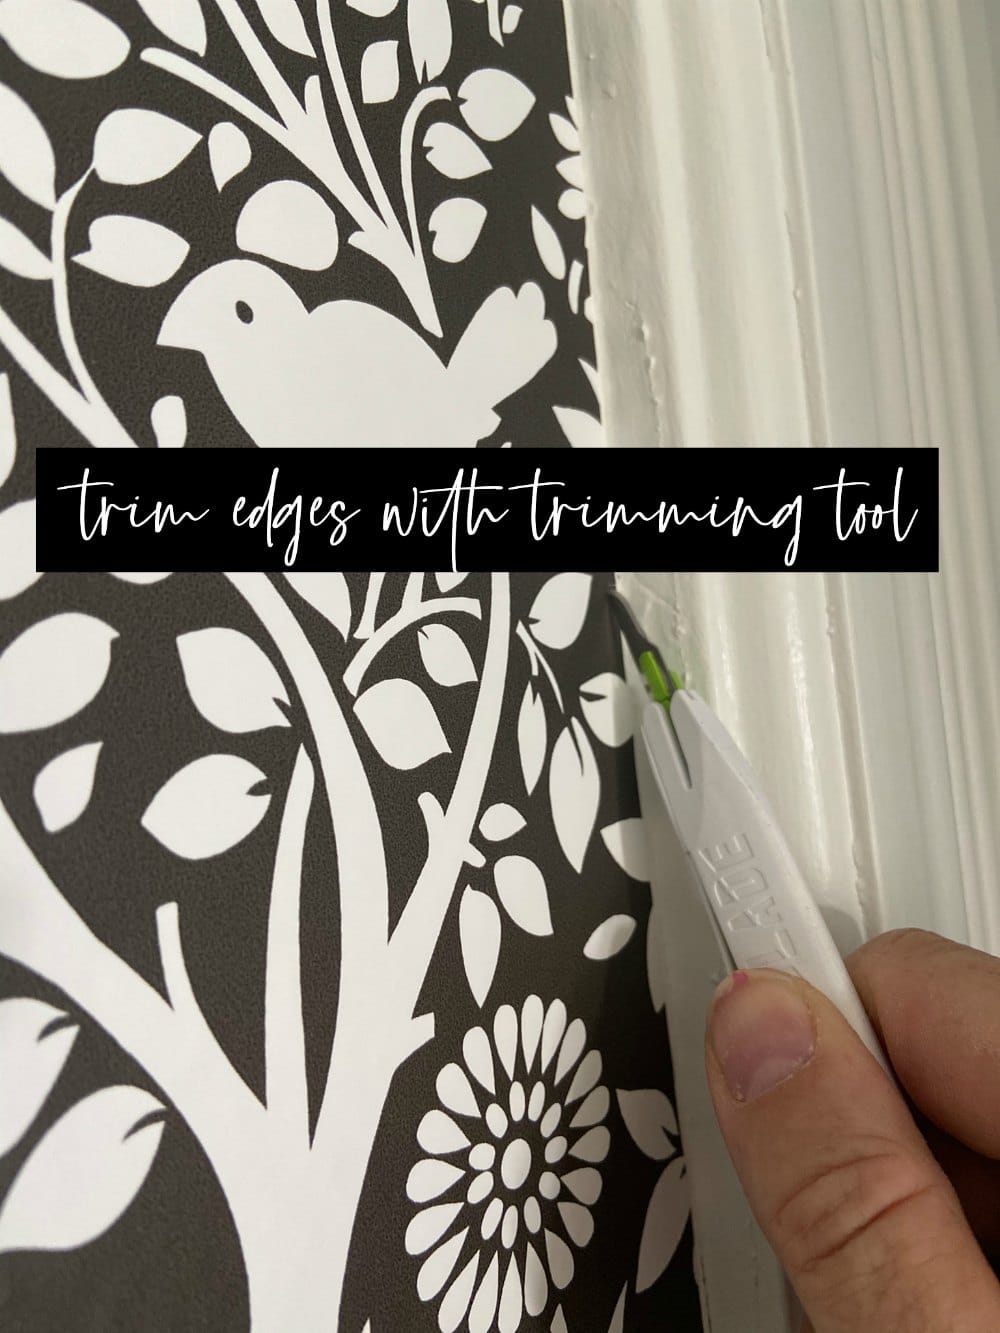
Take your trimming tool and run it along the corner of the ceiling, trimming all of the panels in a straight line.
Trim Wallpaper at the Baseboards
Do the same thing at the baseboards. Run the trimming tool along the baseboard at an angle where the wall meets the baseboards.
Trouble-Shooting Removable Wallpaper Problems
Here are some things that might come up when installing removable wallpaper and how to solve them!
What Do I Do If I Have Gaps?
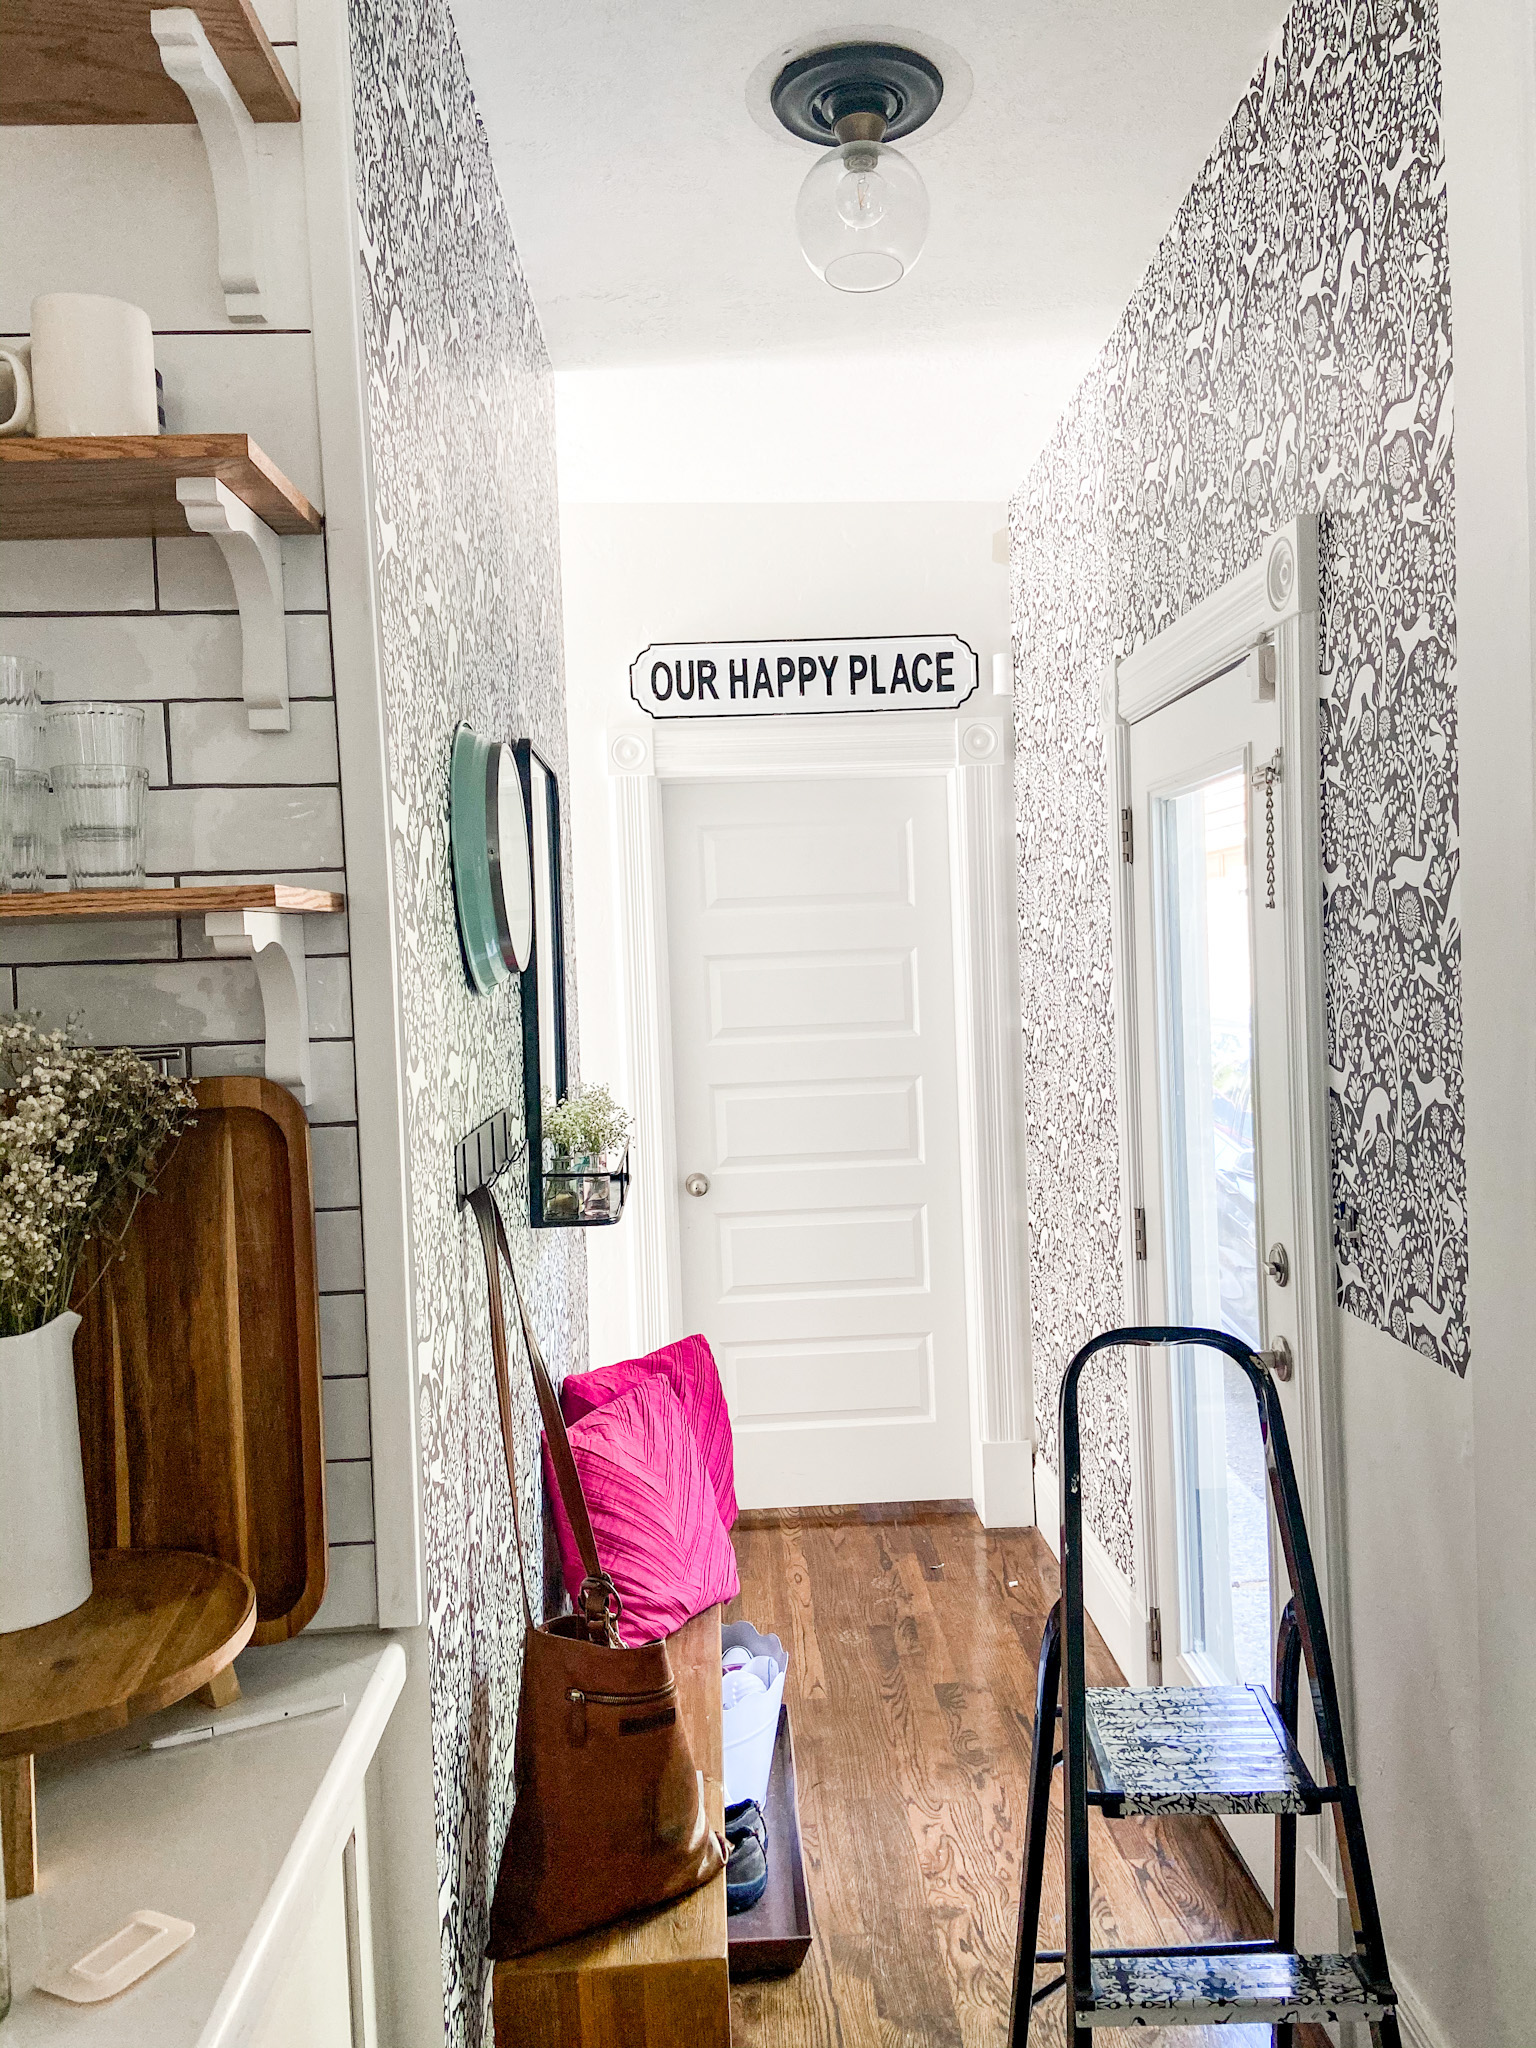
Tip — You might have a section of wallpaper that isn’t long enough. Don’t worry! You can patch gaps by lining up the print and adding a new panel that overlaps and continues the wallpaper to finish off a section.
Use Smoothing Tool at the End
Tip — After you have all of the wallpaper installed and you have trimmed the edges, run the smoothing tool over the whole wall, especially over the edges of the wallpaper to make sure the seams stay adhered to the wall.
How to Trim a Wallpaper Panel on a Wall That Doesn’t Meet a Wall
Tip — In my kitchen hallway, the last panel of wallpaper was wider than my wall. Instead of cutting that panel to a different width, I trimmed it after it was installed. Why? Because walls are not always exactly straight AND if you trim the width before it can be not completely straight and that will look terrible next to a straight wall edge.
Use Scissors to Trim Width of an End Panel
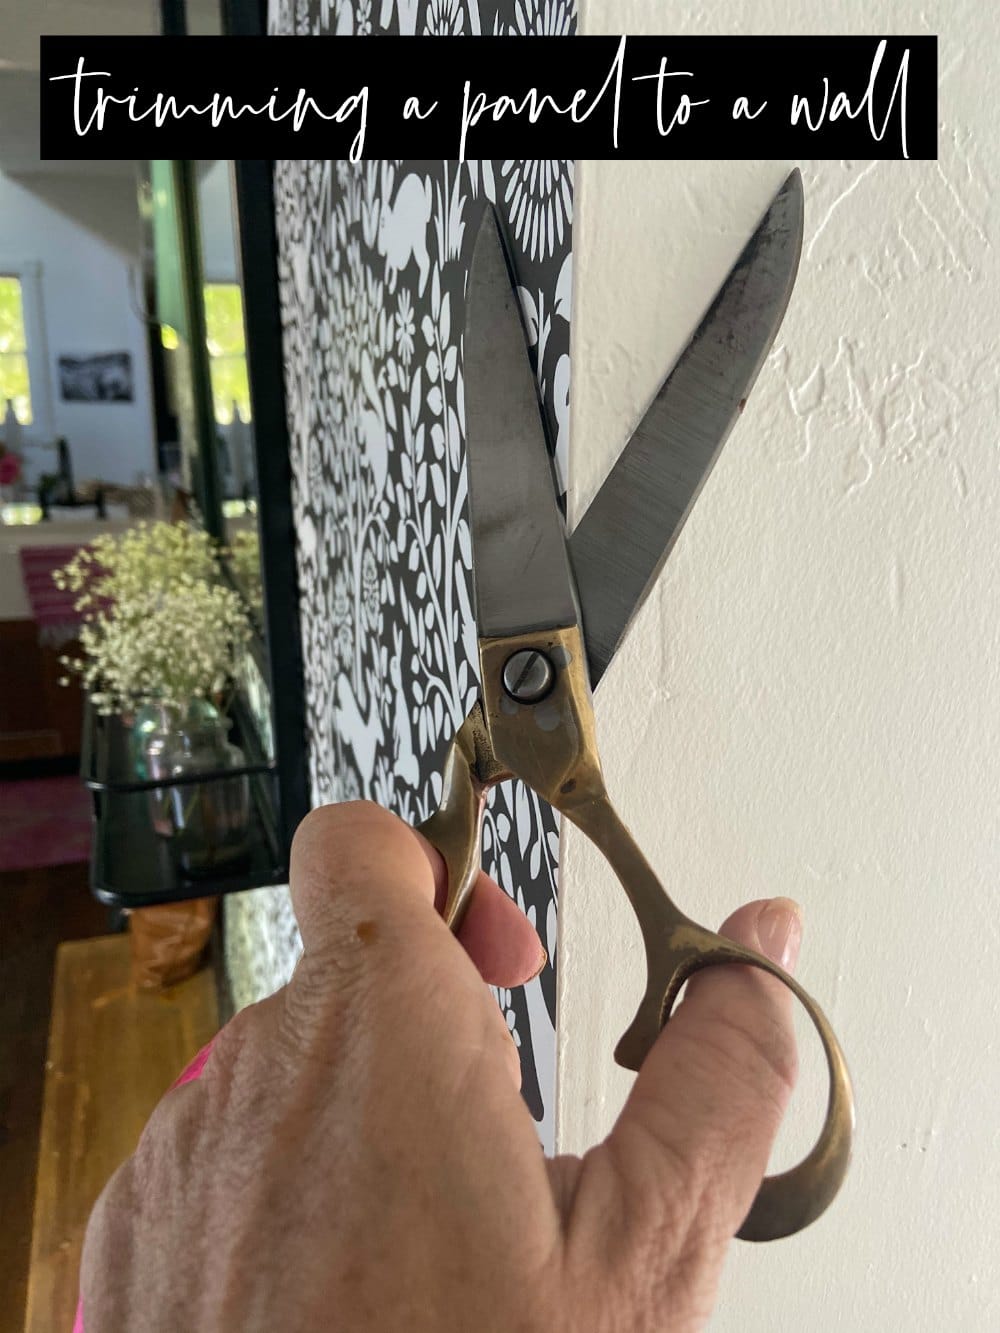
Tip — To trim the wallpaper panel to the wall exactly, I used scissors. I opened the scissors and cut a line in the middle of the panel to the edge of the wall. Then I took the opened scissors and put the wallpaper edge in the middle of the scissors and ran the scissors up the wall, holding them tight against the wall. It’s a little tricky but holding the scissors against the wall gives them stability to cut the edges right at the edge of the wall.
Where Can I find Removable Wallpaper?
I wrote a blog post with some of my favorite removable wallpaper!
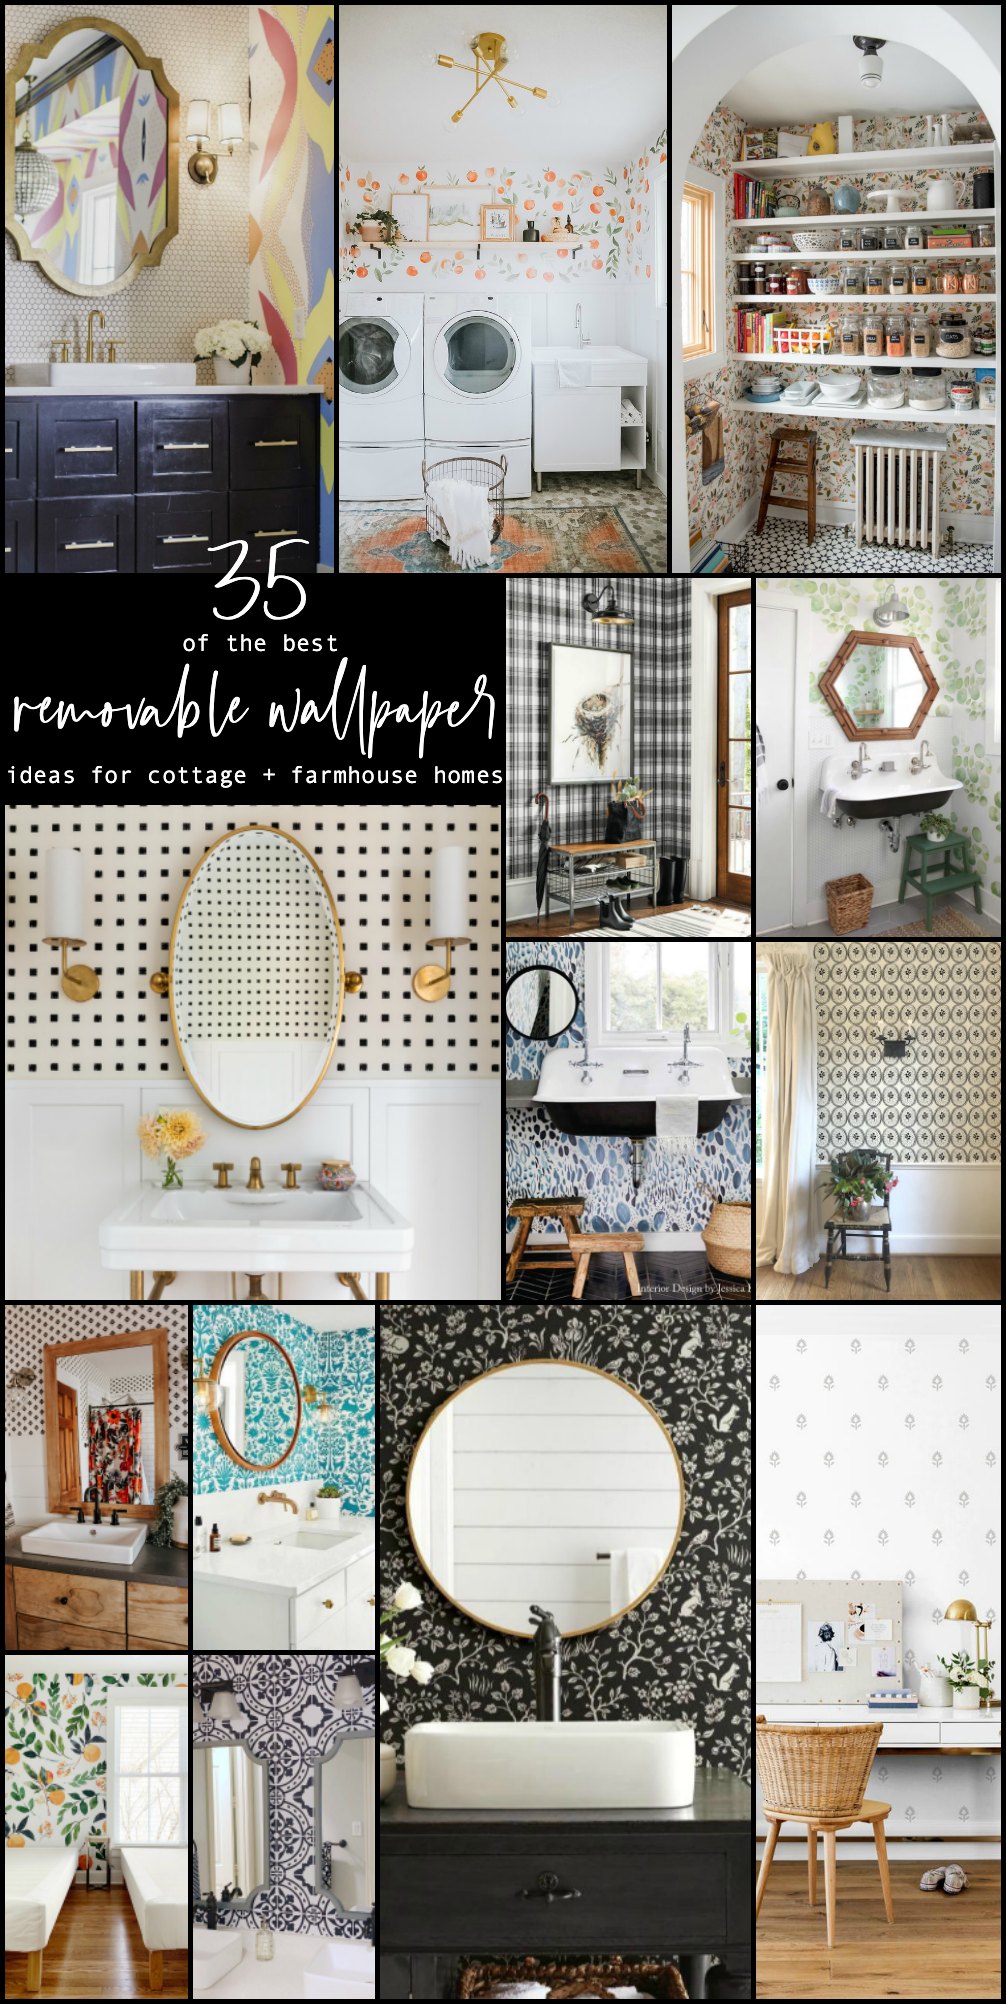
35 of the BEST Removable Wallpaper Ideas
Wallpaper for every room in your home. Perfect for any style of home!
Why I Put Removable Wallpaper In My Master Bedroom
I also installed removable wallpaper in our last house and I shared 5 reasons I chose to do it!
Pin Removable Wallpaper Tips and Tricks!
Pin this post so you can find it when you want to wallpaper a room i nyour home!

Tag me on instagram at @tatertotsandjello and share what YOU are working on! I would love to see it!
Have a Creative Day!
xoxo




It looks beautiful! Can you install this wallpaper to a textured wall?
Hi Kim!
Removable wallpaper is designed to be installed on smooth walls. I have installed it on a textured wall and it has done fine. It just depends on how textured the wall is. I would order a roll and give it a try and see how it adheres 🙂
xoxo
Do you have to remove “old, existing established wall paper” before tackling new removable wall paper or paint?
Hi! If you have dark paint and are using a light color removable wallpaper, the dark paint might show through the wallpaper. Same is true if wallpapering over existing wallpaper. The print underneath might show through. If you don’t want to peel the original wallpaper off, I would paint over the wallpaper with a white paint and then wallpaper over that 🙂