Craft Room Closet Makeover Organizing
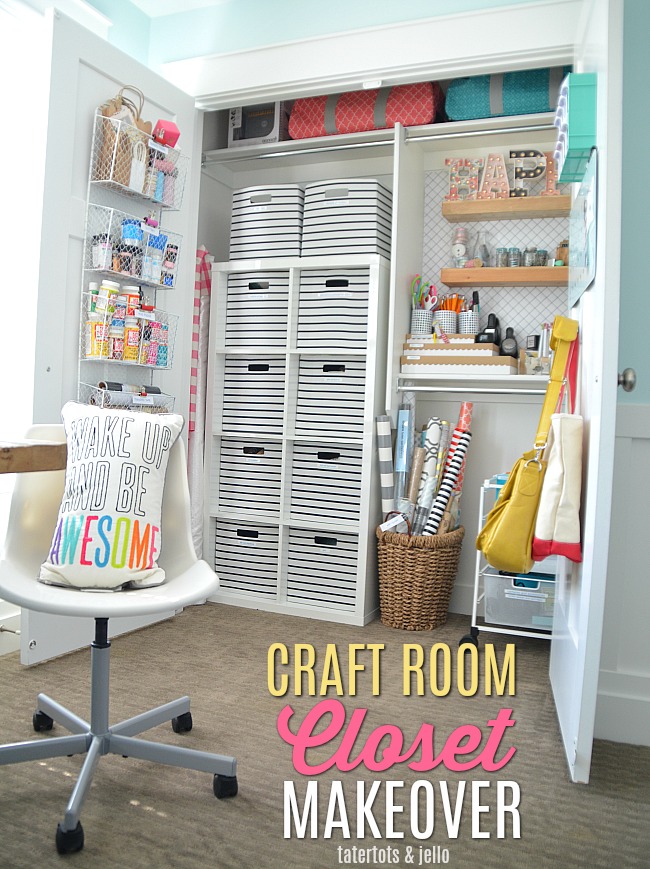
We have lived in our home for a year and there were still bloxes stacked up in my craft room closet. I finally decided to tackle my craft room and I am SO glad I did!! It’s so nice to be able to find things. I don’t know why I waited so long!!
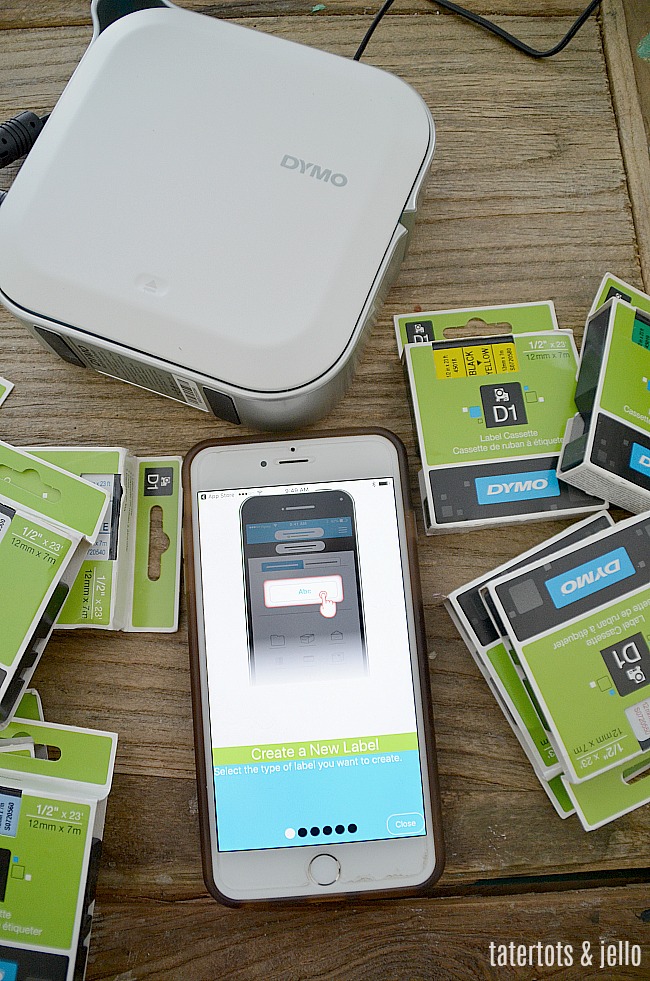
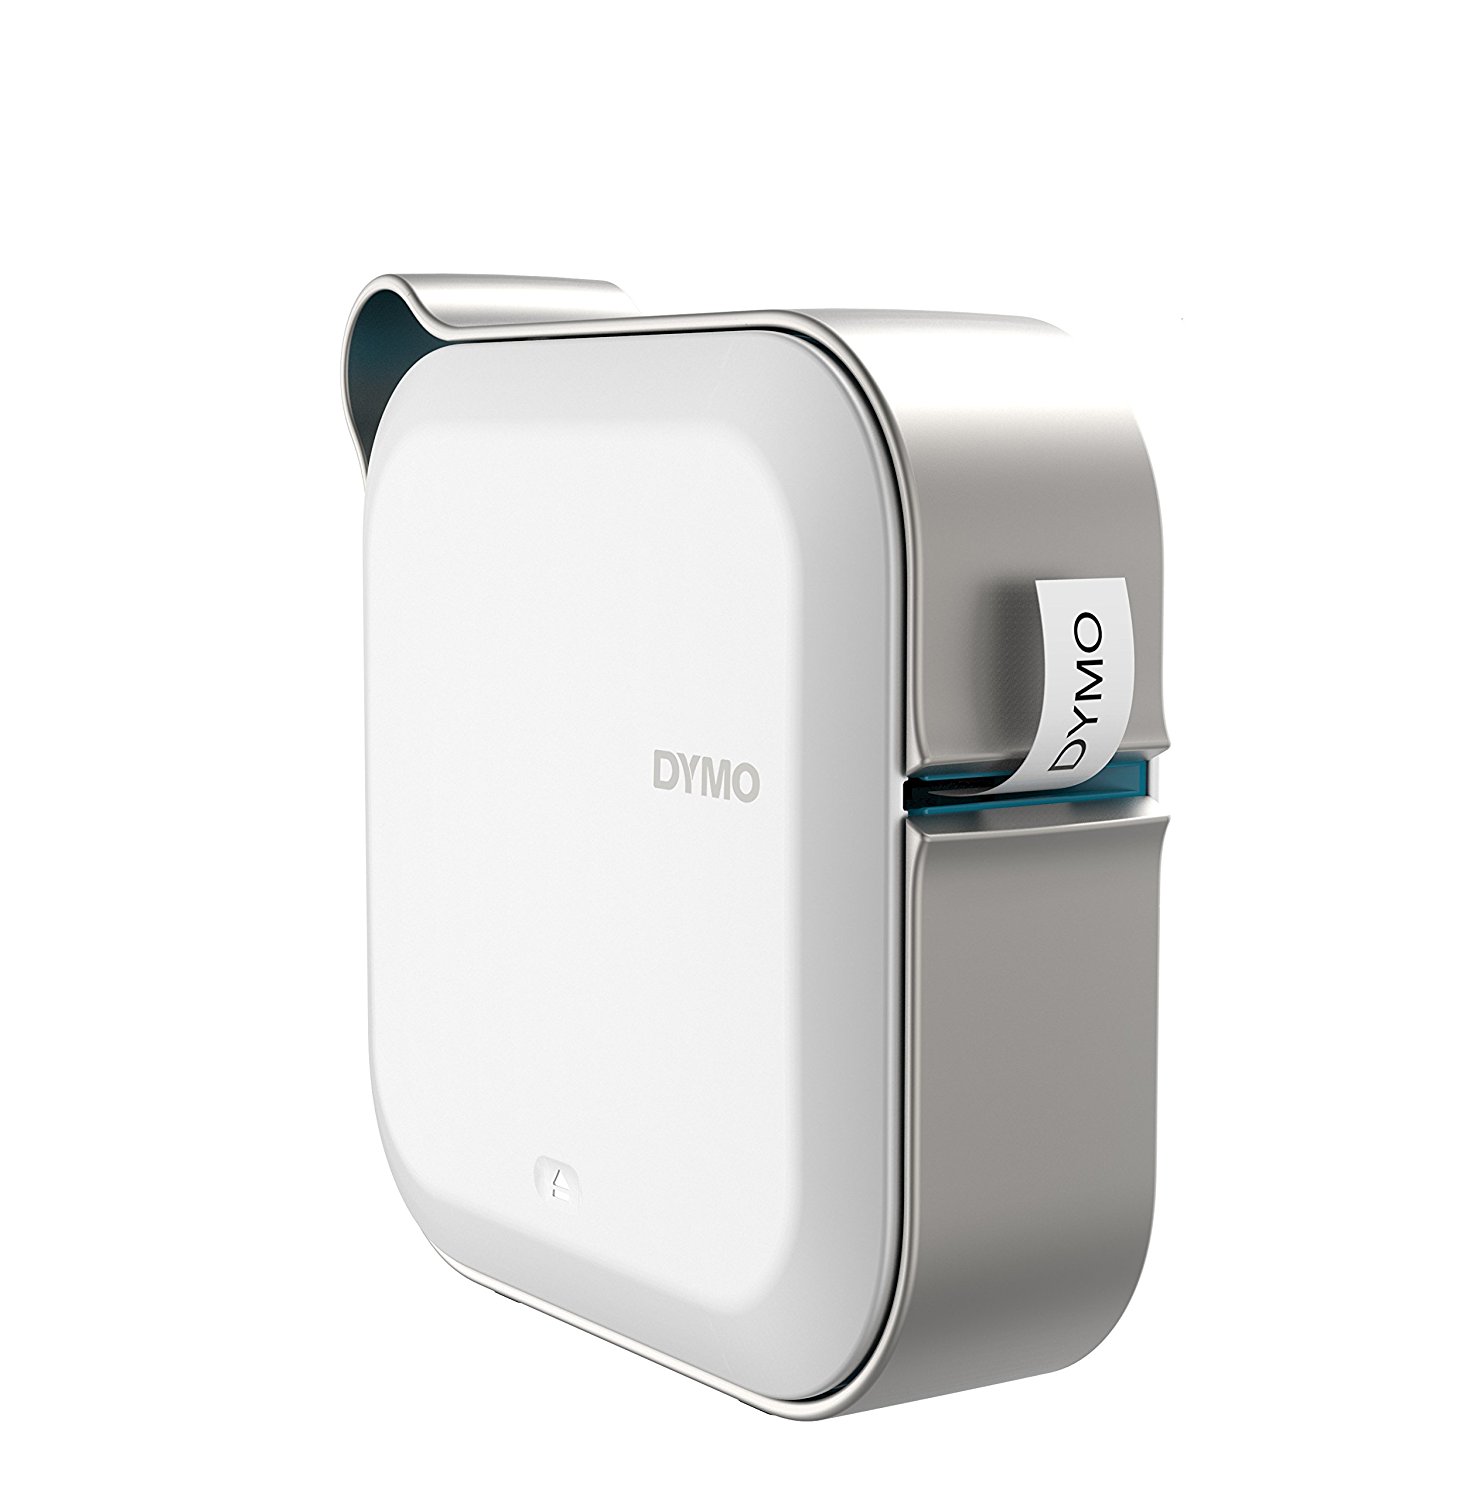
I used my new favorite gadget to get this room organized. DYMO has the most amazing labeler – the DYMO Mobilelabeler. I have bought labelers in the past and although I love the idea of a labeler, I was always disappointed because they seemed to jam up and break within a short amount of time. This labeler is just about the coolest thing ever!!
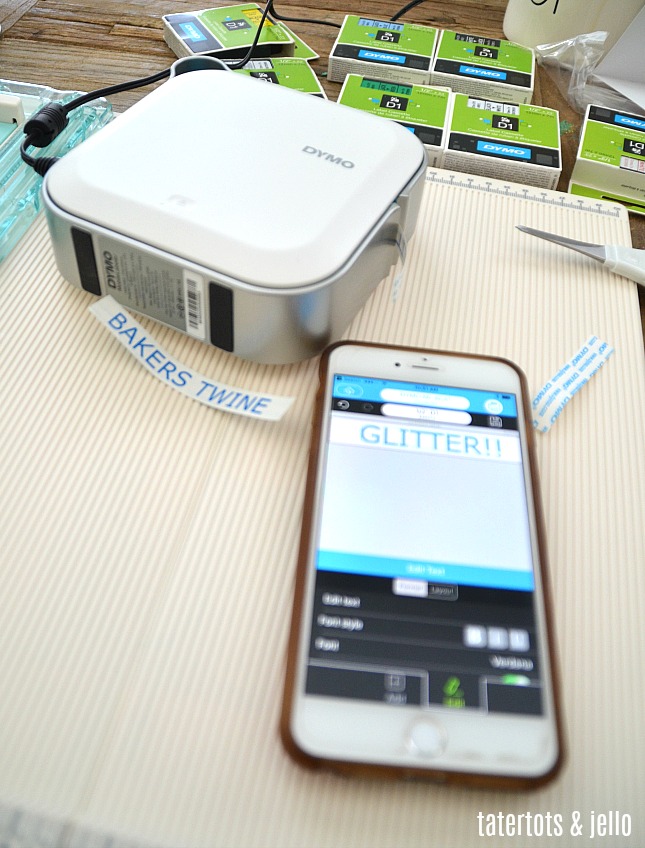
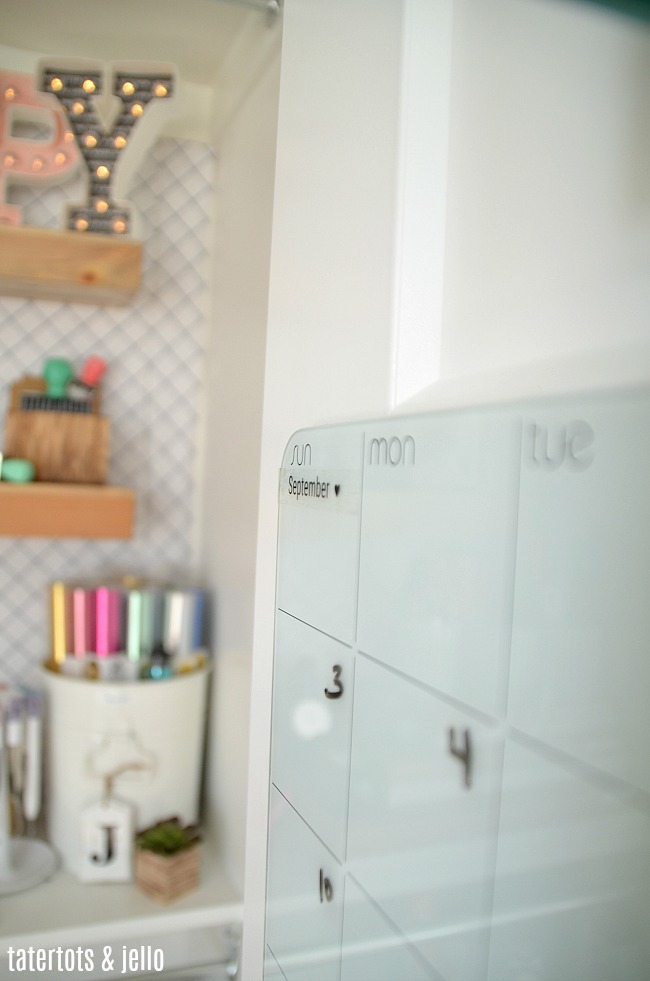
First of all, DYMO MobileLabeler is a wireless, Bluetooth compatible labeler that lets you create labels from your smartphone!! How cool is that?? When I tried it out I thought it would be pretty fabulous if it had three or four fonts, but NO this labeler has dozens of pretty fonts. And you can go in and change the size of the fonts, the colors, even insert images!! You can make labels from 1/4″ up to 1″ wide in all kinds of COLORS. I used the insert image feature and added a heart onto the label for my calendar in my closet. It’s so cool!!
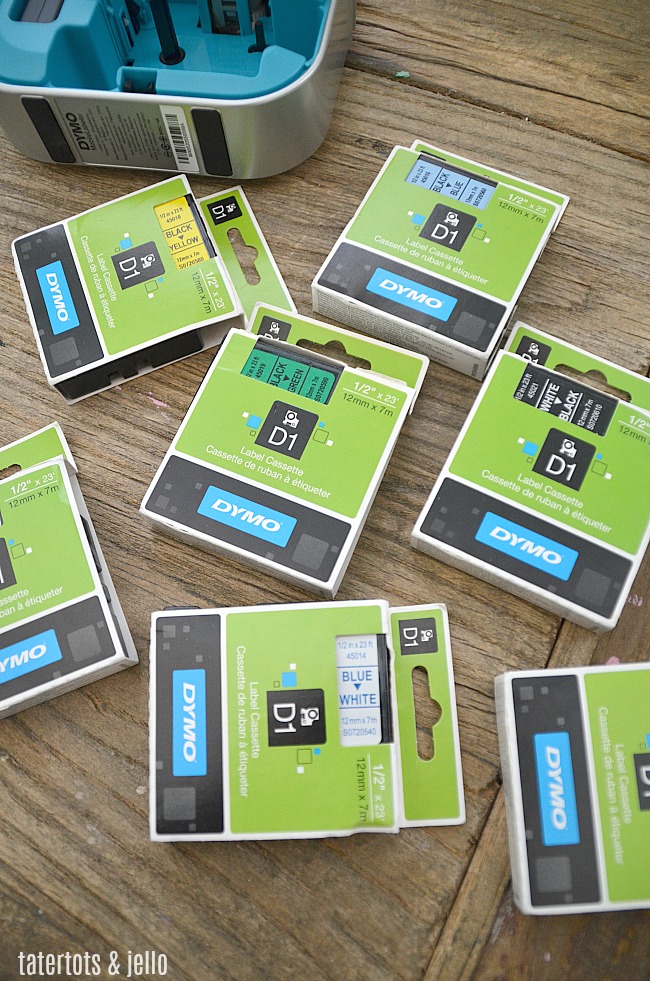
It has a voice to text feature! And it is wireless so you could be up on a ladder labeling boxes and you can tell the labeler what you want printed out and it will! That’s amazing. Also, two people can also be hooked up to the labeler at once so that would be great if you are organizing something as a family project, or it’s perfect for small businesses to use. It has a rechargeable battery so you don’t have to have it plugged in while you are up on your ladder. And it has spell check too – It caught a spelling error I had made and I was able to change it before I printed the label out and wasted that material.
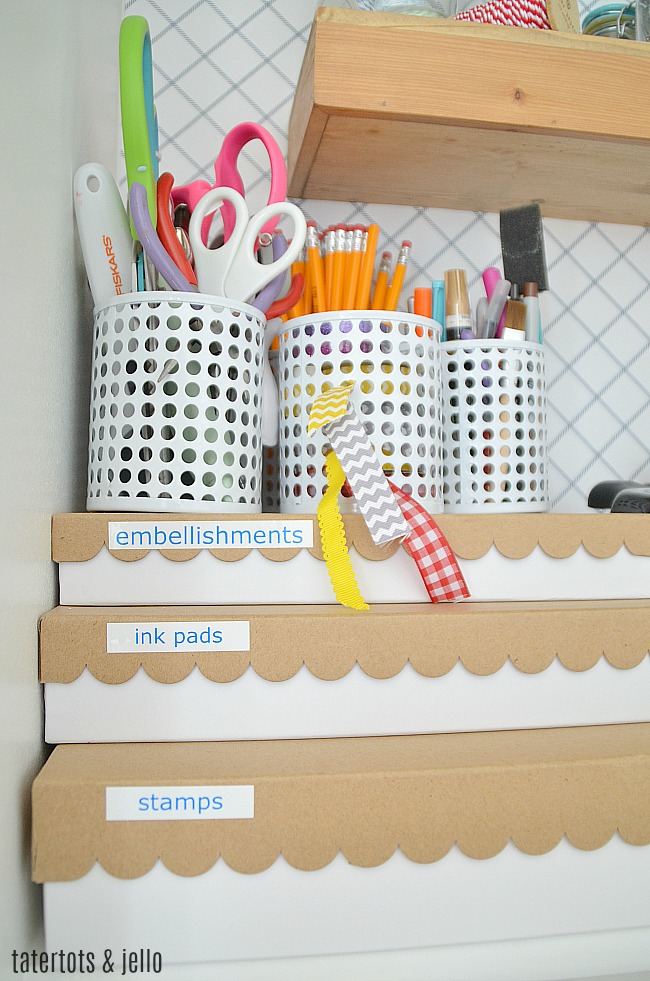
Craft Room Closet Makeover Organizing
Also, the labels themselves are great. They are made out of industrial-strength adhesive that resists fading, peeling and abrasion, as well as light, heat and moisture. They are perfect to use in kitchens, garages, outdoor storage sheds and more!
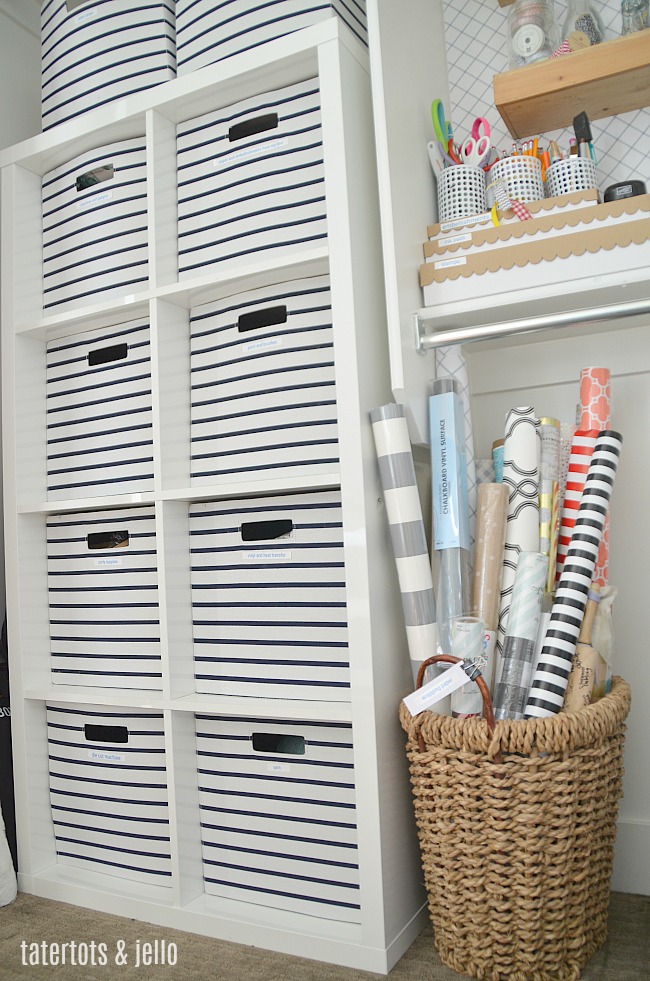
So I tackled my VERY messy craft room closet. I had a cubby cabinet left over from Ella’s room that she didn’t want anymore. I thought it might be perfect to organizing items in my craft closet. Once I cleaned all of the boxes out, I put the cubby cabinet in one side of the closet and it was a perfect fit! Yay – I love repurposing things. On the other side I had a file cabinet on wheels. I found a wicker container and put all of my wrapping paper in it. It is so nice to have all of the paper in one place.
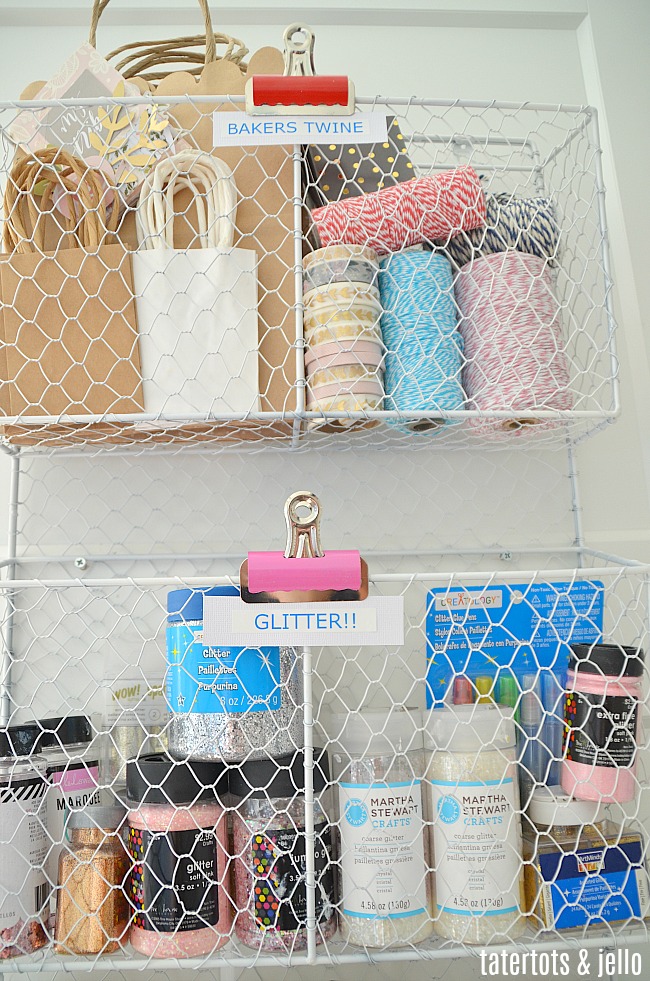
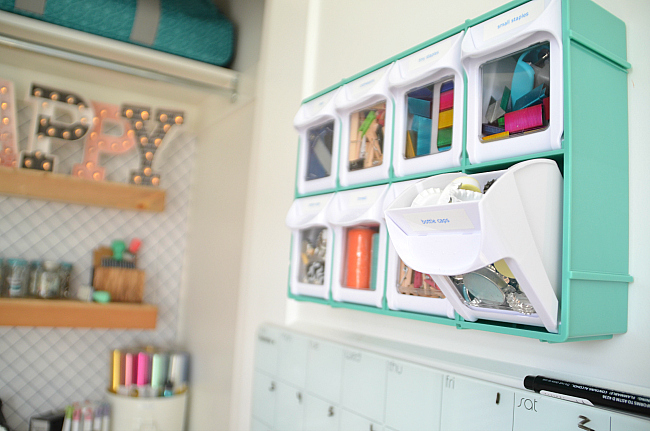
I had a wire hanging shelf in my storage room that was leftover from my last house; I spray painted it white and hung it inside one door of the closet. On the other door I hung a calendar and a bin storage unit and a hook for my computer bags.
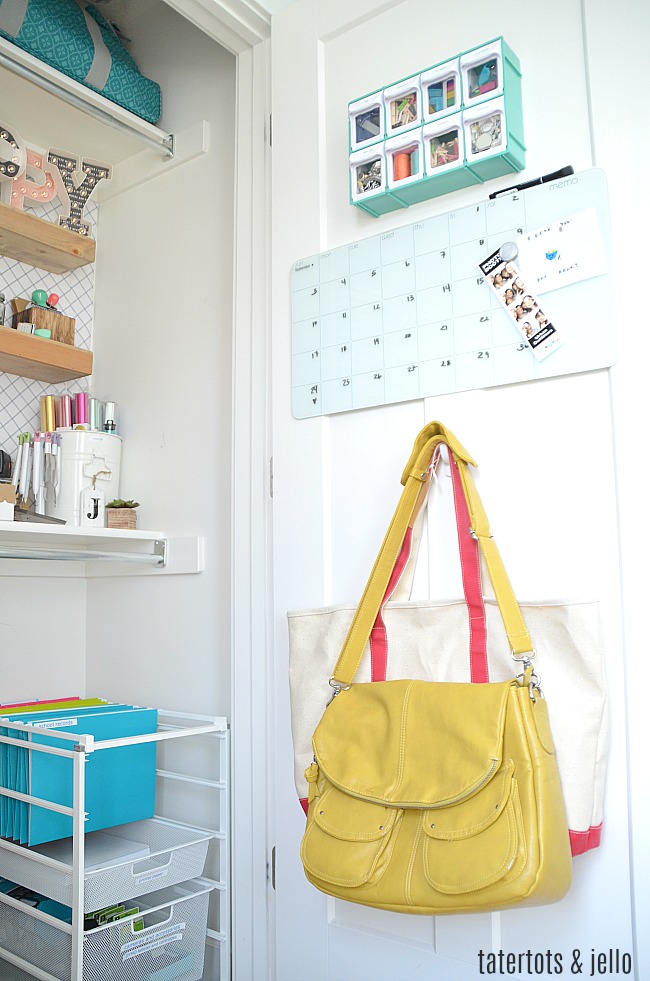
Now to the fun part — labeling everything!
I paired my phone up with the DYMO MobileLabeler. To create the labels, you download the free DYMO app. Once my phone was paired with the DYMO labeler, I went in to pick out the labels I wanted to make. I decided to use a label with a white background and blue letters since my craft closet colors are mainly navy and white. I inserted the battery and cartridge into the labeler, shut the lid and started printing the labels out. I used three different sizes of fonts and a few different font styles to see what the labeler could do.
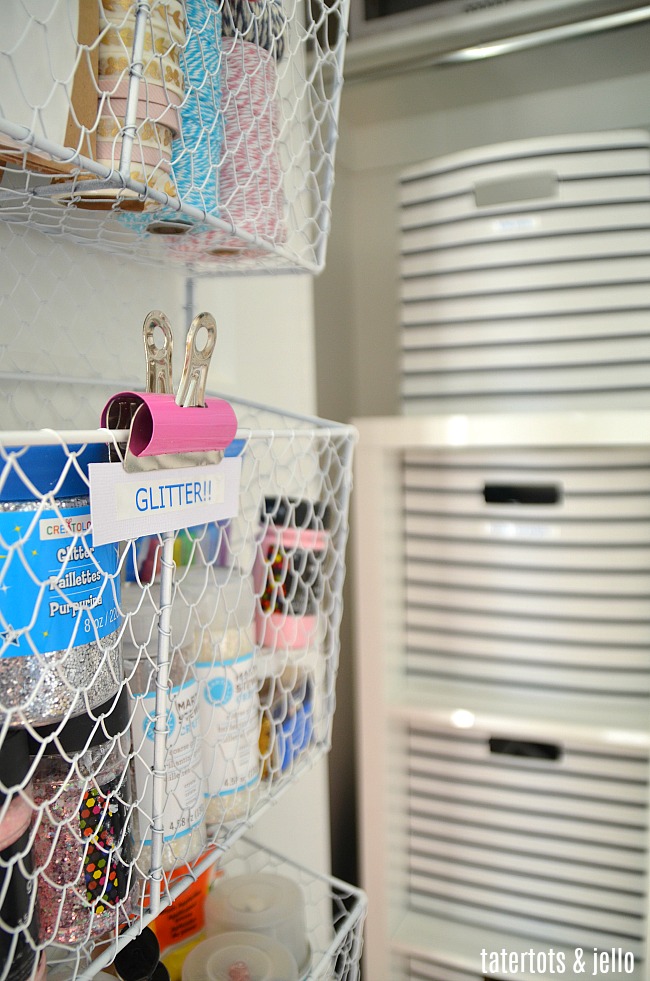
Since my wire organizer didn’t have a flat surface to put labels on, I cut some cardstock into 1 inch wide by 4 inch long tags and put the labels on those. Then I used clips to attach the labels onto the wire container.
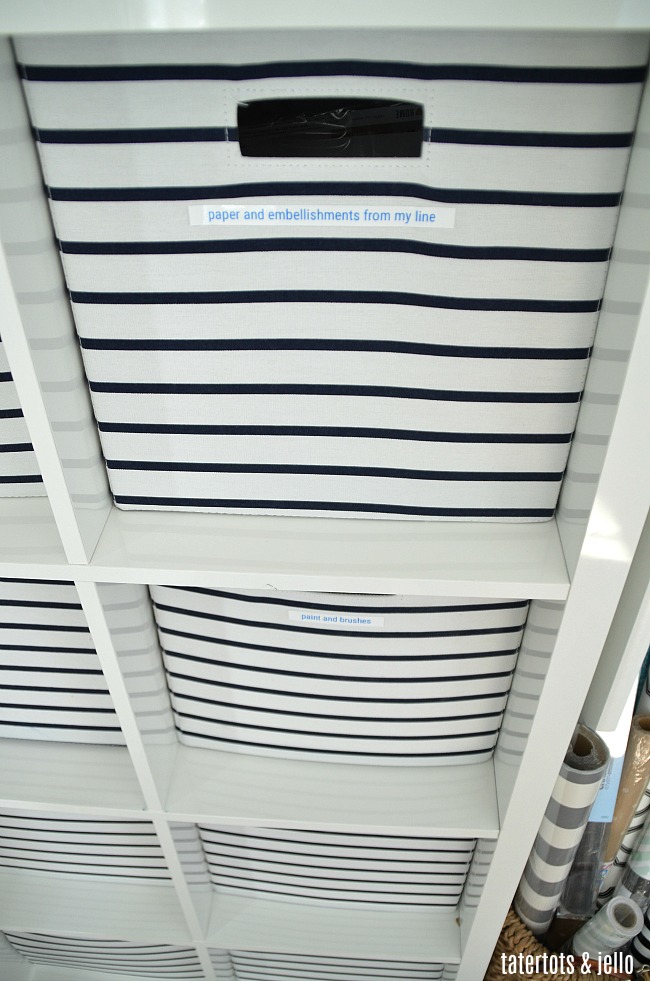
The rest of the surfaces in my craft closet were flat so I stuck the labels I made directly onto those surfaces. It was so fast AND easy!!
Craft Room Closet Makeover Organizing
I bought some navy and white bins and I was a little concerned because the material is a little bit like twill and not completely flat. I stuck the labels on those bins and smoothed them flat with my fingers and they are really stuck on there. I am really impressed with the quality of the labels. I have had labels in the past that peel up and fall off right away. I feel like these labels are much better quality and stickier so they stay adhered to surfaces. Plus, like I said, they are made to withstand moisture and heat.
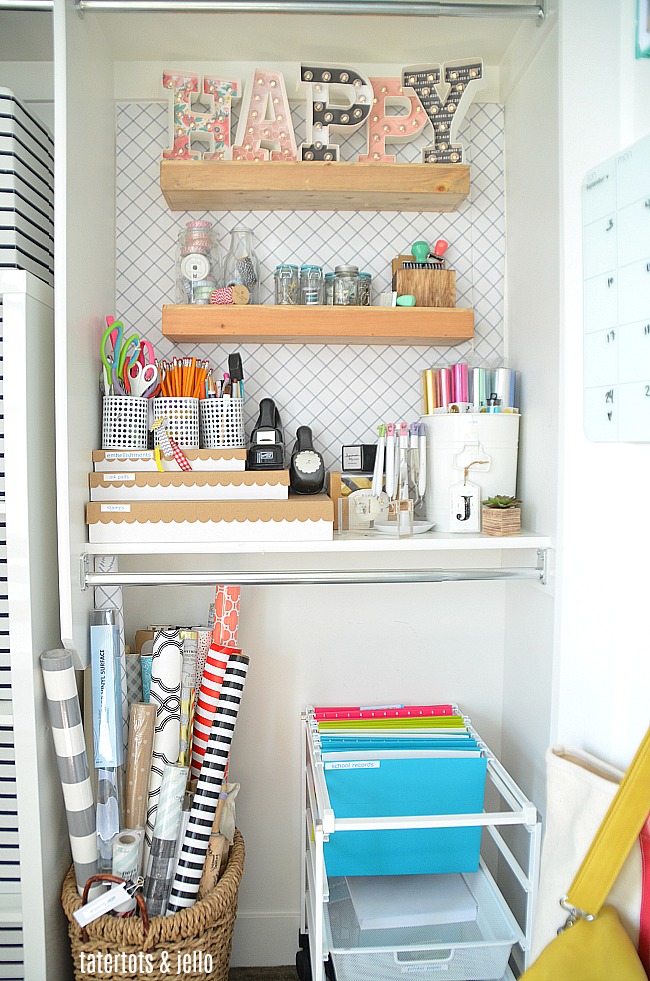
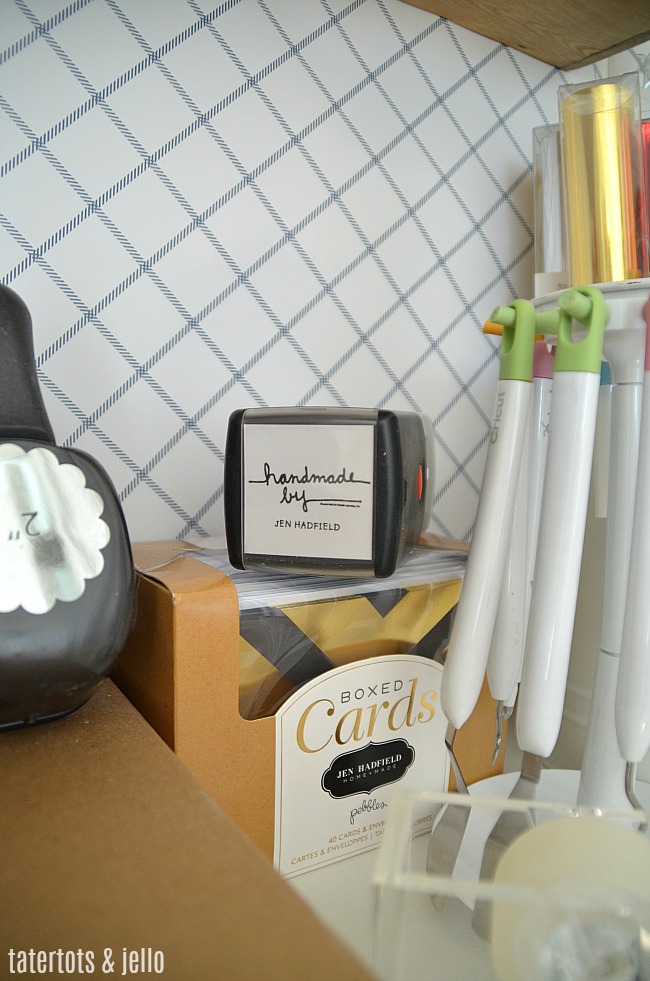
I wanted to make the closet pretty and I love the look of wallpaper. In the past I have used wrapping paper to look like wallpaper, so I thought that would be fun to do in the closet too. I also hung shelves on the wall on top of the wrapping paper. I put my little glass containers with small craft supplies on one of the shelves. I put my HAPPY marquee sign I made with my line of paper on the top shelf.
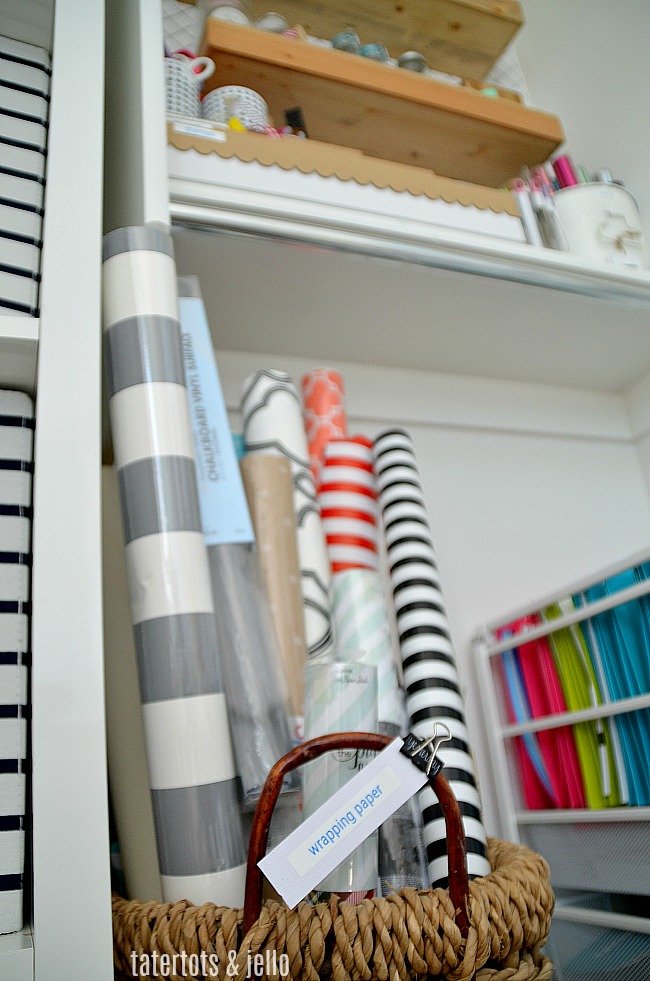
I put all of my wrapping paper in a bin at the side of the closet and labeled that too!
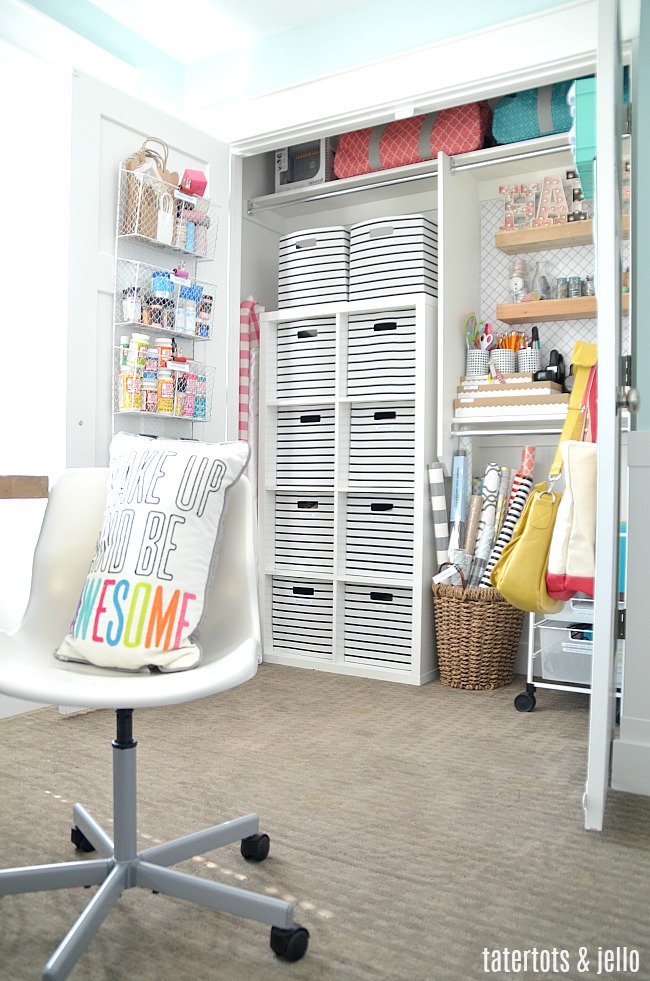
My craft closet is so pretty and organized – I don’t want to shut the doors. I just want to stare at it all day long LOL!!
Be sure to follow along with DYMO for TONS of organizing ideas using their fabulous labeler – I am obsessed!! Put one on YOUR Christmas wish list – you can find DYMO Mobilelabeler at Office Depot, Office Max, Staples, dymo.com, amazon.com.
Have a Beautiful Day!

Thank you DYMO for sponsoring this post. All opinions are my own!


Love this! Would you mind sharing how you organized the bins/what you labeled each bin? I’m always trying to better organize my craft supplies!
Hi Danielle! Sure! This is what I have so far —
1. Paper – you can stack it in the cubes vertically so that you can flip through it easily.
2. Paint and brushes
3. Party Supplies
4. Gadgets and tools
5. Letterpress and accessories
6. Machines (like my Hot Shot die cutting machine and laminator)
7. Yarn
8. Sewing Supplies
xoxo
How do you hang wrapping paper on the wall to look like wall paper?
Hi Melinda! I used glue dots! I should do a post or a facebook video about it. I take the wrapping paper and put the edge against the top of the wall and then roll the paper down until the bottom and run my finger along the edge, creating a crease. I cut across the crease and then I add glue dots to the top of the wrapping paper and smooth it down so it’s straight and then put glue dots at the bottom of the wall too. I had to cut a small amount of paper on the side because the roll wasn’t wide enough for the wall. And that was a pain to match up the plaid pattern. So it’s not perfect. But luckily once the shelves were hung and things were put on the shelves, you can’t really see that it’s not perfect. LOL!
I love it! It all looks great. I am just starting to tackle mine this week. Where did you purchase your Handmade by Jen stamp? I need something like it for my creations.
Thanks Mardell! It’s been a few years. I think it’s from 2712 designs – https://www.2712designs.com/
xoxo
Thanks Jen!
I LOVE the bins in the cube storage! Where did you find them?
Thanks! The bins are from Target 🙂
xoxo
Wow. This project turned out so well. I love the label maker. I have to check it out!!!
Thanks Tauni!
I will show you the labeler. It’s really neat!
xoxo
This came at a perfect time. So inspiring! I need to start this project before school starts! 🙂
Thanks Katie!! It feels so good to be able to find things!
xoxo
Your craft closet looks great!
Thanks Marian! It’s so nice to be able to find things again!
xoxoxo