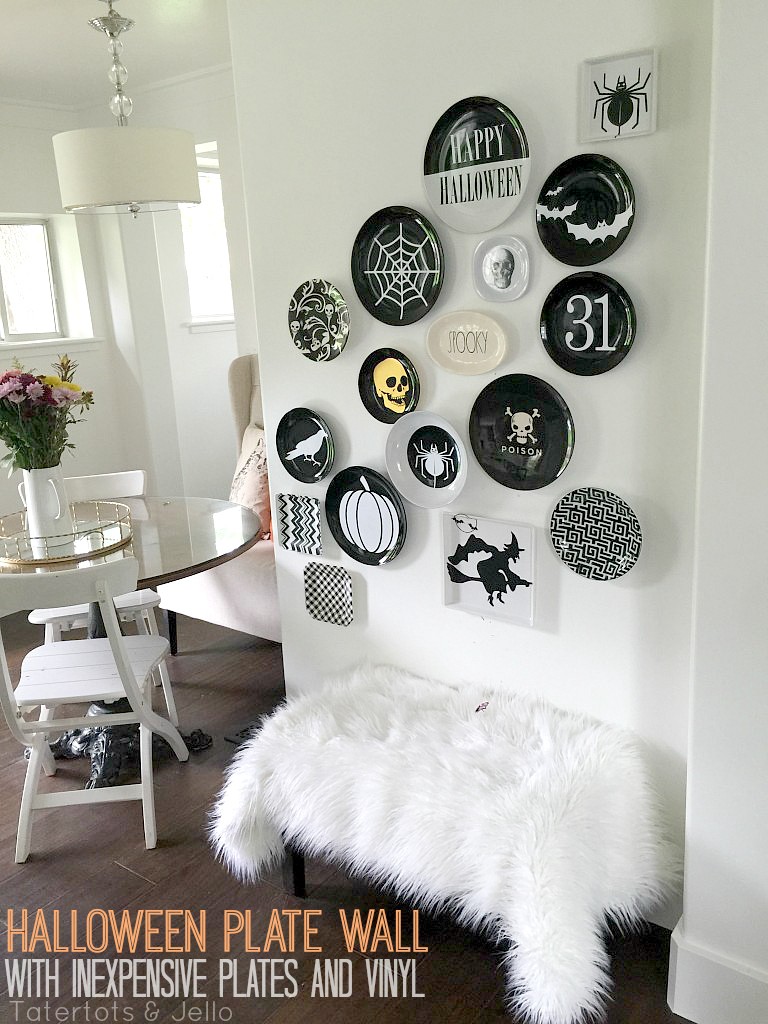
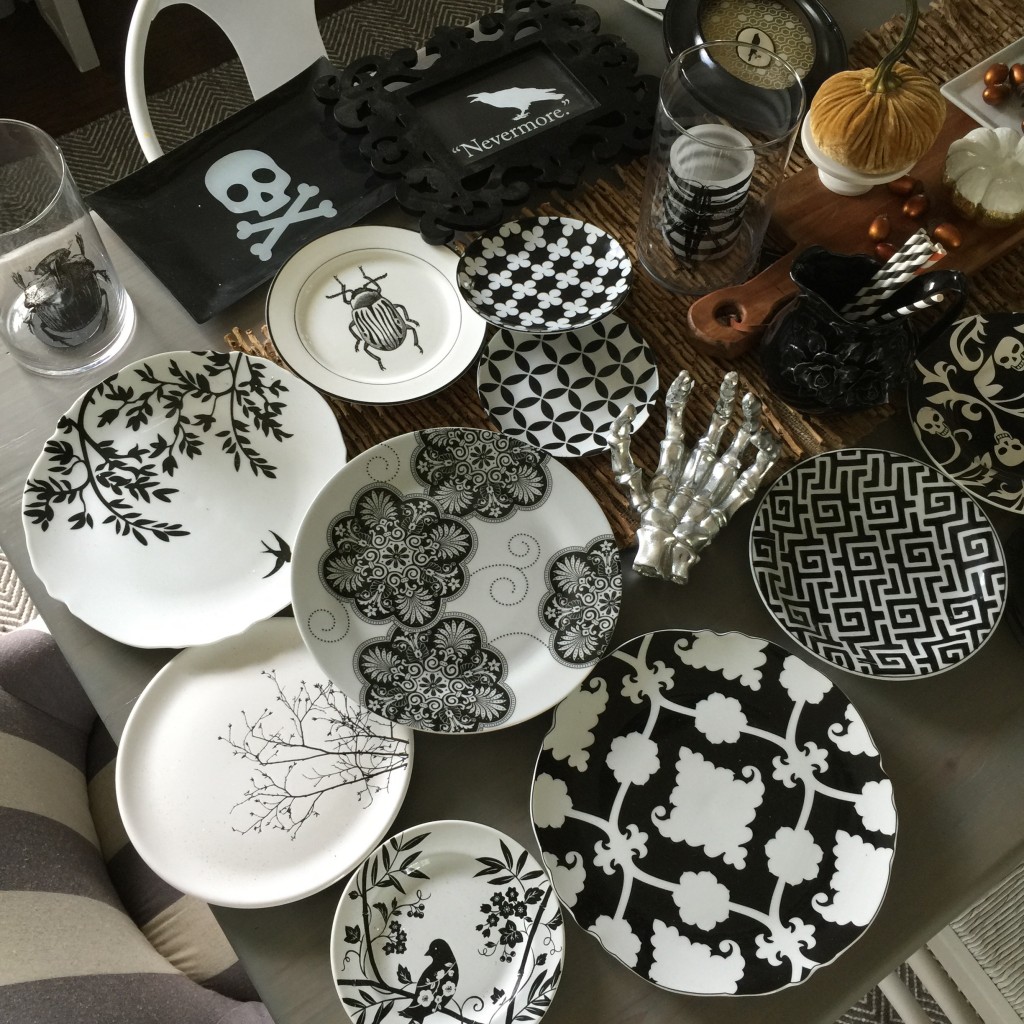
Make a Halloween Plate Wall using inexpensive plates and vinyl! For the past few years one of my favorite things to do in decorating for Halloween has been creating a Halloween plate wall. So during the year whenever I see cute black and white plates at different stores like HomeGoods, I pick them up. This year I thought it would be fun to use vinyl images to create my own designs on my plate wall. And it’s so inexpensive and easy!
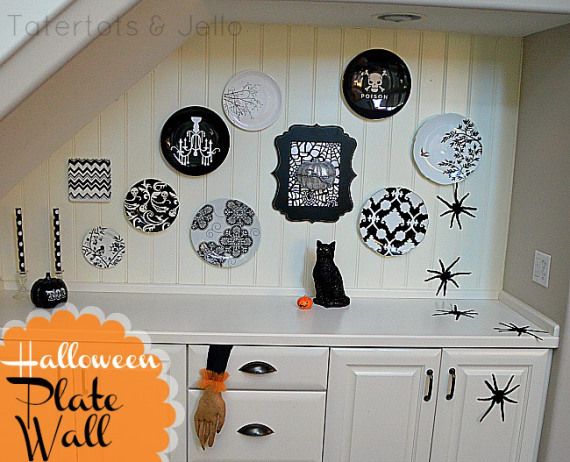
You can find black and white plain plates very inexpensively at stores like Target, Dollar Tree or Ikea. The ones I used on this wall are from Ikea. And all I did was cut out images using my Cricut Explore machine, attach the vinyl to the plates and hang them up!!
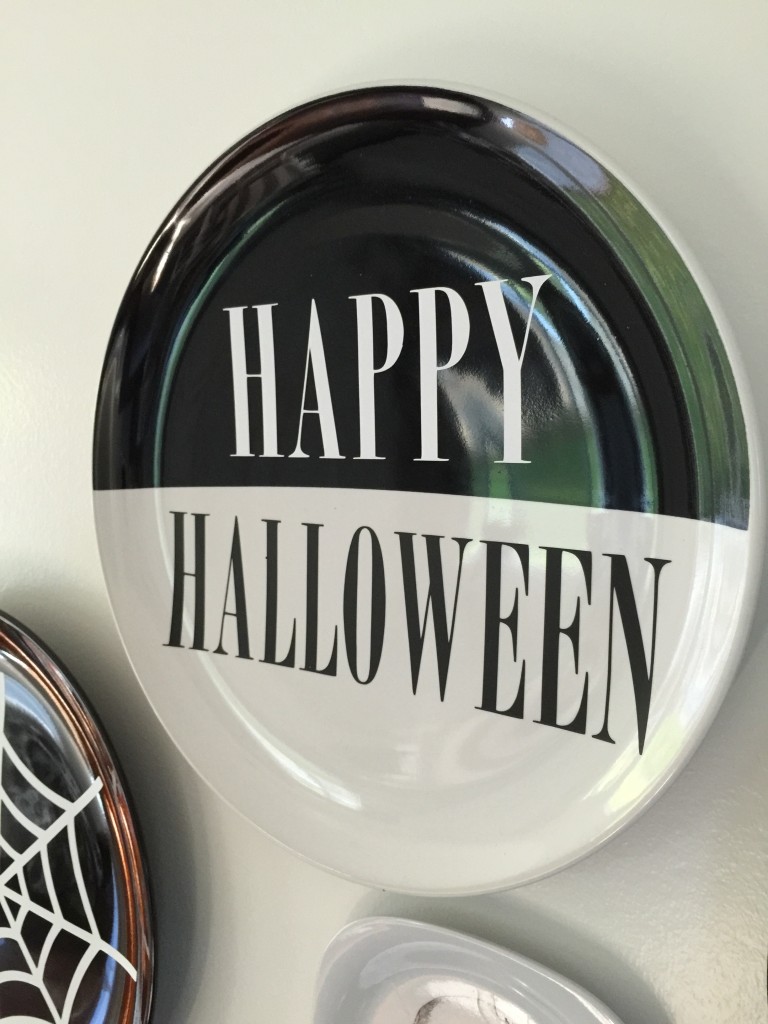
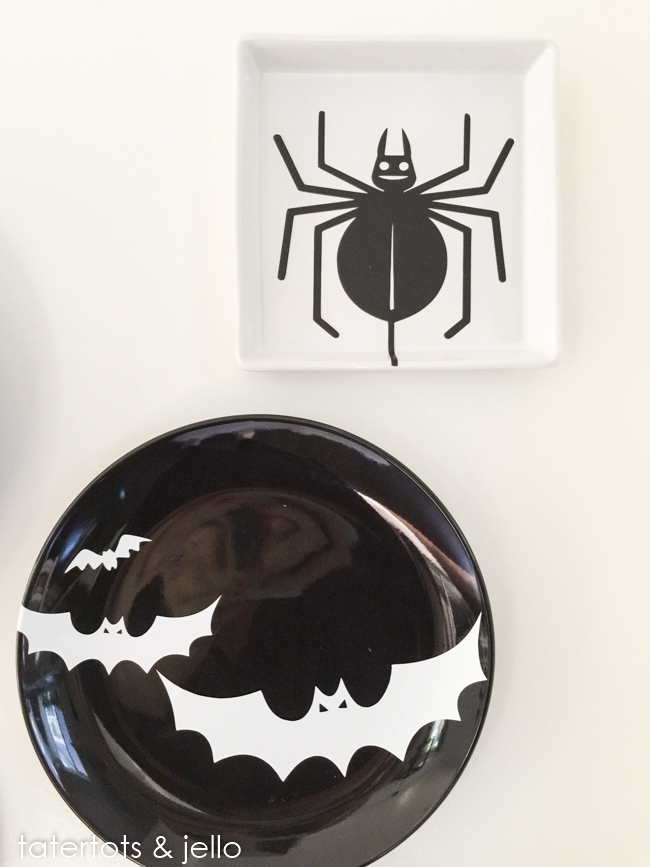
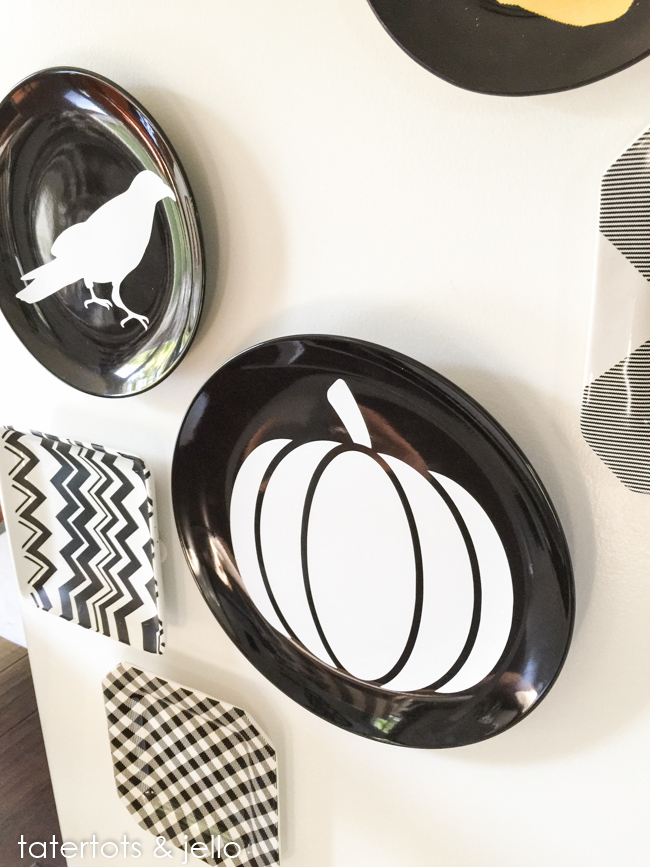
Here’s how to create this easy Halloween Plate Wall:
Here’s my trick for easy plate wall application – Command Strips!! That way you don’t have holes all over the place. Also, it really helps to visualize your walls and plates ahead of time. You can either lay all of the plates out under the wall you are going to attach them to. Or you can draw the wall and plate placement on paper. That way you kind of know where the plates will go.
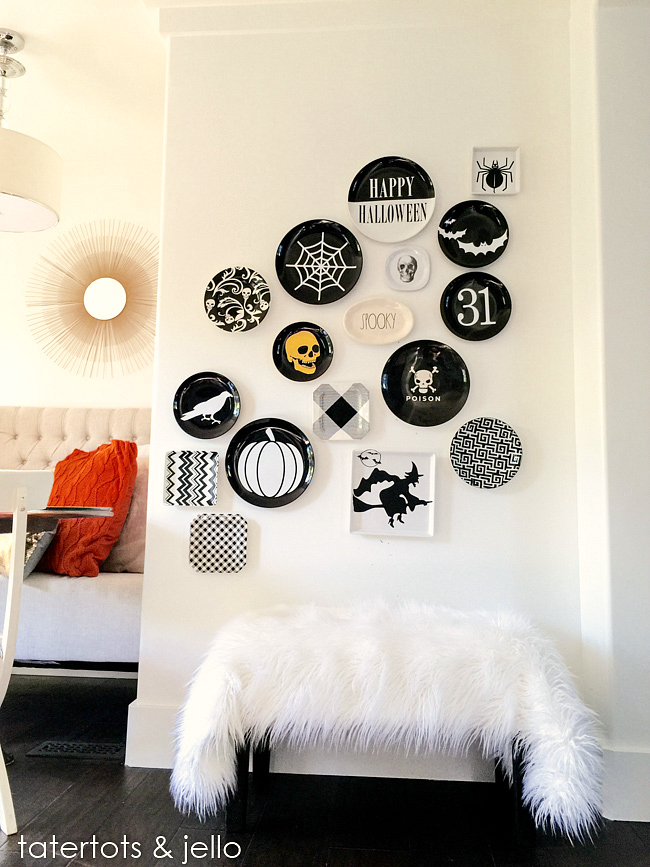
For me, what works best is placing the larger plates on the wall and filling in the gaps with the smaller plates. Also I like not having the plates on the wall perfectly symmetrical and spaced. I like a more random look that overall balances out. And the great part about using Command Strips is if you don’t like the placement, all you have to do is take the plate off and put new strips on and try again!! 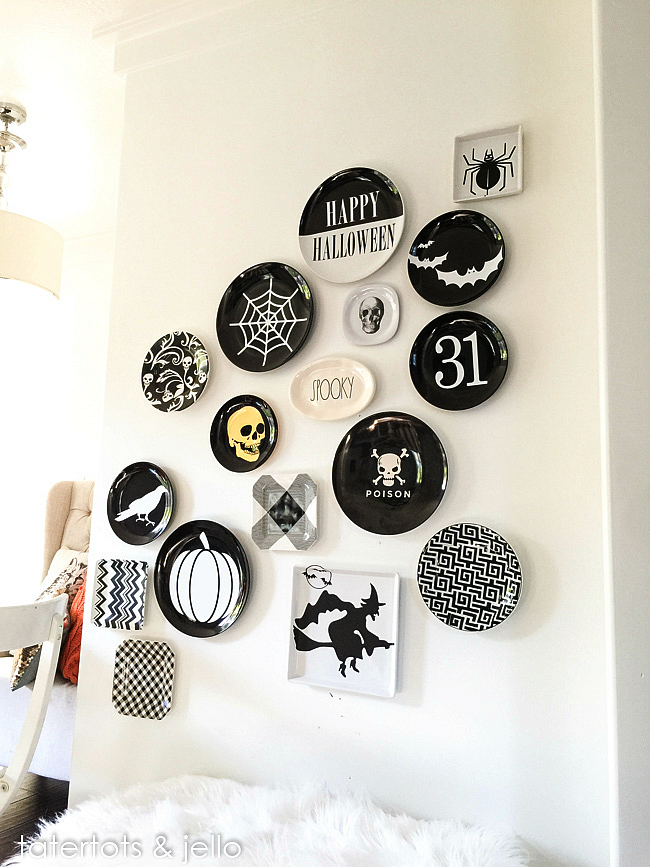
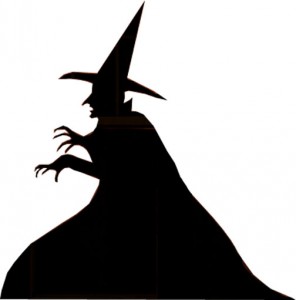
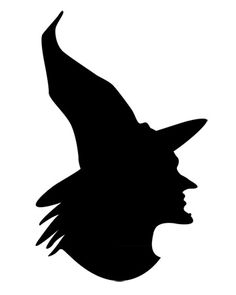
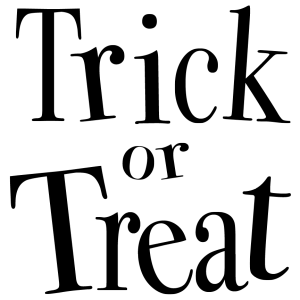
I’m sharing the images with you if you want to print some off on vinyl and make some for your wall. And if you don’t have a craft cutting machine, you could print off some black and white images on paper, cut them out and put them on your plates with tape. I still think it would look great!
I have a little video showing how I put this plate wall together if you want to check it out. Every Monday I share a tutorial on Periscope – which is an phone app. I like it because I can talk to everyone live and people can ask questions and I can answer them right then. I’m not the best on video but it has been really fun. So if you want, come join in the tutorial fun on Mondays 2:30 MST every week!
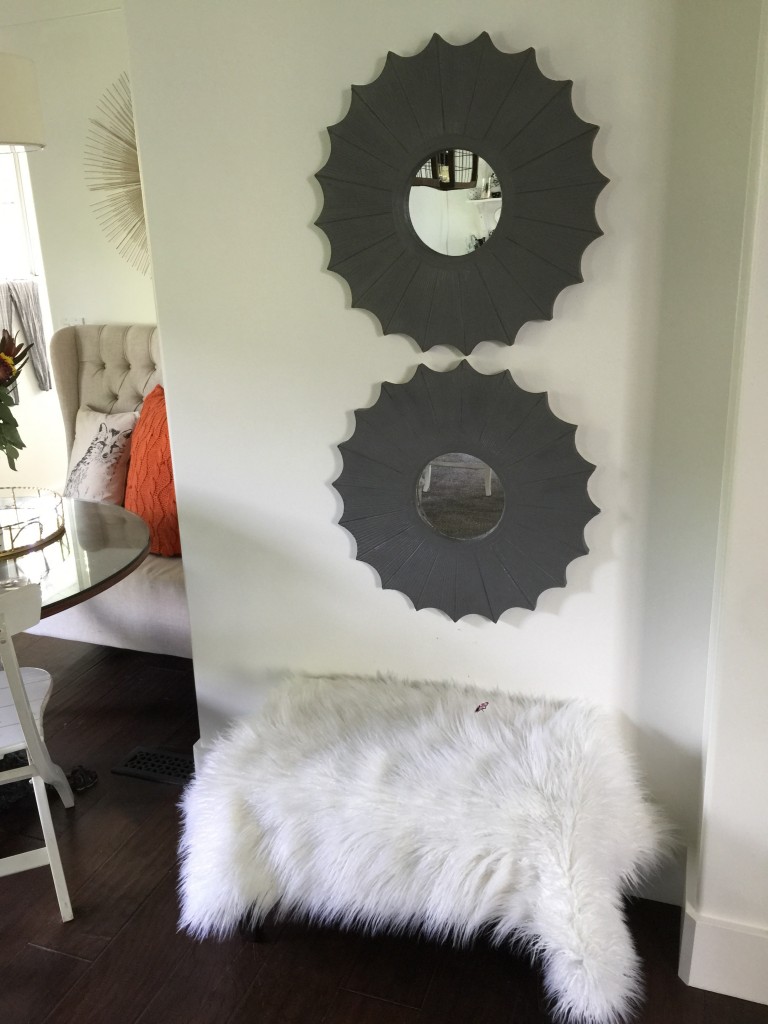
Here’s my walll before I hung up the plate wall. And all I have to do when I’m done is put the plates away and hang my mirros back up. So easy!
I had so much fun that I even shot a Periscope video! Here it is:
And here are the free images:
And here are the cuttable files! You can import these into your Cricut Design Space program. You’ll find a mix of file formats below, and all work!
To download all these images in one .zip file, right-click here and choose “save as.” If you don’t want them all or aren’t familiar with using zip files, choose the individual images below.
To download the individual images, right-click each image you would like to download below and choose “save image as.” As always, these are for personal use only.










Enjoy!
xoxo



Woah! I’m really loving the template/theme of this blog.
It’s simple, yet effective. A lot of times it’s challenging to get that “perfect balance” between user friendliness and visual appearance.
I must say that you’ve done a great job with this. Also,
the blog loads super fast for me on Firefox.
Outstanding Blog!
If you want to enjoy a relaxing experience experiencing all
of these highlights, a barge cruise in France is certainly one of the very best ways in which to do it.
Fresh seafood dinner before retiring to sleep in detached room on boat.
All you need is to hire a good guide so that to know different rates of different markets.
Awesome cut files! Thanks!
I’d been looking everywhere for that sort of pumpkin!
These plates are so fun! You did an amazing job!
Paige
http://thehappyflammily.com
Such creative Ideas!! Just found your blog and I LOVE IT!!! Thanks for sharing this!
these are so incredibly cute! Love, love, love! Joni