Well, hello again, TT&J readers! I’m so happy to be back here sharing a little bit of myself with you! In case you missed me last time, I’m Jessica, and I blog at Mom 4 Real. I enjoy showing my readers how to decorate their homes without breaking the bank. Today, I am going to show you how I turned an abandoned dresser that I found on the side of the road into a beautiful piece for my daughter’s new cottage style bedroom. Wanna see what it looked like before I got my hands on it?
There I was, driving to Target when I spotted this beauty and a matching vanity. I pulled my car over so fast, I’m pretty sure I almost gave my daughter whiplash. I couldn’t just leave it there, though…I mean look at it! The mirror alone had my heart beating super fast! Not exactly what I would call pretty…well, maybe back in the day, but not in this state, but I just knew it could be. You should have seen me trying to wrestle all of these into my SUV…I’m 5 feet tall, so I’m sure it was quite the site!
So, I got it home and let it hang out in my garage for a few weeks before I decided to paint it. It came at the perfect time, because Kate was dying for a big girl room. She wanted her room to match the rest of our home which is decorated in what I would refer to as a beach cottage style. I had just painted her room, when my husband hauled it up the stairs for me. Kate and I decided to paint the mirror white and the dresser the same aqua color as we painted her wall. I used Valspar’s paint and primer in one in Lake Breeze in an eggshell finish.
Here’s what I did:
The only problem was, the cup handles were in terrible shape. Well, me being the thrifty girl that I am, decided to try and see if I could find something around our home that we could use. I raided my ribbon stash and ran back upstairs to give my idea a try…ribbon pulls! They worked perfectly!
Aren’t they so simple and sweet? And…they work! Did I mention they were free???
We pulled together some things from around the house to dress her new dresser up, and added a new lamp.
Isn’t it just darling?
I have to admit, I tried to get Kate to take the pom pom flowers down, but she quickly reminded me that this was her room and not just for a blog.
Whoops…need to remember that more often. So, the tissue paper flowers stayed, and Kate’s room is one step closer to being finished!
So…what do you think? Would you give a roadside dresser a chance?
Wow Jessica – that makeover is AMAZING!
I absolutely love it!!
I am so excited to have Jessica as one of my monthly contributors.
In case you don’t know Jessica’s blog — Mom 4 Real, here are a few of her fabulous ideas:
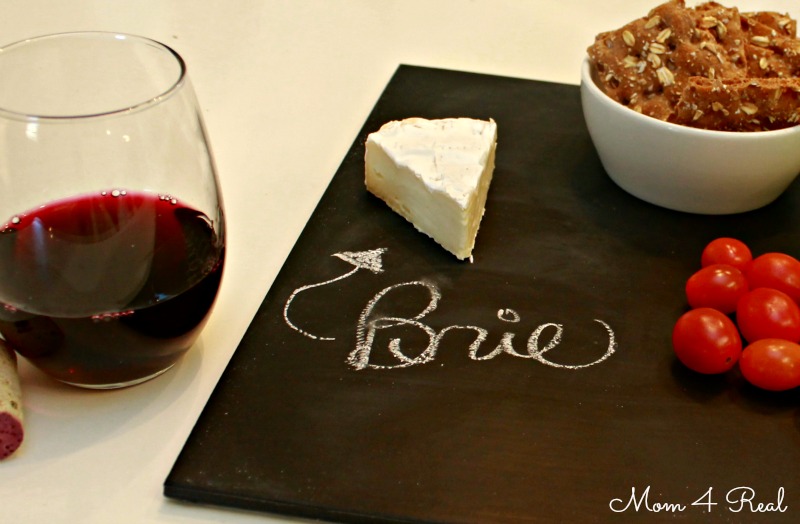
DIY Chalkboard Tile Cheese Board
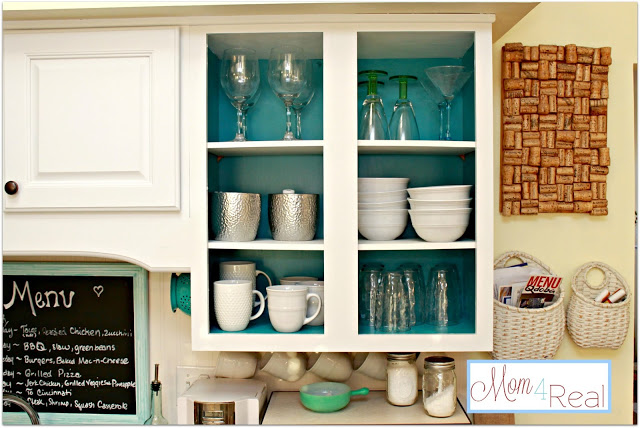
I love that Jessica painted the backs of her open shelves – so pretty!
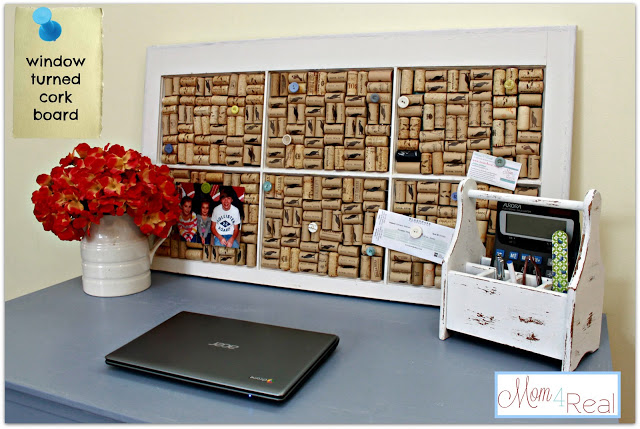
And this is such a smart idea — turn an old window into a DIY Cork Board
Mom 4 Real is such a fun blog — I know you will love following along with Jessica and all of her awesome DIY ideas!!
Have a HAPPY Day!
xoxo
PS — I have an organizing post coming up tomorrow!
FIVE things I have done to get my entryway under control with four kids 🙂






Man, I never find those kinds of abandoned things. I need to get out more, I guess.
Love the color, love the ribbons and love that it was free! I never find anything on the way to Target 😉
Debbie
It’s fit for a cottage princess now 😉 The dresser looks completely different and the handle detail is so feminine. Great idea!!
Sounds like the other hardware was made from bakelite. It does get brittle and the dresser would be about the right era for that material to be used.
Such a fantastic makeover, Jess! I love that color blue – and the mirror is hardly recognizable! You are so creative to use ribbon as handles – perfect for a cottage/shabby feel!! CUTE CUTE CUTE!
Do you sand to prep the furniture, and did you do any kind of sealing coat? This is lovely. I have not been able to match the handles on my daughter’s dresser and am so pleased to have an alternative!
All your project looks wonderful and so inspiring. Thank you for sharing so generously. God bless
What did you do with those fabulous cup handles??? Want to send them my way?
Hee hee…I throw nothing away, ever 😉 Those babies are in a bag waiting to be spray painted for another project. Some where broken, though. They are metal with plastic tortoise looking inserts…very strange.
SO pretty, Jess! Those are the colors I think I’m going for when I redo our bedroom! Can’t wait! p.s. tell your daughter I love her flowers!!
I love the ribbon handles! Good thing you rescued it. It’s beautiful!
I love it Jess! I especially love the ribbon handles! Such a great idea! Thanks so much for sharing it, I will keep my eyes peeled for a roadside rescue!
I love the color of the dresser! It is a great before and after. I also like how kids keep parents in check. 😉
Not only do I LOVE Jessica, but I LOVE these ribbon handles! Such a creative, cute idea!! I’ll definitely be pinning this!! xo ~ Virginia @ LiveLoveDIY
Ribbon pulls? Genius!!! Of course I would’ve grabbed that roadside dresser and rescued it. Yours turned out darling!
Absolutely transformed! And FREE! Gotta love the roadside treasures! The color is so pretty and calming. Great job Jessica!
Ha! That’s too funny! Kennedy always tell me the same thing! I love your little handle trick though. I’ve done it with braided twine, but I never thought of ribbon! Genius!
Where did you buy that lamp? It’s exactly what I need for my office!!!
Hi Sheylyn! It is from Lamps Plus online 🙂 One of my favorites in our home…I’m resisting the urge to take it to my craft room.
Oh perfect! We have a Lamps Plus near home too!! Oh, and we just painted our master bedroom in Lake Breeze. Love it!!!
I love all of your projects! The dresser turned out great! Good job!
Love it Jess!! I never find stuff like this, ever!!
oh!!! it’s so pretty!!!
Jess! Love it girl…. but then again- I am a HUGE-Big Fan over here of everything you do! I really like the ribbon handles! Perfect Touch!
So clever. I really do need to do something besides cruzn ’round the internet. Keep the ideas coming. Great job.
What a Fabulous find, Jessica. I love how you softened the look with the Ribbon Handles. I can’t wait to see the rest of the room 🙂
xo
Angelina
What a great idea to use ribbon for the handles! The makeover was a total success!
I saw a dresser exactly like that on a yard sale facebook page. Great job on your redo!
Love the ribbon handles! So smart! 🙂
Pretty! I love the combination of light blue and pink highlights, so pretty! =)
Do you think the ribbon will last? I would be afraid of having to replace it a lot. Cute idea though!
I LOVE this! The ribbon pulls are GENIUS!! Definitely keeping this idea in mind for when we redo our dressers! 🙂
Awesome makeover, I love the ribbon pulls, such a creative idea!
Love it Jess!! The ribbon handles…stroke of brilliance!
awesome makeover!!! Love that lamp too.
Ingenious, Jess! I love how they give a masculine dresser a very feminine feel. Completely transforms it! And the color is gorgeous! I admit, I was peering in the reflection of the mirror trying to see if I could see anymore of the room. LOL! Dying to see the final reveal!!
This looks beautiful and I’m loving the color. Nicely styled as well 🙂
looks awesome, jen. love the ribbon pulls! also, those are wicked amazing lamps!!!
Those ribbon handles are SO smart and can easily be updated/changed as her tastes change, too! What a gorgeous makeover!!