I am almost done with my guest bedroom redo.
The color theme is grey and coral.
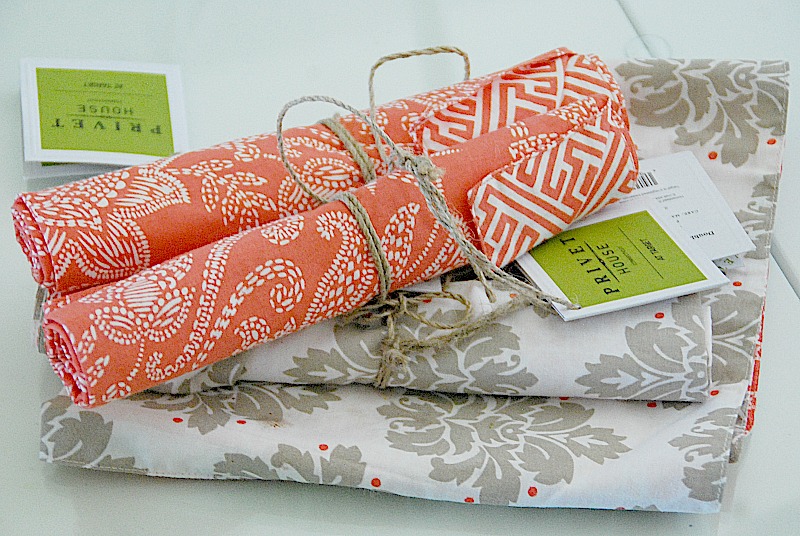
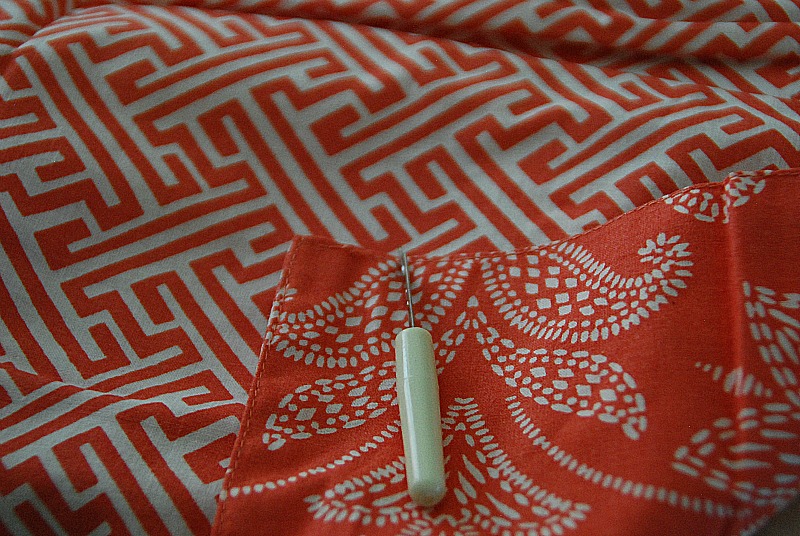
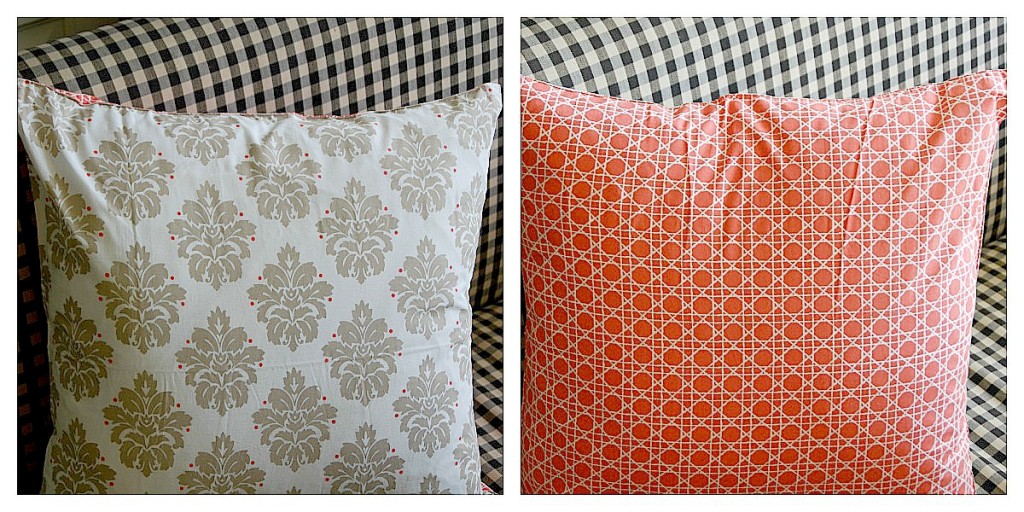
So when I saw these 2-sided Privet House napkins from Target, I knew I wanted to use them in the room.
I love the modern patterns.
And for $3-4 per napkin, I thought it would be a great way to bring the color and those patterns into the room.
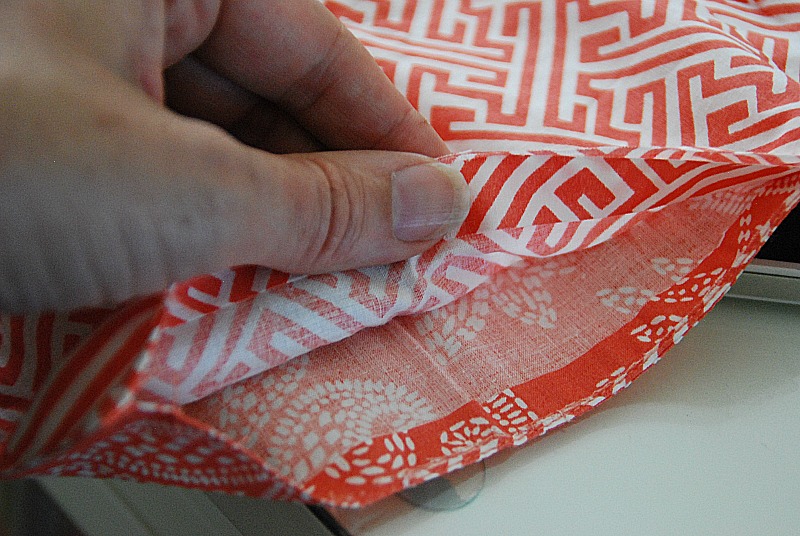
Once I got the napkins home, I discovered that the napkins were two-sided. And I wondered, what would happen if I opened the seams. Could I made the napkins into an easy pillow cover??
So I tried it. And I was so happy with how fast and easy it was to make a pillow cover.
I found some pillow inserts that were about the same size as the napkins. Then I opened one of the seams, inserted a pillow cover and the closed the seam. I just sewed it shut. But if you want to make it a pillow cover that is removable, you can just add Velcro or snaps to the one seam and you can remove the cover.
I also wanted to make a longer pillow, so I took two of the napkins and figured out how to make a longer pillow cover. This is what you do:
Take the two pillow covers, open the seams on one side of the napkin and then put it on the pillow. Fold down the excess from the middle of pillow and iron those seams, leave about 1 inch for seam allowance. Then sew down the back seams for a finished edge.
The next thing you do is pin the fronts of the pillow cover together and sew down that seam.
Once that seam is done, then pin the back of the pillow cover seams together 1-2 inches on the back.
Now there is an opening to fit the pillow cover through. You can leave the opening in the back, or add some ribbon to both sides and have a bow in the back for a decorative look!!
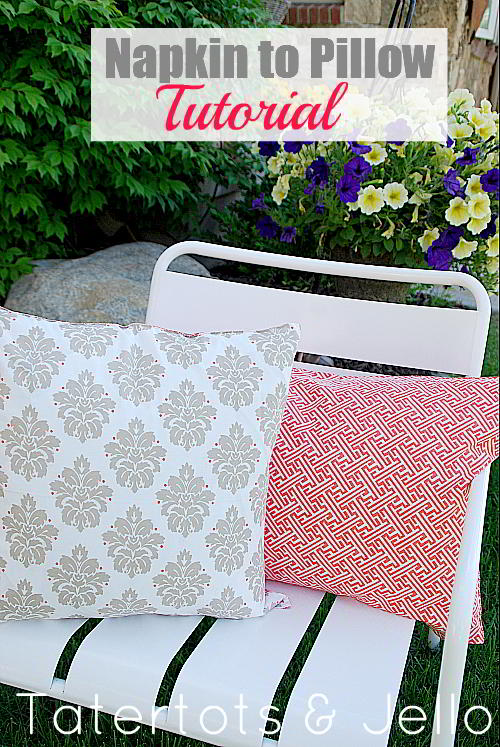
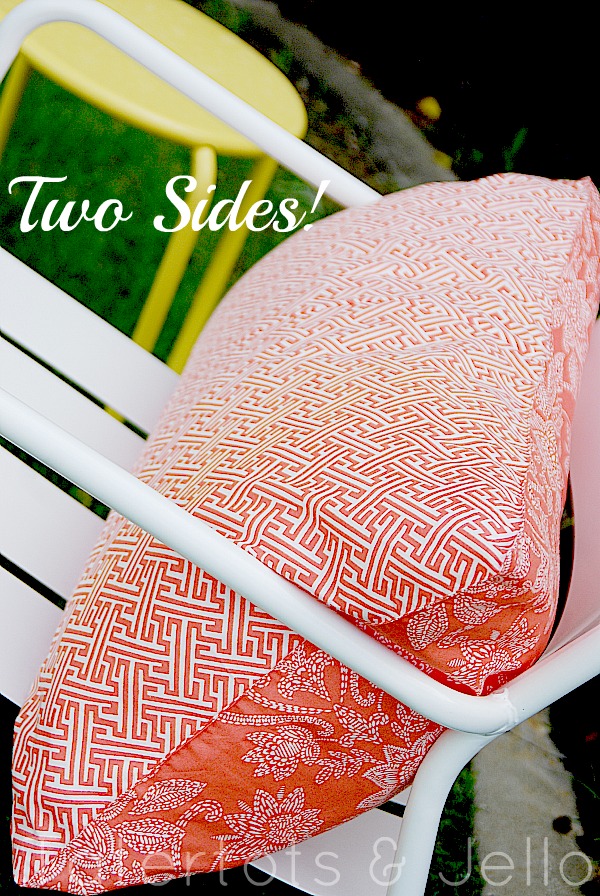
One thing I love about the square napkin pillow covers is that they are REVERSIBLE.
Just flip them over for another look!!
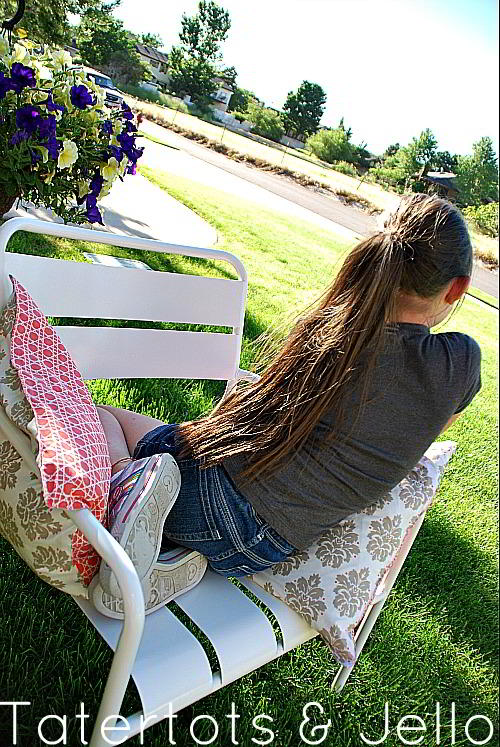
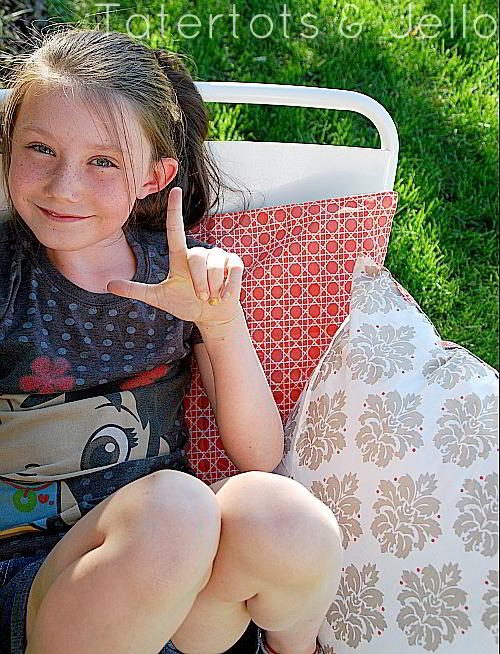
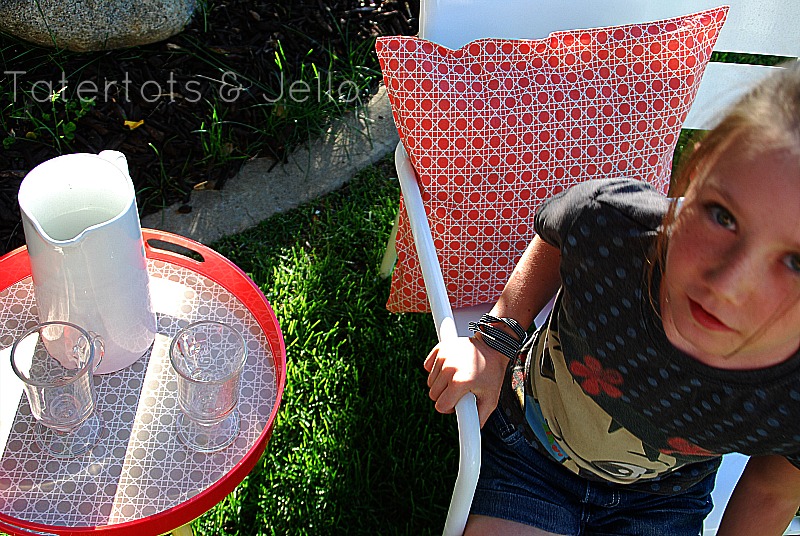
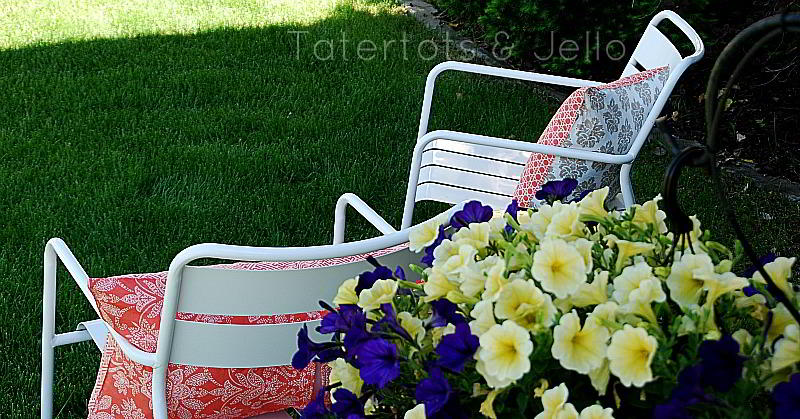
And I love is that you can use these pillows on chairs with open backs. The decorative pattern on the back will show through.
And it’s so pretty!!
This has been such a fun project!!
And I am taking pictures of the guest room today. I am SO excited to share it. I finished the BEACHY chandelier, an upholstered headboard, a wall focal point — and I made a duvet out of fabric shower curtain!! Plus, more. It’s so fun!!
Happy Friday!!
xoxo
PS — Speaking of Friday, it’s almost time for the Weekend Wrap Up Party. I LOVE featuring you!
The party starts at 6 pm MST. I hope you can stop by!!
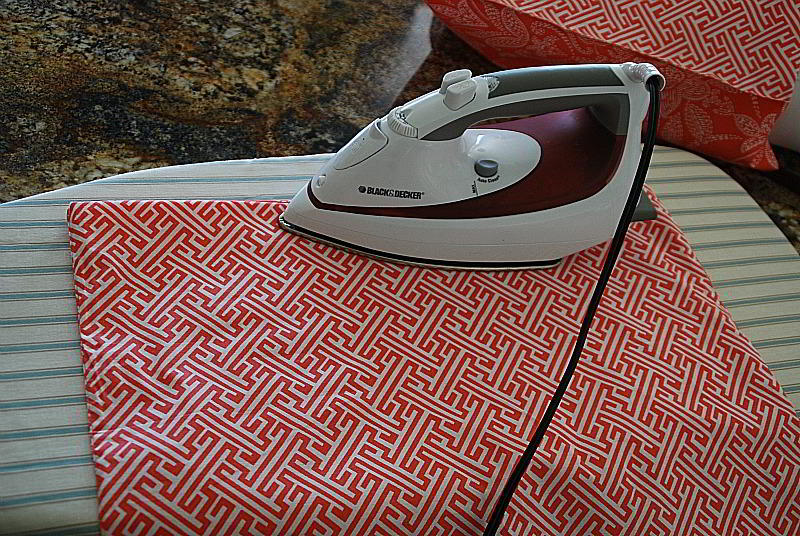
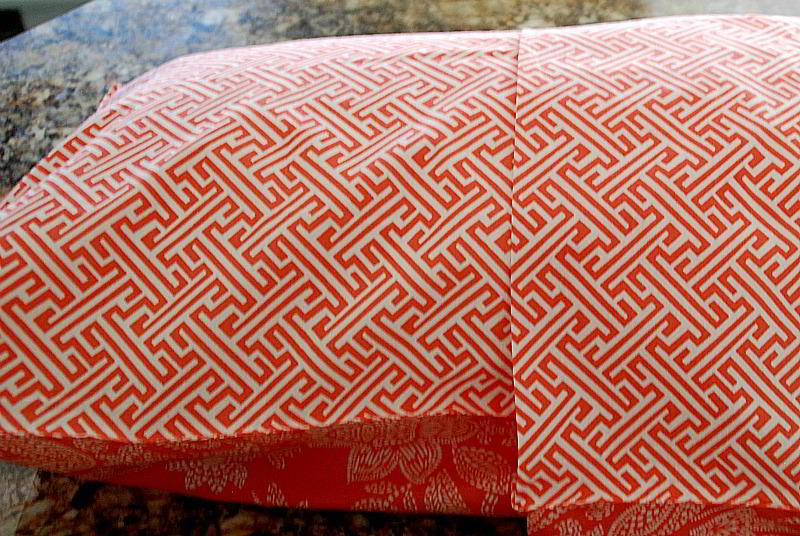
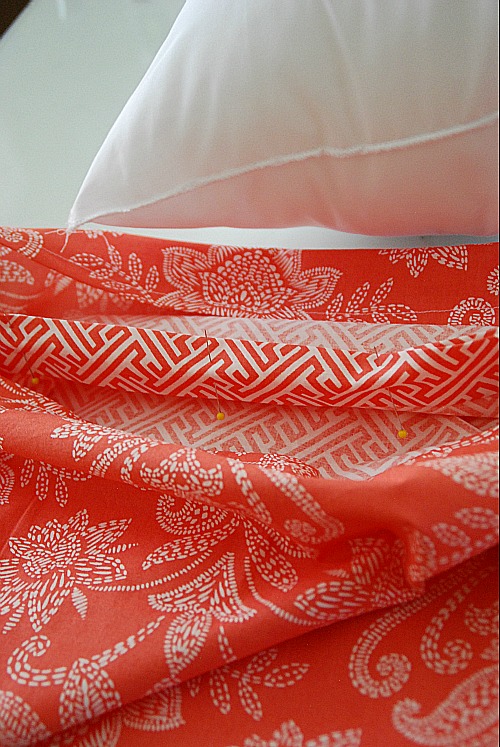
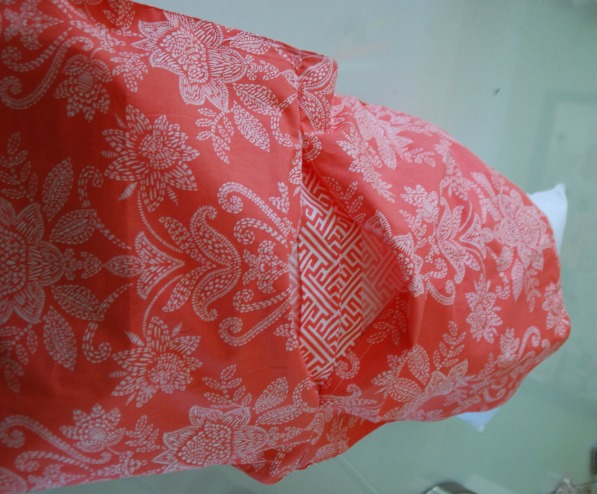




I’ve done this many times with napkins and placemats. So simple, quick and inexpensive!
Wow. This is an awesome project. I have pillows in my living room that need to just go far away.
Love this idea! I have made Christmas pillows from beautiful holiday placemats using the same manner that you did. There are so many possibilities out there!
I’m confused at the connecting the two napkins to make the longer pillow?
I explained in the tutorial, but basically what you do is sew the front seam of the two pillow covers together and leave the back open so you can fit the pillow in the cover. Then you close the cover with two pieces of ribbon on each side of the back and tie them in bows.
xox
Hey Jen! thanks for the great idea, do you mind sharing your sources? Where did you get the napkins? I love the bright coral colour =)
Unfortunately my Target didn’t have any 2-sided napkins, so I just bought 1-sided ones. Now I’m trying to find the pillow inserts…. where did you get yours?
Jen, Great Idea … The Pillows came out Beautiful.
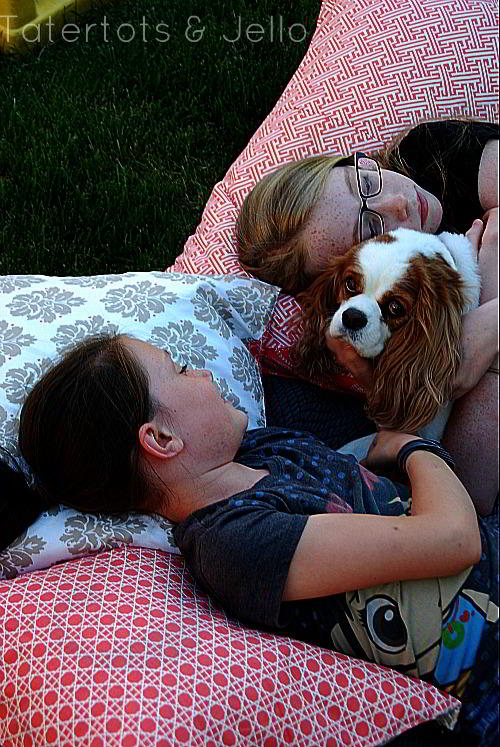
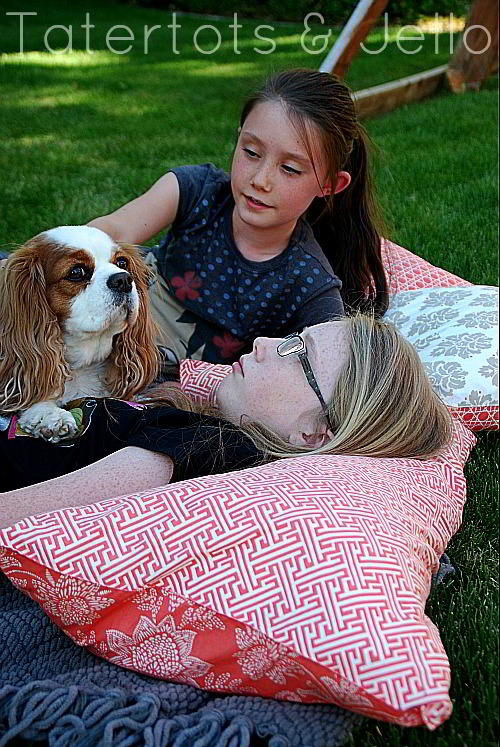
Love the photo with your two Girls and your Dog … Adorable !!
Hugs ~ Connie xox
Very clever Idea!
I absolutely love this idea. your napkin pillows are gorgeous and frugal!
Genius! Great idea to open the seam and put it in!!!
LOVE this Jen! So creative!!! Must try this project ASAP!!
Love the prints…and so easy! I love them!
Oh man, you beat me to them! I’ve been eyeballing those napkins for my new master bedroom re-do. There the perfect color. Great job! I love it.
This is so great! I’ve heard of sewing two napkins together, but your idea to open ’em up was inspired! I think I’ll try; one seam is easier than four!
Thanks!! That’s what I thought too 🙂
xoxox
Such a great idea. The two sided napkins make this so simple. Love the colors. I’m a huge orange & neutrals fan. Thanks for sharing!
I love the colors. Can’t wait to see the finished room.
Great idea, thank you for sharing!
WOW too cool.I LOVE the colors together,I would have never thought to put those 2 colors together. You got 2 thumbs up here. 🙂
This is great…will try my hand at making pillows. Can never have too many!!
Love the patterns–they were way too pretty to just live as napkins. Pillows are a much better choice. 🙂 Love the shots of your girls with the dog. Cuteness!
The is the best way to make pillows! I’ve done it several times. And Target has a great selection of two sided napkins!
Cute & Clever! I MUST do this! Thanks for sharing your great idea!
Very cute and easy, too! I love the pretty napkins that you used. Target really has great stuff!