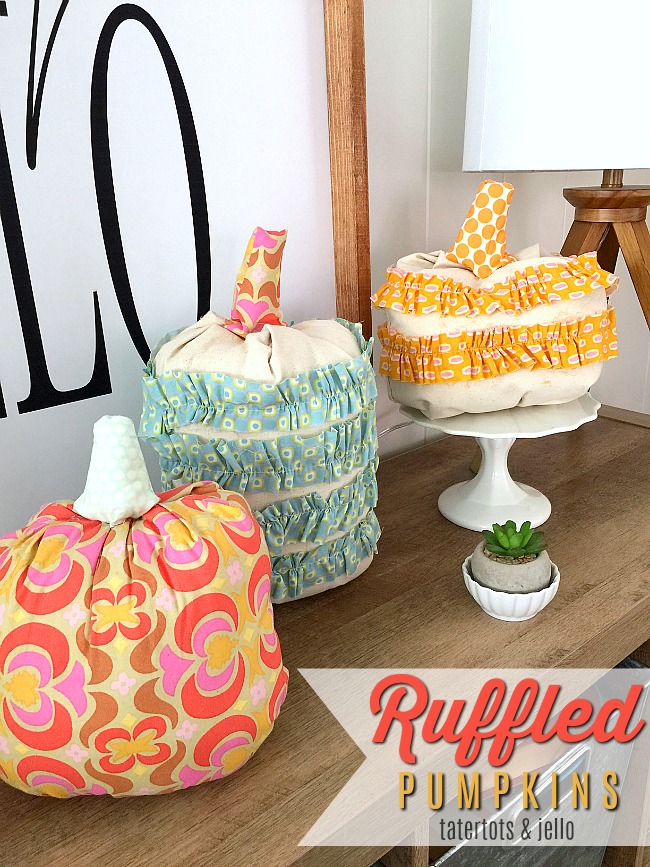
Who says pumpkins have to be orange? I have loved seeing the fabric pumpkins floating around blogland right now. I wanted to make some fabric pumpkins and add some ruffles. Everything looks better with ruffles, right? LOL.
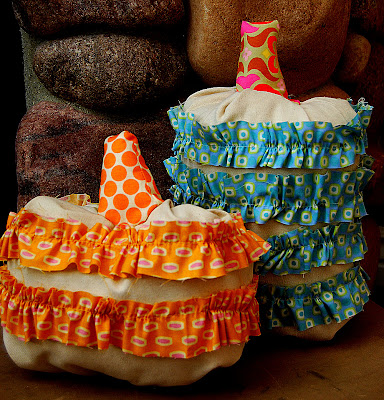
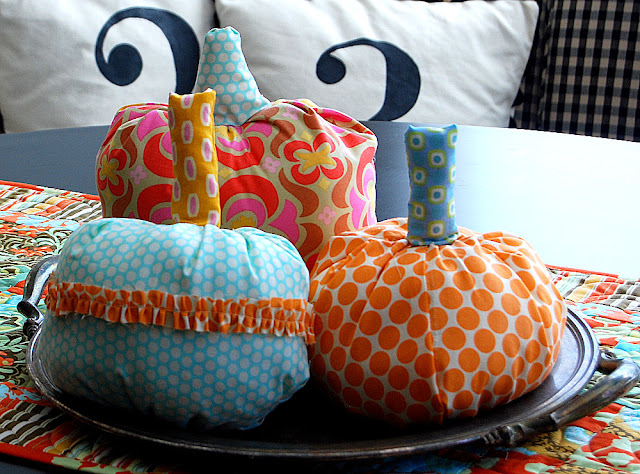
Here’s what I came up with.
I love how bright and happy they are!!
Here’s what you need:
Fabric — I used Canvas for two pumpkins, and patterned fabric for the others
Rotary Cutter (or scissors)
Self Healing Mat
Ruler
Glue Gun
Elastic (for thicker material)
Sewing Machine
Pins
Polyfill Stuffing
Needle and Thread

Here’s what I did:
- I cut out my material. (I used a rotary cutter and ruler). The general guideline I followed was the length of my pumpkin was twice as long as the width. But I experimented and made them all sorts of sizes. You need two pieces of material, one for the front, one for the back. Turn the material so the outside material faces inside and pin shut.
- Sew the material on both of the side seams.
- Then you need to sew the bottom of the pumpkin. Now this side needs to be gathered. So if you have thin material, you can sew a big, running stitch so you can gather the material.
- ***If you are using canvas, it is extremely hard to gather the material without breaking your thread (I know this from experience — lol). What I did was add some elastic to the bottom of the pumpkin. Take a length of elastic. Sew the beginning of the elastic to the beginning of the side. Backstitch so it is secure. Then stretch the elastic along the side of the seam where you are going to stitch. Stitch along the elastic while pulling it tight until you get to the end of the side. Now that side should bunch up.***
- If using regular fabric, gather up that side of the pumpkin by pulling on the string and bunching up the material as much as possible. When it is all gathered, use a needle and thread to secure the ends so it doesn’t unravel when you stuff the pumpkin later.
- Once all of the sides are sewn, Flip it so it’s right side out and the seams are on the inside. I added about a cup of rice to the bottom of the pumpkin. Just to make it more secure and help it stand up straight.
- Now stuff the pumpkin with your polyfill stuffing.
- Now I gathered the material and hot glued it together. I tried to stuff the pumpkins as full as possible so the pumpkins would look round and full.
- For the canvas pumpkins, I used some straight pins to hold the material in place while the hot glue cooled.
- Now make the stems. I freehanded the shapes with the tops narrower than the bases. For the smaller pumpkins, I made long, skinny stems.
- Hot glue the stems on to the top of the pumpkins. I turned the material under at the base of the stems so the raw edges wouldn’t show.
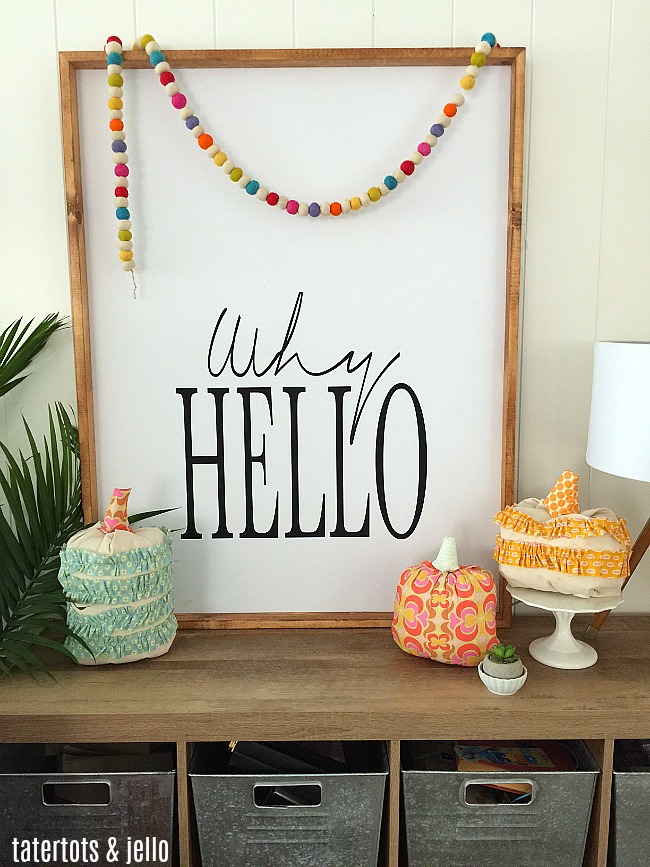
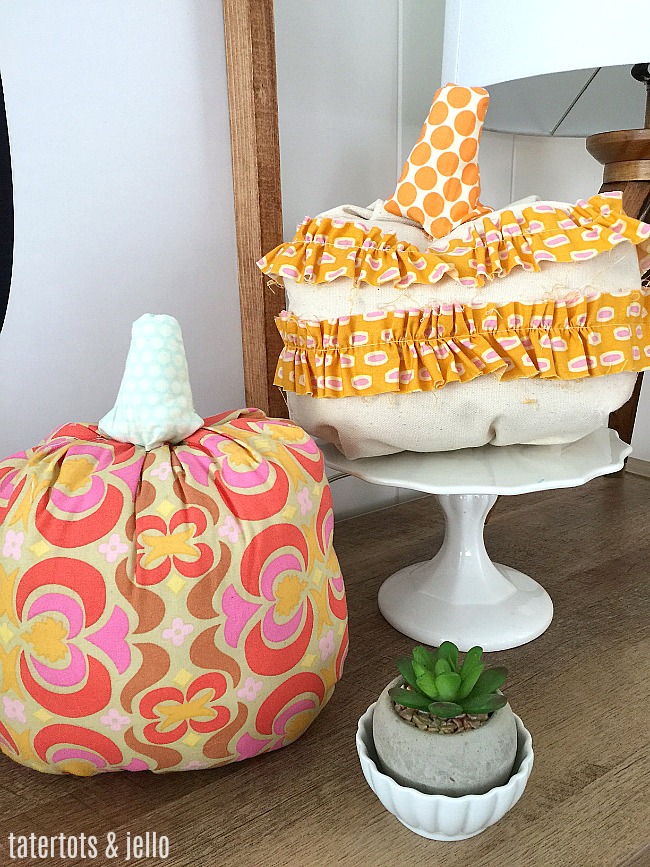
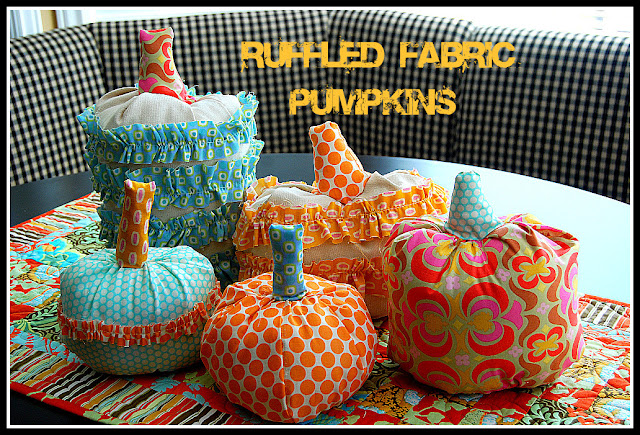
- Now it’s time for the ruffles!! I made my ruffles 1.5 inches wide. I used a fat quarter to make the ruffles on the largest pumpkin. I cut the fat quarter into strips 1.5 inches wide. Then I sewed the strips together, making one long, continuous piece of material. I used a wide, running stitch and then gathered up the whole length of material – creating a long ruffle. I hot glued the ruffle on to the pumpkin, wrapping it around the pumpkin — starting at one side seam, then once it had wrapped all the way around. I cut the ruffle and attached the other end to the beginning so it wrapped all the way around. Then I started the ruffle underneath that one. Leaving about 1/2 inch between the ruffles. For the large pumpkin I made 4 ruffles. On the medium sized pumpkin I made two rows of ruffles.
- For the small pumpkin, I cut a 1/2 inch ruffle and put it around the center. You can ruffle the pumpkins as much or as little as you like.
Have fun!!
Have a Fabulous
Fall Day!!!
XOXO





Why aren’t the photos available for this tutorial???
Jane
Photos…photos…we need photos, please!
The photos are not showing up for the ruffled fabric pumpkins tutorial. Do you know why?
Jane