Hello Tatertots & Jello readers!
I am so excited to be here today!
My name is Bev and I blog over at Flamingo Toes.
Over at Flamingo Toes I love sharing jewelry and sewing projects, home dÈcor, recipes, and pretty much anything else that sounds fun!
I especially love holiday projects – I get pretty caught up in decorating the house and making new things! Which you would know if you could see all the storage boxes in the garage. Mr. F.T. just loves all those boxes.
For my post today, I wanted to combine a couple of my favorite things – Christmas and jewelry.
I have a super quick and really easy tutorial for today for these Winter Wonderland – DIY Snow Globe necklaces!
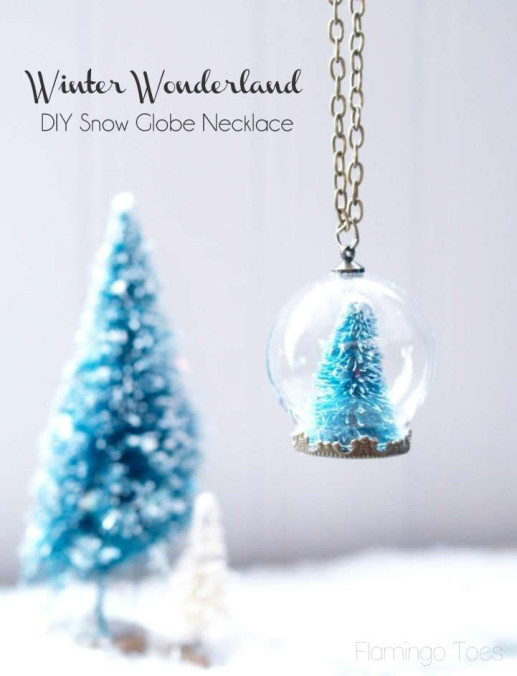
Aren’t they sweet?! I promise they are super easy. You can easily make them up even if you have never made jewelry before. Promise.

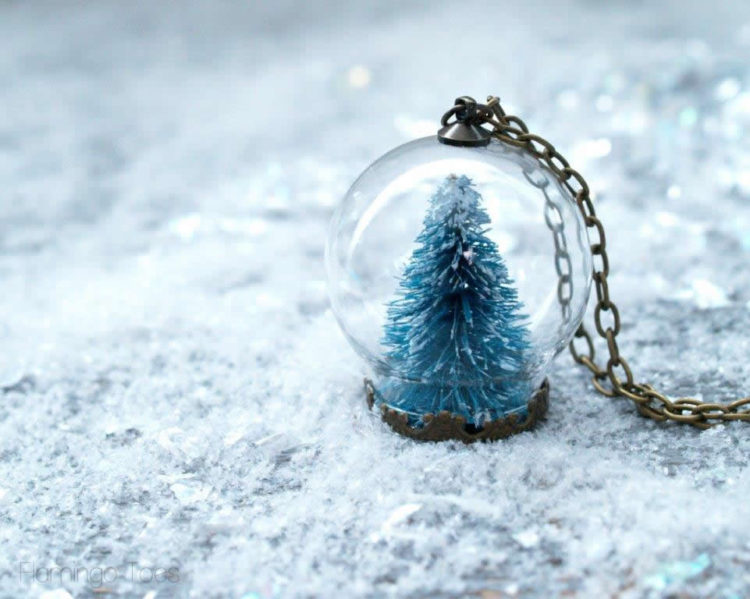
You could even make up a few as early gifts, hostess thank you’s, or even make up a bunch at a crafty Christmas party!
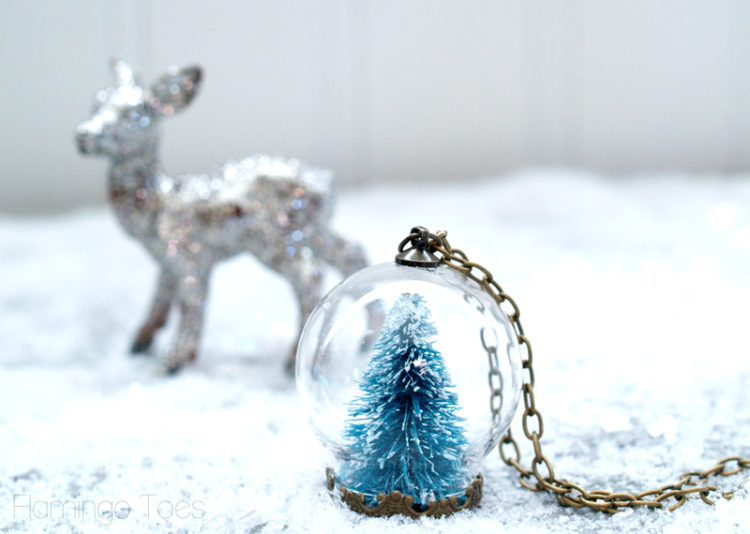
Here’s what you’ll need to make your own wee snow globe necklace:
Snow Globe Kit
(there are lots of shops that carry these on Etsy, in different styles and shapes.
Mine came from here.)
1″ tall bottle brush trees
1 jump ring
24″ necklace, or chain, lobster clasp, 2 more jump rings
E-6000 Glue, toothpick
Your snow globe kit should come with a globe, base and a little top bail with ring.
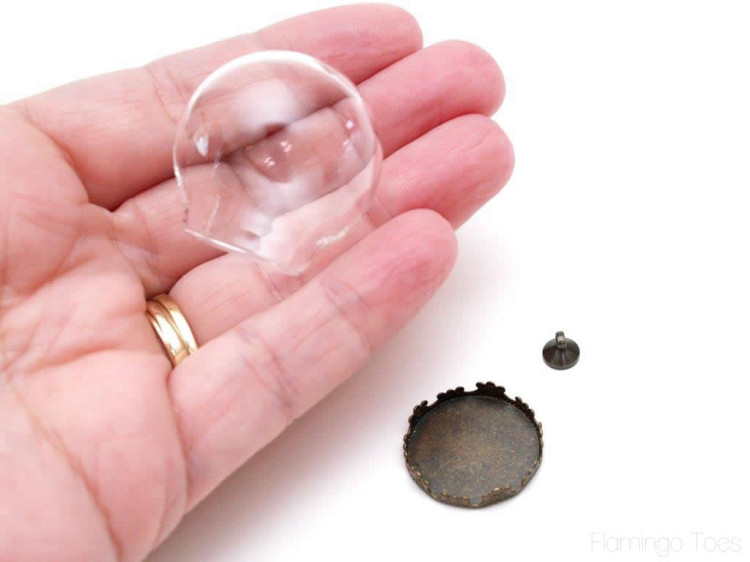
Cut the wood base off your tiny tree with wire cutters. Point the base away from you or anyone nearby to avoid getting a tree stump in your eye.
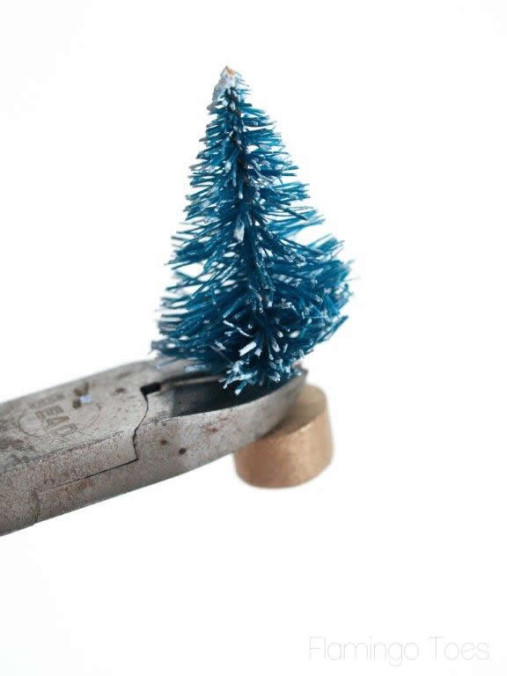
Add a good amount of E-6000 glue to the center of the base of the globe and glue the tree in place. You’ll want to wait until the tree is pretty sturdy and the glue is starting to hold before assembling the globe to the base.
While you’re waiting for the tree to dry, add a small dab of glue to the bottom of the bail piece and glue to the top of the dome.
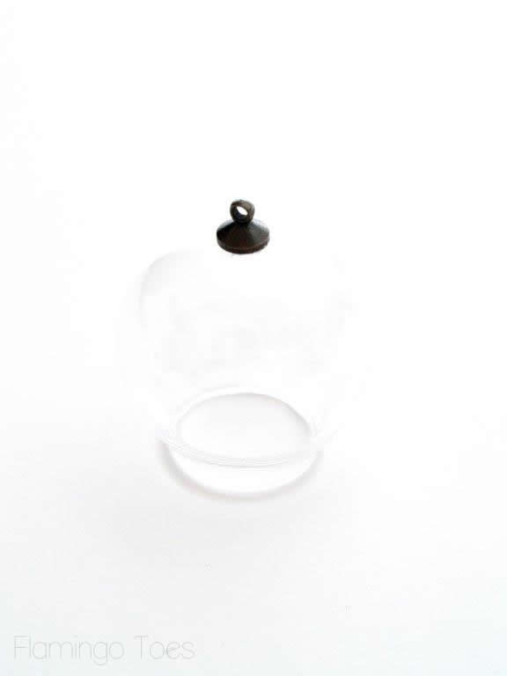
Once your parts are all dry, add glue to the inside edge of the base. A toothpick works great for applying the glue.
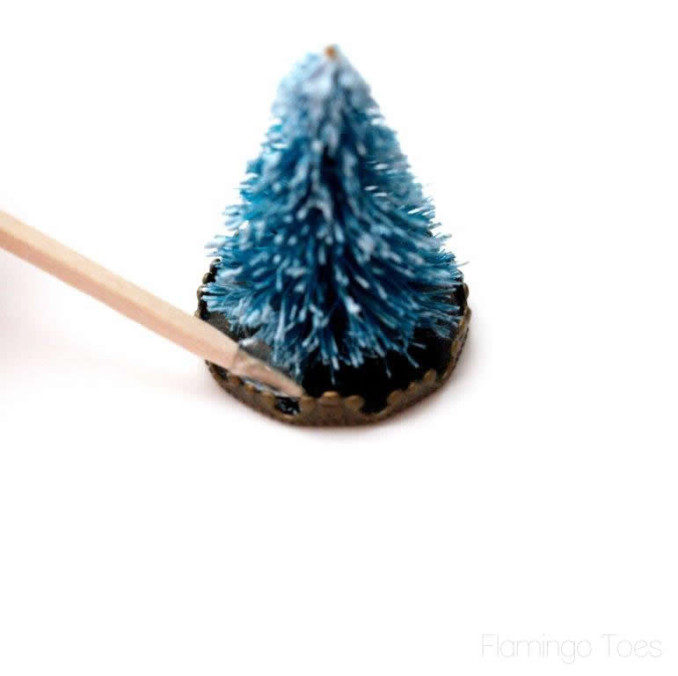
Fit your globe down over the tree onto the base. Hold in place until the glue has started to set.
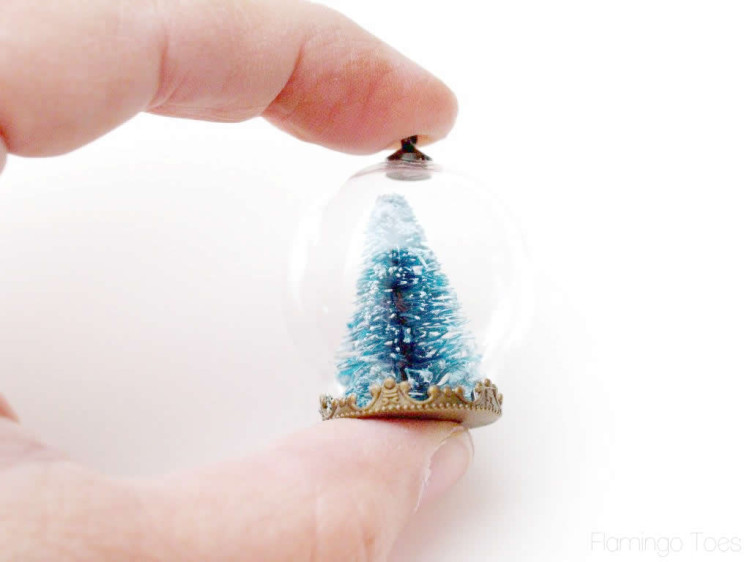
Once your globe is dried, add a small jump ring to the ring on the top. Feed a necklace through the ring to finish off your necklace.
If you need help with jump rings, or making your own necklace, you can check out my Jewelry Tips page for instructions.
That finishes off your necklace! See – wasn’t that easy?
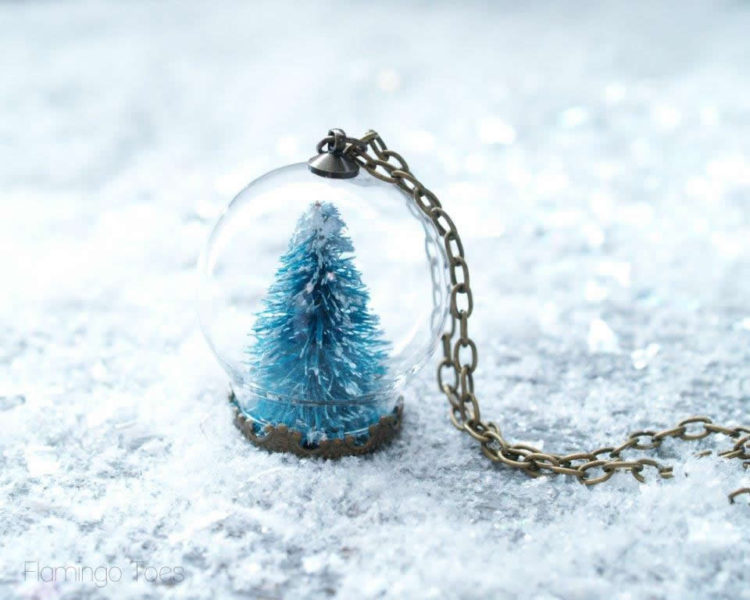
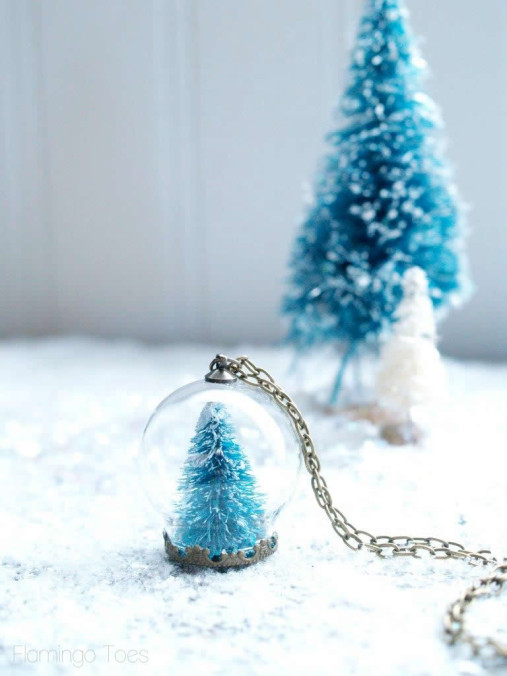
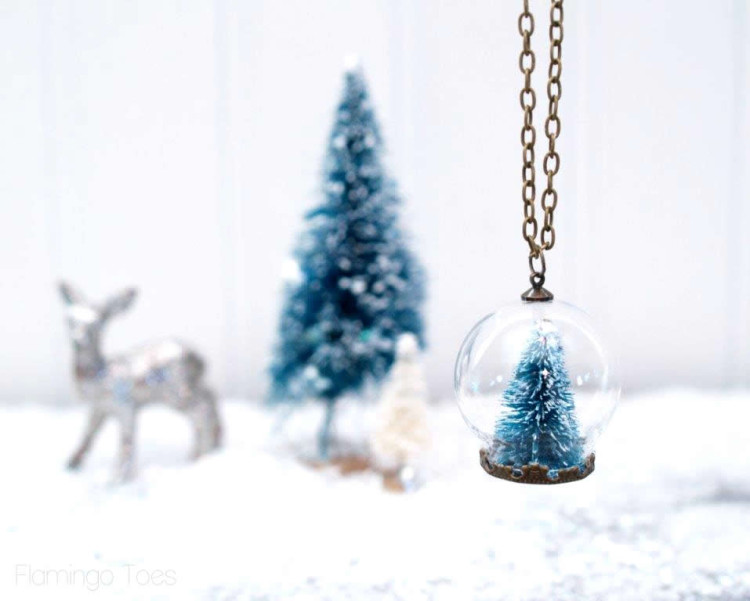
I hope you like it!
Thanks so much for having me Jen!
* * * * *
Thanks, Bev! Bev has such amazing style — you need to keep up with Flamingo Toes!
Here are a few of my favorite projects (besides the awesome “Baby, It’s Cold Outside” Pallet Art/Shadowbox she created last year for the HAPPY Holidays event):
![linenandlacetopiaries1[1]](https://tatertotsandjello.com/wp-content/uploads/2013/11/linenandlacetopiaries11.jpg)
I love the mix of textures in these linen and lace trees — the natural colors are great!
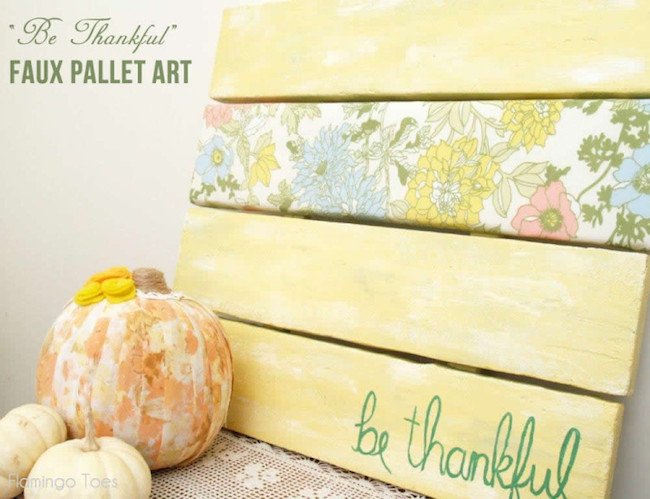
Perfect for this or any season, this Be Thankful Faux Pallet Art reminds us to be thankful. You can customize it to match your decor. But it’s styrofoam, not wood — so you could hang or place it just about anywhere!
![deersilhouette[1]](https://tatertotsandjello.com/wp-content/uploads/2013/11/deersilhouette1.jpg)
I love this Stylish Christmas Deer Silhouette! It combines some great trends — patterns, silhouettes and antlers — into one whimsical decor piece. Make one and customize it to match your decor!




I can’t get your link to where you purchased the globes necklaces. It won’t open.
Article writing is also a fun, if you be familiar with then you
can write if not it is difficult to write.
I really like the snow globes that you show in your pictures, but I can’t find them anywhere online where you can order just a few instead of a mass order. Any ideas?
Thanks!
Gina
Adorable & more subtle than Christmas sweaters 😉
http://cafecraftea.blogspot.com
Those are so fun and cute!! I love them!
Bev, my friend… you are just BRILLIANT!! LOVE this idea – so so so cute!! XO
These are so sweet, thank you! I wanted to make them in quantity so looked for the parts at a better price. I found them in quantity at http://www.aliexpress.com/item/20-30mm-glass-dome-globe-bubble-vial-20mm-bronze-crown-tray-bronze-silver-gold-top-connector/968665551.html.
d
Oh my goodness! This is soooo adorable. Love that Bev and all her cute ideas!
LOVE IT!!! Just ordered a feew to make as gifts. Can’t wait.
I am in love! …So very pretty!
LOVE all theses crafts went out to day looking for stuff to make necklace with no prevail. Oh well ~
So cute- my girls will love this!!!
Absolutely cute! And easy to make too. I might as well look for the necklace thingy like that. Thanks for sharing.
yep, adorable!
This absolutely enchants me! I love it more than I can say! I will definitely be making some of these to wear year-round.
Thank you for sharing this diy idea! I have always been a collector of snow globes and I’ve always wanted to make my own too. I love the idea of using it as a piece of jewellery. It’s the perfect combination of Christmas and a fashion piece. I can’t wait to make some for my friends for Christmas this year. Also, I recently just started a diy blog of my own. If you have time, I would love it if you would come check it out: http://dolceinspiration.wordpress.com
So cute! I did something similar last year but with a different shaped glass tube. And I think it was smaller as I cut the tip of the tree off and used that. Also added some mica flakes. I love the shape of this globe. Maybe I could fit a very small village in something like this 🙂
This is so adorable! What a great idea, thanks for sharing with us!
TOO super cute, Bev!! The mini snowglobe is so fun, but made even better by turning it into jewelry! LOVE this!
OOH! This is SO cute! Bev, you never disappoint!
oh my goodness Bev this is seriously the cutest!
Adorable, Bev!! Love the blue!!
As cute as can be! I love it!
Ahhh-so tiny and cute!
I am sooooo in love with this project!