I love graphic shapes. I found a geometric rug that I loved —
but it was $2500.
So I decided to make a my own geometric rug,
and I love the Greek Key pattern.
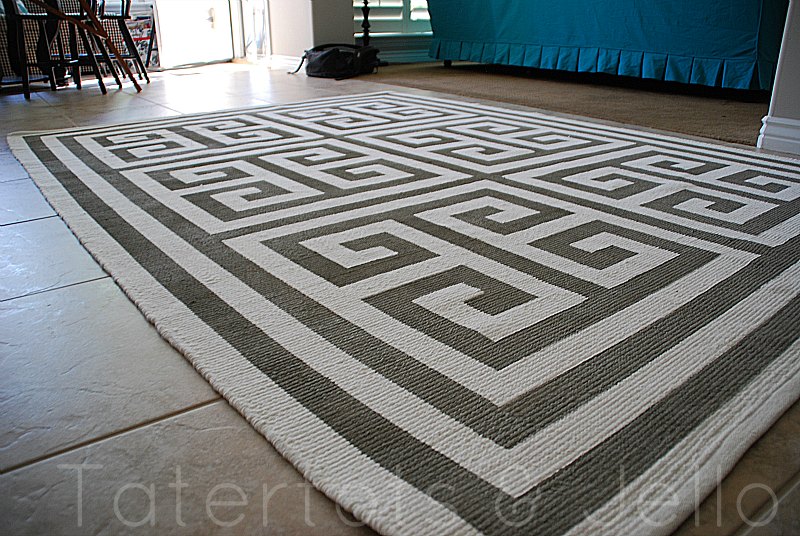
I made a geometric rug for under $80 using a simple cotton rug, paint and ScotchBlue Painter’s Tape.
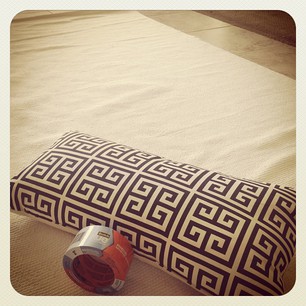
I had a pillow I used for my daughter’s room with a “Greek Key” pattern. I used that pillow for inspiration. This project actually ended up testing my math skills. I had to get some help from my nice husband with the math and he helped me sketch the rug and pattern into graph paper. That made it easier for me to visualize as I taped the rug.
So now if you buy the same size Ikea rug (I used the larger Ikea ERSLEV rug, which is 5′ 11″ by 8′ 2″) and 2″ ScotchBlue tape, you should be able to end up with the same results. Be warned, it takes a while to get the pattern taped on. (It took us about two hours, not counting the first two hours of doing it wrong.)
And to save you the pain I endured, I scanned my sketch into a PDF that you can download and print. Note that I actually made a rug that’s the inverse of my sketch, but it doesn’t matter.
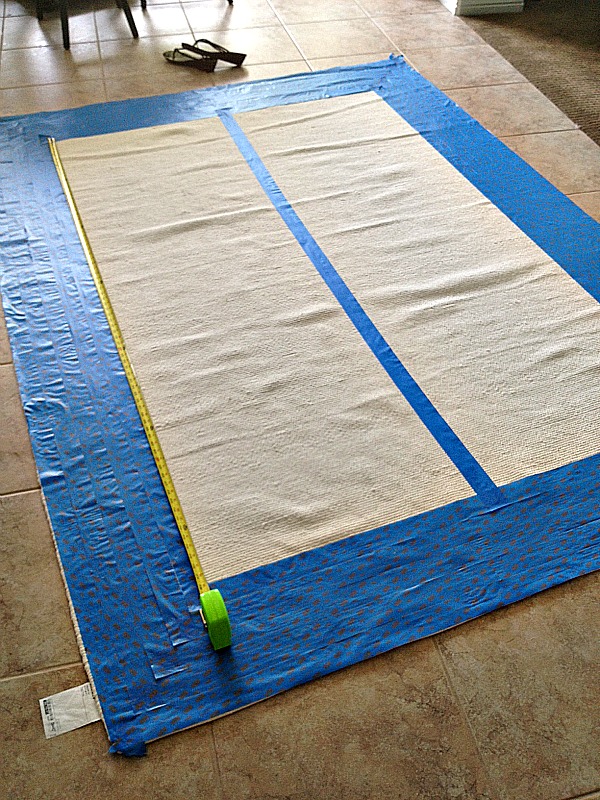
I used the 2-inch wide ScotchBlue tape and built my design on a grid made of 2″ squares. When you look at the sketch, you can see that the design consists of six identical patterns and a border around the outside. (If you have a rug of a different shape, you could just add borders or even increase the size of the grid.)
- I taped off four borders of tape along the outside of the rug to make my grid centered on the rug (since it didn’t all divide out neatly). And then I divided the inside section into three wide rectangles, then divided those rectangles in two so I had six identical rectangles. I then taped off the “Greek Key” pattern within those six sections. And the last thing I did was take off two sections of the borders.
- Tip: The first thing I did before I painted was I smoothed the tape down around the edges to ensure a sealed line. This keeps the paint from seeping under the tape. This rug had ridges so I had to make sure to smooth the edges down first. (the ScotchBlue tape has a feature called Edge-Lock that helps with this, and I must confess that I found that it actually DID help!)
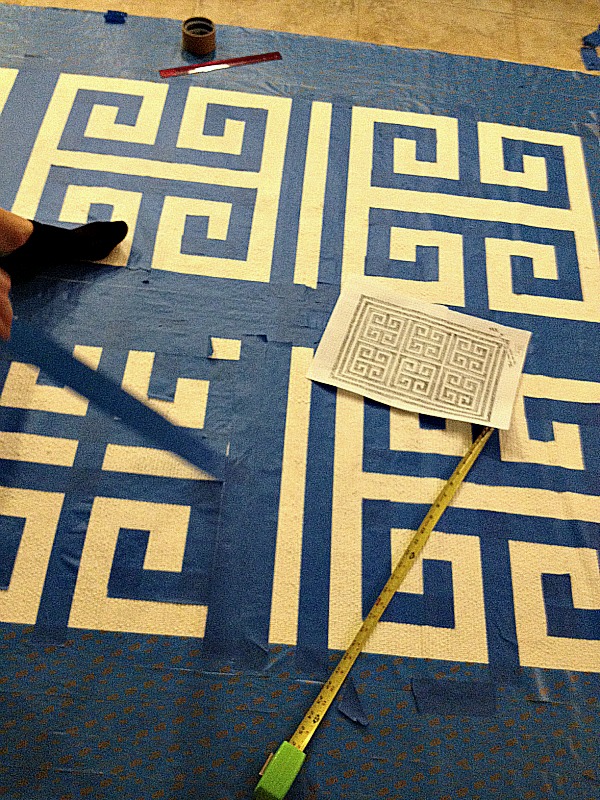
- I used a smooth roller for this project. I have found that smooth rollers work best for stenciled rugs. So I rolled the paint onto the rug, rolling over the taped sections.
- Once the first coat of paint was on, I let that dry.
- Then I applied a second coat of paint. I think two coats of paint makes the paint darker and makes the paint “pop” against the white rug.
- I let the paint dry overnight, and then when it was dry I peeled up the tape, revealing a beautiful patterned rug.
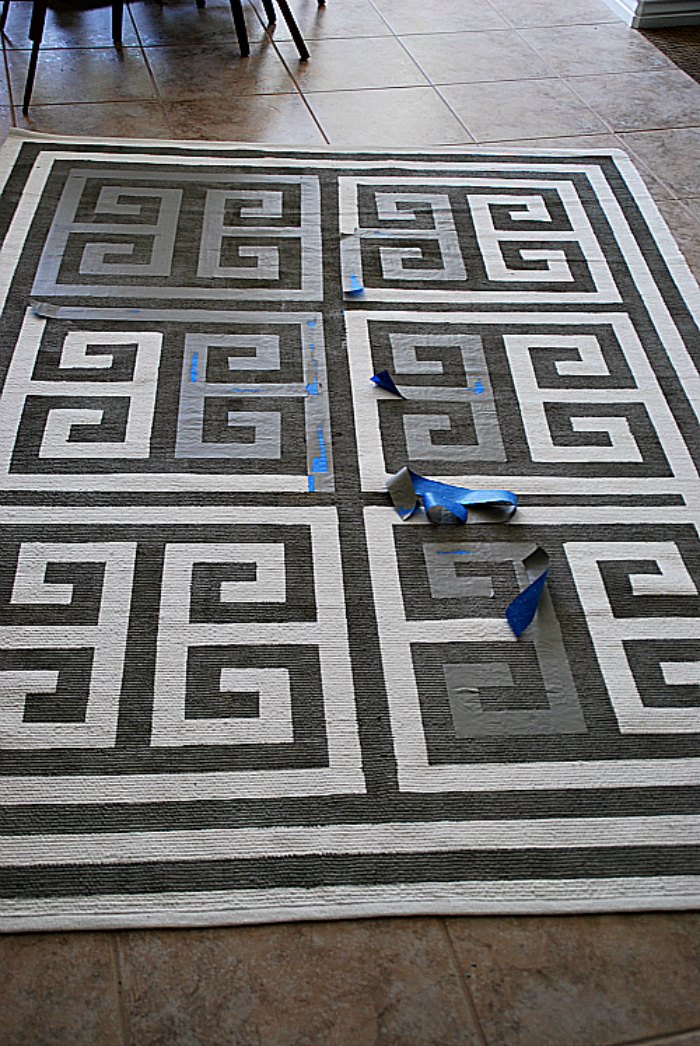
- The last thing to do is to apply a sealer of some sort like Scotchguard over the top. Your rug will wear naturally — that’s part of its charm!
- Enjoy your new rug!!
Here’s a short video on how to make the rug:
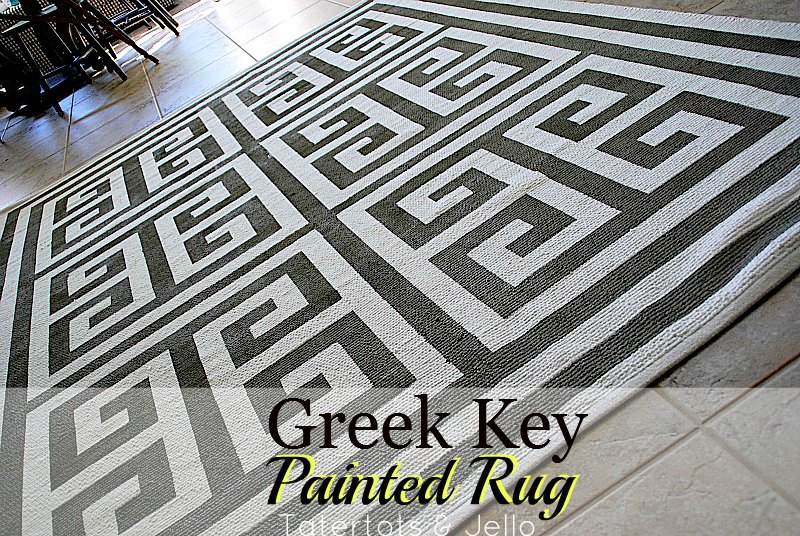
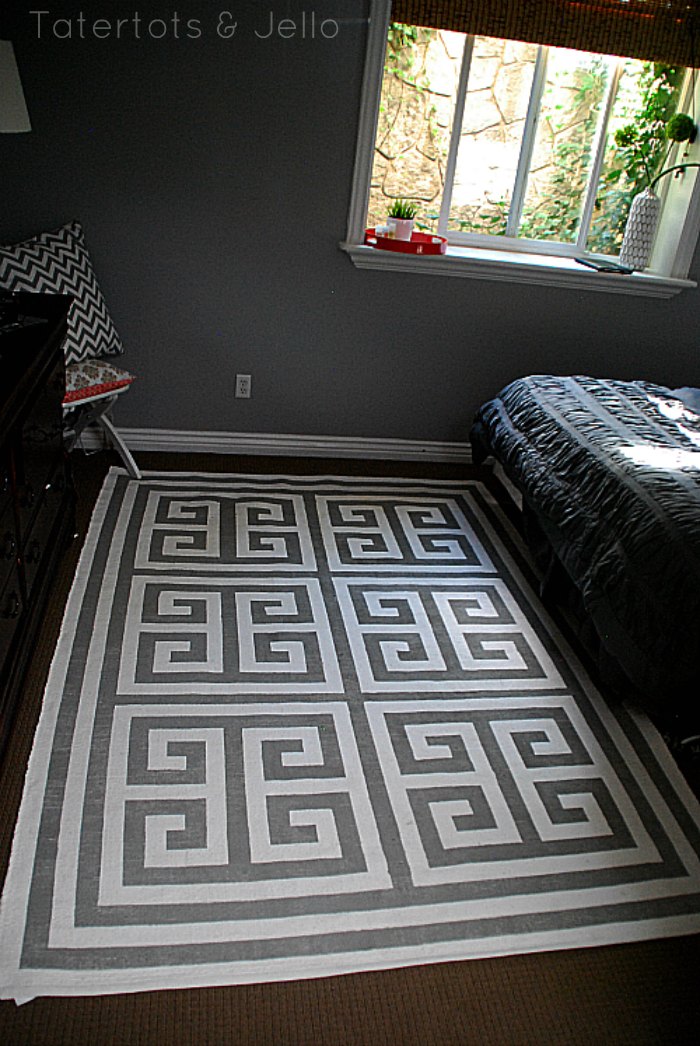
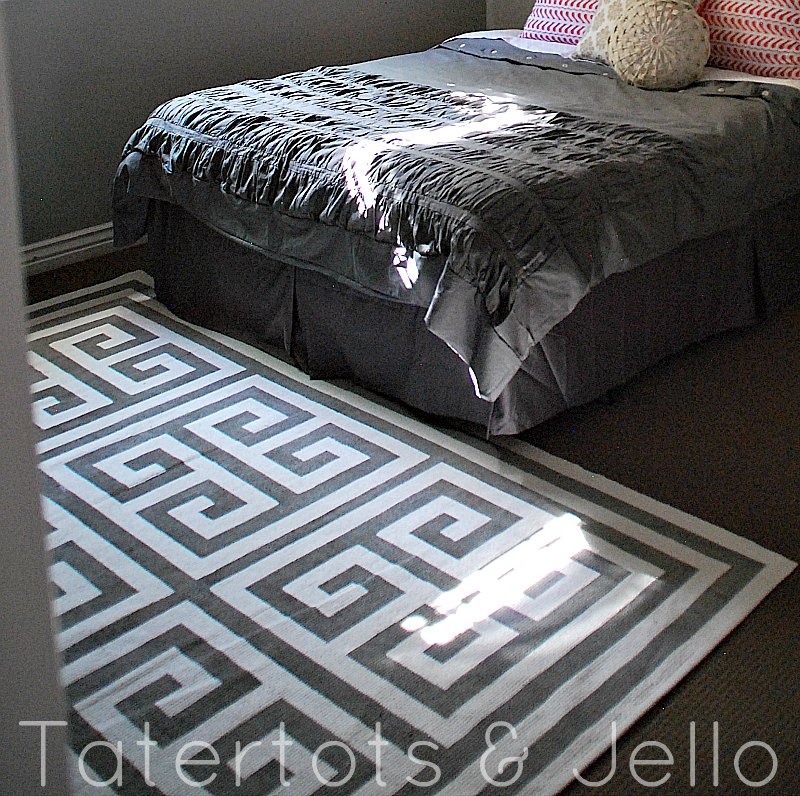
And here’s how the Greek Key Painted Rug looks in my new Guest Room!!
I love it!
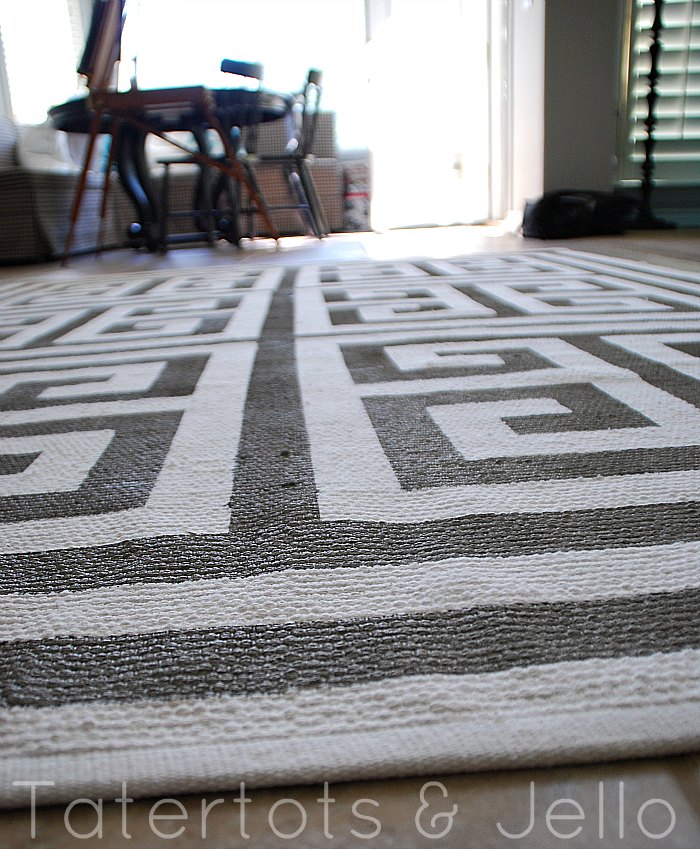
(And here’s how it looked right after painting in my kitchen!)
***
And what’s more, ScotchBlue is giving away
hundreds of free samples every day plus
$150 and a ScotchBlue Painter’s Kit
in the ScotchBlue Ribbons Nomination Contest!
Just visit the Facebook page to nominate YOUR projects (or other people’s!).
Enter your email address to enter the drawing for hundreds of free samples given away every day,
and every time you nominate a great project, you’ll be entered to win prizes.
***
Have YOU tried painting a rug?
Let me know in the comments — and include a link so I can see your awesome rug!
xoxo
Note: This is a sponsored collaboration between TatertotsAndJello.com and ScotchBlue. I received compensation for this post; however the opinions — and the fun rug project — are all mine. My complete disclosures are here. And I really do like ScotchBlue tape.





Just wanted to let you know – I’ve been wanting a rug since we moved into this house, which was about 14 months ago. This is the first rug my boyfriend actually liked (huuuuuge compliment!), so now I am going to try it! Thanks so much!
Perfect result for a thorough job.
I would have done a stencil on any plastic & used it 6 times.
I’ve read up on different rugs you’ve painted and your tutorials, because this is something I’ve wanted to do for quite some time. What kind of paint do you use? I know that latex and acrylic would get hard. What do you recommend?
HI, What type of paint did you use? Thanks!
I admire your math and I’m loving the greek key. I’ll have to try it
I love this rug! Just shared your design and ideas on my blog (www.RBHomeDesignBlog.com). Thank you!
How in the world did you keep the tape straight? That is my biggest fear. lol Mine would end up slightly slanted.
beautiful!!
Found you via Centsational Girl– LOVE the pattern. I’ve been dreaming of a DIY painted rug, and this just adds fuel to the fire. 🙂 Great job!
Such an amazing idea and cheap too! What paint color/brand did you use? I love it!!!
Jen, this is a FANTASTIC ditto-worthy project! Tucked it away!!
You didn’t tell us what kind or type of paint to use.
Absolutely beautiful! You are so creative, I never would have thought of doing this on my own. Rugs are expensive! Thanks to you, I now have an alternative to long shopping trips to find something that may or may not match my decor. Gread idea!
Such an awesome awesome job!
Im wondering if I have the patience to do it. LOL.
Mr. Goodwill Hunting
Lisa —
I just used regular indoor flat paint on this rug.
xoxo
OH. My. GOSH! LOVE!!! It’s GORGEOUS, Jen! I’m so jealous and TOTALLY copying this!!! Seriously, it’s fantastic. You did awesome!
You are so sweet Ami!! Thanks — let me know if you make one. I would love to feature it!!
xoxox
How does it feel? Is it more like an outdoor rug feel?
Hi Katie!!
it actually feels pretty normal. Only part of the rug is painted, the rest is the natural fiber. The painted part is a little more stiff than the original.
xox
Seriously cool! I love that design.
Amazing!! I love how it turned out Jen!!!
Love this! I just painted this pattern on a kitchen mat! So fun!
Oh how cool Steph!! I need to come see yours!!! I love that pattern 🙂
xoxoxo
Wow! This is amazing! So impressive. I love scotchblue painters tape!
LOVE, LOVE, LOVE this! BUT…wondering what KIND of paint? Will any paint work…what works best? Thanks!
Hi Vickie!!
I have tried all kinds of different paints. On this one I just used regular wall paint in flat. They all work. I spray painted a rug with a design last summer and it got left outside on my back porch with no cover all winter in the snow and it still looks great. I think spry paint might be more durable than regular paint, but I haven’t left a painted rug with regular paint outside so I am not sure. Overall they hold up really well.
xoox
This is beyond awesome! It looks like a ton of work with all of the taping, but it turned out beautifully. You always have the best ideas, Jen. 🙂
Thanks Erin!! It was a lot of math for me, but luckily my husband helped me out with all of the dimensions. LOL!
xoxo
oh Jen this is gorgeous! great job!!
Hi Lisa!!
I just used some paint I had leftover from my kitchen walls — Martha Stewart Sharkey Grey flat. You can use any type of paint you have around.
xoxo
Love it! What kind of paint did you use?
It is so gorgeous! I love it so much!!!
That is totally amazing! I’m exhausted just reading the tutorial! There’s a lot of math in that rug! I love how it came out and how crisp the lines are- not easy to do. Congrats on a fabulous project!
Thanks Cynthia!! The math was a little tricky but I am so happy with the end result!!
xoxoxoxo
This looks so great!
That’s really beautiful! You have the patience of a saint to do all of that taping, but it was well worth all of your effort.
for some strange reason the photos of the rug in the actual space are not showing up?
I die over this! 🙂 Love, love! I am just about to order a cake with this pattern on it today! I am using this pattern for my daughter’s gymnastics 3rd birthday! 🙂
Oh – so fun Krista!! I would love to see pictures from the party!! Have a great time!!
xoxo
It looks great!! What type of paint did you use? Can you feel it’s painted, when walking on it?
Hi Sara!!
I just used regular flat wall paint on the rug. It is really not very hard or scratchy. Only the grey parts are painted so the natural rug feel still comes through. When I walk on it I can’t really feel the painted parts on my feet. it’s very subtle.
xoxo
I Love that you created this rug with Blue Tape! Super cute! And I also love the colors you went with! Looks great Jen and Pulls that room together!
I am seriously impressed! I would have been intimidated by the math and measurements! You cannot tell it is painted! Great tutorial!
This is gorgeous. Thank you for sharing the whole process.
This turned out great – I love it! I have a growing Ikea list, and now it includes a rug! Yay, more projects 🙂
It’s absolutely gorgeous! Maybe the Greek key pattern can be the new chevron. That’s a trend I would love to see.
LOL Christine!! Let’s start a trend. I would love that too!!
xox