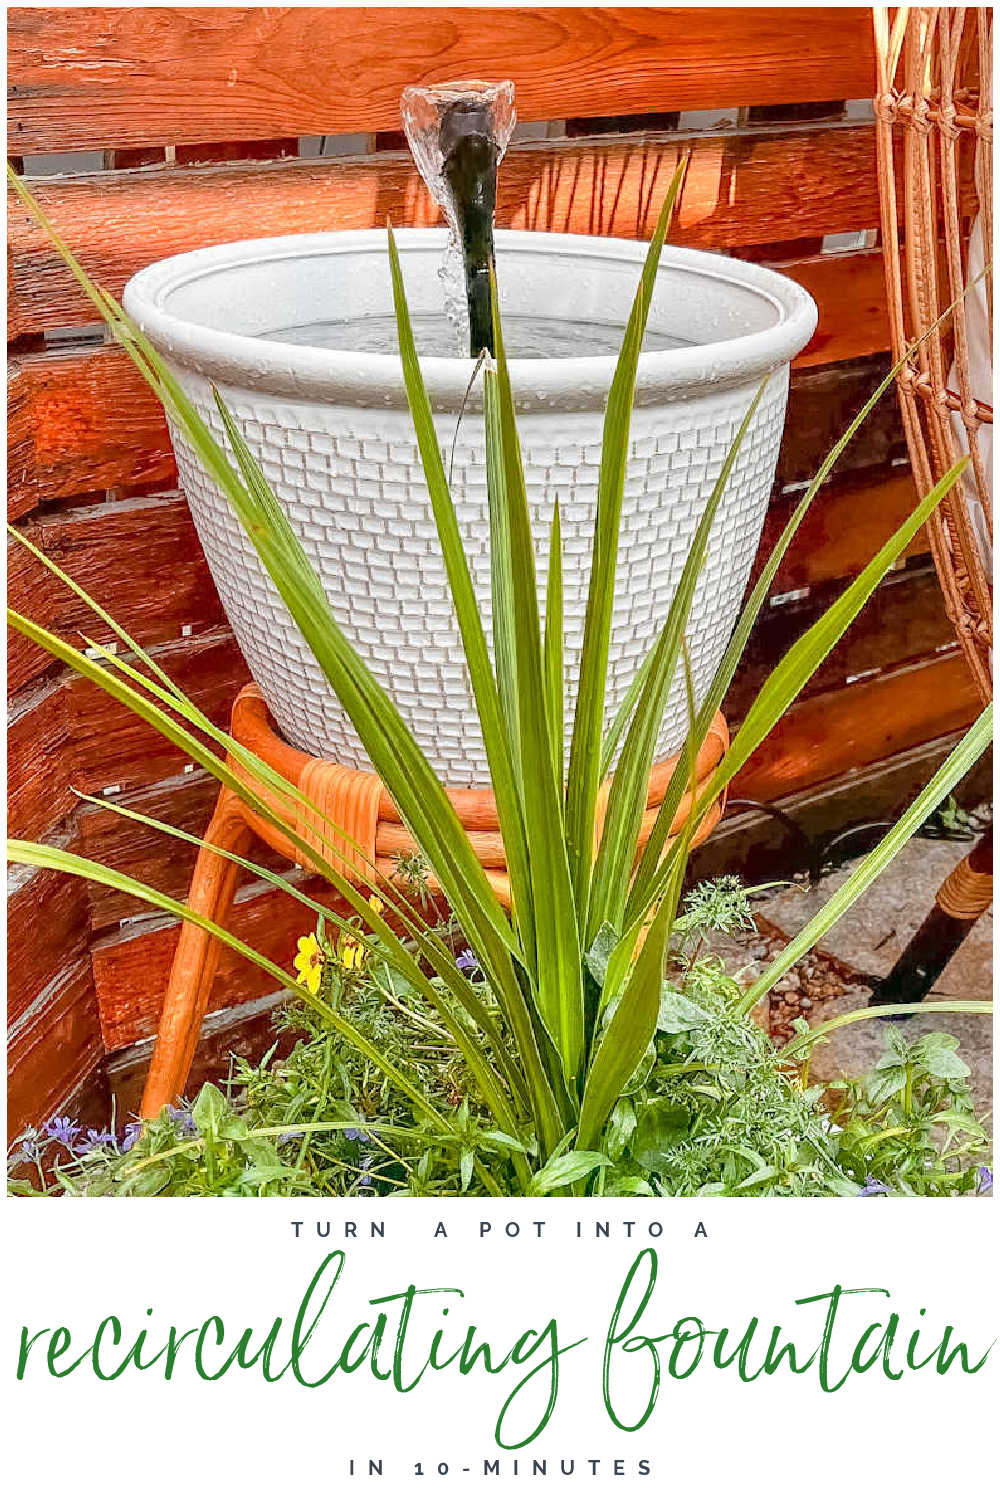
Turn a Pot Into a Fountain in 10-Minutes! You can create a DIY fountain in just minutes and create a soothing backyard focal point!
Turn a Pot Into a Fountain in 10-Minutes!
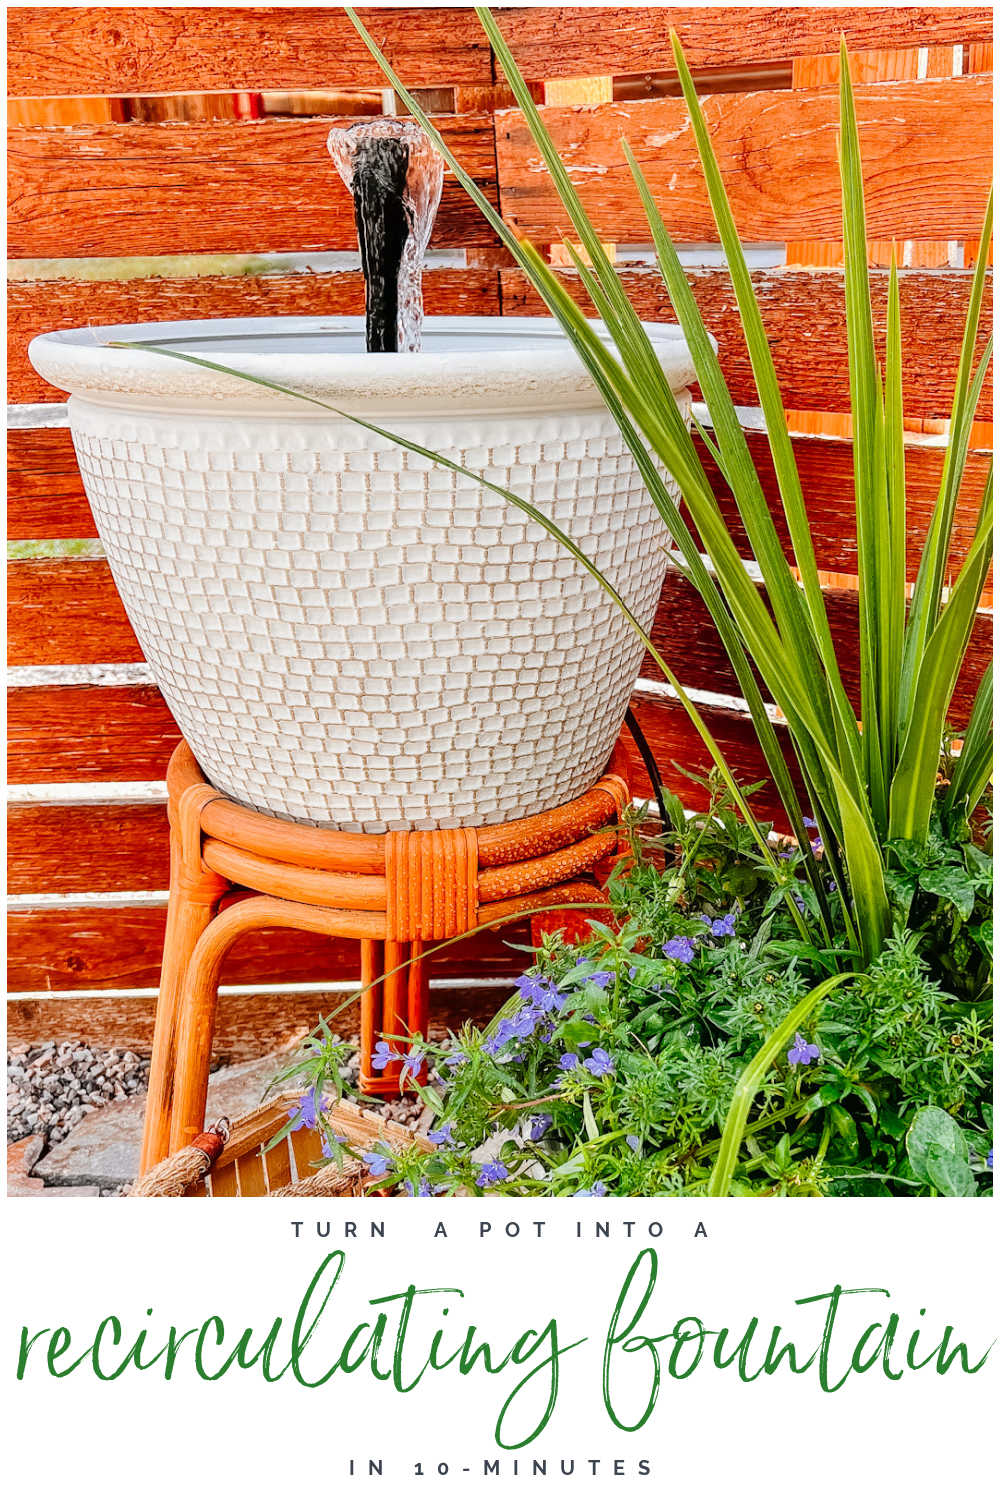
Do you love the soothing sound of water? I do! One of my favorite memories is waking up in Hawaii to sound of waves washing up onto the shore outside our bedroom window. I wanted to bring that feeling into our new backyard oasis. I spent a few hours looking for backyard fountains and couldn’t find a fountain that I both linked AND was affordable. So I decided to make my own and it turns out that it was so easy!!!
Turn a Pot into a DIY Fountain

Ok 10 years ago I created a fountain out of a pot and it’s still one of my MOST popular posts every spring! When I decided to make my own fountain I revisited my instructions for this post and while it is a great way to make a fountain out of a pot, it turns out that technology has evolved in the past 10 years and now there is an EASIER, FASTER and CHEAPER way to do this! So here is How to Turn a Pot Into a Fountain updated so you can make it in 10-minutes!!!
An Easier Way to Turn a Pot into a Fountain

The trick to making this easier and faster is that there is now a pump with a fountain attachment all in ONE piece! So instead of burying a bucket with the pump underneath the pot and using a hose and fountaint inside the pot above the bucket, you don’t need any of that!
Fountain Water Pump Kit
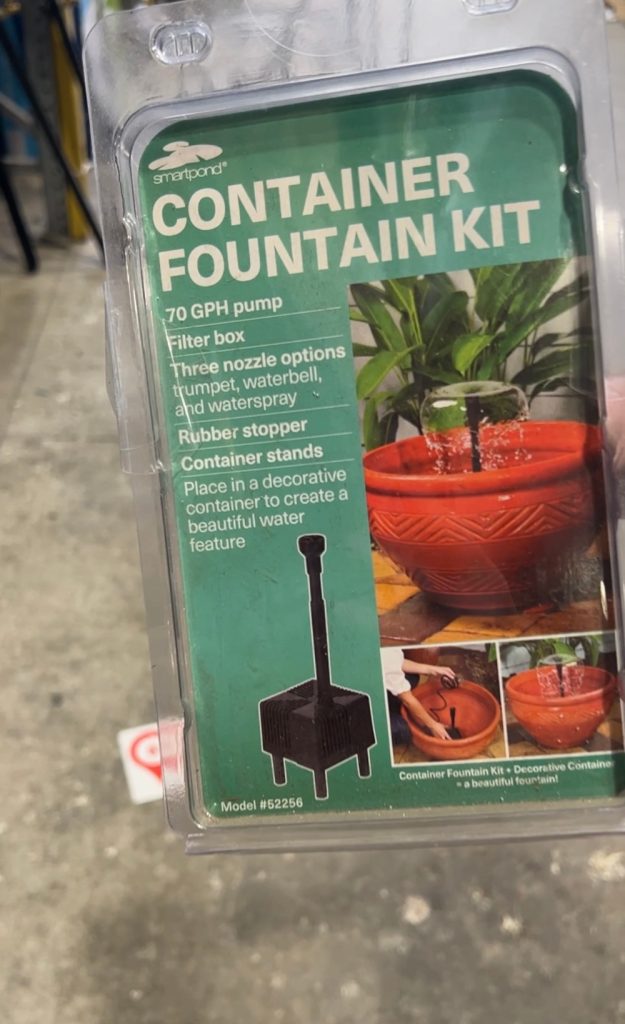
The main thing you need to make this idea work is a fountain water pump kit! I found mine at Lowes but I discovered that you can find better ones cheaper on amazon. This fountain water pump kit has a stronger motor, better fountain heads AND LED lights!! Plus it’s about $8 cheaper than the one I used from Lowes.
Thing I Love About This Fountain Water Pump Kit:
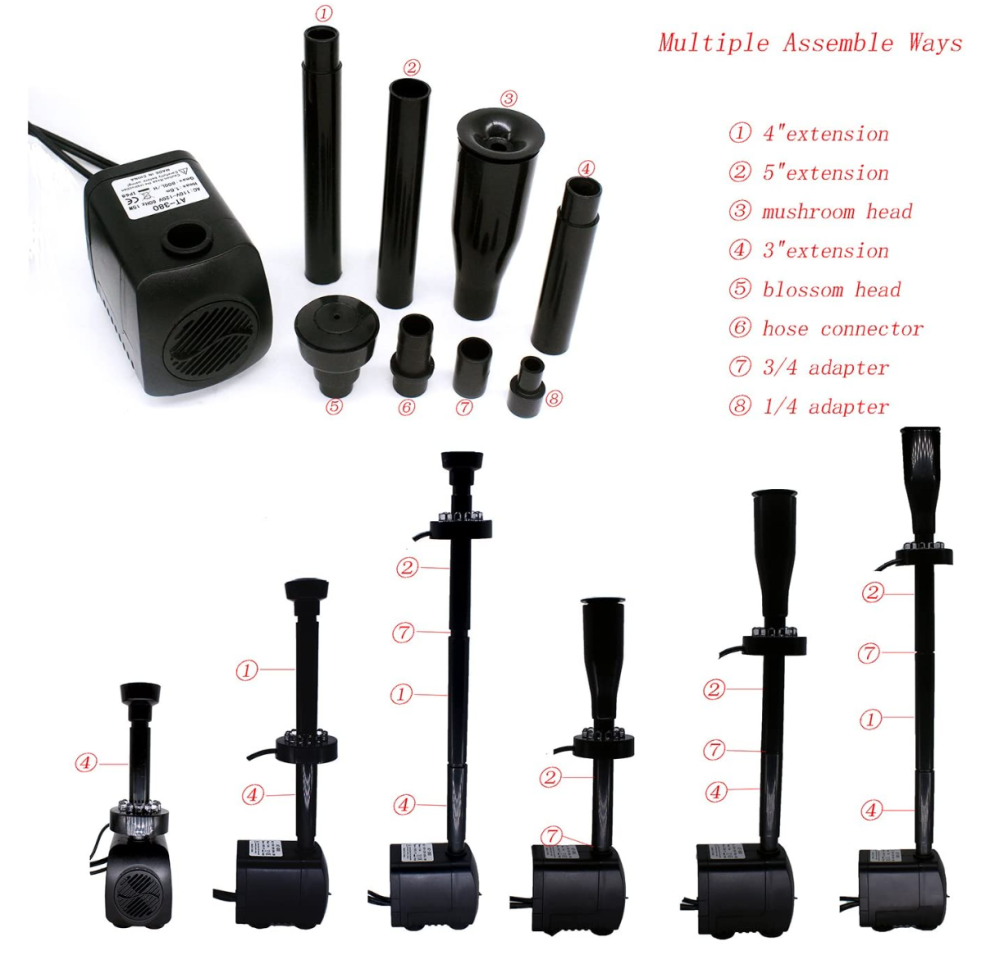
- 15w, 110 power, water rate at 3.51 Gallons Per Minute.
- Many ways of configuring for different heights.
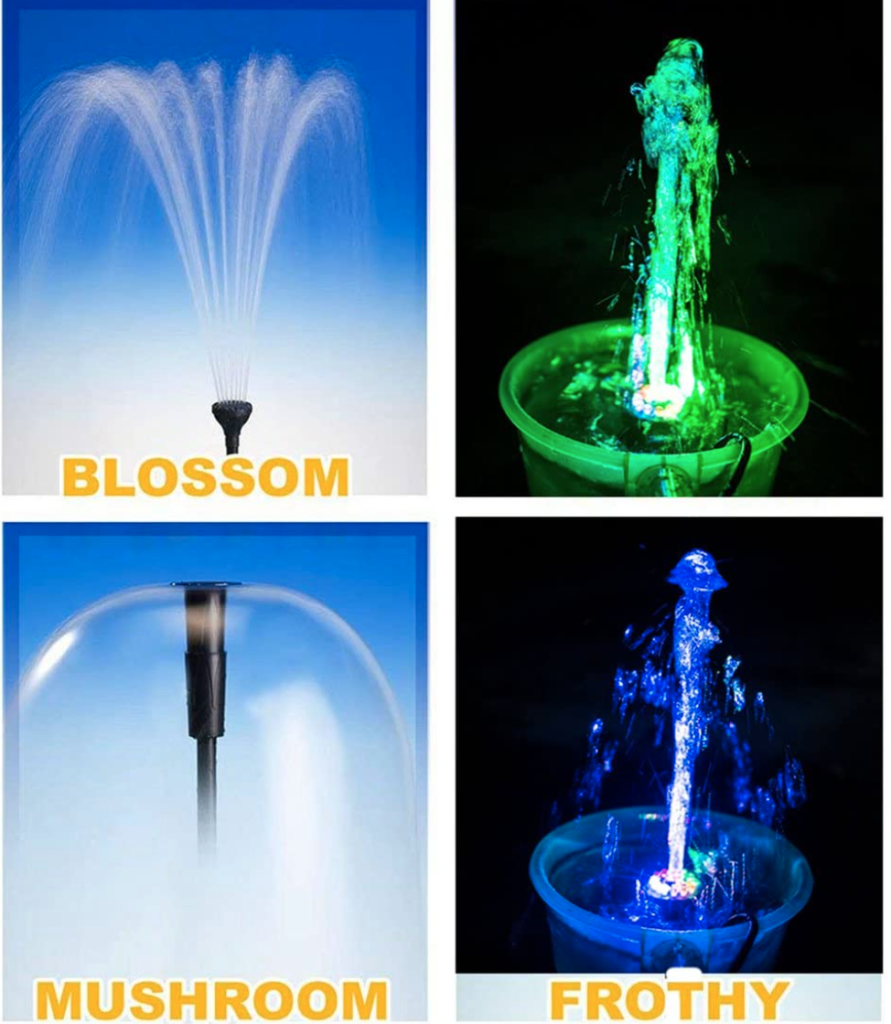
- Comes with three fountain nozzles — Mushroom, Blossom, Frothy. Adjustable Water Height — Multiple assemble ways to adjust the height you like.
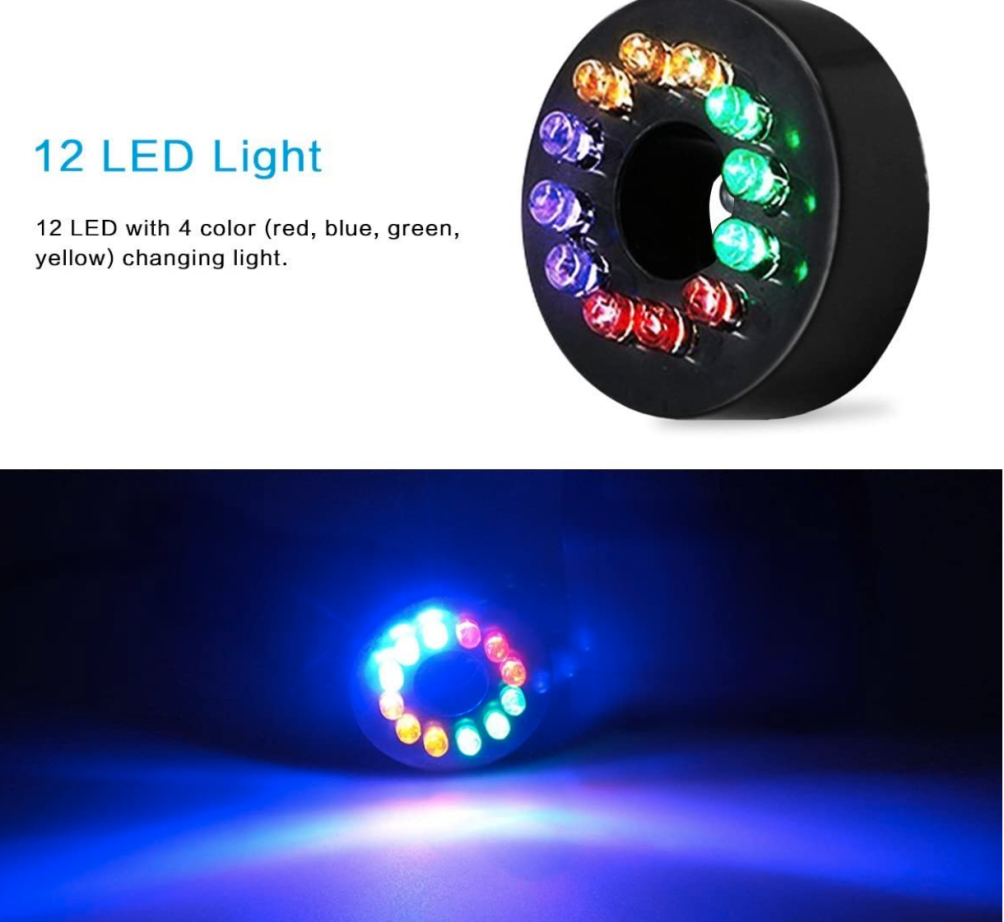
- 12 LED Fountain Ring —- With 4 colors (red, blue, green, yellow), looks beautiful at night.
- 6 feet Listed Cord.
If You Don’t Have Outside Electricity
Don’t worry if you don’t have an outdoor outlet to plug this fountain kit in! There are fountain kits that are SOLAR powered too!
A Solar Powered Outdoor Fountain
This solar powered outdoor fountain doesn’t require electricity and here are the main features:
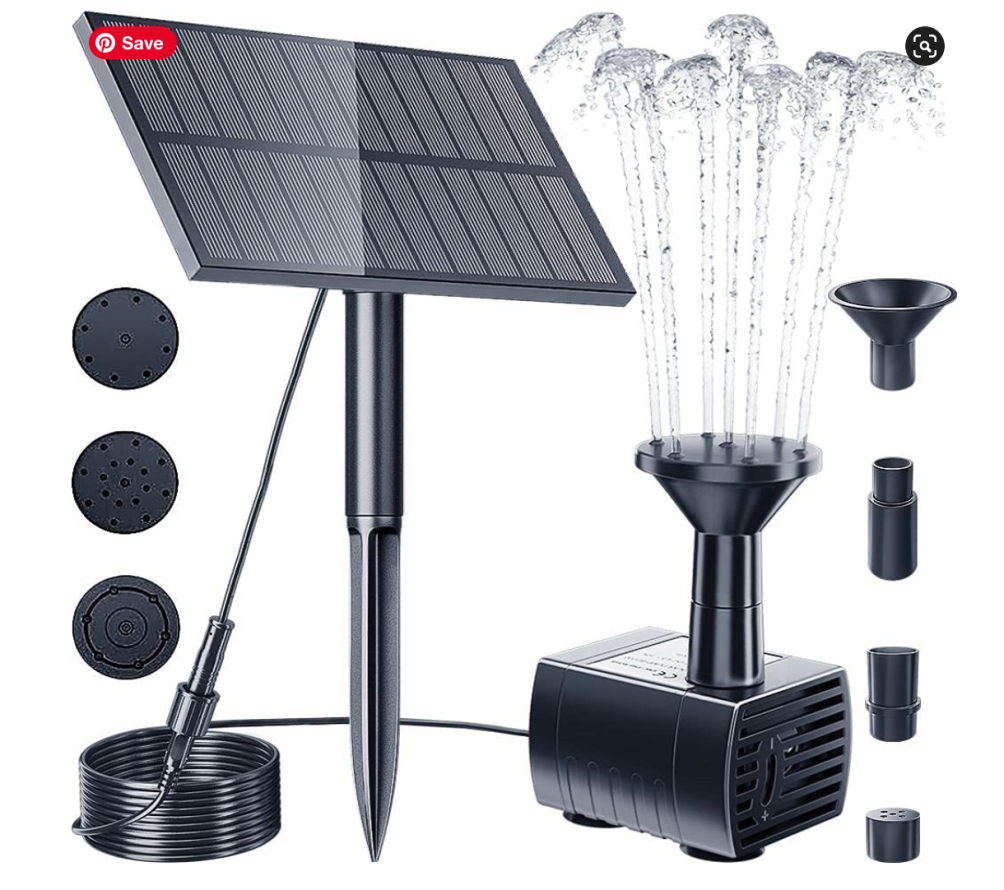
- Equipped with 180° rotatable high-efficiency solar laminates panels, the solar water fountain pump has more than 10,000 hours of lifespan, delicate and perfect. Built-in brushless motor that provides a longer service life and lowers energy consumption.
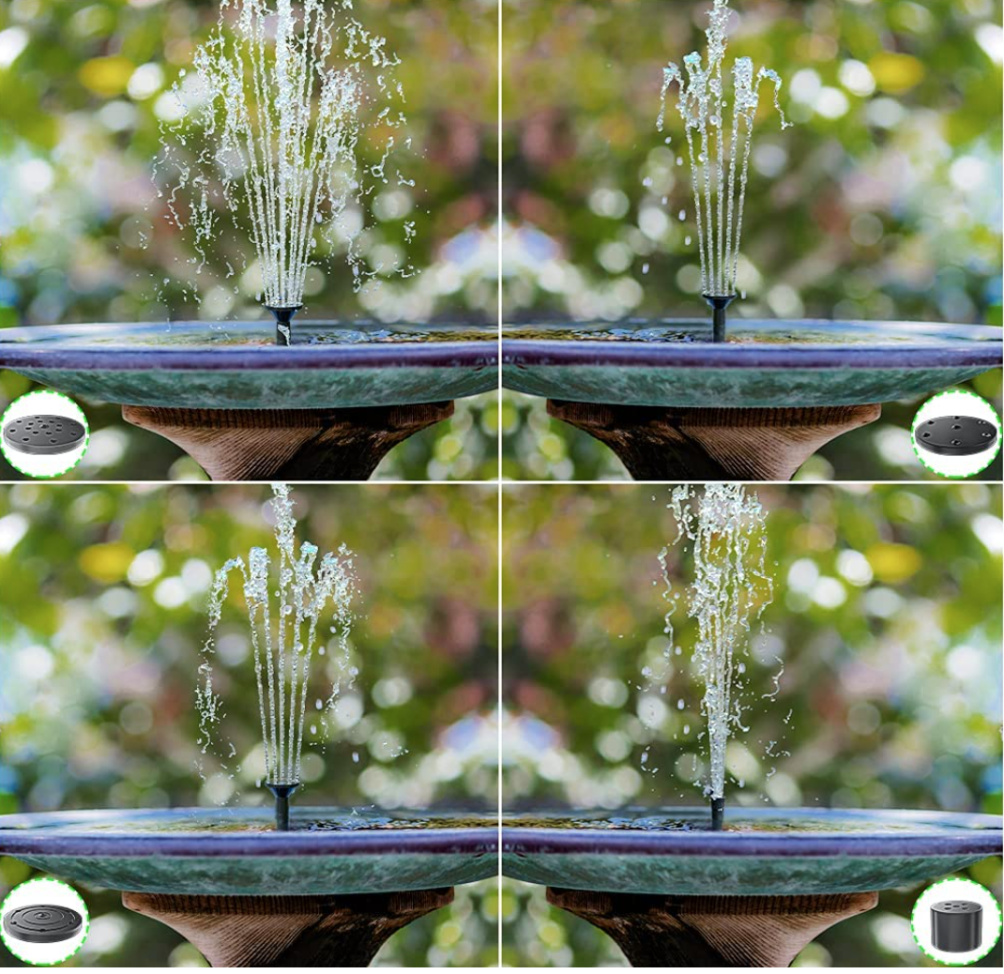
- 4 Nozzles Solar Water Pump】4 types of spray heads for different water flow and water height. Solar water fountain pump will start working in 3 seconds once being exposed to sufficient sunlight. Solar pond fountain water up to 23.6in-27.5in, line length: 10Ft. water flow:0-160L/H. The height of water depends on the strength of the sunlight.
- 【2 Install Methods and Easy Clean】Solar panel can be screwed on the wall or inserted into the ground. The solar water pump is small and easy to hide. No need any tools to detach it, easy to separate and clean. It’s the perfect gift for your family and friends. This solar water fountain will be a fantastic decorating addition to your life.
- 2 watt pump, 160 liters/hour water output.
How to Create a DIY Water Fountain Out of a Pot
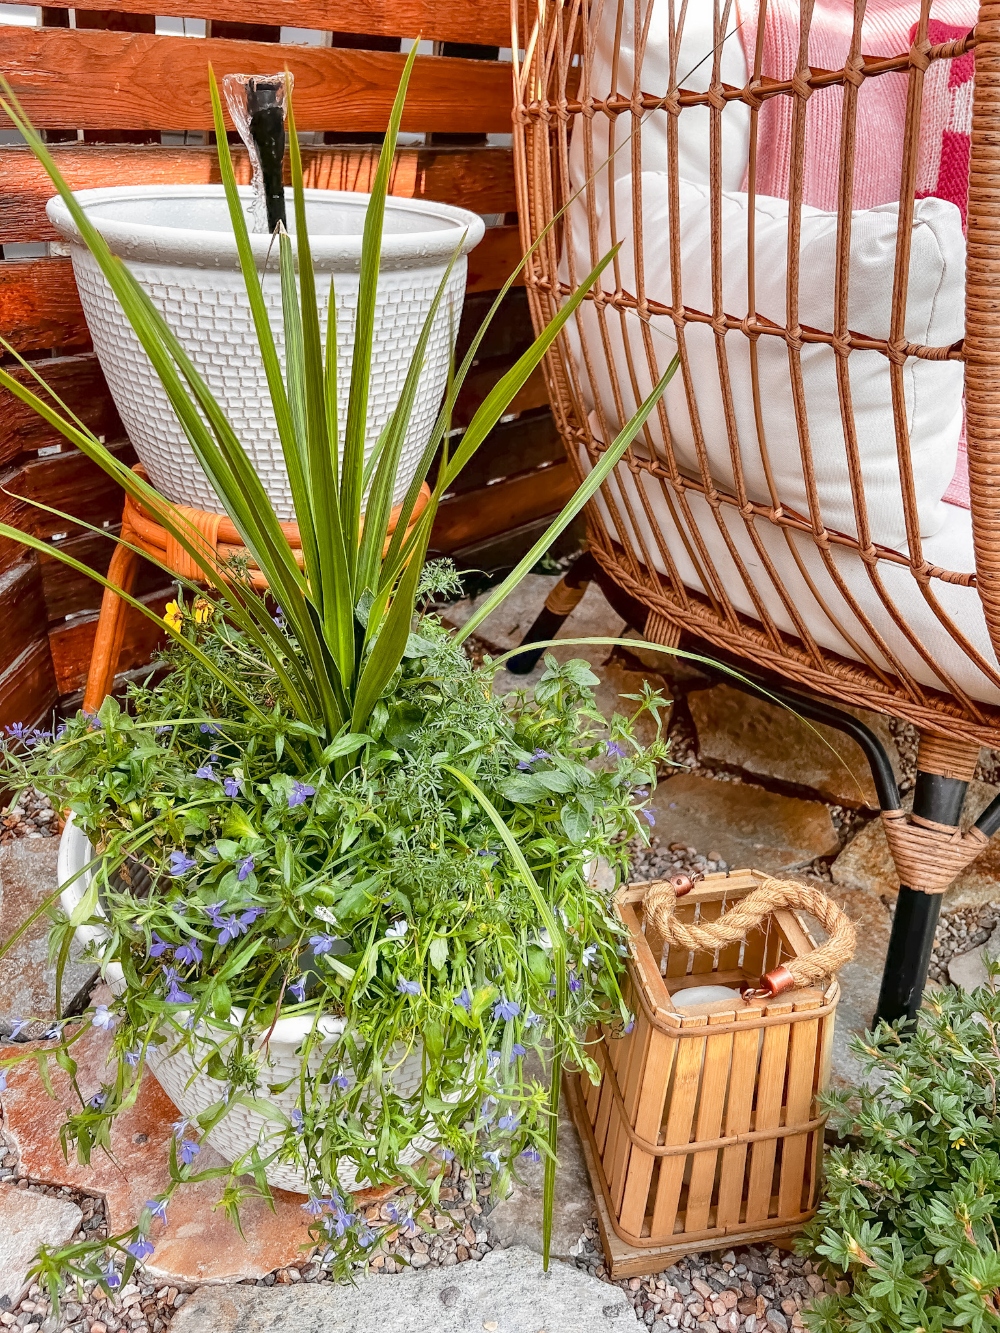
It’s so easy to create and you can do it in 10-minutes (minus drying time). Here’s how to do it!
DIY Water Fountain Supplies

- A pot (how wide depends on which fountain kit you purchase). Mine recommended the widest width be between 10-20 niches.
- A fountain kit – you can get a plug-in fountain kit or a solar-powered kit.
- Waterproof caulking – we used Locktite.
- Power Drill with bit to drill hole. Our kit called for a 1.25 inch drill bit.
- An outdoor power cord (if you are using a plug-in fountain kit).
Directions to Make a DIY Water Fountain Out of a Pot
- Take pump out of package, put extension on the pump and put whichever nozzle you want to use on top of the extension tube.
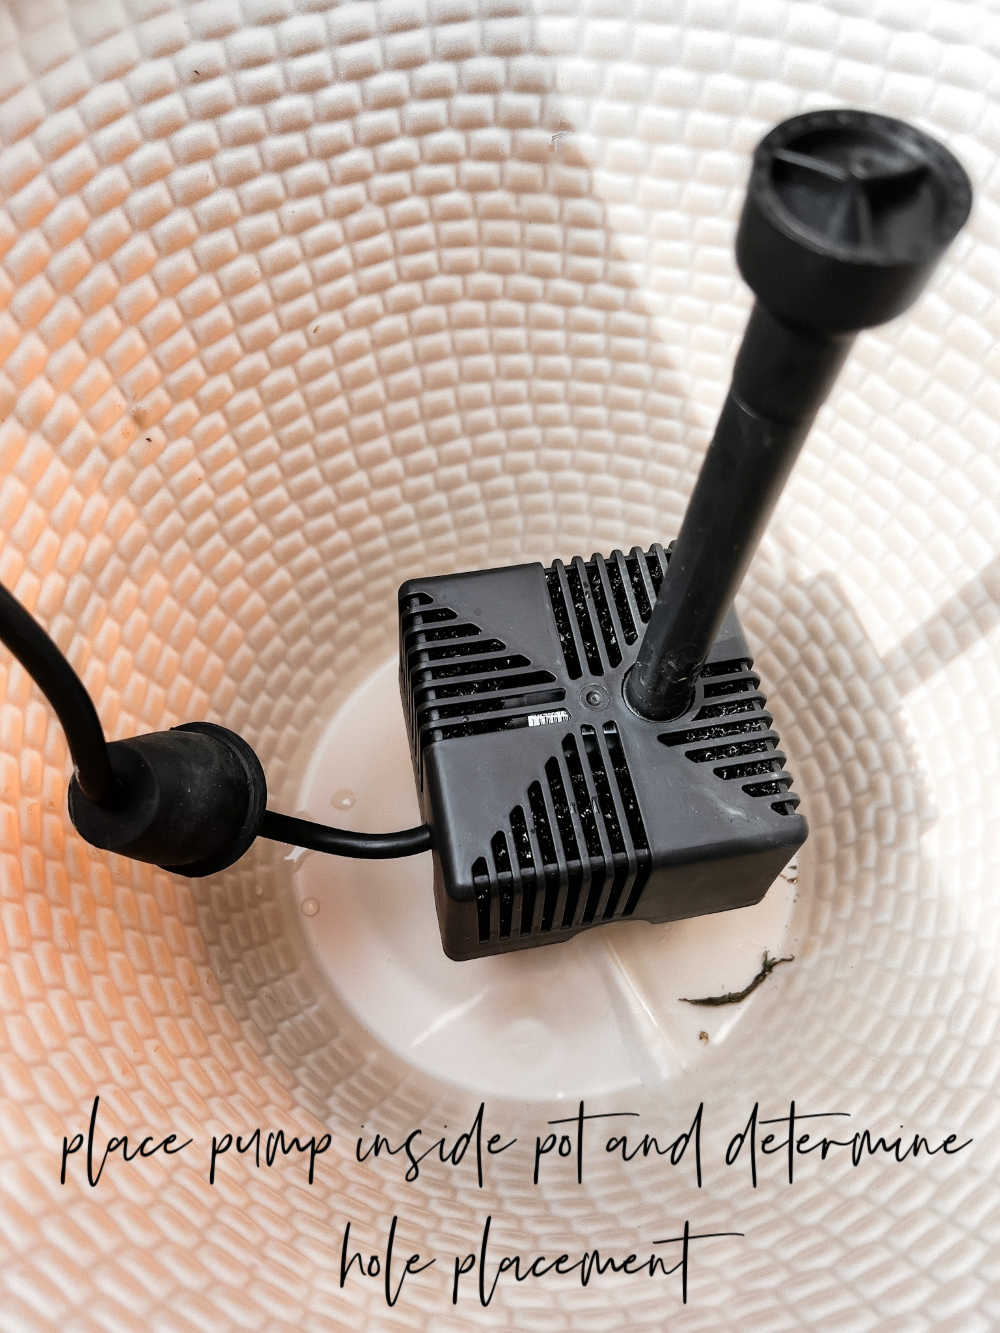
- Place the pump inside the pot you are using. Mark where the hole should be on the side of the pot.
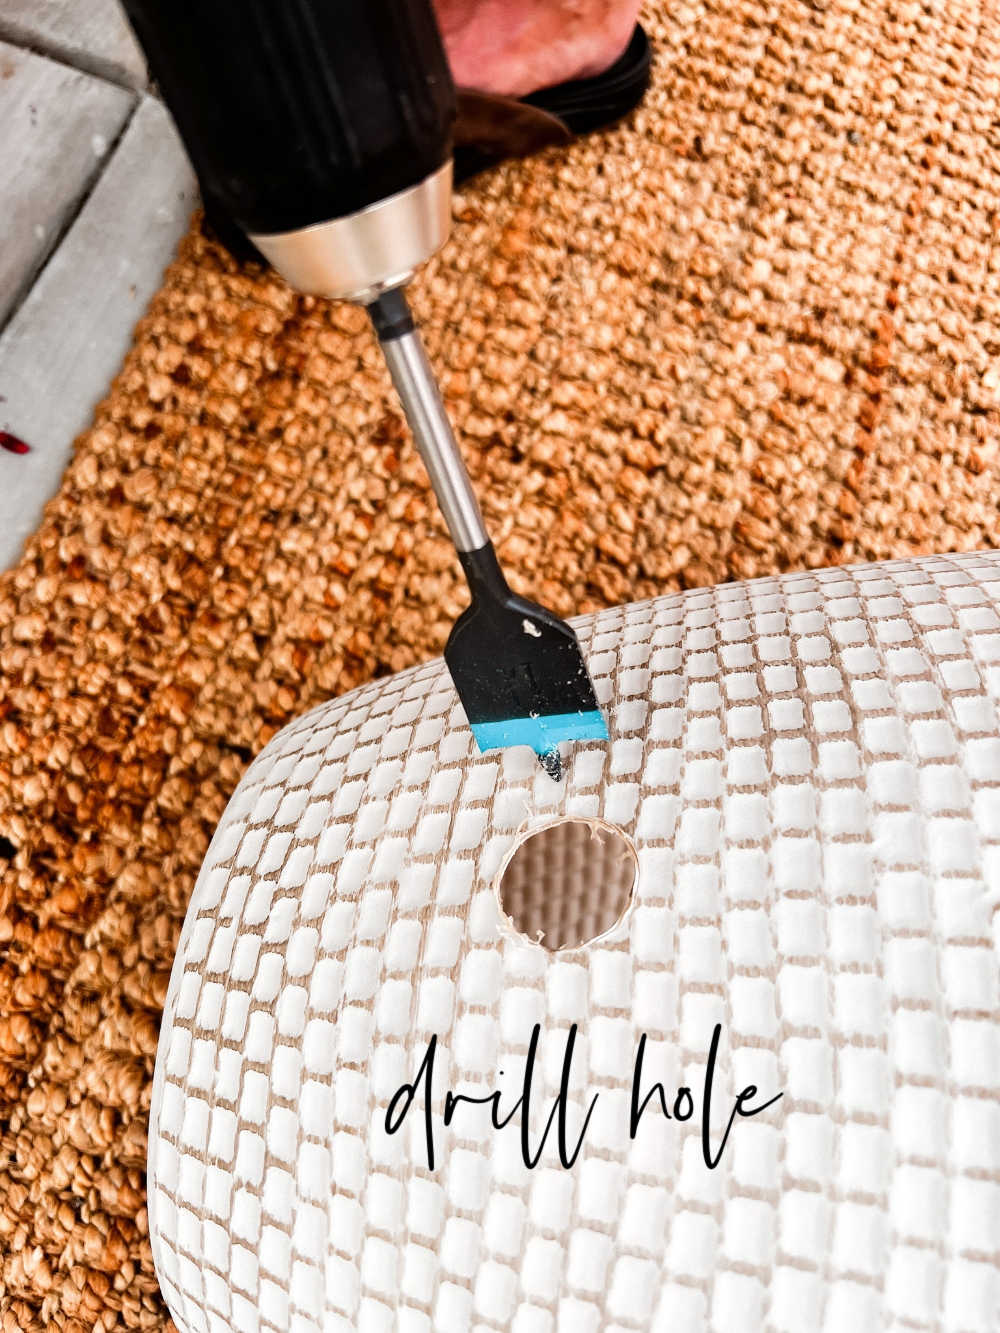
- Drill the hole on the side of the pot where the cord will come out of the pot. You will need to drill a hole if you are using the solar powered pump too so that the cord to the solar panel can come through the pot, unless you want the cord to drape over the lip of the pot.
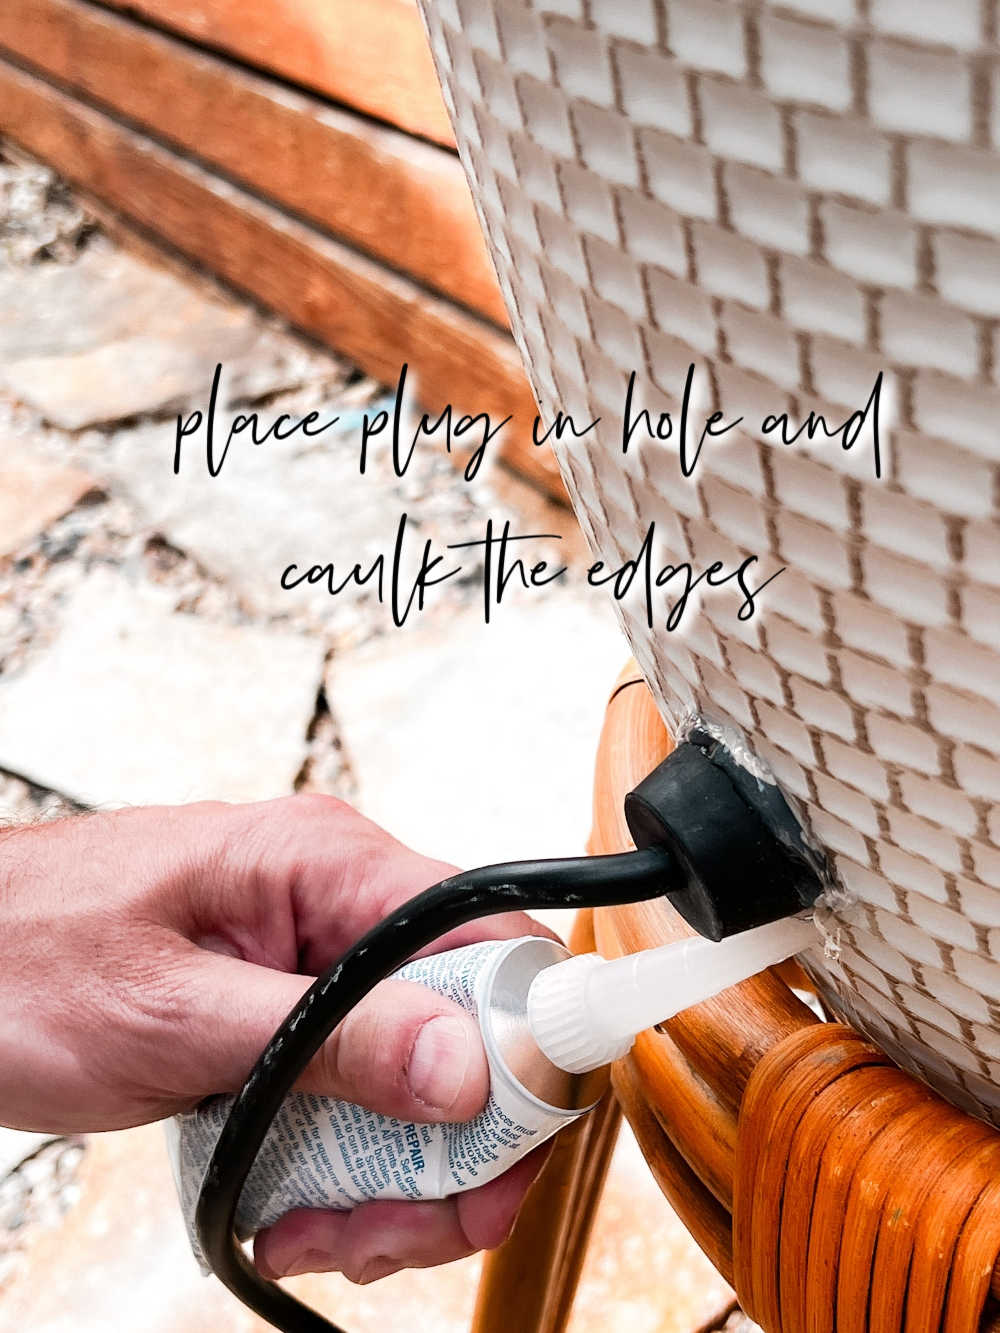
- Put the power cord through the hole. Ours had a plug which fit the 1.25 hole. Caulk hole with caulking and let dry. Ours was fast-setting.
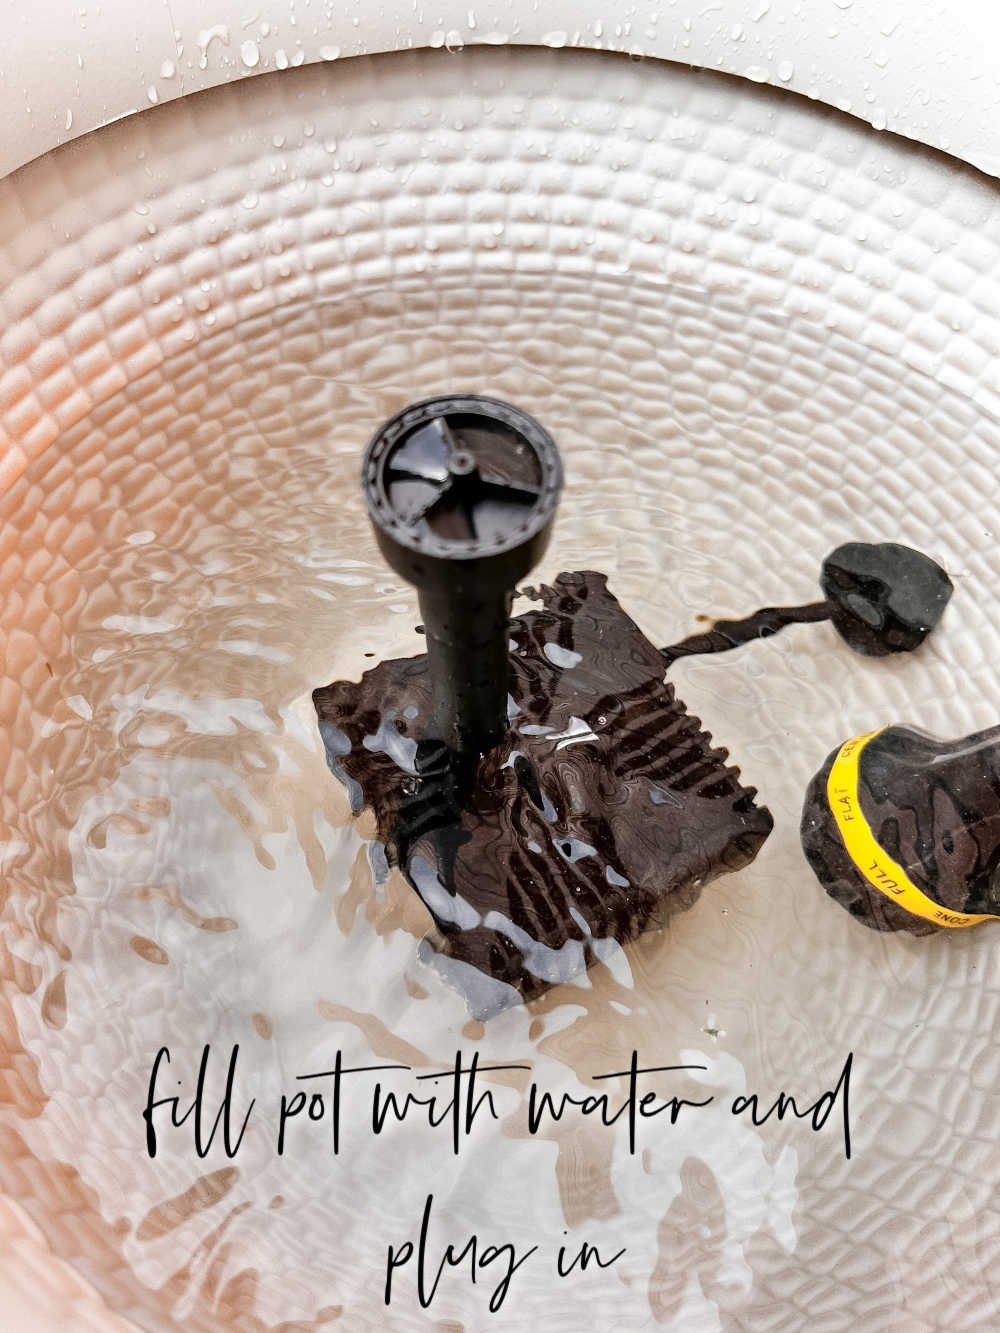
- Fill the pot with water.
- Plug the power cord into power or set up the solar panel in a sunny spot.
- Enjoy your new fountain!
Fill Your Recirculating Fountain Every Few Days

The water re-circulates. Make sure you fill up your pot every few days so that there is water inside so the pump has water, otherwise the motor can burn out.
More Outdoor Projects
Here are a few other outdoor projects that are great to make this time of year!
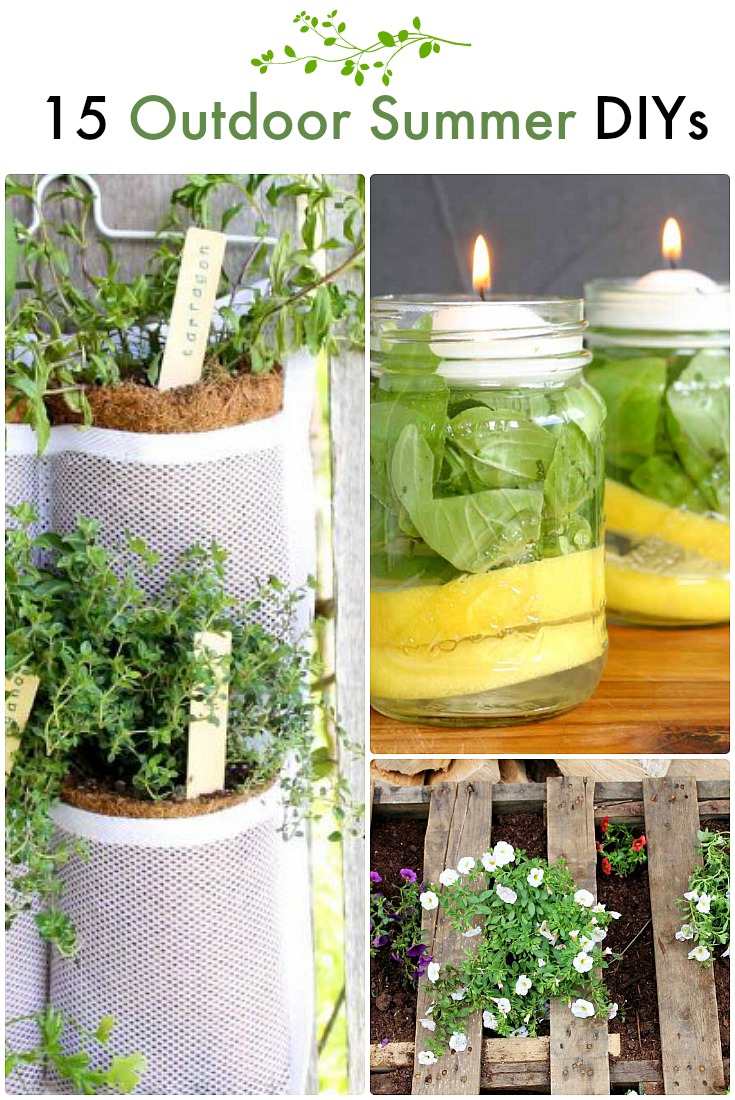
15 Outdoor DIY Ideas
Summer is my absolute favorite time of year! I am working on sprucing up my outdoors space and found these DIY ideas so inspiring! Here are 15 Outdoor DIY ideas.

14 Outdoor Patio DIY Ideas
Here in Utah we get a lot of snow during the winters and it’s hard to keep up maintenance on my patio! With the warmer summer weather I am always inspired to bring my patio back to life!
What Outdoor Projects are You Working on?
xoxo





Hi Jen, love this idea! Can I assume the pot you used is some sort of plastic? Thanks!
Hi Karen!!
Yes! The pot I used is plastic but you can use any type of pot as long as you can drill a hole through it!
I hope you make one!
I love this fountain idea! We have a bare spot on our patio that this would be perfect for! Thanks for the inspiration!
Hi Jennifer!
I hope you make one!
xoxo
I want to try this, Jen! Thank you so much for the inspiration.
xoxo,
Brendt
Thanks Brendt!
It was a fun project to make!
xoxo