
Woohoo!!! I can’t believe I’m here guesting for Jen on Tatertots & Jello!
My name is Kyla and I’m visiting you from Funky PolkaDot Giraffe! I feel like the kid from the Willy Wonka movie who yells – “Look at me! I’m on TV!” That’s seriously how awesome this is for me. I adore Jen and hope to meet her in real ASAP!

I’ve lived all over the country. Born in Las Vegas, jr. high and high school in Iowa, a summer in Kentucky, college years in Utah and now I’m settled in fabulous Orange County, California. I’m married to my college sweetheart and we have two crazy munchkins. I’m a second grade teacher, turned creative blogging enthusiast, and I tend to the obsessive – just ask my husband 🙂 I have an Etsy shop, do day care full time, and love blogging on my crafty blog.
Today I’m sharing a fun summer project that I’ve been wanting to make for a long time.
I found the towels over a year ago at a Black Friday sale and I just knew they’d come in handy one day. It’s the Surfer’s Poncho – or a new spin on the classic and much loved, hooded towel.

We have swimming lessons starting in a week and one thing that drives me crazy is the dragging of the towels across the parking lot or the crying 2 year old because she can’t keep her towel on and she’s “freezing”. The insanity!!!! So I was brainstorming with my husband about the problem – he’s a good sounding board – and he said, “You should make a surfer’s towel.” And I was like, huh? He explained that surfers cut holes in the top of a towel so they have a makeshift changing room on the beach. The towels don’t fall off – because they are poncho style. So I changed the plans a little bit and this is what I came up with.
Surfer Poncho Tutorial:
What you’ll need:
1 large towel
1 hand towel
thread
sewing machine
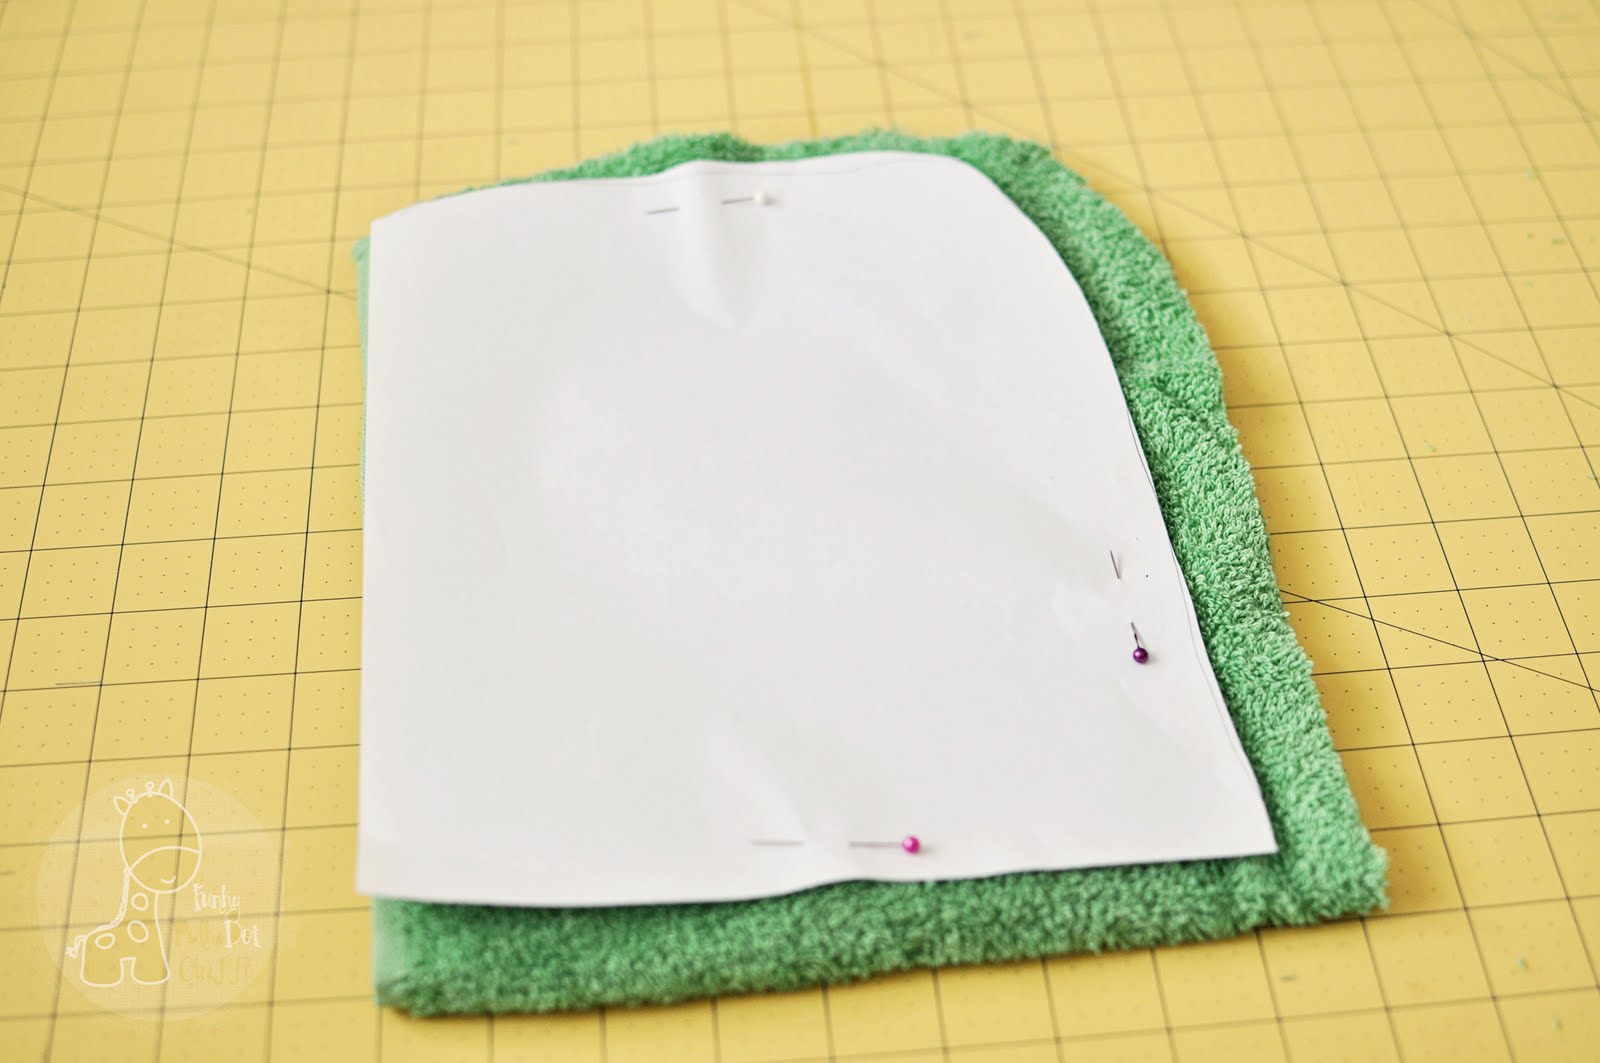
- STEP ONE: Fold your hand towel in half. You can use the decorative edge or a finished edge of the towel to save you the time of having to “hem” the outside edge. Lay your pattern down and pin. I used a hood from a hooded towel we already had to make my pattern.

- STEP TWO: Cut your hood pieces out, cutting a little extra for seam allowance if you didn’t already allow for that in the sizing. I added extra, because the pattern was actually for my daughter’s towel and my son has a BIG-ger head 🙂
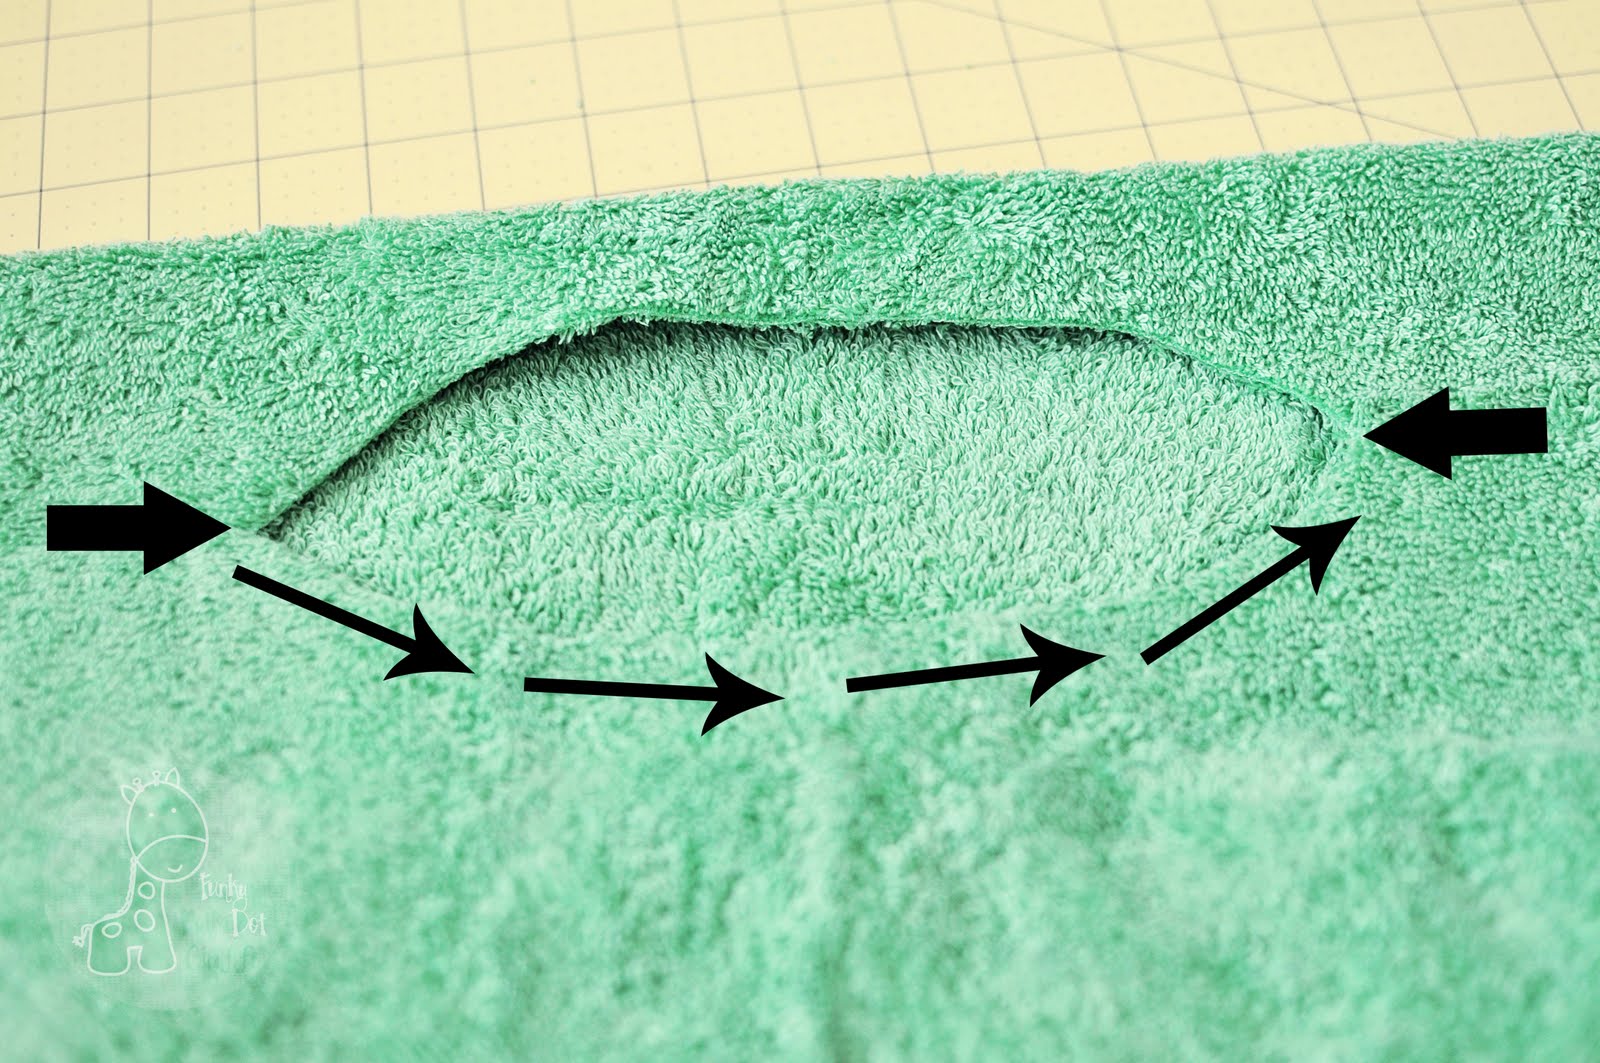
- STEP THREE: Sew around the outside edge where the arrows outline. I sewed a 1/4″ seam allowance with a zig zag stitch and then went over the seam again with a straight stitch.

- STEP FOUR: Fold your towel in half lengthwise to form the poncho. Then, find the center of the folded edge. You could measure and be exact, but I folded it in half again and marked with a pin.

- STEP FIVE: Use the neck hole of a shirt and make a pattern piece for the neck opening. You can also estimate and eye it if you’re comfortable with that.


- STEP SIX: Open up your neck opening and pin down the front half of the ellipse. Then sew a 1/4″ seam around the pinned edge – again I did a zig zag and then a straight stitch.

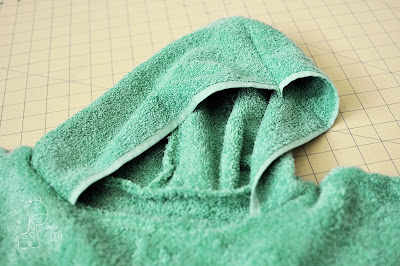
- STEP SEVEN: Find the center of the back part of the ellipse and mark with a pin. Then match the center of the hood to the center of the ellipse and pin the hood to the poncho right sides together.


- STEP EIGHT: Sew the hood to the poncho with a 1/4″ seam. I did a zig zag and went back over with a straight stitch. Woohoo! Now you have a Surfer Poncho!

- STEP NINE: Time to add the pocket. I grabbed my son’s sweatshirt and took a pattern from the pocket.

- STEP TEN: Cut a little extra for seam allowances, then fold the edges under where the arrows are and sew down the raw edge so you have a finished edge.


- STEP ELEVEN: Position in the pocket where you’d like it to lay. Then, holding the top edge of the pocket in place, flip the pocket up toward the hood, so that with right sides are together now. Sew with a 1/4″ seam along the top seam – that looks like the bottom seam of the pocket right now.

- STEP TWELVE: After you’ve sewn the top seam, flip it back down and sew the bottom portion down, leave the holes open for the pocket.

And there you have it – The Surfer’s Poncho! 

And just in case you have a Surfette 🙂

Thank you so much for having me, Jen!
I hope you’ll all come visit me at Funky PolkaDot Giraffe sometime.

Thanks Kyla!!!
Those Surfer Hoodie Towels are just adorable!!

Kyla is one of my favorite bloggers and twitter friends!!
It is incredible to me how much she gets done!!
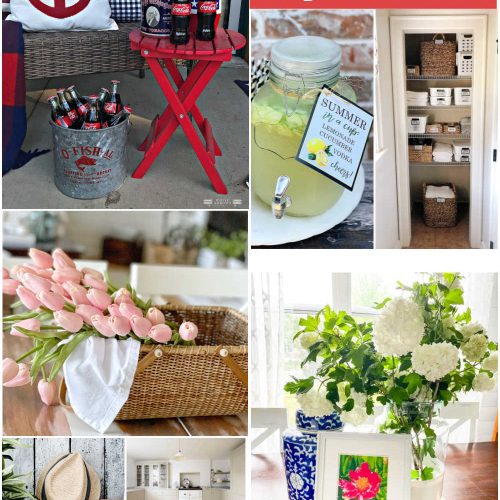
Here are some of my favorite Kyla ideas:


{And, if you don’t want to make one, Kyla sells them in her cute etsy shop}

{Check out her Rainbow Jello – so colorful and fun!}

{And Kyla makes the cutest Korker Hair Korkers – find out how to make them!}
Be sure to stop by Funky Polka Dot Giraffe – you will be glad you did!!

And, be sure to check back for more
Summer Social Ideas —
ALL Summer long!!
It’s going to be SO fun!!!
xoxoxo


This was an AWESOME tutorial. The Pictures and instructions were awesome. I made two of these towels this afternoon. Thank you!!!!
Way to go Kyla! How awesome to be a guest on TTNJ! This poncho would be great for little kids!!
Great tutorial! Thank you for sharing. I made one for my 3.5 year daughter this morning.
this is PERFECT!!! I struggle with the same thing-whiny girls cuz they can't hold up their towels while walking, and hooded towels still weren't working as well. And this works perfectly for the days when they're riding their scooters home from a friends house and can't carry their towels. FANTASTIC solution!
THANK YOU!!!!
Way to go Kyla!! Those work great!!! And they can eat and keep their towel wrapped around them hands-freeeeeee!!!!
Perfect! Totally making one for my trip to the beach next month!
very cute! We have one like these, without the pocket. It's made of a beach towel, though, and it was cut shorter, the cut off bit used as the hood, all the edges rounded, and then bias tape all around the edges and the hood. I think this would take much less time, though! (my aunt made the one we have)
Great tutorial! I love this idea…my kids can't seem to keep their towels on either. This is a nice solution. 🙂
I love this idea! I really need to make some for my boys for the summer!
LOVE this…I really gotta break out my sewing machine…really really really!
This is awesome! Much better than trying to keep a wiggling toddler wrapped in a towel. Thanks for the idea! 🙂
What a great idea!! I could just see these with names or initials on them. 🙂
Crystal
Super cute!! How fun!!
Ruth
That is really cute … so perfect for summer!
What a great project for summer! They look great with them!
What an awesome idea!! I am so making some of these for my two girls! :o) It is super easy to follow too.
That surfer's poncho is ADORABLE!!!
Now THIS is the type of creativity and fun I'm talking about! I'm retweeting this all over the place, you RAWK jennifer!