Welcome to PUMPKIN WEEK!!
(a pumpkin tutorial each and every day this week)
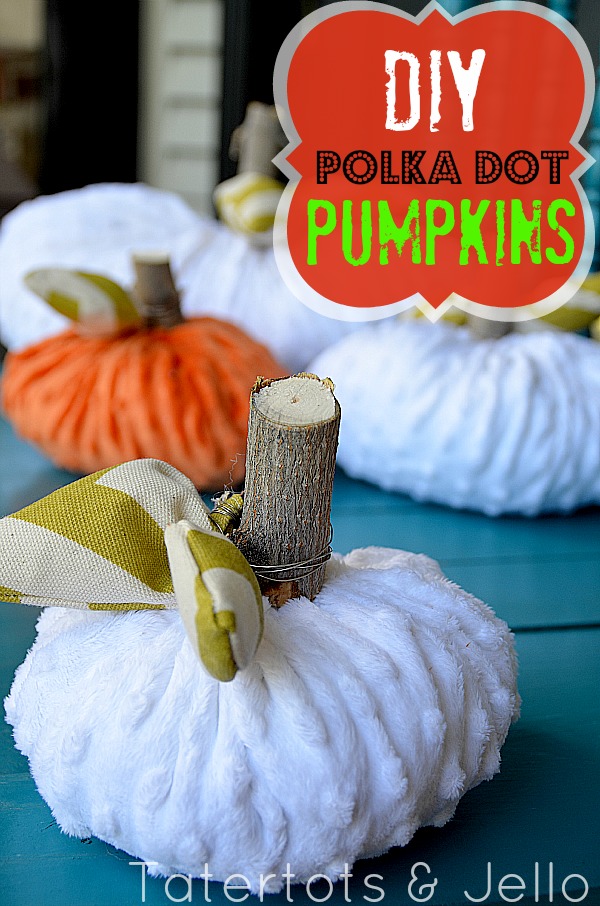
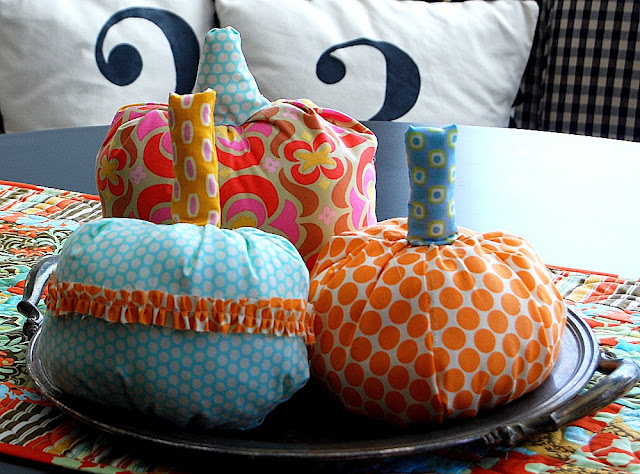
Today I am sharing my Polka Dot Pumpkins!!
What could be better than polka dots AND pumpkins = two of my favorite things!
Here’s how to make them:
Supplies:
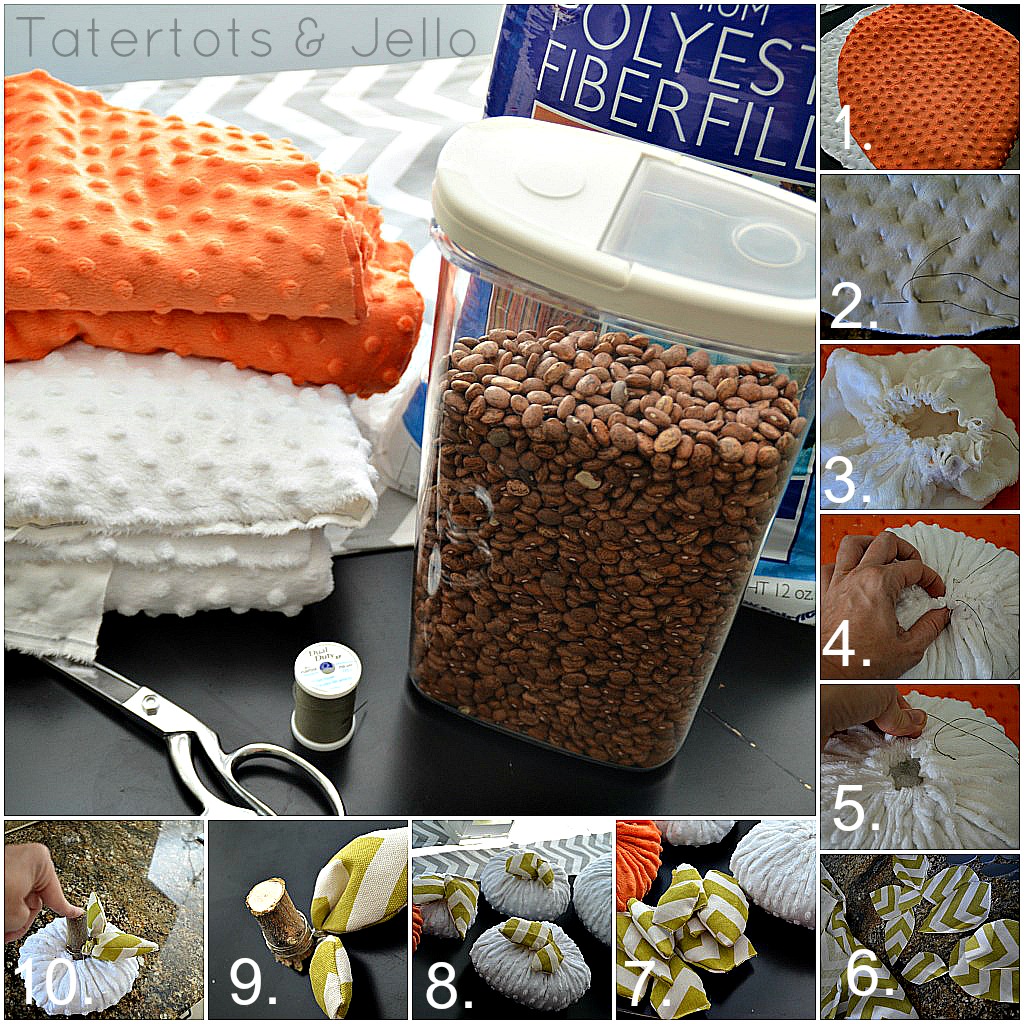
Minky material (polka dot plush) — I found it at Hobby Lobby. You can make about 4 pumpkins with 1/2 yard of material, depending on how big you make the pumpkins.
Needle and Thread
Craft Store Wire
Stuffing (batting)
A tree branch cut up (for the stems)
Coordinating Material for the leaves (you can use scrap material)
Beans (to stabilize the pumpkins)
Here’s how to make them:
- Cut out circles for your pumpkins. Each circle will be about 1/4 of the size when it’s all finished.
- Use a needle and thread to sew the circle shut.
- Sew all the way around the edge of the circle. The stuff the pumpkins with beans at the bottom and batting at the top.
- Pull the thread tight and tie it off.
- Then sew the opening shut.
- Now make the leaves. Cut leave shapes out of coordinating material. Each leaf will need two sides.
- Put the right-facing sides together for the leaves and sew. Then turn them right side out.
- Stuff the leaves with a little batting and sew the seams shut.
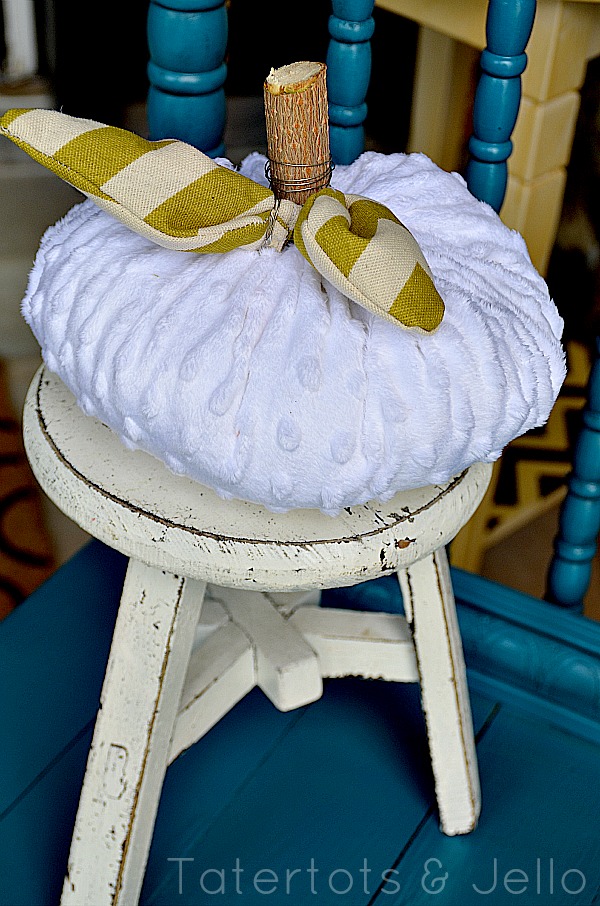
- Tape wire and wrap the wire around a leaf 5-6 times. Then wrap the wire around the tree branch and then around a second leaf. Twist the two leafs together. Put a dab of hot glue at the back of each leaf and on the stem to secure everything.
- Put a couple dabs of hot glue in the center of the pumpkin seam and press the tree branch into the center. Press down until secure.
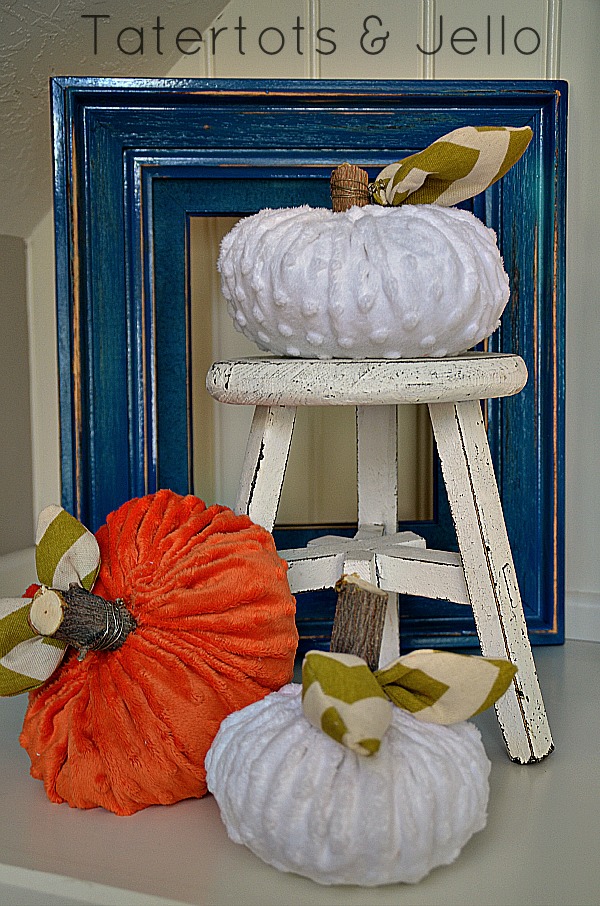
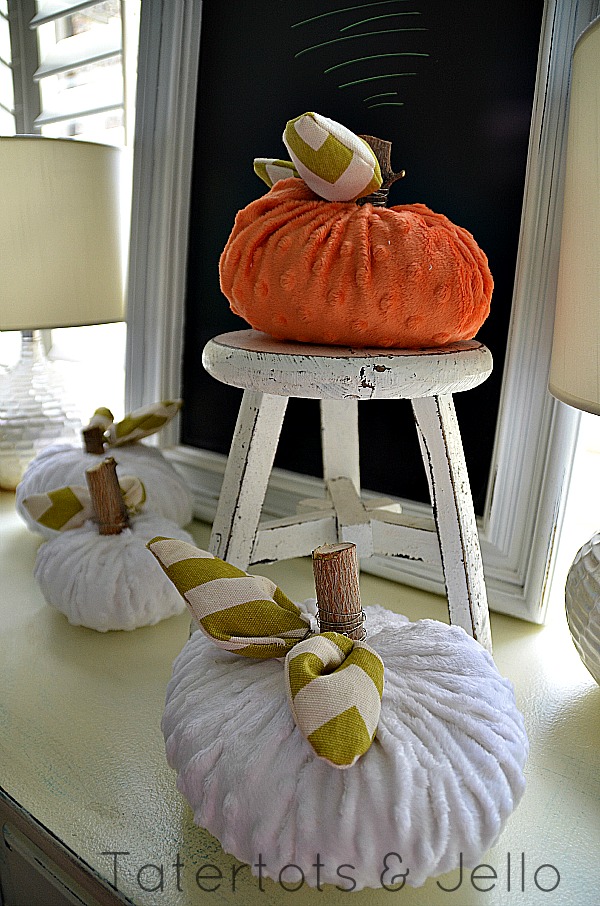
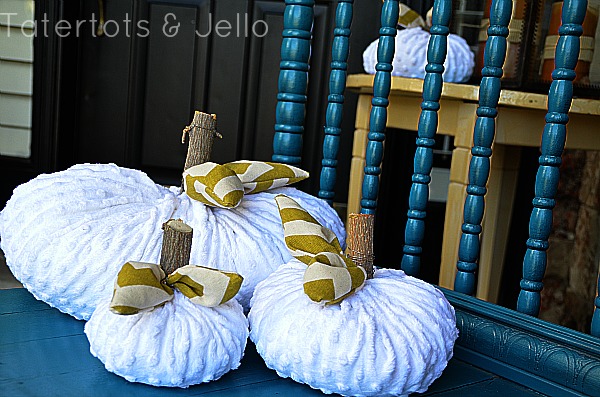
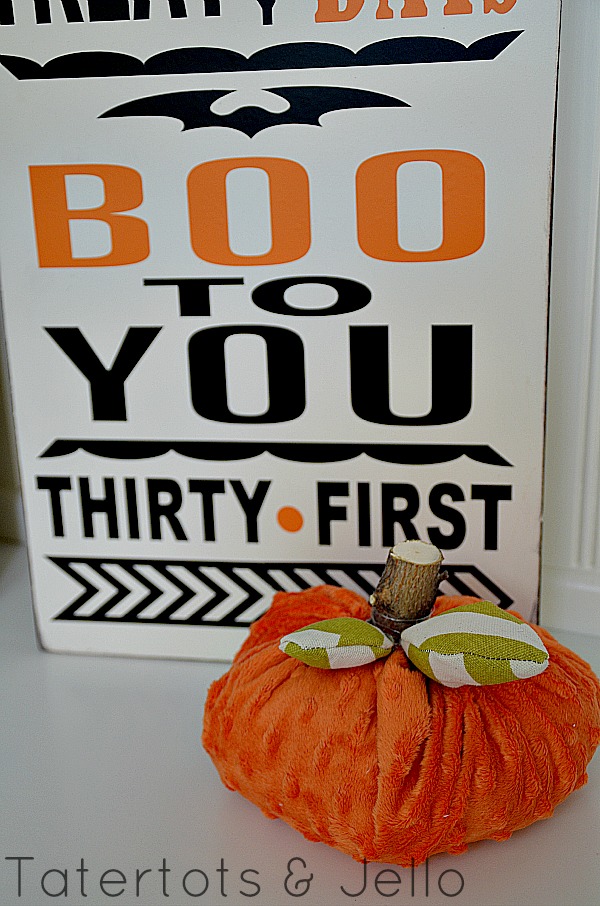
And that is it!! Now you have some plush Polka Dot Pumpkins.
Ella loved these so much that she is sleeping with one. The minky material is so soft!!
Happy Fall!!
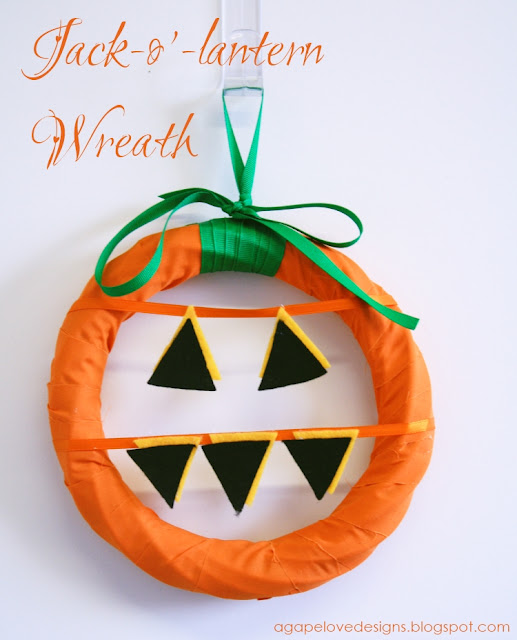
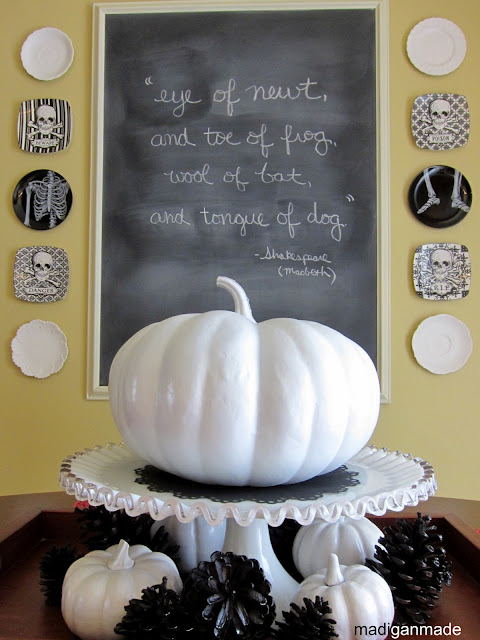
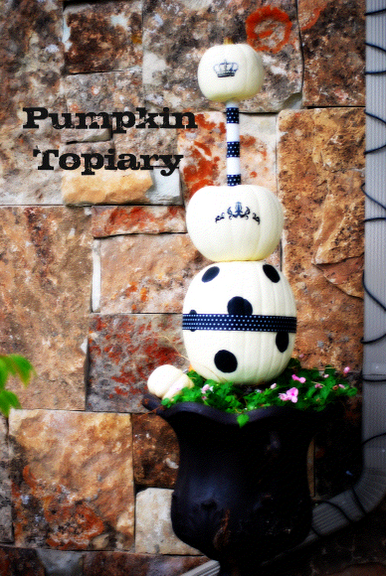
And in honor of PUMPKIN WEEK — here are a few more Pumpkin Ideas to add some festivity to your FALL decor:
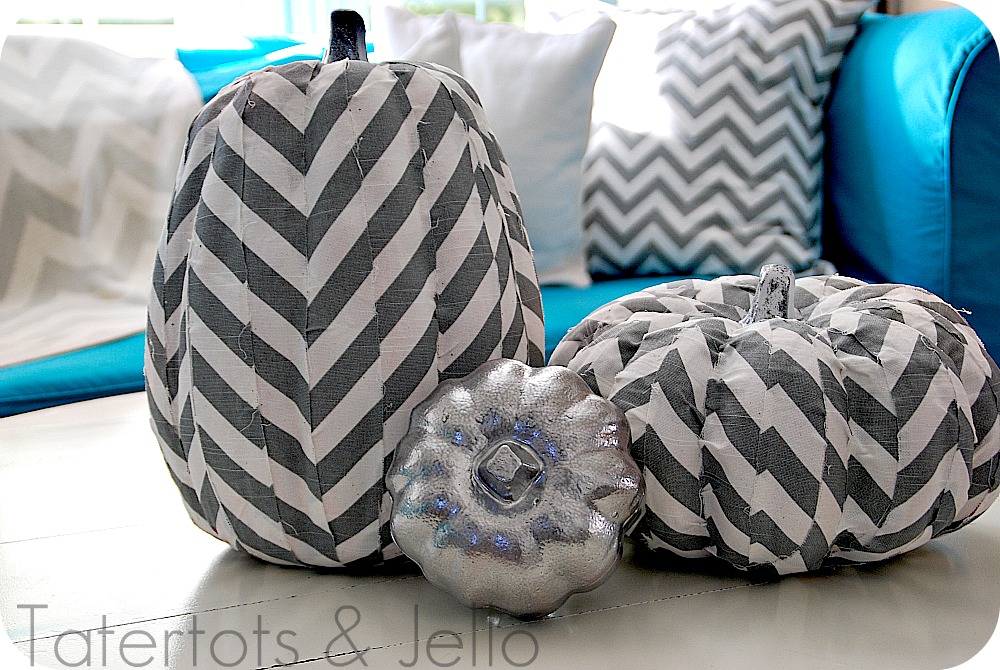
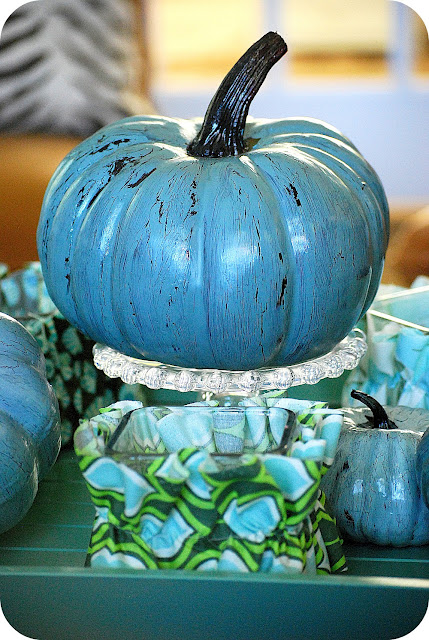 Crackled Dollar Store Pumpkins
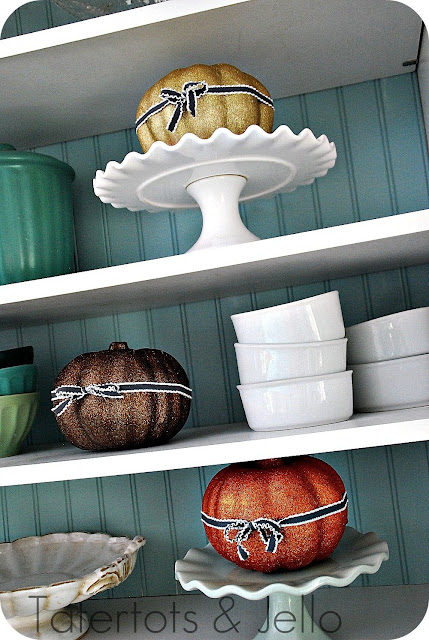
Glittered Dollar Store Pumpkins
Do you love decorating for FALL?
Share YOUR ideas and links in the comments — I would love to see them!!
xox




Pumpkins Pumpkins they’re everywhere! Too Darn cute. Thanks for sharing your crafty-ness
Hi! I’m linked up for the pumpkin week link. first time here.
Lot’s of wonderful crafts here.
Patricia from http://topiaryrose.blogspot.com
I love these pumpkins!! So soft and warm, reminds me of a cozy scarf to wear in fall! Cute. I also shared these on my blog today: http://www.vixenmade.com/2012/09/fall-diy-projects.html
These are such creative ideas 🙂 I really like the glittery pumpkins. Gorgeous!
You always manage to make the *cutest* things!!!
this is such a great idea. i can’t wait to see them all! eek! Fall is here. woot woot!
xo
kellie
I am totally in love with these!!!
http://kaminskiscreations.blogspot.com/2012/09/wood-block-pumpkins.html
Here’s my wood block pumkins. I love seeing all these ideas!
Erin — your wood block pumpkins are so so cute. Love them!! Thanks for commenting and leaving a link to your project!
xoxo
Cute pumpkins!!
Love those pumpkins what a great tutorial! I made glitter pumpkins last year and cannot wait to get those out and decorate the inside of my home this week!
I LOVE glittered pumpkins!! I have a whole ‘patch’ of them displayed at my house for fall, check them out at:
http://www.purplefrontdoor.blogspot.com/2012/09/shameless-fall-decorating.html
So fun!! I love your glittered pumpkins!! I made some glittered pumpkins last year on a whim and they are some of my favorite Fall decorating items now.
xoxo
LOVE these!! I wanted to make something similar for this Fall so thanks so much for posting!!!! By the way did you distress/make that gorgeous torqouise frame in your top pic?!? Love that too! 🙂 🙂
Thanks Shannon!! Yes, that frame I got at a garage sale for $1 and I spray painted it and then just sanded it down. I use it all the time 🙂
xoxo
I love those pumpkins, what a great idea!! I am working on filling up my mantle this year with all diy stuff, I made this spiderweb canvas out of pine needles: http://www.lovelymesses.com/halloween-spiderweb-tutorial/
Jen! That is so creative!!! I love that you used pine needles. And it turned out so great. I love it on your mantel!!
xoxo
I’ve done something like this, but that’s a great idea to use beans to stabilize it. Thanks for the tip!
Cute pumpkins, Jen! And a great tutorial too. 🙂
Gah! Those pumpkins are so sweet!!! Done to perfection. 🙂
<3 Christina at I Gotta Create!
Those are so cute! Love them!
Jen those are so stinking adorable. Times like this I wish I was crafty! Guess I’ll go bake something….
LOL Aimee!! If you make me some cookies, I will make you a pumpkin. We would make a good team!
xoxo