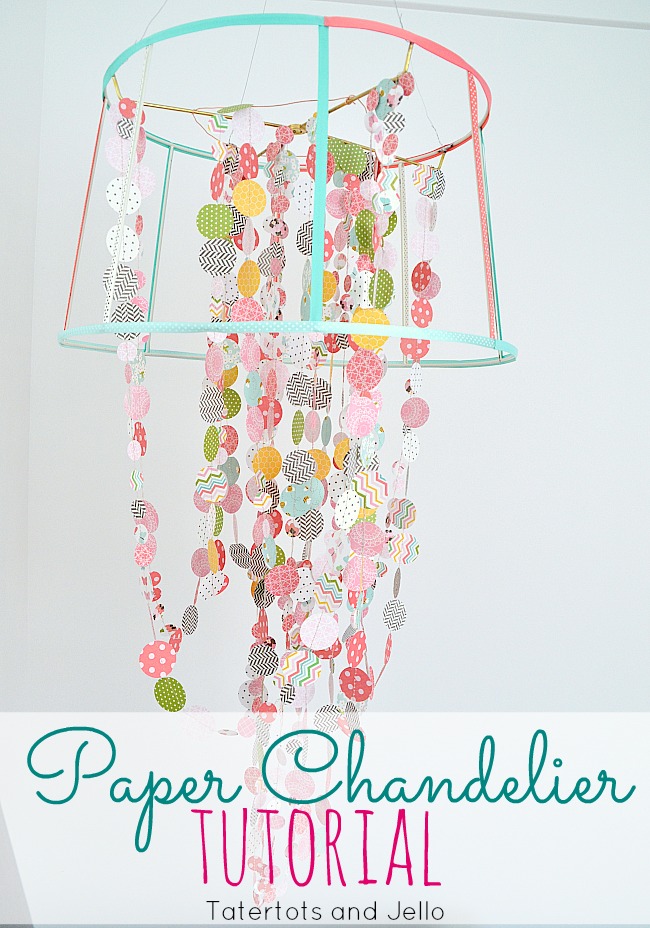
I have had such a fun time designing my new line of scrapbook paper and embellishments for American Crafts!! It’s going to be a scrapbook paper line that has a modern home decor spin! I can’t wait to tell you more soon!!
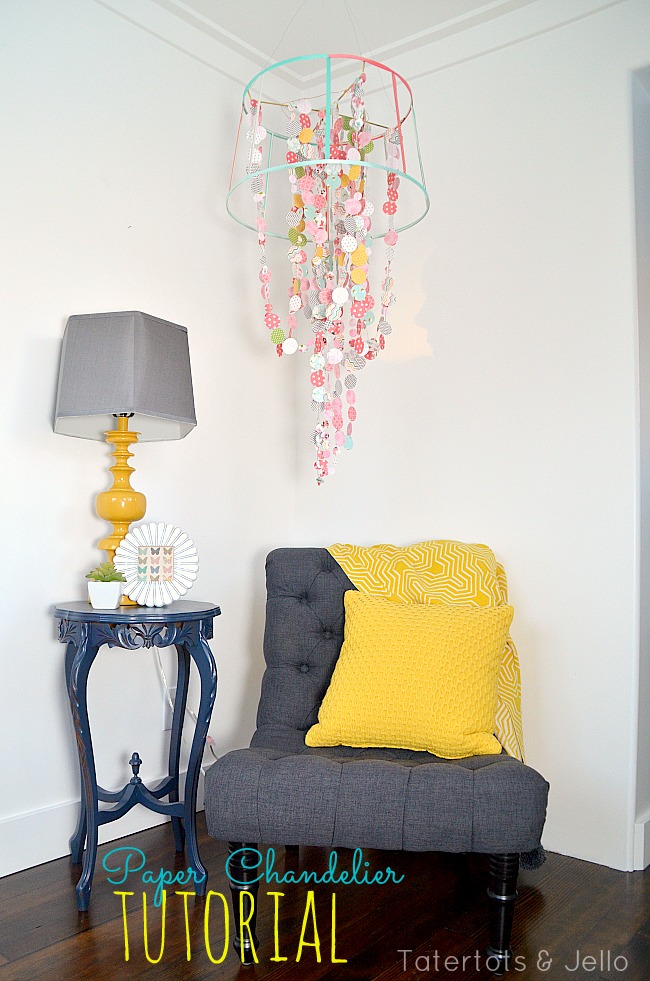
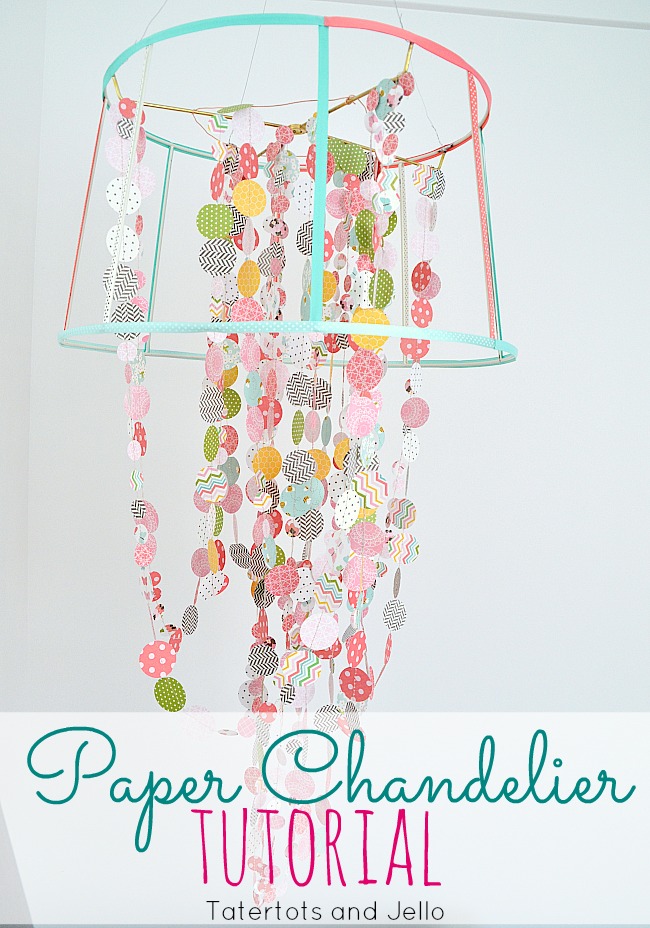
I was able to go down to the Craft and Hobby Association show – CHA a few weeks ago. And I made a little chandelier out of some pretty Pebbles scrapbook paper for the booth. I think this chandelier would be so fun in a little girls room!!
I have seen a few tutorials on how to make paper chandeliers like this. They all seemed super involved and time consuming. So I tried to stream line this project and I think I really did. I’ll tell you how in just a minute.
Here’s how to make our own Paper and Ribbon Chandelier:
Supplies:
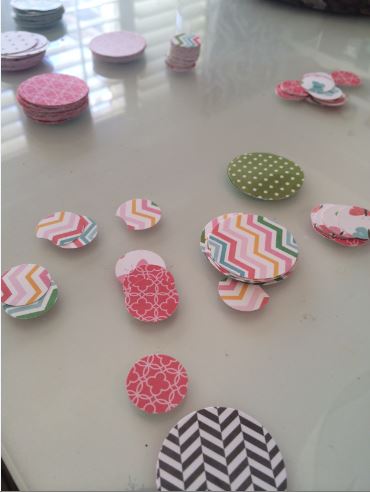
8-10 sheets of 12×12 scrapbook paper
2 different sized circle punches or a craft cutting machine
A sewing machine
Hot glue gun
Wire to hang up the chandelier
And wire to add to the top of the chandelier
A lamp shade
Directions:
Use your craft cutting machine or circle punches to punch out as many circles as you can from your paper.
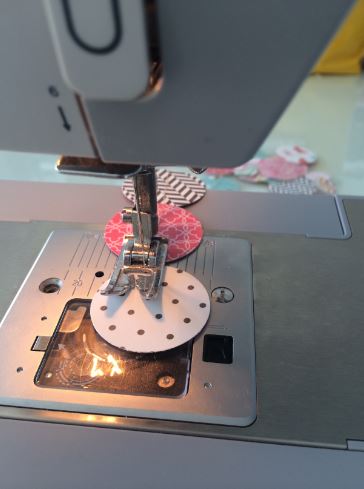
Then sew the circles, alternating patterns and sizes with your sewing machine.
I sewed the circles in one, continuous loop that measured about 40 feet long. It seems like a lot, but you will need a lot of footage to drape the circles for your chandelier.
Once you have the circles sewn in one, continuous loop – lay it out on the floor of your home and try not to get it tangled up.
Take the fabric off of your lamp shade. You will need a shade that has spokes that holds the shade together. Many cheaper lamp shades don’t have these spokes. You might need to go to a thrift store and find a vintage shade for this project.
Once you have exposed the spokes and wire of the shade, cover the wire up with ribbon. You can use glue dots or hot glue to glue the ribbon onto the spokes and wire of your shade. I used a few different colors of ribbon. And your ribbon should be thin – mine is craft ribbon and it measured about 1/4″ wide.
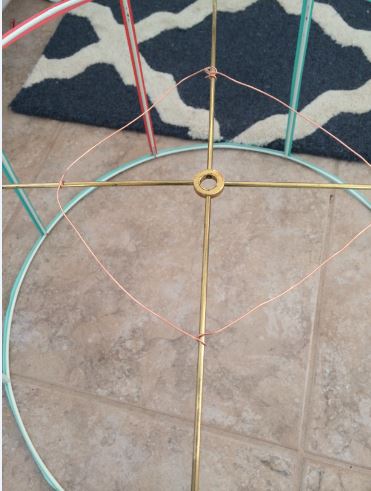
At the top of the chandelier, run some wire across the top in an X pattern so you will have somewhere to drape the circle length.
Attach some wire to the top of the lampshade and hang it up so you can start draping the sewn circles.
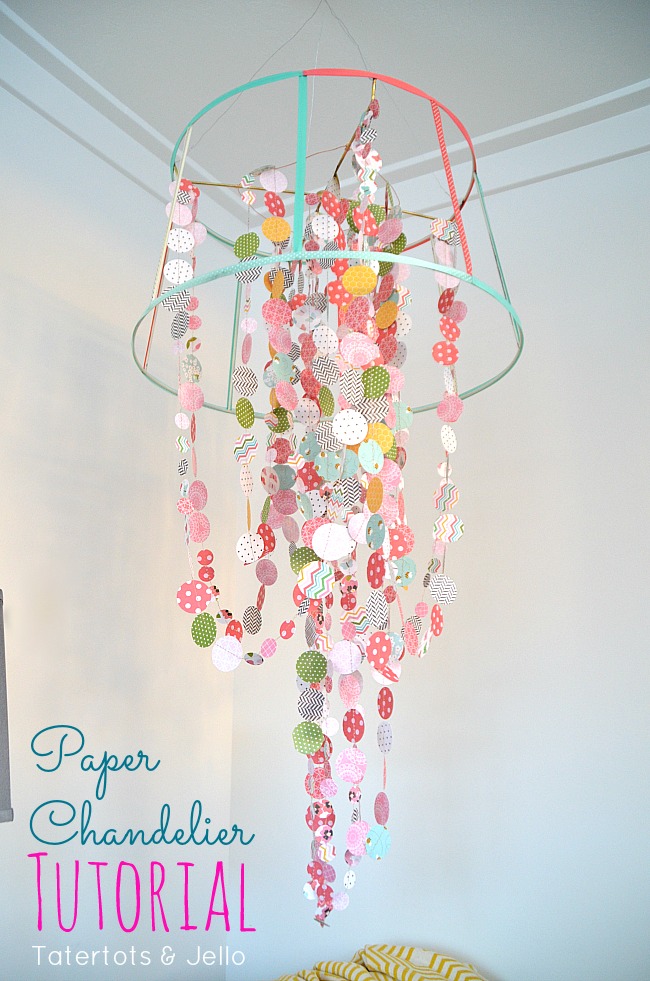
When you have covered up the wires of the lamp shade, start draping the sewn circle length to the chandelier. I just draped the circle length from the X you made with the wire at the top.I used my hot glue gun to hold the sewn paper length in place and I looped the circles evenly from all four corners of the lampshade. Then I went into the center of the lampshade and made four more loops that were a little longer from the center.
I also hot glued the lengths at the top of the shade to hold them in place.
And that’s it! So much easier than using individual lengths of fishing wire and hand placing the paper circles.
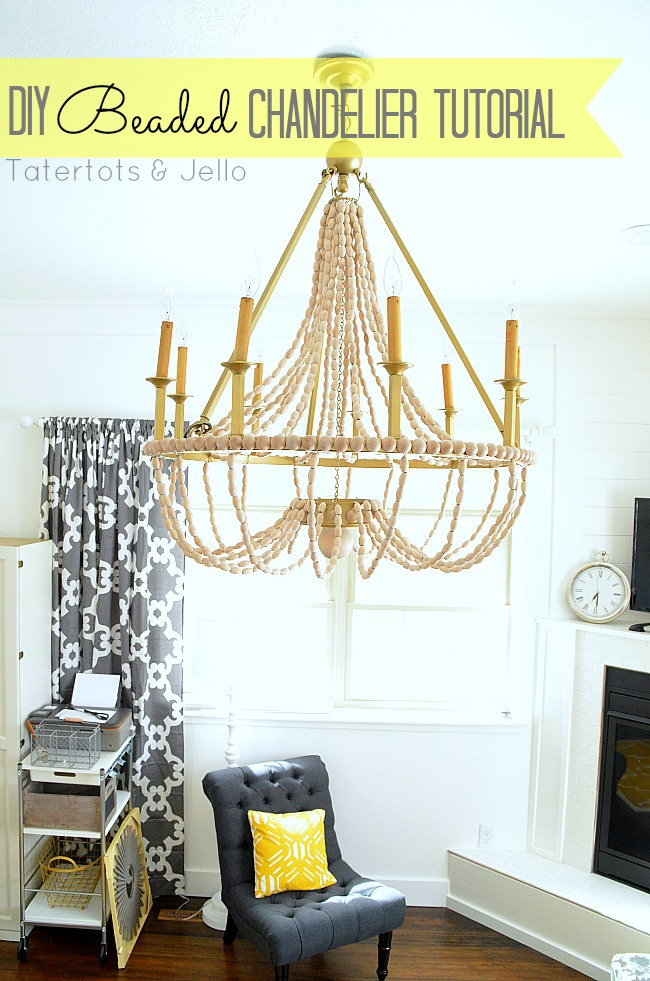
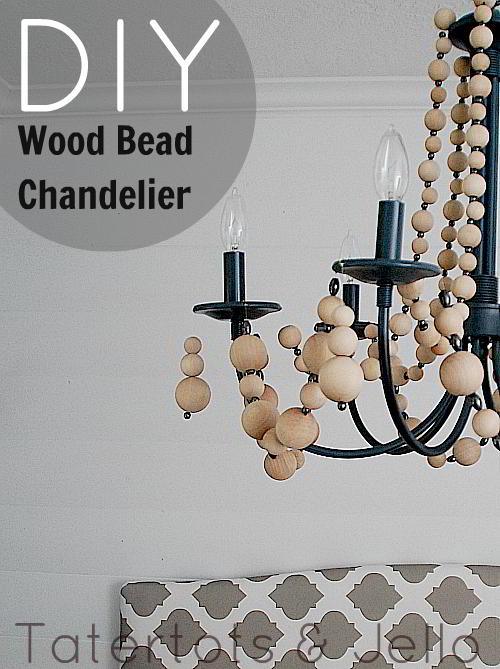
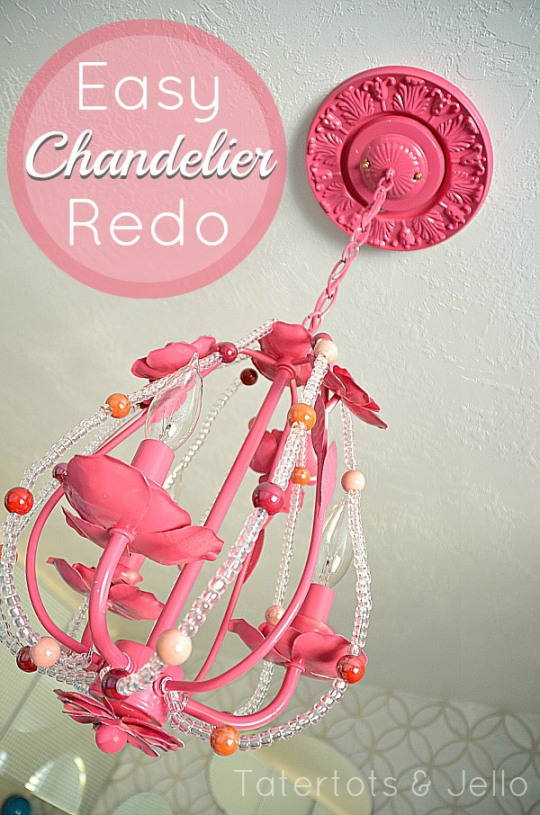
And here a a few more chandeliers I have made. I think a chandelier can really make a room!
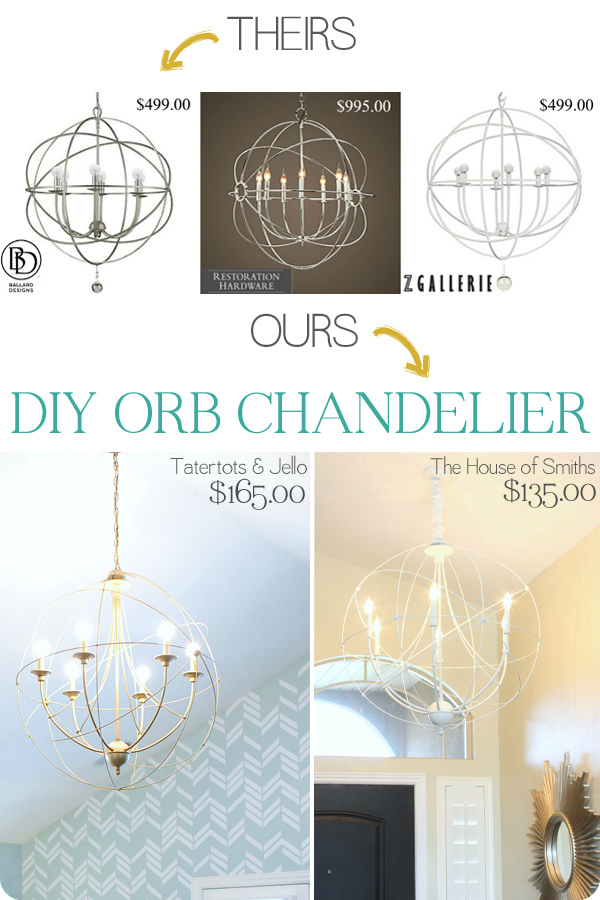
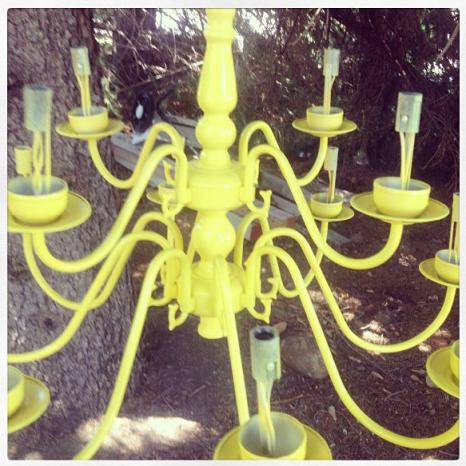
I also spray painted a brass chandelier Sun Yellow at the #1905Cottage – there’s a video showing it being hung up there.
Have you redone a chandelier?
Show us YOUR idea.
We would love to see it!!!
Have a beautiful day!
xoxo



Hate to be such a copy cat but I am sooo making one if these. I just gotta figure out which room lol.. I’m all over your blog today so u will probably see several comments in several post! lol
Heyy! I love your blog! Would if be ok if you checked out mine?!
http://annalouisenicholls.blogspot.co.uk/
OMG!!! 🙂 This is so pretty!!! Love it!
I love EVERYTHING about this and totally want to make one for my girls! Thanks!!!
Super cute Jen… Love it 🙂
What awesome ideas! I love striking chandeliers, but they’re pricey…and what do you know it’s possible to DIY some better for less! YAY! Thanks!
Thanks Heather!
xoxo
This is so pretty Jen, it makes me wish I had a little girl to decorate for…maybe I will have to add something like this to my craft room. I can’t wait to see what kinds of amazing paper designs you have come up with!!
Thanks my friend!!
xoxo
Oh this is so pretty! Great job!
Thanks Brandi!!
xoxo
Brilliant, Jen! You made the strings of circles so easy. Thanks for all the details and your fabulous photos. I’m looking forward to seeing (and getting) your new product line, congrats, you deserve it! :o)
Thanks Molly!
xoxo
I’ve been itching to try one of these paper banners, can you tell me what stitch type you used?
Hi Ericka!
I just used a straight stich on a long setting.
xoxo
this is so cute! I need “something” extra in my girls’ room and this might just be the ticket! You always have the best ideas!
Oh thanks Anna!! Let me know if you make one. I would love to see it!!!
xoxoxo
Its a mobile. A chandelier has a light.
Thanks! I guess that’s right. I think it looks more like a chandelier than a mobile. And it would be easy to drop a light kit in the middle. Of course, you would have to use LED light that wouldn’t get as hot as regular bulbs.
xoxo
So fun! Love a pretty chandelier! You’ve got my mind going on redoing the one in our entry way now!
Thanks Leigh Anne!!! I just love a pretty chandelier. I think I have one in every room LOL.
xoxo
I LOVE it!!!! I’m already brainstorming on how to decorate the girl’s new rooms- this is definitely on my list. Super cute!
Thanks Gina!!
I am so excited about your daughters rooms. I can’t wait to see what you do!
xoxo
This is adorable Jen! You are the queen of chandeliers. And I can’t wait for your line to come out!! Woohoooo! xo
Thanks Mique!!! I am so excited and nervous. I still can’t believe it’s happening. Love u!
xoxo